


popeye the sailor
-
Posts
15,981 -
Joined
-
Last visited
Content Type
Profiles
Forums
Gallery
Events
Posts posted by popeye the sailor
-
-
thanks John..........a little at a time
")
- Egilman, Canute, thibaultron and 3 others
-
 6
6
-
-
the rigging looked sweet Mike........it was nice to get an idea on the gauge of this wire
") I'm using electrical cord wire for the rigging on the Arizona. it can be a bit unforgiving.......having to work kinks out when they occur. sag isn't a problem...once fashioned, it keeps it very well. I've bought a few types of thin beading wire in the past, that I thought would work......but in application, I found they they would work better on fishing vessels, and not on what I was using it for. I've heard of using human hair.......but I don't think it would last too long
I'm using electrical cord wire for the rigging on the Arizona. it can be a bit unforgiving.......having to work kinks out when they occur. sag isn't a problem...once fashioned, it keeps it very well. I've bought a few types of thin beading wire in the past, that I thought would work......but in application, I found they they would work better on fishing vessels, and not on what I was using it for. I've heard of using human hair.......but I don't think it would last too long
-
-
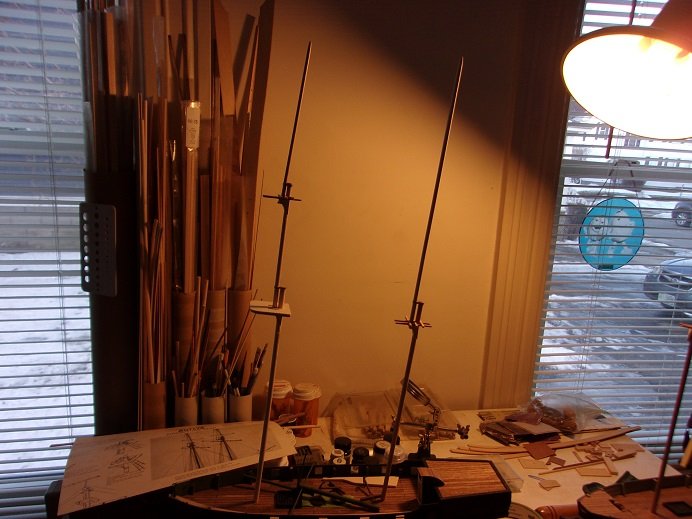
a wee bit further........the antenna was rigged the other day. I got a winding bale of thin wire....thin enough for what I need to do.

can't really tell you how thin it is......thickness of dog hair perhaps. but it looks great on the antenna......

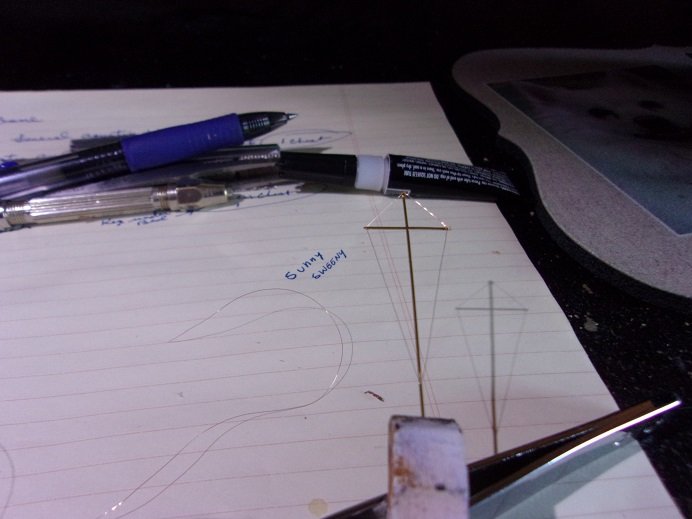
I painted it flat black afterwards......I also glued the tiny eye bolts in the dingy.......and that's about what I've done . more soon
-
the Foster's we get must be different........I find it fairly drinkable. I got one of those mini Heineken kegs in the hallway........I had two, but I drank one on Christmas eve. can't drink it at room temp though........that's how I drink my beers.......I put them in in a cool place away from the heaters. the only time I refrigerate, is during the summer. not much for harder stuff now a days.......I have an ample amount of Southern comfort in the cupboard that I bought a few Christmas's ago.........still haven't touched it
the Vendetta is on the side table by my desk.......haven't dug back into her yet. almost there
-
she finished off looking superb Mike! so much detail.........hard to imagine that they could have so much. I couldn't see myself going that small......I'd likely make a dog's breakfast out of it
 .......I tend to go the other way. I have the Shokaku in 1:500, and the Missouri in 1:450, that I got for Christmas....I still have the New Jersey too.....I think that's 1:350. to be honest, I'd love to get started on one, but I have enough going on...the admiral would have me committed!
how thin is the EZ line? recently, I rebuilt an old clock that we've had since we got married. I salvaged the windings for the motor....I can't even guess how thin this is.......

I'm gonna try this on the Vendetta...there's quite a bit here. you built a great model......I'm in awe .......very steady hands!
-
the doctor's appointment turned into breakfast and a trip to the store. then helping the admiral in making lasagna........with sausage {of course}!
very good.......I might add
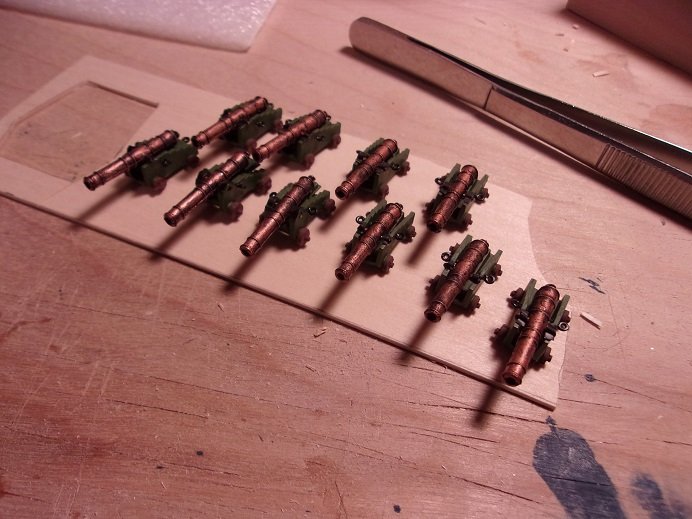
not too much done today....I set up the cannons in a dry fit to see how they'd look. since they don't put out any magazines at the doctor's at this time, I brought one of my ship books to glean over while I waited.
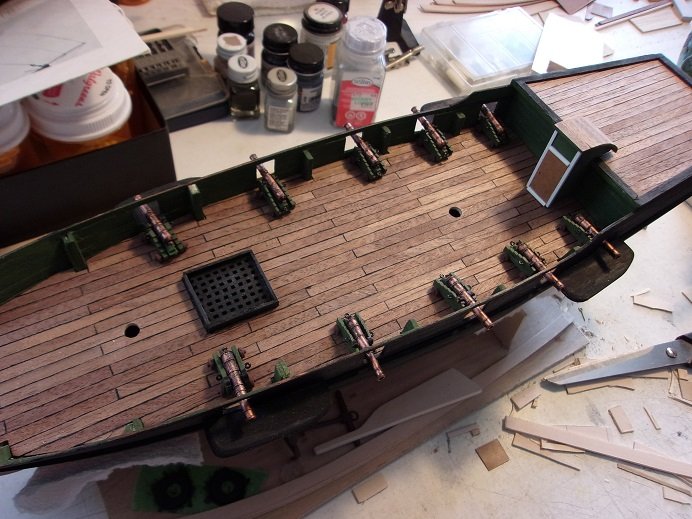
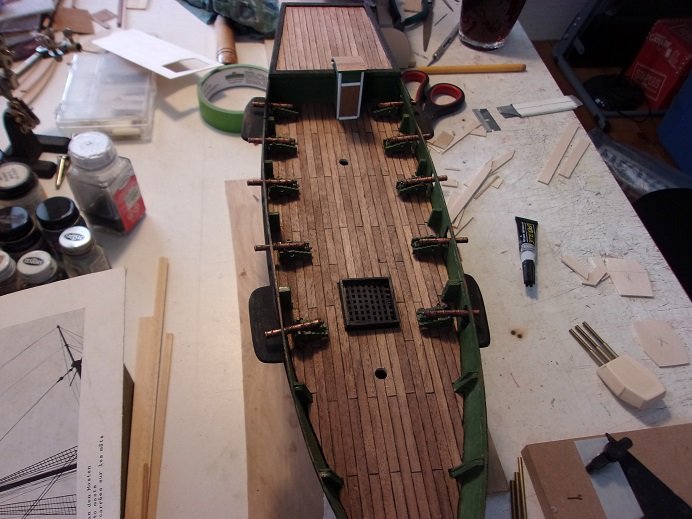
still no catheads yet...........I'm gonna have to come up with a windlass for this one. I was thinking about a fore deck, but I may kick it to the curb. spent the rest of the day working on the guns for the 'what if'
- J11, Edwardkenway, lmagna and 2 others
-
5
-
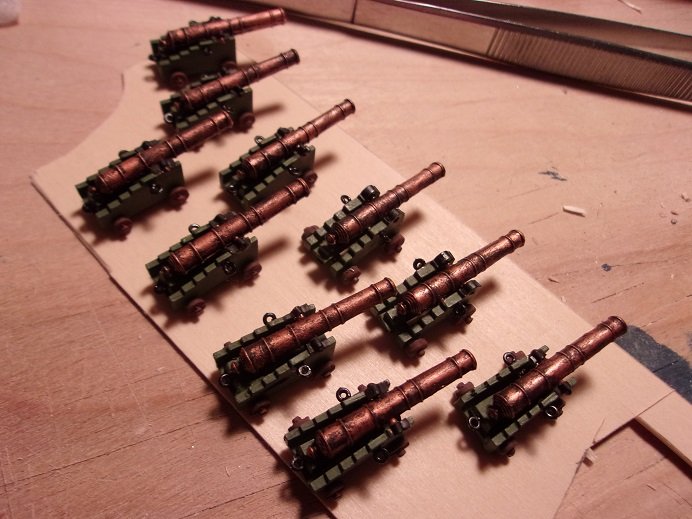
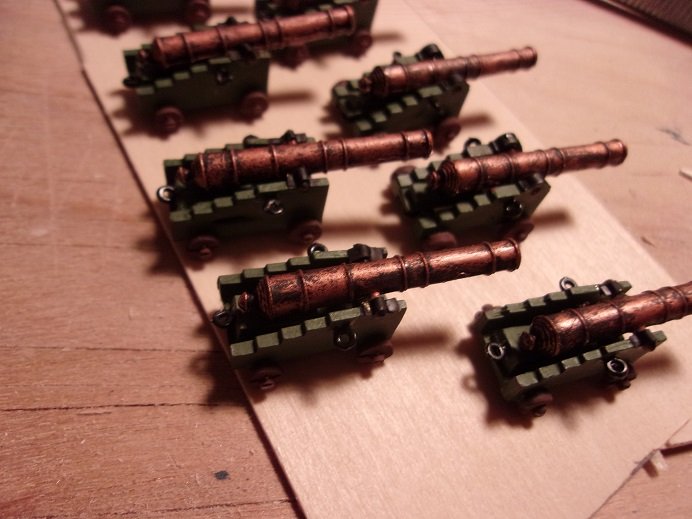
yesterday, I settled in at my desk to flesh out the cannons for the Agillis. two of them are the bow cannons from the United States and the Constitution kits that I have. the rest are from the Constitution kit........I won't need them
 I made up the caps for the trunions {terminology check} from some sheet brass I have on hand.
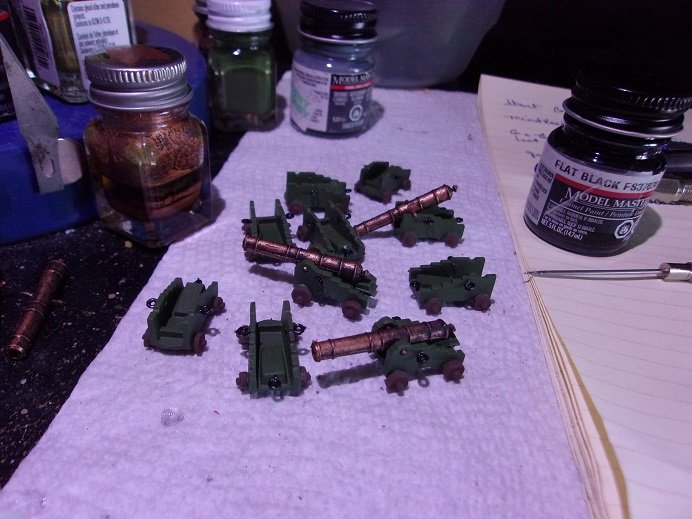
painted the same color as the inner bulwarks, holes were drilled for the eye bolts and installed. the barrels were painted in flat black, and dry brushed with bronze. when finished, I took them into the spare room, for better light.
gotta go........need to take the admiral to her doctor's appointment.
- J11, Baltic_submariner, Blackreed and 4 others
-
7
-
toward the end of last week, I got a little bit done........until I realized that I forgot to taper toe top sections of **all** the masts. I settled in doing that for what seemed like the rest of the session.....but then I got sucked into this 'what if...'can I build it' thing {and the rest is history}.
what I did get done, was to flesh out the companionway....
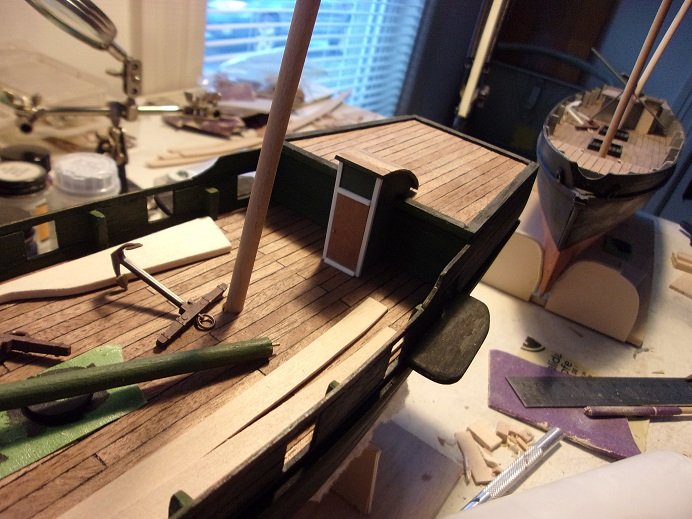
....and then taper the mast tops. they are done and ready for more fittings and yards, which I still need to cut to length.
- Baltic_submariner, J11, lmagna and 2 others
-
5
-
-
-
such superb progress on her Kevin.........the sails look awesome, complimented by the fittings and rigging
is there to be a bow spirit?
-
-
-
-
the mahogany that is supplied in the kit will cover any boo boo's that show up. now, depending on the quality of your planking, you may be able to side step that process.........sand it down, add filler where needed, and paint. this depends greatly if you plan to do another sponsor, rather than keep her as the Slo-Mo-shun. there are some pretty neat looking race boats out there...as mentioned, I wanted to do one as an M&M boat for the admiral, but she shot me down {drat......}......different configurations too
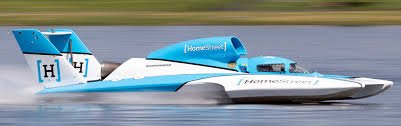
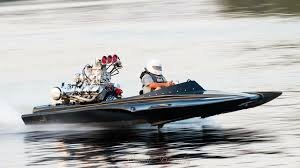
both of these sport somewhat of a mopar air intake......they have a cool look to them. here's one with an exposed engine........
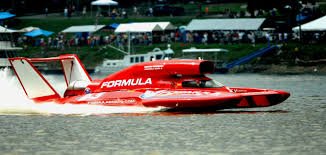
the mahogany look is fairly common though........here's a Ferrari.....
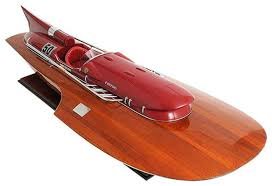
this one is a kit........note the direction of the mahogany wood grain. I get a lot of my ideas looking at images, a good place for added detail.
-
I'm not really sure Kevin.......drills like aluminum, but I'm sure it's a tin alloy. it's likely no different than some of the metal fitting normally found in most kits. all I know is that it doesn't take to solder very well. it does need some general cleaning though......some flash and mold lines. if you like, I can snap a picture of these metal parts, and show you
- Jack12477, Old Collingwood, lmagna and 3 others
-
6
-
apologies Greg for me being such a sluff
are you going to do a larger scale of her?
- lmagna, Edwardkenway, Canute and 4 others
-
7
-
I thought I had downloaded the instructions for her.........realized later that I had printed them. your referring to fig.4........the curvature of the bow does look like the planks need to be tapered, to get the contour of the hull sheer. if your able to create the curvature, as you have started it already, then I don't think I'd worry about it. looks pretty good so far
-
I can't believe it's been this long already!
 what a PUTZ I am........ I've been meaning to get back to the Vendetta.......it's carefully stored at the moment.
Greg and Carl already have theirs done......I took tomorrow off........I'll see about pull'in her out and assess what I need to do to finish her.
I'm a lager kind of guy
-
doing that, the only thing you'll find tedious, will be the pillars. for an easy out, trim the pins off the tops of the pillars. cement them in place so they stand perpendicular and straight. when you add the spar deck, just glue around the edges of the deck....don't worry too much about the pillars {unless you want too}. you won't be doing anything too stressful on deck to matter much
it does build into a nice model.
-
-
sweet look'in wagon
.....the canvas will look cool
- lmagna, Canute, Old Collingwood and 3 others
-
6

Half Moon by usedtosail - FINISHED - Billings Boats - 1:40 Scale
in - Kit build logs for subjects built from 1501 - 1750
Posted
sorry to hear you got sick Tom.......good to see you weathered the storm. will you be able to get the shot, now that you've had it already?
you've one up on me with the crow's nests.......most of those parts were missing from the kit I have. they look very good......far better than the ones I hobbled together") was that vacuum form hull supplied in the kit?........if so I didn't have it. your first attempt looked pretty good...........I'm sure this second one will look even better. this point where you are now, will put you just about where I am with mine. glad that my log was helpful
was that vacuum form hull supplied in the kit?........if so I didn't have it. your first attempt looked pretty good...........I'm sure this second one will look even better. this point where you are now, will put you just about where I am with mine. glad that my log was helpful ")
glad your feeling better.......