


popeye the sailor
-
Posts
15,993 -
Joined
-
Last visited
Content Type
Profiles
Forums
Gallery
Events
Posts posted by popeye the sailor
-
-
-
yes......they are
") I have the Dragon models link in my bookmarks. they were produced around 1993...so no, they aren't older models in the sense, but with the included PE, this gives you an idea when model companies began including these additional parts and options. it actually began much earlier, but they were the three 'n one kits and customizing kits, that gave you options, but the add on parts were mainly plastic and weren't metal. there was a select few models out there at the time that offered a metal body and {or} bumpers. ......I digress......
I have the Dragon models link in my bookmarks. they were produced around 1993...so no, they aren't older models in the sense, but with the included PE, this gives you an idea when model companies began including these additional parts and options. it actually began much earlier, but they were the three 'n one kits and customizing kits, that gave you options, but the add on parts were mainly plastic and weren't metal. there was a select few models out there at the time that offered a metal body and {or} bumpers. ......I digress...... 
- Old Collingwood, Egilman, Canute and 2 others
-
 5
5
-
pretty neat way to display them Carl
the you tube planes came out great as well! such an amazing Jasta you have there.
Christmas was good to me.......I got three more planes. the admiral was a bit confused I think........I had three different planes on my wish list, but she goofed on one of them. so I got two D VII's that are the same, and a Dr 1.
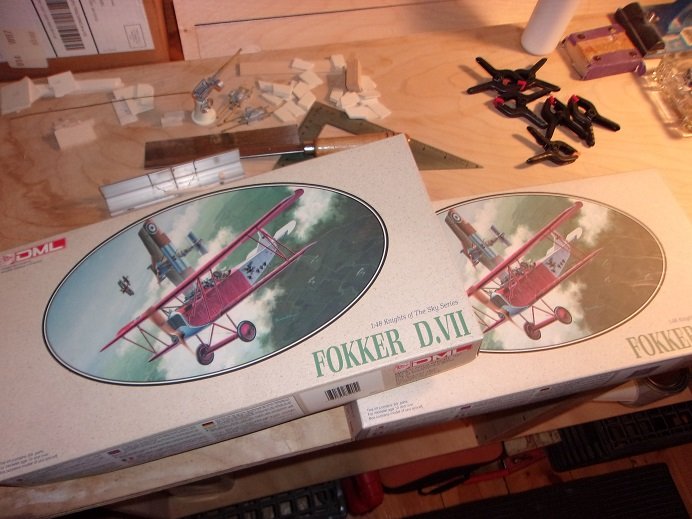
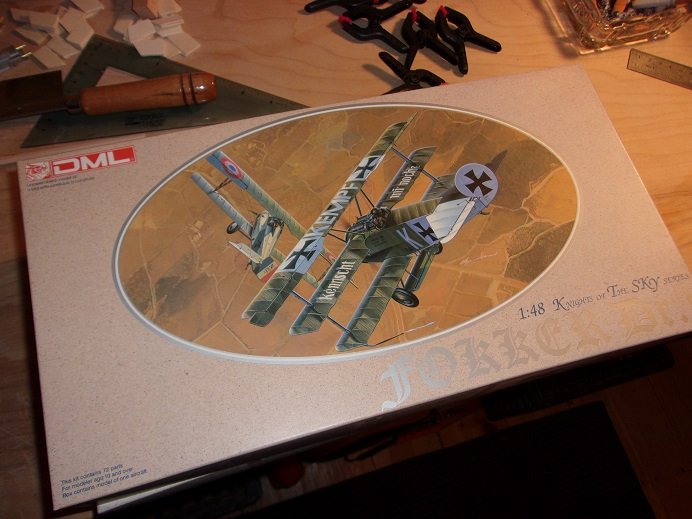
they say 1:48, but they look to be 1:72....never heard of this company, but the kits are really nice. they have a little PE and even supply thin wire for the rigging. I just ordered a book on the different Jastas, but I may just do Raben's or Berthoud's, since I can readily get the decals I need.
- mtaylor, lmagna, Landlubber Mike and 5 others
-
8
-
-
hardcore man.........

- Canute, Old Collingwood, Egilman and 3 others
-
6
-
-
super job with the finish of this one Mike..........super nice!
-
looks good to me too Chris
") hope your feeling better.
hope your feeling better.
-
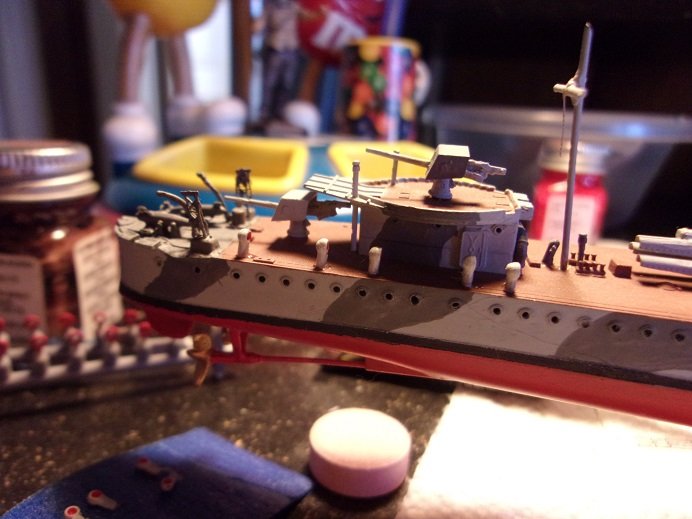
the .50 cal parts........I got extras for these, just in case. the plastic used is suggested that it is somewhat brittle, and care should be taken to remove the part from the tree.
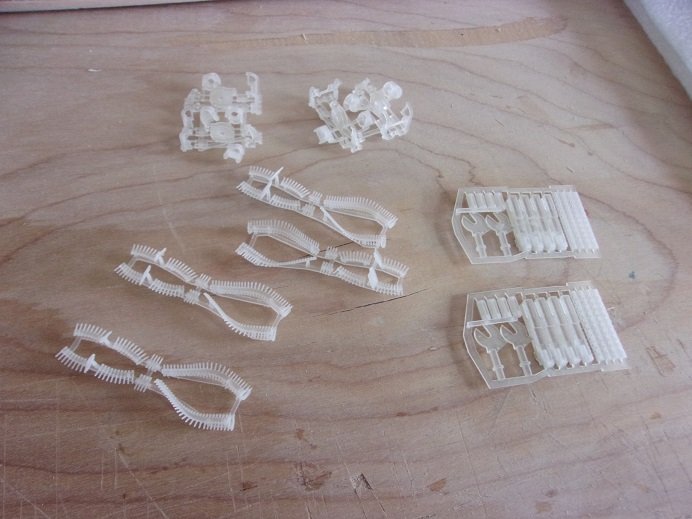
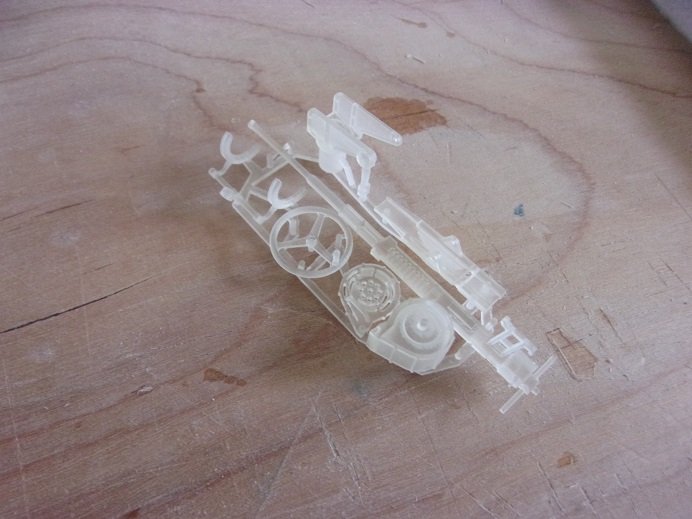
the carriages, the ammo / belts, and the actual guns
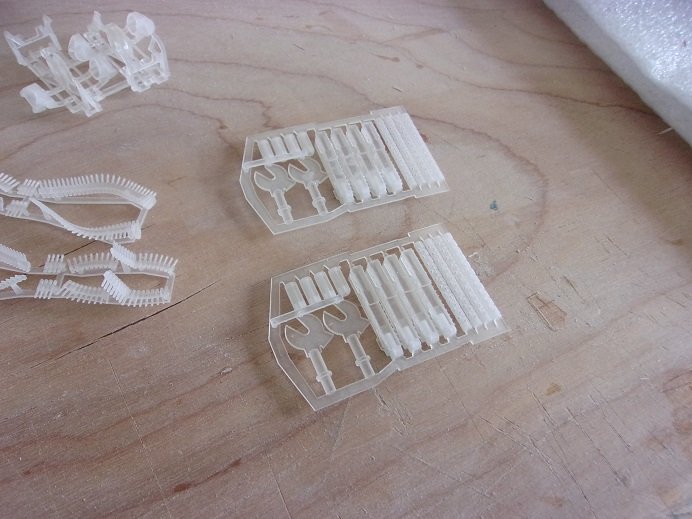
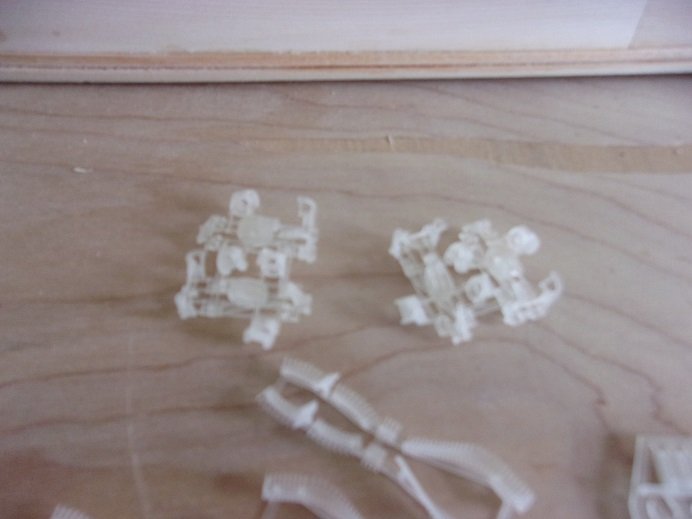
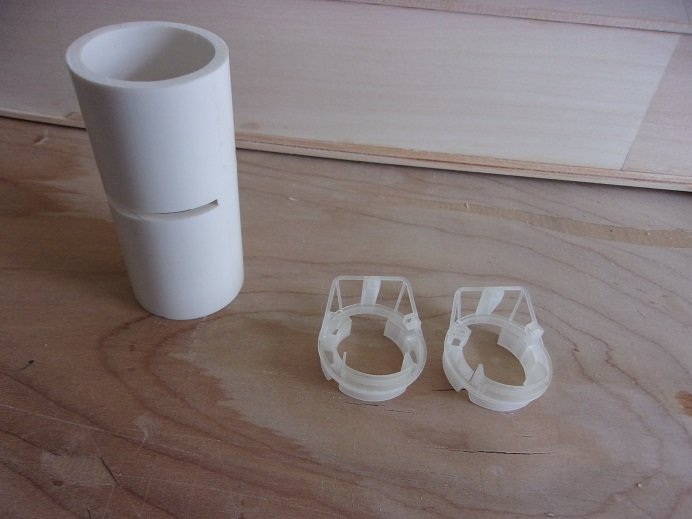
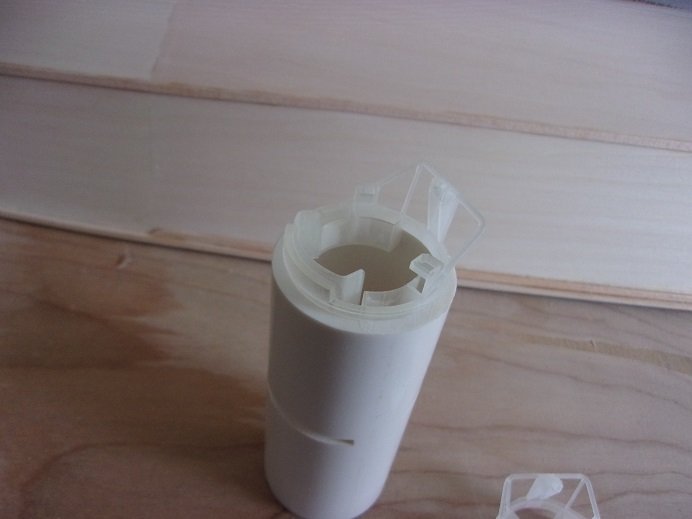
these are the .50 cal tub parts and the turrets tubes supplied in the kit.
these are the 20 mm gun parts.

more to come
-
do you have a link?
- Egilman, lmagna, Old Collingwood and 1 other
-
4
-
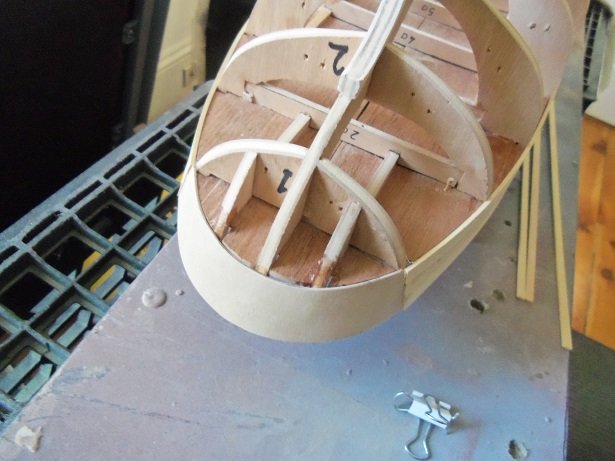
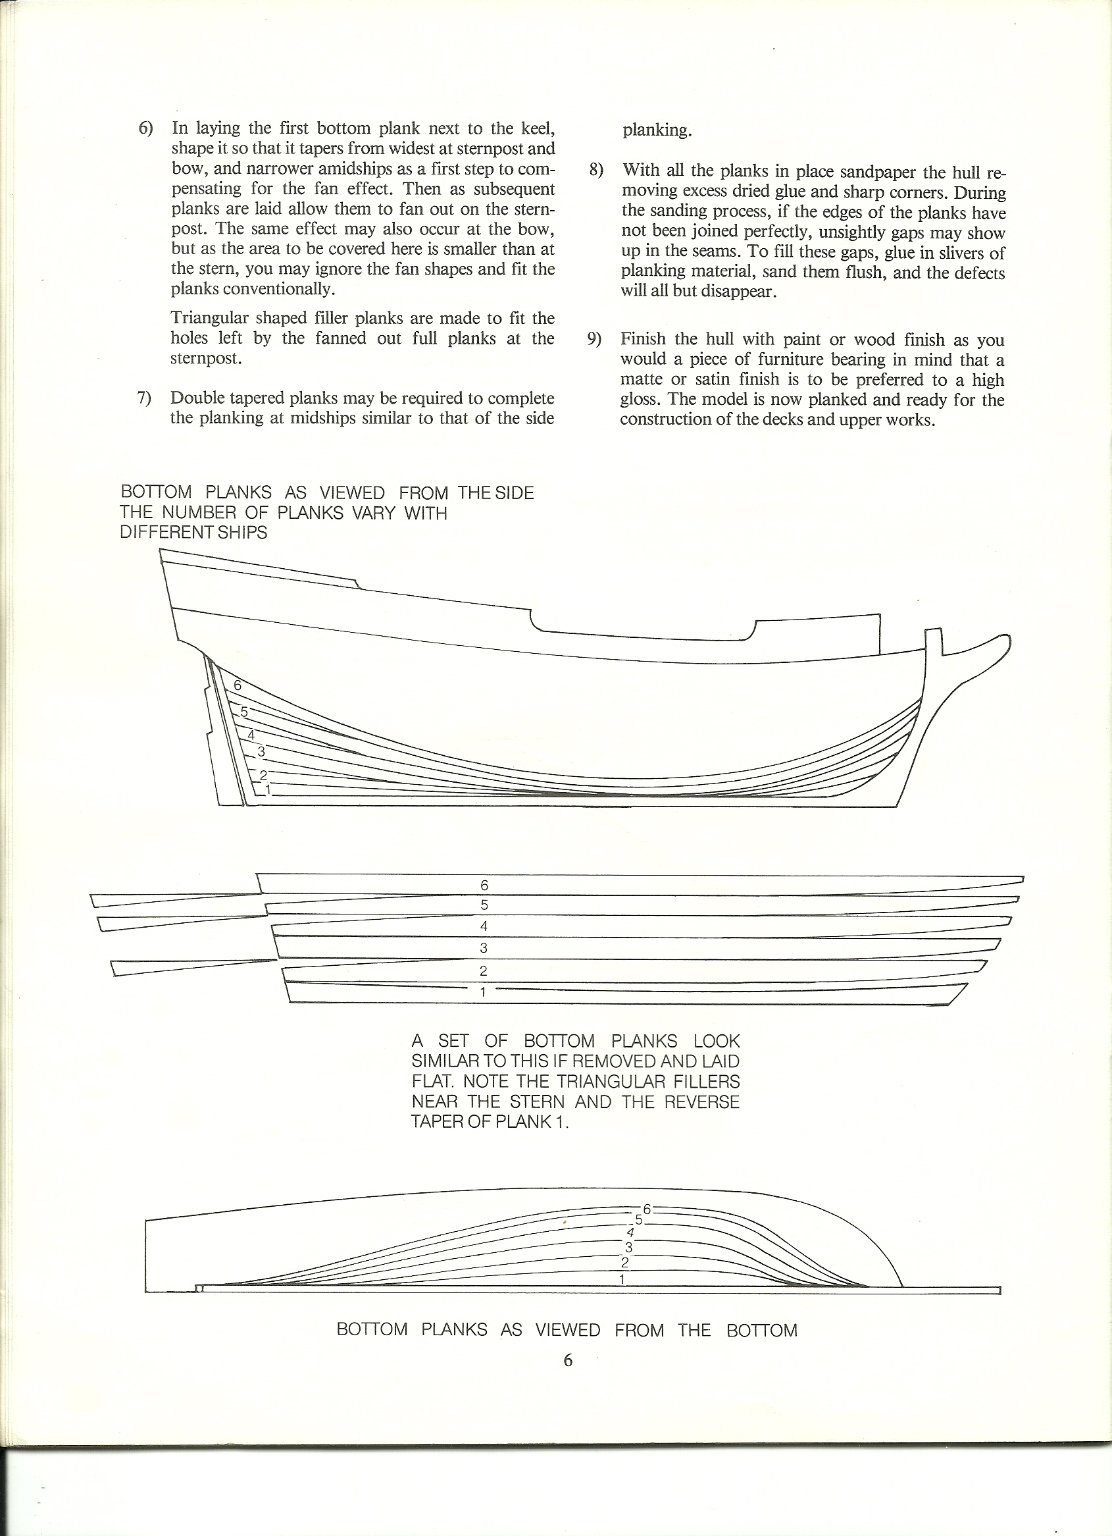
the stern is going to be the tough spot here. this contour is common with fishing vessels. as I have done with quite a few of my fishing vessels, I took sheet basswood and created panels to cover this area. the Nordkap.......the Progress......the Cox 87 and the mary Ann, I've pretty much done the same thing.

with my build of the Progress {which is a clone model of the Nordkap} this is the area that I will cover. this is an area that is great stress for planking. I do all this freehand, so I have no templates to show. here I created the stern bulwark.
planking the side bulwarks isolates the next strake, which will run over this area. to bend the planking over to the stern stem, without tapering, it will clinker. I will fill in the transom.
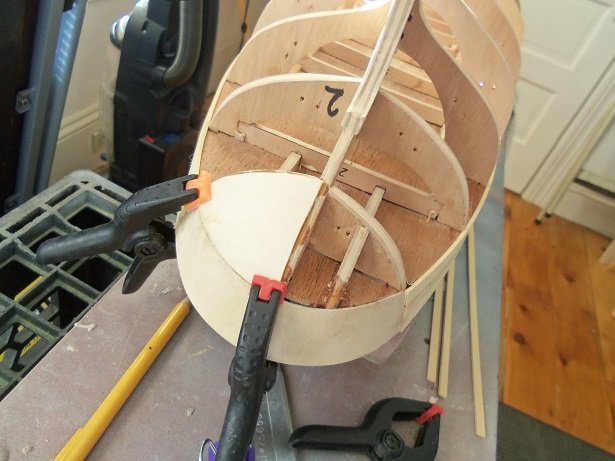
filling in 1/2 of the area, it is trimmed so the other side can be added.
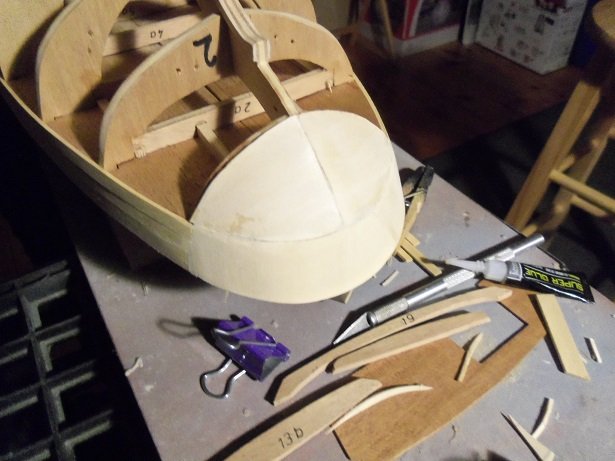
with the other side added, it tidies up the contour of the transom, and makes it easier to plank. you'll still need to taper the planking to keep the line straight......this is the key to planking........create a straight line and maintain it. you will find that some methods work better on different styles of hulls
one aspect that will never change, is that the mid ship is always wider than the bow and stern. tapering, stealers, and jogging planks are common tools to use in every form of the art {call it what it is}. planking is an art...........just look in on some of these logs and you'll see how other folks accomplish it.....some are very good!
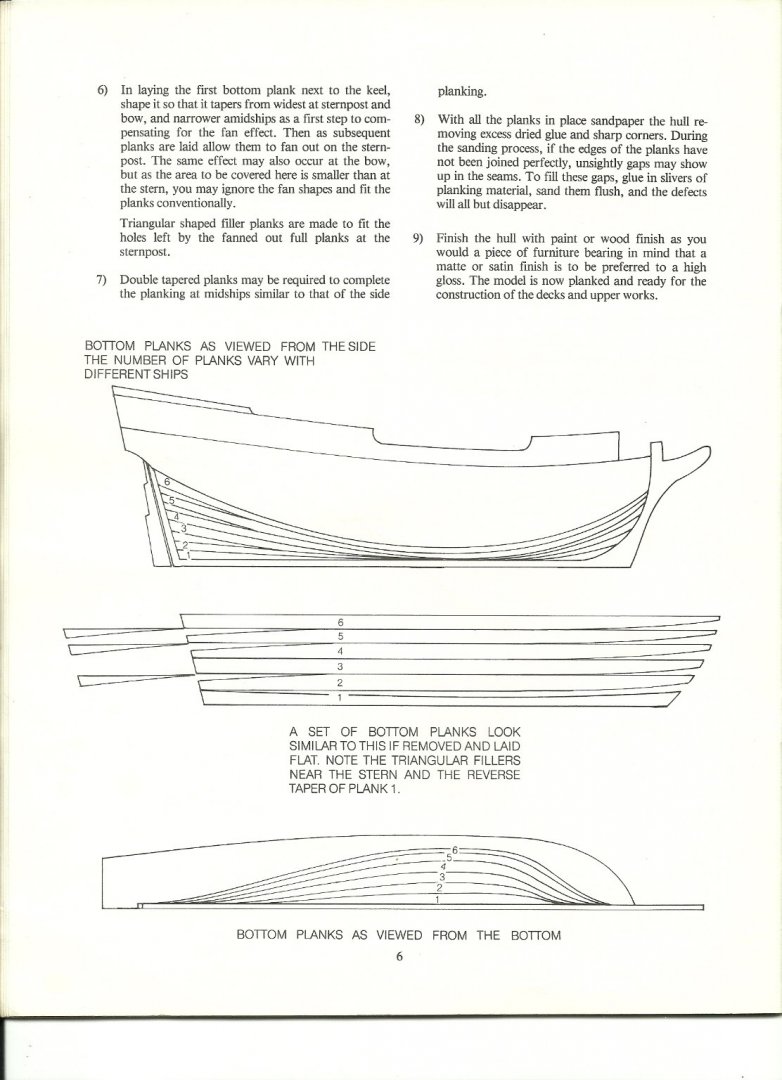
the banding method your illustrating is good......a lot of folks use it with great success. one thing I find with it though, is that it harder to keep the line, and tapering to fill in is more common. I usually start planking from the bulwark down......laying the planking until 'it' tells me that I need to start tapering. to taper the end, establish where the taper begins, and don't exceed 1/2 of the plank width. if the planking wants to go the other way {away from the plank line forming a gap}, let it........this filler is called a stealer. if you want to get away from adding in a stealer, establish where the stealer will begin, and simply notch the plank at an angle and fit in a short section of planking, essentially doubling the width of the plank. as a rule, this occurs mostly at the bow....but it can occur at the stern as well

sorry for getting carried away......there quite a bit to the art
- Psyi, Keith Black, nehemiah and 2 others
-
5
-
thanks Blackreed.......I think we might see some warmer weather up here....last week was nice,.......that is....until it chilled up again. today wasn't too bad in the afternoon, so I hope we see more during this week. I'm thinking of getting the sheer on and finish filling in what joints are visible........then I can see what a resin coat will look like on her
I got the Shapeways order in today....I do feel a bit confused, as some of the gun parts look small I dry fitted the tubs into the gun turrets, and they fit really good..........I just hope I ordered the right ones. I ordered them in 1:30..........heck! I'm probably worrying for nothing the parts look really good! I'll get some pictures and show yas!
- lmagna, Jack12477, Edwardkenway and 3 others
-
6
-
-
she came out great Dragzz! sails are a required taste........some like 'em, some don't. yea....you got a little more rigging to do, but all 'n all, you did a superb job ! congratz on the finish of your model
-
I have that book....along with a few other paperbacks. it's a good read
the bottom came out looking really good.....now you gotta get the rest of the boat covered, now that the cut outs are done. the engine looks really good too!
-
-
tough news on the display case.......I hope you get it sorted out. reminds me of the time I sent a ship model through the mail. I built it for my friend Tom in Wisconsin, back when he owned a Billing Boats distributive warehouse {this was back when I was build'in the Nordkap}. we had planned it, that he was making a trip to Mass, and he would be picking it up. cool 'cuz we'd get a chance to meet. the plans fell through, and he asked me to ship it to him.
I had my doubts, but OK.........made sure it was secure in the box......even had it double insulated. it almost made it there unscathed......the box got jammed on a conveyor belt or something, and got a bit crushed. there was not too much damage on the model though, but he had to get it repaired quickly, since he was going to use it as a display at a model show. he fixed it and the show went on without a hitch
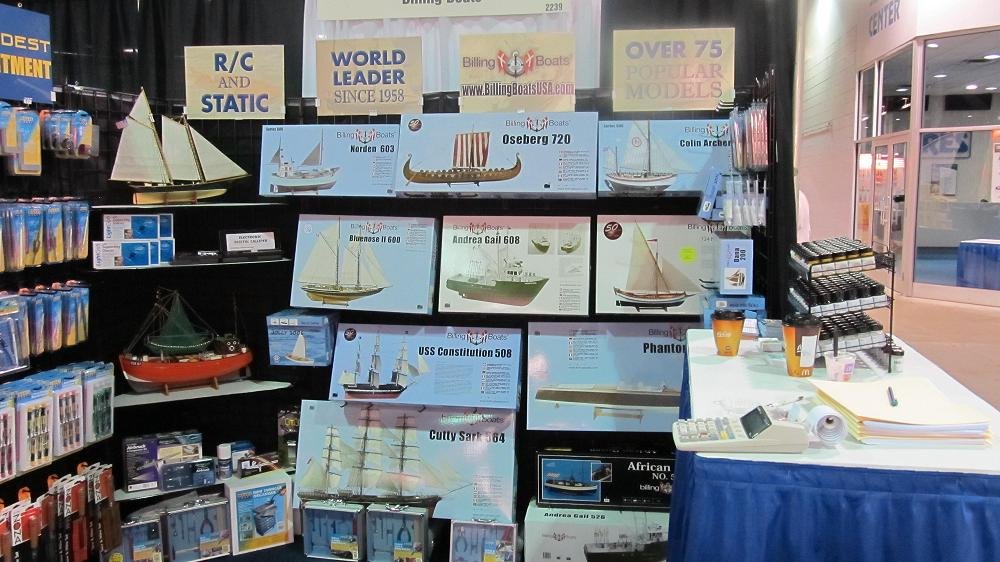
this was in 2011 in Chicago
- Egilman, Jack12477, Edwardkenway and 3 others
-
6
-
awesome model James........extremely well done!
- Old Collingwood, Egilman and Canute
-
3
-
looks really good! these paper kits are neat
-
guess I'm not 'too late' for the party
nice start!
- CDW, Old Collingwood, Canute and 3 others
-
6
-
sweet look'in ship!...........WOW!
- mtaylor, Canute, Old Collingwood and 1 other
-
4
-
I was going to wait till the end to show pictures Carl, but I still have a little bit more to go still. here's what I have so far. the forward sections of railing were added....
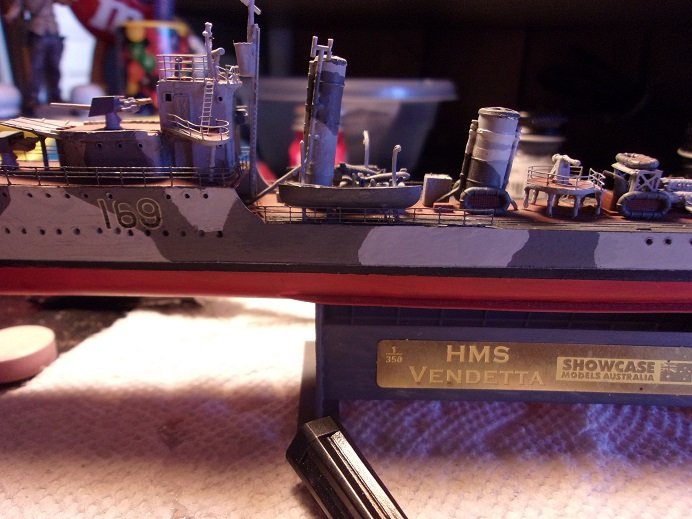
on the starboard side, the other life boat was added. I also added pulleys to the davits........I broke one, so one port side davit doesn't have any. I'll see what I have in the Hood set.....
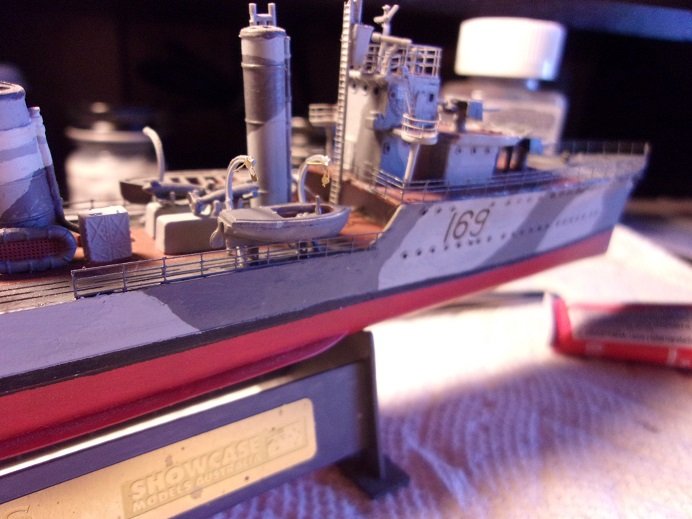
there are vents aft on the deck on both sides......they were added, as well as the props and the anchors
then the aft railings..........a feat to get the ca to stick around the stern
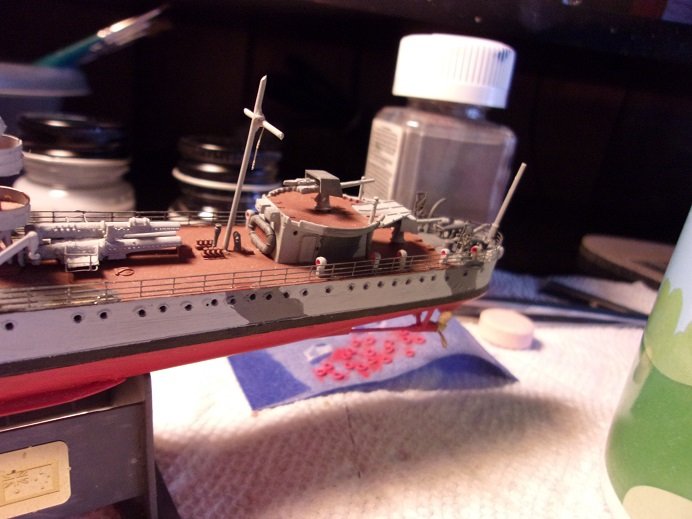
the flag staffs have also been added. more to come.
-
believe it or not Lou.......it wasn't too hard to do
I couldn't leave them look'in like that. didn't have to trim them too much either. I them thought that there should be more of a curve at the top.......so I had to do them both.
thanks for the good word!
- Canute, Old Collingwood, Jack12477 and 3 others
-
6
-
yea...planking can be a bear.......I'm not the best either. but I've planked quite a few hulls already, and it DOES get better
good that your checking out methods........it's all part of the learning curve one thing I try not to do, is ruin the parts panels that the parts come from. if a part becomes damaged, another part can be traced and cut to replace it. I also use them to create other hulls......just the hulls......and fit out different ships that are similar.
- Halvor, Keith Black and Blackreed
-
3


McLaren M8B by CDW - Accurate Miniatures - 1:24 Scale
in Non-ship/categorised builds
Posted
coming along very nicely since I last looked in") again....your paint work is amazing!
again....your paint work is amazing!