
HOLIDAY DONATION DRIVE - SUPPORT MSW - DO YOUR PART TO KEEP THIS GREAT FORUM GOING! (Only 20 donations so far - C'mon guys!)
×


popeye the sailor
-
Posts
16,007 -
Joined
-
Last visited
Content Type
Profiles
Forums
Gallery
Events
Everything posted by popeye the sailor
-

Sutcliffe 1/72 vac form Coronado
popeye the sailor replied to Lucius Molchany's topic in Non-ship/categorised builds
I wouldn't mess with it.........looks like a huge undertaking. if it looks like it could damage the model.......one thing I look at when I need to do something over -
1/48 Italeri Hawk T.1A (On Hold)
popeye the sailor replied to Old Collingwood's topic in Non-ship/categorised builds
sit back........tables in an upright position.......nothing sticking out over the edges. there's a lot of force.....dodge the canopy on the way out! -
when I lived in Florida........you could get Dune Buggy plates and run just about anything.....as long as they had all the DOT stuff one could only drive within the state with it though {that was back in the 70's}. I'm not sure what they do up here, but you could get {what they called} 'Ag plates' {farm vehicles}, and you could drive just about anything on N.H. roads. they were limited to a twenty mile radius. I love the Brunswick Green..........very nice .........I'm watching
-
what rolled off the assembly line is one thing.........it's what they did in the field that is another depending on the terrain, among other factors, determined what the final camo appeared. if a division commander thought there should be added color, it was handed down to the units to make the changes......some even had their own ideas. this also pertained to markings as well.
-
great job!........cool to see it working
-
Sutcliffe 1/72 vac form Coronado
popeye the sailor replied to Lucius Molchany's topic in Non-ship/categorised builds
it appears that if the vac form wasn't molded with the 'boxes and slots', it might be hard to do........your dealing with some pretty thin stuff looks really good though........ -
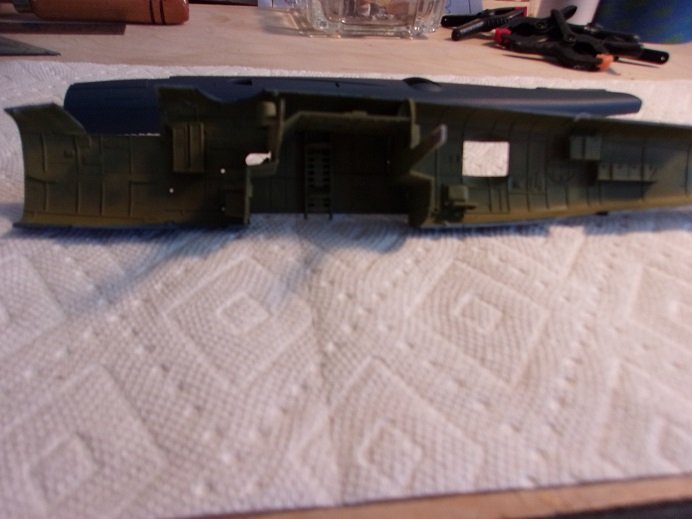
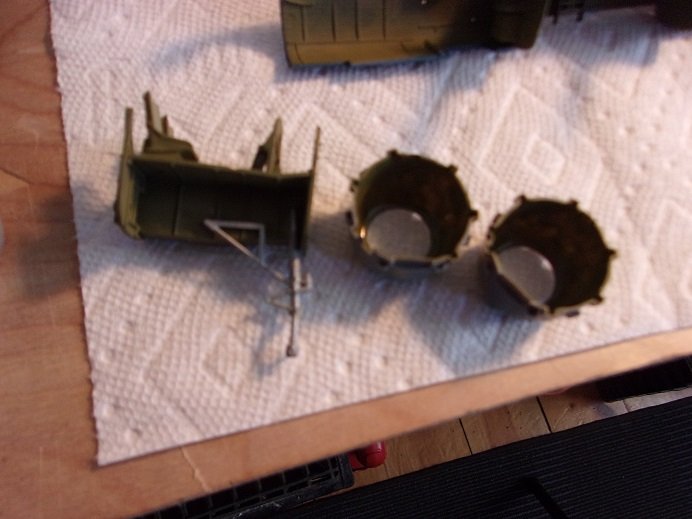
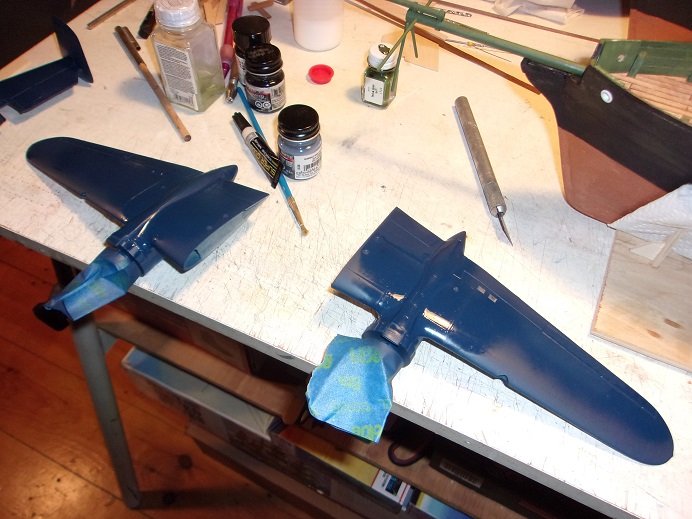
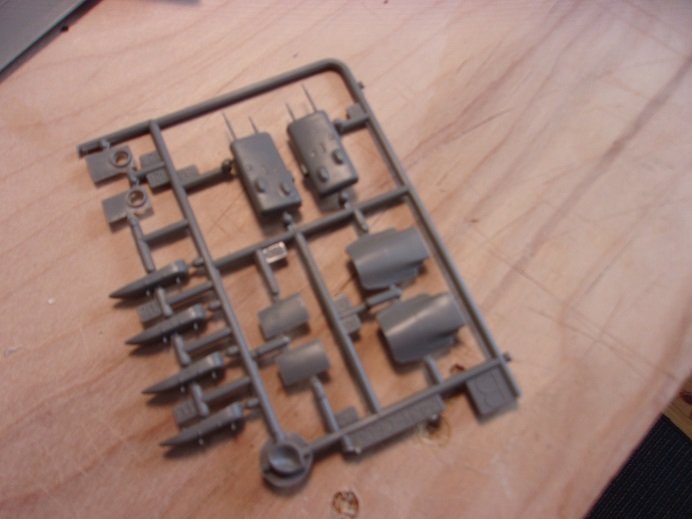
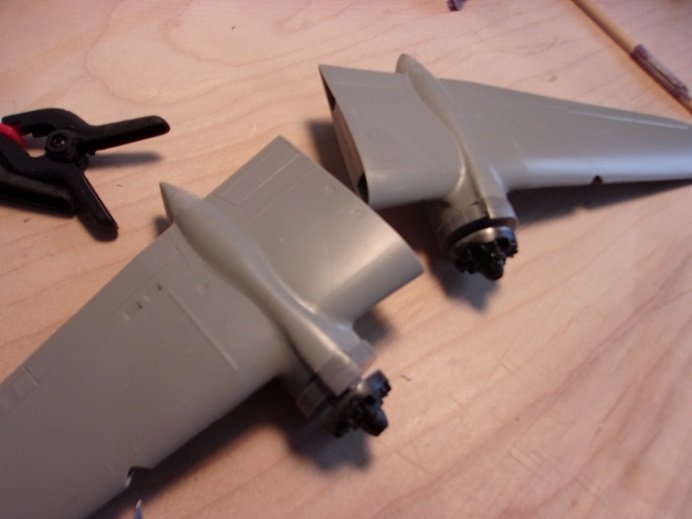
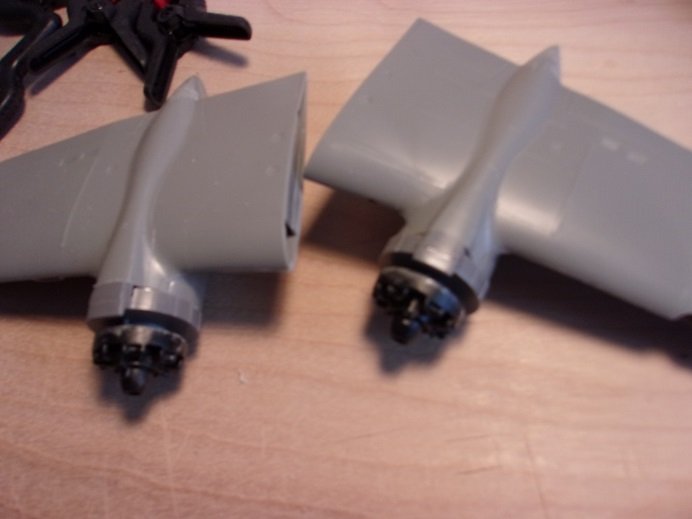
no worries OC........I just did the dishes {last night} and most of it is gone. .......one of the benefits of Dawn dishwashing liquid so this marks the end to the parts dilemma....the project is back on track! I'm a very happy camper earlier yesterday when I was painting, I was a bit apprehensive about the color, but now that I see the bulk....I feel better. I started to work on it again at my desk.......but I quickly got the sense that this project has grown to be too big for the space. so I moved it to the third table. I did some touch ups to remove what overspray there was........later thinking that once the fuselage is joined together, most of it won't be seen. here is the state of the project at this time. I laid down some paper towel to keep scratches at bay......the paint covered really good. the bomb bay was cemented in place now that the fuselage is painted fully. the insides of the nacelles have been painted and the nose gear has been cemented in place. once that's dry, it too will be cemented in the fuselage half. when the nacelles are dry, they will be added to the wings. the engines have been touched up......silver or aluminum dry brushing will be done, in prep for that to occur. the topsides and undersides of the wings and tail have been painted another nice thing about the extra sprue, is that I have a wider assortment of armaments to go with.......if one doesn't look good enough, I'm sure another will ...more to come

- 103 replies
-
- 10
-

-
take care of your brother.........this matters the most. has he been sick? were you aware of it?
-
look'in really good.........I've not seen one built to this point yet
-
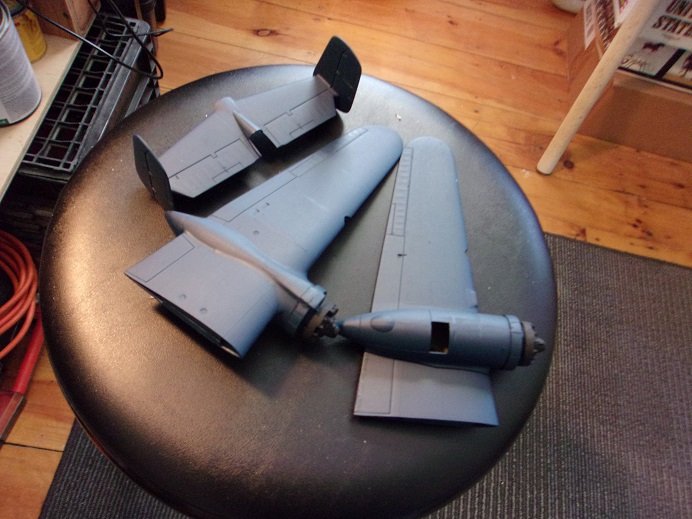
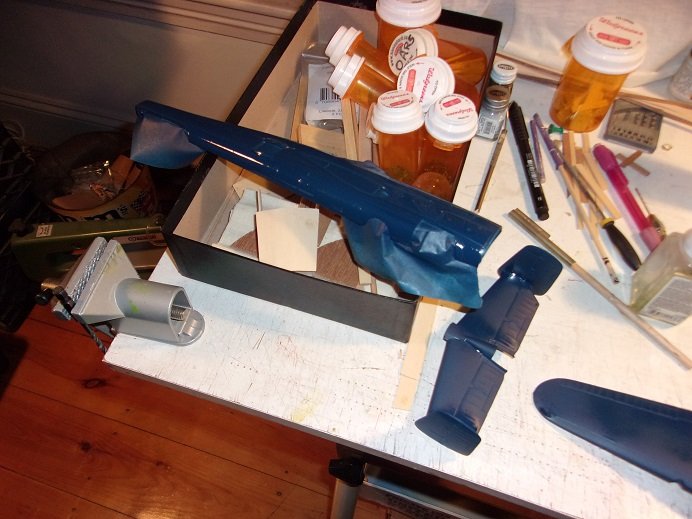
thanks it took a bit of doing, but I managed to get the airbrush fired up. for some reason, it wouldn't spray....I later found that if the bottle was tilted back a tiny bit, bringing the nozzle close to the cap orifice, it would spray like normal. I may need to buy another EZ airbrush...they are fairly cheap. of course through All the fidgeting, my fingers are all blue I should have taken this picture again........the flash put a different hue on it I have plenty of this color..........more to come
- 103 replies
-
- 10
-
-
Sutcliffe 1/72 vac form Coronado
popeye the sailor replied to Lucius Molchany's topic in Non-ship/categorised builds
that's interesting.........they have a dual purpose......... -
awesome job on the cab....the whole model looks great hope you can fix the windshield.
-
the bucket looks super. '
-
now that's more like it! you'll get better, the more you use it! look'in good
-
superbly done! the camo and artwork really makes her stand out very .....very nice!
-
hope you get the light soon.........enlightening
-
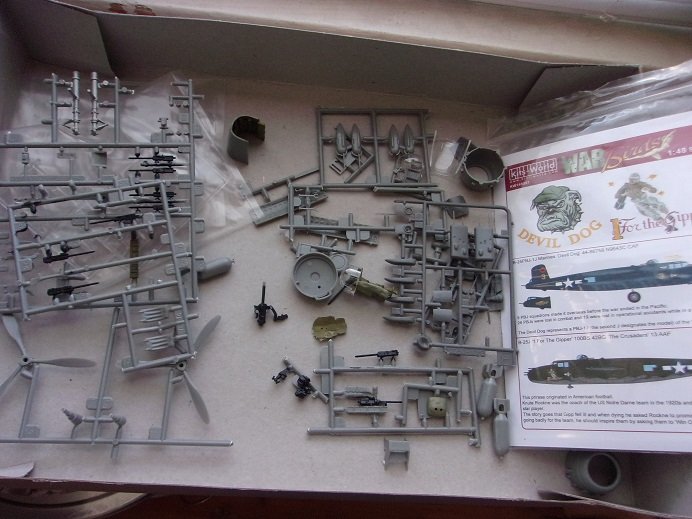
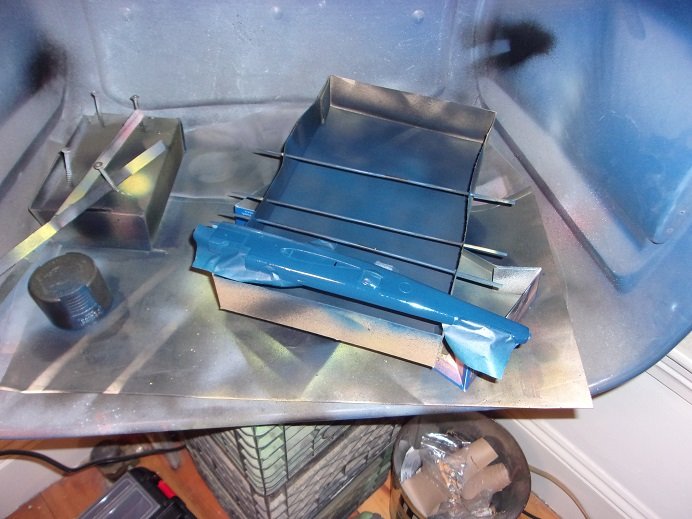
I would have to look at earlier posts gents, but I think we discussed this already.........the doors were to be left in the closed position. for Christmas, I got the MPC 'profile Series' B 25, 1:72 scale. truth be told, I've been working on it........I do have pictures, and will start a log on her. this kit doesn't have the belly turret, so it could easily be made into a B 25B. the Accurate Miniatures instruction sheet I downloaded are for the B 25B.....they show the Dolittle raiders. I'm looking for the kit {not diligently, but if I see it.......well }. the sprue I got, does not come from this particular kit, because the part numbers don't jive......most of the parts are not shown either. the belly turret is odd........neither the MPC kit, or the Revell kit show that the plane has one. the profile series kit does not show its version......B, C, H, J..........the Revell kit is of the J version. I will look into which variant had one........there are some kits that do supply a 'plug' for the belly turret opening. I did a bit more work on the nacelles, bridging the gap on the top. on the sprue, there are parts that will do the job. removing the two parts, they were cut to create the bridge they were sanded and trimmed to fit.........they worked like a charm the next step with this model will be paint. I'll see what I have....I'm sure I have some blue kick'in 'round here somewhere..........
-
looks great!.....knew you could pull it off! fine sandpaper and you'll have the shin back to normal are you going to replace the glass......some clear cello should do it. get some Testor's window maker to cement the cello in place . good save!
-
Sutcliffe 1/72 vac form Coronado
popeye the sailor replied to Lucius Molchany's topic in Non-ship/categorised builds
liking the color and progress a lot .........are there to be wing tips? -
coming together nicely Kevin............the layout looks great!
-
looks great so far Chris.....I gotta mention the louvers as well.........they look super! some very good detail
-
Ahhhhhhh....I remember my old Comet days.....fun times that's a series 400 kit........did you decide to wood laminate it, or does the kit have the tissue? I built the series 500 kit of the MK 1......I haven't flown it as of yet. my best flyer was a Fokker D VIII I'm currently building Fokker Dr 1....still in the closet........I really need to get back to it. superb job with what you've done so far........even with what you've done, I'd be willing to bet that its still light weight enough to fly. nice job on the prop too!
-
very nicely done Patrick!........love what your doing here! I've had a few cuts in my day........glad you healed up OK
-
super job on the Ford!..........and some really cool kits too! have you seen the movie 'bad Grampa'?
-
superbly done! I see that disclaimer on a lot of models.........I might add though, that as long as one has an extensive spare parts bin, the hopes of creating a detailed model cannot be attained very nice camo ........really neat models!