


Some Idea
-
Posts
1,159 -
Joined
-
Last visited
Content Type
Profiles
Forums
Gallery
Events
Everything posted by Some Idea
-
Hi Jackson and welcome to MSW I have a simple story - many years ago I was in a stressful job and quite frankly it made me not the nicest of people to be around. My Uncle Ray who built model ships told me to chill out and build a ship. He suggested that a change of job and hobby would do me good. He suggested a kit and I bought it there and then - I also changed jobs. The rest is history. Probably the best advice I have ever had and it changed everything for me. I became absorbed in model ships and have been trying to better myself in this hobby ever since. If I'm not ship building I'm thinking about it - what more can I say apart from - cheers Ray
-
 Hi What's the issue you are having as I think the pictures of your frames look very good? They follow the plans nicely and the final finished shape is not needed at this stage as that will be sanded once they are all in. I think that translating the plans that you have into an Underhill system may prove difficult. I know of another builder who has tried this on this model and ran into some difficult problems. Your skills are more than enough so maybe just keep at the frames as they are? If you don't have a copy - Adrian Sorrolla's book gives a step by step tutorial on how to assemble the frames on this ship. I followed his instruction pretty much to the letter and it helped me complete them Mark
 -
Gantry style building board dimensions advice
Some Idea replied to davec's topic in Modeling tools and Workshop Equipment
This is my building table and I can let you know the dimensions when I get home sometime next week I’ve not actually had a chance to use it yet as my workshop has been completely taken over but that’s about to change 👍
-
Nice one 👍 You are literally going through the same learning curve that I did when making these parts. You worked it quicker than me looks great!
-
Sanding those timbers by hand is tricky and they look great. Keep one of your discarded wing transom’s as it will help you build the counter timbers off of the ship 👍
-
Hi Gerard Thank you very much for your offer as I have emailed them separately with the email address given above but heard nothing in reply. I will forward you the email that I sent to them. They may have a technical issue that they are unaware of. Thanks again Mark
-
Tried again and tried Tony's email address and yet again no reply - I'm not sure how to progress this now. I have spent years building my ship which is not yet complete and now I am weary of ordering again for my next build when I cannot get any response. Any advise at this point would be welcome.
-
The Foredom drill press is a very well made tool and its accuracy is fantastic. I bought one hoping it would justify the price and they certainly do. I also recommend the Starrett pin vices they are very good indeed and are well worth the money. They will last you a lifetime and then some. The comments about the drill bits are spot on - I buy cheap HSS jobber bits from RS in the UK and they last ages. They are also slightly flexible which helps when drilling in an awkward place say inside the hull with a 0.3mm bit.
-
Lovely work I used to worry about all of the little scratches and marks but I have found that as the ship progresses they disappear into the detail. When I cut my rabbets I did them too shallow - when I build me next ship I will have an actual plank ready to help me cut to the right depth. Keep the updates coming!
-
Hi yes I did receive an automatic reply - I sent the first message to them about a month ago hence my post. They have always replied in the past but I am going to try the email address that Tony supplied.
-
Thanks Tony I’ll give that a go 👍
-
Hi All Is Ancre responding to any messages on their website - I've sent them 2 messages via their website over the past few months and never received a reply. Has anyone else had this problem or just me? I want to order a new monograph but I would like some extra plates for the axial parts and frames for accuracy. Its seems as though they are not receiving the messages sent. Let me know as I have also checked my junk mail just in case Thanks Mark
-
That really is lovely work and Brian is right - take your time as there is no rush 👍
-
L'Amarante by marsalv - 1:36 - POF
Some Idea replied to marsalv's topic in - Build logs for subjects built 1501 - 1750
The way you solve both clamping and machining operations is inspirational - stunning -
Your attention to detail is simply mind blowing - wow
- 2,699 replies
-
- 2
-

-

-
- heller
- soleil royal
- (and 9 more)
-
Beautiful work - your joinery is spot on.
- 399 replies
-
- 1
-
-
- winchelsea
- Syren Ship Model Company
- (and 1 more)
-
The capacitor in our saws is a start and run. It doesn’t only help the initial kick it also runs the motor whilst using it
-
I built my axial parts twice on my build to get them right. It’s so important to get the spine of this lovely ship correct as every thing else follows. I admire your efforts to get this section correct well done mate 👍
-
Planking Method Name
Some Idea replied to Thukydides's topic in Building, Framing, Planking and plating a ships hull and deck
That looks like a hooked scarf joint to me -
I use this glue exclusively - I have never found a better wood glue and it is extremely strong
-
I have found the switches to be a slightly weak point but are easily changed. The capacitors are start and go and are also easily changed too. If you do replace the switch you can go a bit top gun! I love my new switch on my sander - it adds nothing to the machine but makes me smile.
.thumb.jpeg.8ba7c8a47bafd4dc679c2898cfbb64ae.jpeg)
-
That really is lovely joinery - getting joints that tight is a real skill
-
Have a great holiday Tobias
-
L'Amarante by marsalv - 1:36 - POF
Some Idea replied to marsalv's topic in - Build logs for subjects built 1501 - 1750
That really is beautiful work - I found planking the ceiling particularly difficult and your result is amazing -
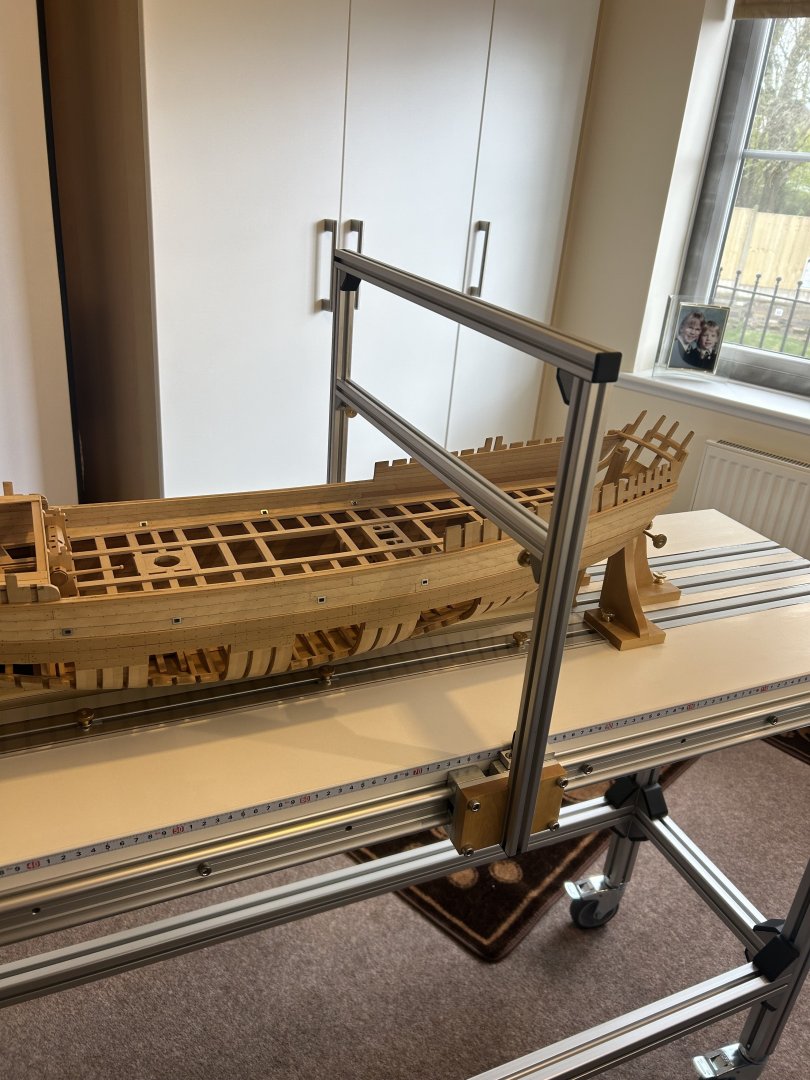
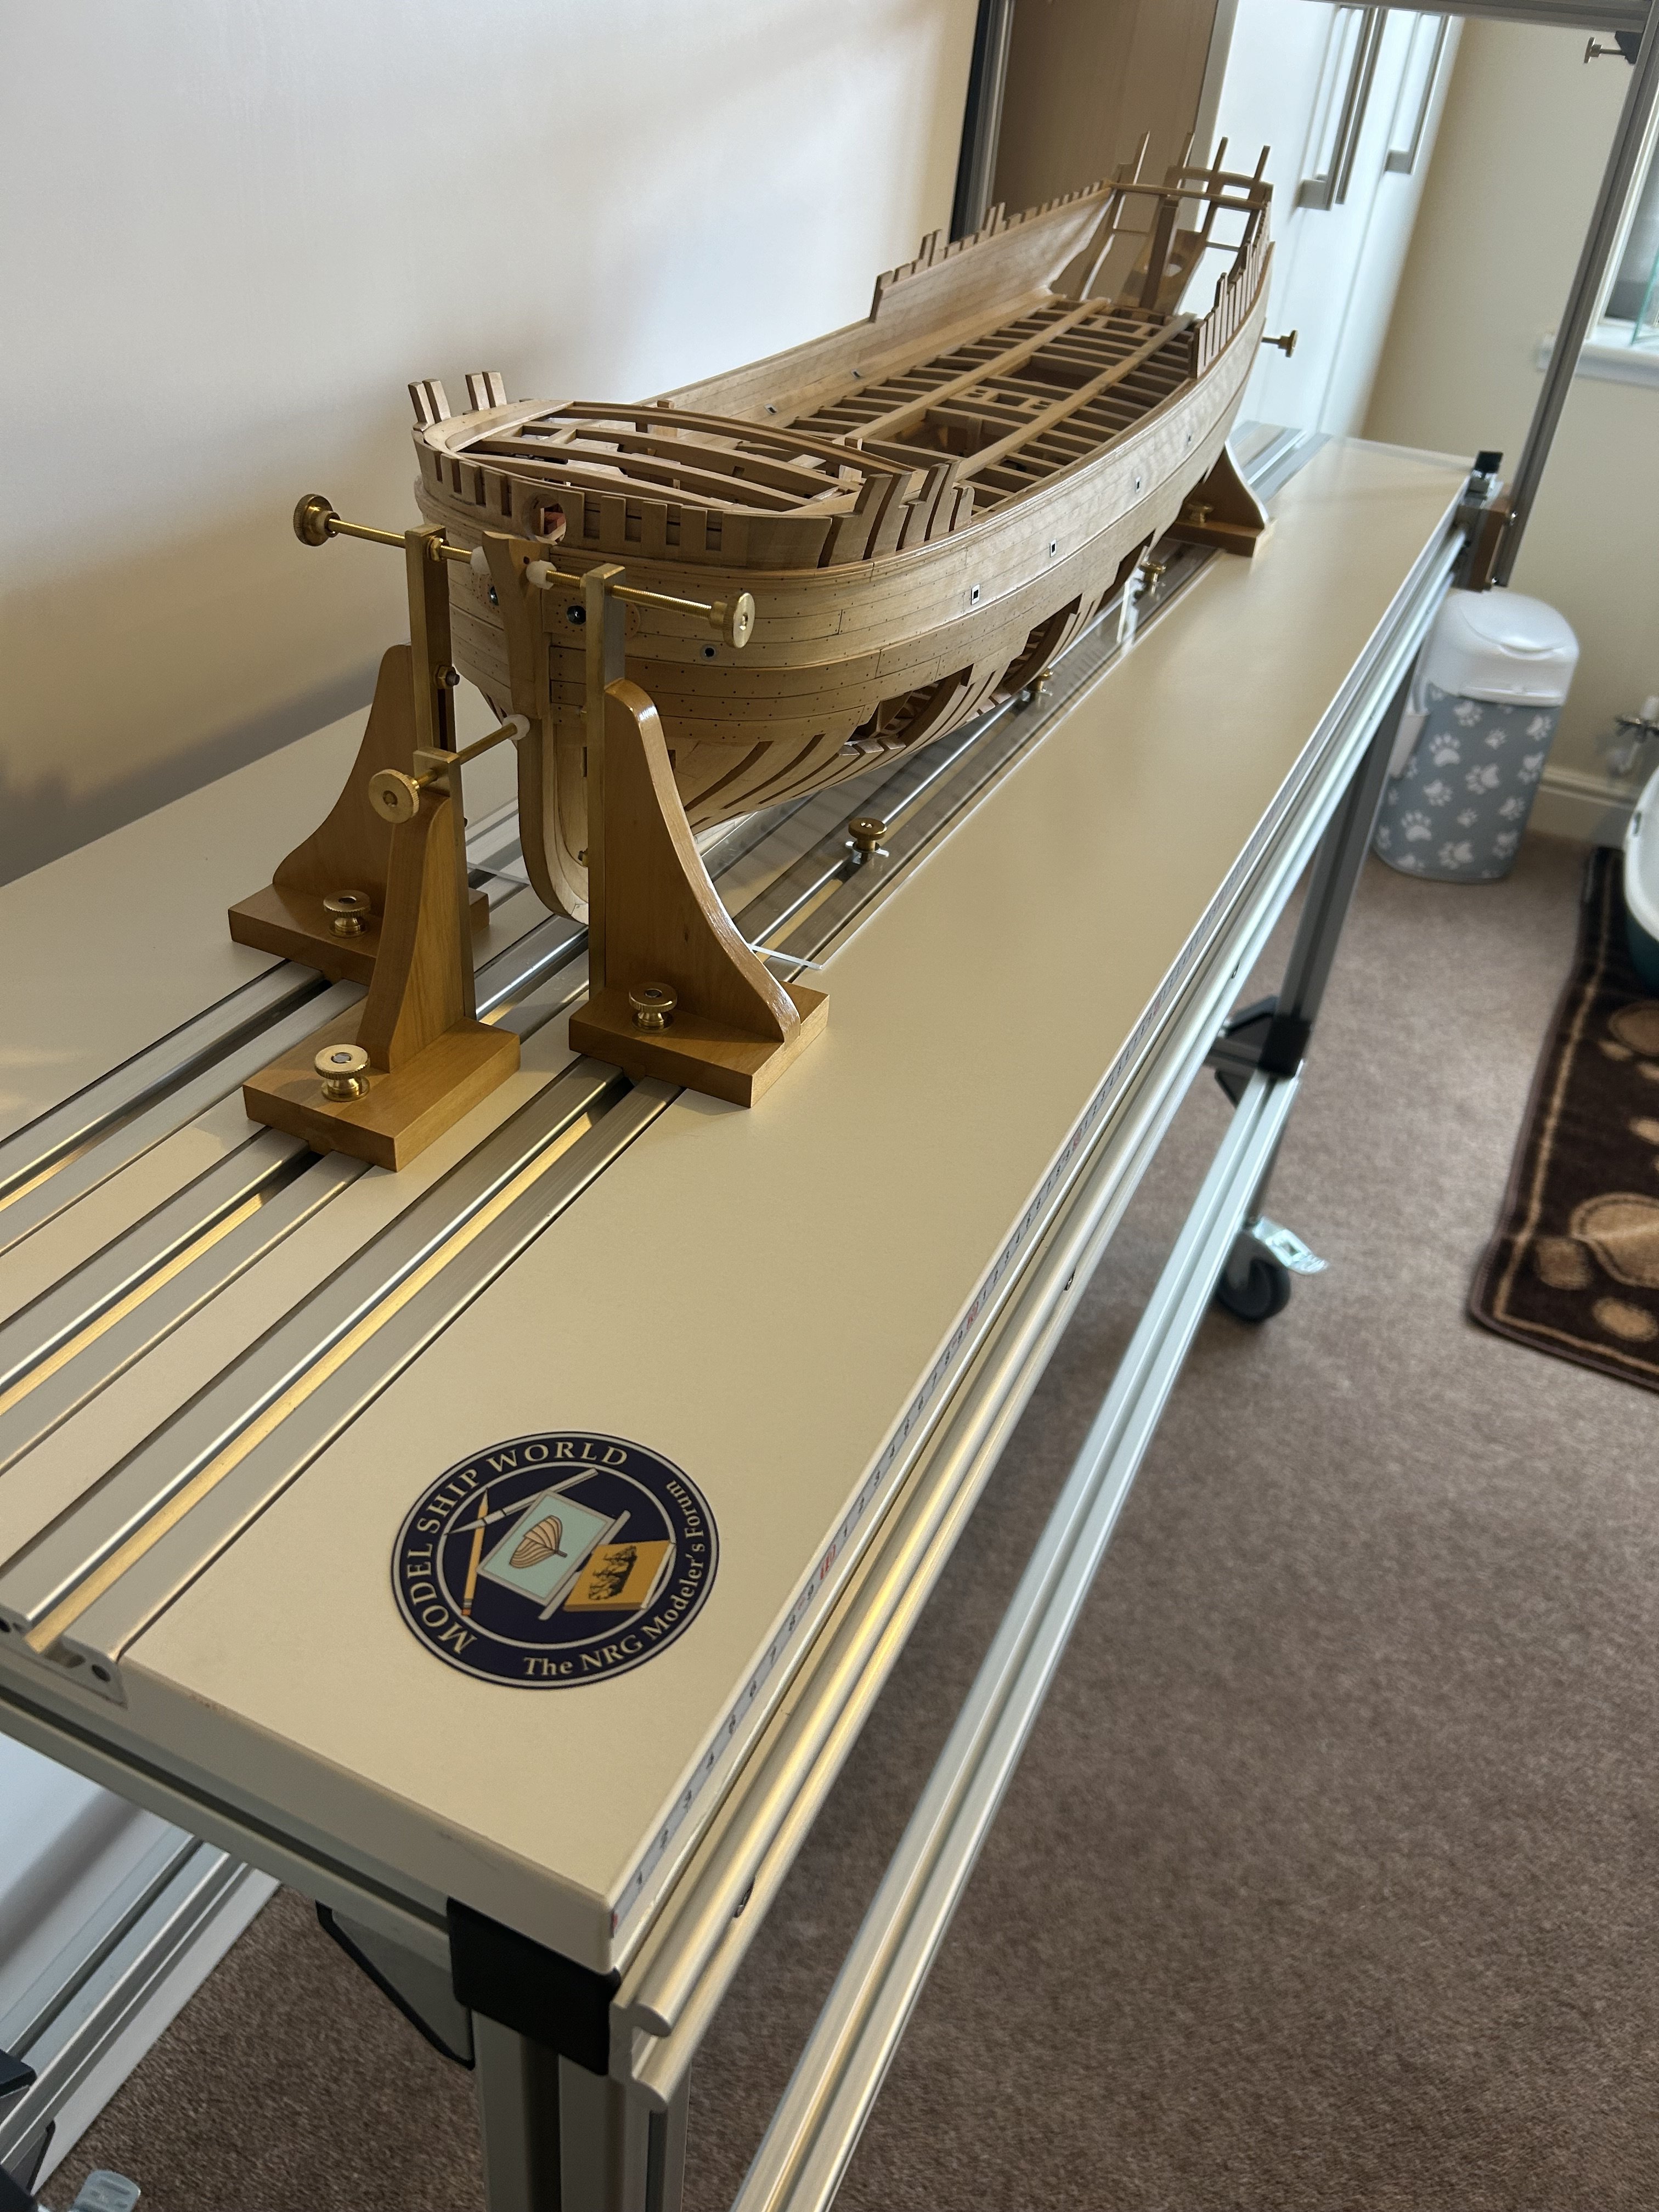
If it helps this is my Le Rochefort build - I too am very much learning on the job but I have received much help on this forum to get me to this point. Also Gerard Delacroix is a member of this forum and always answers my questions regarding this lovely ship when I get stuck. Drop him a message I'm sure he will be more than happy to help.


.jpeg.59348659e610a93412bb6a278f9b2dbf.jpeg)
