-
Posts
234 -
Joined
-
Last visited
Content Type
Profiles
Forums
Gallery
Events
Posts posted by channell
-
-
3 hours ago, cog said:
Thanks ... I'm relatively cheap????
No, I am...and I use a lot of the stuff! (please don't try to add up the total cost of my build... please don't try to add up the total cost of my build... please don't try...)

- Landlubber Mike, CDW, cog and 3 others
-
 6
6
-
6 hours ago, cog said:
You have some very interesting sights in the US ... pitty I'll never see them ...
already at page 3!?!? At the pace you are going you've finished bissie in a jiffy ... each time I am remembered by your build to drill out the doors, and with each build I forget ... (must be the age) What putty do you use here?
I use Squadron putty mainly with a little bit of Testors Contour putty for small blemishes and thick CA glue as putty on delicate photo etch.
Squadron putty is messy but it melts into the plastic which helps get rid of seams and makes a good hard surface for re-contouring when used in conjunction with layers of filler primer. It's also relatively cheap.

-
1 hour ago, CDW said:
Love the Bismarck photos, but OMG, the American southwest photos take the cake.
Where exactly were those photos taken? I don't recall seeing anything like that before now.
The top is Goblin Valley, UT and the ruins are Cliff Palace at Mesa Verde NP, CO. We've got some seriously spectacular scenery out in this part of the world, that's for sure!
- mtaylor, Canute, popeye the sailor and 3 others
-
 6
6
-
I only have the 1 Iwata airbrush currently, so I'm either stuck painting a big hull with an airbrush that's too small or turning to rattlecans for salvation; this time I stuck with the airbrush and while it took forever I'm happy with the results.
The family and I were out wandering the 4 corners region of the American Southwest this past week:


...so I didn't have time to do a lot on Bissy, besides make a mess to clean up later:
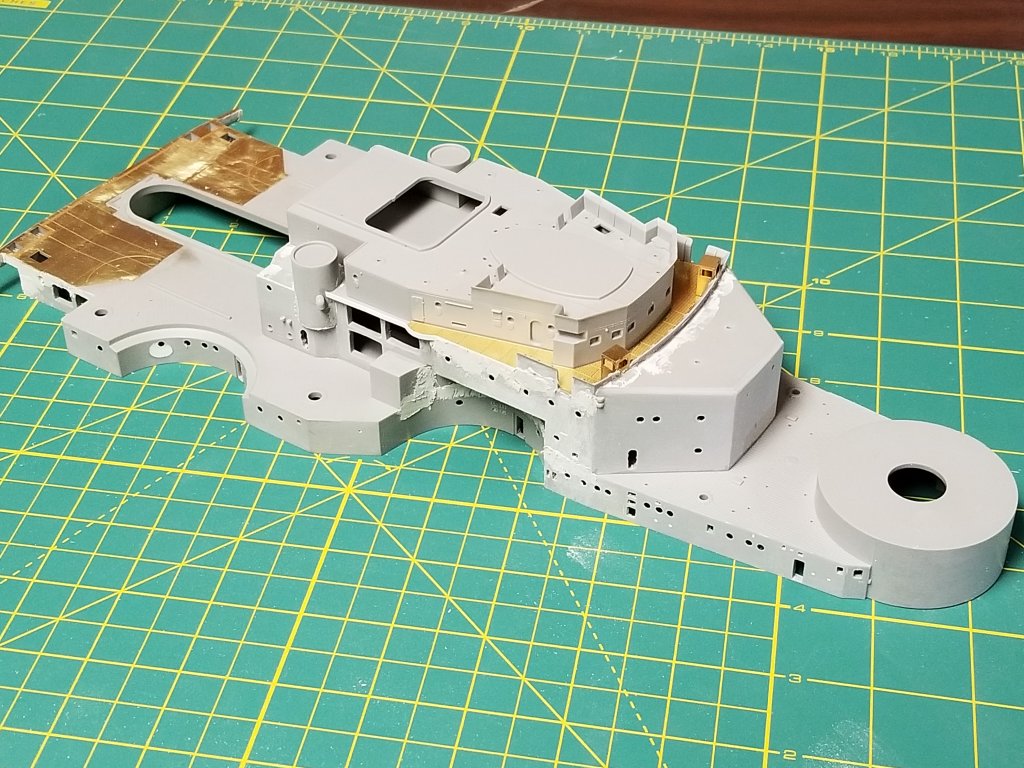
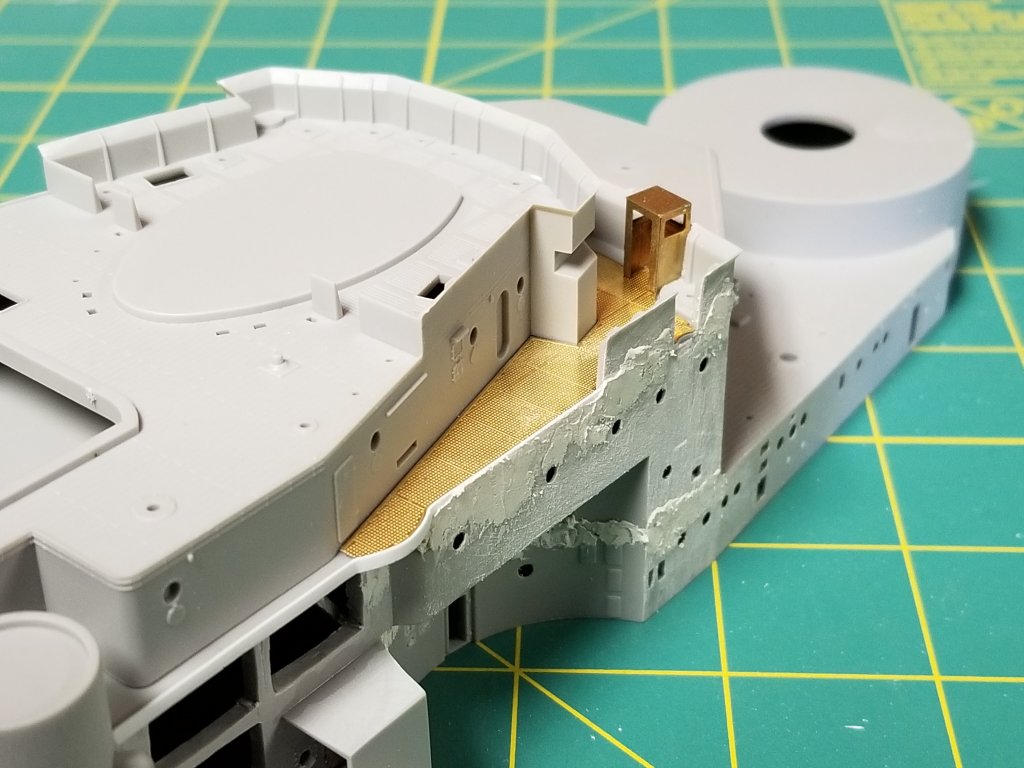
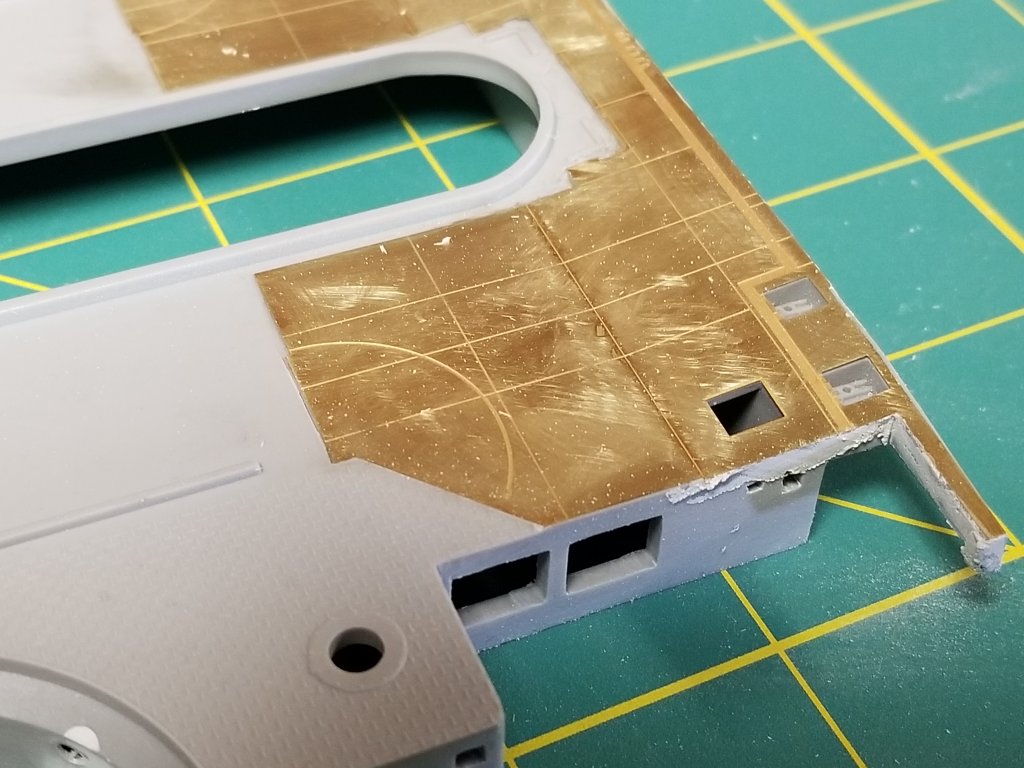
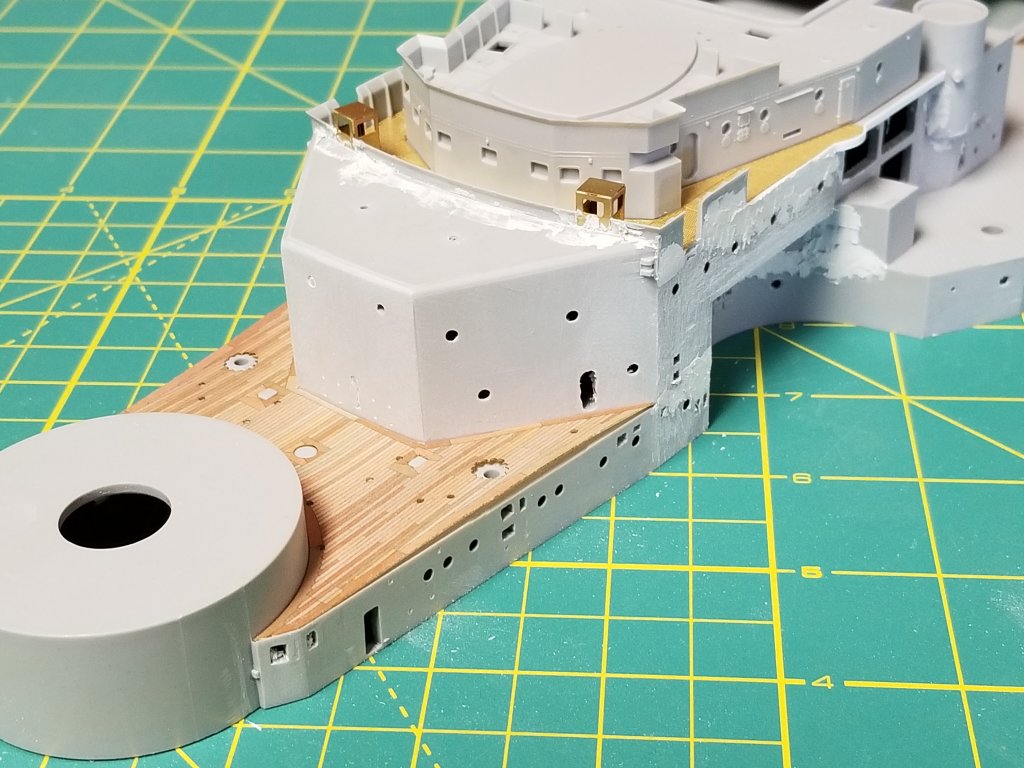
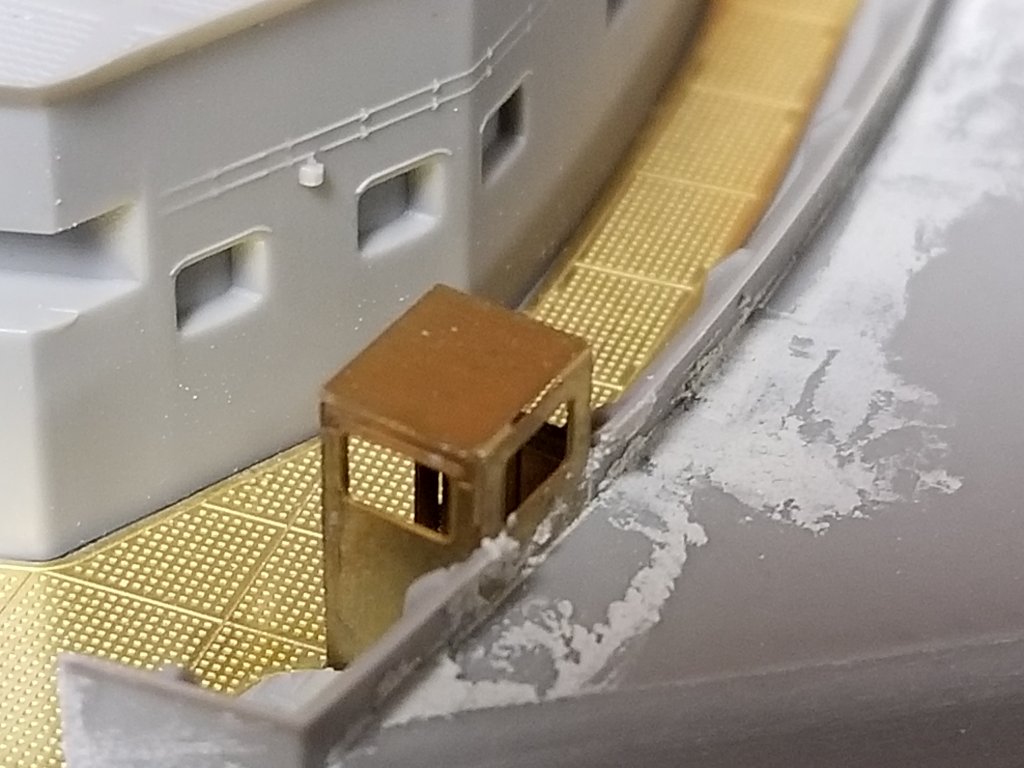
Fellow Bismarck fans might notice that I've modified the spray shields in front of the three big vents on the superstructure to reflect Bissy's earlier configuration. I've also put in the PE pieces I need to integrate into the superstructure in a (hopefully) seamless fashion before I go nuts with tiny PE details.
Funny thing is, I'm still only on step #3 in the instruction booklet!
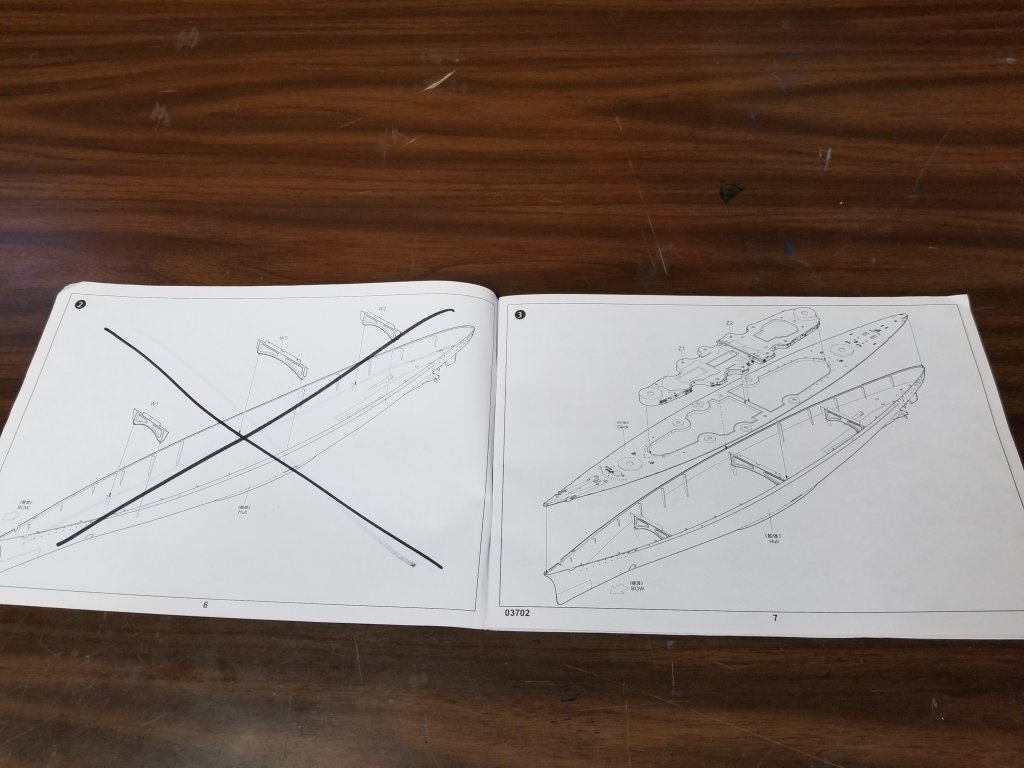
Work continues on! Still on good terms with my build and not sick of it yet.

- GrantGoodale, CDW, lmagna and 7 others
-
 10
10
-
Ok, here she is with the boot top painted on:
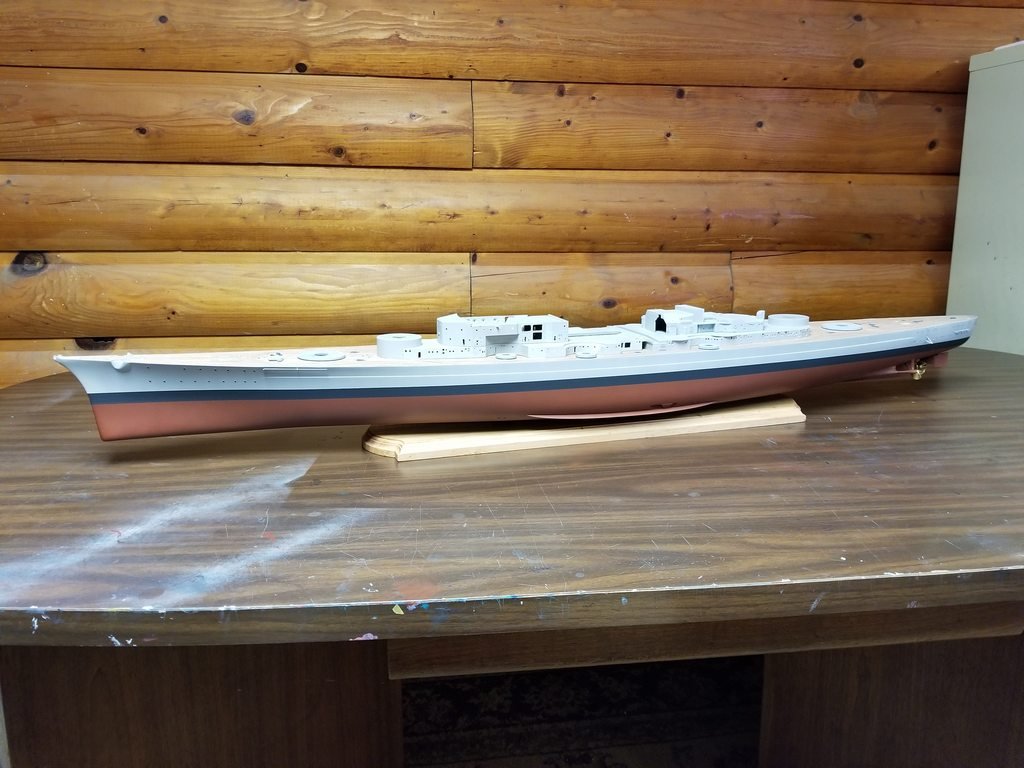
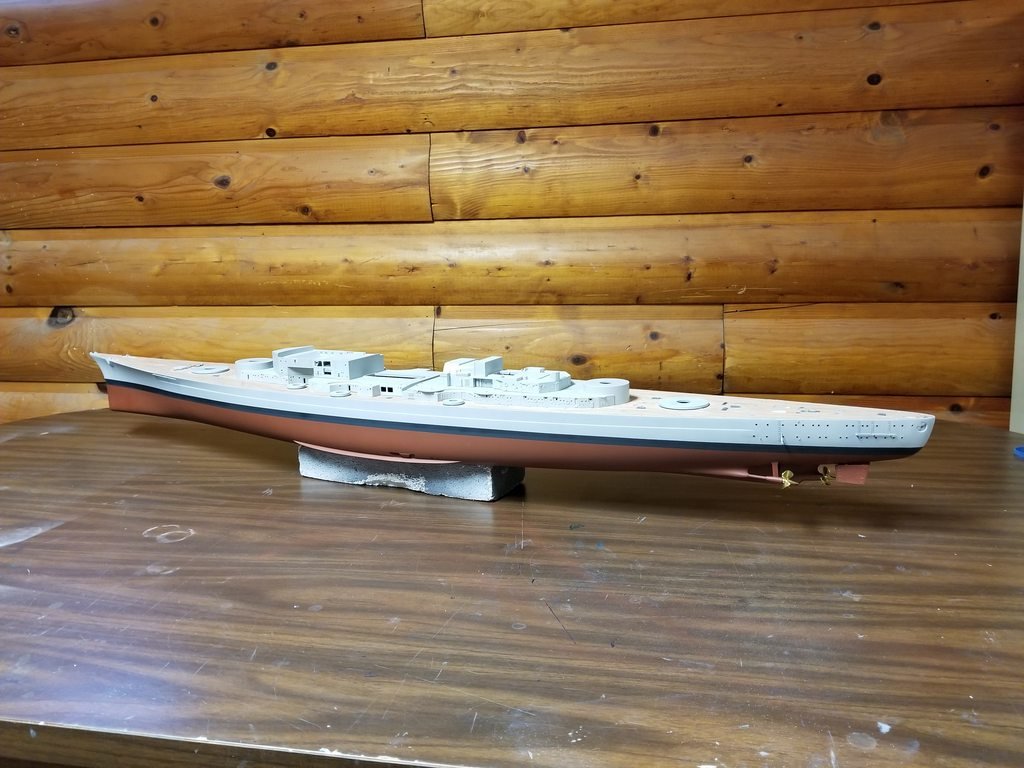
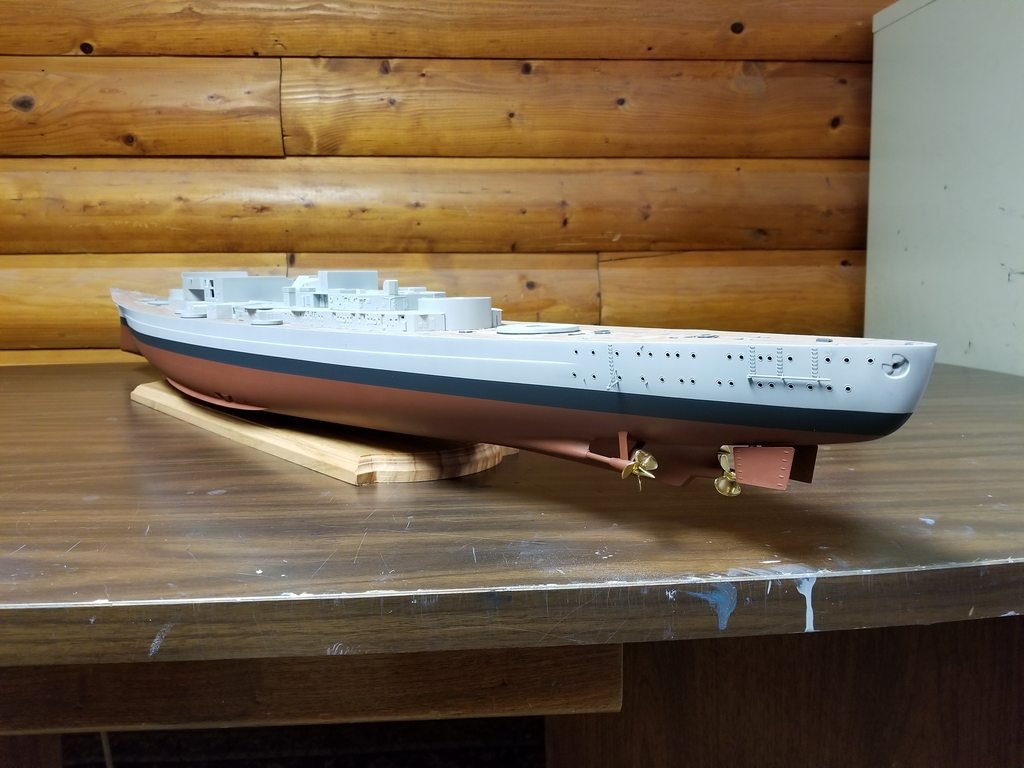
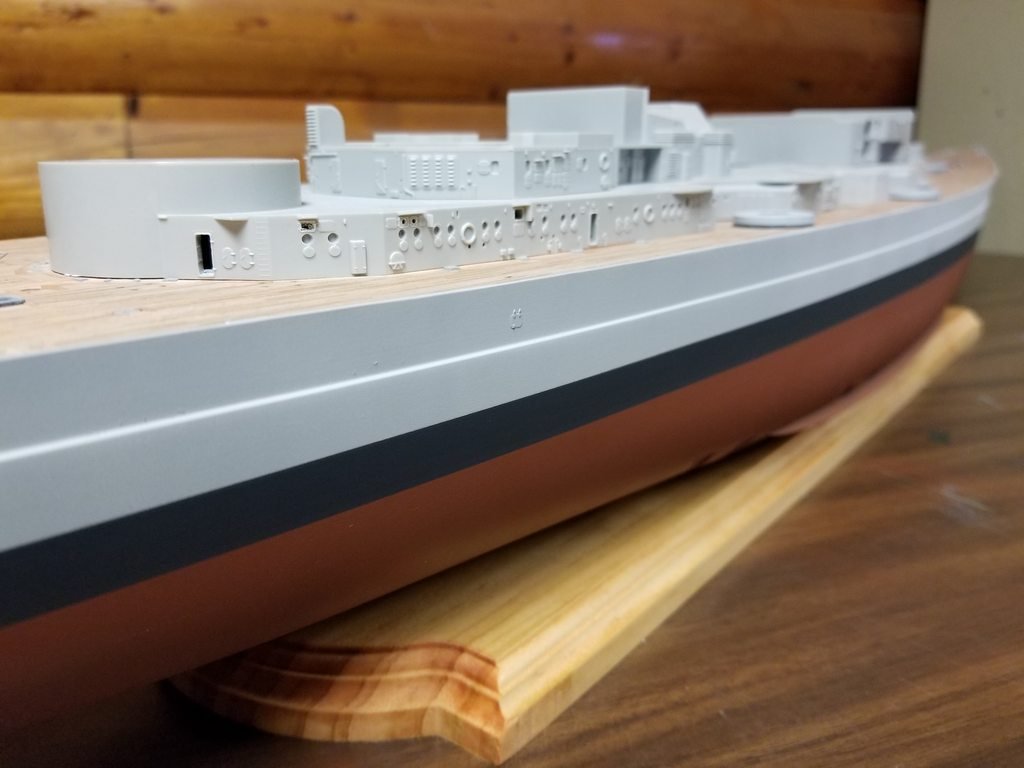
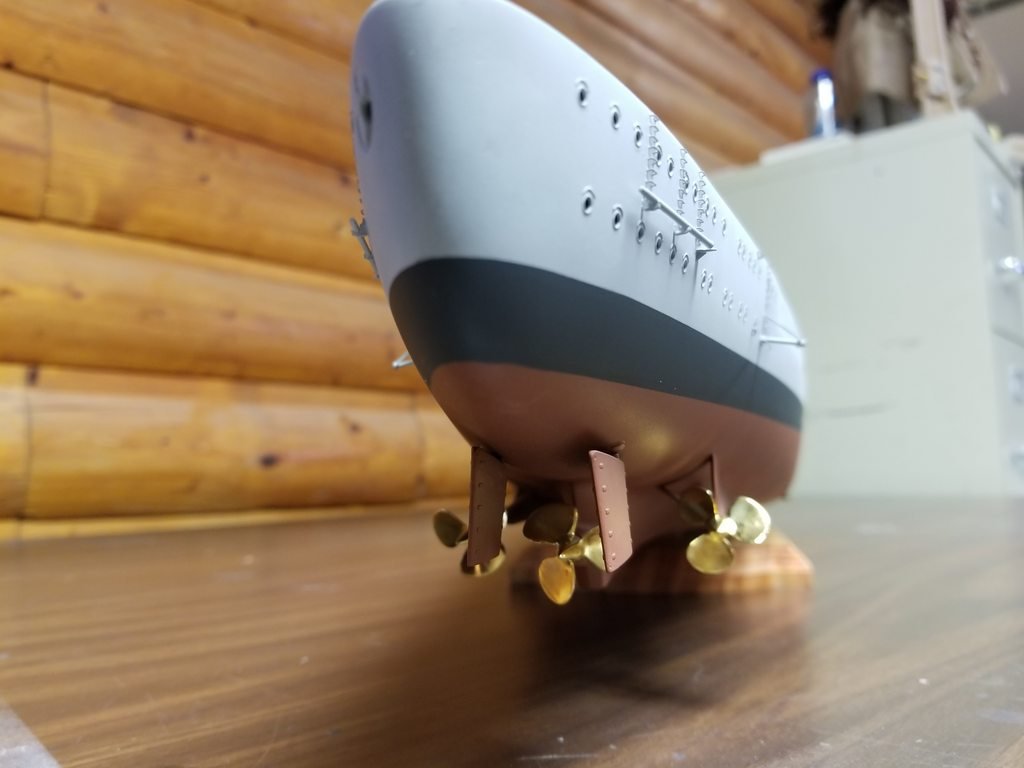
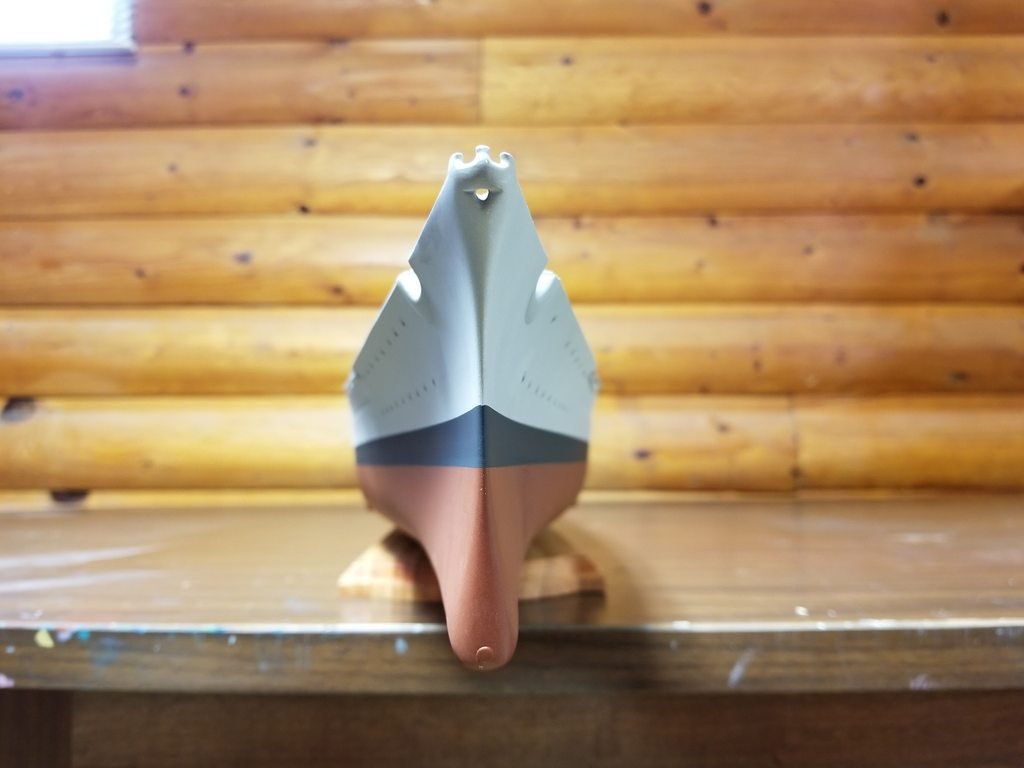
I had to do it twice as I felt the boot top was too narrow looking the first time around... looking at original pics of Bismarck, I noticed she had a really thick boot top around the timeframe I am portraying her.
-
8 minutes ago, cog said:
I have to agree with you on the second build being less hard. I'm on my second WWII Tribal class destroyer, the first one I bashed rather heavily on the rear superstructure, and the bridge. The current one it's the bow I altered, and adding more detail with PE, and loose stanchions with EZ line, you know, the stuff for whimps
 . I found some rather nice 3D printed parts at shapeways, European, so that might not be of interest to you when postage is added ...
Your hull "red" is not as dark as I expected, how much of a light grey/white did you add, or is it ready made?
It's actually Model Master burnt sienna made a bit lighter by the white Tamiya primer underneath. I was going to use Lifecolor rotten-schiff-bottom (or whatever it's called in English
 ) but when I attempted to airbrush it, it didn't go so well. I wiped it off, made a mental note to never buy that brand of paint again and went digging in my paint drawer for paint... turns out the MM stuff is pretty dang close.
-
54 minutes ago, CDW said:
I only wish I had been able to find more/better reference material for Mikasa.
My hobby shop owner/friend tells me that a local author wrote a reference book on Mikasa, and was published by Osprey, but I was unable to source a copy of it. Additionally, there is another reference written on Mikasa whose name I cannot recall, but again, was unable to locate one for my reference.
She's a hard one to get good info for. I thought it would be easy since the ship is still around and even has Google street view pics onboard available online... but then I found out most of museum ship was rebuilt after the war with the superstructure/masts of another ship. Only the hull itself is the actual Mikasa.
Maybe look into info for other pre-dreadnought British warships for ideas?
-
Just now, Richmond said:
I echo these views on the PE and the paint job. Are you using a levelling thinner with your paints?
I always use the same brand thinner with the brand of paint but no special leveling thinner. I generally aim to get my primer undercoat looking as if it was the final coat and my pathetic Ninja air compressor doesn't provide much airbrush pressure so I do lots of light coats with well-thinned paint and it somehow it all comes out fairly smooth (with a very slight texture that's visible under magnification and isn't shiny).
Since I'm doing military subjects my "technique" seems to work out well for me, but I admit I'm just a 1 trick pony when it comes to airbrushing. Bissy #1 is actually the first time I used one... before that I used only rattlecans and hairy sticks so I should probably get more up to speed on the thing.
- Canute, Richmond, Old Collingwood and 3 others
-
 6
6
-
17 hours ago, CDW said:
Thanks!
I planned to do the 1:200 USS Hornet next, but have not yet acquired all the details pieces I want for it. The hangar area deserves a lot of love on that model, and lights, too.
There's a lot that remains to be done before Mikasa is finished. Lots of small, fiddly pieces and parts. Particularly on the hull. All kinds of torpedo net rigging, booms, walkways, and the nets themselves. More guns, and lots of boats.
Cool! Hope you'll do a log of that one too when the time comes. I've managed to collect several of the big 1/200 kits but not that one.
Really enjoying this build; I've got this kit/Pontos set tucked away in my stash for the future and it's great to see it go together.
-
2 hours ago, cog said:
Looks rather nice for a messed up ship ...
2 hours ago, popeye the sailor said:for an 'old' structure...still looks really good
 nice paint job.
A lot of the finer detail is missing/damaged; I also used the KA detail set (which isn't as accurate, detailed and shiny as the Pontos set) on that one and besides, the fun in the journey, right? Can't have fun building if the building has already been done!

Besides, I'm better at this stuff now than I was 5 years ago so I'll get even better results. I'm really pushing for something great here... don't know if I'll succeed in the end but I'm sure trying anyway.
It's been nice to have the bits of my original Bismarck for spares/color experimentation and the experience of building this kit before is a big help with my planning and execution of the new build, so I don't feel like it's a big waste. I also have semi-vague intentions to do a 1/200 Bismarck wreck someday with Bissy #1... something I don't think has been done before and that would be really cool to see.
- Canute, Old Collingwood, Richmond and 2 others
-
 5
5
-
9 hours ago, Richmond said:
CHANNELL
Maybe I missed it in the log; are they PE steps on the side of your hull or and if so how did you get them so well aligned. I have seen many modelers struggling with this.
RICHMOND
Yep, they are PE... truth is mine aren't perfect either but I guess they turned out OK.
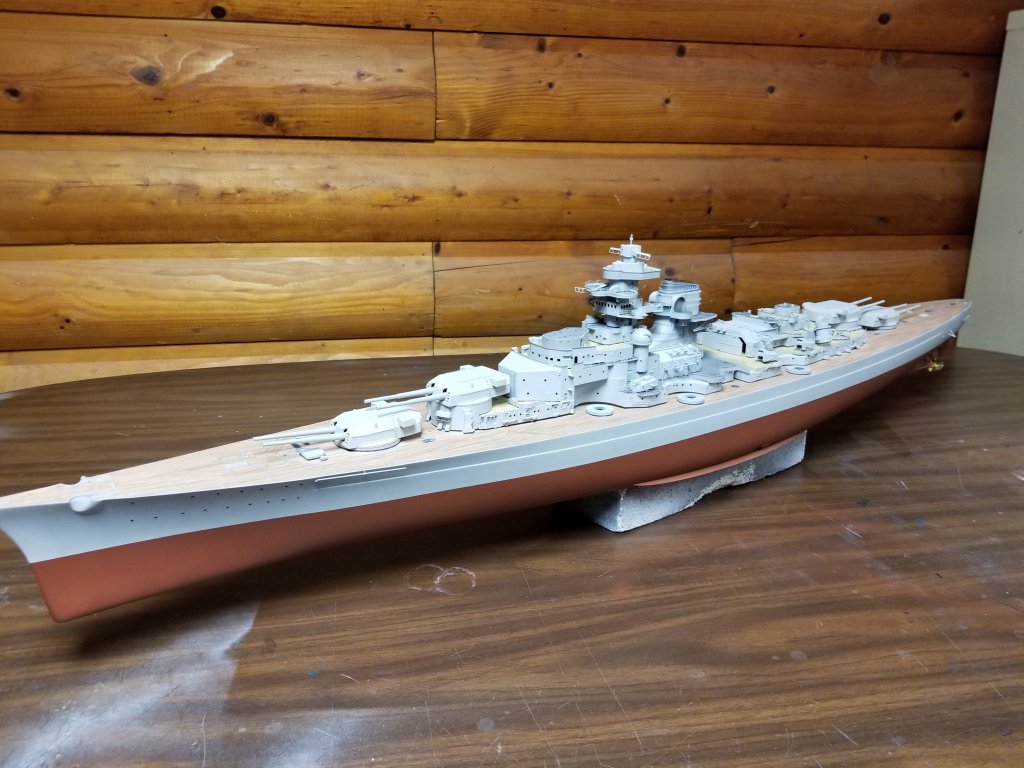
The Pontos PE set comes with little PE drill guide plates meant to be taped on the hull for easy drilling of the step holes; on this kit I inletted the plates straight onto the hull. While it makes for perfectly straight holes in the end, I don't think I'll do it again as it was a lot more work and I ended up having to drill the holes out again anyway because they filled up with primer. Otherwise, it was just carefully "gluing legs on an ant" and trying to keep 'em straight as I went.
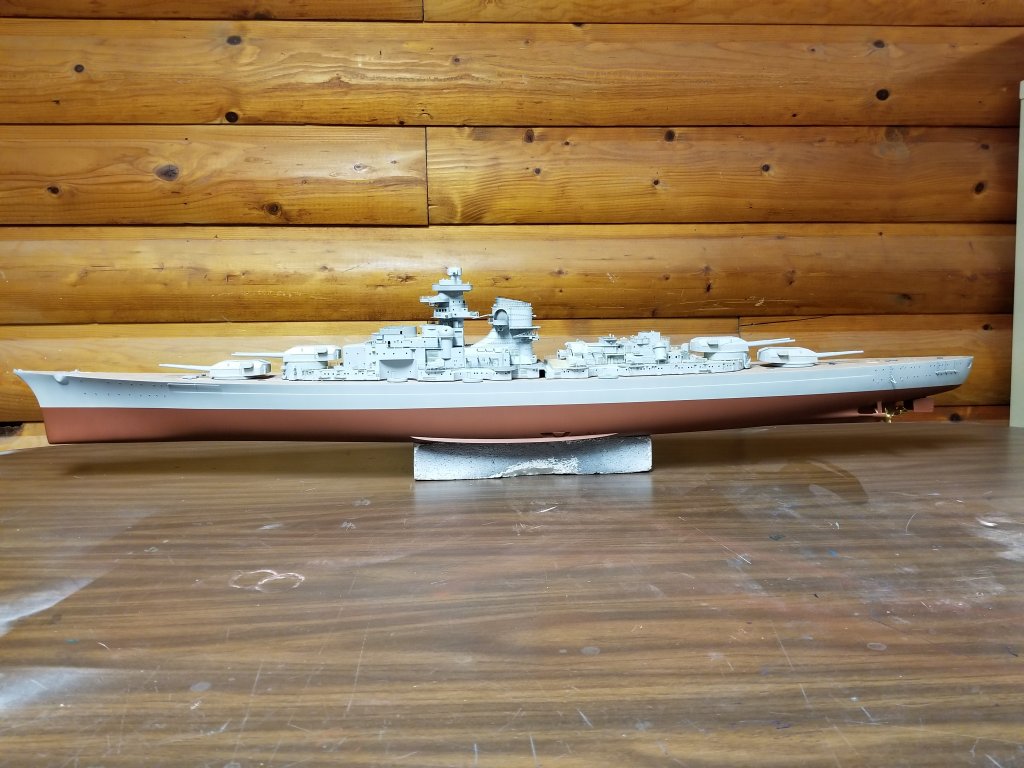
BTW, got my red-brown lower hull painted last night (the superstructure is the messed up pieces of the original Bissy)...
-
Wow, that's a well-aged kit! Forgive me for asking but would it possibly have more collector value untouched in the box like some styrene kits? Don't know if there's even a market for old wood ship kits or not...
Anyway, takin' a seat for the show...

- popeye the sailor, Elijah, Piet and 2 others
-
 5
5
-
Wow, fast progress and fastidious attention to detail!
You're in danger of finishing this thing soon... got plans for the next build yet?
-
3 hours ago, Kevin said:
im sure i bought Lifecolor for my build but just could not get on with it, all your work has paid off well done
8 hours ago, CDW said:All that prep work you performed pays huge dividends in a great finish.
The hull looks magnificent.
Something funky about the plastic Trumpeter uses for these 1/200 kits... they just don't like to take paint straight out of the box. I try to rough up the plastic a little with 4-600 grit sandpaper and/or fine steel wool, then hit it with rattlecan Tamiya primer (airbrush primer for smaller bits)... after that I have no problems getting airbrushed acrylics to behave well. Of course I can't help cutting up and rebuilding the damn things so A LOT of surface prep is generally par for the course on my builds.

- mtaylor, Old Collingwood, Canute and 2 others
-
 5
5
-
Looks like you made the appropriate blood sacrifices to the tiny drill gods... 😋
- Canute, Old Collingwood, cog and 2 others
-
 5
5
-
-
Thanks Richmond!
Hit a milestone; the hull is done, PE is complete and Bissy is finally getting her final colors...
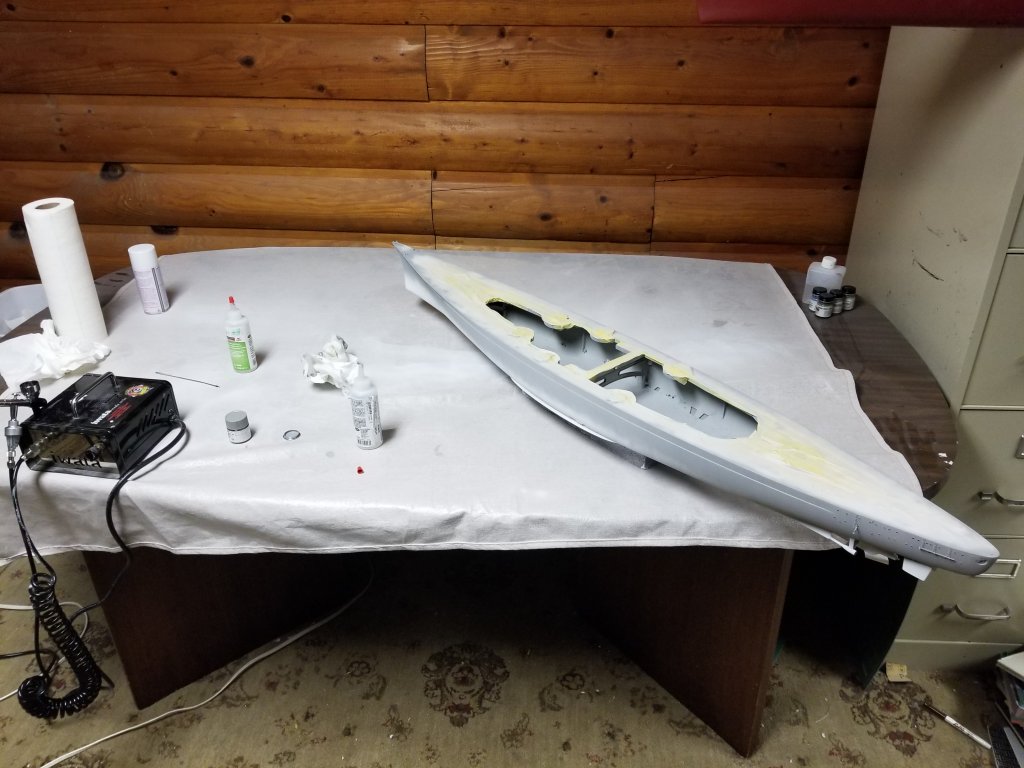
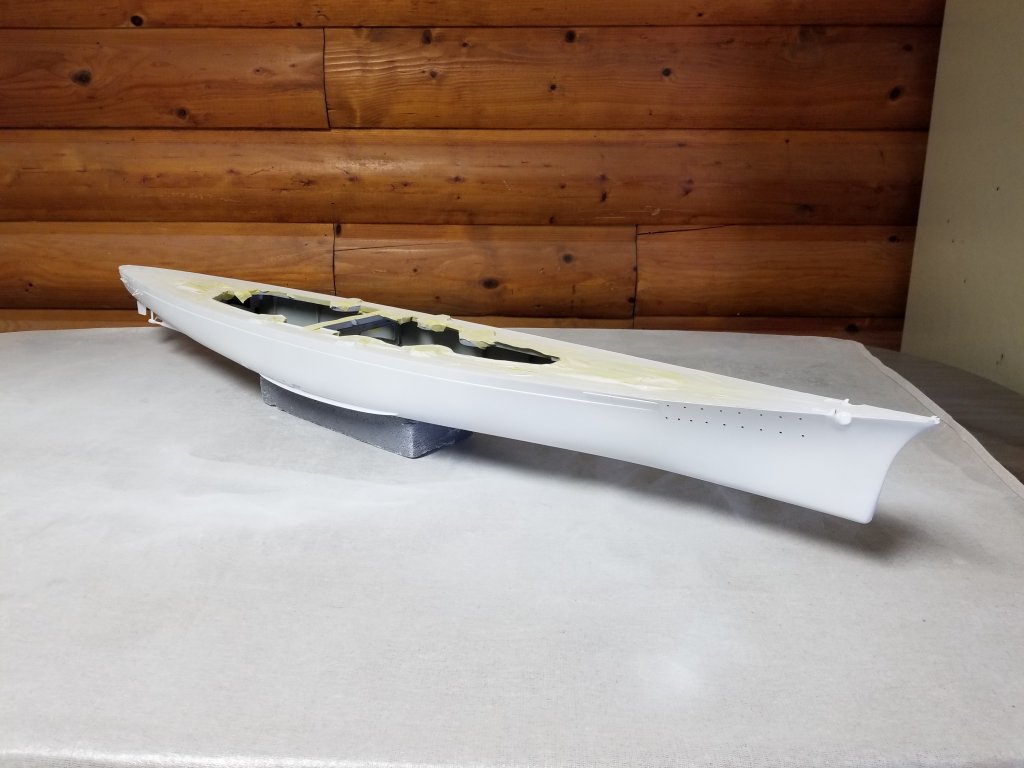
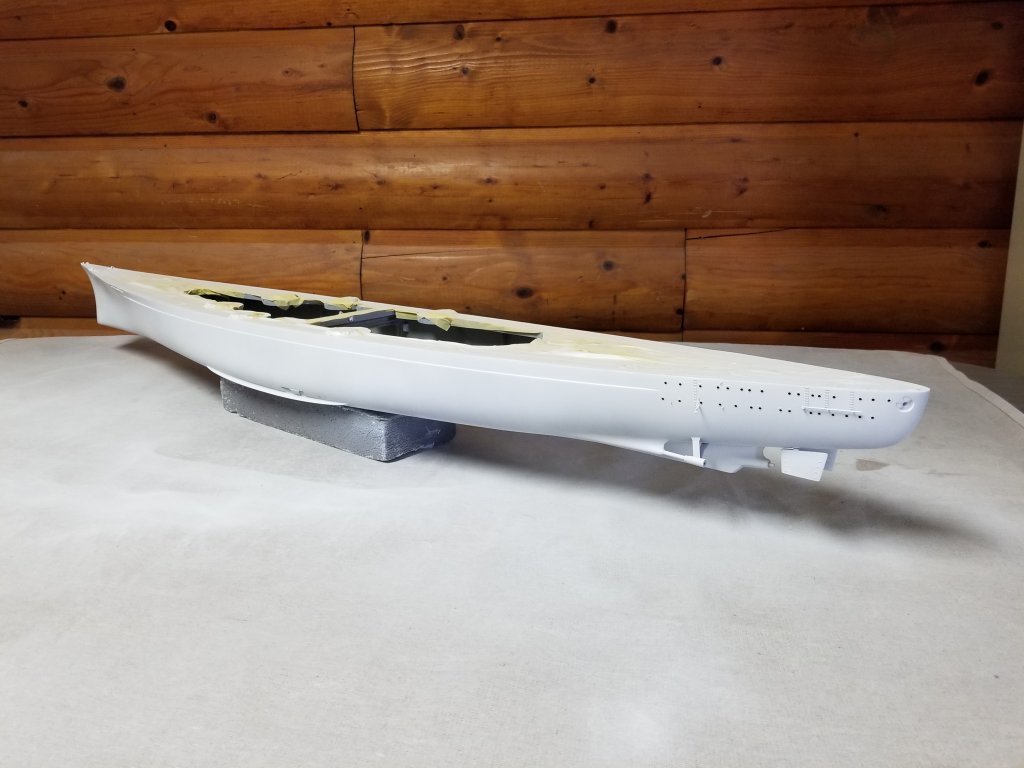
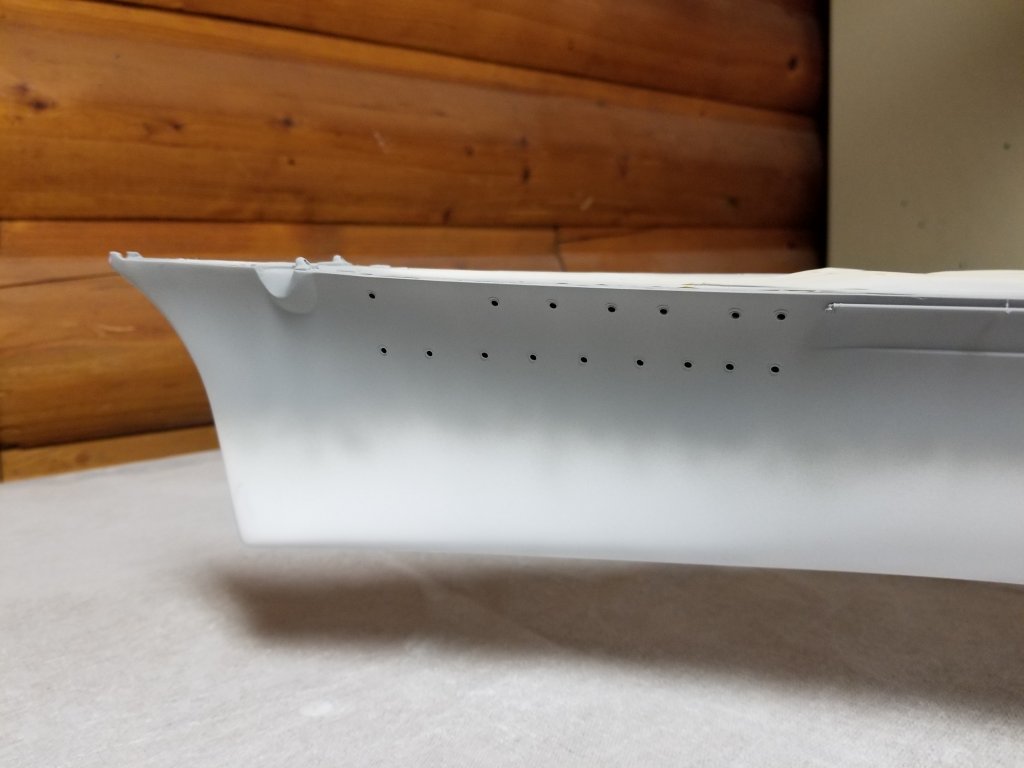
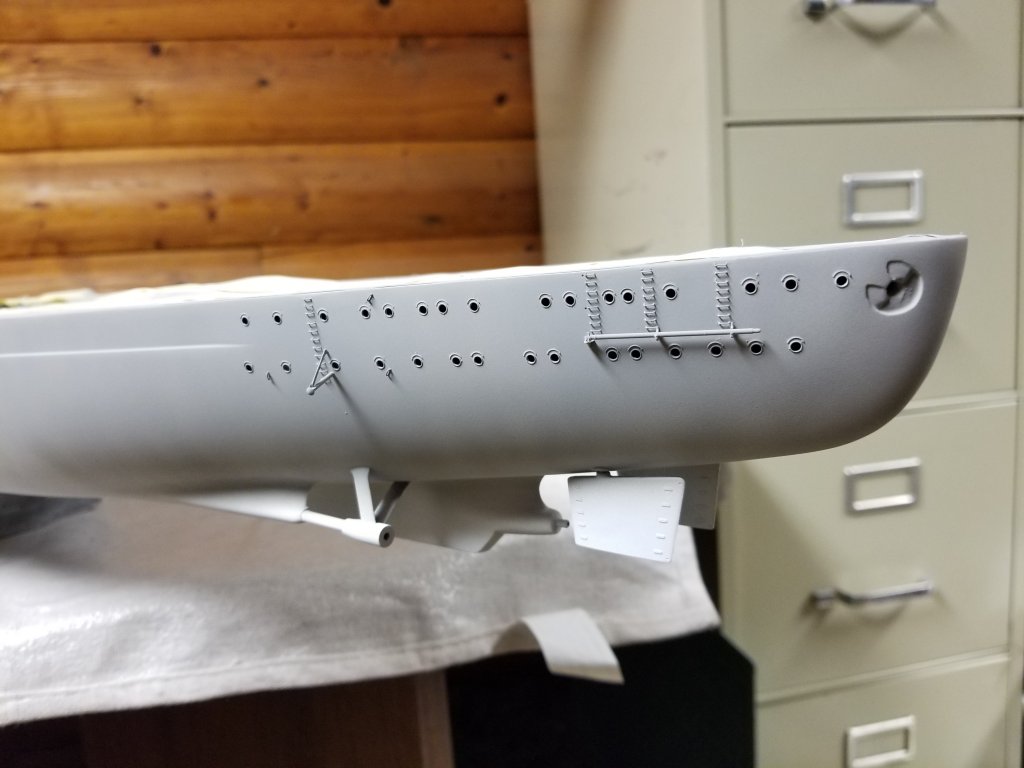
I first planned to paint the upper hull in Model Masters "grau" but it didn't look right so I went with Tamiya "sky grey" instead. On the real ship the hull was painted a somewhat darker shade of grey than the superstructure and this color goes nicely with my upper hull paint choice (Model Masters Litchtgrau); I am purposely aiming for lighter hues than real-life for scale effect and am admittedly more interested in a model that looks good than fretting over exact color matches so hopefully the infamous Teutonic rivet counters that haunt the darker reaches of the model interwebs don't go all gestapo on me.

It's a big hull to paint with a little airbrush but (along with the white primer) it's a good way to get an ever so slightly streaked look that adds some depth to the hull. It took a couple hours to get done.
Next comes the red anti-fouling paint and last the dark grey boot top; I'm giving at least a full day of dry time between each so I don't have to worry about pulling up any paint with the masking tape (always a lurking problem on Trumpeter big boat plastics).
Until next time...
-
Glad to know I've got company in the nuthouse!

So after finishing the edges of the deck and cleaning up the mess I dived right into photoetch and sealed it away behind a layer of Tamiya primer. Starboard is done; only the port side stern left to do.
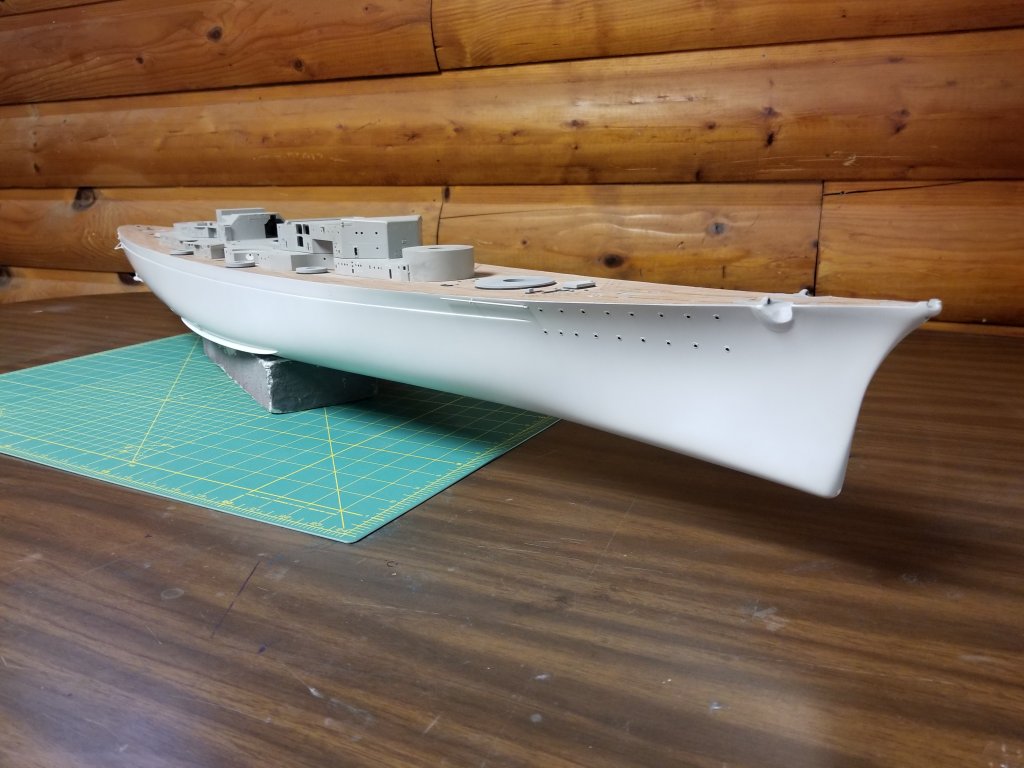
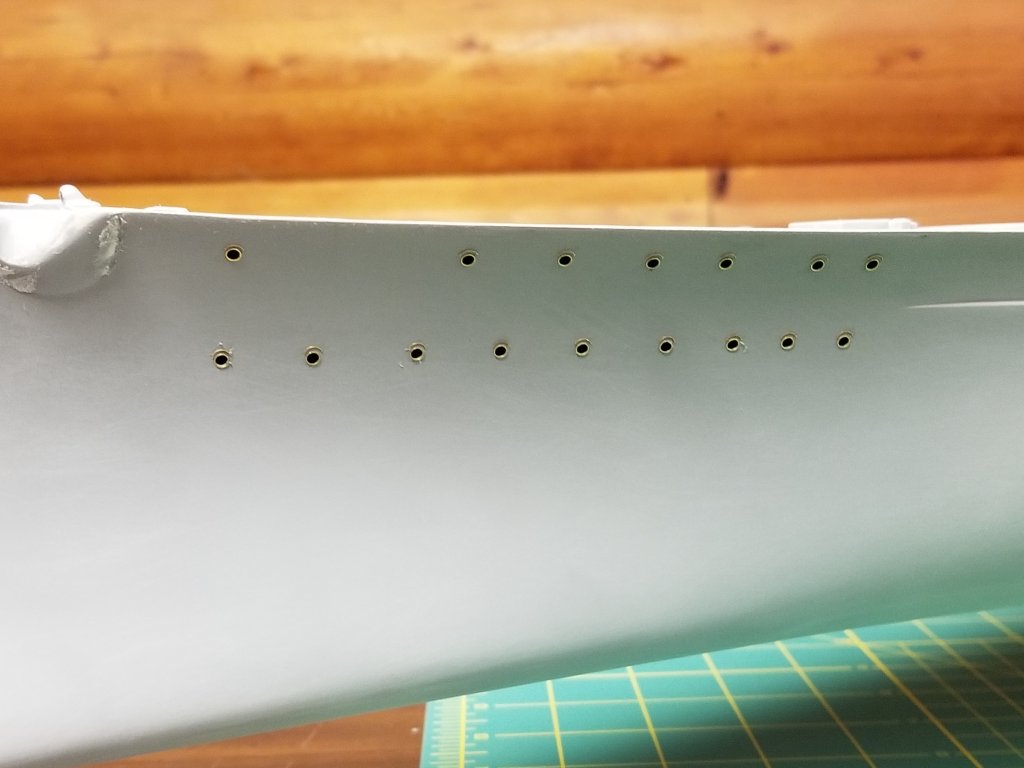
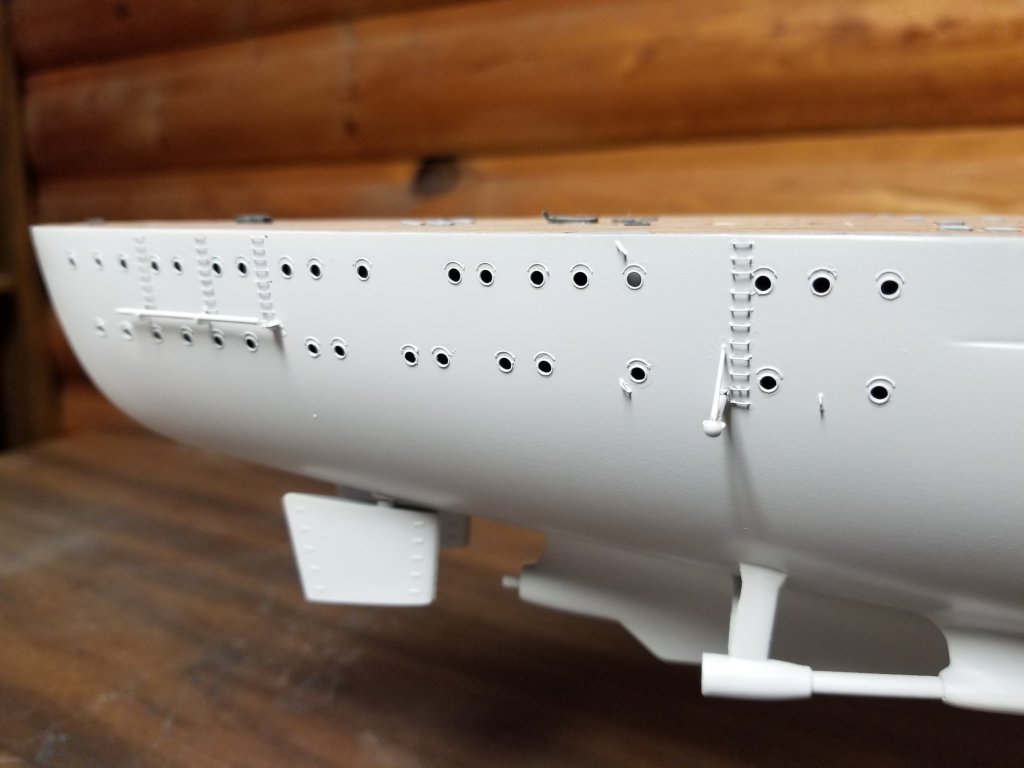
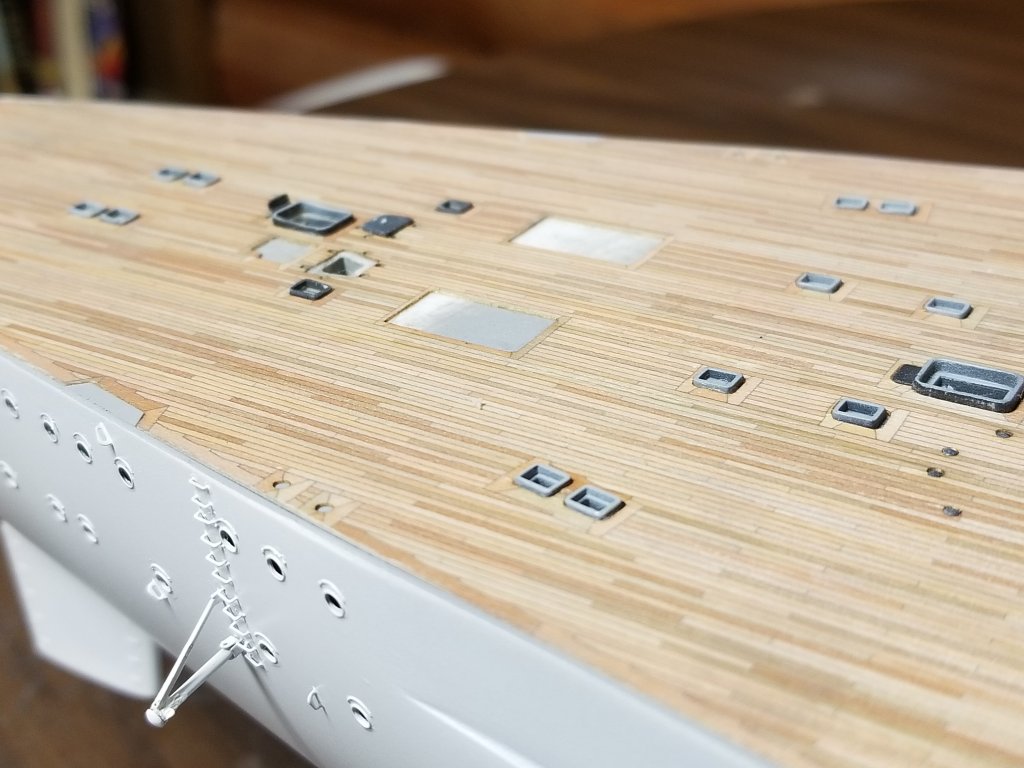
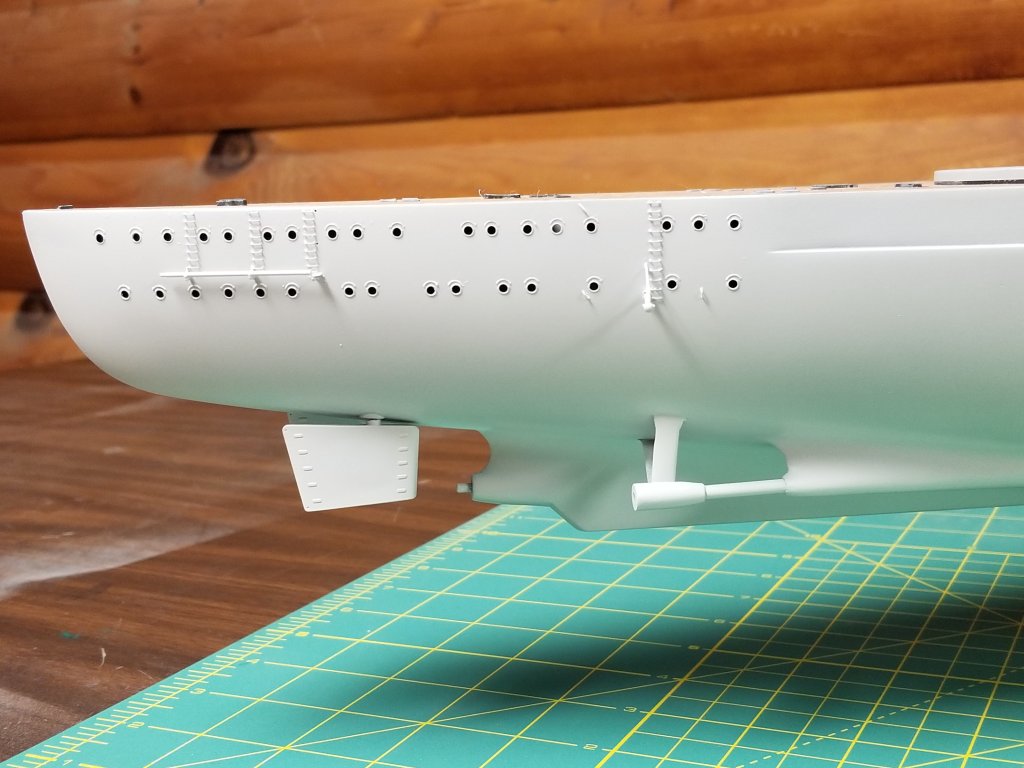
I picked white to make any remaining detail issues pop out so I can address them before the final color goes on. I think the porthole frames came out a little too thick but such is life; hoping I can paint the insides black after final pain to help the look. Still so much work to do!
-
4 hours ago, tigerdvr said:
Great work, what are using to patch the hull?
Thanks, Harley
Squadron putty and sandable filler primer... lots of it.
Yes, I am insane.

-
8 hours ago, Kevin said:
we spend months doing something that has to be just right, and then cover it all up LOL, we are our own worst enemies
Isn't that the truth! It's easy to burn all one's enthusiasm for a project by getting hung up on stuff that won't be noticed anyway.
-
8 hours ago, cog said:
You should, however, admit you did a damn good job on it. Your hull looks impec, and you deck ... well from here I would say it's wood
Fortunately, here at MSW we know we are our own worst critics ... I am in the stage of painting an 1/350 .5"x .75" destroyer's bridge deck, and it doesn't look good - size probably is a factor - on another one I used off cuts from a battleship's wooden deck, Pontos or Fly Hawk, and that looked a lot nicer, despite the, what you call "straight grain" from front to back. You should wait 'till you've got some deck furniture for rent on the decks. It will make a lot of difference
Thanks, like most of us I only see the flaws... especially the ones that aren't visible in the pictures.

I'm having trouble getting myself to a happy place on the anchor hawse "bumps" on the sides of the hull for example; I've reworked them several times, making them larger and smaller and tweaking the shape but those stupid little details are a tough one for me to get "right" when trying to work from pics of the original ship.
- mtaylor, Canute, Old Collingwood and 3 others
-
 6
6
-
1 hour ago, popeye the sailor said:
I'd be happy with your results.......I've never done one before. I bought the Revell Arizona kit and wanted to do one on it, but no one makes one for it.
I guess I'll have to live with a painted one. they look very nice though
 well done.
Thanks!
Honestly, the best decks I've seen have been painted ones (except for in larger scales where you can use actual individual wood "planks" without loosing your mind!) . The standard wooden decks (Pontos, KA, Artwox) tend to have straight grain running the entire length of the deck and are very yellow in color + being very grainy looking up close... other than being a bit of woody eye-candy they don't do much for scale accuracy.
Unfortunately the Trumpeter Bissy molded-on deck is garbage as it comes out of the box... just straight lines with no "boxed in" hull fittings and blank plastic over the anchor chain runways when it should also be planked. Otherwise, I might have been better off masking and painting individual planks considering how much work it was to make the damn Scaledecks maindeck fit!
- CDW, mtaylor, popeye the sailor and 2 others
-
 5
5
-
I've been using some bits meant to clean the nozzles of 3d printers for my tiny hole needs... they seem to hold up a little better than normal micro bits and cut great on the soft Trumpeter plastic.
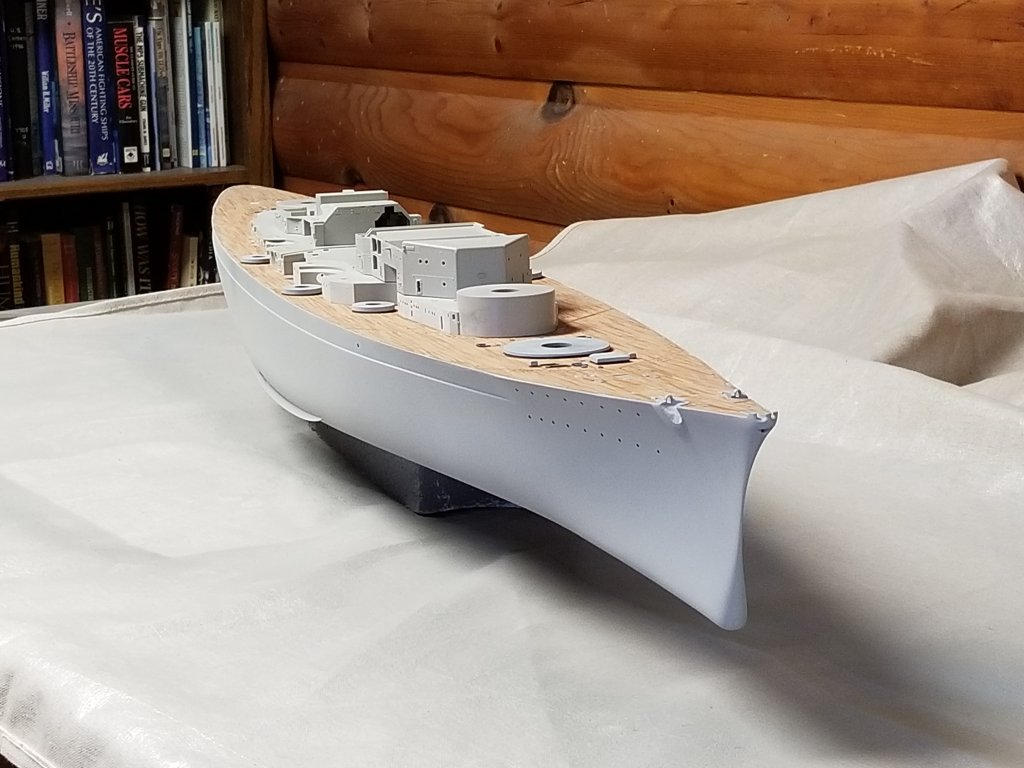
I've been a man possessed this week; have been working every evening on Bissy. I rimmed the wood deck with .010x.030 styrene strip and brought the entire perimeter of the hull in alignment through a mix of trimming the wood deck edges and sanding/shaving the hull sides. After that, I masked off the deck and got yet another coat of primer on.
Looking forward to installing the hull photo-etch and hopefully getting at least the final upper hull grey sprayed on by the end of this weekend.

-
Really great work here, this is the first of this kit I've seen go together online.
Keep up the awesome work!
- mtaylor, lmagna, popeye the sailor and 2 others
-
 5
5


Bismarck by Channell - Trumpeter - 1/200 - PLASTIC
in - Kit build logs for subjects built from 1901 - Present Day
Posted
Thought I'd add some more mid-week progress...
Nearly ready to start on the superstructure detail PE, although it's taking some time to get the forward superstructure base up to snuff first:
I reinstalled the AA gun platform extensions with a raised "line" on the deck surface a la the real ship and added new support girders underneath:
... did A LOT of sanding and a couple coats of primer:
...and will hopefully get everything else installed and ready for final paint by the start of next week. Lots of extra work but I think it will be worth it in the end. :wave_1: