
HOLIDAY DONATION DRIVE - SUPPORT MSW - DO YOUR PART TO KEEP THIS GREAT FORUM GOING! (89 donations so far out of 49,000 members - C'mon guys!)
×


JesseLee
-
Posts
1,694 -
Joined
-
Last visited
Content Type
Profiles
Forums
Gallery
Events
Everything posted by JesseLee
-
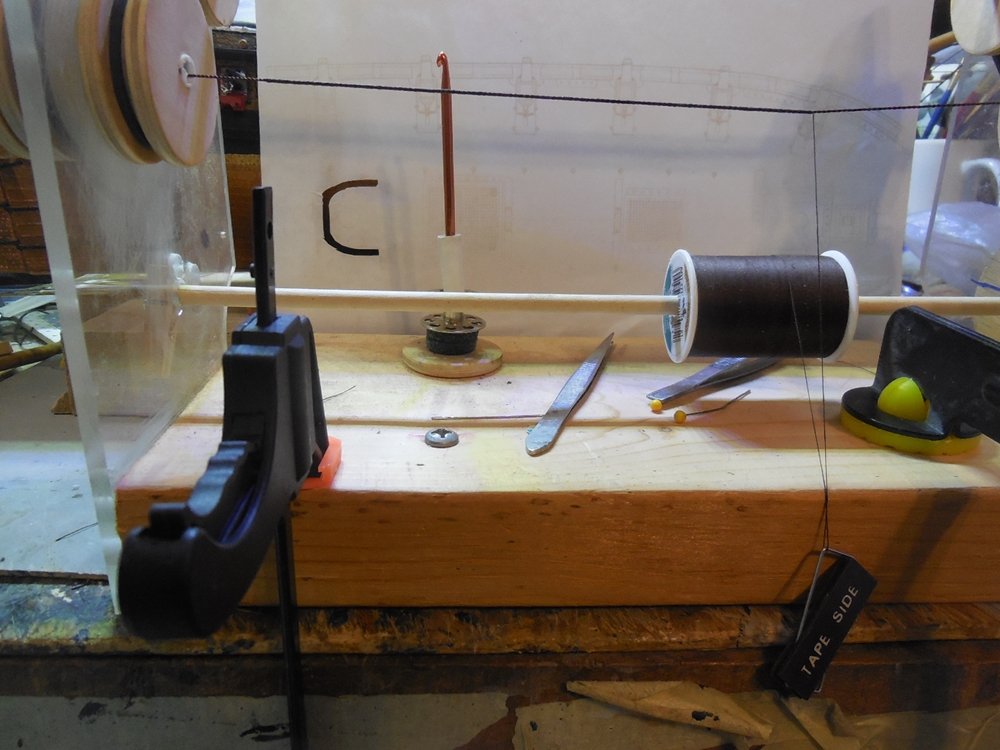
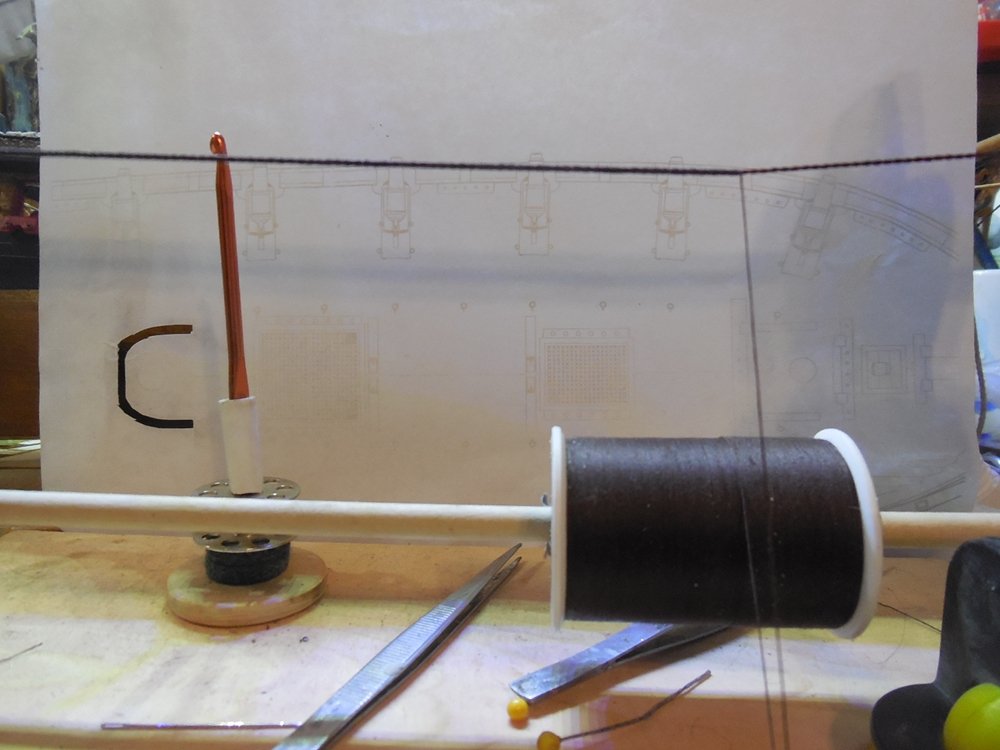
 Thank you everybody! Starting the lower shrouds. Got out the rickety homemade serving machine. Serving the first shroud lines. Jesse
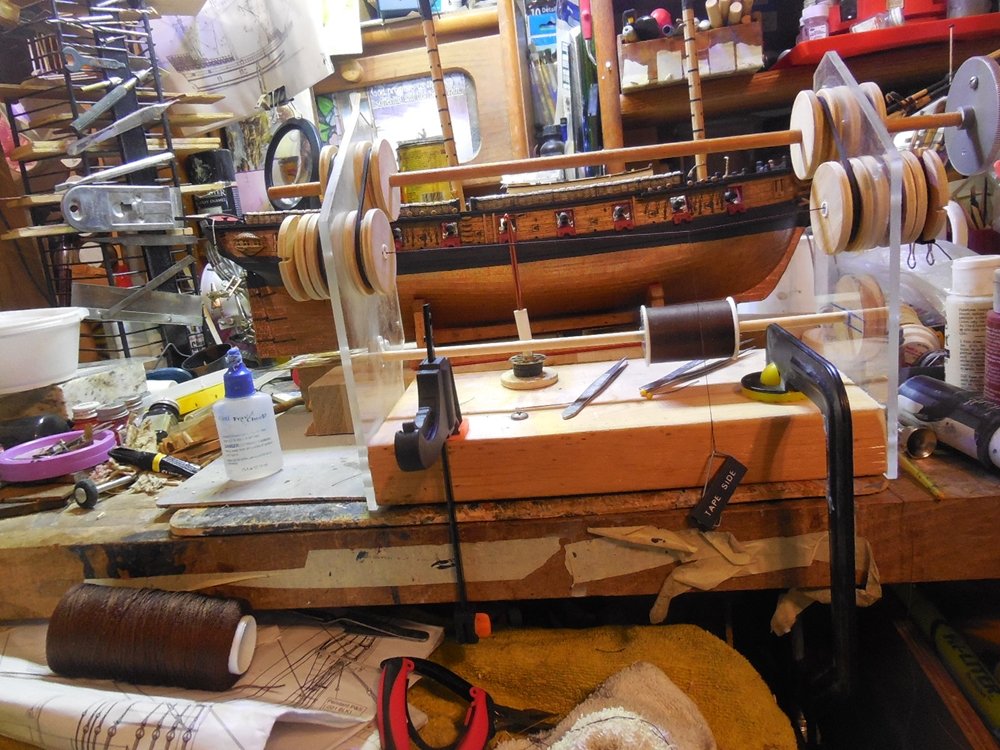
- 1,306 replies
-
- 16
-

-
- syren
- model shipways
- (and 1 more)
-
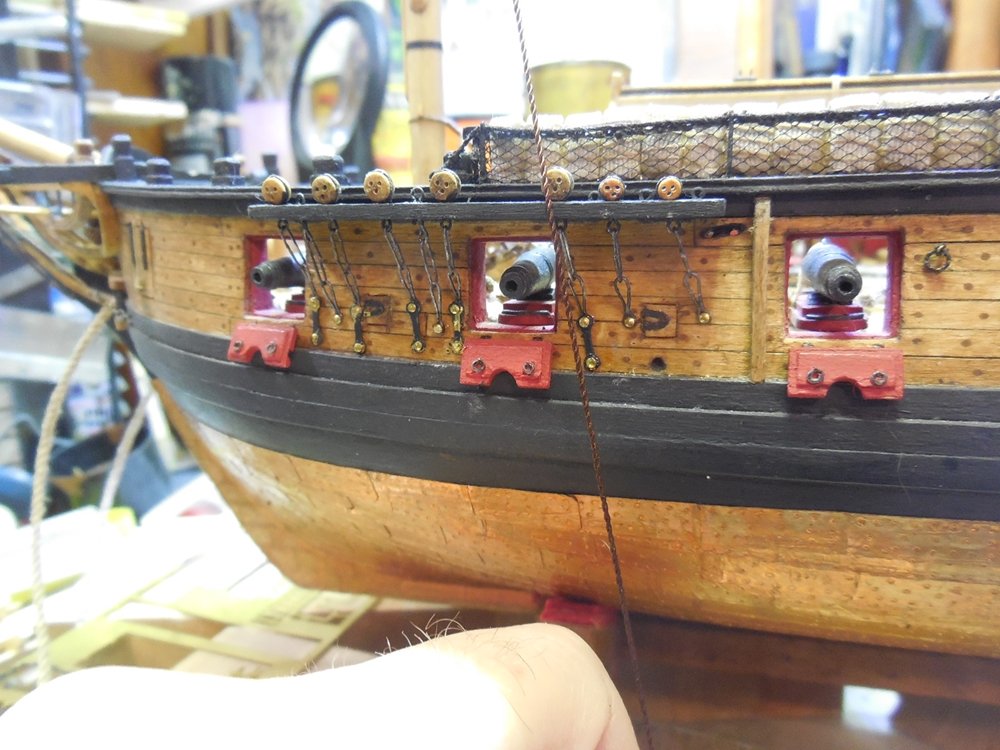
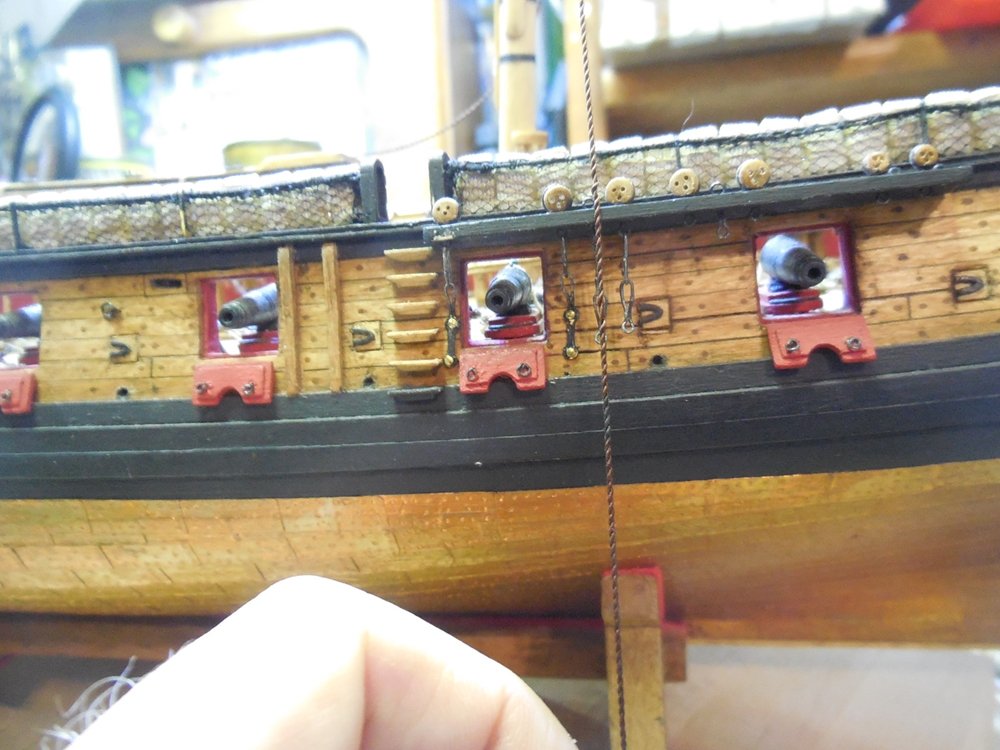
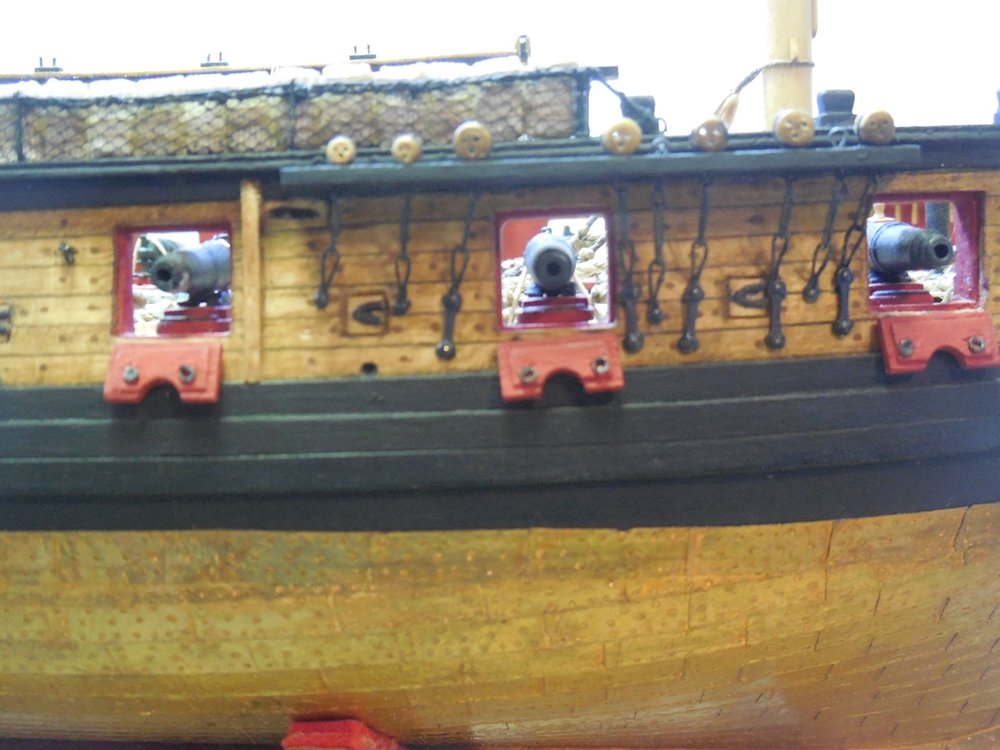
I had to go back and shorten every one of the middle and toe links so that They did not end beyond the wales. Used a temporary shroud line to line all the chainplate assemblies to the proper angles.. Got them all done and touched up with paint. Jesse

- 1,306 replies
-
- 27
-
-
- syren
- model shipways
- (and 1 more)
-
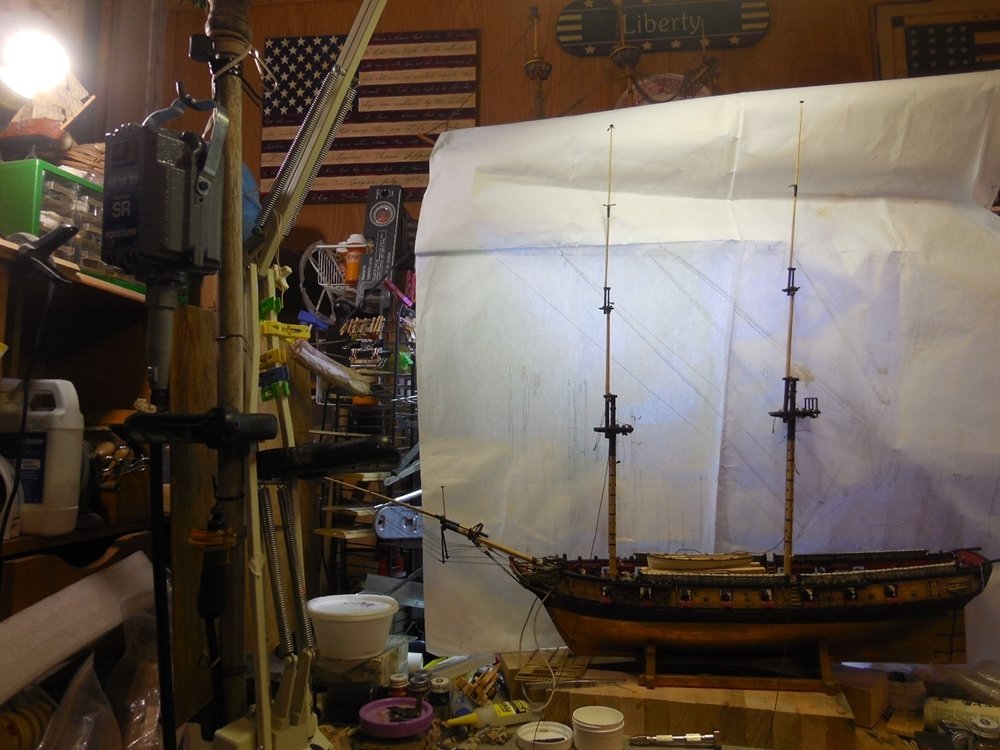
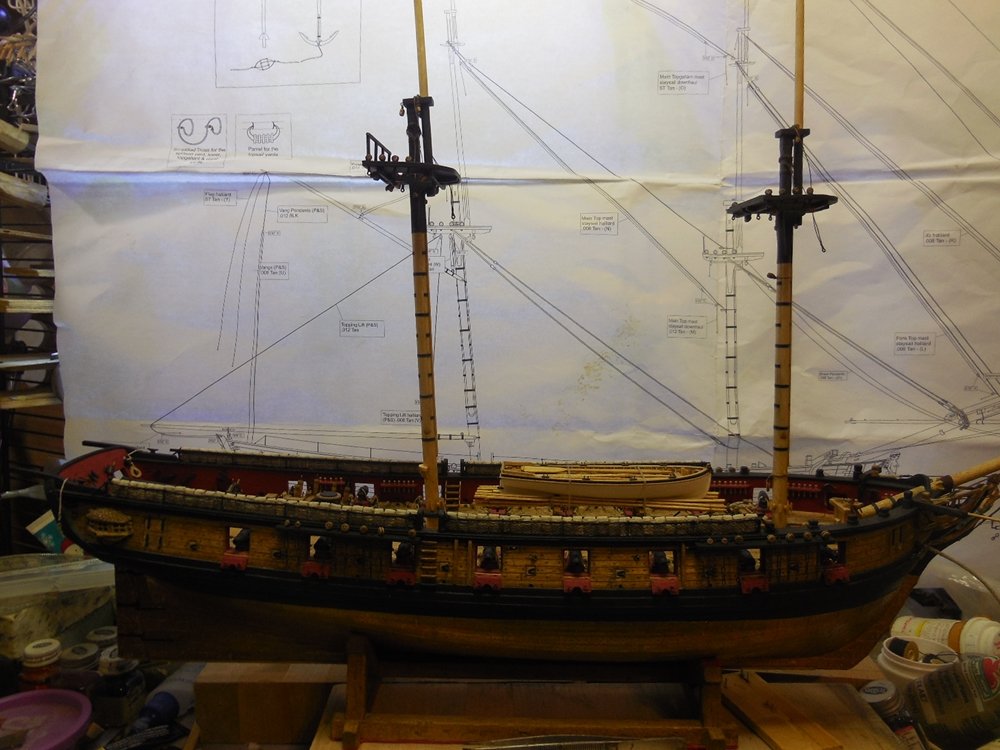
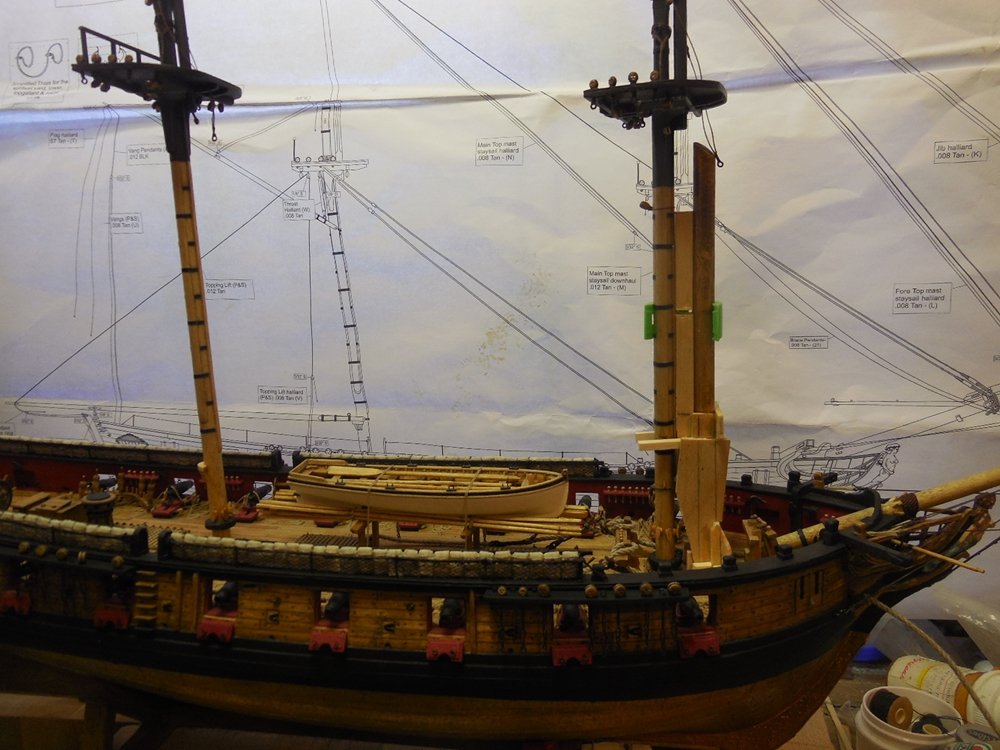
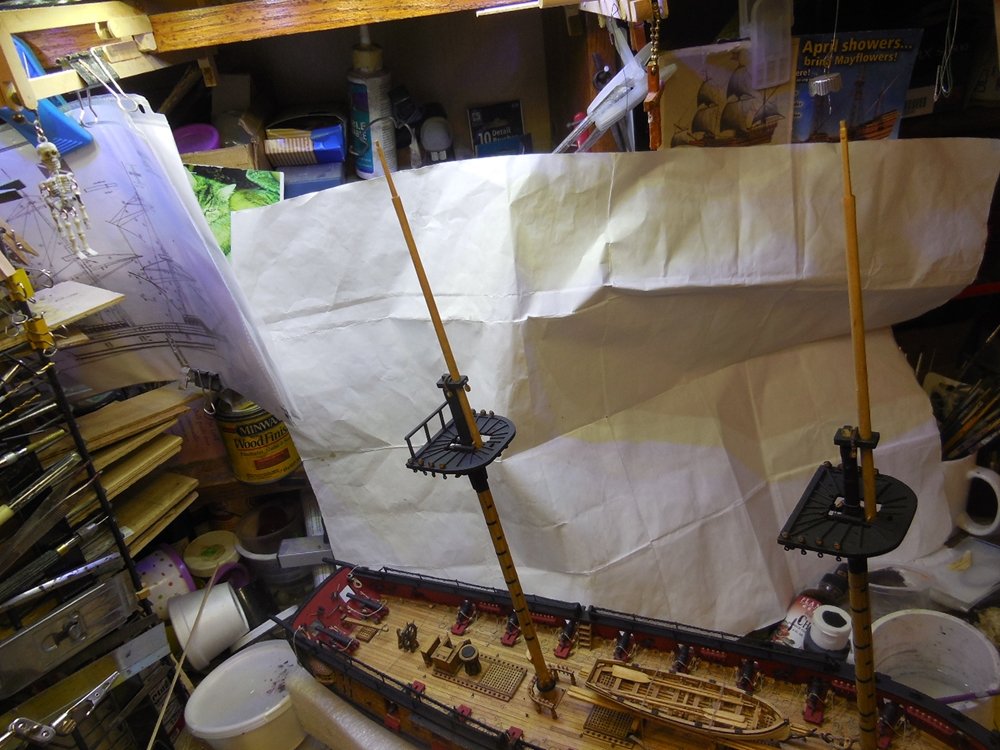
The masts are set. Hard to get a good shot of them because they are so tall. Jesse
- 1,306 replies
-
- 19
-
-
- syren
- model shipways
- (and 1 more)
-
Yes, I worried over that very early on. take a look back at page 22 of this build log to see how I dealt with that. Jesse
- 1,306 replies
-
- 6
-
-
- syren
- model shipways
- (and 1 more)
-
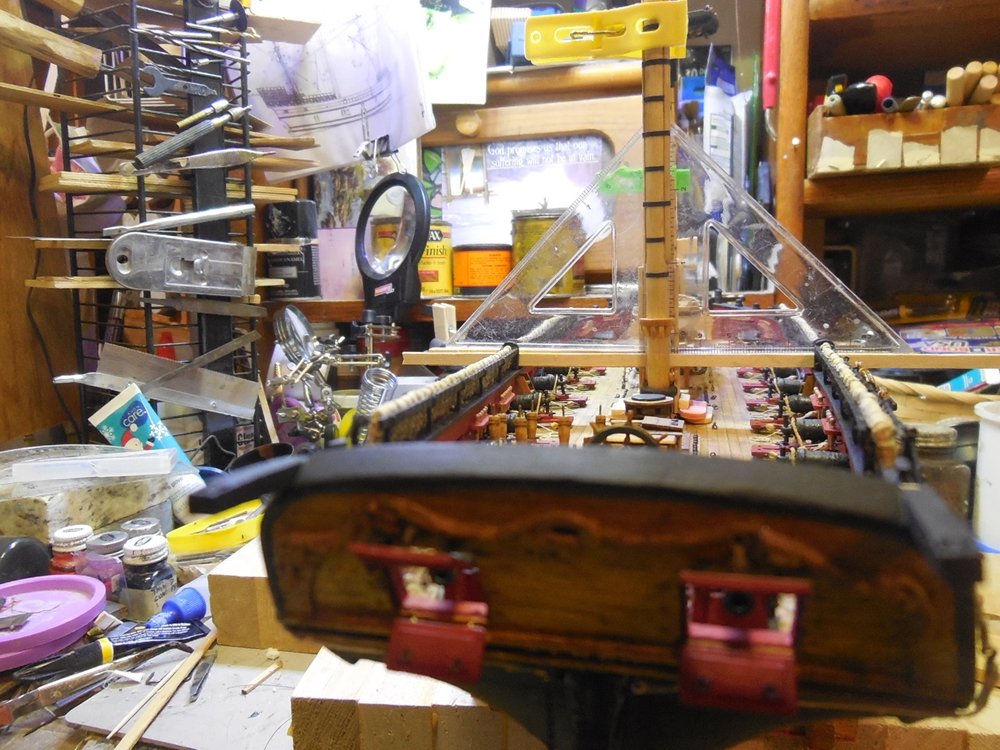
I always worry i wont get the masts glued at the right angles. I made these jigs hold the at the same angles on the plans. Each one is precisely made to fit around the mast and around, over in between, etc. all the stuff in the way to hold it exactly into place. Used small triangle squares to make sure they are not leaning on the sides. I had all this down with a combination of clothes pins and masking tape until the glue is set. Jesse


- 1,306 replies
-
- 23
-
-
- syren
- model shipways
- (and 1 more)
-
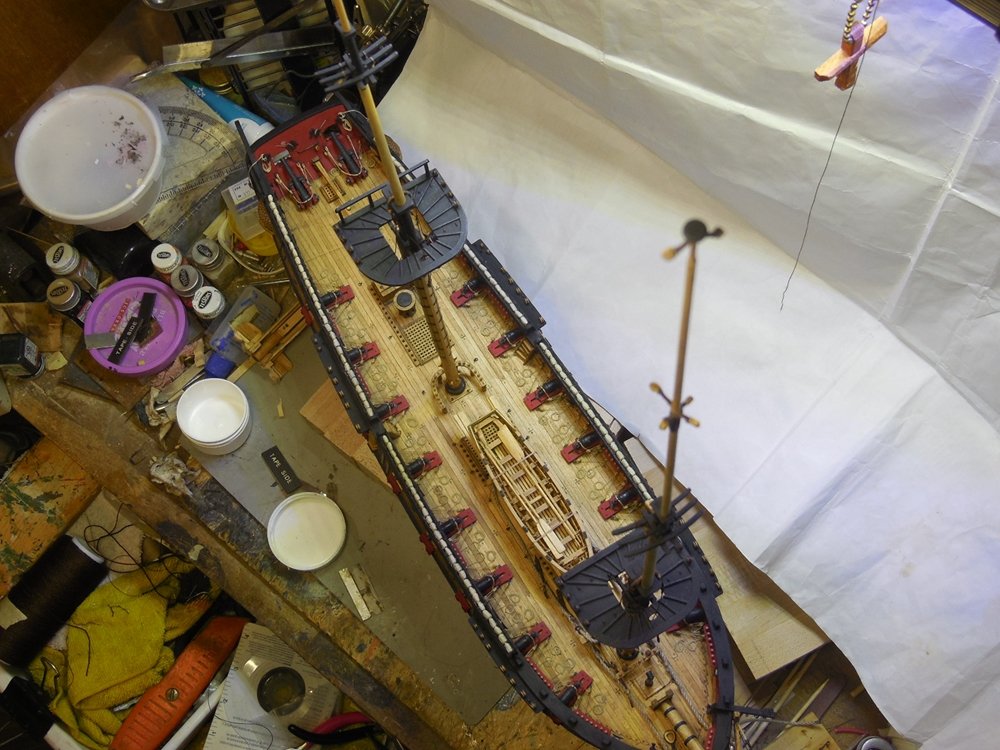
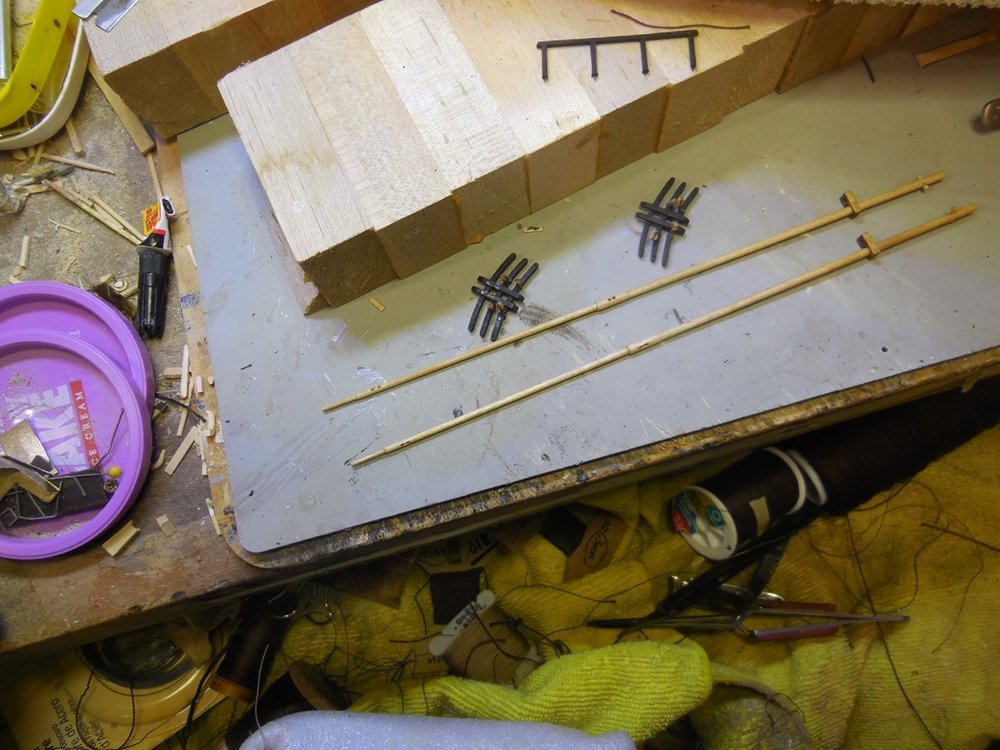
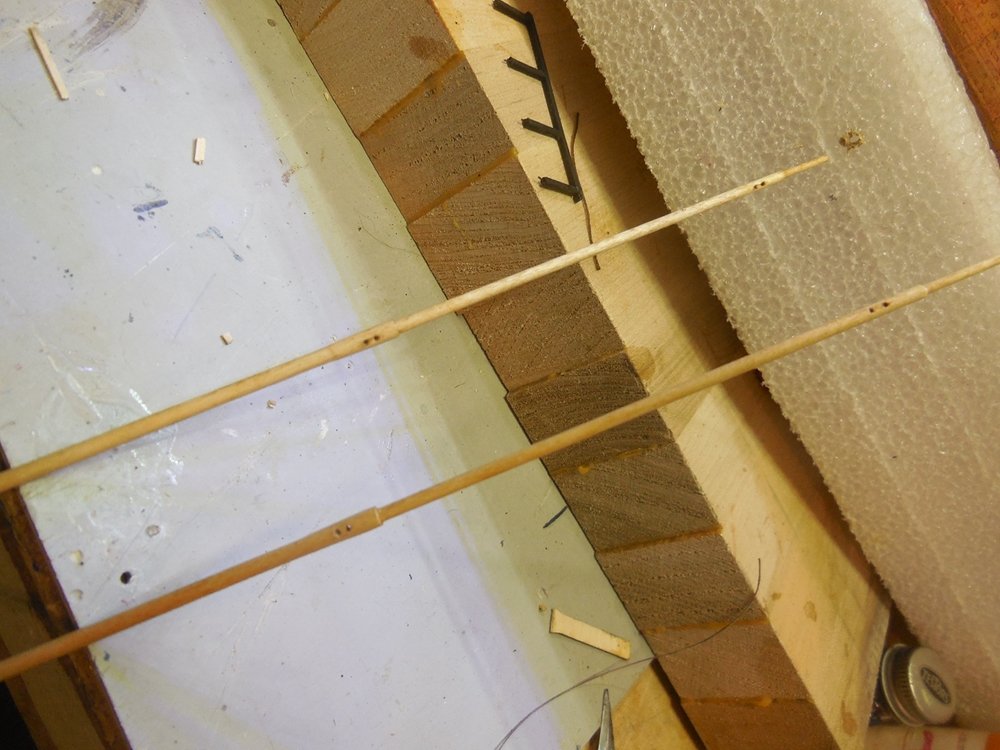
I rigged the lower lift blocks, jeer blocks and slings before gluing the masts in place. Jesse

- 1,306 replies
-
- 14
-
-
- syren
- model shipways
- (and 1 more)
-
You are going to love using Chuck's rope. It is the best rope I've ever seen. Jesse
-
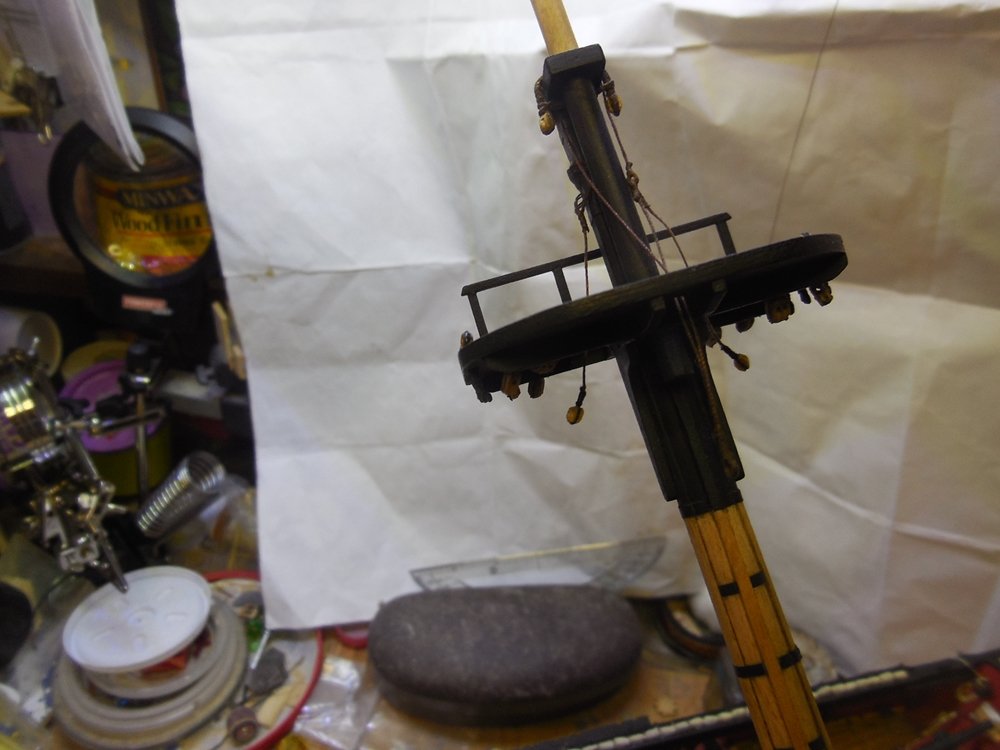
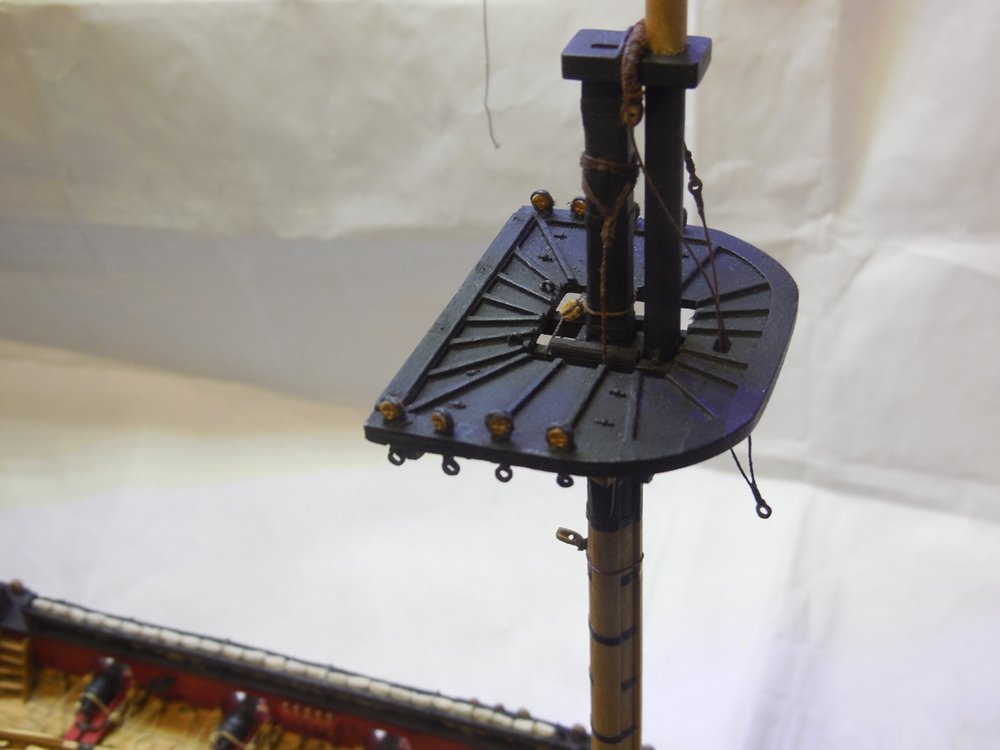
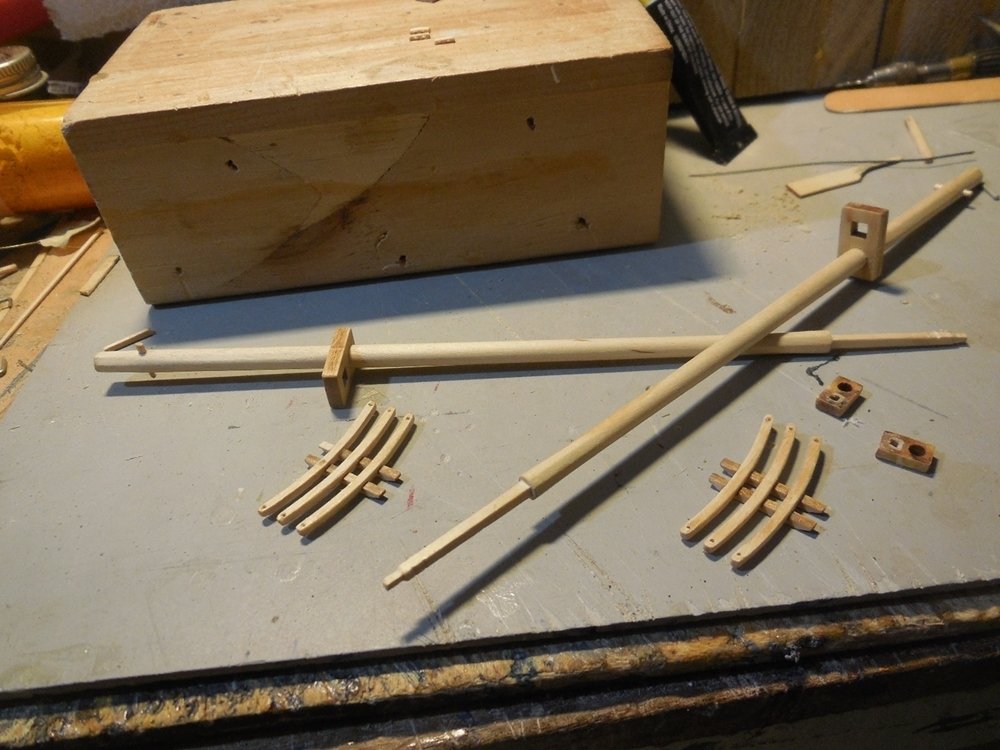
Gotten behind on posting updates. Completed the topmasts, topgallant masts, tops, crosstrees, fids. cheek blocks, etc. to add to the lower fore and main masts I had completed in earlier posts. Jesse

- 1,306 replies
-
- 20
-
-
- syren
- model shipways
- (and 1 more)
-
Hey Richard, I didn't know what to do there. The instructions didn't say. The pictures just showed basic seizing, just wrapping around for a short ways up so thats all I did. I wondered that myself when I got to it but could not find any info on it. I guess I should have asked. I'll have to look that book up, it's one I don't have. Good to find someone else building the Syren to ask questions and bounce ideas off of. Jesse
-
I love it Dick. It has been a joy to follow along with this build. Refreshing to see something a little different. Too often the older vessels of History are forgotten. Jesse
-
I am constantly impressed with the information you have been able to find. I wish you could put all this in a book! Jesse
-
Looks great! I was looking at the davits on mine yesterday and thought it looked empty without any kind of lifeboat hanging. You just might have inspired me to make one for mine too. I don't know the proper way to rig/hang/ block it. Need to do some research. Jesse
-
Well, a little setback. When I tried to pin the preventer links at the bottom the whole chain plate assembly hangs too far down. It all reaches over the wales. Now I have to clip off all the links and shorten them so that everything ends just above the wales. This is gonna take a while................ Jesse
- 1,306 replies
-
- 7
-
-
- syren
- model shipways
- (and 1 more)
-
I agree with Alan. We try to make our ships perfect and if we were to really examine the real thing they were not so perfect or pretty. Seeing them far off must have looked beautiful but if you walked onto the ship you would see how rustic and raw they really were. Jesse
-
I've been silently following along Mark. Prayers for you both, glad to have you back in the shipyard. It is always interesting to read your research and see your attention to detail. Jesse
-
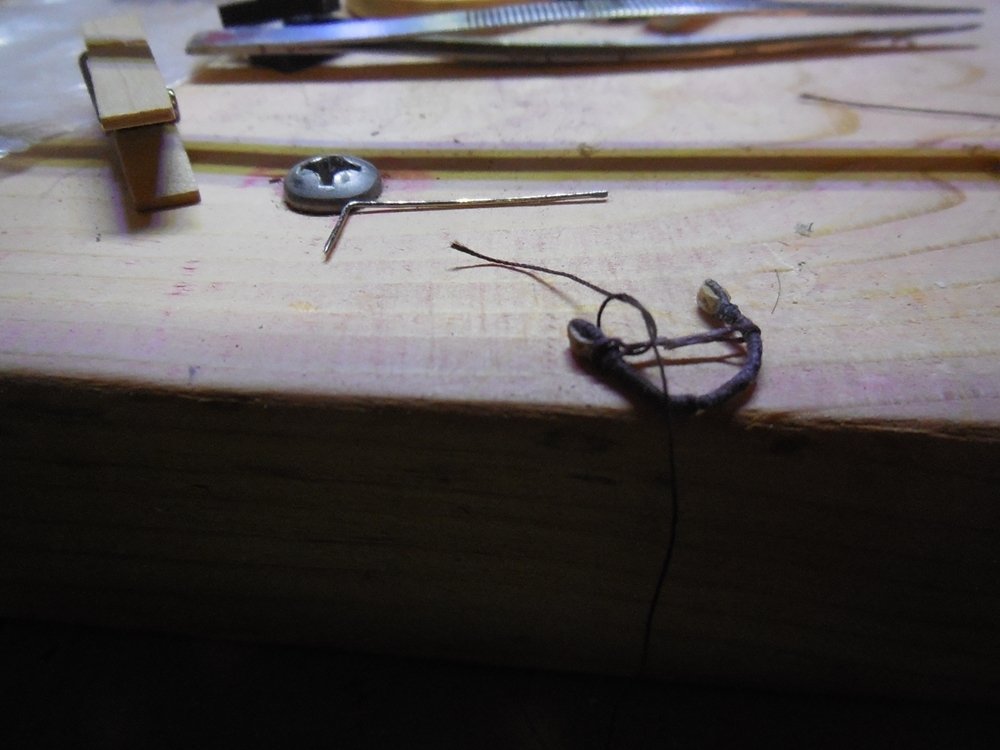
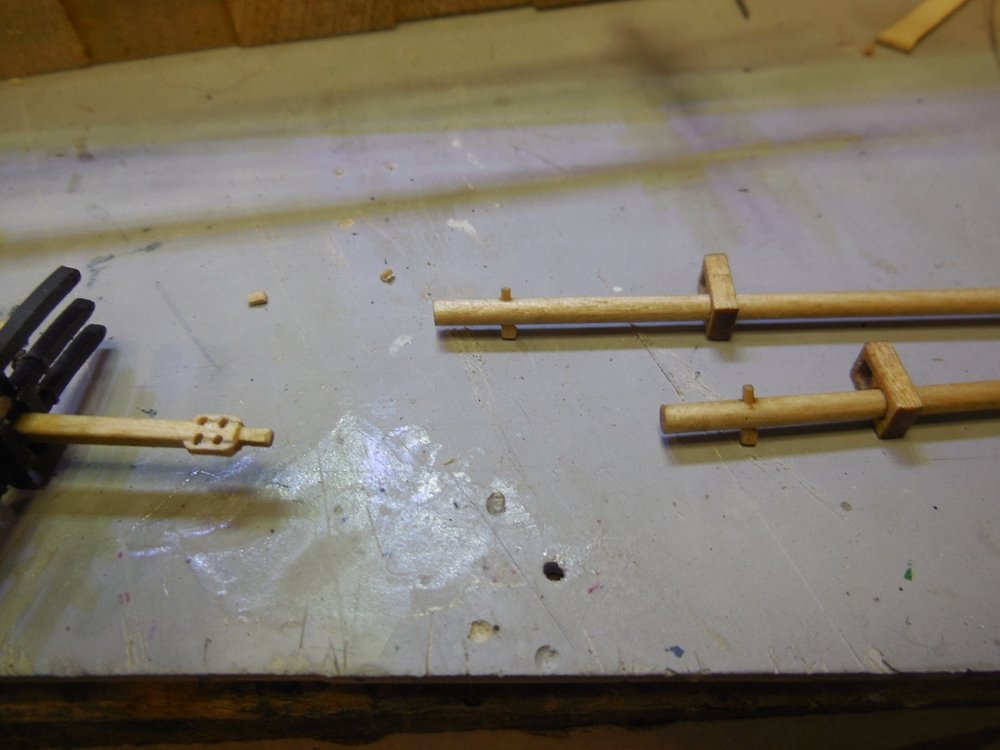
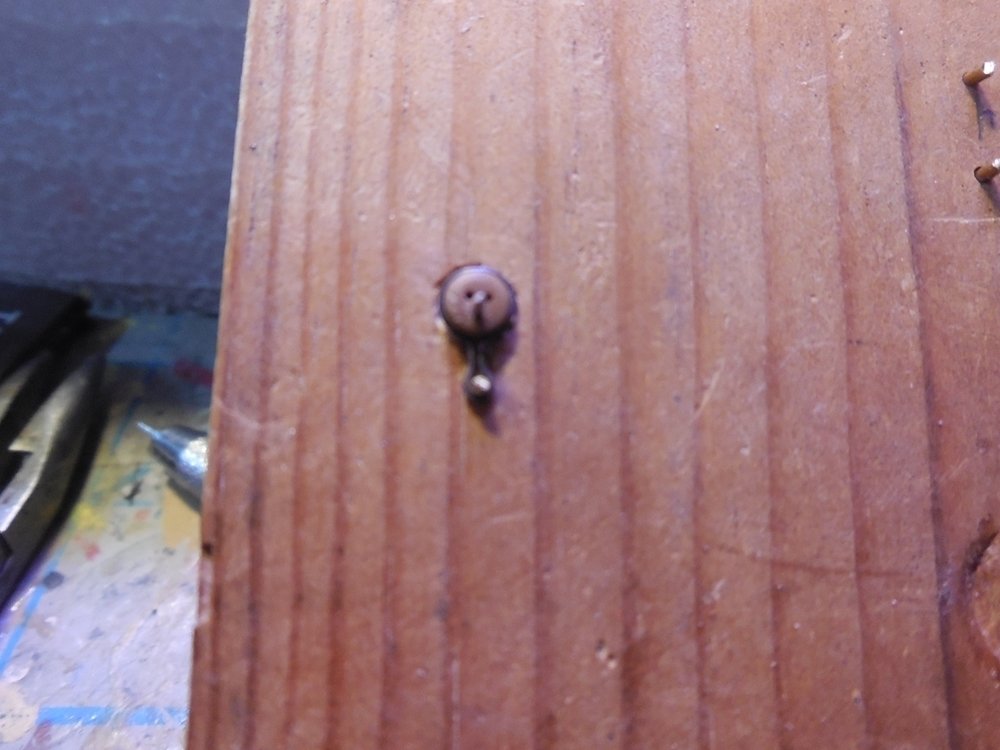
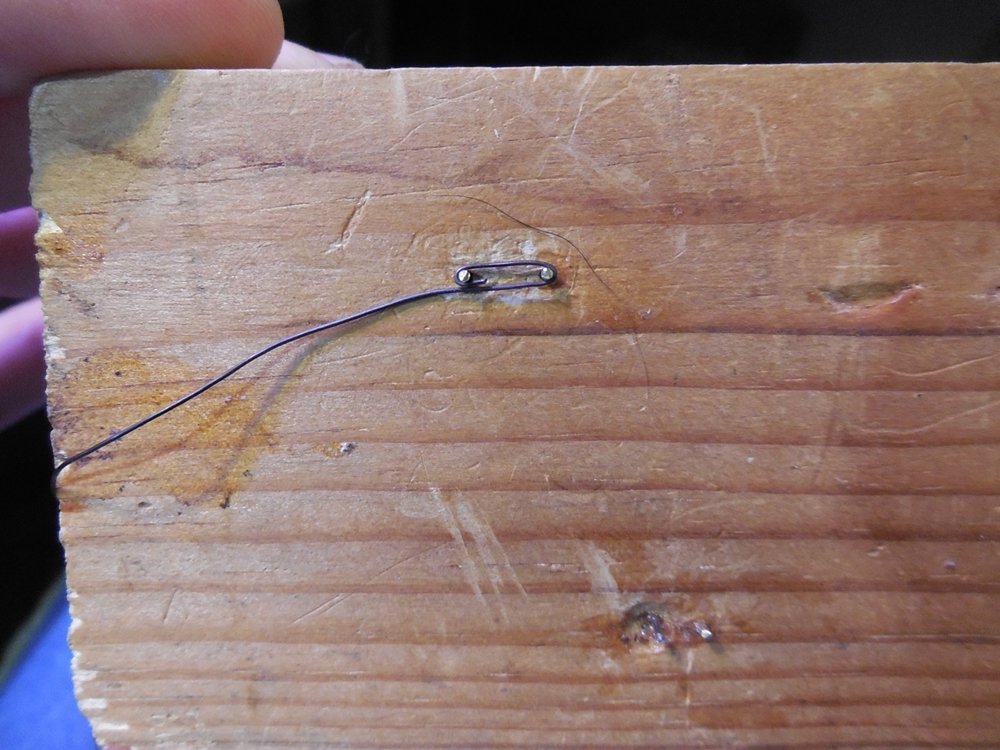
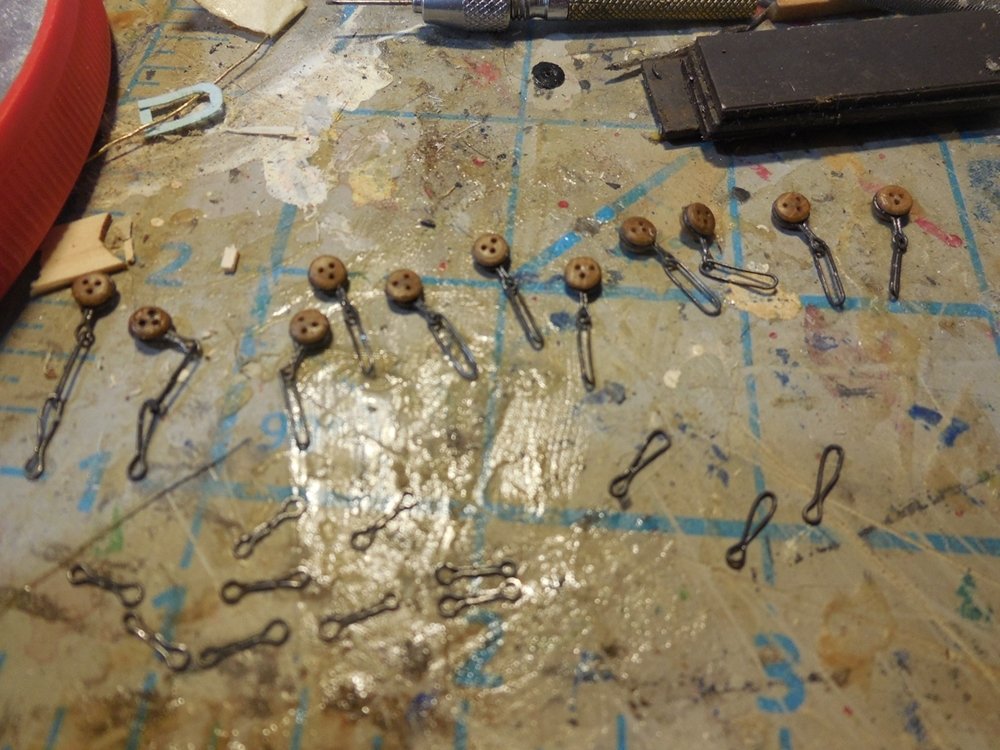
Thank you all for the words of encouragement. We had Abby for about 12 or 13 years. I'm gonna miss her a lot. Worked on the deadeye strops. likns, preventer links, etc. that are involved with the chain plates. Made the standard jig using different size nails and pins. Did the way the instructions showed. I would rather solder the joints but I am not set up soldering much so i had to settle for dabbing each spot with CA glue and hope it holds well enough. Got them all in the channel slots and got the molding over the ends. It is all still in a rough state. Still need to sabd paint, and touch up the glued spots on the links with gun metal enamel paint. Sorry for the out of focus pictures. My camera was dropped a few years back and the screen is mostly black now so you cant tell how the picture is focused or centered until you put the card in the computer to look at. Jesse

- 1,306 replies
-
- 18
-
-
- syren
- model shipways
- (and 1 more)
-
Was going to have an update today but our oldest dog Abby passed away today. I had to buried her and because of my health condition it has totally wiped me out. Sad day for me.
- 1,306 replies
-
- 8
-
-
- syren
- model shipways
- (and 1 more)
-
A newbie...... And yet, not exactly a newbie
JesseLee replied to Jake's topic in New member Introductions
Welcome Jake. From the way you describe yourself you will most likely get "hooked" and want to keep working on it. I found wood to be much more satisfying than plastic. Go for it! Jesse -
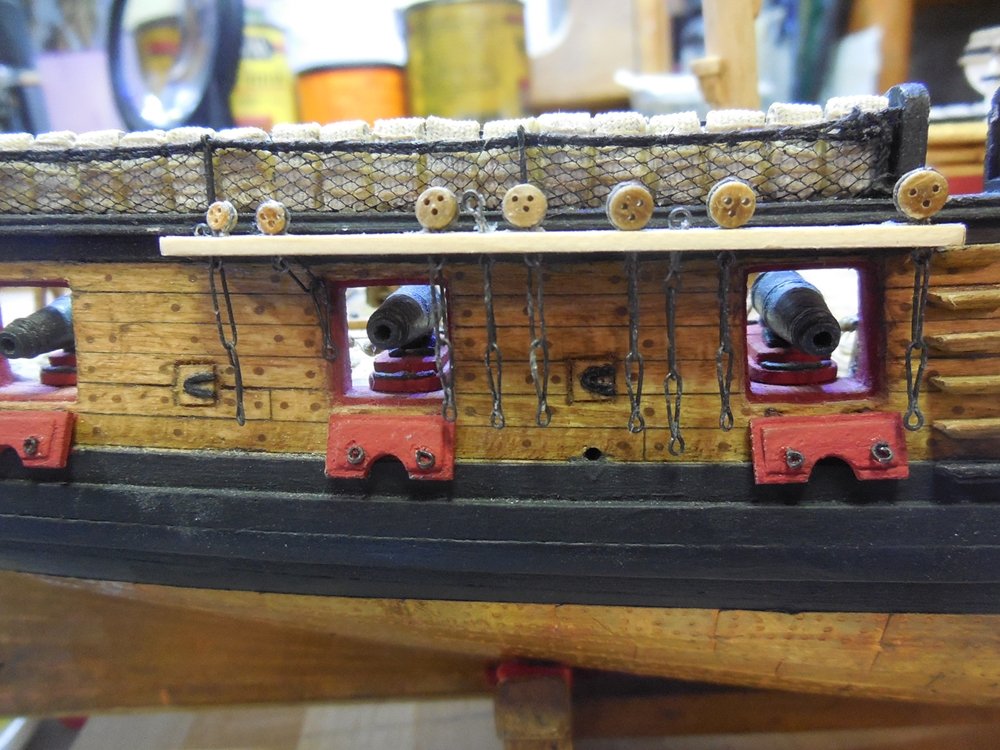
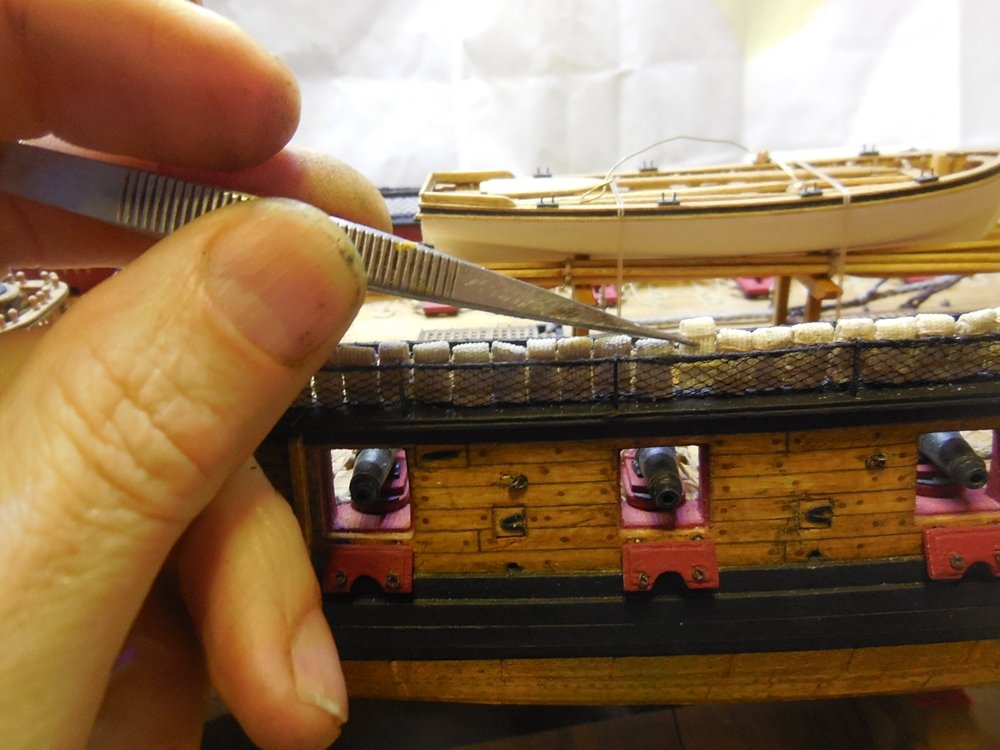
Got them all done and glued in place. I'm glad this was suggested, I wasn't going to add these as it wasn't in the instructions but I like the way it looks. Jesse

- 1,306 replies
-
- 24
-
-
- syren
- model shipways
- (and 1 more)
-
I agree! This both a ship model and a beautiful work of art.
- 692 replies
-
- 3
-
-
- eagle of algier
- chebec
- (and 2 more)
-
Thanks for all the input. I guess I'm doing it right enough to be ok. Jesse
- 1,306 replies
-
- 6
-
-
- syren
- model shipways
- (and 1 more)
-
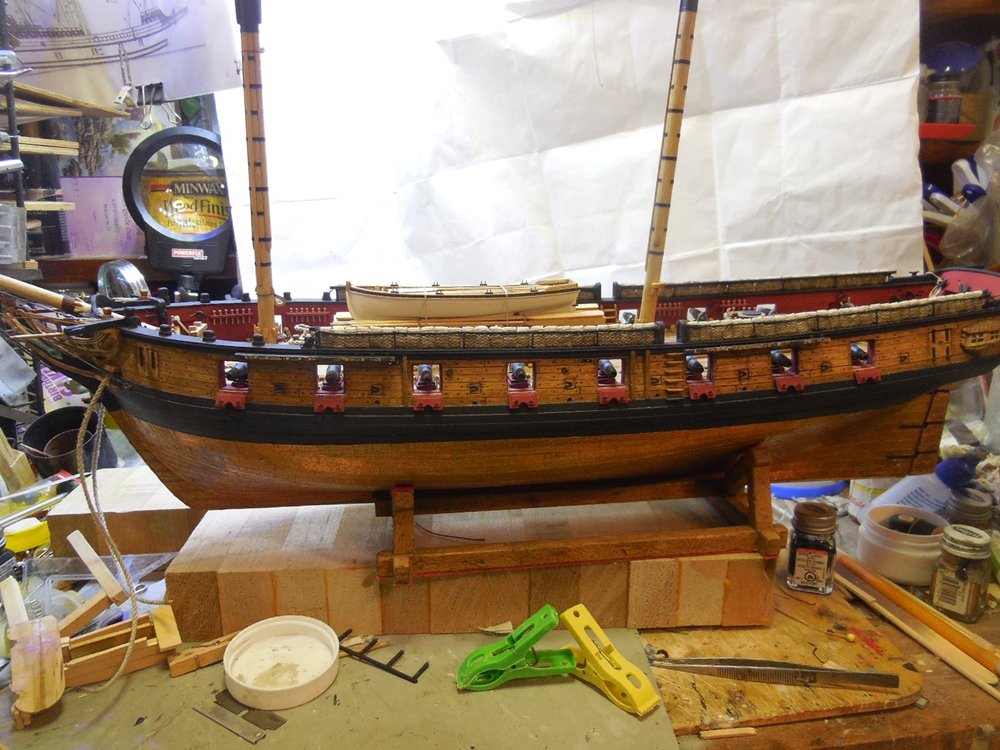
Ok, now I found online that she had a crew of 120 Officers and enlisted. Not sure how many were officers but wouldn't that mean that less than 120 hammocks are needed? Do you fill the netting up with them even if it is more than needed? Jesse
- 1,306 replies
-
- 4
-
-
- syren
- model shipways
- (and 1 more)
-
Thanks everybody. Tips and info are always welcome. This is something I know very little about so I feel like I'm stumbling around in the dark with these. Hmm, interesting Gary, I wonder? I tried to look this stuff up but find very little info so I've gone on the few builds here on MSW I could find. (I've snagged the bowsprit only 3 or 4 times and make 1 repair so far!) Harley, I wondered that myself, saw both ways on models on Google searches. My hammock cranes and netting are very narrow and they fit better this way. Another thing to consider that I have been thinking about today is how many are needed? I cant find a number on the crew of the Syren. More can be crammed in turning them the other way but on a ship of this size is that needed? Anyone out there know? I have been tying them which is also taking forever and the whole time I'm wondering am I doing all this wrong somehow and will i have to do all this all over again? Jesse
- 1,306 replies
-
- 8
-
-
- syren
- model shipways
- (and 1 more)
-
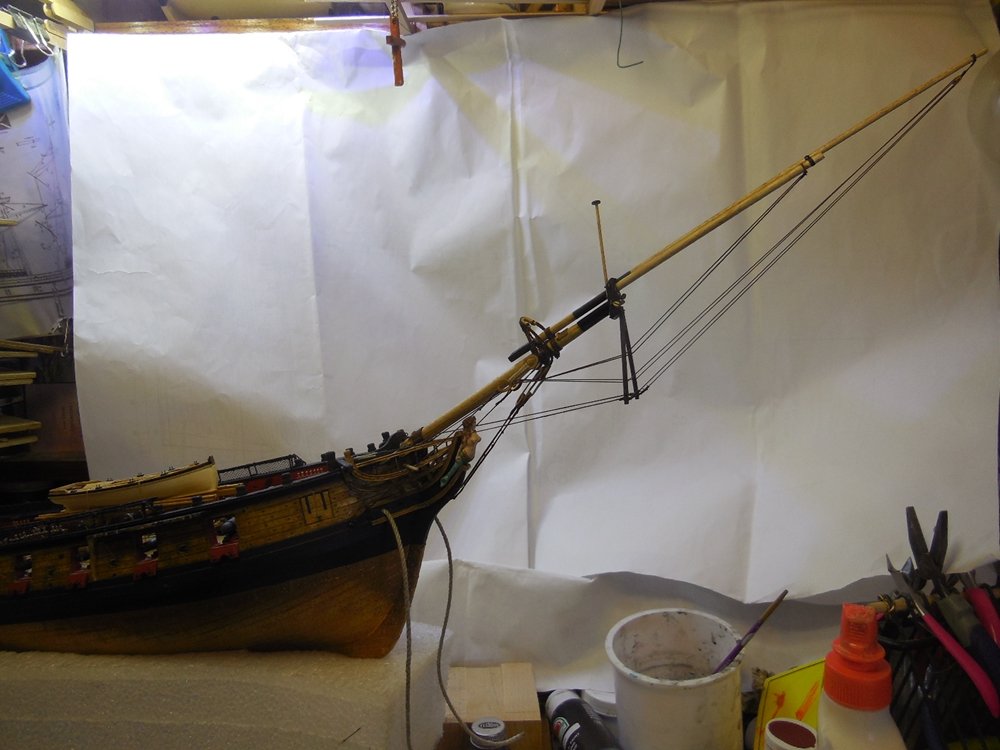
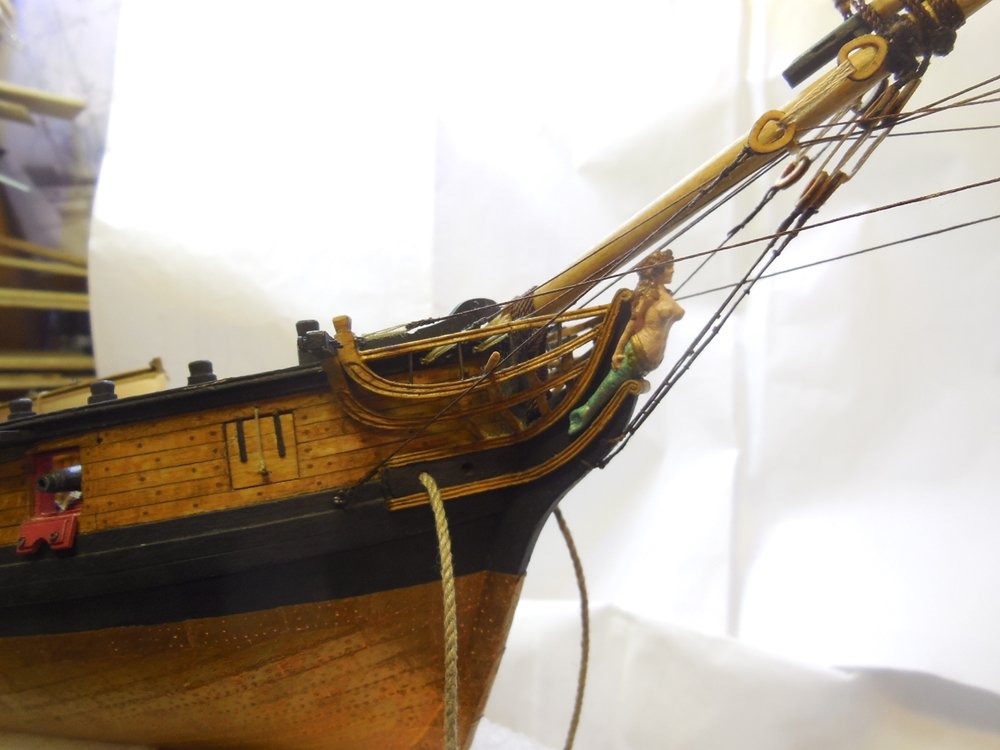
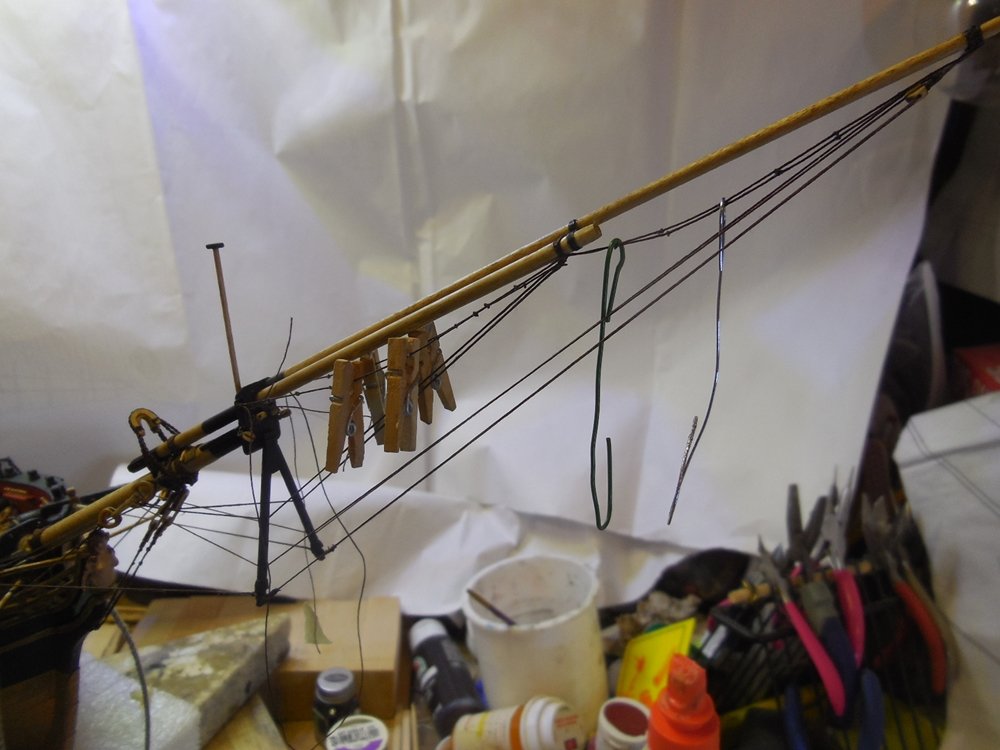
Meanwhile I've been working on the Bowsprit rigging. Jesse
- 1,306 replies
-
- 17
-
-
- syren
- model shipways
- (and 1 more)
-
Been playing with them some more. Made them a little shorter. Are they still too high? I really don't know much about these. Jesse

- 1,306 replies
-
- 13
-
-
- syren
- model shipways
- (and 1 more)