JesseLee
-
Posts
1,694 -
Joined
-
Last visited
Content Type
Profiles
Forums
Gallery
Events
Everything posted by JesseLee
-
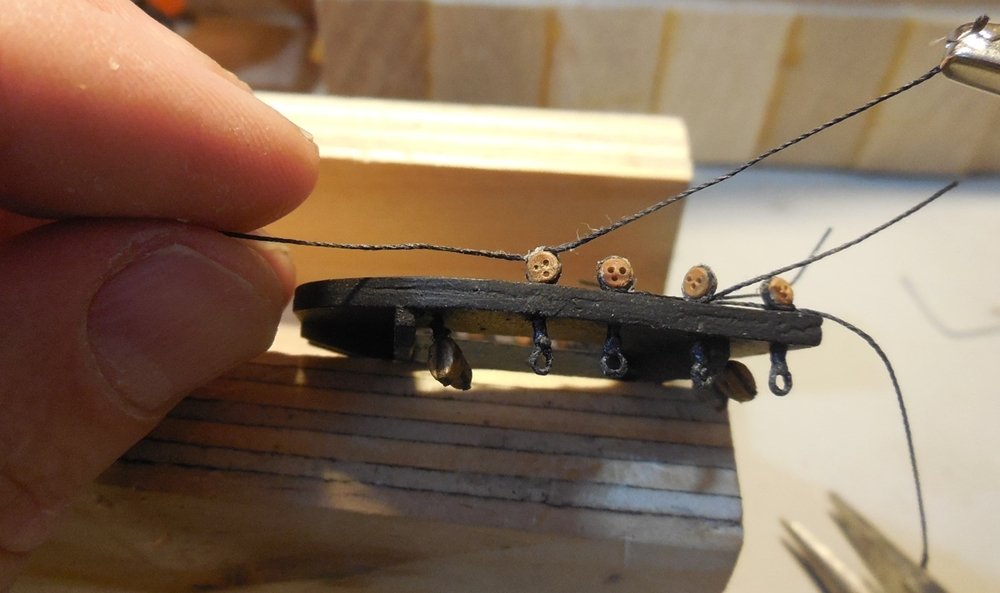
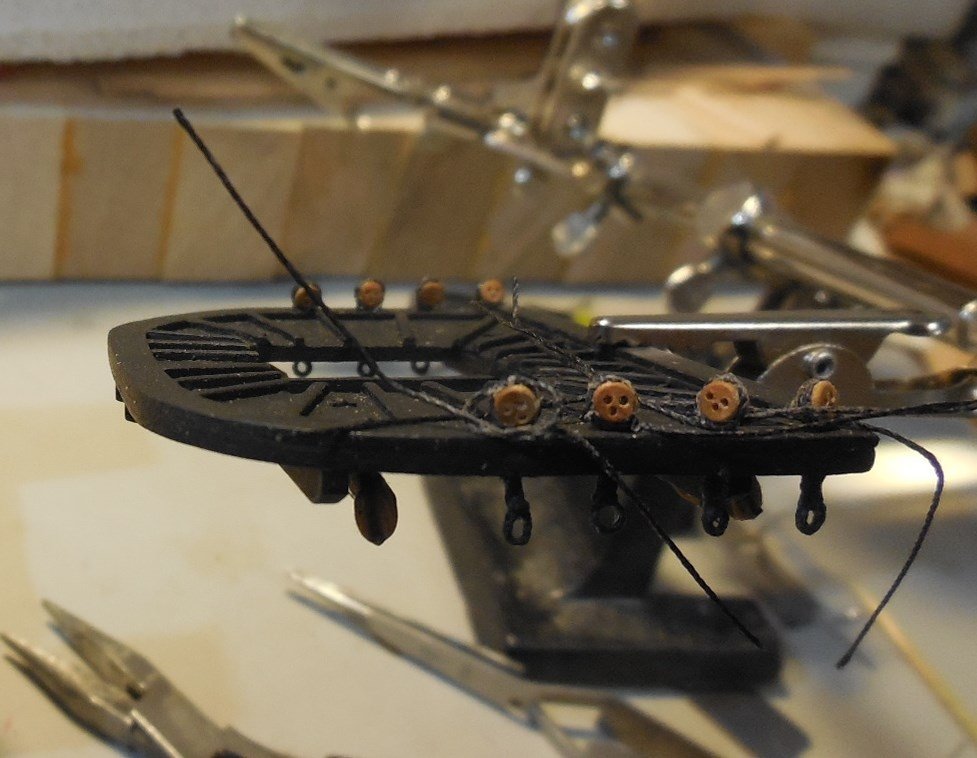
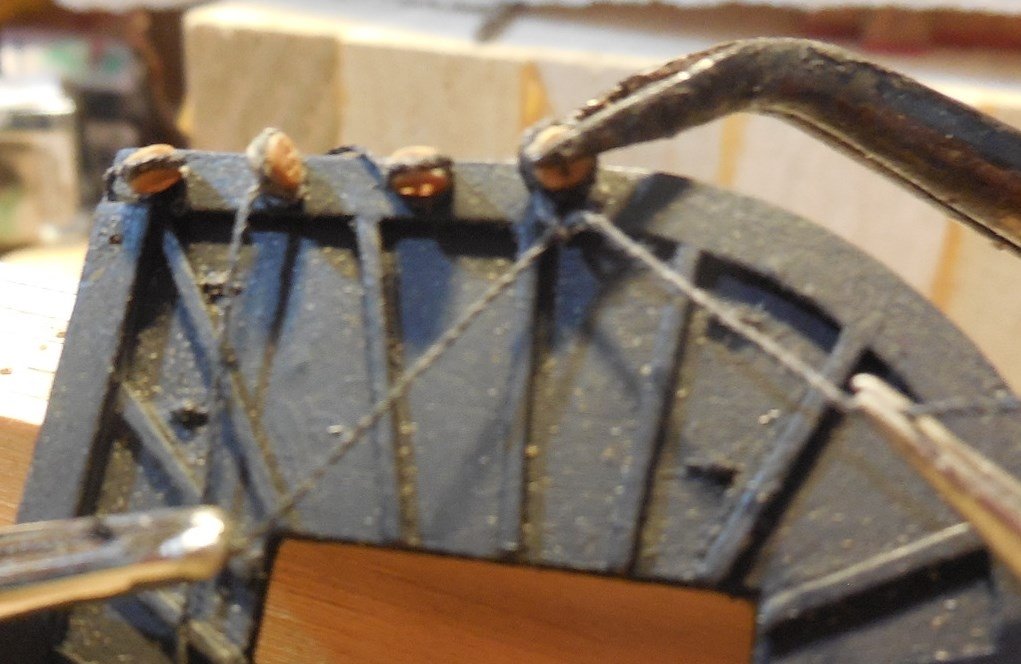
 Made the deadeye plates from .012 black rigging line like the instructions show. Wasn't sure about this at first but after trying a few it looks fine. Form an eye, seize above it and add glue. After painting (I used gun metal gray/black) and you cant tell the are made from rigging. Pull the 2 loose ends through the holes in the top to tie around the deadeyes on the other side. The instructions said to tie an overhand knot, glue and snip off but I tied an overhand knot, looped back around bottom of deadeye then tied another overhand knot around the bottom of the deadeye for extra security when rigging will be pulling on them. Jesse


- 1,306 replies
-
- 24
-

-
- syren
- model shipways
- (and 1 more)
-
Drilled all the holes. Used snips of wire on top to hang the blocks. Painted black. Jesse
- 1,306 replies
-
- 17
-
-
- syren
- model shipways
- (and 1 more)
-
Those things supplied in the kit are horrible. I doctored mine up and used them but every time I look at them I am embarrassed. Jesse
- 1,135 replies
-
- 3
-
-
- model shipways
- syren
- (and 2 more)
-
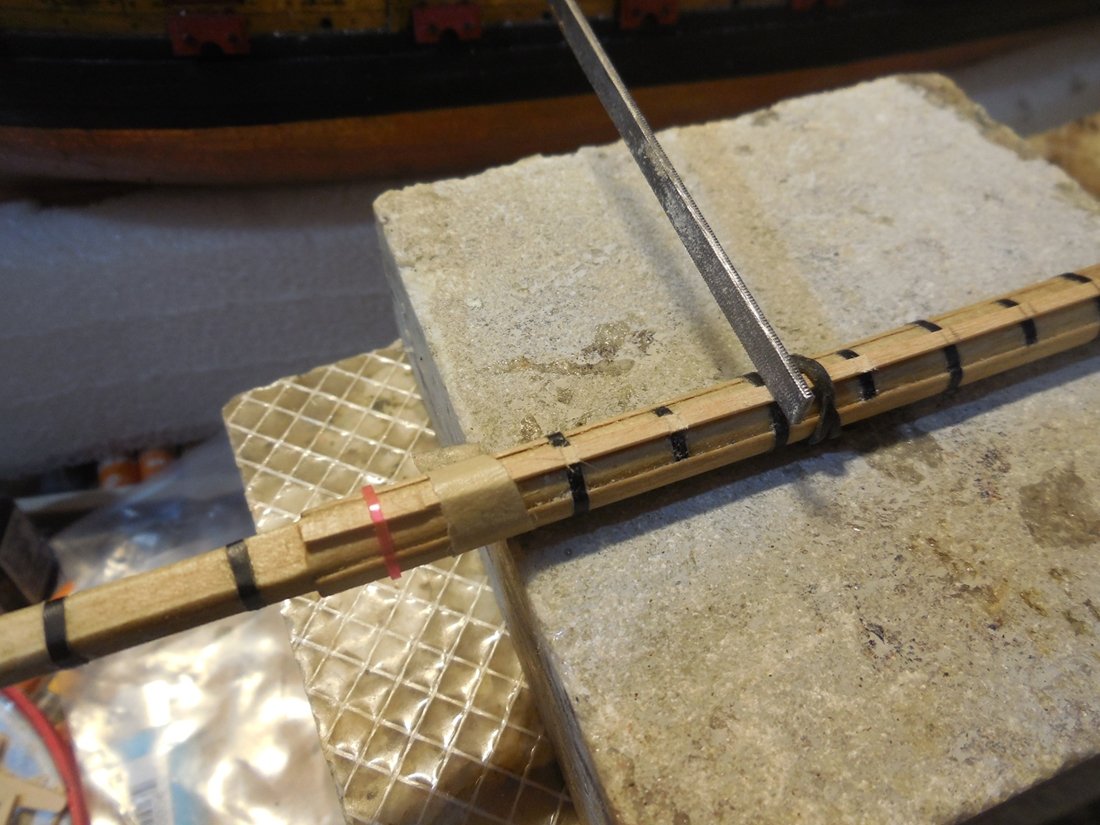
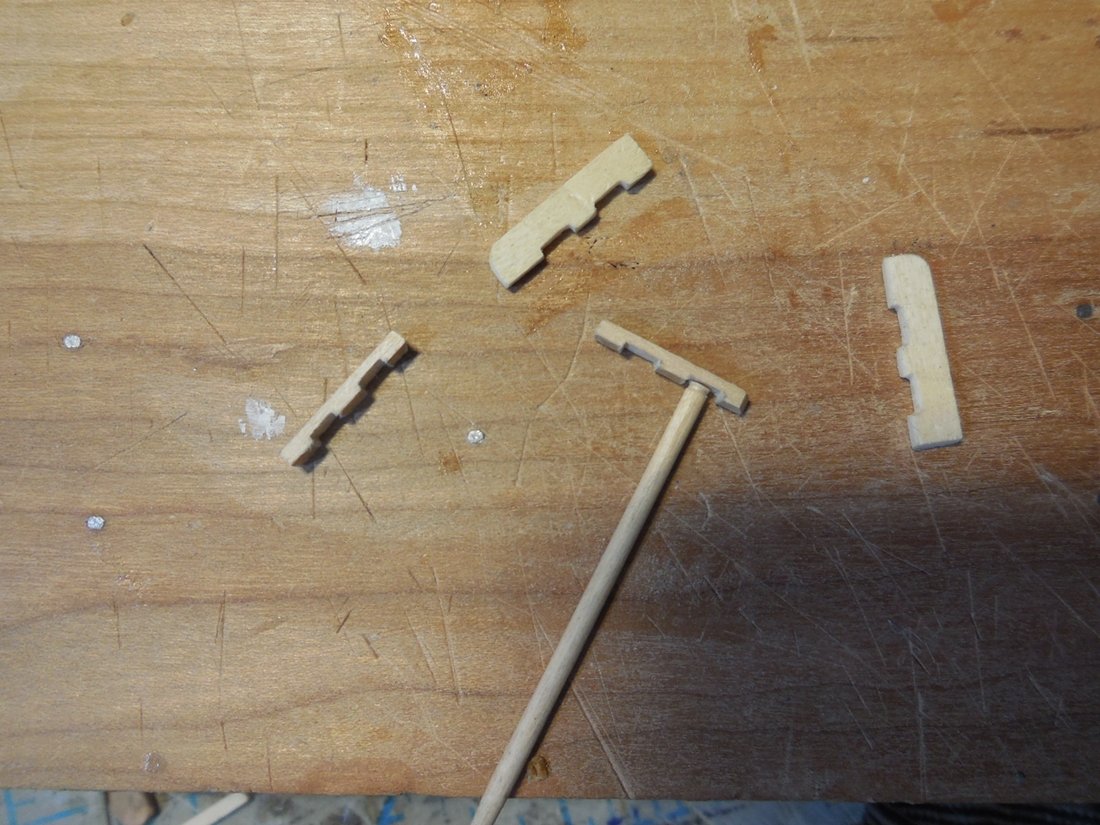
The cleats supplied in the kit are cheap metal stuff and I just can't see trying to use them at all. Decided to make my own. Had some scrap pieces of some kin of hard wood cut off the end of something. Cut out into small strips then shaped with mini files. Made all the ones needed on the lower masts and the ones that will be needed in the rigging later. Close ups of both ends of the completed lower masts. Jesse


- 1,306 replies
-
- 30
-
-
- syren
- model shipways
- (and 1 more)
-
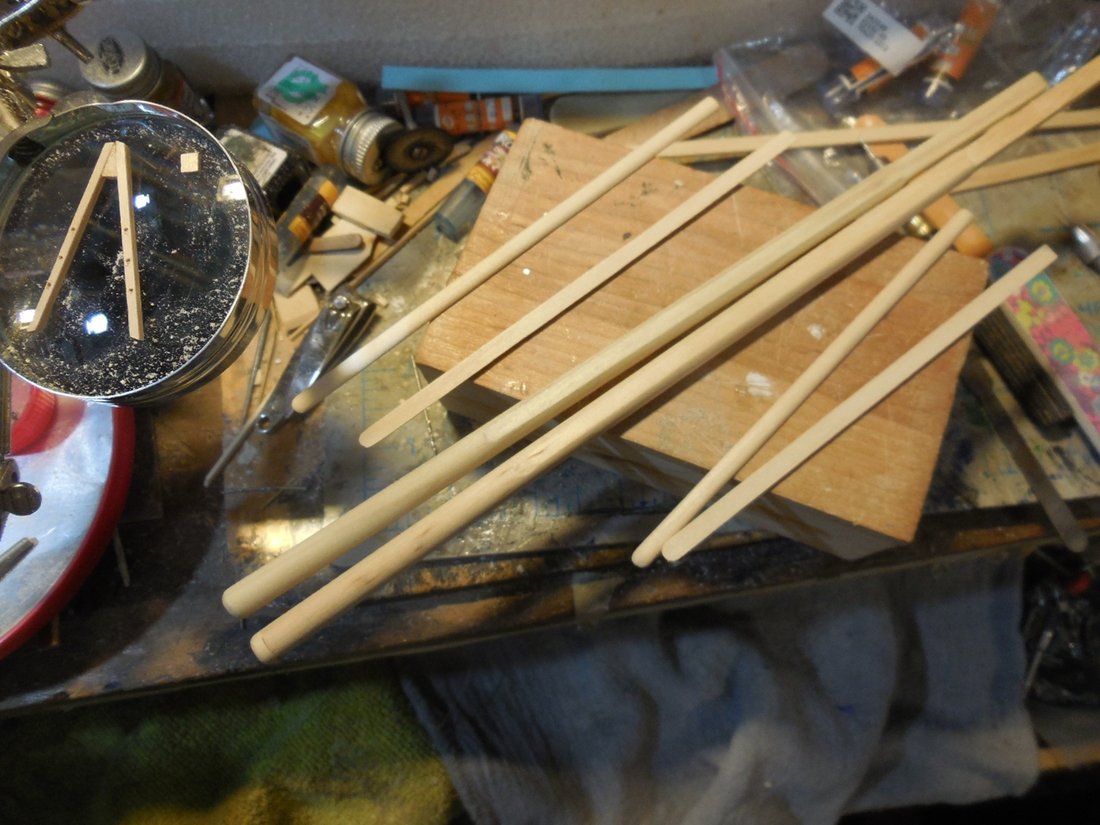
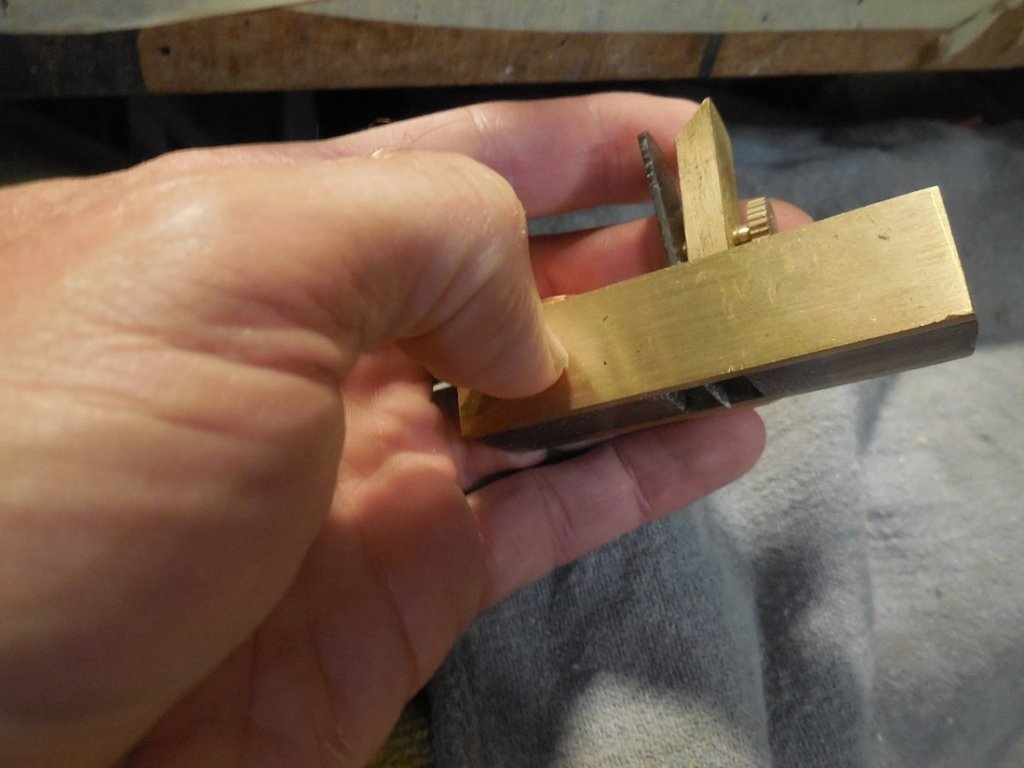
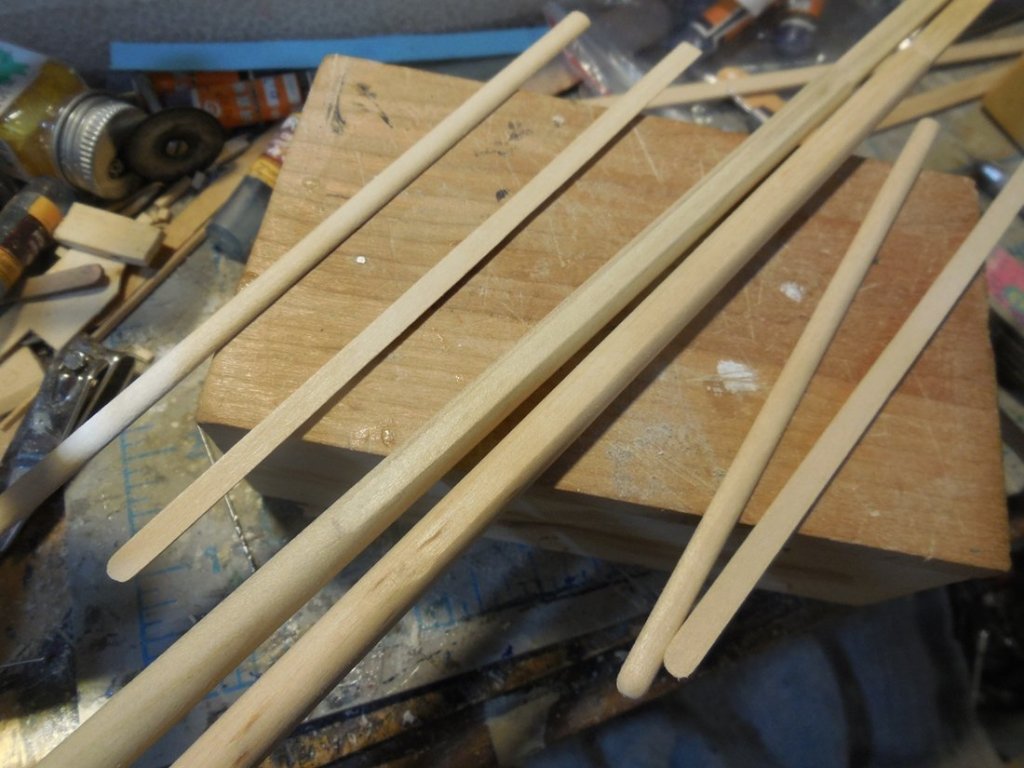
Started the lower masts. Used poplar dowels I picked up at Lowes. To square the top part I started with a mini plane sent to from Europe. Then finished with emory sticks women use for their nails. Made the cheeks Notched them for bands. Jesse


- 1,306 replies
-
- 19
-
-
- syren
- model shipways
- (and 1 more)
-
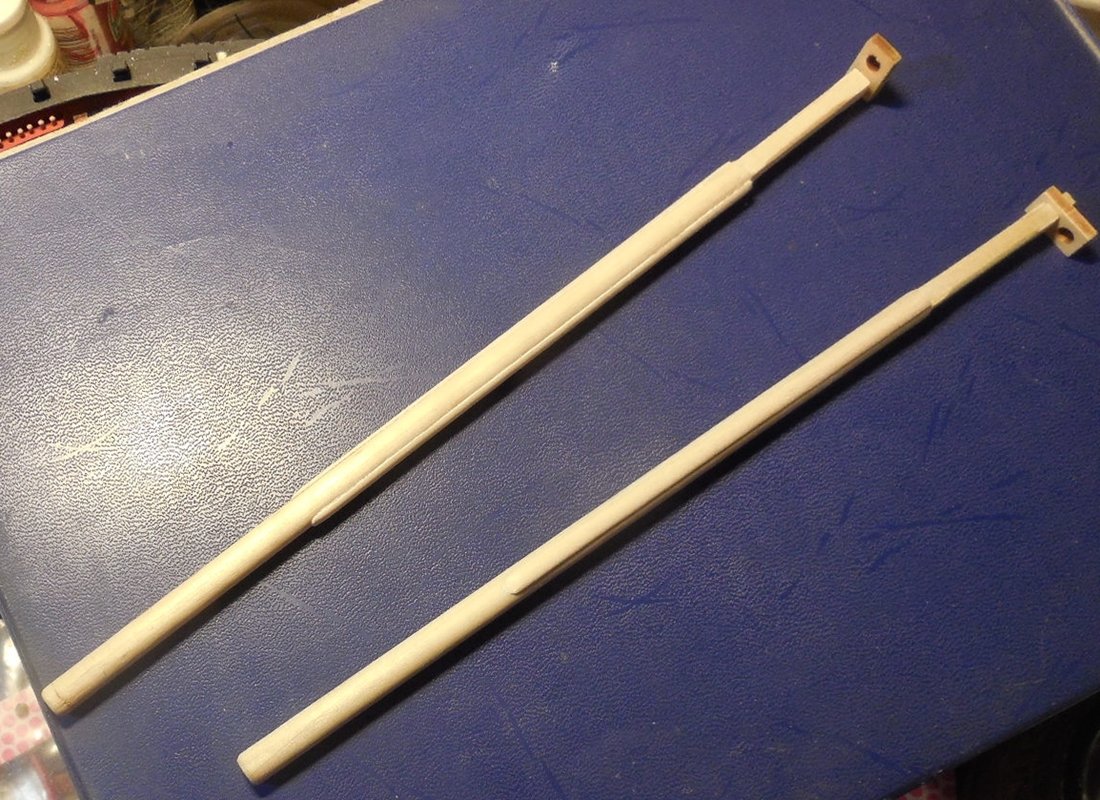
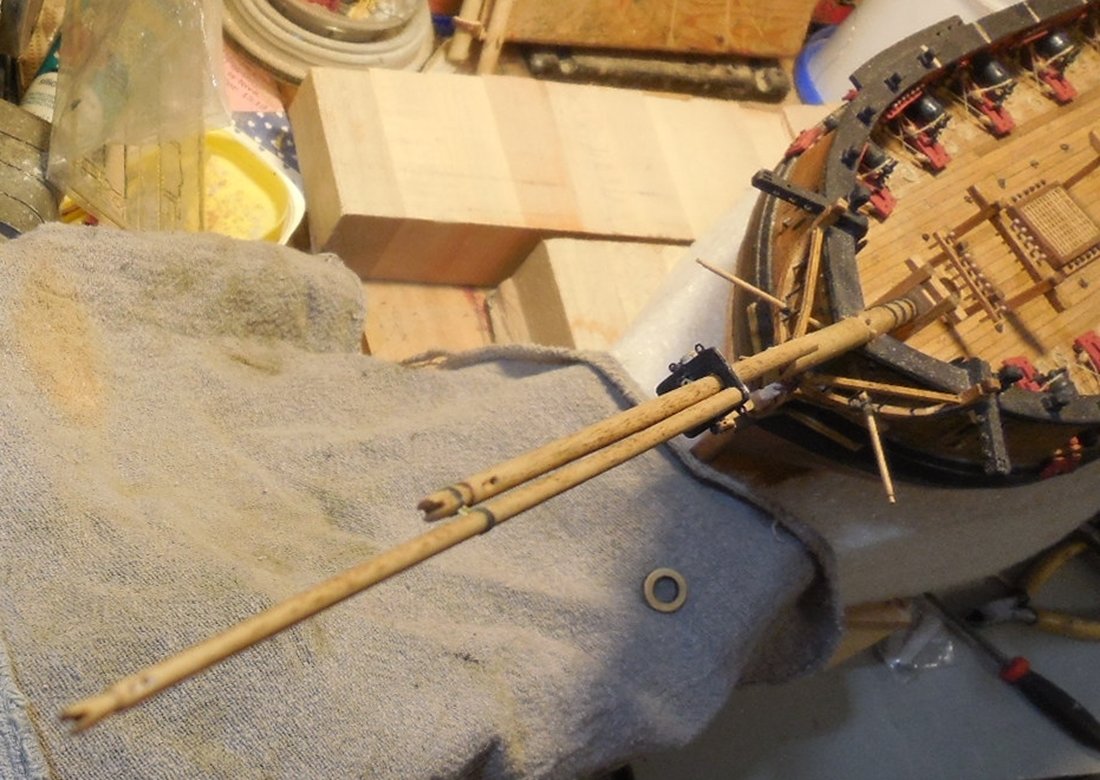
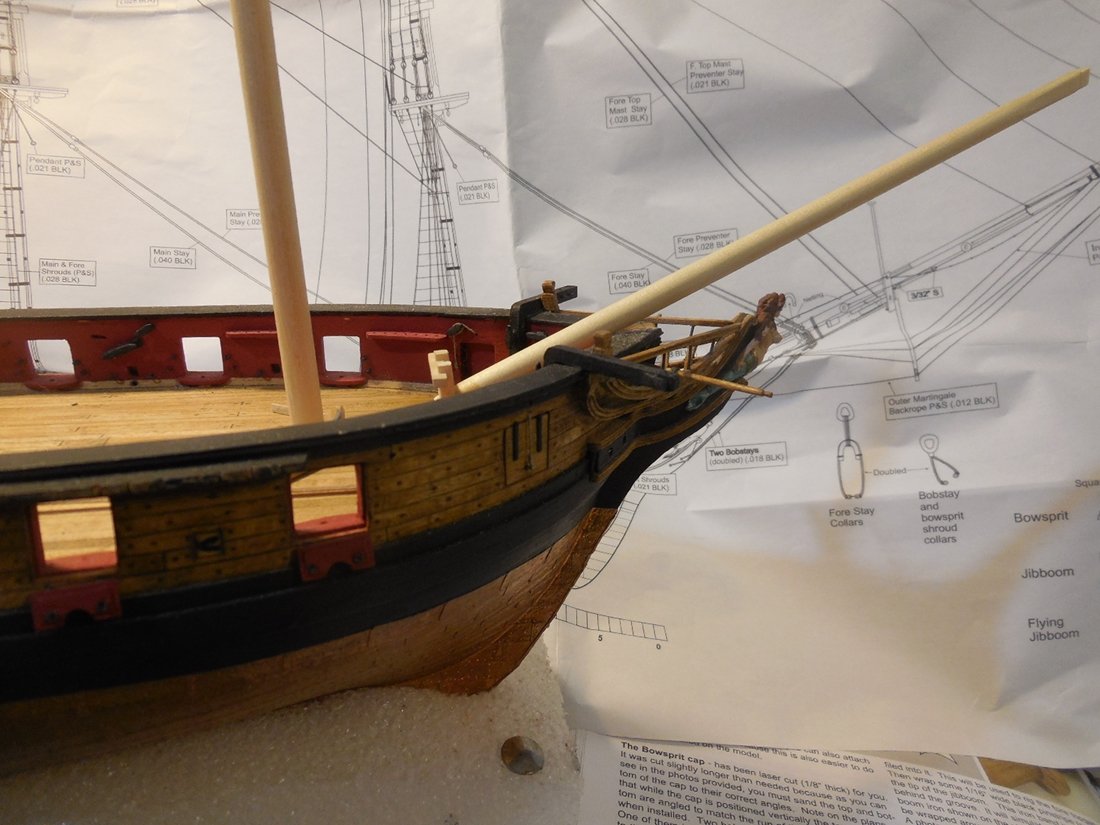
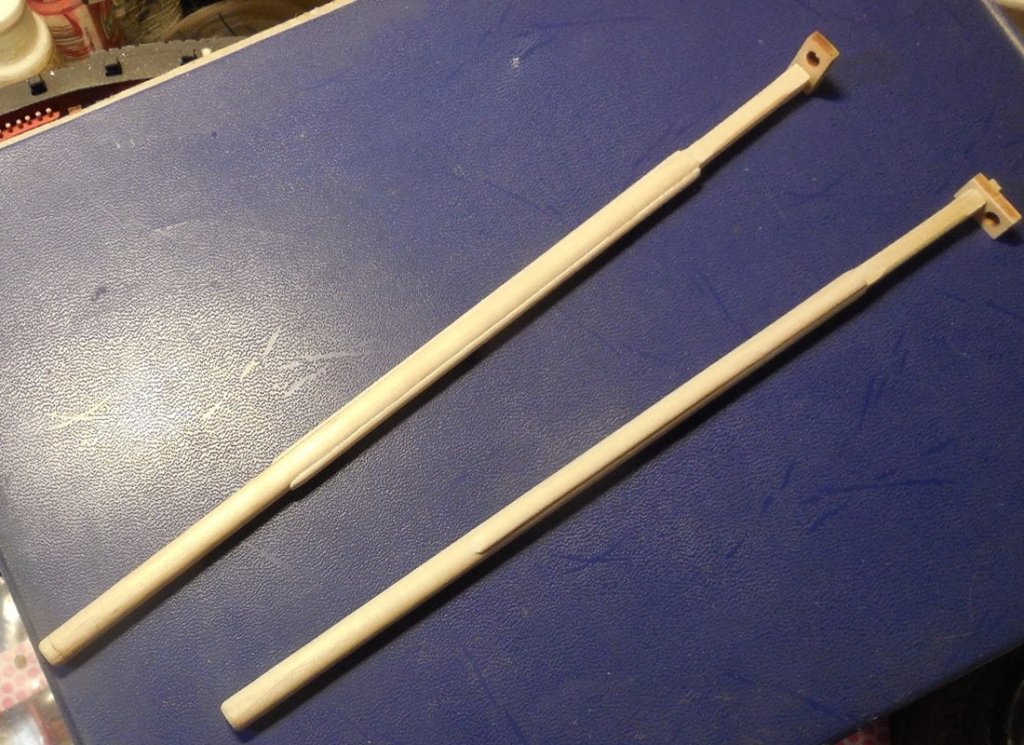
Dry fitting of the bowsprit, jibboom & flying jibboom. Jesse

- 1,306 replies
-
- 17
-
-
- syren
- model shipways
- (and 1 more)
-
I glued a very very small wood block under my swivels on the side that sticks out and has the space under them. Tuck them back a little and no one can ever see that they are there. Jesse
- 1,135 replies
-
- 5
-
-
- model shipways
- syren
- (and 2 more)
-
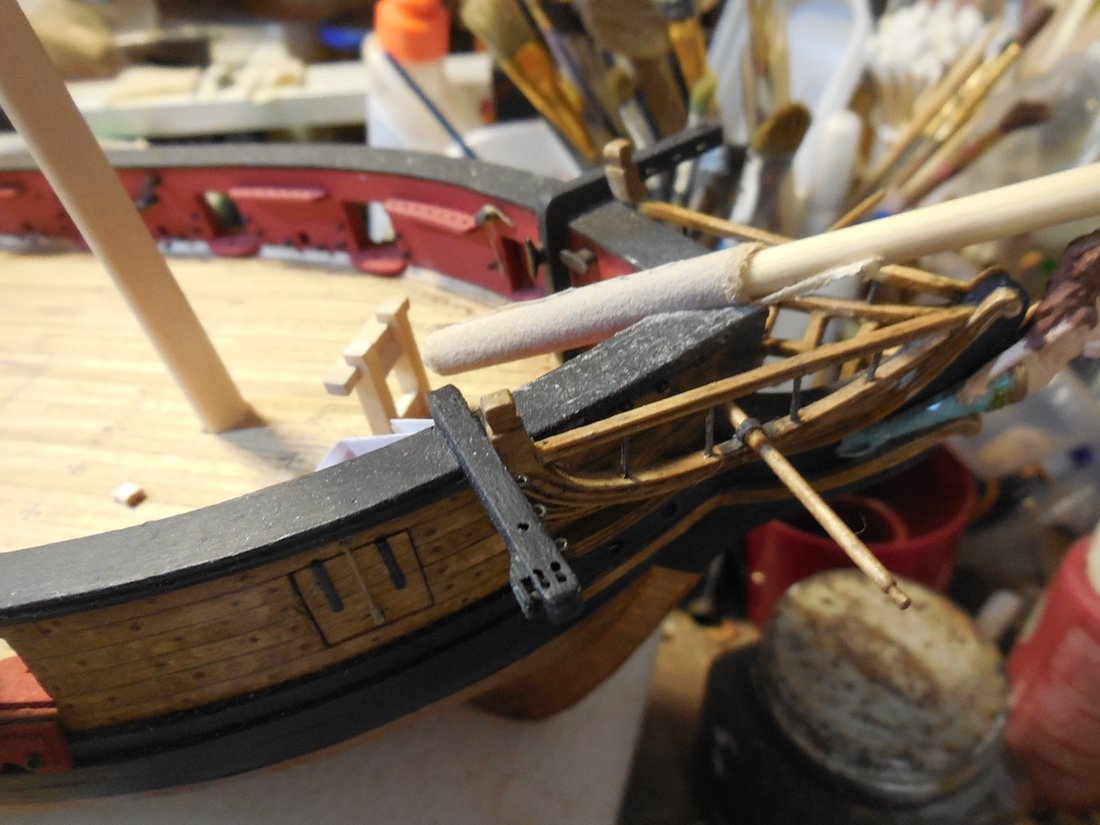
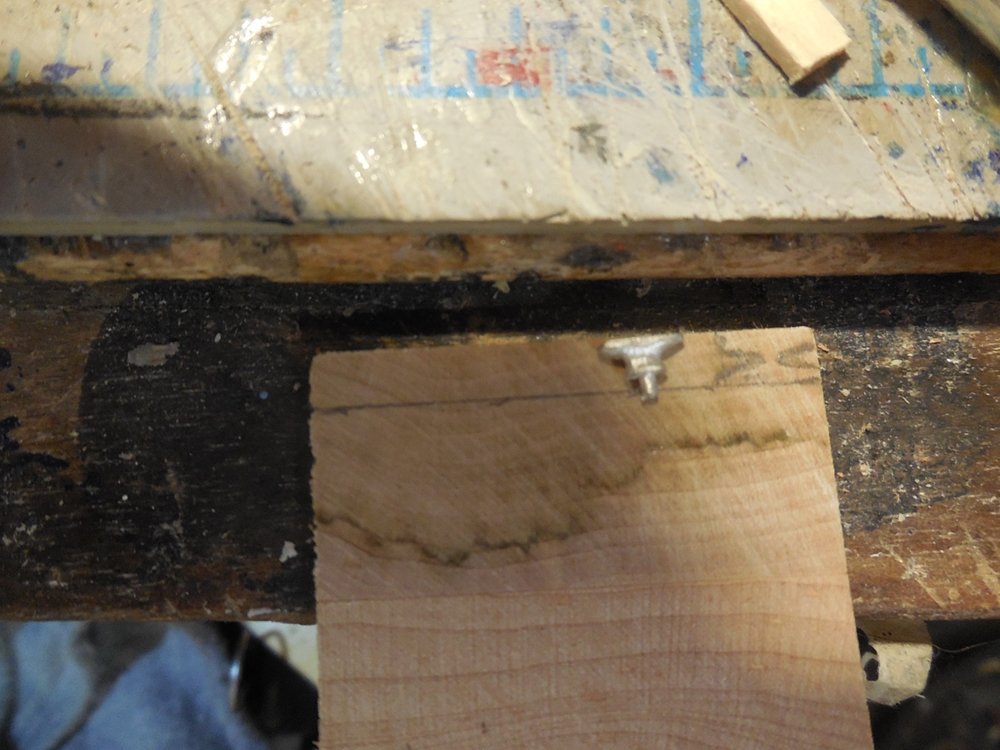
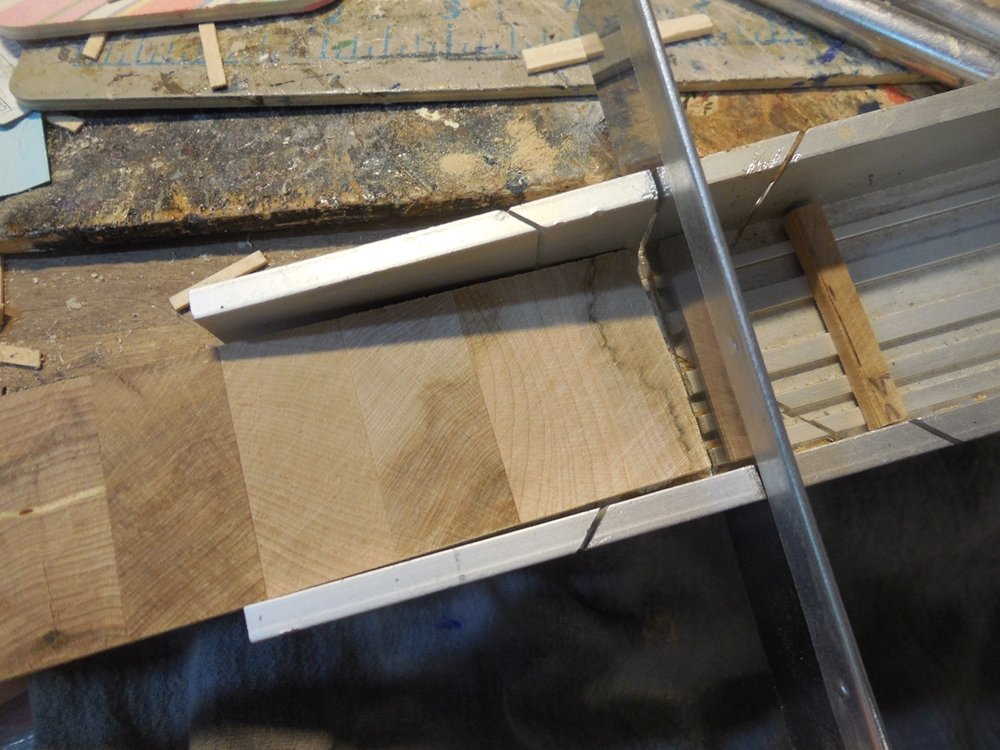
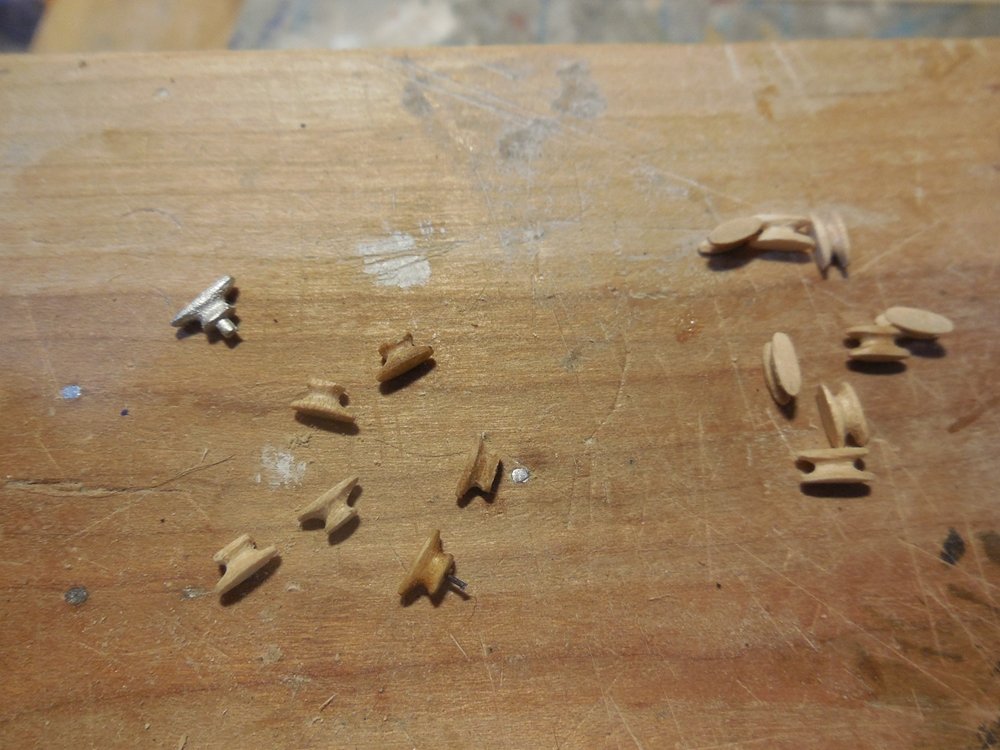
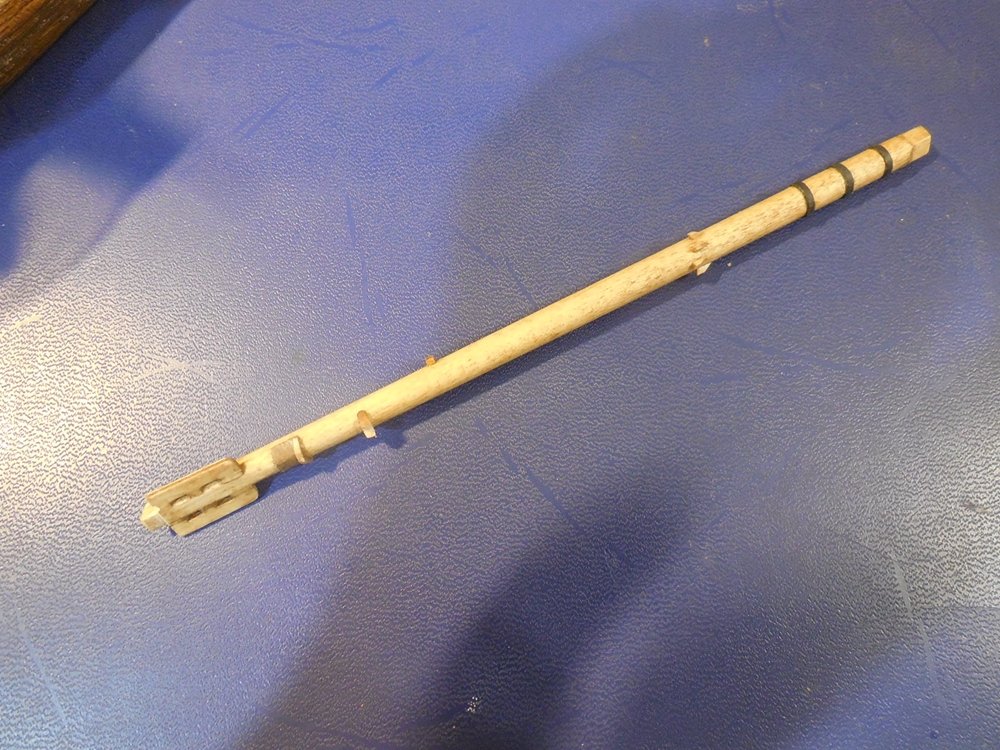
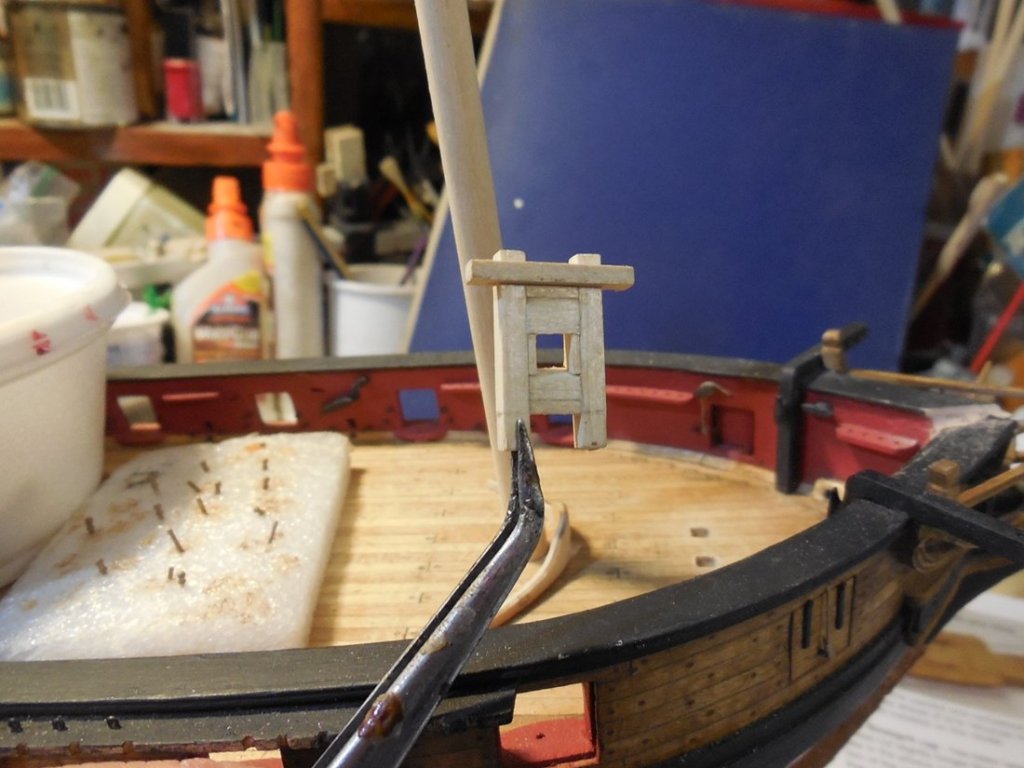
It has been quite a while since my last update. My illness along with many other things have kept me from the work bench. Seems life keeps dumping more and more on me including another death in the family. I am very thankful though when I see all the devastation happening in so many places. At least I still have a home and a work bench to get back to. The instruction book has me ready to start permanently adding the bowsprit assembly and rigging it. I am holding off just like I did the Hammock cranes and netting. I like to pre-make all the physical parts from the bowsprit, jibbooms, masts, yards, tops, etc. first. I do this to make sure all parts are made the right size and fit properly ahead of time. I have found in the past that if you don't look ahead sometimes having to alter a later piece might affect how everything fits or spaces with pieces you have already glued in place. This also can apply to how the rigging ends up so I just like to do things this way. The next series of updates will be me pre-making all these parts, a lot of dry fitting and checking that everything will end up like it is supposed to be. Then I will go back and start gluing things into place in their order so I can get to the rigging stages. Below is the only picture I have ready at the moment of constructing the Dolphin Striker. When there are separate small pieces like tis glued together that will have rigging pulling on them I like to have tiny metal pins between each piece for extra strength. More updates coming soon. Jesse

- 1,306 replies
-
- 20
-
-
- syren
- model shipways
- (and 1 more)
-
So glad you two are ok. I was very worried when I saw Jacksonville on the news. Jesse
-
Thanks Ryland, I've been looking for that too. Jesse
-
Looks good. Curious to see how you make hinges this small. Jesse
- 1,135 replies
-
- 4
-
-
- model shipways
- syren
- (and 2 more)
-
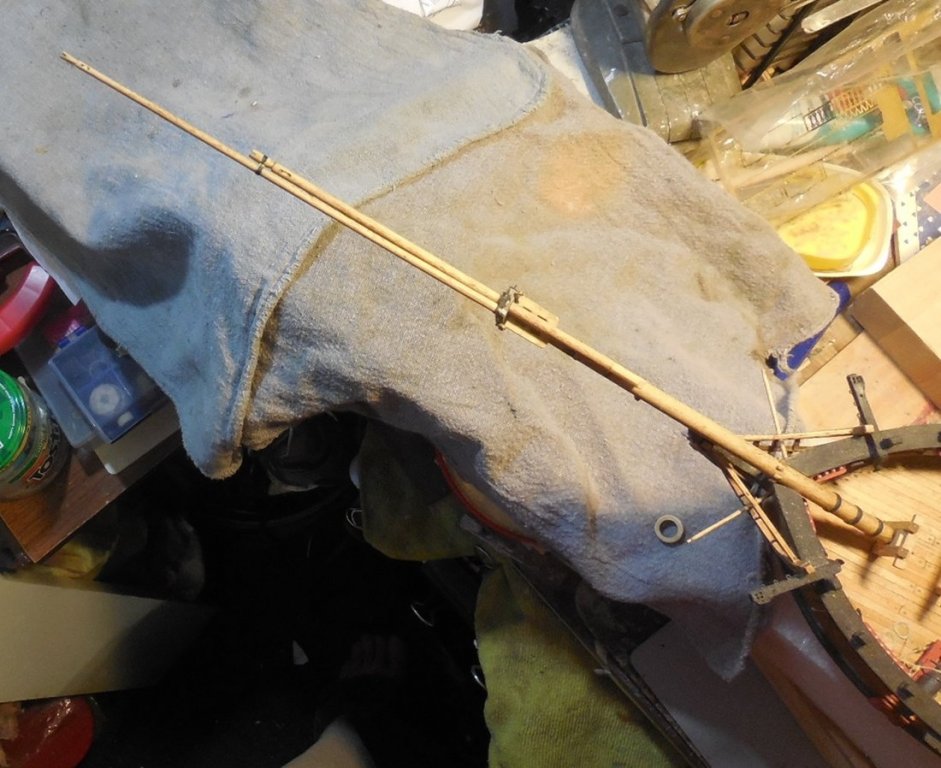
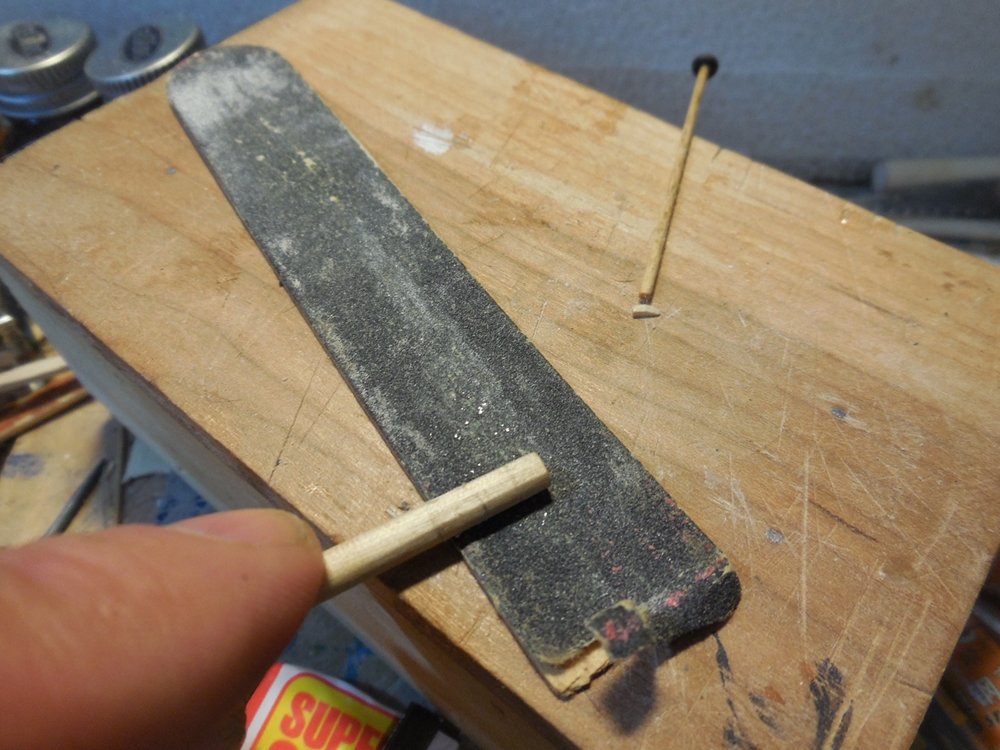
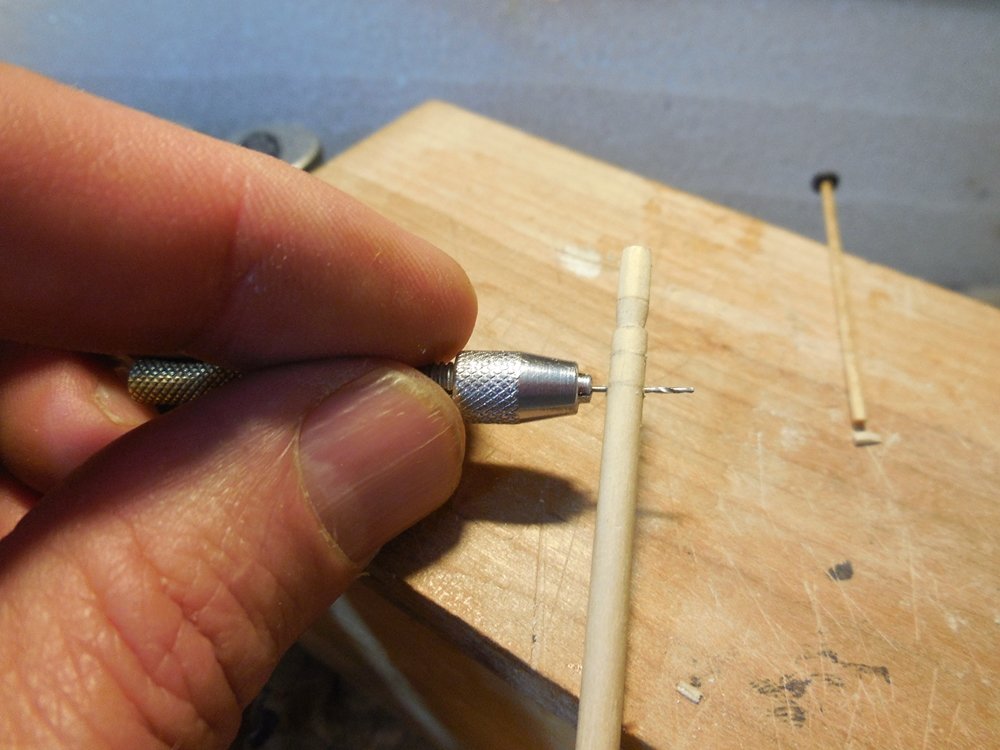
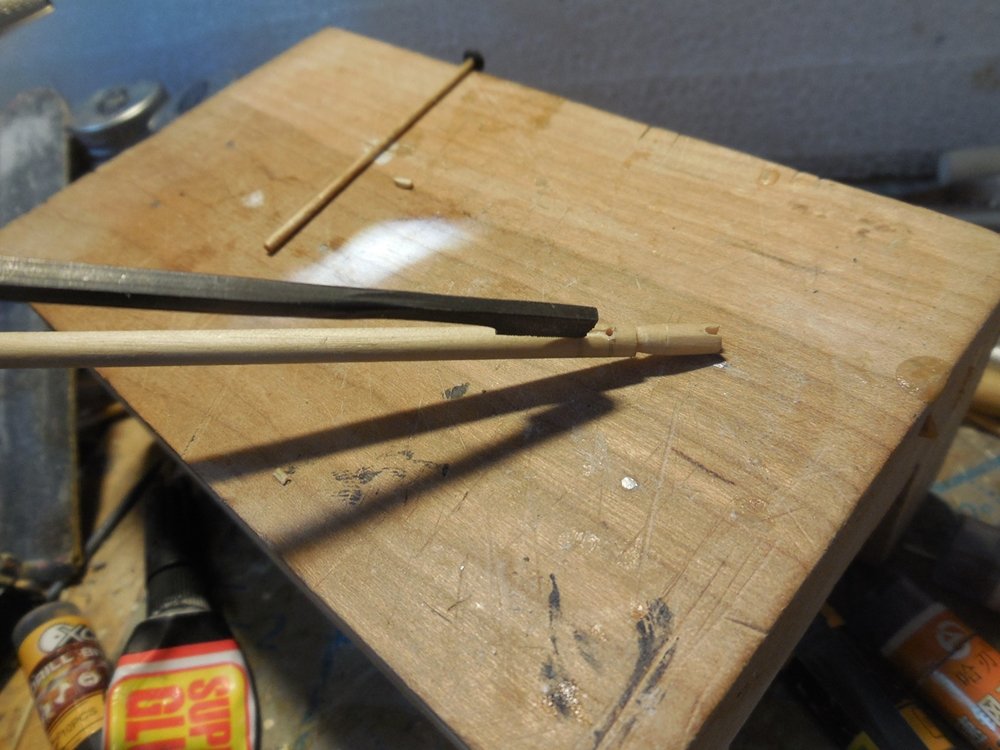
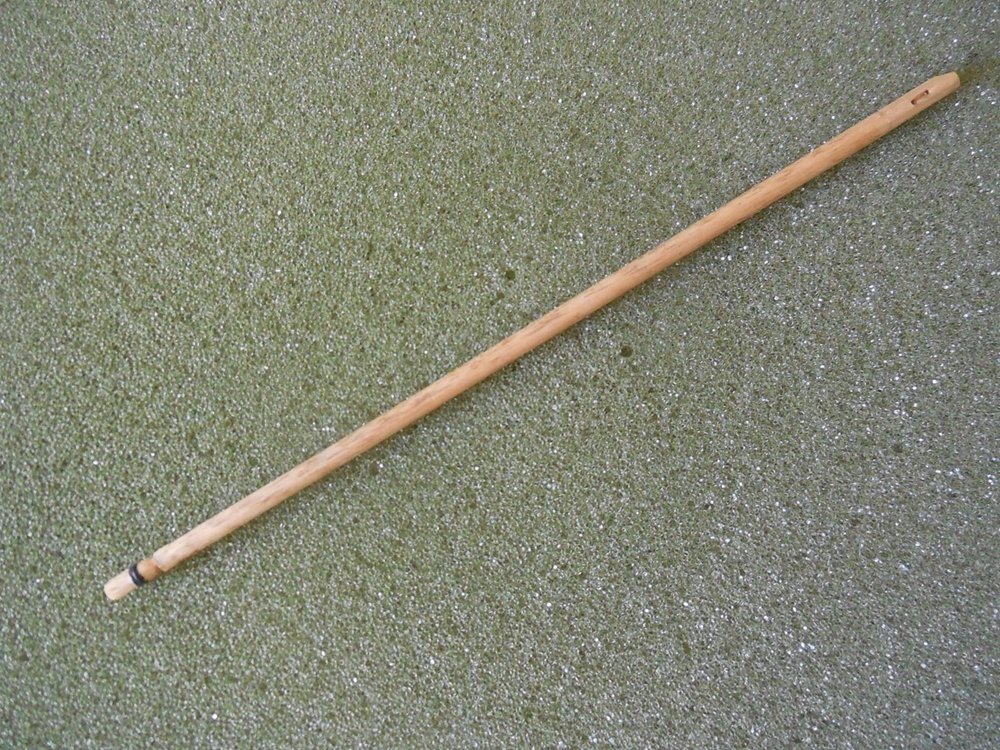
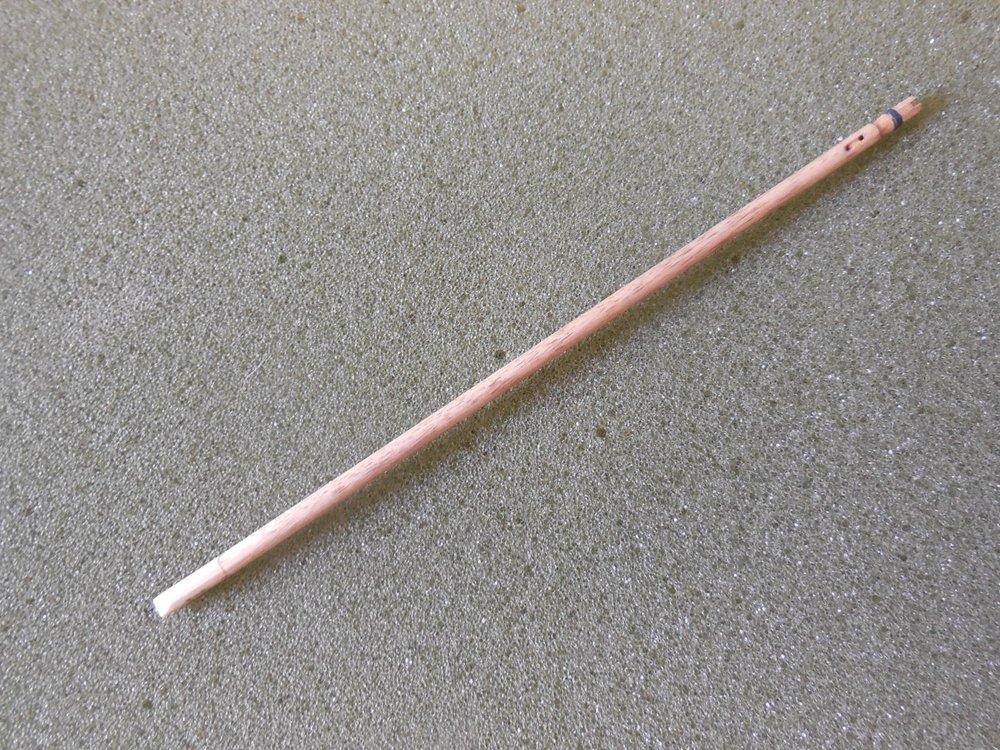
After what seems like forever I finished the Bowsprit. Making the Jibboom: Sanded the eight sides to the heel. Mine turned out to be not as big around as the pictures in the instructions show but close enough to be fine with me. Grooved and shaped the tip. Cut out the sheaves in both ends then realized I cut the sheaves wrong. The tip sheave goes through top/bottom. The heel sheave is supposed to go through sideways and I cut mine both top//bottom. Instead of remaking a whole new Jibboom I sawed off the heel right between where out is rounded and where the eight flat sides are. Drilled both ends out and glued in a 2mm wire pin. Glued it on with the sheave turned the right way. (I had previously left extra length to this end in case of any problems). The seam is almost invisible and this will also be right at a paint line so it wont be noticed. The wire pin made it very strong. Cut this end to length and grooved it out on the end. Jesse

- 1,306 replies
-
- 22
-
-
- syren
- model shipways
- (and 1 more)
-
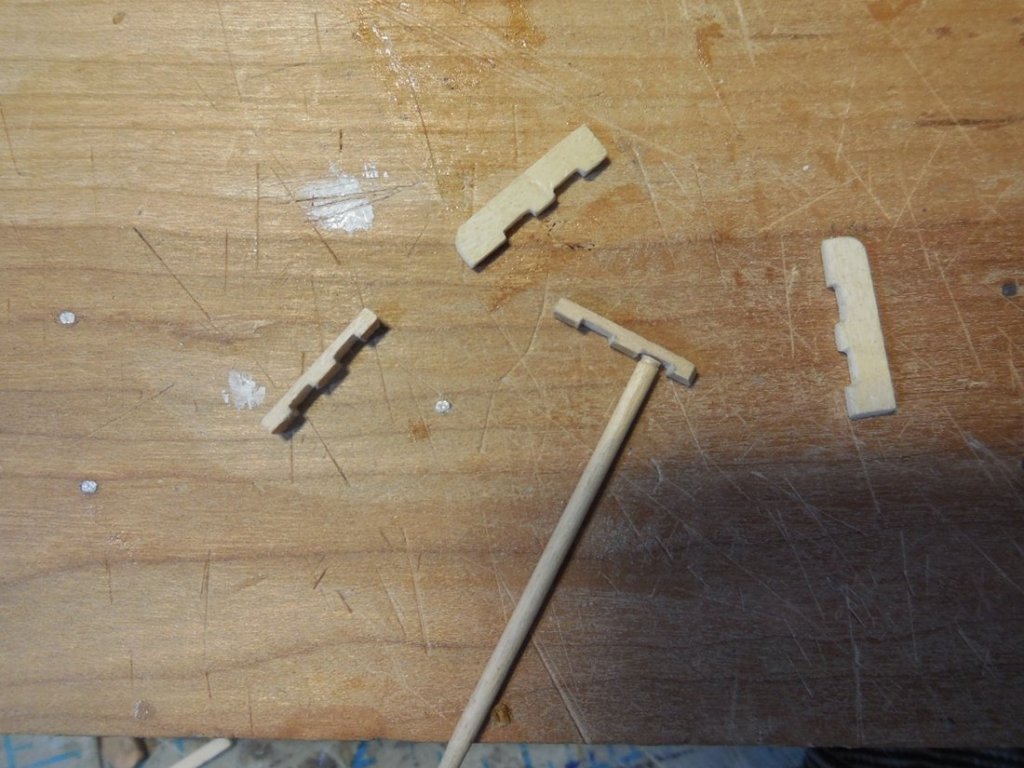
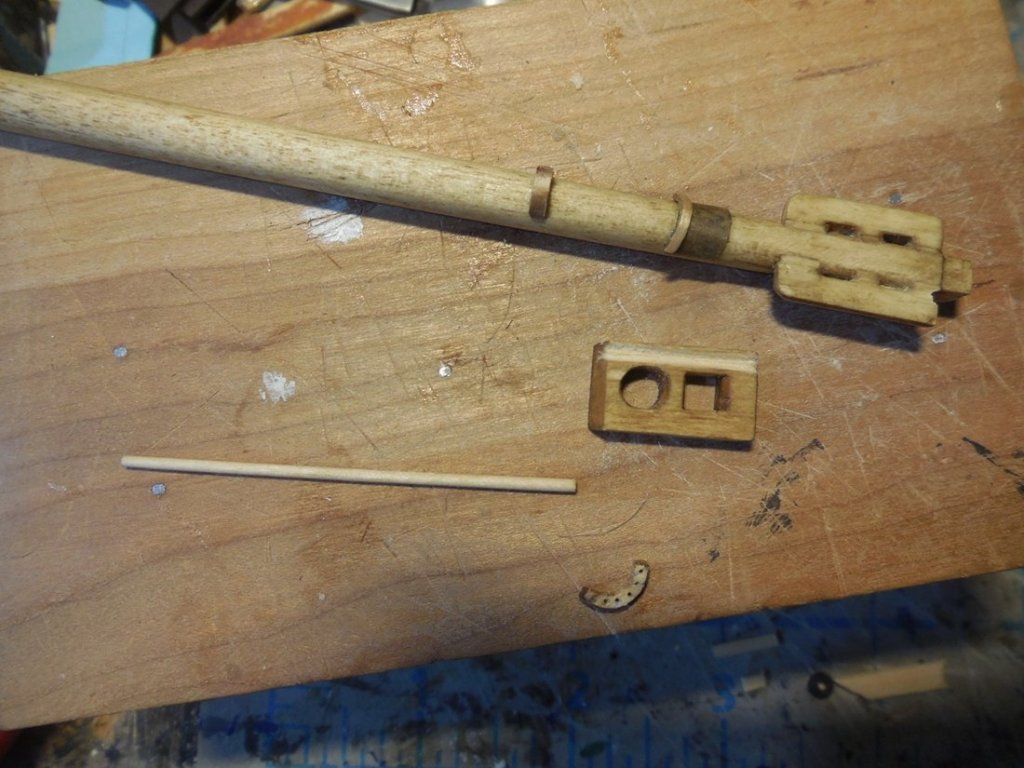
Working on bees, bowsprit cap, yard sling saddle, jack staff, etc. Jesse
- 1,306 replies
-
- 19
-
-
- syren
- model shipways
- (and 1 more)
-
Still having trouble adjusting to the much slower pace with the building. With my declining health simple things are not so simple anymore. I have to do the hammock cranes still but have decided to start pre-making and dry-fitting some stuff before I add them. Already made the bowsprit bitts but forgot to post it. Sanding the grove the bowsprit will fit in with sandpaper rolled around a wooden dowel. Began shaping lower bowsprit. Jesse


- 1,306 replies
-
- 17
-
-
- syren
- model shipways
- (and 1 more)
-
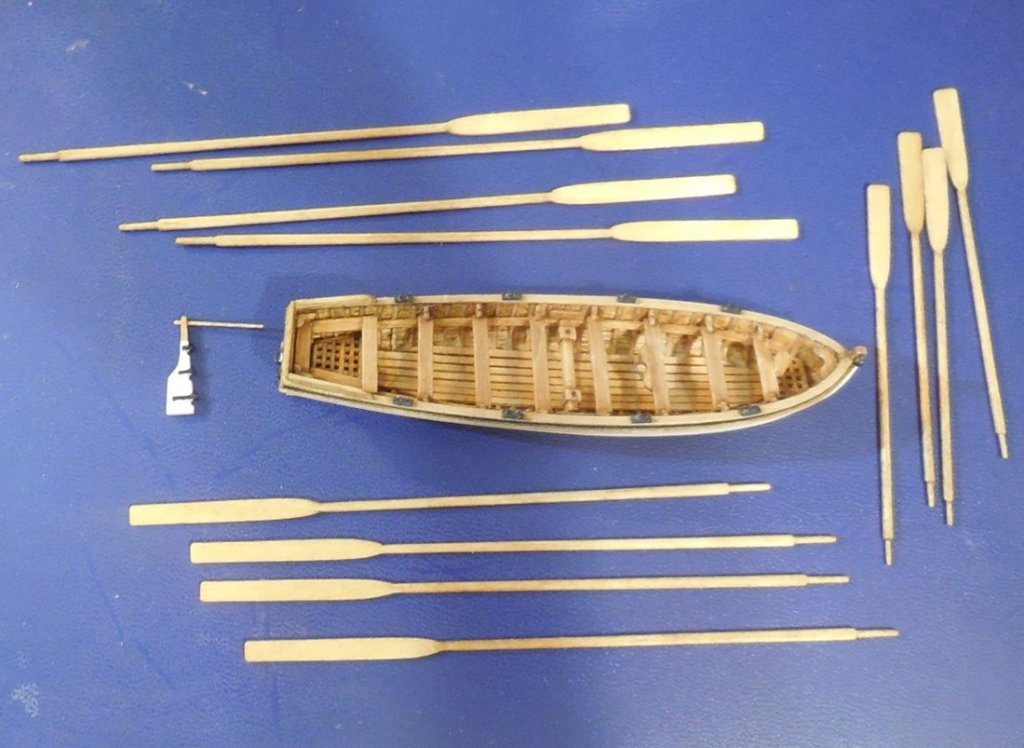
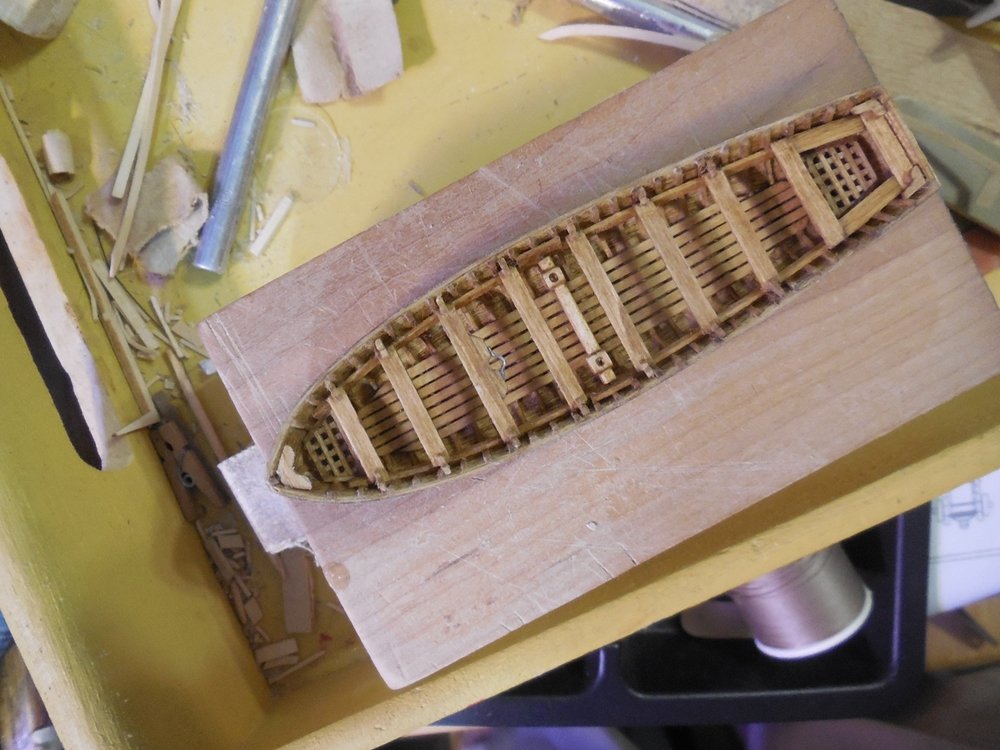
Completed the longboat, its rudder, oars and sweeps. Jesse
- 1,306 replies
-
- 22
-
-
- syren
- model shipways
- (and 1 more)
-
I know what you mean. Because of my Lyme disease I have had to give up most things. Even fishing is very limited. My health issues are also the reason I got back into ship modeling. Jesse
-
I'd love to do some of that fly fishing with you! Jesse
-
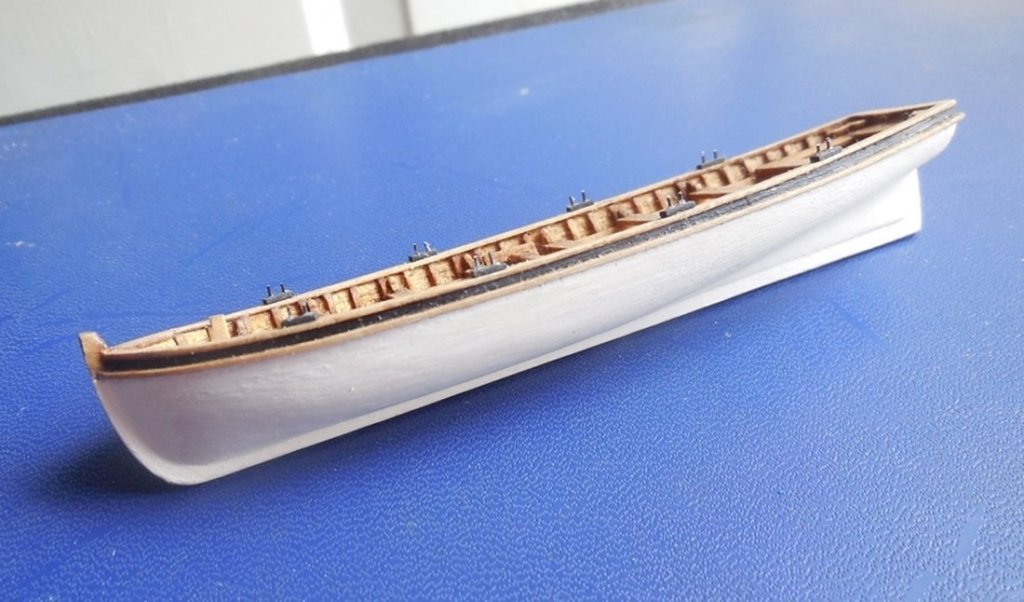
More progress on the longboat. Added cap rail and molding. Painted hull. Added bowsprit step, iron strap for bowsprit and oarlocks. Still need to do the splash panel, gudgeons and oars. Jesse

- 1,306 replies
-
- 34
-
-
- syren
- model shipways
- (and 1 more)
-
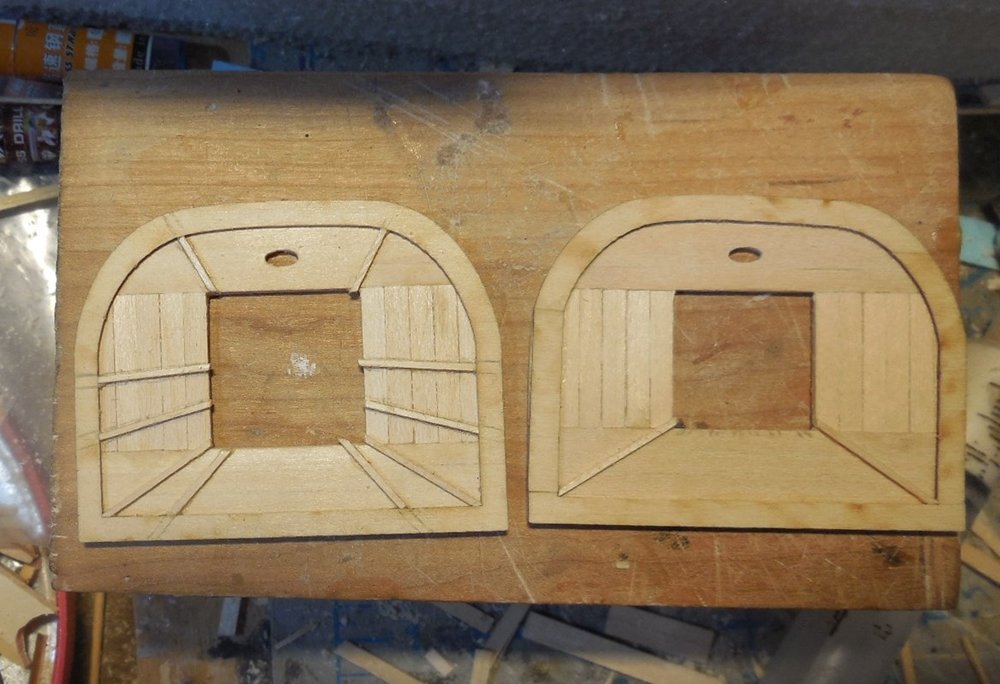
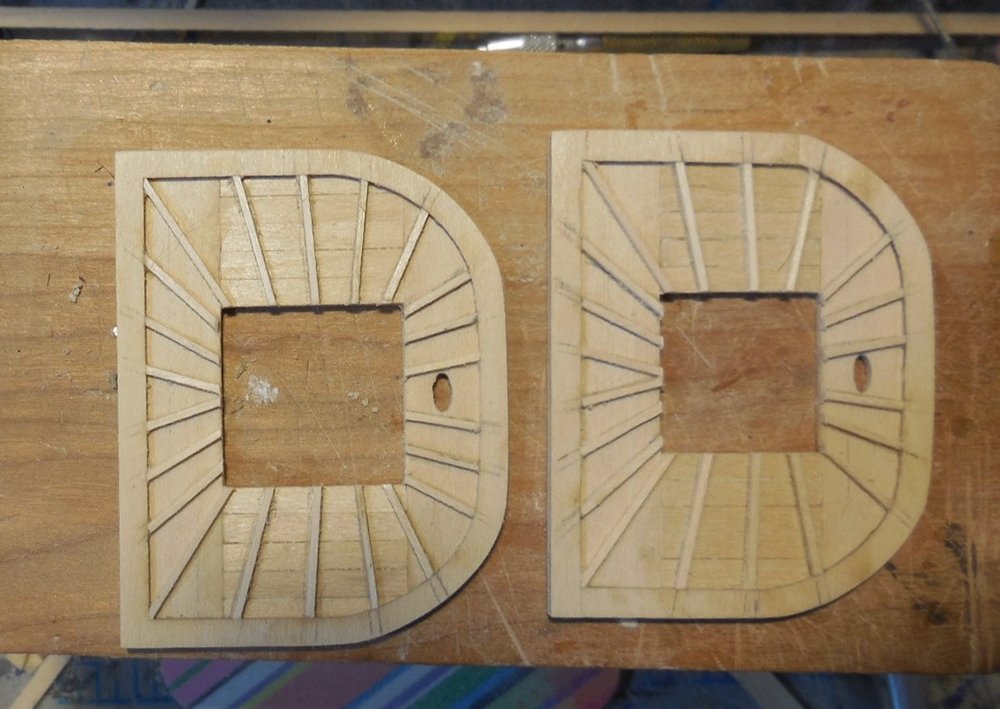
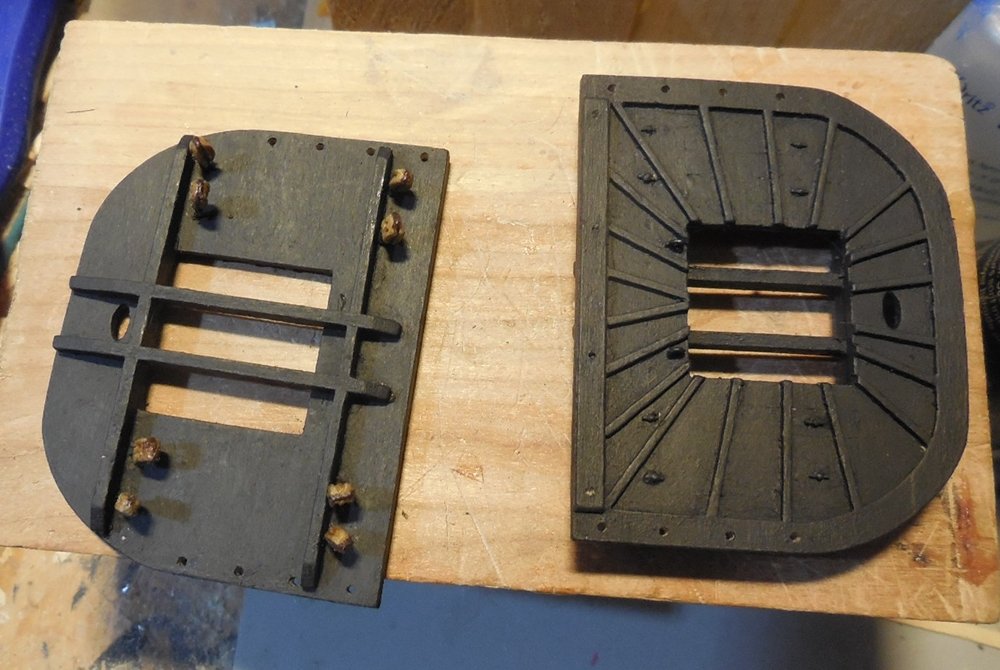
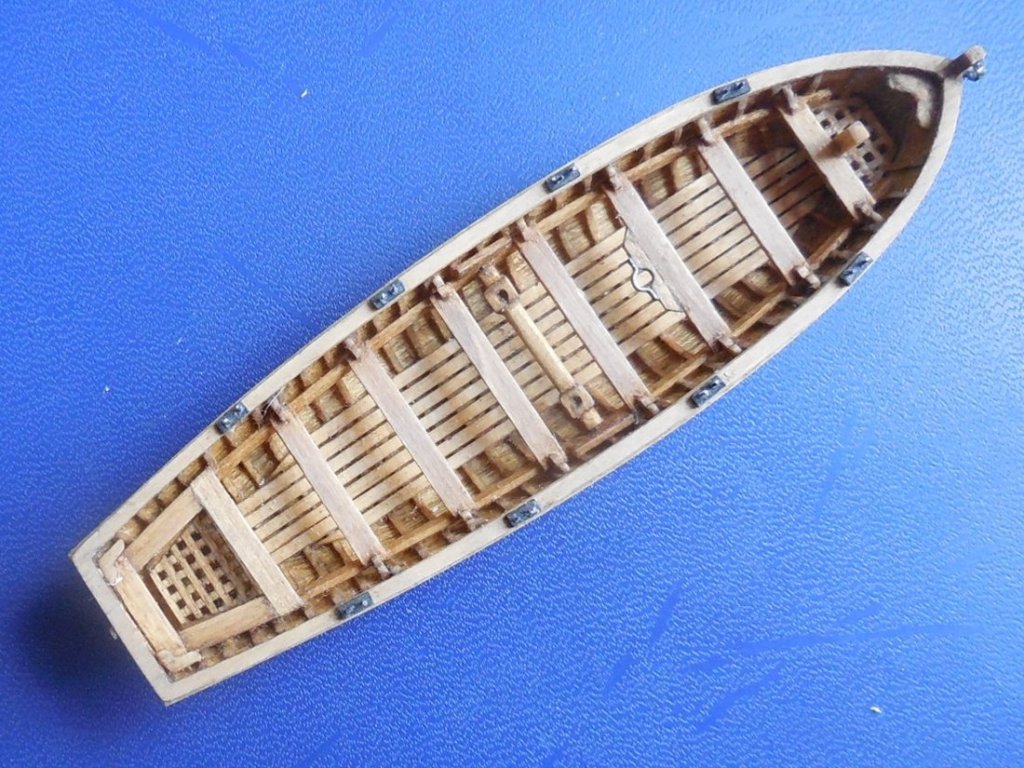
Thank you everyone. Got the grates in added the thwarts and windlass. Lyme is playing with my memory and I forgot to take pictures of these steps being constructed. It was all fairly simple, just did as instructed. The only problem I had was shaping those tiny knees. I re-did one to show how I made them. They are so small I couldn't make them very well. I finally came up with this and it made it easier for me. I took scrap pieces of grating strips and cut off a corner, . This way it was almost already pre-formed. Shaped the curves with a needle file and there you are. Jesse
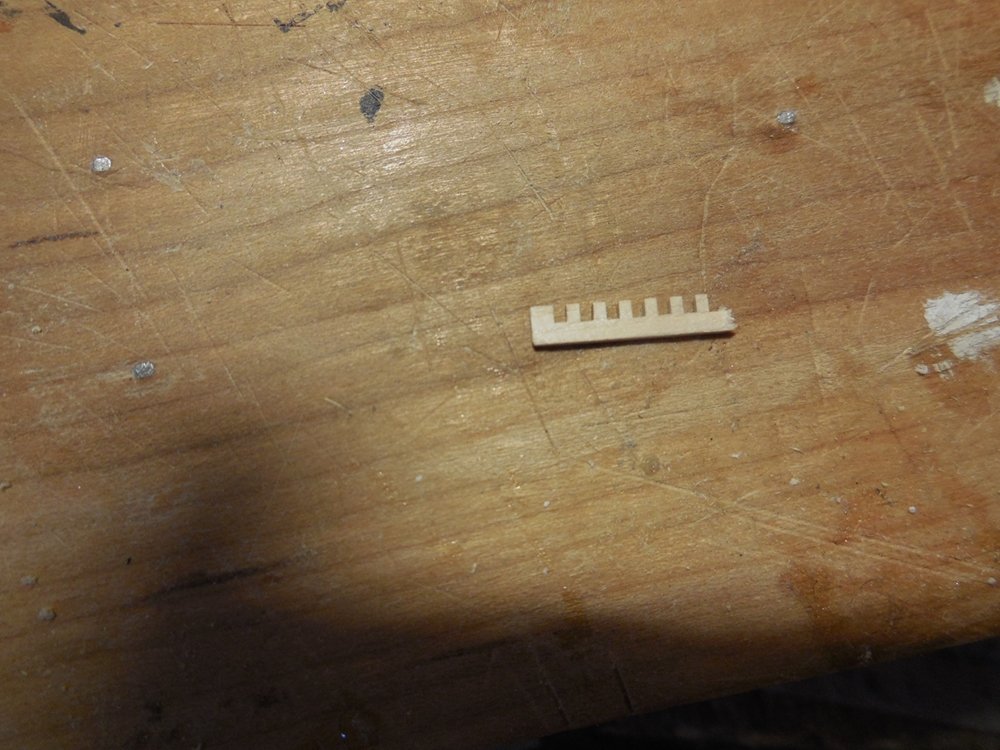
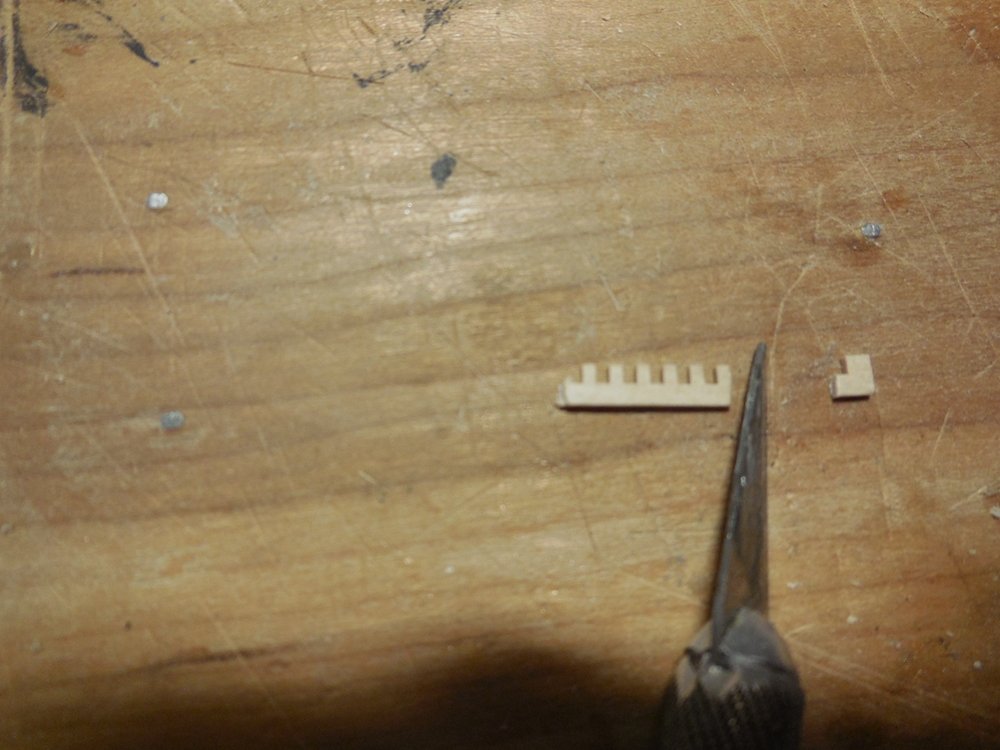
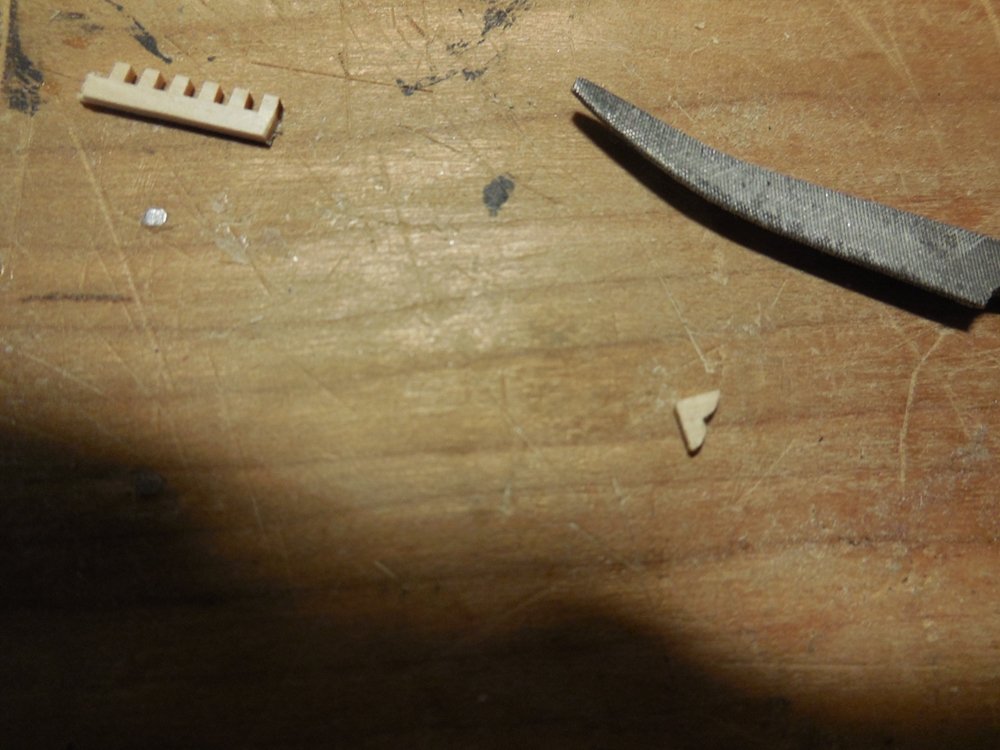
- 1,306 replies
-
- 24
-
-
- syren
- model shipways
- (and 1 more)
-
What did you make them out of? They look great! Jesse
- 742 replies
-
- 6
-
-
- constitution
- frigate
- (and 1 more)
-
You must have incredible close up vision. That would strain my eyes to death! Jesse
- 185 replies
-
- 3
-
-
- jolie brise
- pilot cutter
- (and 2 more)