HOLIDAY DONATION DRIVE - SUPPORT MSW - DO YOUR PART TO KEEP THIS GREAT FORUM GOING! (83 donations so far out of 49,000 members - C'mon guys!)
×


JesseLee
-
Posts
1,694 -
Joined
-
Last visited
Content Type
Profiles
Forums
Gallery
Events
Everything posted by JesseLee
-
 Recovery is going much slower than expected. Been lurking around reading others logs. Did get my workbench cleaned up and reorganized for getting back to the build. Hopefully my health and real life will let me get back to it soon. Looking over things, getting re-familiar with where I will be starting back at. Jesse
- 1,306 replies
-
- 16
-

-
- syren
- model shipways
- (and 1 more)
-
Just lovely! Makes me want to run my fingers along it and feel it. Jesse
-
Denis, my wife took me to Hobby Lobby the other day. I went down a few of the jewelry making aisles and immediately thought of you and this build. There really are a lot of things made for something else that can be used for what we do if you put your imagination to it! Jesse
-
"Rigging must be attached to the carriage and cannon before attempting to install." ......Now you tell me lol! Good idea for the jig to keep them all the same length. Jesse
- 742 replies
-
- 6
-
-
- constitution
- frigate
- (and 1 more)
-
What Dirk said....... Jesse
-
Wow Dave, what a great birthday present!!!!!!!!!!!!! Jesse
- 742 replies
-
- 8
-
-
- constitution
- frigate
- (and 1 more)
-
Trying to get well enough to get back to the build. Fighting a mighty war with my health. Was beginning to get some better until last night, now in another fierce battle again. I do have some minor updates to come when things get better. Got most of the deck fittings made and ready to start rigging the carronades. Hope to post updates soon. Jesse
- 1,306 replies
-
- 13
-
-
- syren
- model shipways
- (and 1 more)
-
Wow Dave! I would love to be there to watch you go through this process of carving/scraping/painting. Very nice work! Jesse
- 742 replies
-
- 7
-
-
- constitution
- frigate
- (and 1 more)
-
Hi Tim, just found your build log. I built the Scottish Maid a while back. Always been one of my favorite ships. Love what you are doing with your build! I'll be following along! Jesse
- 115 replies
-
- 1
-
-
- Scottish Maid
- artesania latina
- (and 1 more)
-
That shot shows how wonderful both your wood work and your metal work is! Jesse
-
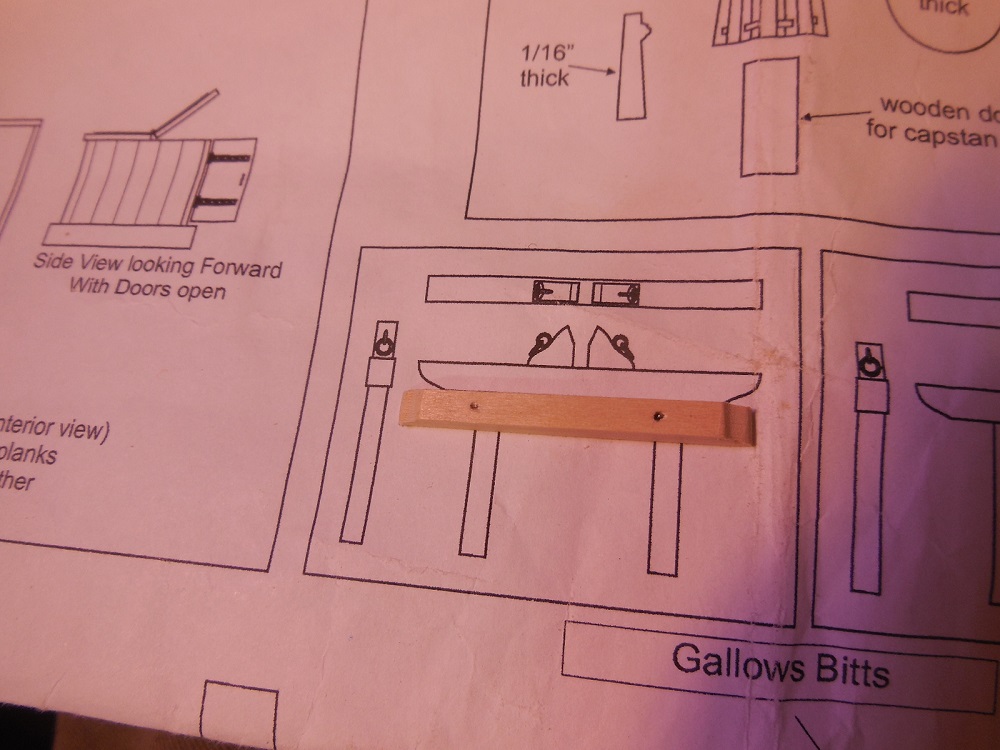
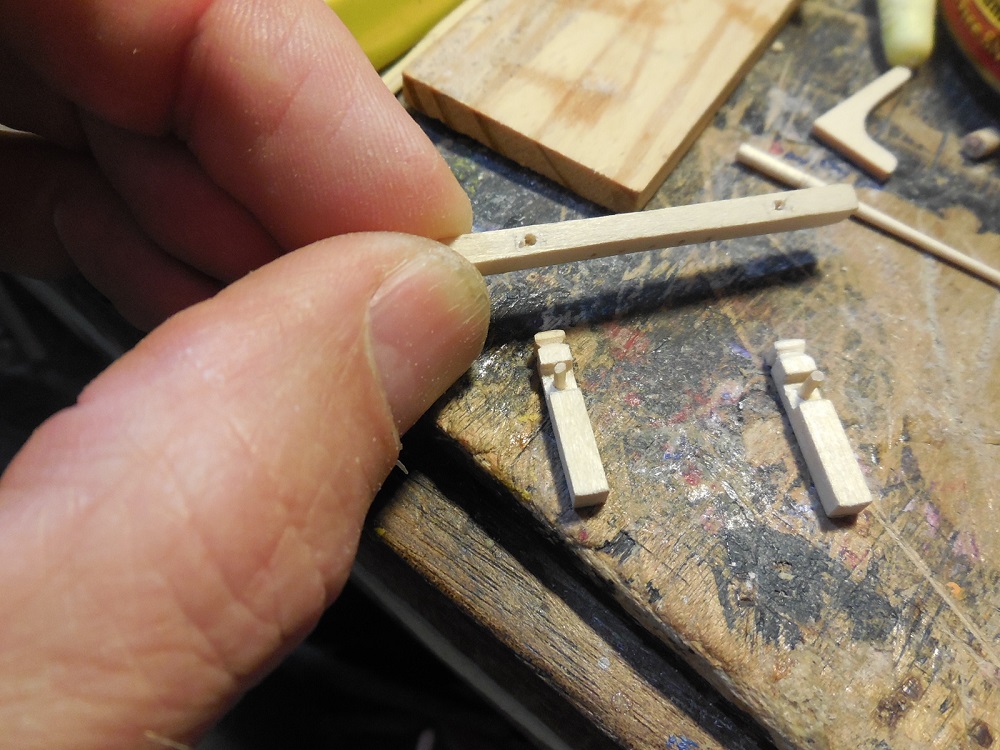
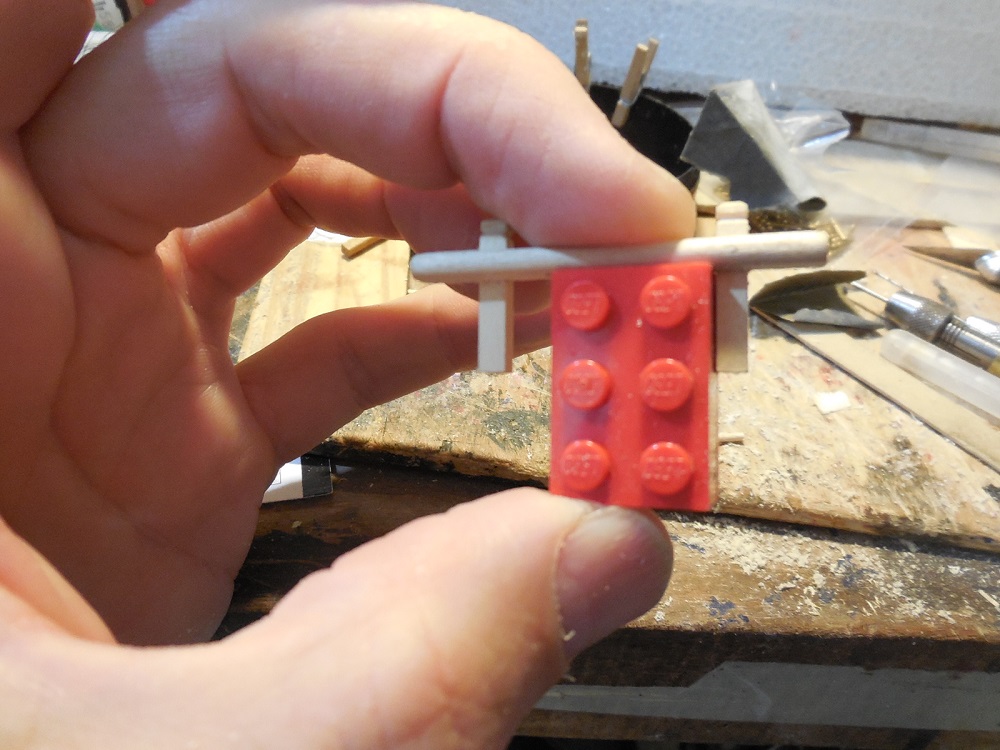
Gallow Bitts. Made wood pegs for stronger joints. Used a Lego block to square things up. Jesse


- 1,306 replies
-
- 24
-
-
- syren
- model shipways
- (and 1 more)
-
Looks beautiful Dave! The flags look great! Hope you have a wonderful Christmas! Jesse
- 962 replies
-
- 5
-
-
- sovereign of the seas
- ship of the line
- (and 1 more)
-
That would be the most accurate way but I did the opposite. To the eye you cant tell the difference until you get up close or rob your fingers on them. I thought of trying it the other way but the kit instructions say to do it the way I did because of the pressing and rubbing down you have to do. Jesse
- 1,306 replies
-
- 6
-
-
- syren
- model shipways
- (and 1 more)
-
Looks super Jason! Jesse
-
Hello Guy, glad to have you along! No it wasn't hard to make the nail jig. I traced the actual size patterns on page 34 of the instruction booklet. Laid that over the wood jig (you could also just glue it on it). this has the points marked for your pins. I used brass nails left over from an earlier build , I think they came from Model Expo but its been so long I cant remember. I CA glued them in the proper pattern then snip the heads off. File them off flat and there you go! My kit was also a gift from another MSW member. It had been sitting on a shelf for years when I got it so the copper tape wasn't sticking very well anymore. I ended up CA gluing under each plate which is frustrating because it is hard not to get any of it on the outside surface where you don't want it. It probably would have been better to do as you suggested and used contact cement. Jesse
- 1,306 replies
-
- 8
-
-
- syren
- model shipways
- (and 1 more)
-
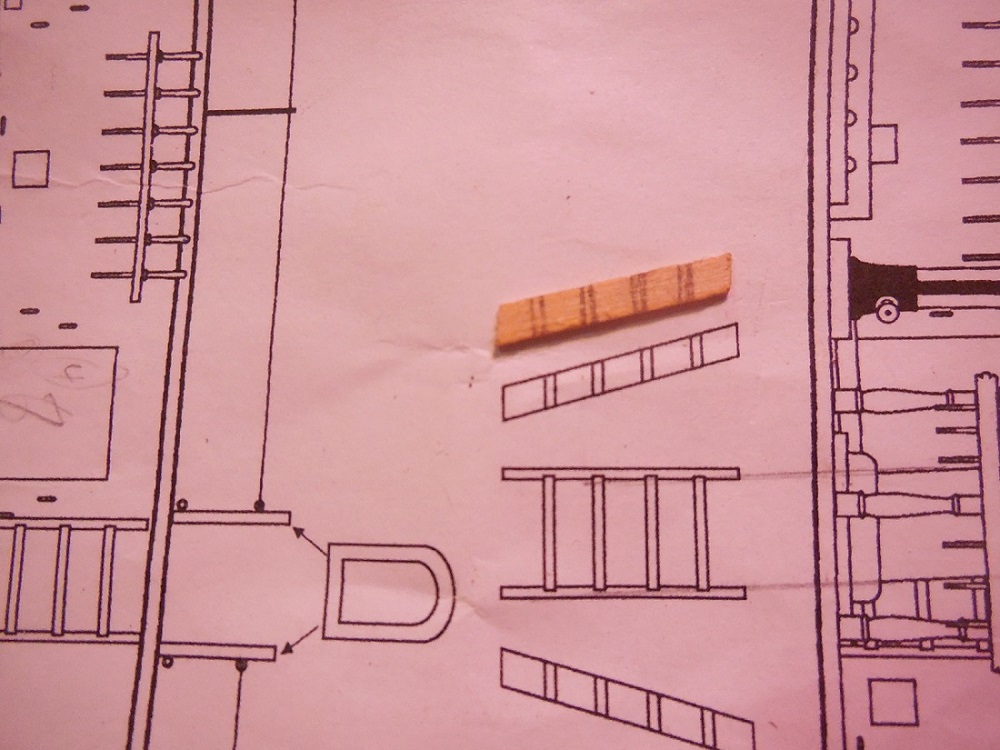
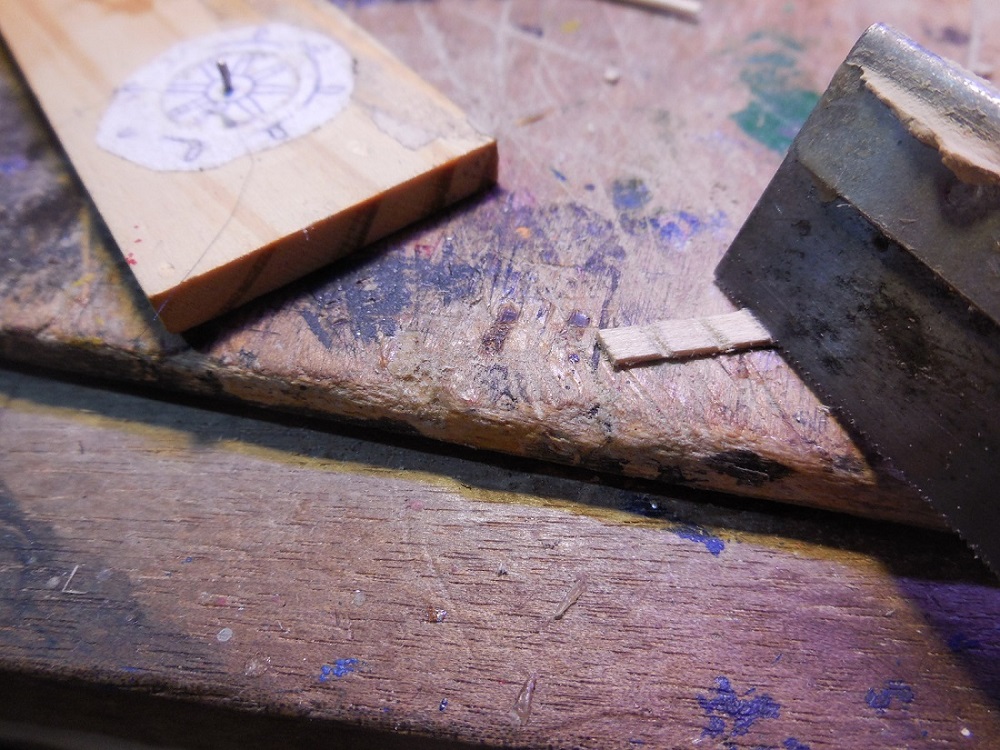
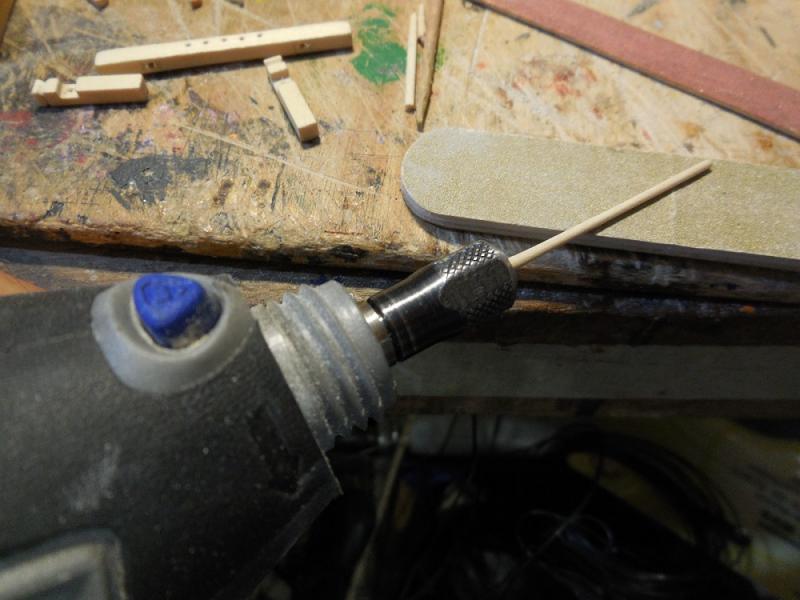
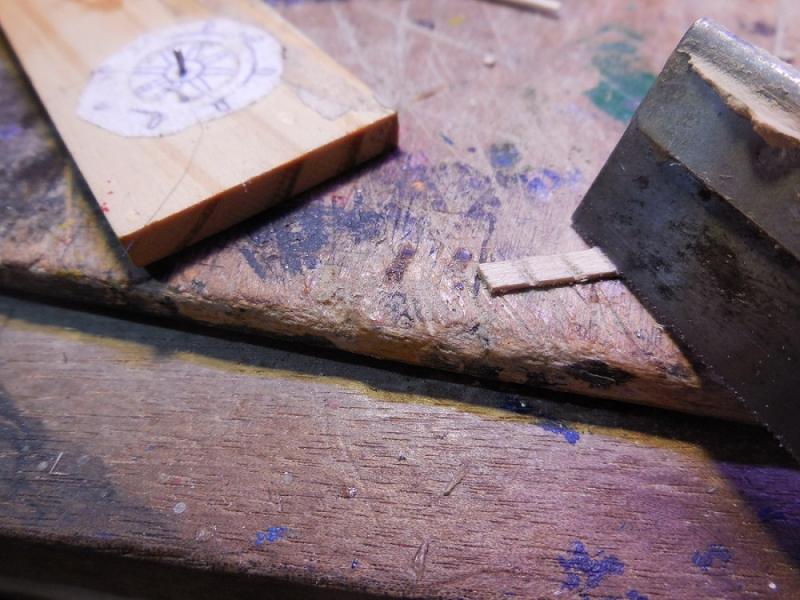
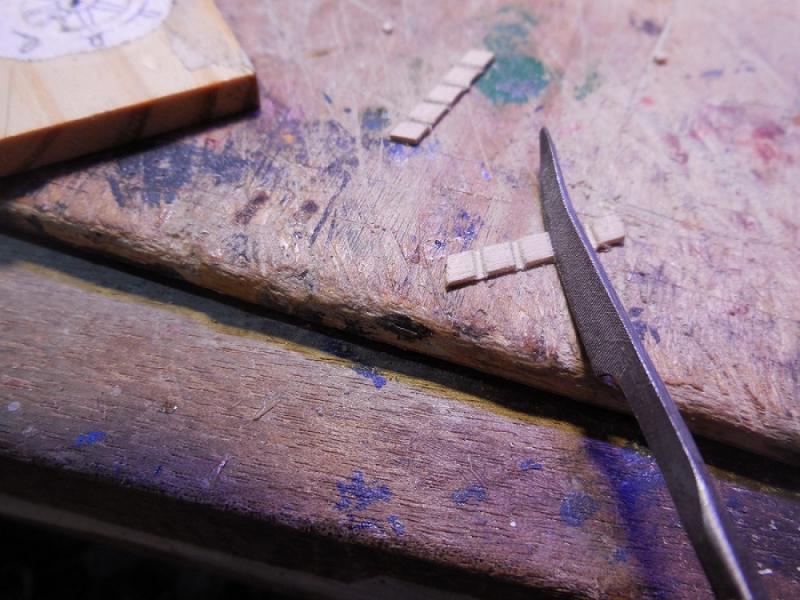
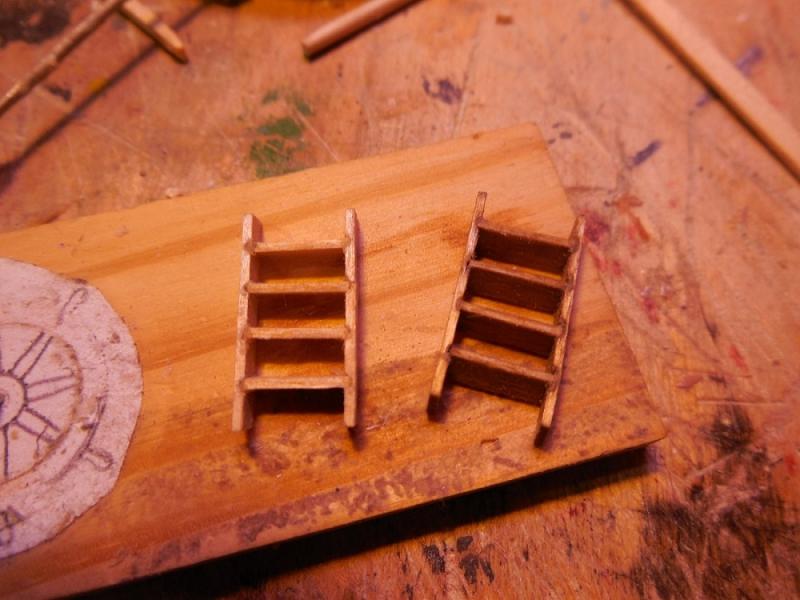
Thanks as always for the encouraging responses and likes. I really am thrilled with the wheel. Wasn't sure I could make one myself. Continuing to make anything that will eventually go on the deck. Getting ready to start rigging the carronades soon. Here's a few pics of 2 ladders. Jesse

- 1,306 replies
-
- 22
-
-
- syren
- model shipways
- (and 1 more)
-
It's gonna look great with a launch or just a stand so I'm not sure which way to vote on that one. Do what your heart is urging you to do! How do you make your flags? Do you just print them off on paper? Jesse
- 962 replies
-
- 5
-
-
- sovereign of the seas
- ship of the line
- (and 1 more)