JesseLee
-
Posts
1,694 -
Joined
-
Last visited
Content Type
Profiles
Forums
Gallery
Events
Everything posted by JesseLee
-
 Yes Jesse
 -
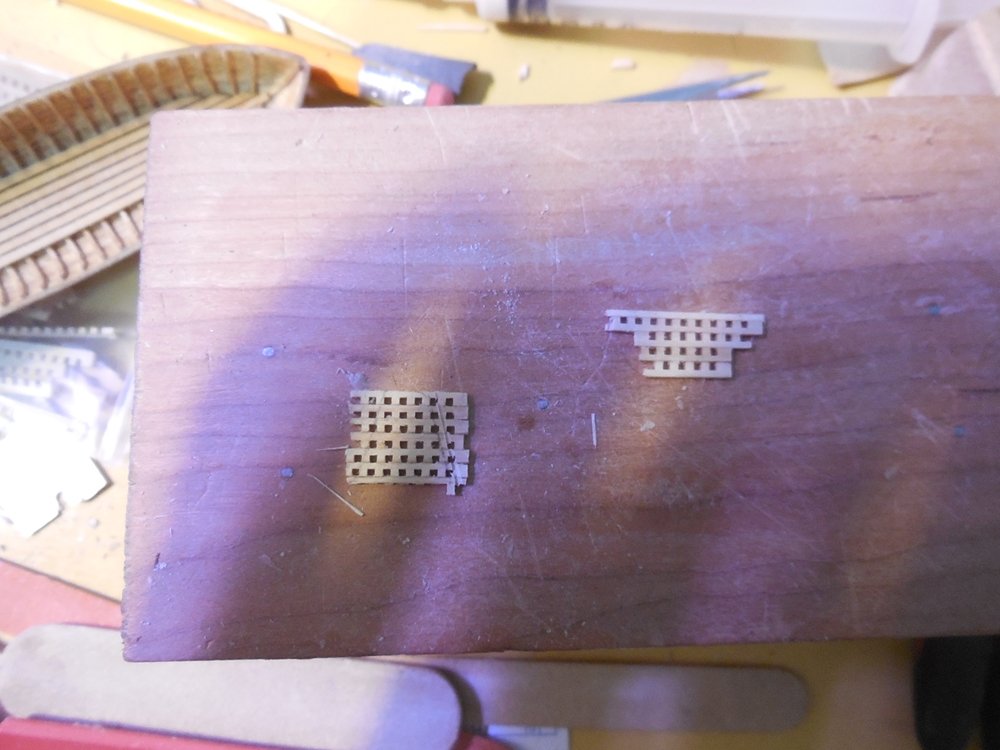
Thanks for the comments and likes! Added the frames. Even after soaking the strips when bending them to the sides they still wanted to crease a little. Light sanding took care of it for the most part. Getting the same number and spaced out the same as the instructions took some figuring but I finally got it. The floor boards were fairly simple to do. Began constructing the bow and stern gratings. They still need to be cut to size and trim added. Jesse
- 1,306 replies
-
- 26
-

-
- syren
- model shipways
- (and 1 more)
-
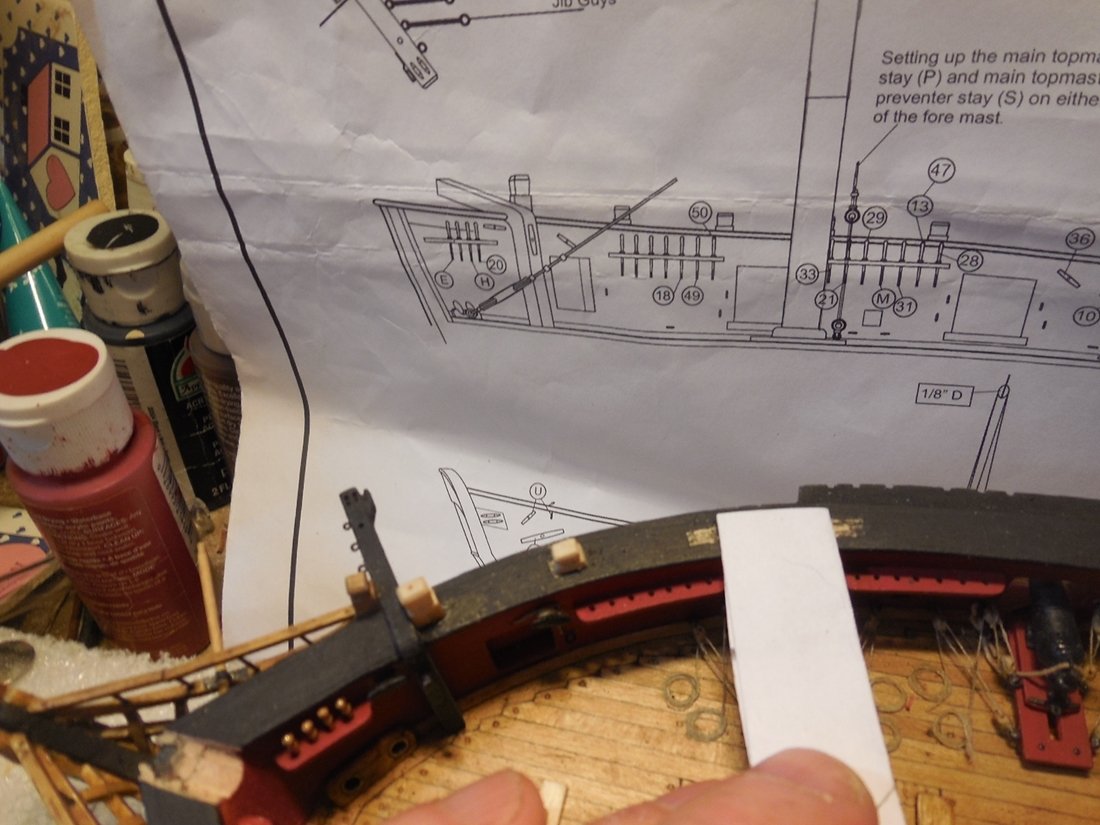
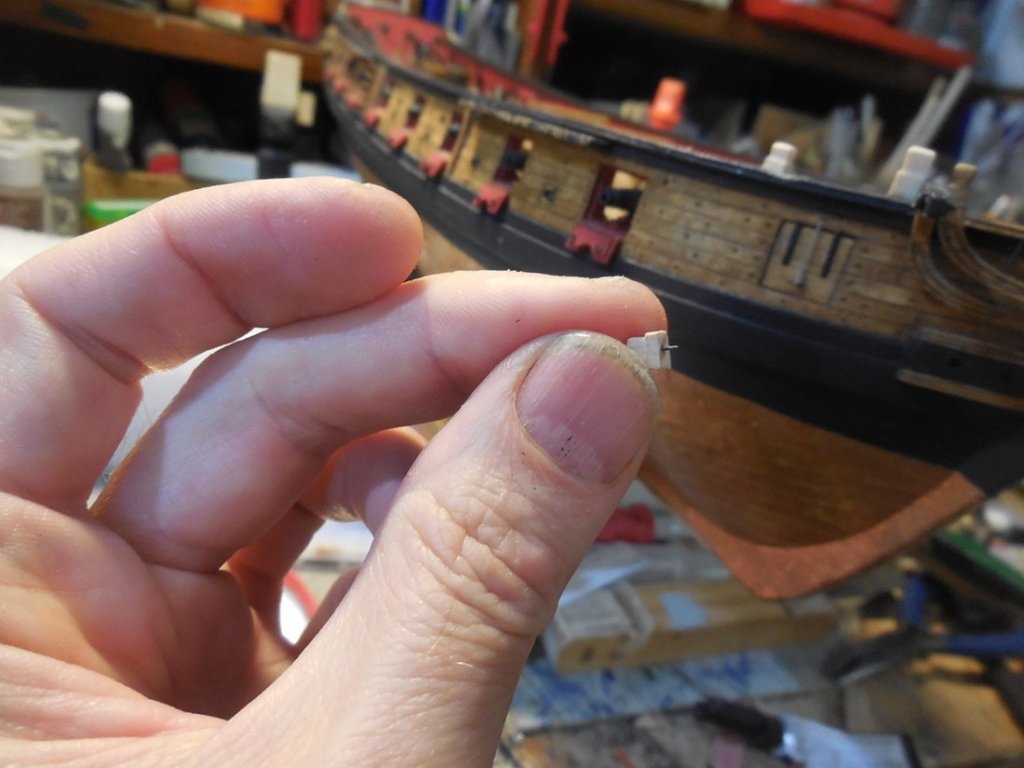
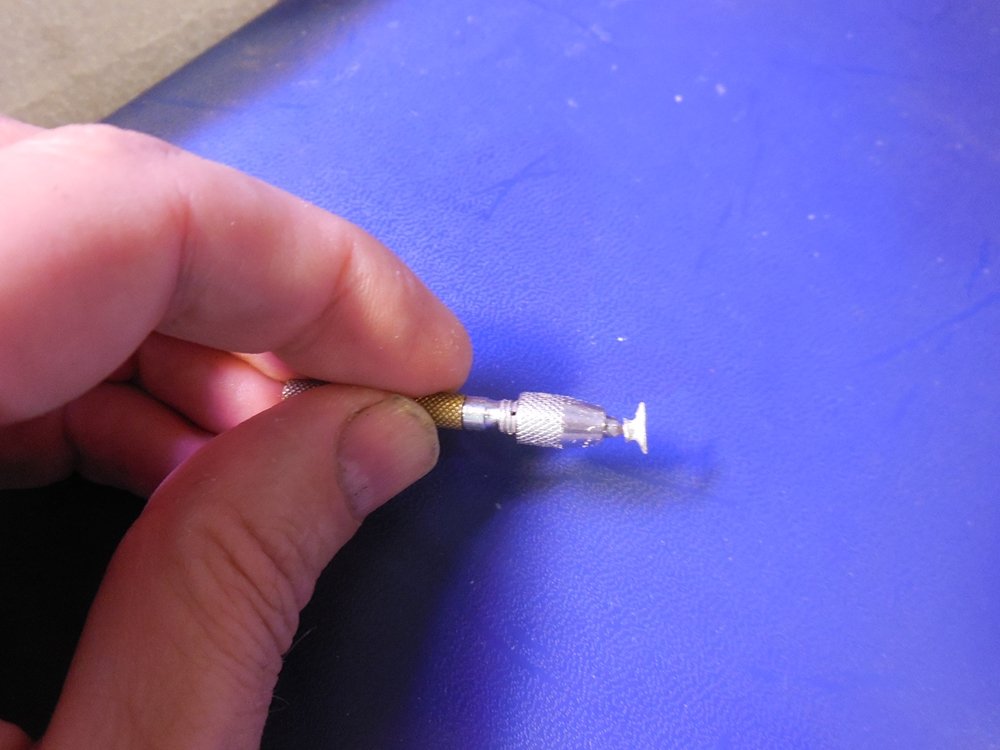
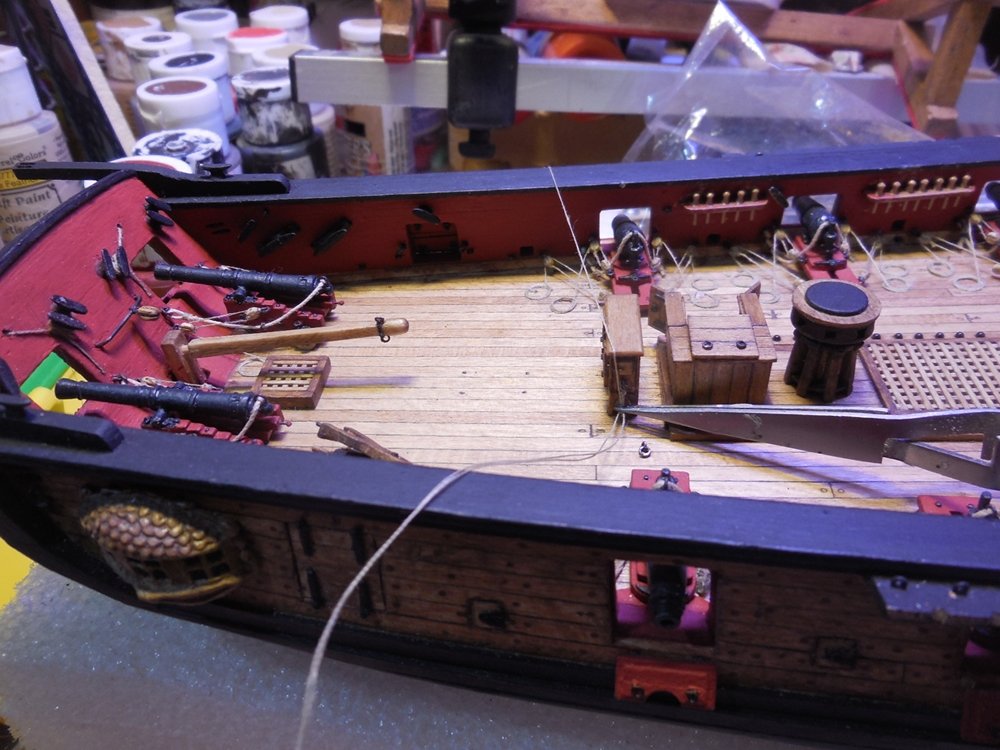
Yes, you use the cannon picture on a stick when you build the stern ports to check to see if you are making them the correct height for the cannons. Jesse
-
Mine did that a lot too. So frustrating! Jesse
-
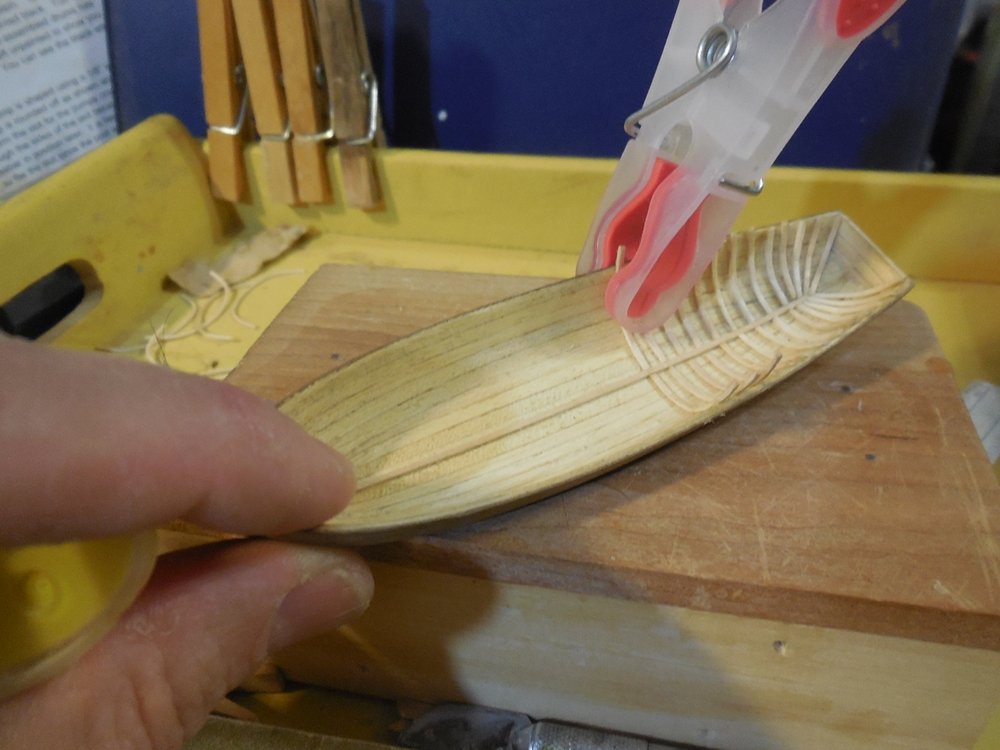
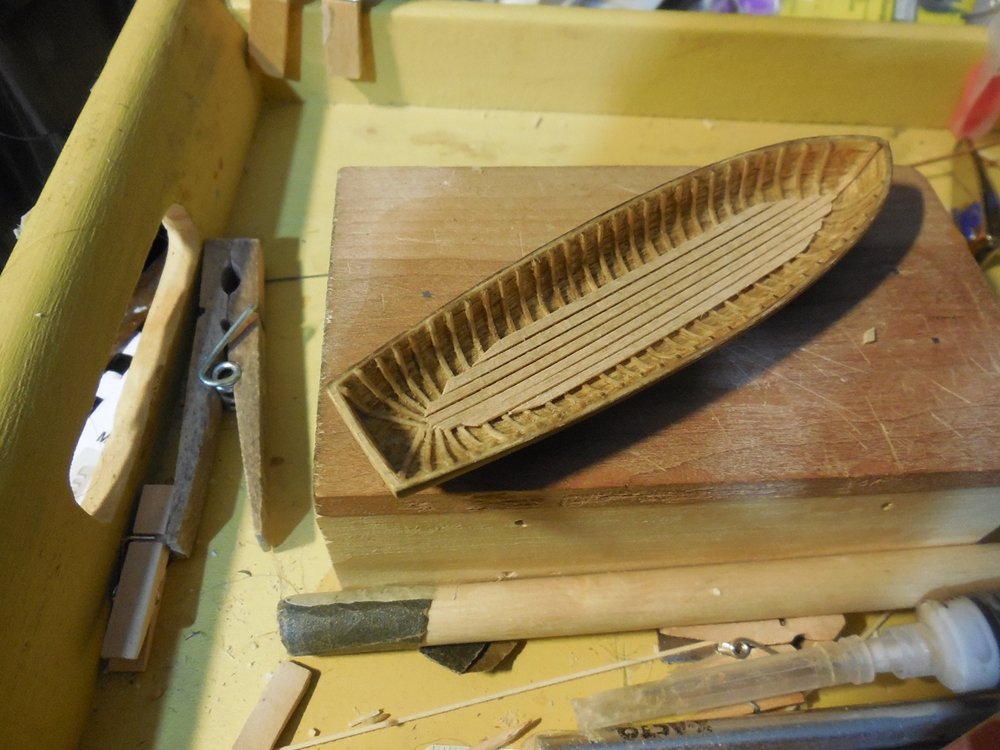
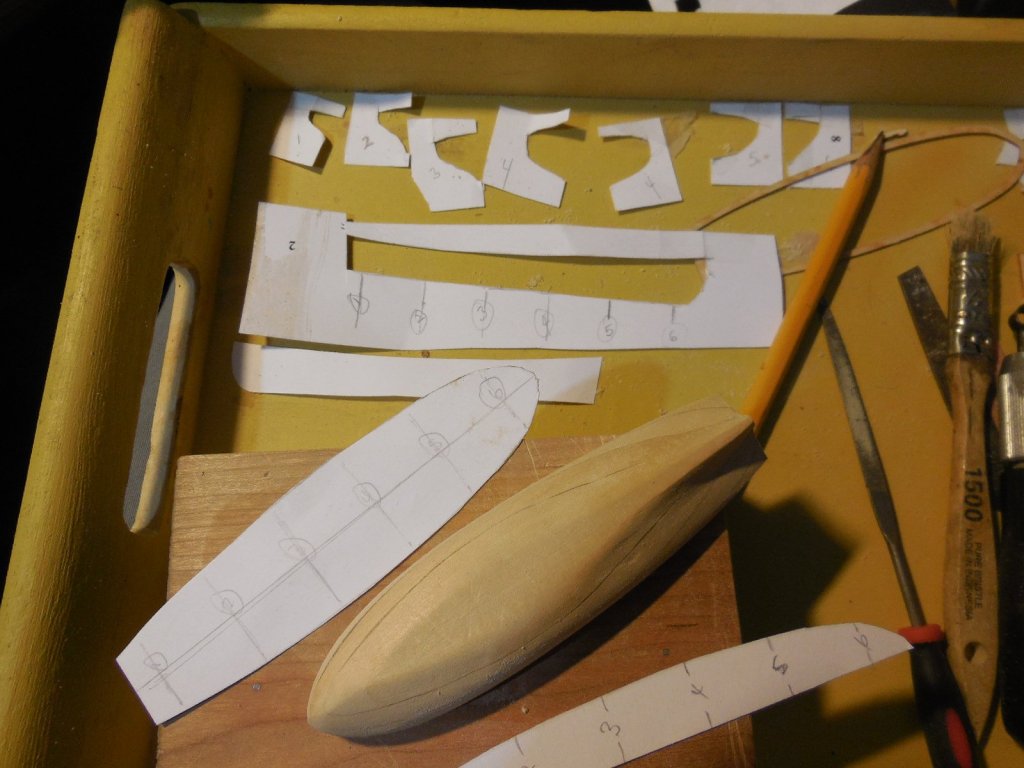
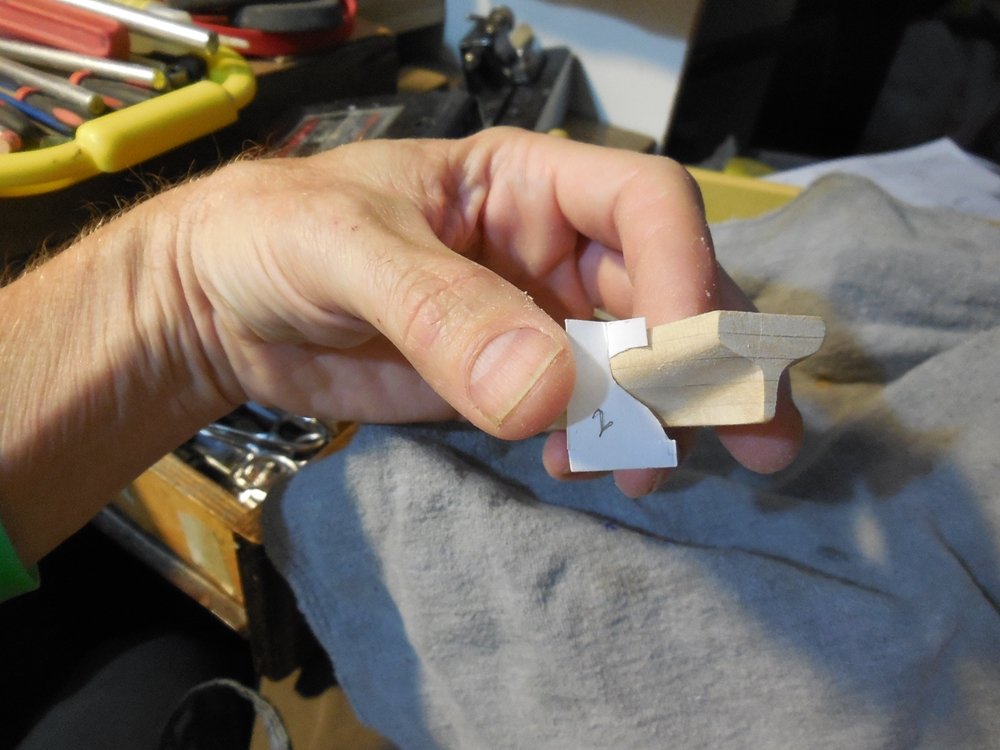
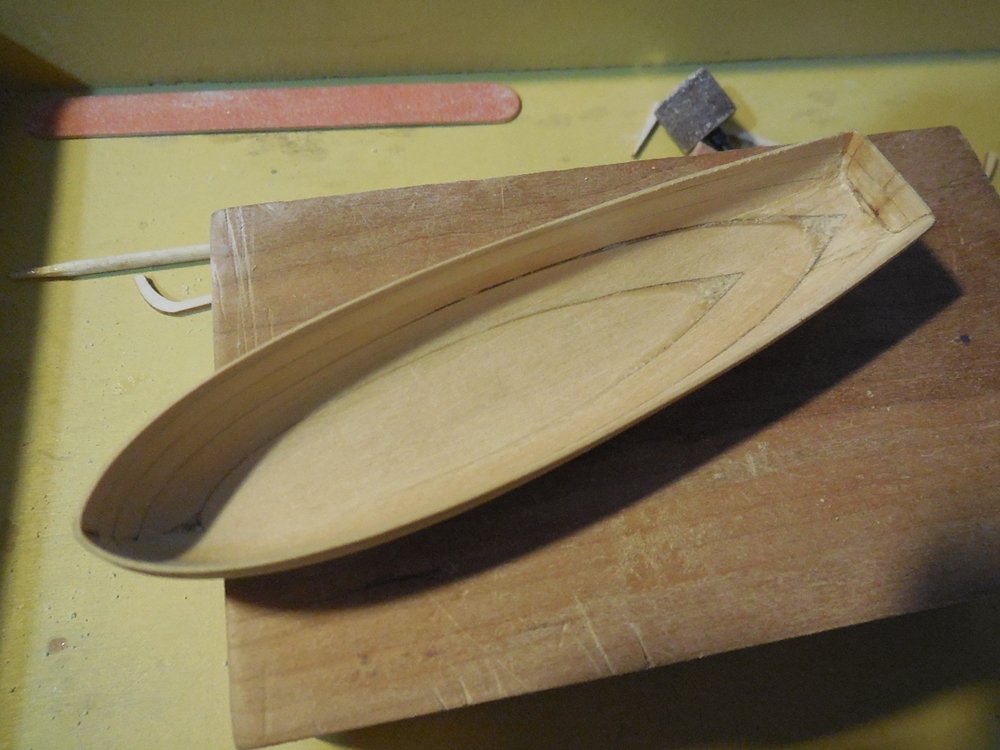
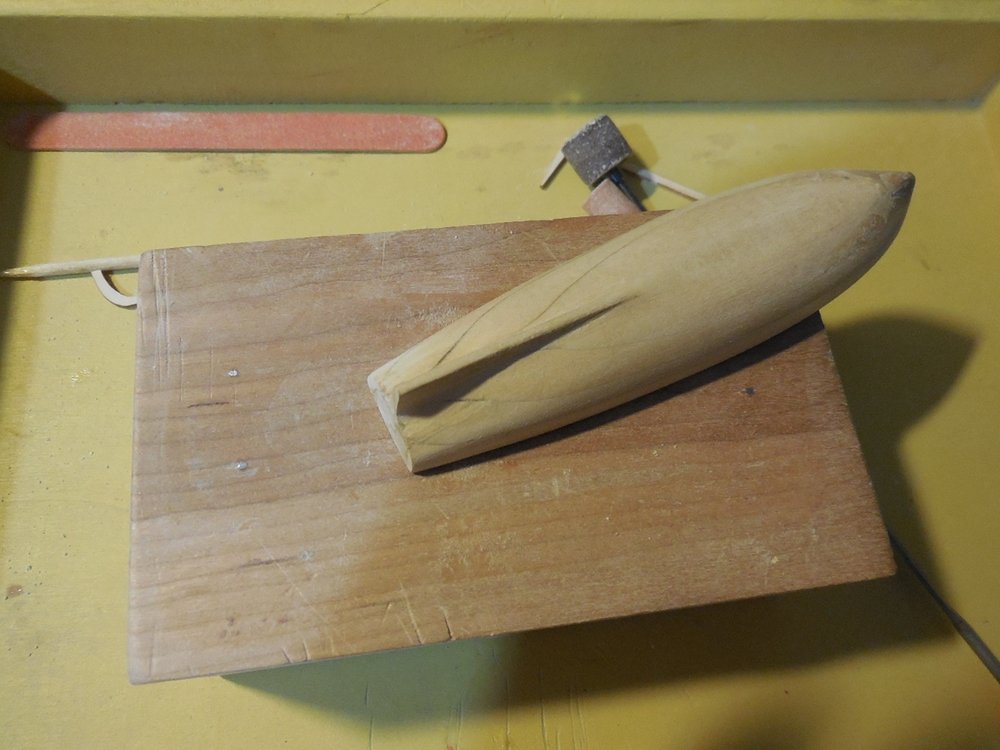
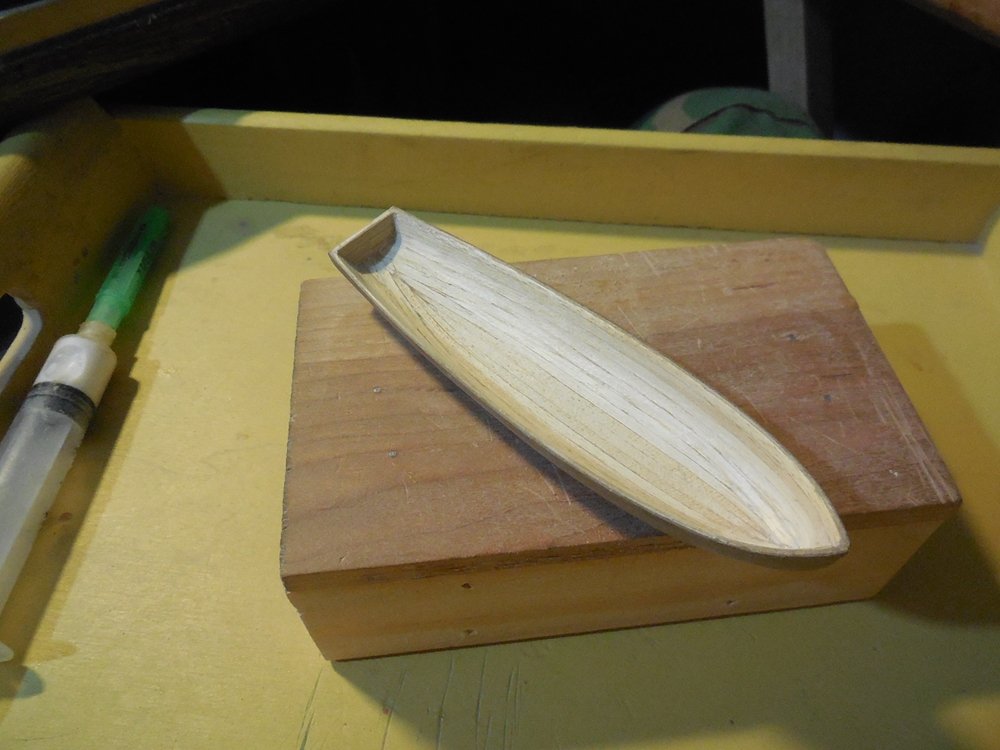
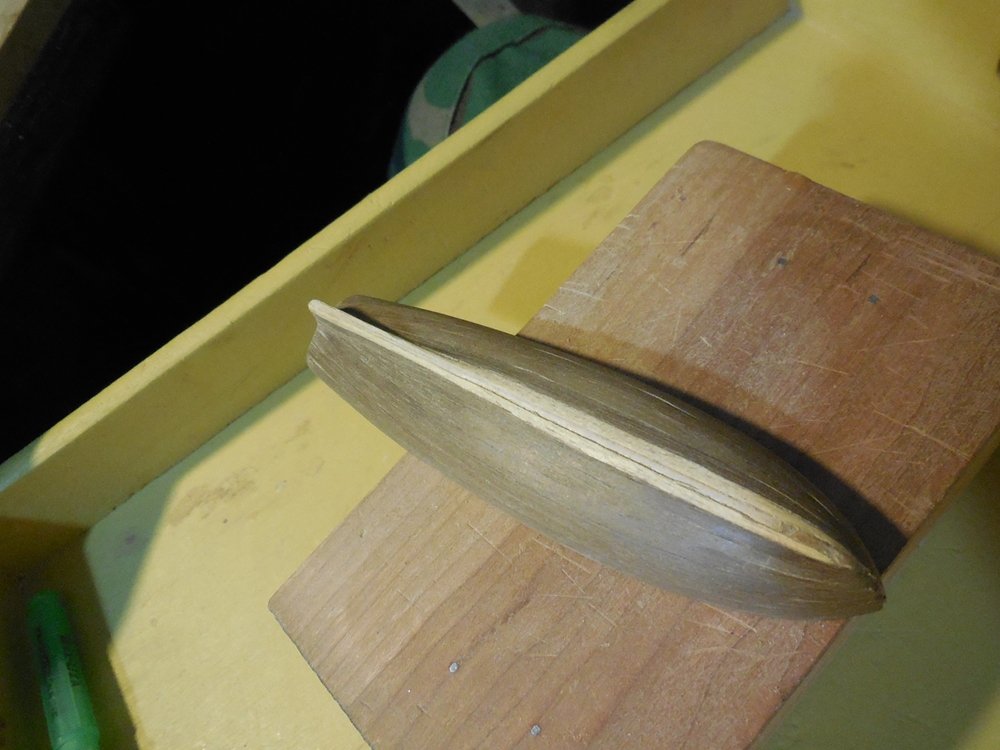
Many things have kept me from my building. Fighting my illness then my father-in-laws passed away. We got invited to the coast for a few days and jumped at the chance. I really wanted to visit the Maritime Museum while there but others weren't as interested as I was and it didn't happen. A little disappointed. We got back and we had a major problem with the air conditioning for the 4th time this year. Hopefully everything will get somewhat back to normal now. I have been squeezing in a few min. here and there over a while on the build waiting for things to allow me to start posting again. Trying to remember to take pictures but half the time forgetting to for part of the steps. Jumping around a bit from the order of the instructions. Constructing the longboat. Glued the pre-cut lifts together per instructions (forgot to take pics of some of the steps. Shaping these boats just right has always been a problem for me. i made templates for the shape changes from the instruction sheets. to guide me. Sanding it down to the proper thinness didn't work out well. I took off too much material in the front and didn't get the shape right in the rudder area. Didn't want to start all over so I built up and puttied areas too thin, did some other re-shaping and patch up work. This didn't look very well and even though the lower areas would be painted on the outside it wouldn't have that planked look so I re-planked it inside and out to hide all the flaws. Using scrap pieces I used darker strips where it will be hidden by the white paint later. Jesse
- 1,306 replies
-
- 20
-
-
- syren
- model shipways
- (and 1 more)
-
Very very nice. Jesse
-
Wow, that turned out very good! I too am anxious to see how it looks on the yard. Jesse
-
Love what you are doing with this build. I followed the kits instructions on how she was rigged but I like how you have doe it better. Wish I had done mine this way! Jesse
- 115 replies
-
- 1
-
-
- Scottish Maid
- artesania latina
- (and 1 more)
-
Just when I started to get some momentum going my father-in-law passed away last night. Everything will be on hold for a little while. Jesse
- 1,306 replies
-
- 1
-
-
- syren
- model shipways
- (and 1 more)
-
Hello Richard, from your post I discovered your Syren and will be following it. I saw someone else tie the binnacle on their build log. I checked it out doing Google searches and found it was commonly done so I added it to mine for some extra detail. Jesse
- 1,306 replies
-
- 8
-
-
- syren
- model shipways
- (and 1 more)
-
Shaped and added timberheads. Used a strip of paper to space them out evenly. Jesse


- 1,306 replies
-
- 29
-
-
- syren
- model shipways
- (and 1 more)
-
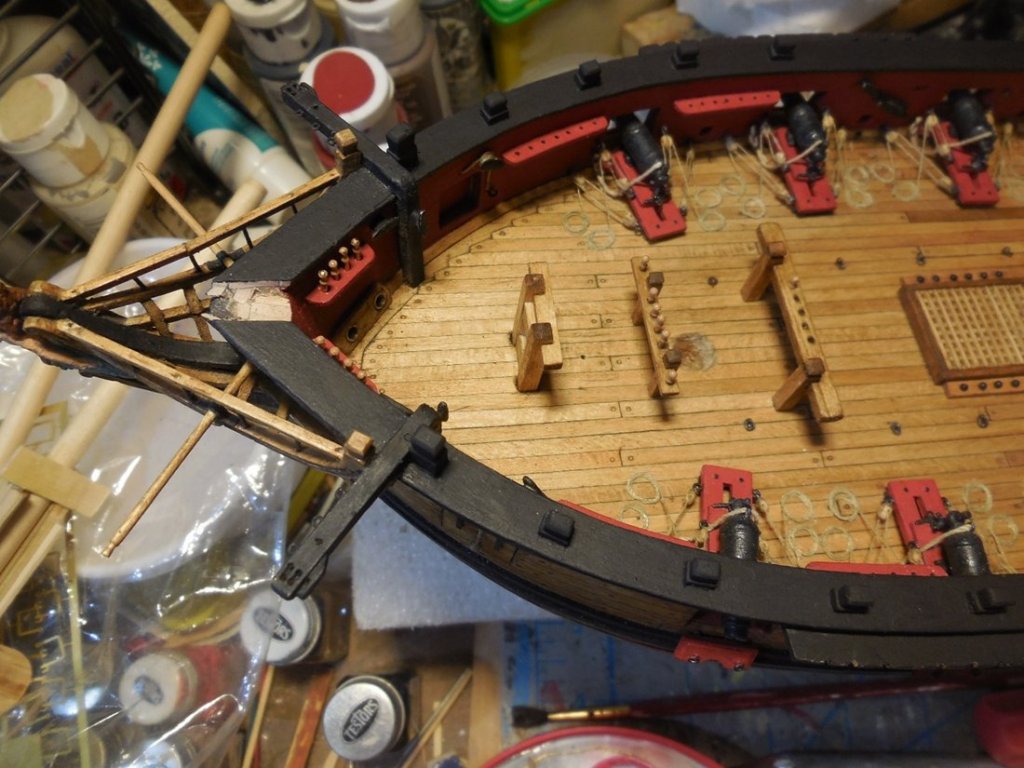
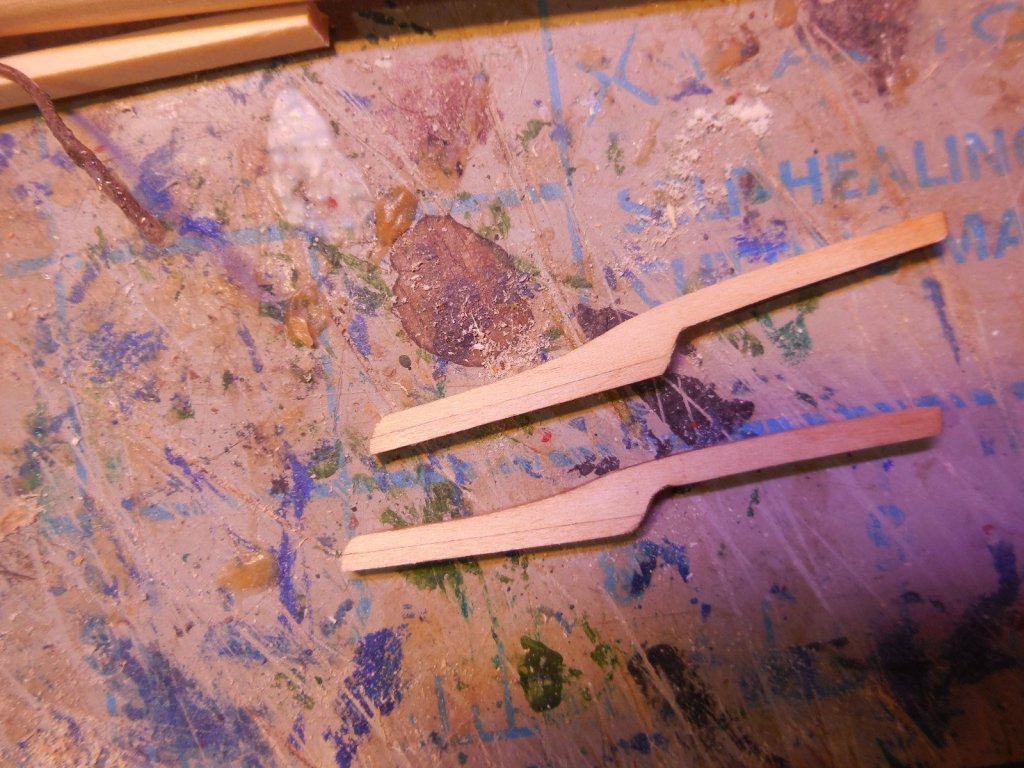
When fitting the stern davits they didn't fit as good as they should. found that I needed to add a strip under them made them sit at the right height much better. I didn't feel the pegs beneath the kit supplied cleats were deep enough to hold well when rigging is pulling on them so I snipped them off, drilled them out and glued wire pins in that will sit deeper and grab the wood better. Stern davits and cleats on and painted. Jesse

- 1,306 replies
-
- 23
-
-
- syren
- model shipways
- (and 1 more)
-
I agree with Steven, I am enjoying this build very much - both the craftsmanship and the historical research! Jesse
-
Dave makes a good point. We as modelers try to make everything so perfect when the real thing is much cruder, rustic, etc. Jason your work is Museum quality even with things you feel aren't quite good enough. I'll bet your model looks better than the real thing did! Always impressed with your work! Jesse
-
Wow, impressive work! Jesse
-
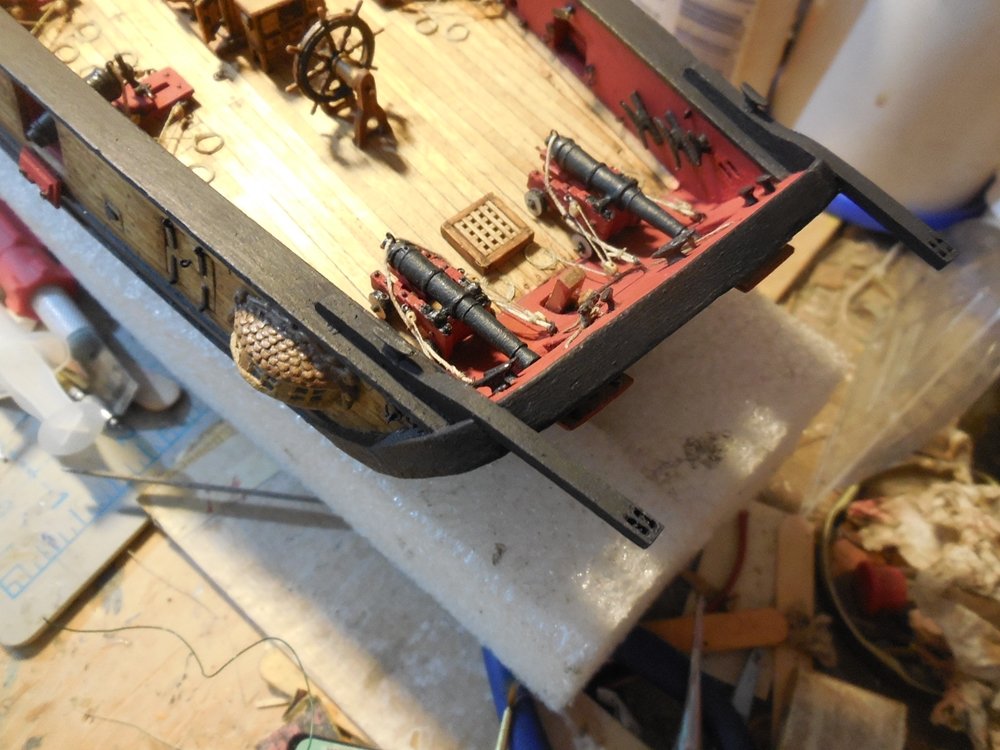
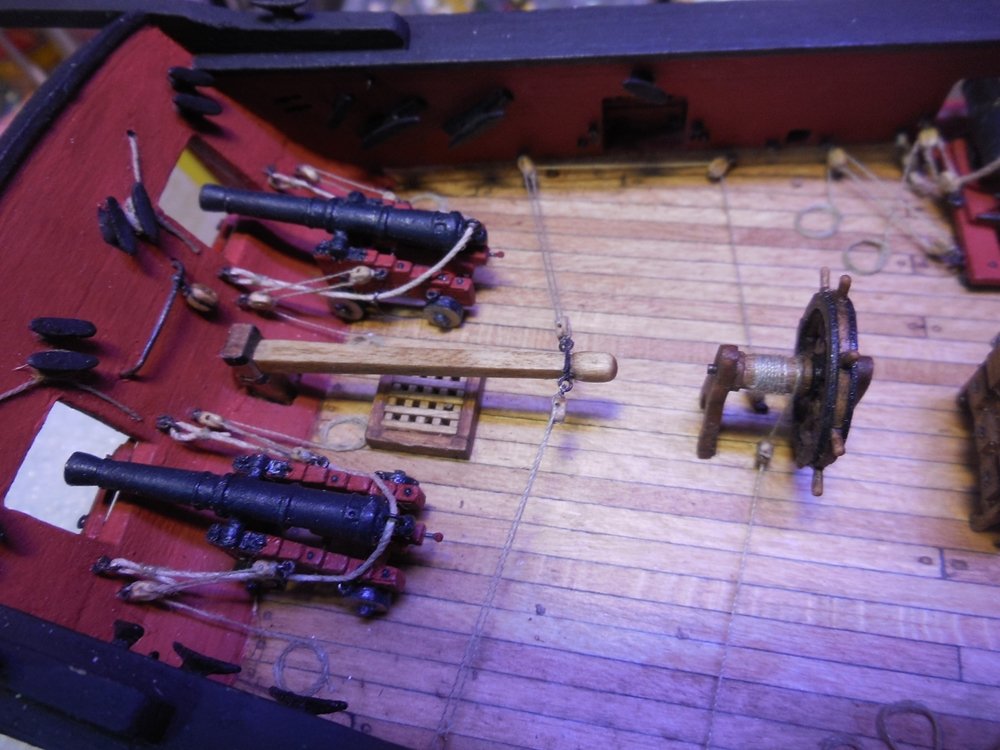
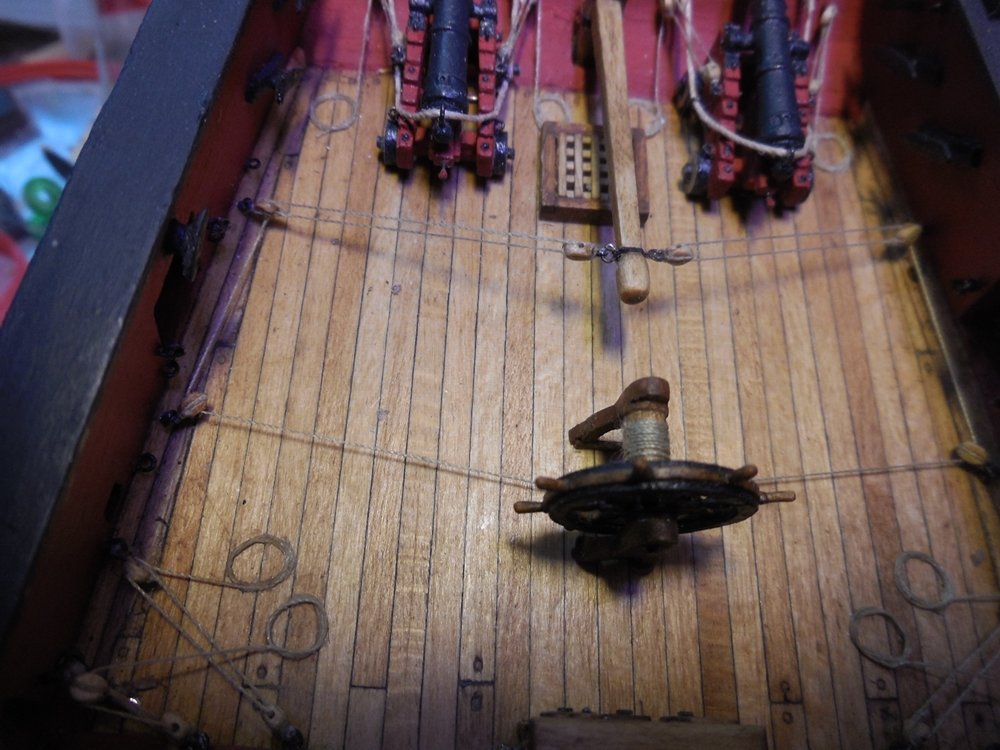
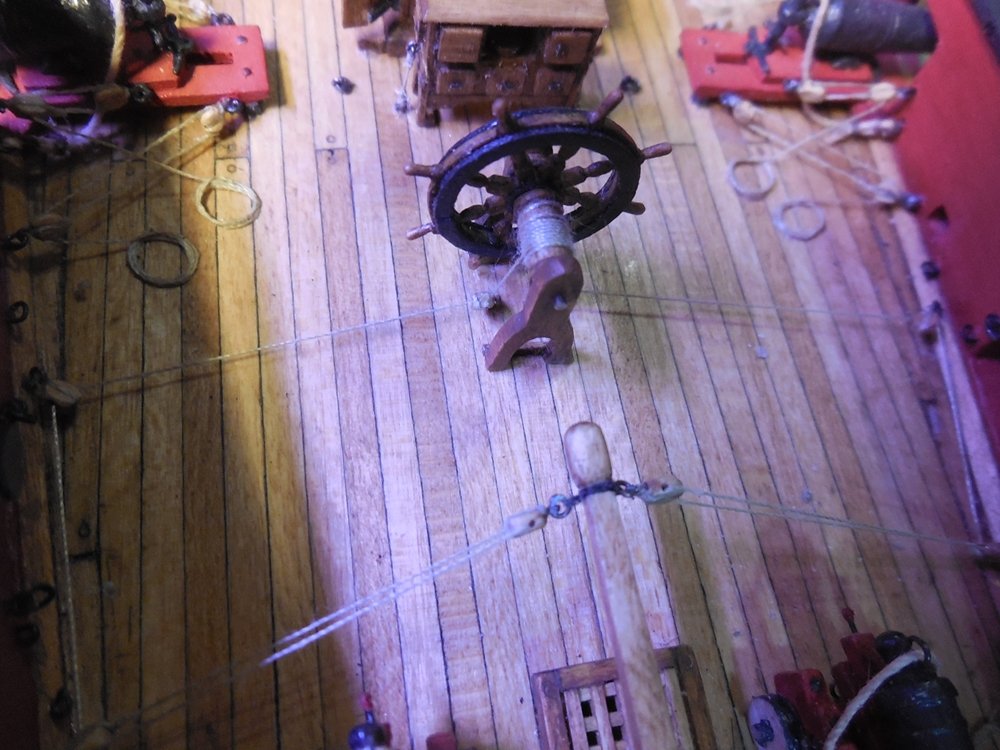
Added the ships wheel that I built last year and rigged it up. Again I have borrowed from others research and made some adjustments to how the instructions showed it. Jesse
- 1,306 replies
-
- 33
-
-
- syren
- model shipways
- (and 1 more)
-
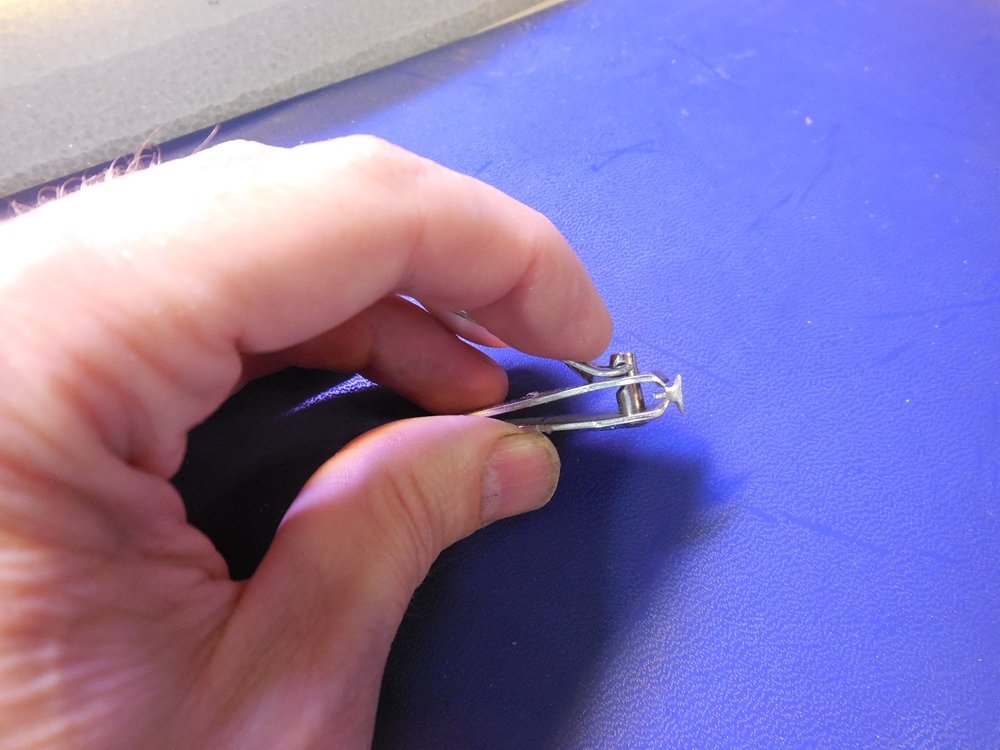
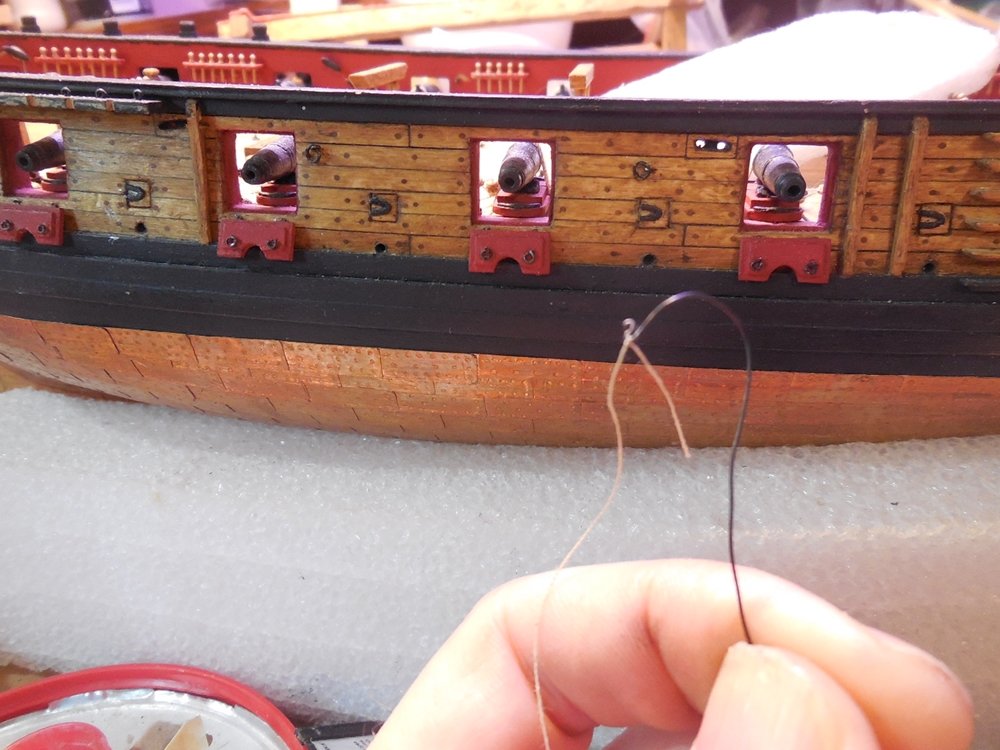
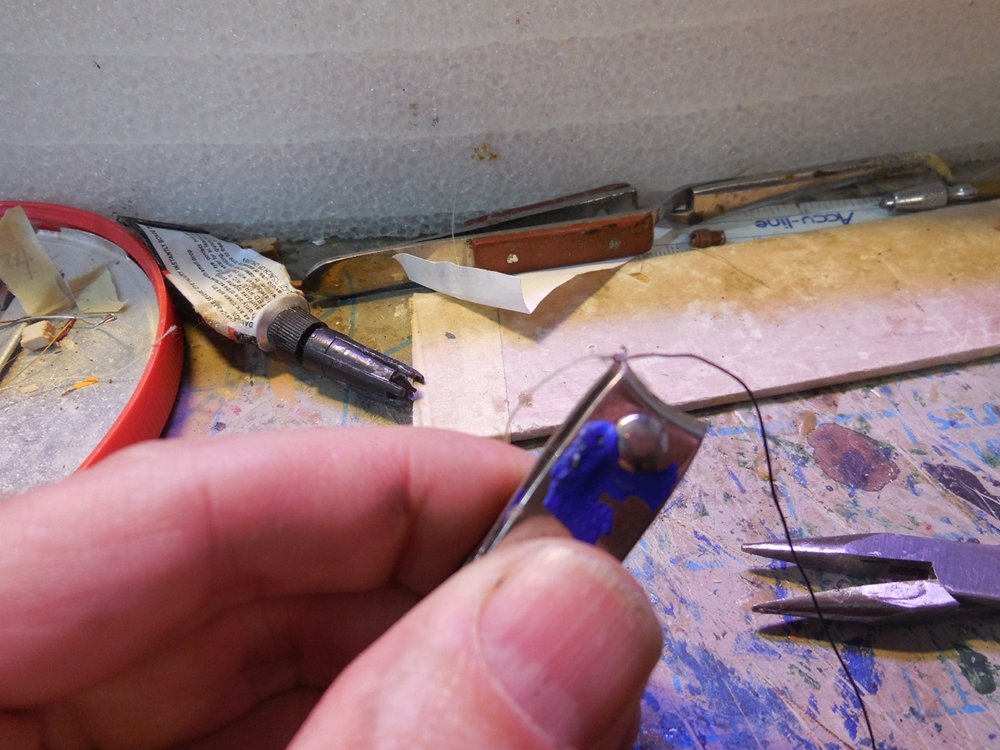
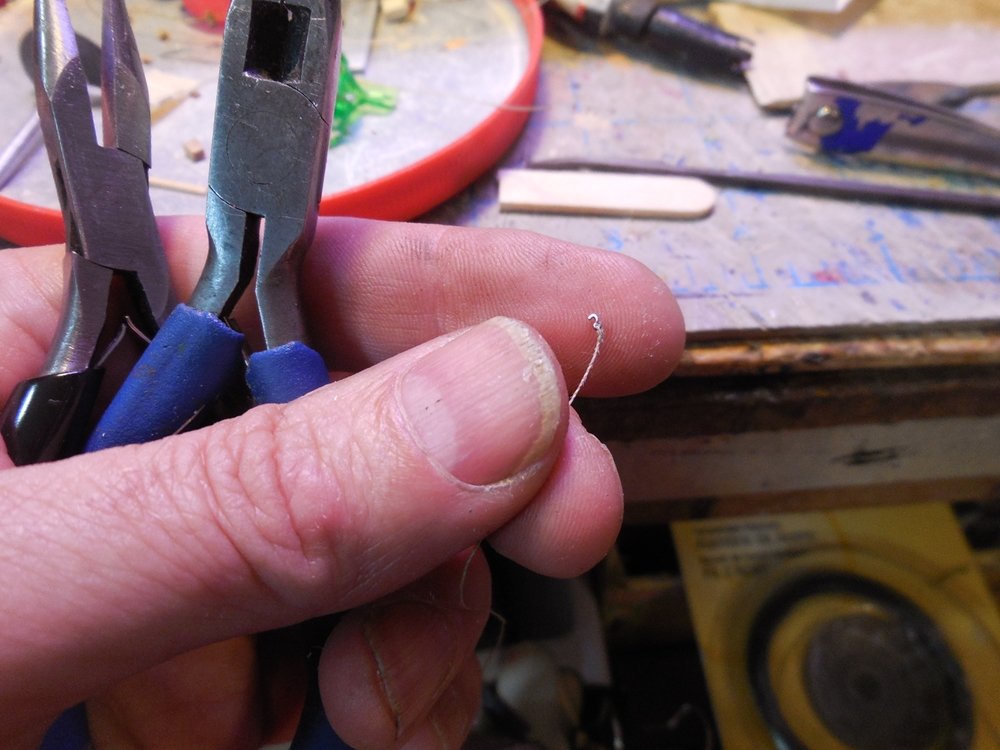
Scanning over others Syren builds I saw someone tied the binnacle down. Did some web searching and saw that this was commonly done so I made my attempt at it. Theses hooks are very tiny and were difficult for me to make but I managed to do it. Tying it down was not easy because it is such a tight space. Sorry some of these pics are not real clear. The camera wanted to focus what was behind and around instead of the tiny hook I was trying to shoot. Jesse
- 1,306 replies
-
- 21
-
-
- syren
- model shipways
- (and 1 more)
-
I am coming up to the Hammock Cranes and netting soon. One of our other MSW members who have done this build has suggested to wait until after installing the lower shrouds because of damaging/bending them in this process. I got to thinking about damaging them while trying to tie off running rigging to the pin rails but it seems it would be too difficult to add the netting to the Hammock cranes after all this rigging is in the way. Would like feedback on this from anyone. Go on and add them now or wait until other rigging is done first? Jesse
- 1,306 replies
-
- 7
-
-
- syren
- model shipways
- (and 1 more)
-
Coming along nicely David. Jesse