Old Collingwood
-
Posts
12,000 -
Joined
-
Last visited
Content Type
Profiles
Forums
Gallery
Events
Everything posted by Old Collingwood
-
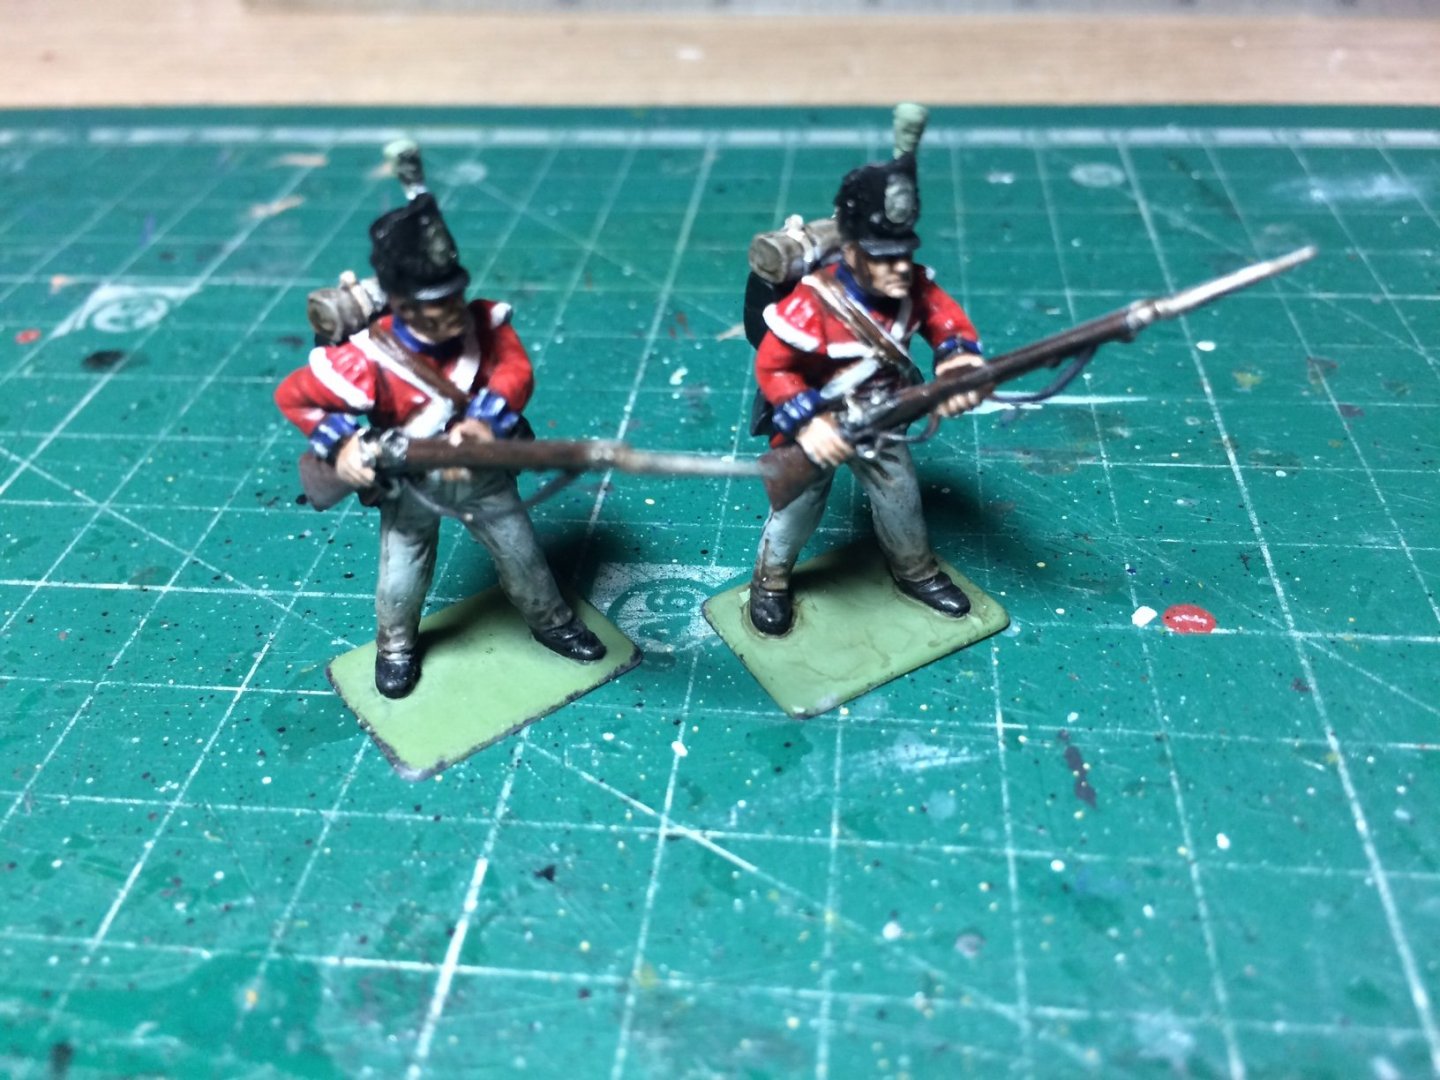
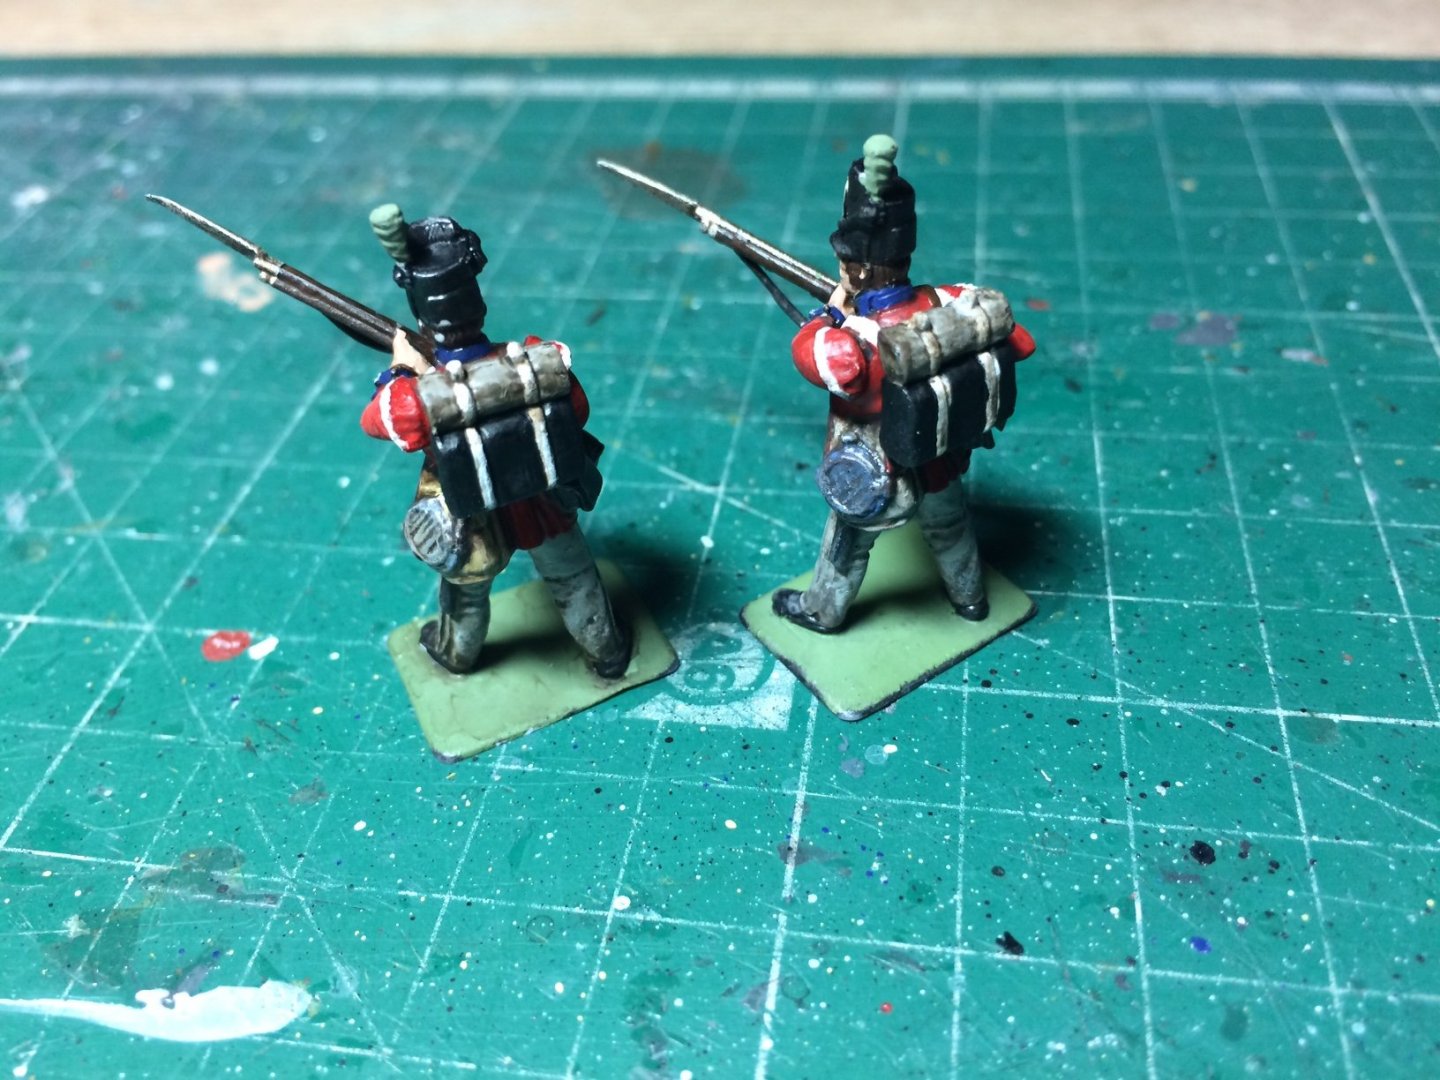
 Evening all despite all the hassle with the clear coat - I got a bit more done on the Three stuggies, just a bit of detail work. OC.
-
I know mate, they are just ignoring me now, thier loss I wont deal with them again. OC.
-
Corel Greyhound instructions
Old Collingwood replied to Tensecondsdown's topic in Wood ship model kits
At the front of the manual if memory serves me - you need to check back and forth. OC. -
I know mate, what does it hurt them to just send another one out instead of trying to blame my working technique. OC.
-
Thats a nice Spitfire target there, fingers crossed it goes together better for you. OC.
-
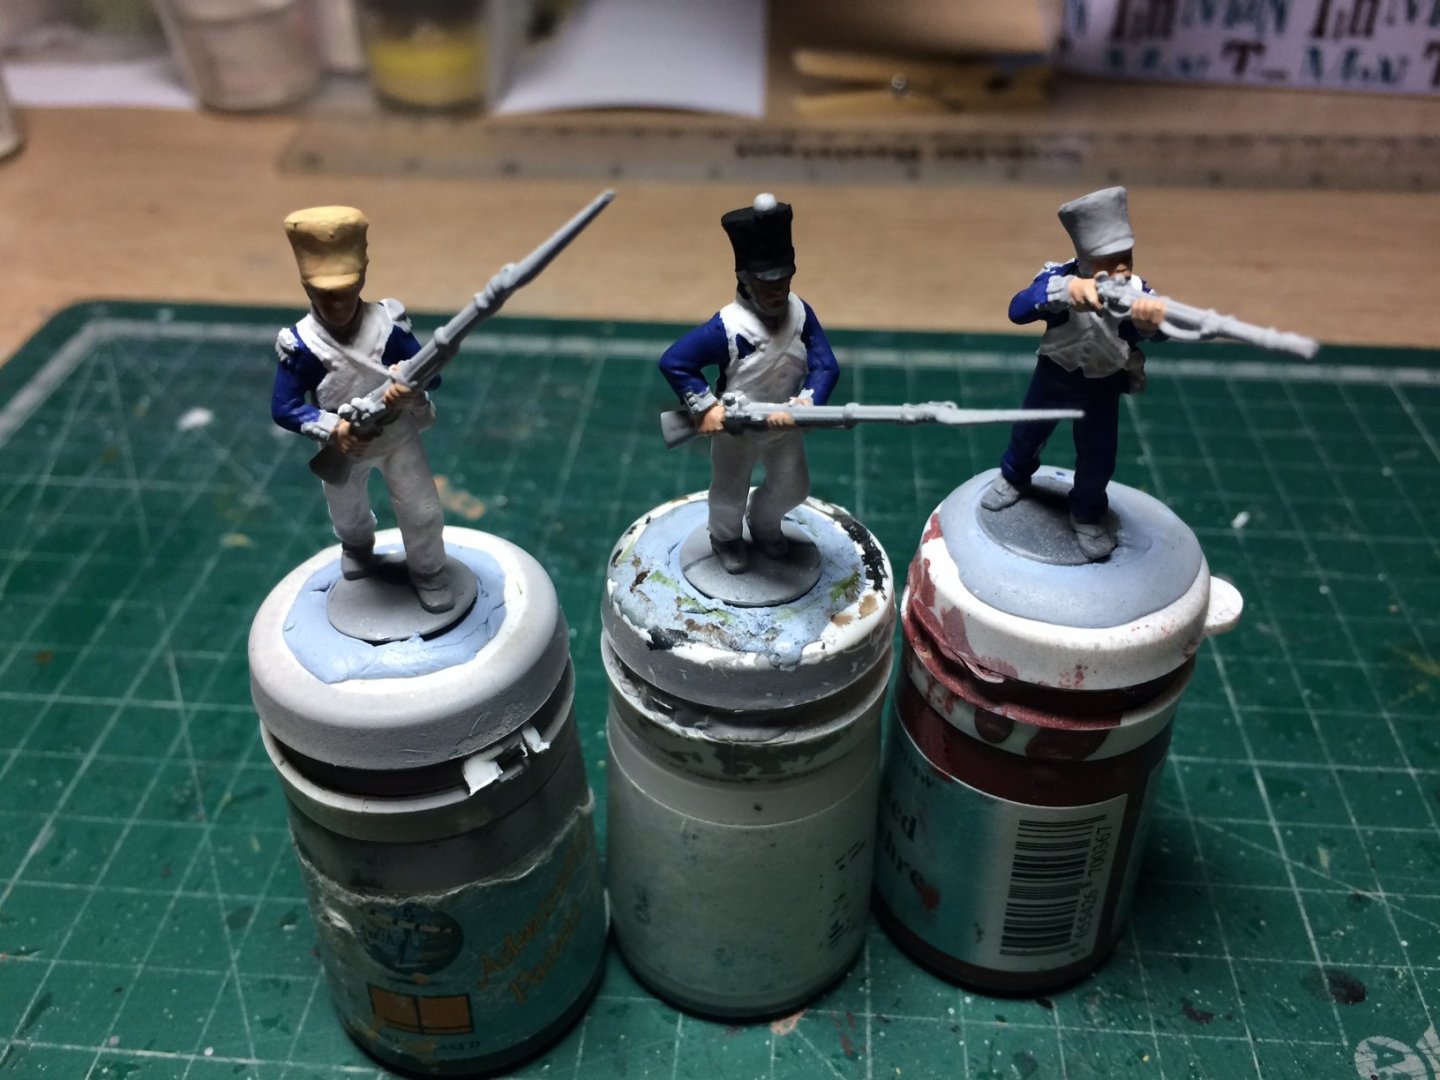
Im still at it folks, just was late when I finished and foregot to take some piccies, anyway I have been continuing with the 55th trio, what they actually are - the Three seperate units a Fusilier, a Grenadier and a Volitigeur. Im still having my battle with the seller of the top coat - they are saying I must have not degreased the figures or used some doggy Acrylic paint underneath the top coat - they say its not thier problem😠 OC.
-
Try gently dry brushing the areas where it is darkest (is that the areas you are on about?) use the same sand-ish colour paint as the main deck, and gently dry brush over to see if it blends it, as long as you did it very very carefully making sure the brush is virtually paint free it might help a bit. Failing that you always try a gentle stain (Im sure you must be able to get them for model building?) you could go either lighter or sligthy darker, that also might work? OC.
- 211 replies
-
- 2
-

-
- prince of wales
- tamiya
- (and 2 more)
-
Very nice work mate, all those details really make a difference and dont get me started on your decking - spot on. OC.
- 268 replies
-
- 3
-
-
- panart
- amerigo vespucci
- (and 1 more)
-
Amazing work and at 1/600 scale - superb work, tidy clean and really sharp painting. I too have done a few of these kits SS France, QE2 and Canberra, but not as nice as you have, looking forward to more. OC.
- 28 replies
-
- 1
-
-
- airfix
- queen elizabeth
- (and 2 more)
-
I know - told them the damage it had caused (my fault apparently)😲 OC.
-
Thank you Edward, yep they are the last Three I have primed before my Rattle can ran out (Thats why the Brits have been getting a normal flat coat of Acrylic paint to act as a primer - but dont think it did the job) I have been able to raid the penny jar - so to speak and order some Vallejo surface primer - should be here in a few days, so I will be able to get back on more British. Also I am in debate with the company were I got that Mr Hobby/Gunze/Sangyo Flat topcoat, they are trying to say not all Acrylics are the same and I should have used it with thier own range of paints. OC.
-
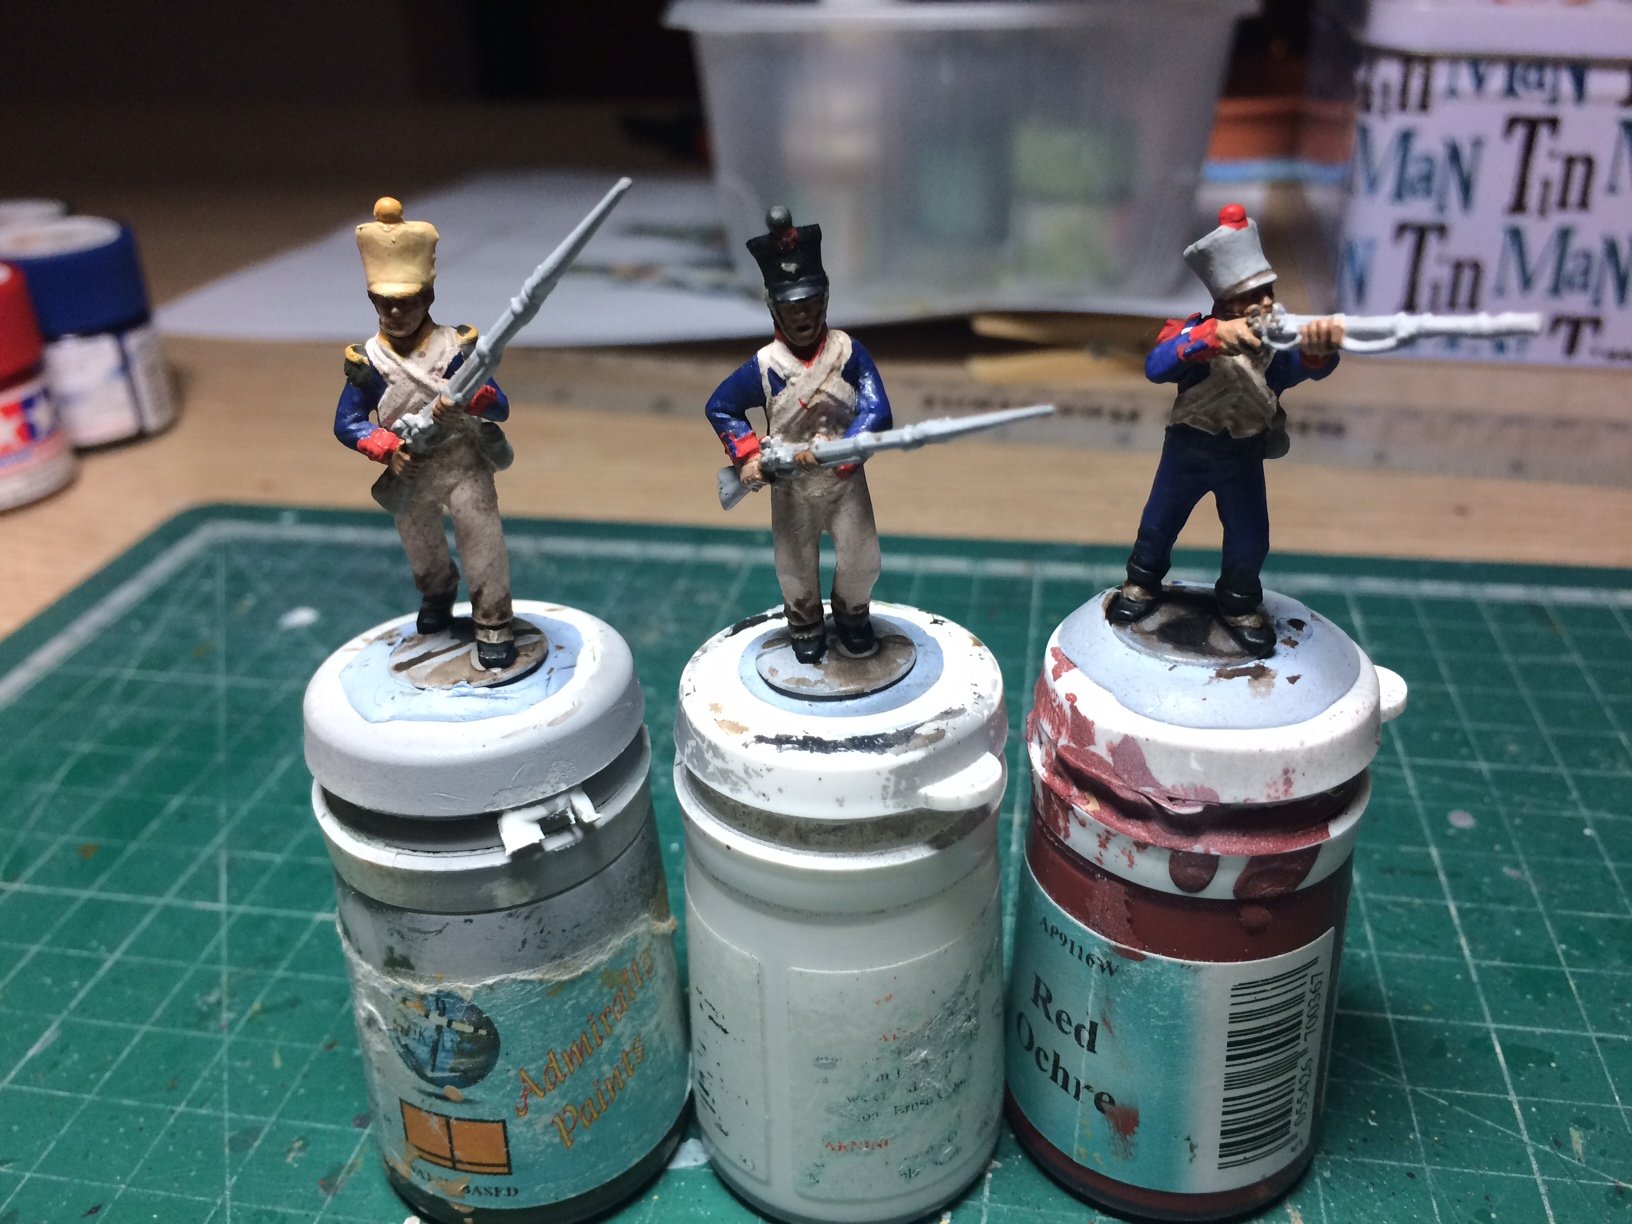
Evening all, French time again - another Three 55th Ligne Voltigeurs. OC.
-
Thank you so much Kevin. OC.
-
Yeah its good stuff used it on my planes and first few figures but ran out now, OC.
-
Can you get a Good brush on primer to use with acrylics ontop? as in place of my Tamiya rattle can surface primer, I have just been using a basic Tamiya Flat Black Acrylic paint to prime them, perhaps normal paints acting as a primer are not good enough and dont have enough of a key/grip to the plastic - making paint layers not really bite down on to the plastic - resulting in the flat clear reacting? Should have remembered back to my Warspite build and picked up some Vallejo Surface primer. OC.
-
Indeed Ken, I dont understand it - why would Acrylic Clear coats react with Very dry/hard Acrylic paint layers, thought they were supposed to be 100% compatable? OC.
-
Evening all, more work today but back on the first Two KGL 5th,, with the help from "Percy - Percy Verance" I had orderd a small jar of Mr Hobby / Gunze/Sangyo Acrylic Flat Clear and it arrived this morning I had heard excellent comments about this clear coat so i was expecting high things from it, so first things first I gave it a good shake and stir, then with a soft brush I worked it over the figure - the Acrylic paintwork was easily 2-3 days old, but to my ((shock)) the paintwork started to react and fade/mix in with each other, so I dried it then when set - I mixed the clear coat about50/50 with distilled water and tried again, this time it didn't react but instead of leaving a flat finish, it was shiny like a satin finish - so not what it was supposed to be, so I then decided to fit Two back packs on them and tidy up the paintwork a bit, by re applying the Red and Grey and then re shading etc etc. So this is about as good as these Victrix figures are going to get with my skills. OC.
-
Evening all, I have been doing some comparisons between the main Two makers of these figures - Perry and Victrix and Perry are hands down the better detailed and scale accurate, so after I finish my next Two Victrix KGL 5th Light, I will move on to something else. I still have Two cuirassiers to build and some more French Infantry, then when my green paint arrives I can start on a couple of Perry KGL Green/Grey Light Riflemen. My thinking is - whne I get the buildings I can hide the lesser detailed figures away firing from windows etc. OC.
-
One of those combinations of factors that lead to the result but could have swung either way, I know wellington screamed out for more troops from England but they were not sent, and on top of that Napoleons health. Intersting events. OC.
-
Indeed Mark, could have been so different by the toss of a coin. OC.
-
No problem Roger, basically it was just a farm with wall that was close enough to the English line to be both an annoyance to the French or a pain in the back side to the English, dependent on who captured it. Oc.
-
Hi all, no photographic evidence of my latest work - but basically I worked on the faces of another Two KGL 5th, also I altered a couple of the cross straps as they would not be there unless the packs were worn, then I layed down the red coat colour on Two of them. After talking to an actual reinactor from a KGL reinactment unit, he told me the plumes should be Green, as the the detachments from the KGL were all from the Light regiment and Green represented thier unit colour - so as I have Dark Green on order for the various jackets, I will paint the plumes when it arrives. OC.
-
Thanks mate for explaining all that, fits in with what I have been researching - certainly was a close call, also make you wonder what might have happened if Grouchy with his 33.000 troops sent off to fight the Prussians - had returned back to Waterloo in time. OC.