


Old Collingwood
-
Posts
11,492 -
Joined
-
Last visited
Content Type
Profiles
Forums
Gallery
Events
Posts posted by Old Collingwood
-
-
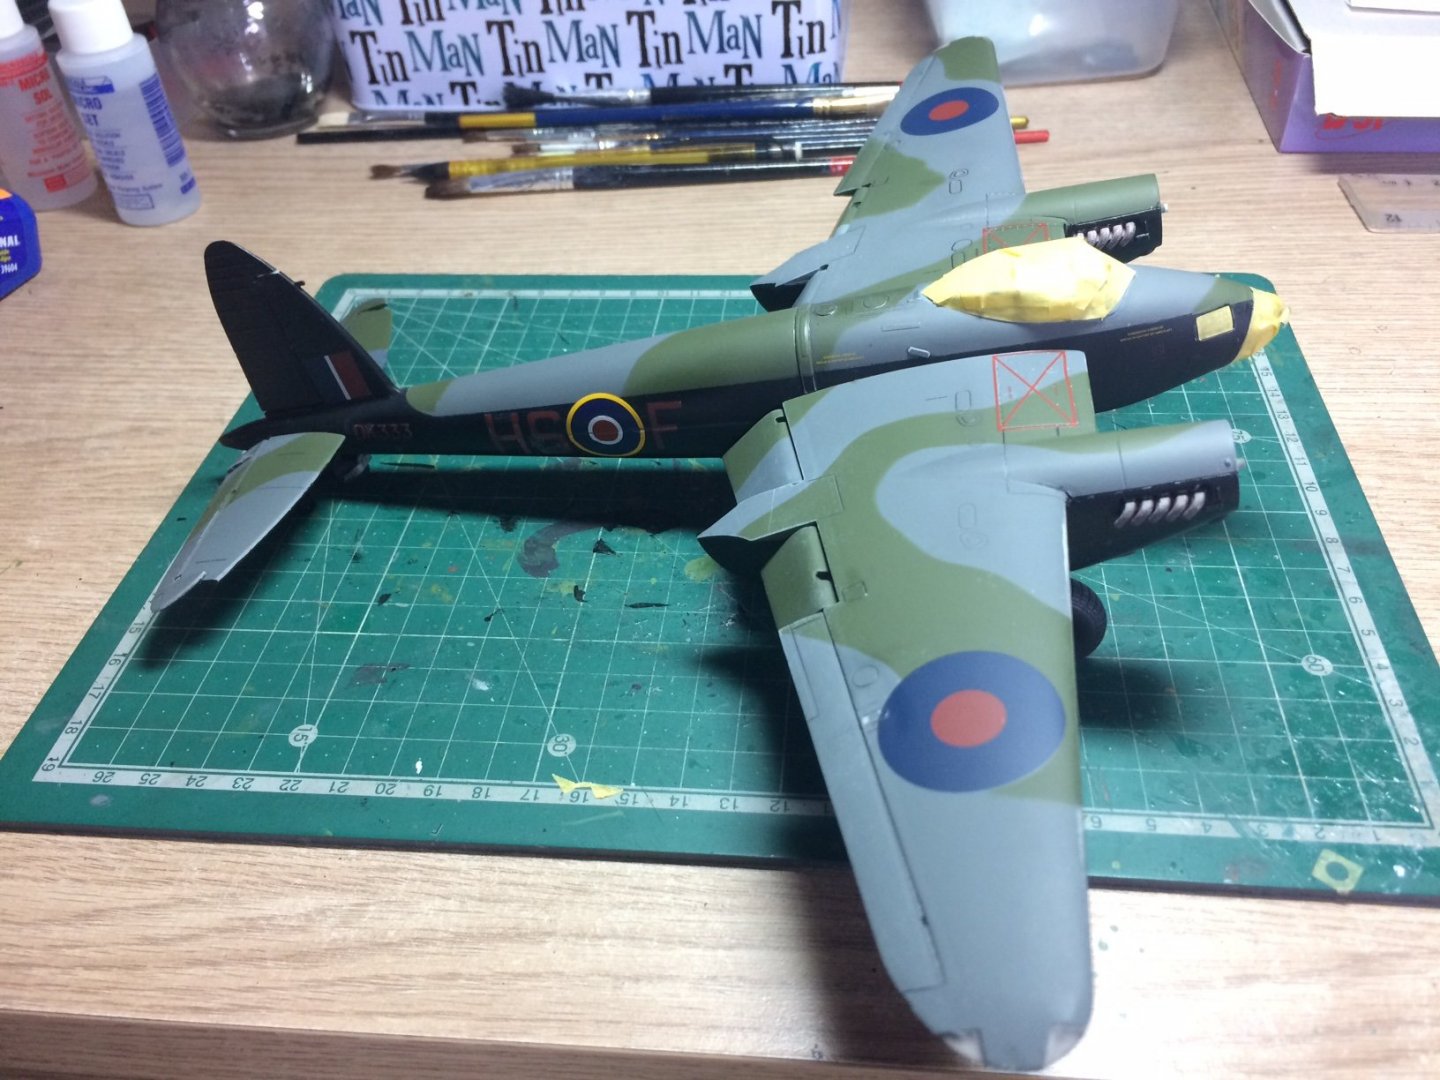
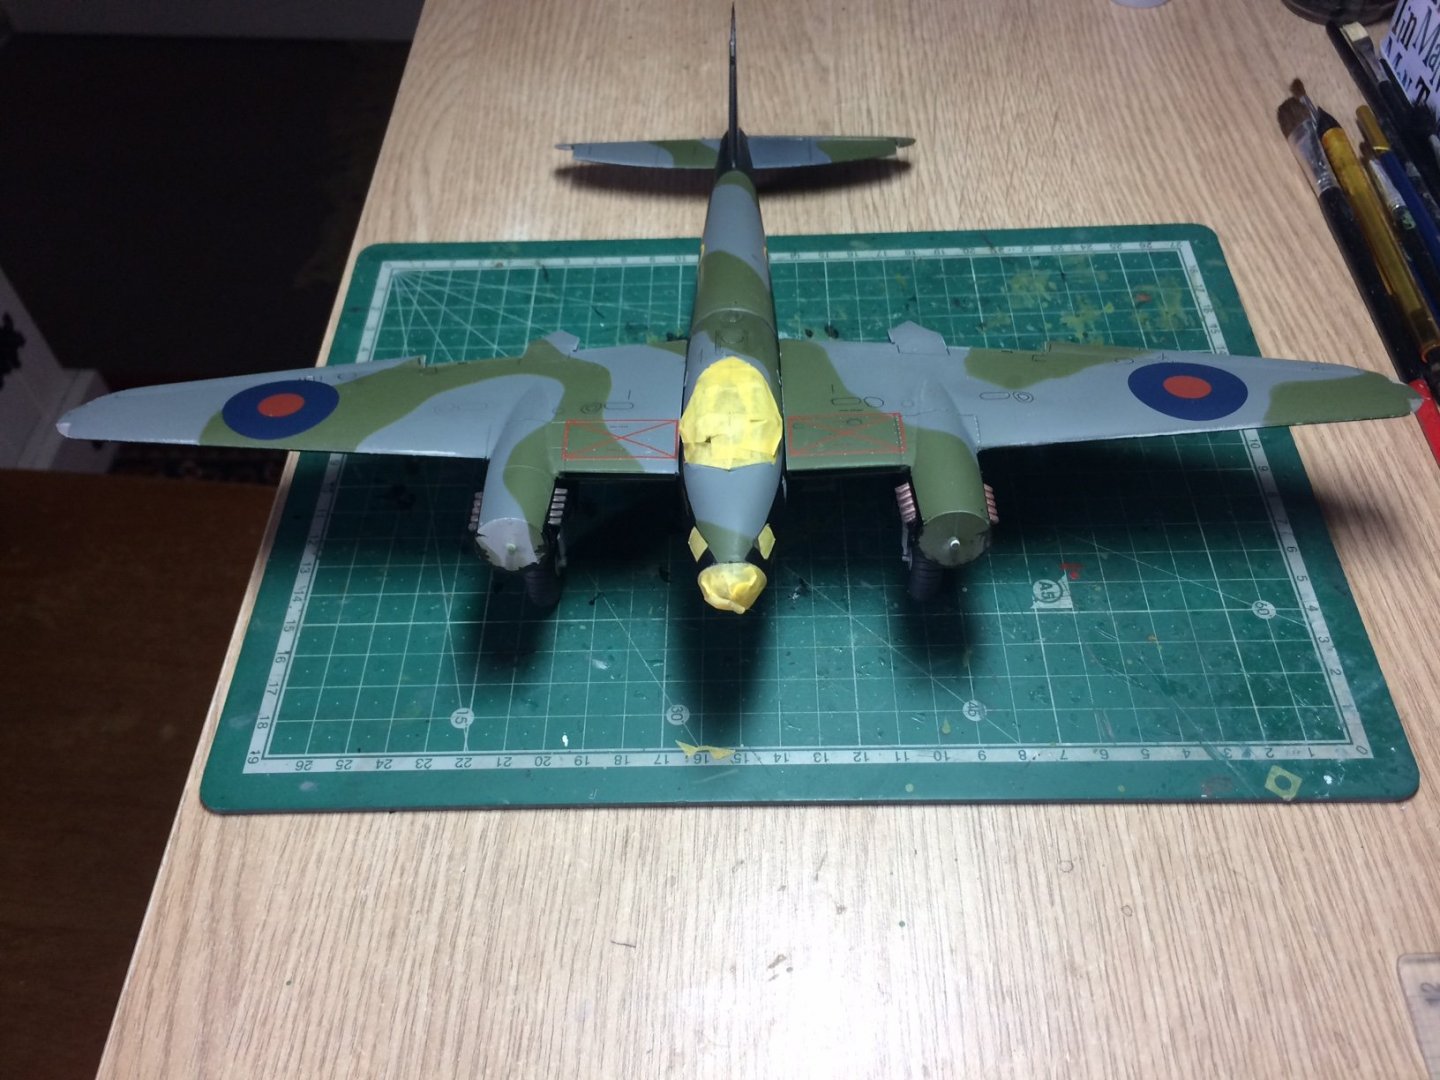
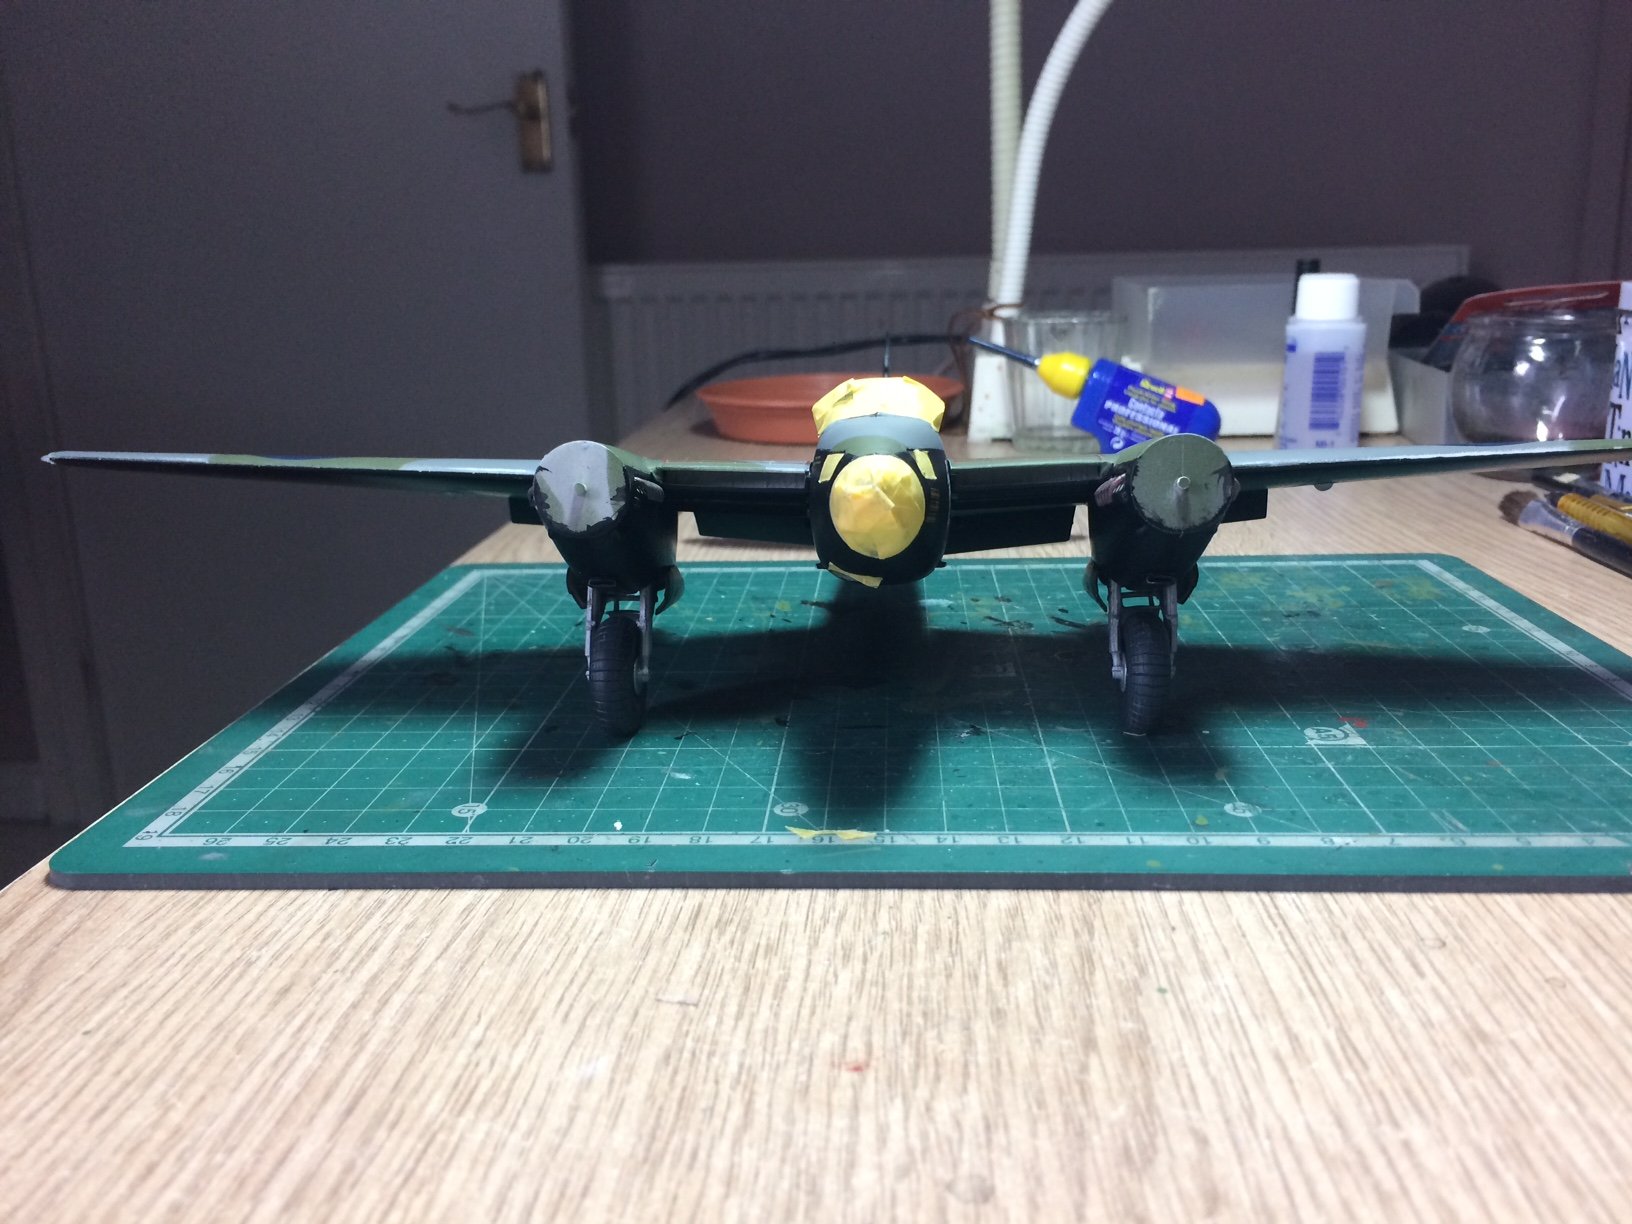
Good day all, I reached a milestone today after doing a bit more touch up and weathering around the region of the damaged decals -
Mossie has her wings attached.
Just a few more decals to be put on the one stab, then in a couple of days time I will do a mist coat over the troubled decal area, then followed up by a couple more layers.
OC.

-
7 hours ago, Edwardkenway said:
Looks good OC, you done well with the rescue work 👍😊
Thank you Edward.
OC.
- popeye the sailor, Canute, Egilman and 2 others
-
 5
5
-
15 minutes ago, mtaylor said:
Sounds like a good plan, OC. The recovery so far is looking great. Nothing like a few worn spots and some scars on a war bird.
Thanks mate, just my logic - cover up the blemishes with blemishes - just intentional ones.
OC.
- Egilman, mtaylor, popeye the sailor and 3 others
-
6
-
So after doing some internet bashing on the subject (not fly flishing🙃) later I will do a bit of shading using my pencil along some of the detail lines, then I will go over picking up the high spots with either a dull alum or white dry brush, as around the region where the dameged decals, there is a fuselage locker and the strenthening rib, the same needs to be done to the other stab where had to give it a re - paint.
OC.
- Canute, popeye the sailor, lmagna and 3 others
-
6
-
3 minutes ago, Dan Vadas said:
With the amount of Spitfires built/being built on this Site we may have to change our name to Model Ship and Spitfire World
 .
.
Not far wrong there Dan, tell you what this section has really taken off.
OC.
-
Very nice work Kevin, the lights add a 3D affect to her.
OC.
-
1 minute ago, VTHokiEE said:
I like what you’ve done, such strong perseverance. I enjoy watching everyone work through these issues because I don’t have anywhere near the experience to think of these solutions. A great learning experience for me!
Just me digging my teeth in and refusing to let it beat me, but thank you kindly for saying that.
OC.
-
5 minutes ago, Canute said:
Very nice recovery, OC! A flat coat and some weathering and no-ones the wiser.
Thank you kindly Ken.
OC.
- Edwardkenway, mtaylor, Canute and 3 others
-
6
-
5 minutes ago, Egilman said:
I think that was your best option my friend... The world hands you lemons, make lemonade.... I think that bird wants more than a pretty paint job, it wants to depict itself as the workhorse it actually was.... You have a special bird my friend....
Thank you for those kind words.
OC.
- popeye the sailor, mtaylor, Egilman and 2 others
-
5
-
-
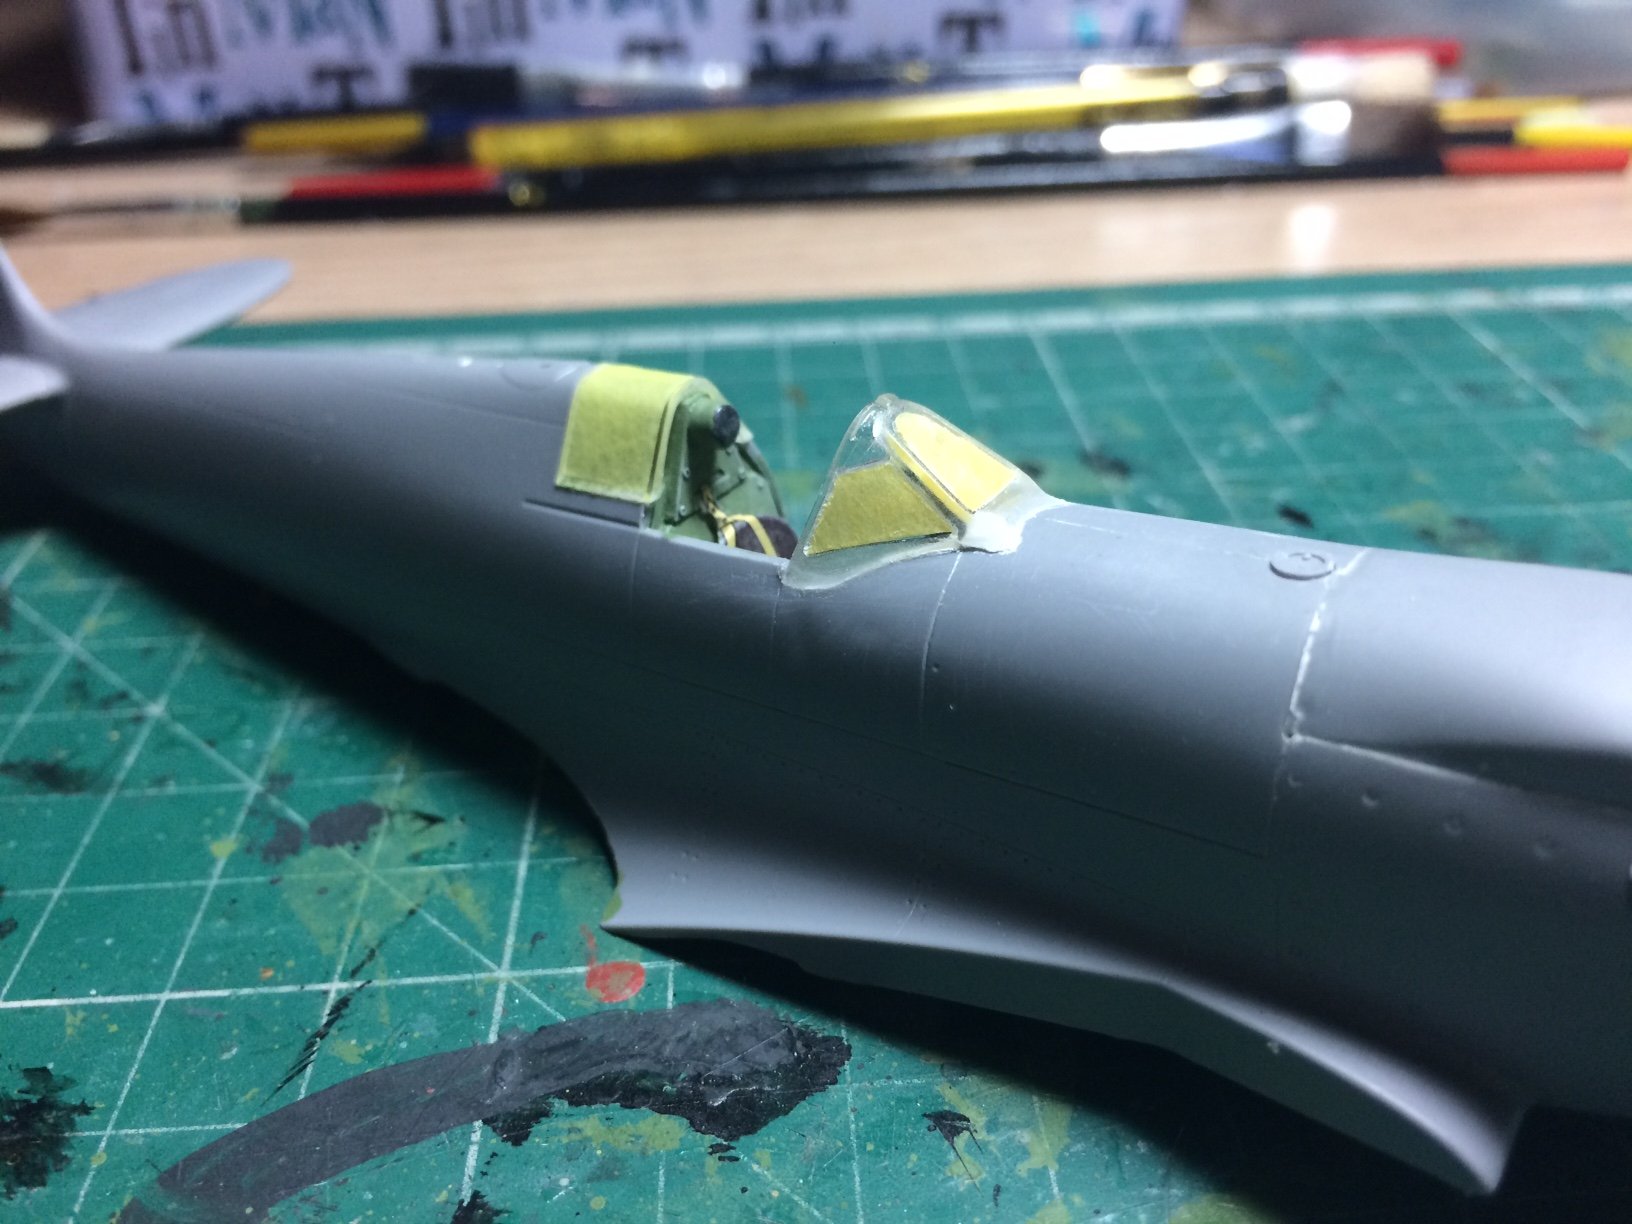
Just the one pic showing the front canopy tidy up job.
OC.

- Edwardkenway, Canute, lmagna and 6 others
-
9
-
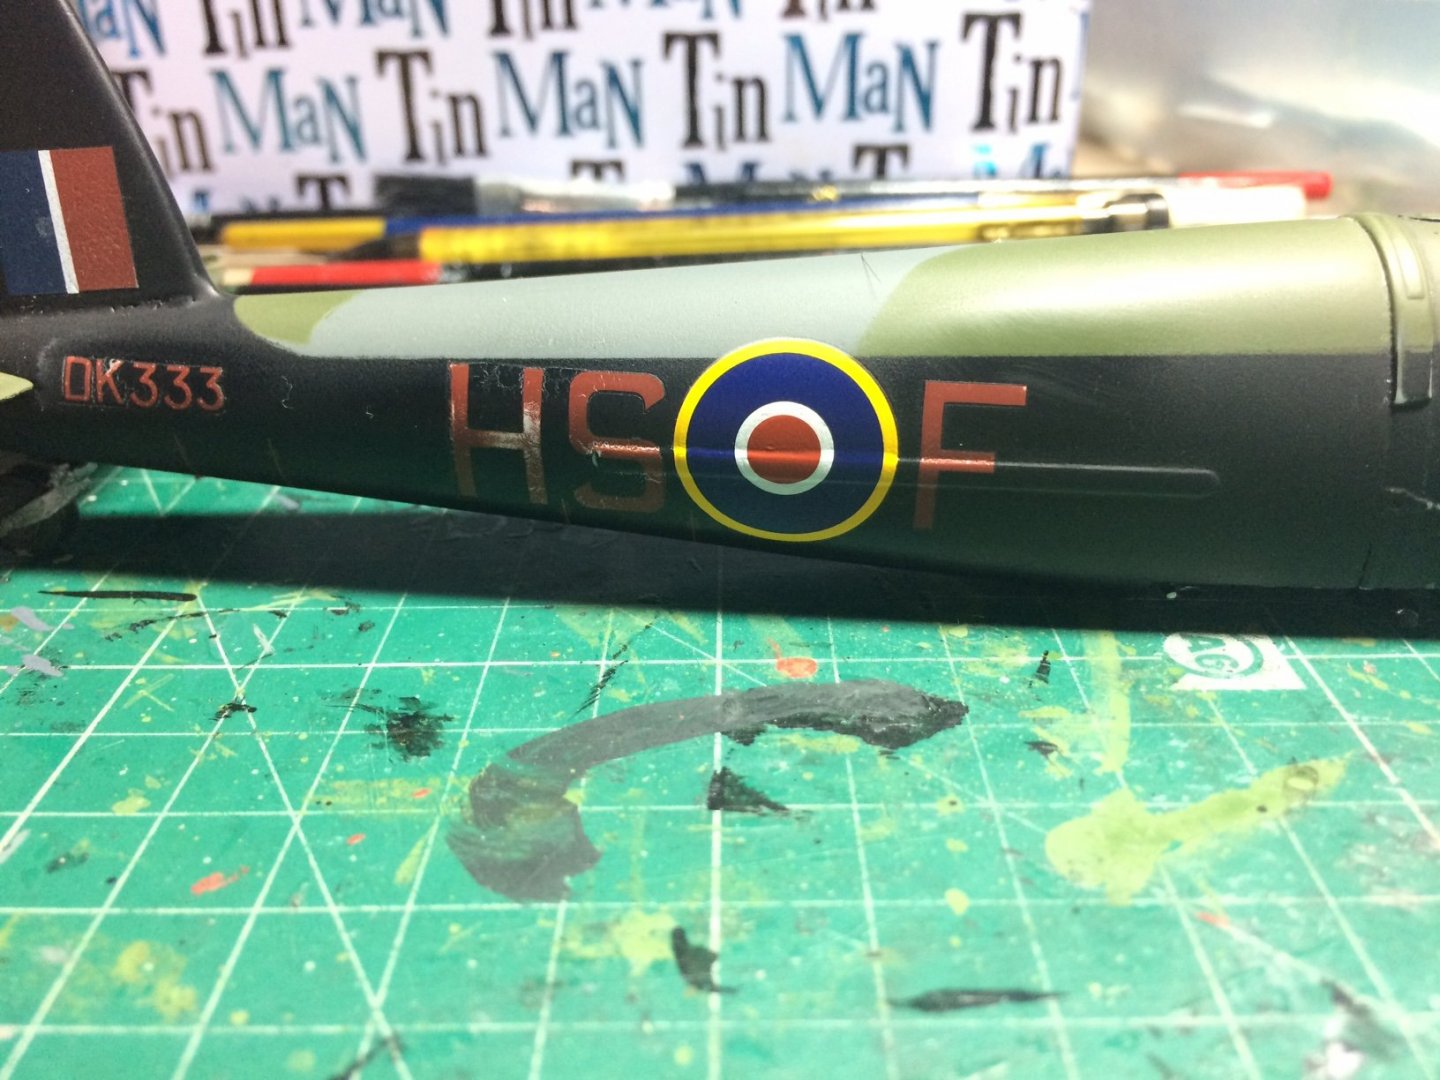
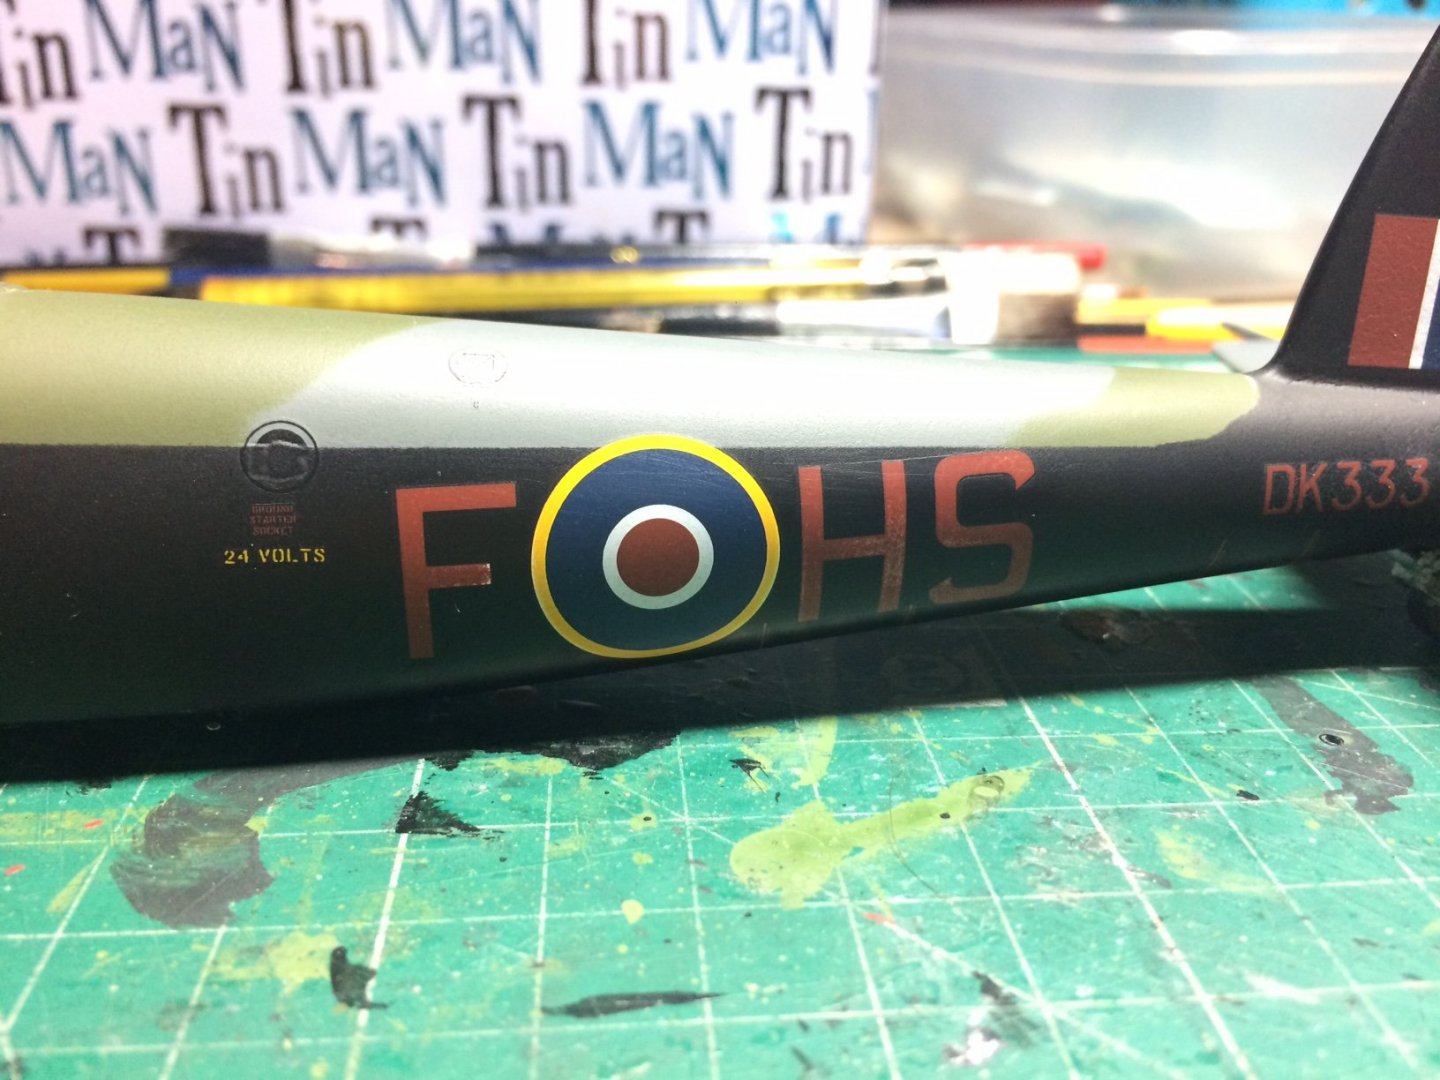
Here are a couple of pre top coat pics to show the affect after I have wet and dried over the decals gentley on both sides.
OC.
- Landlubber Mike, mtaylor, Canute and 12 others
-
15
-
34 minutes ago, cog said:
good choice OC
Thanks mate.
OC.
- Canute, Egilman, Edwardkenway and 2 others
-
5
-
This looks good I'll grab a chair.
OC.
-
Loving that paintwork "Boy do I remember a similar colour - BR Red to be exact" when I painted that slepper carriage I told you about.
OC.
- popeye the sailor, Egilman, Canute and 1 other
-
4
-
Really nice work mate looking perfect with those stripes/bands.
OC.
-
12 hours ago, CDW said:
Love the British tanks, although at this time only have the Centurian...an IDF one.
The Tamiya versions Challenger 1 and 2 are both Brilliant kits, well worth internal and super detailing Accurate Armour do some Fabulous Resin and PE update sets.
OC.
- mtaylor, CDW, Edwardkenway and 2 others
-
5
-
Just a small update fellow followers following freely forever figuring forensic feactures, so I played with the damaged decals, I decided to weather them to give them a worn look, I did this by gently sanding with very fine watered wet and dry, I did this both sides to keep a uniform look.
Pics later after I have done a few light top coats.
OC.
-
-
2 minutes ago, Egilman said:
I was reading about this on another forum... it was a way someone dealt with a similar issue.. (his was excessive bubbling after a gloss coat) successive light wet coats to raise and smooth out the surface.... it's the only thing I've found after a lot of searching the net.... other than ripping it off again and redoing it...... it actually didn't come out too bad...
Thanks mate, Very much appreciate and am thankful to you for searching stuff for my build, its help like this that makes this site so Special.
OC.
-
Looking great mate, reminds me (with the colour) when I built a Desert Storm British Challenger tank.
OC.
-
8 minutes ago, Egilman said:
I would agree, the decal floated in the lacquer.... there was a suggested way to kinda fix it on an online belog, but I've never had to do such... Hide it by gradually building up the clearcoat until most of it disappears.....
Never tried it but at this point the only resolution is to hide it, or remove it and do it over..... I know cost becomes a factor... And since it is already under the clear lacquer....
So, apply a couple more coats of flat over the top?
OC.
- popeye the sailor, Canute and mtaylor
-
3
-
19 minutes ago, mtaylor said:
Do like many model ship makers do. If the other side is good, then the bad decal side is the "wall side".
Indeed Mark, thats what I will have to do as despite several attempts with Micro sol, the orange peel aint going know where, the top coat has sealed them in.
OC.
- mtaylor, Canute and popeye the sailor
-
3
-
Oh, and while I'm at it - the Seafire had her front canopy shaped a bit so as to blend in with the fuselage better.
OC.
- Canute, mtaylor and popeye the sailor
-
3


Mosquito B Mk IV - FINISHED - Revell - My next non-ship project
in Non-ship/categorised builds
Posted
Thank you kindly.
OC.