-
Posts
649 -
Joined
-
Last visited
Content Type
Profiles
Forums
Gallery
Events
Posts posted by rvchima
-
-
-
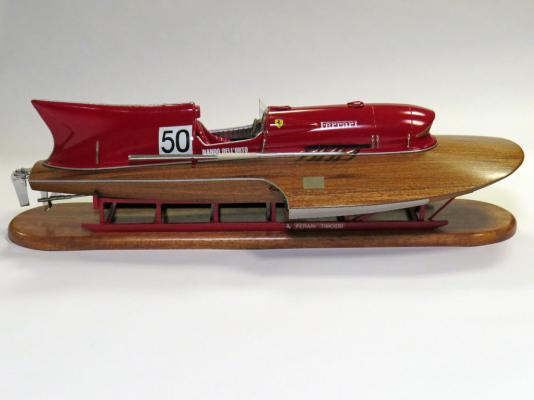
Thank you to everyone for their generous compliments about my model of the Arno XI Ferrari hydroplane. And thanks to KeithW for the information about Bare Metal Foil. I will remember that for the next model.
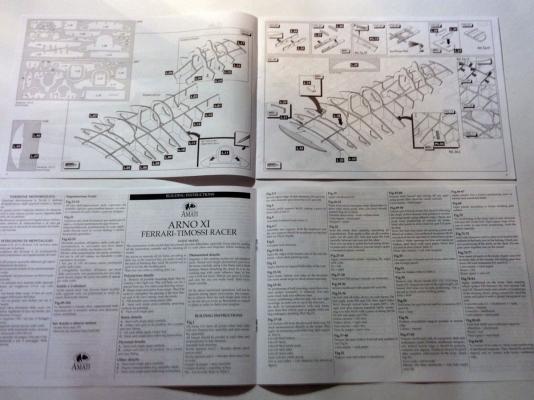
I fell in love with the Ferrari when I first saw an ad for the model. I was worried about the high cost of the Amati kit and couldn't find much information about it, but I took a chance anyway. The kit turned out to be very high quality, although the instructions were minimal - just drawings of each step of the build and a few pages of English text.The kit was a lot of fun to build and the finished model is beautiful. I highly recommend the model if anyone is interested. Feel free to contact me if you have any other questions.
Rod Chima
-
Completed Model
3 months, 180 hours
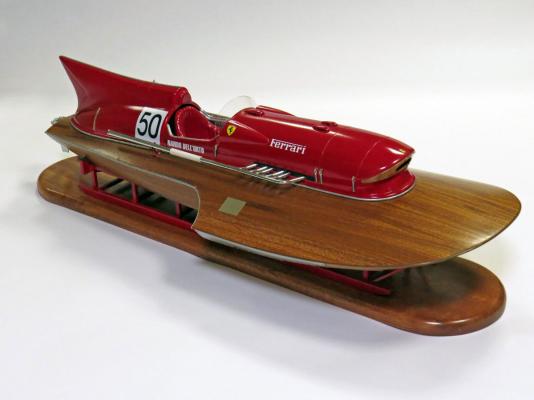
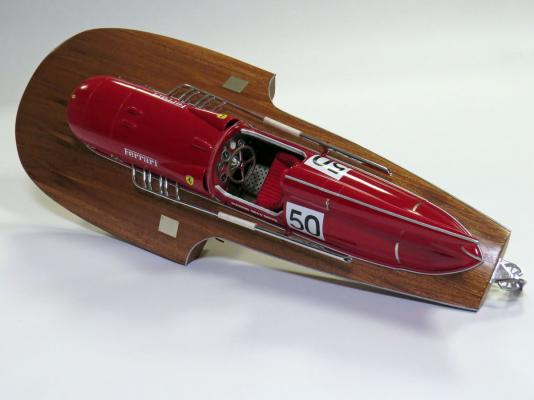
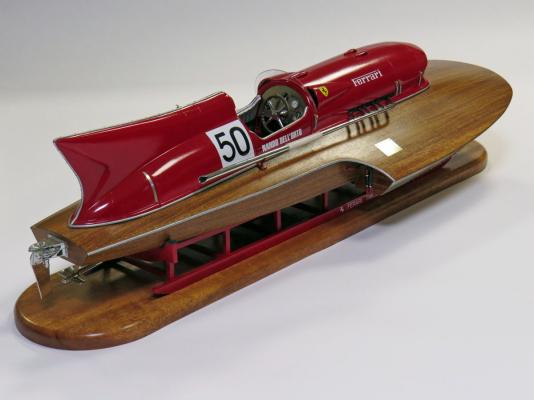
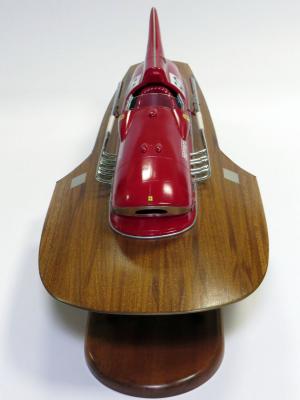
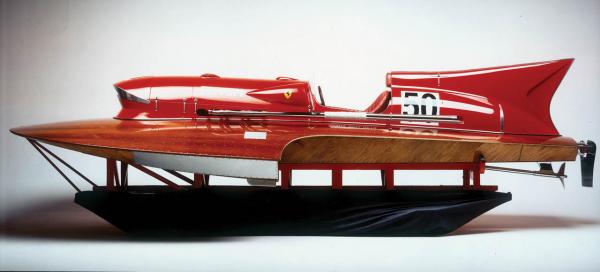
I put in a lot of hours the last couple of weeks and finished my hydroplane model and stand. It took a total of 180 hours to build the model over three months, but one of those months I was on vacation and didn't work on the model. Here are the photos of the completed model.
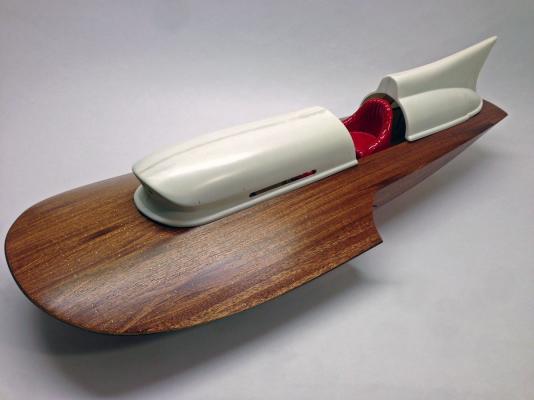
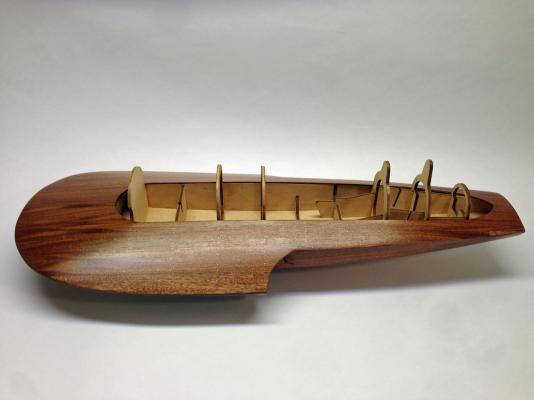
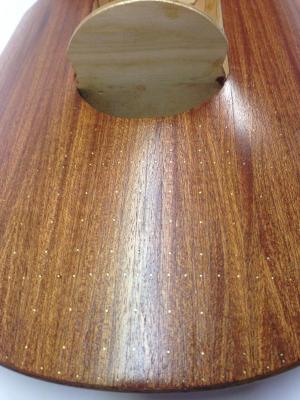
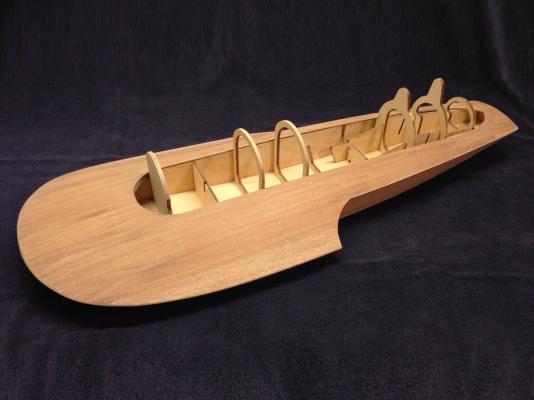
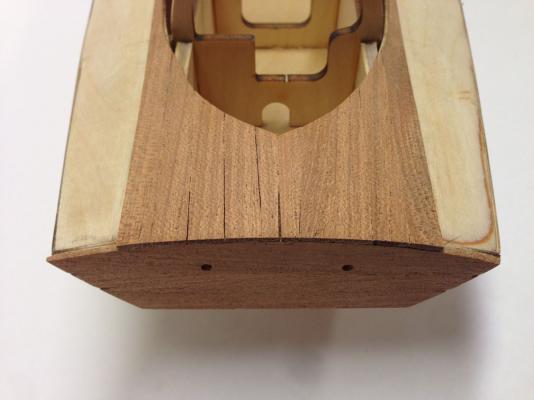
Framing and planking the hull was a lot of fun. The mahogany finished up beautifully and the headless brass nails shine like jewels.
The vacuum formed plastic cowls were a pain to build. They are finished with Krylon products: several coats of white primer, many coats of gloss cherry red, and several coats of gloss clear.
The silver trim strips around the cowls and on top of the rear cowl are soft white plastic painted with Testor's silver paint. The silver paint looks OK, but not as nice as the chrome plated parts. The trim strips would not stick to the painted cowls with CA so they are held with more brass nails.
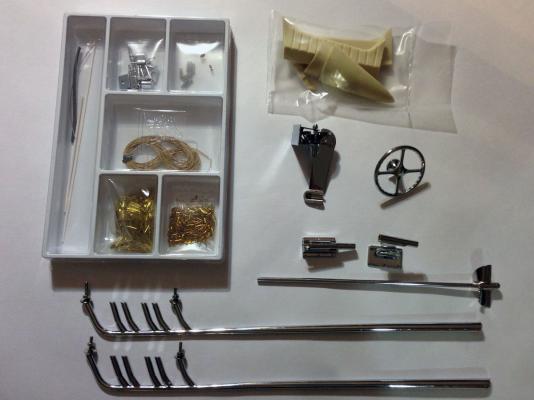
The rudder, prop, and exhaust manifolds are diecast and chromed.
The aluminum piece on the nose is nailed through the plastic. I pre-drilled the all the nail holes with an undersized bit and an electric drill. When I was done I realized that each time I drilled a hole some plastic would melt and stick to the bit, so that each hole got progressively larger. I had to fill the holes with epoxy and start over. Then I attached the aluminum piece with heavy duty double sided tape before nailing it down. There are probably 100 other nail holes drilled into the plastic cowl, and I had to scrape the drill bit clean with a razor blade after every one.
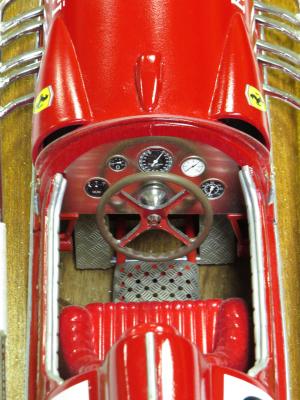
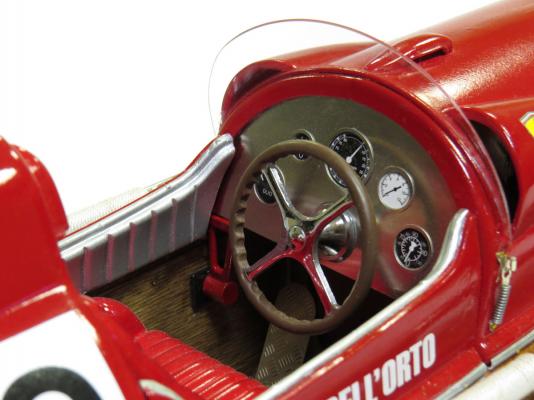
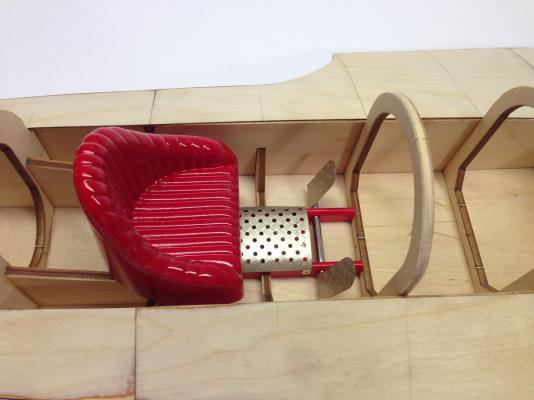
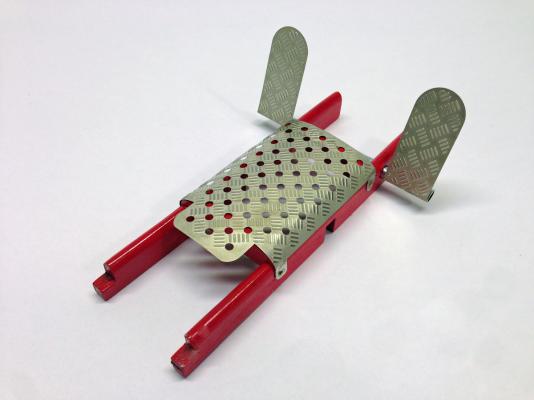
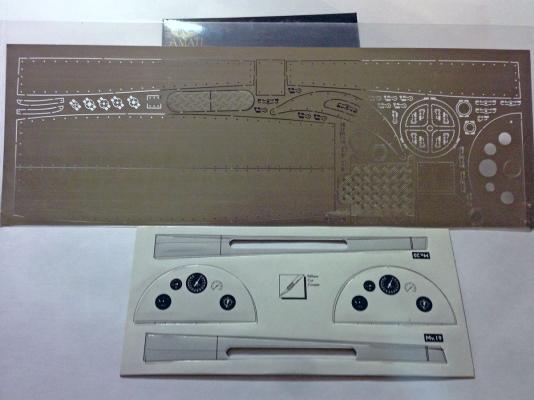
There is a lot of nice detail in the cockpit. The steering wheel is another diecast piece with a painted rim. The floor and foot pedals are photo-etched aluminum.
The dashboard has photo-etched holes surrounded by tiny rings. Behind the dash is a cardboard piece with printed gauges. The nine cowl hold-down clamps are made from three separate photo-etched pieces epoxied into tiny springs and nailed into place.
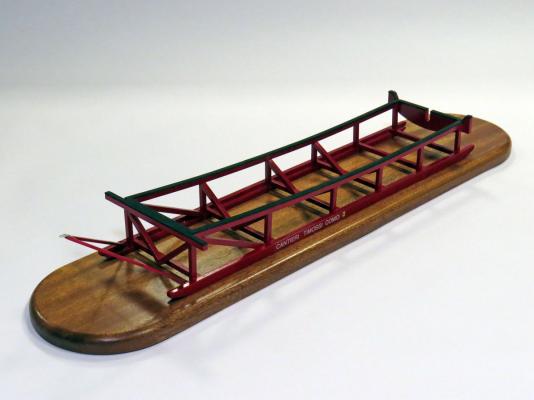
I drew up the stand from some photos of the actual stand that I found on-line. It is built from 1/4 inch basswood and painted with the same Krylon primer and paint as the cowl, but I left off the gloss clear coat. The top is black craft foam attached with double sided tape. The lettering was done with a Brother label maker using white-on-clear tape. I added a couple of leftover decals for fun. The base is African ribbon mahogany that matches the look of the hull.
- WackoWolf, Aussie048, Ryland Craze and 6 others
-
 9
9
-
Ferrari V12 Engine Kit Information
Keith, I regret that I don't have any scale information about the Arno besides the drawings included with the kit. That is probably enough for my purposes but please let me know if you come across anything else.
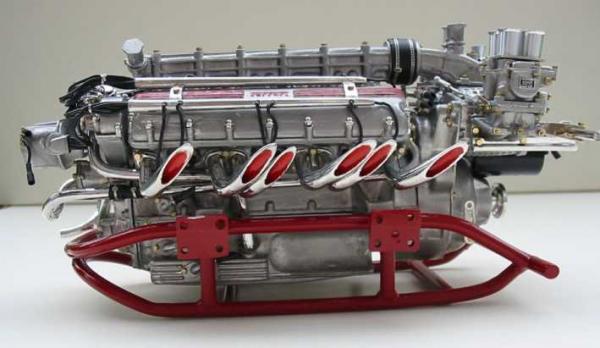
On the first page of this blog Shamrock posted a photo of the 1/8 scale engine kit of the Ferrari V12 Engine and a link to company that sells it:
http://shop.autographmodel.com/L-P-1-8-motor-kit-Arno-Hydroplane-Ferrari-Engine
The engine kit is priced out of my league at 900 €, and is currently unavailable. It seems to be incredibly detailed. Check out the photos on the site and download the 28 page instruction manual (in Italian.) The engine kit is not made by Amati nor designed to work with the Amati hull, it just happens to be the right scale.
Here is a thread on the Hydroplane & Raceboat museum web site with four photos of a completed Amati kit with the engine installed:
http://thunderboats.ning.com/forum/topics/construction-methods-and
The model is magnificent, but the builder, Pete Groves, commented that he would not do it again and that it might have been easier to built a real boat.
One photo shows some interior framing of the model where Groves has added maybe three times as many formers as the Amati kit. This corresponds to the nail spacing show on the Amati box. I assume that this is the scale spacing.
Another photo shows the nearly completed model sitting on a scale stand, like the one shown on page 2 of this blog and in the photo below.
I love the look of the boat on the red stand and plan to build one by scaling it off of the photo above.
- yvesvidal, Mirabell61, mtaylor and 2 others
-
 5
5
-
Does Anyone Else Hate Vacuum Formed Parts as Much as I Do?
day 57, 101 hours
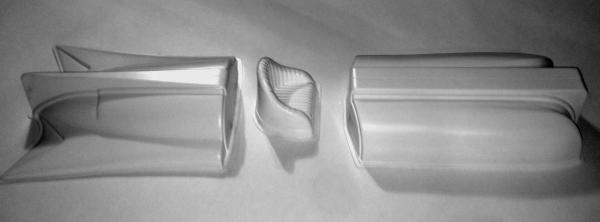
I jumped a little ahead and started to build the fore and aft cowlings, The parts are made from vacuum formed polystyrene plastic. I always cringe when I open a kit and see vacuumed formed parts, for the following reasons:
1. They tend to be flimsy.
2. The mold lines are indistinct and hard to cut to.
3. The edges are thin so there's not much glue surface.
4. Static causes plastic dust and shavings to stick to everything.
5. If you screw up, you're screwed.
That said, the cowling parts were fairly heavy and well formed. You can see some photos of the molded parts on the first page of this blog. I cut the parts very carefully with an X-acto blade, sanded them, and glued them with CA for plastic. The long joints have thin reinforcement strips on the inside. I cut additional holes for the air intake and exhaust headers. There are several more holes to cut, panel lines to incise, and a few cast resin parts to add before I can paint the cowlings.
But it's sure starting to look cool!
- Ryland Craze, Keith_W, mtaylor and 2 others
-
 5
5
-
Back from Vacation and Back to Work
My wife and I spent a wonderful month in Sanibel, Florida. The weather was perfect. We walked on the beach and I swam in the pool almost every day. We went on a lot of bird walks and saw hundreds of egrets, herons, anhingas, and ospreys, plus kingfishers, roseate spoonbills, and a pileated woodpecker. My sons and I built sand sculptures of a sea serpent and Han Solo encased in carbonite. I took supplies to build a stained glass glass lamp and finished 2 of 5 segments of a Tiffany peacock lamp.
We returned to the Ohio winter on March 2, so I have been working on my hydroplane since then. I sanded the mahogany planking, hammered several hundred headless brass nails, and finished it with two coats of Watco natural oil and a whole can of clear lacquer.
Here's a look at the finished hull,
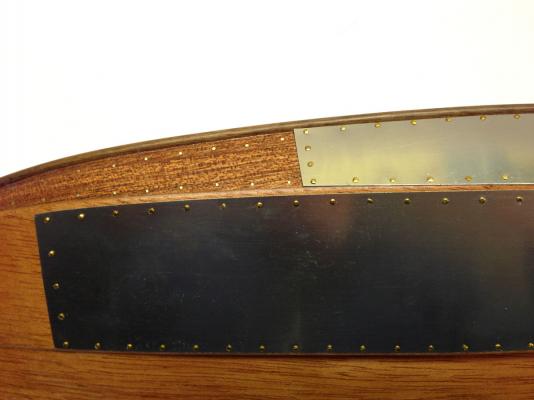
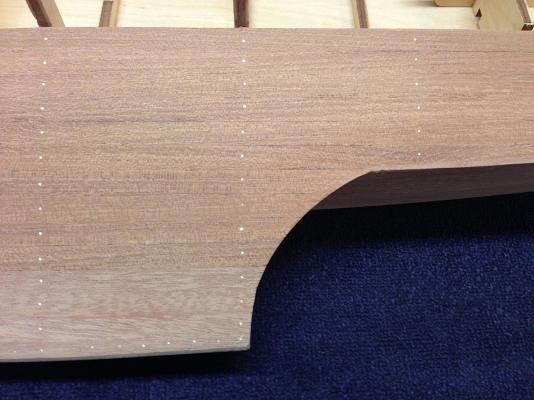
and here's a closeup of the brass nails. I put a nail in every plank along every bulkhead, then filled in every other space in each direction. Every nail hole was pre-drilled, the nails were hammered in almost flush, then filed and sanded.
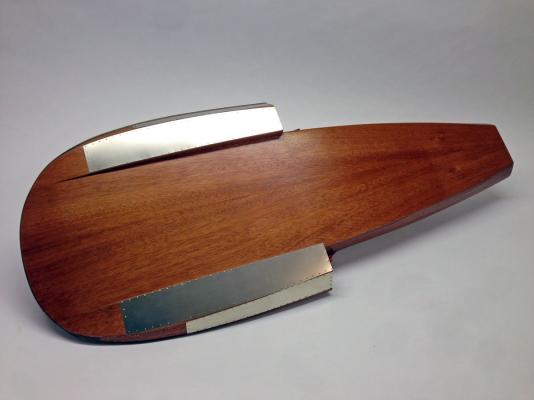
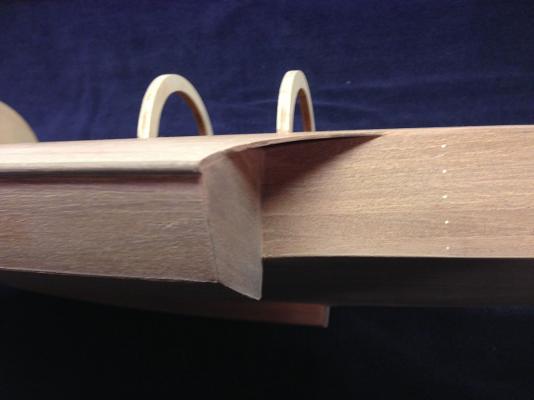
The bottom and sides of the sponsons have aluminum reinforcement plates attached with a lot more headed brass nails.
Here's a closeup of the aluminum plates.
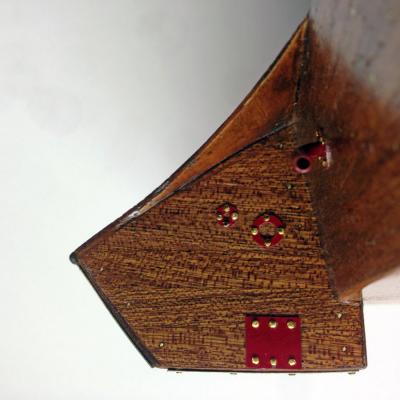
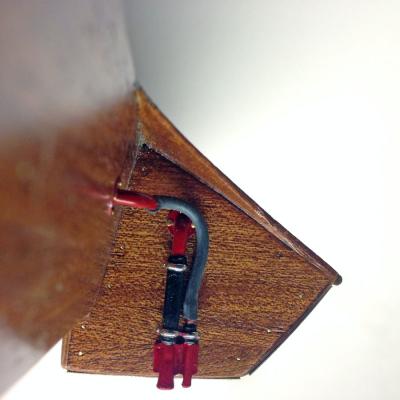
The back of the sponsons have some drain plugs, access ports, and exhaust manifolds made from photo etched aluminum and cast metal. Here are the port and starboard sides respectively.
- mtaylor, Aussie048, GrandpaPhil and 4 others
-
 7
7
-
Vacation Time
We are leaving for a month on Sanibel Island off the Gulf coast of Florida. We are driving and I was tempted to take my model along, but I knew that the first thing I tried to do would require some tool that I didn't bring. So the hydroplane will have to wait for a few weeks, but l will keep an eye on MSW.
We've never left for the winter before, but this morning it was -8 F (-22 C) here, and Eskimos have taken up residence in our driveway. It is currently 81 F (27 C) in Sanibel.
-
Hull Planking Complete, day 16, 67 hours
I decided to plank the top and sides of the hull with mahogany strips. I cut the strips roughly to length, soaked them briefly in water, and glued them with medium CA. The water makes the CA set up quickly. I only glued my fingers to just about every plank.
Unfortunately the kit did not have quite enough planks, so I visited my favorite local Woodcraft store. They had a sheet of 1/16" mahogany that I ripped into planks on my bandsaw. You can see a slight color difference on the outer few planks of the sponsons.
The nails are purely decorative. They were added after the the hull was planked, filled, and sanded. I marked nail locations along each bulkhead at the center of each plank. I had to drill holes for each nail to avoid splitting the mahogany. The drill was a couple thousands of an inch smaller than the nails, so the tails went in easily. I tapped the nails flush, and cleaned up with sandpaper. I still have a lot of nails to add on the back of the hull.
The instructions don't mention the bottom of the hull. I think you're supposed to just use the thin plywood bottom, but I knew it would look bad where I sanded through the top ply layers. So I visited my favorite local Woodcraft store again and bought a roll of flat mahogany veneer with a pressure-sensitive adhesive backing. I had to buy a roll 1' wide x 8' long for $45, but it turned out to be a good choice. It cut easily with a knife, stuck on perfectly, and looks beautiful.
Any suggestions for finishes?
I haven't decided what finish to use yet. I'll probably start with Watco oil to bring out the color, but I'm don't know what to use after that. Does anyone know about spar varnish? That's probably what was used on the real boat so it seems like a good choice, although I would prefer to use something available in a spray.
-
History of the Ferrari Hydroplane
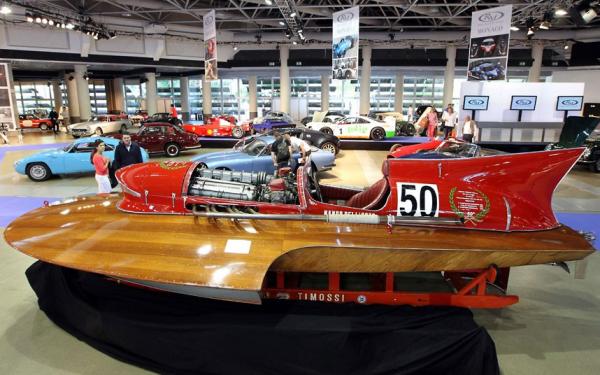
Achille Castolldi was a wealthy Italian boat racer in the 1940’s and 1950’s. In 1940 he set the world speed record of 81.1 mph in his boat Arno, powered by an Alfa Romeo engine.
In the 50’s he concentrated on setting top speed records. He commissioned a three-point hydroplane hull from Cantieri Timossi, a boat builder on Lake Como near Milan. The hull was named Arno XI. At high speeds a three-point hydroplane rides on two pontoon-like sponsons. The propeller provides the third point of support. A tunnel of air between the sponsons generates aerodynamic lift.
Ferrari supplied Castoldi with a water-cooled V-12 engine rated at about 385 hp. The engine ran through a gear box that spun the propeller at up to 10,000 rpm.
In January of 1953 Castoldi set an unofficial speed record of 124 mph, but soon lost the record to a competitor from Alfa Romeo. Castoldi had a new methanol-burning engine built with twin superchargers. The new engine produced 550-600 hp. On October 15, 1953 Castoldi set a new speed record of 150.49 mph that still stands today.
Castoldi retired from racing in 1954 and sold Arno XI to a wealthy engineer named Nando dell’Orto, who revised the body lines of the cowl and added the large fin dorsal fin behind the driver. The boat was raced until the mid 60’s. Arno XI was restored in the early 90’s. It was sold again at auction in Monaco on May 12, 2012 for €868.000.
References
REAL Ferrari Boats, part One: Arno XI by David Mulvey
RM Auctions: 1953 Timossi-Ferrari 'Arno XI' Racing Hydroplane
-
Augie,
Thank you for all the information about other builds that used mahogany. I've just spent all afternoon browsing MSW and have found some great tips on planking, filling cracks, and French polishing.
I had not seen your post of the Greek tug Ulises. That is a very attractive model, something I might consider for a next build.
The kit comes with a lot of brass nails, both with and without heads. It seems that the original Arno XI was planked with brass nails (or at least treenails,) so I suppose it's time to start experimenting with them.
The plans show nails at each bulkhead, but photos of the original show much closer spacing. I'll probably start with the bulkheads and go from there.
Rod
-
Augie,
I have been folowing your build log and am impressed by your progress. The Confederacy is a beautiful model, but I didn't have it in me to start such an ambitious project.
So I started completely totally different, a Ferrari hydroplane kit by Amati.
http://modelshipworld.com/index.php?/topic/4913-arno-xi-ferrari-hydroplane-by-rvchima-amati-18/
I am really missing Chuck's highly detailed instructions and feedback from the other experienced buiders on this site. Please take a look and let me know if you have any thoughts about how to procede with this unusual kit.
Rod
-
Hull sheeting Complete day 6, 30 hours
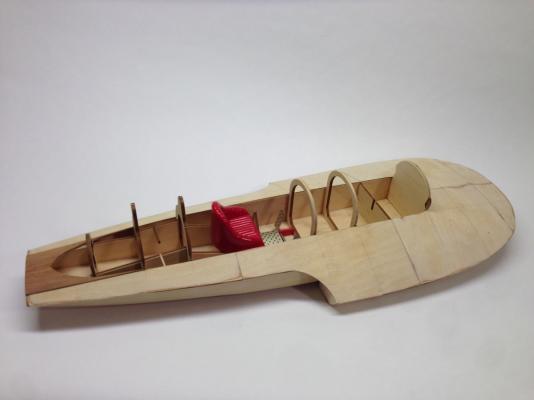
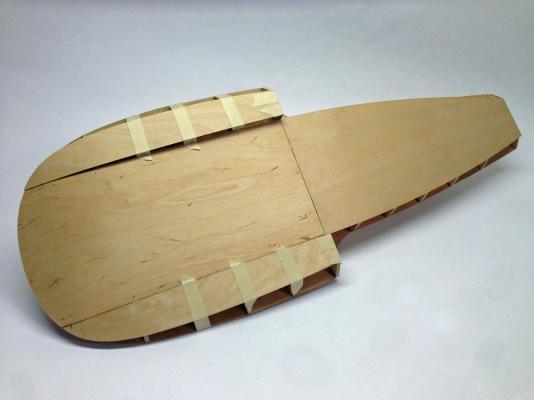
I finally found some laser-cut parts that didn't quite fit - the sides panels of the hull. I had to do a little cut-and-paste, but I finally got the hull closed up. Most of this will get covered wit mahogany planks.
A bit of ply sand-through on the bottom. I don't know how I can finish this to look right. Any ideas?
I applied a bit of planking to the stern. I sure miss Chuck Passaro's 130 pages of instructions for the Syren! The Amati instructions are very brief:
Fig. 20-21
Plank deck using mahogany strips. Remember to drive nails along guide lines you have already marked on deck.
Should I plank the sides? aft end? bottom? There isdefinitely not enough material for the bottom but I plan to do the rest.
I painted the styrene seat and made the attachment. Now that's red!
And here's where it stands for now.
-
-
-
Hull Sheeting in Progress
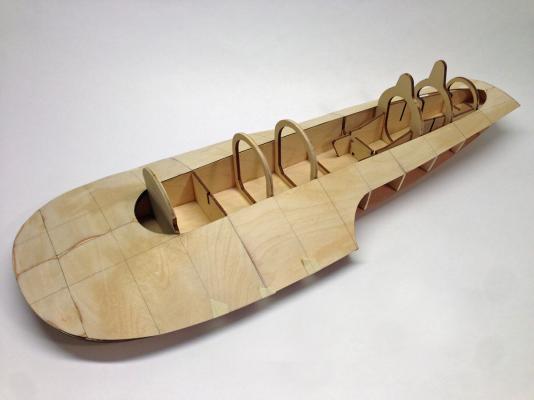
The hull is sheeted with several pieces of 1 mm plywood.
It's impressive how closely the pieces fit together without trimming. The upper surface will eventually be planked with mahogany strips held in place with headless brass nails.
The bottom sheeting isn't quite done yet. Much of it will eventually be covered with photo-etched aluminum sheets held in place with standard brass nails.
-
Ferrari Hydroplane, day 1, 5 hours
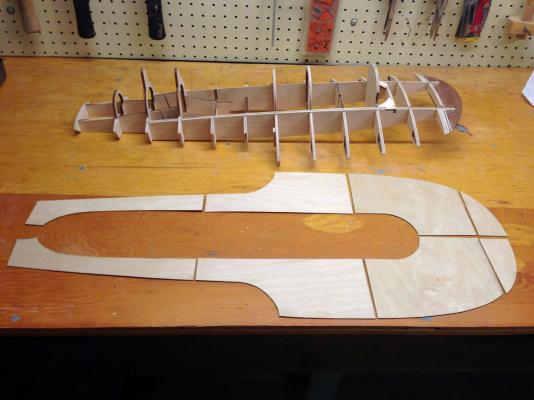
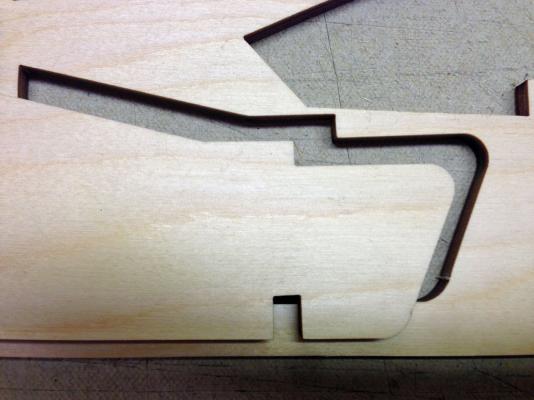
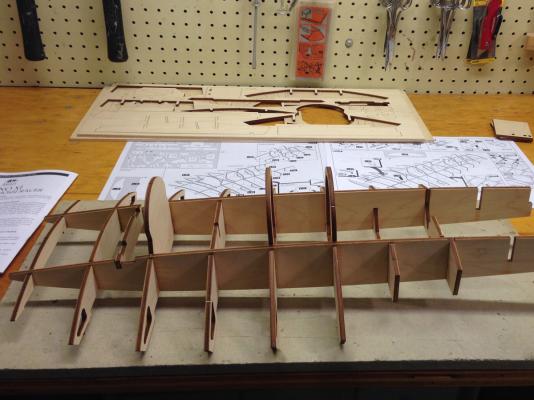
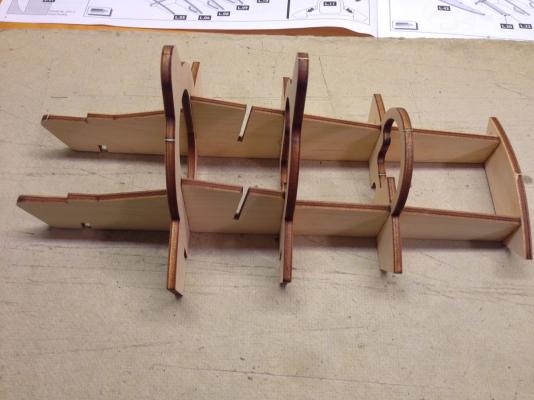
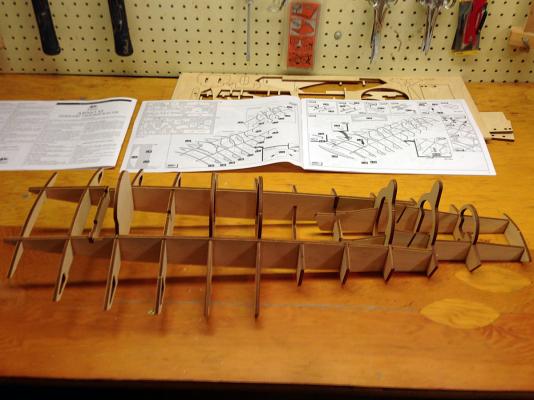
The laser cutting on this kit is beautiful! The frame is 1/4 birch ply. There are no burn marks and the cut line is hairline thin. I still needed a razor-sharp carving chisel to separate the tiny tabs that hold the parts to the sheet.
The hull is framed in two sections, fore,
and aft.
The assembled frame weighs a hefty 1lb, 5 oz. The next step will be a lot of sanding to fair the square edges of all those bulkheads.
-
Eindeckker Complete
The extremely cold temperatures caused several unexpected delays, so my model airplane took longer than I expected. But I'm done and the Fokker Eindeckker is cute as can be. Some day six months from now I'll take it outside, wind it up, and give it a toss. But for now, back to the Ferrari hydroplane!
-
-
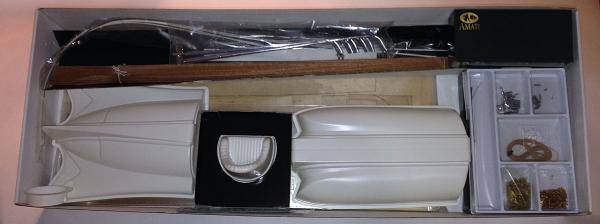
What's in the Box
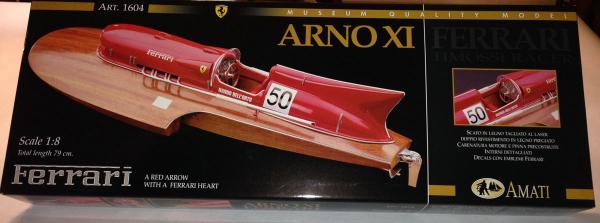
The kit is packaged beautifully. Fit for a Ferrari.
Heavy molded plastic fin, seat, and cowling.
Laser-etched aluminum parts and cardboard instrument cluster.
Laser-cut keels and bulkheads.
Tiny brass pins for the planking, beautiful diecast wheel, rudder, and exhaust manifolds.
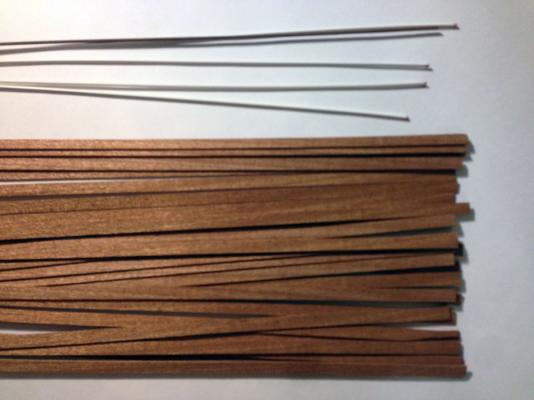
Plastic and brass flashing, mahogany planking.
Instruction pictures (24 pages), and text in Italian and English (8 pages.) Separate book with text in French.
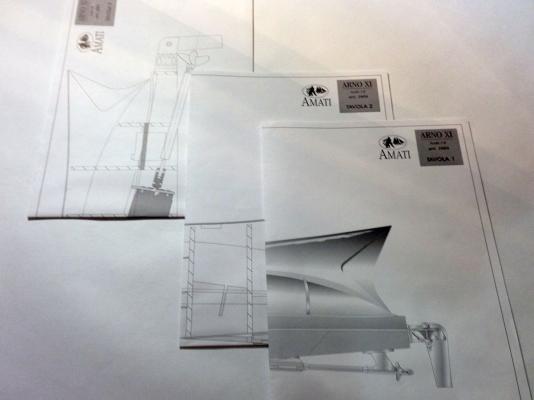
Full-size drawings of exterior, frame, and RC installation. I will just build for static display.
-
And Now for Something Completely Different -
Arno XI Ferrari Hydroplane, 1:8 scale, by Amati
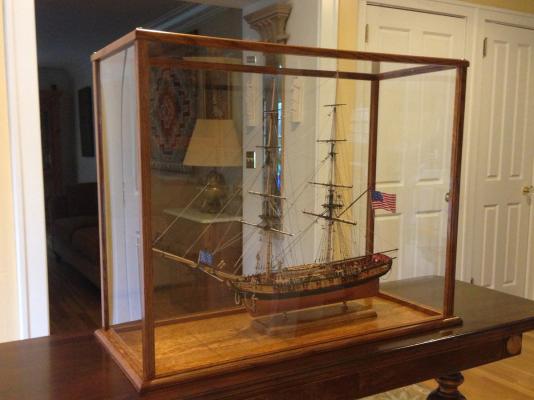
I now have three tall ship models in my house, a Spanish Galleon built by my grandfather in 1933, a MS Flying Fish that I built in 1969, and my recently-completed US Brig Syren. One can only have so many big plexiglass cases in one's house before one's wife starts to object, so for my next build I decided on something easier to dust, an Arno Ferrari hydroplane. Besides, with a glossy red cowling, polished mahogany planking, and chrome exhaust, wheel, and rudder, who can complain?
I bought the kit from Cornwall Model Boats in the UK. Even with shipping to the US their price was significantly cheaper than anyone else. I ordered the kit on a Sunday and had it in my hands the following Friday. I knew that I wouldn't be able to start on it until after the holidays, so I gave it to my wife to give to me for Christmas. She didn't object.
There's not much information about this kit on line, so I'll start my build log with
What's in the Box
-
-
Back in July Thomas placed a separate post asking if anyone could sell him their copper stamping jig for the Syren. I offered to lend him mine if he would pay shipping to his home and return the jig to me when he was finished. He immediately sent me $10, I sent him the jig, he made the plates, and that's the last anyone has heard from him.
Here's hoping that he sees this post and returns my jig.
-
Mike,
I bought 0.093 in. thick Optix brand acrylic sheet at Home Depot. The total cost was around $90 so glass might be cheaper. The acrylic sheets come in widths that are multiples of 12 in. My width was 12 3/4 in. so there was a lot of waste.
You can buy a tool to score and snap the plastic. If you score it many times perfectly along a straightedge and are very careful, it will snap right along the score. I screwed up my very first cut, so I gave up and used my table saw. I cleaned up the edge with sandpaper. The table saw turned out to be a good idea because I had to recut several pieces slightly undersized to make everything fit.
Rod
-
Syren Update - Case Completed
I just completed a case for my Syren. It is my own design made from quarter-sawn white oak and plexiglass. The inner dimensions are fit to the Syren at 34" x 13" x 27" and the outer dimensions are 36" x 15" x 28". Plexiglass is 1/6 the weight of glass so the case only weighs a few pounds and I can move it myself. The case is finished with a coat of Watco walnut stain, two coats of orange shellac to seal the grain, and several coats of a 1:1:1 mix of polyurethane varnish, boiled linseed oil, and mineral spirits.
- Ryland Craze, schooner, GrandpaPhil and 4 others
-
 7
7





Arno XI Ferrari hydroplane by rvchima - FINISHED - Amati - 1:8
in - Kit build logs for subjects built from 1901 - Present Day
Posted
Peter,
Thank you for your kind comments. I am happy to see someone else building the Amati hydroplane kit, and I do hope you will post a build log.
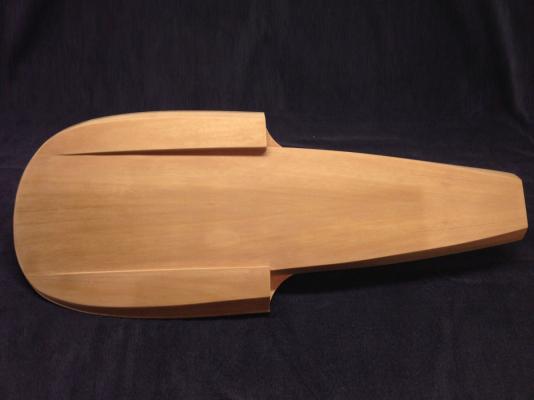
The hull was actually a lot of fun to build. I assembled almost the entire model using medium cyanoacrylate (CA) glue, so there was little need for pins or clamps - only fingers. The framing is trivial with the laser-cut parts. The plywood sheeting fit almost perfectly, but on the bottom I sanded through some ply layers. I ended up covering over the bottom sheeting with expensive self-adhesive mahogany veneer. The veneer looks better than any stain that I could have applied to the plywood, so it was a lucky mistake. I can send you a link to a US supplier of the veneer if you are interested.
Before you start planking the hull make a sample by planking, nailing, and finishing a small scrap of wood to get a feel for the process.
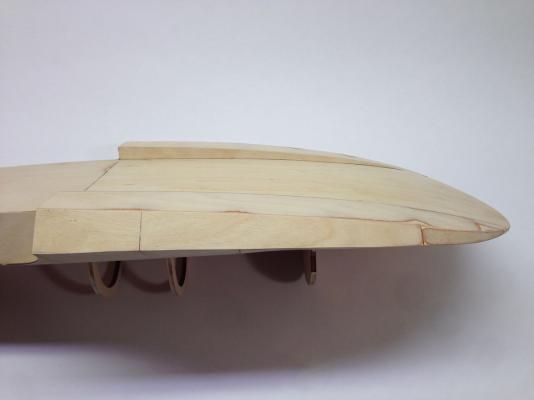
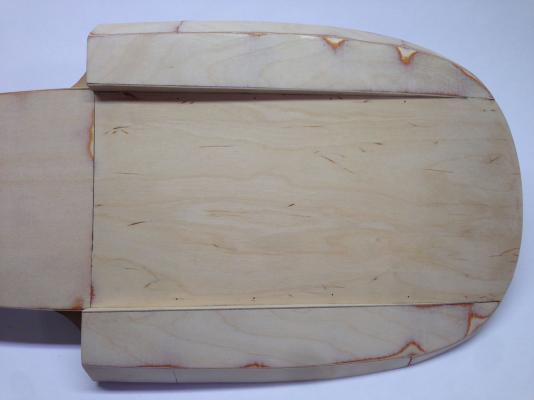
To plank the top I marked the center line, then laid out a line on each side touching the top cowling frames, and equally spaced from the center line fore and aft. I planked along those two lines first by cutting the strips a little long, soaking them in warm water for 5-10 minutes, then gluing them to the frames with CA. Glue three frames at a time. The CA dries very quickly when exposed to the damp planks, then you can bend the end up and glue the next 3 frames. Then add planks inwards and outwards from there. I ran slightly short of planks and had to buy a sheet of hobby mahogany the same thickness as the planks, and rip some strips on a band saw. You could do this with a razor knife if necessary. When everything was done I trimmed the ends with a razor saw. Oh, and don't forget to mark the frame locations on the tops of planks for nail lines every so often!
When the planking is done you will have to drill holes for all those nails. The mahogany will split otherwise. I started by drawing lines side-to-side along those frame location marks. Then I made a jig for marking the center of each plank. I used a short piece of plank with a V-shaped notch at the end in the center. I laid the jig along a plank with the V over a frame line, then marked the nail location with a pin mark. I found a drill bit a few thousandths of an inch smaller than the nails, and drilled the holes with a small electric drill similar to a Dremel. I tapped the nails in with a small hammer until they were nearly flush, then sanded the ends with a sanding block. They show up better if you sand them off rather than just tapping them in. If you bend a pin just pull it out and throw it away.
When the nails were all in I painted the entire surface with wood filler. I used a cherry-colored water-based filler diluted to the consistency of yogurt. That filed all the gaps between planks and around nails. Then I sanded and repeated until the surface was smooth.
I am not sure what you mean by "incisions." Please let me know if you still have a question about that. I am looking forward to following your build!
Rod