


Tankerman
-
Posts
41 -
Joined
-
Last visited
Content Type
Profiles
Forums
Gallery
Events
Posts posted by Tankerman
-
-
-
I can thoroughly recommend this compressor from a totally reliable specialist supplier. It is very well constructed, quiet and very reliable. I have had a Sparmax compressor for many years and would not consider anything else.
Chris
-
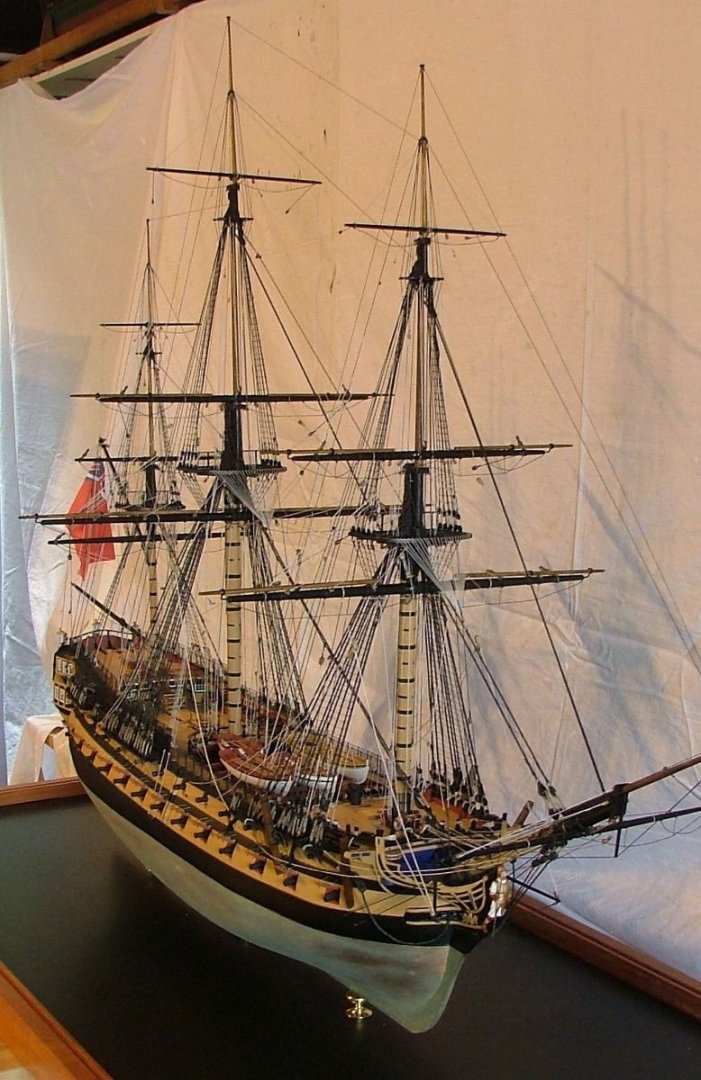
Chris, I built your Agamemnon some fifteen years ago a couple of years after I retired from work and enjoyed every minute of it. Indefatigable looks like being an incredible model and I wish you every success with the forthcoming kit.
- Wacom, VonHoldinghausen, Blue Ensign and 22 others
-
 22
22
-
 3
3
-
-
On 3/4/2022 at 5:30 PM, Roger Pellett said:
I think that I read somewhere that white waterslide decal paper is available. To use this you print the background black, or whatever color you need and the letters remain white. Has anyone done this?
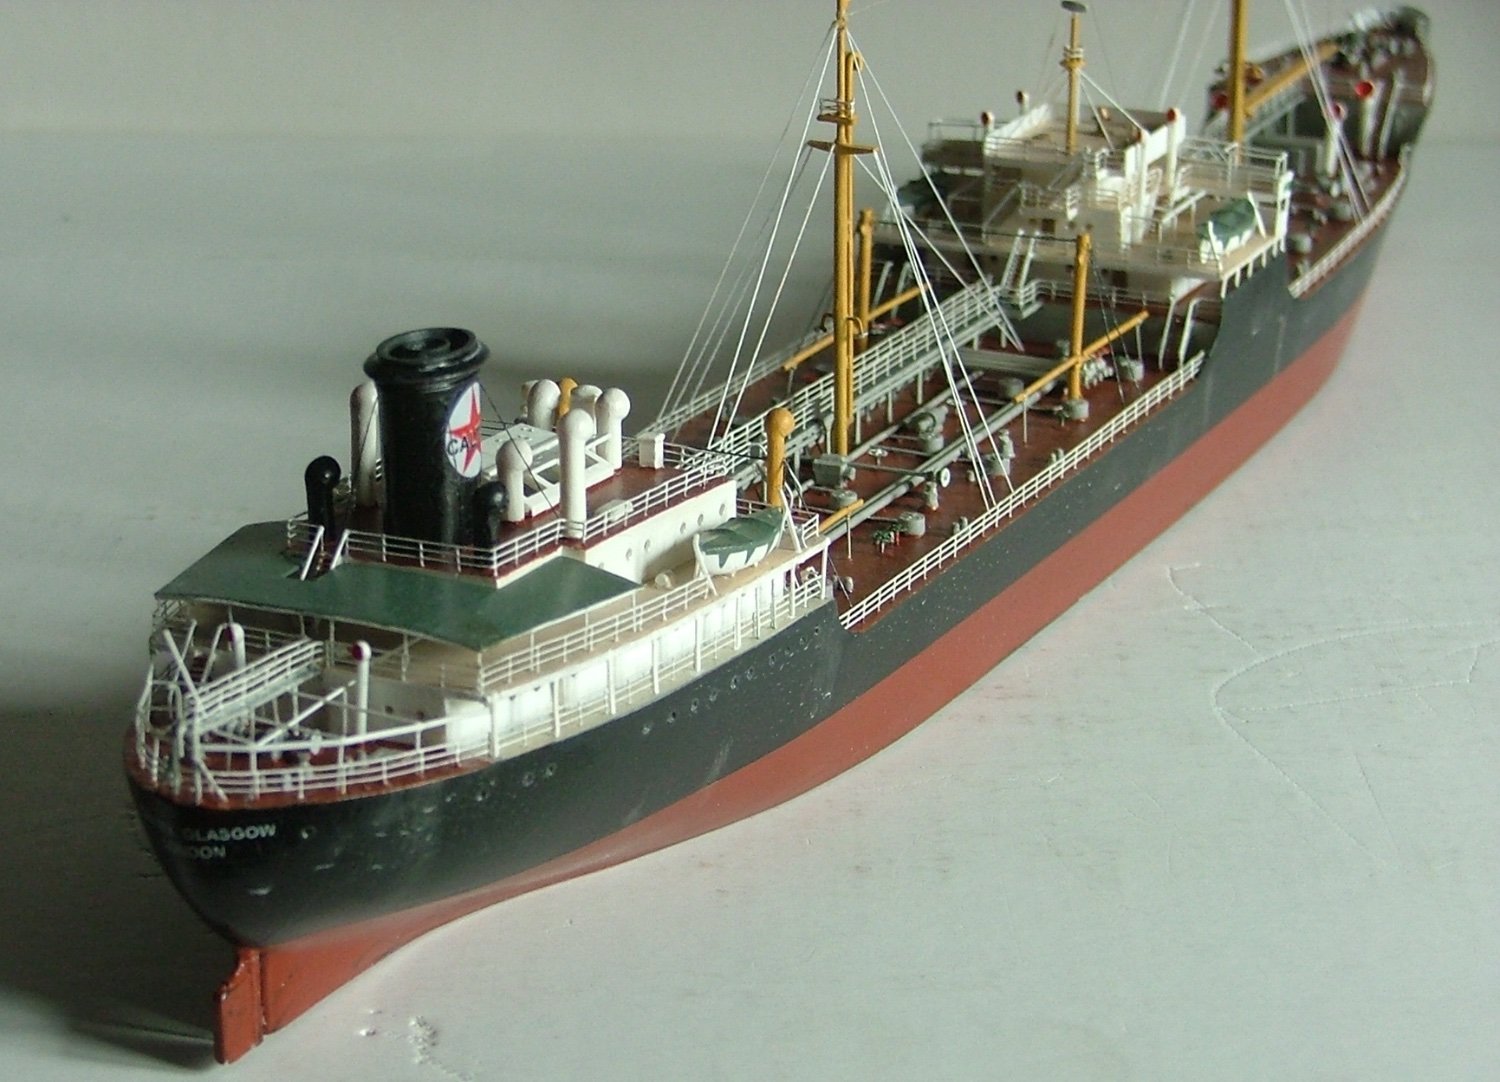
I have used this method on several of my models and show two examples below:
The T2 tanker is the very old Revell kit at around 1/450th. scale and I wanted to show it as one of the many T2s owned by the company I sailed with. The company logo was downloaded form the web. The "Caltex Glasgow" and port of registry in the correct font and size ( less than 2mm in this case } were added to the file over a black background. The file was then printed on to a white decal waterslide transfer paper by 'Experts Choice' using a domestic inkjet printer. Once the ink was dry the sheet was sprayed with a clear acrylic varnish to seal it, after which the images were carefully cut from the sheet and applied to the model.
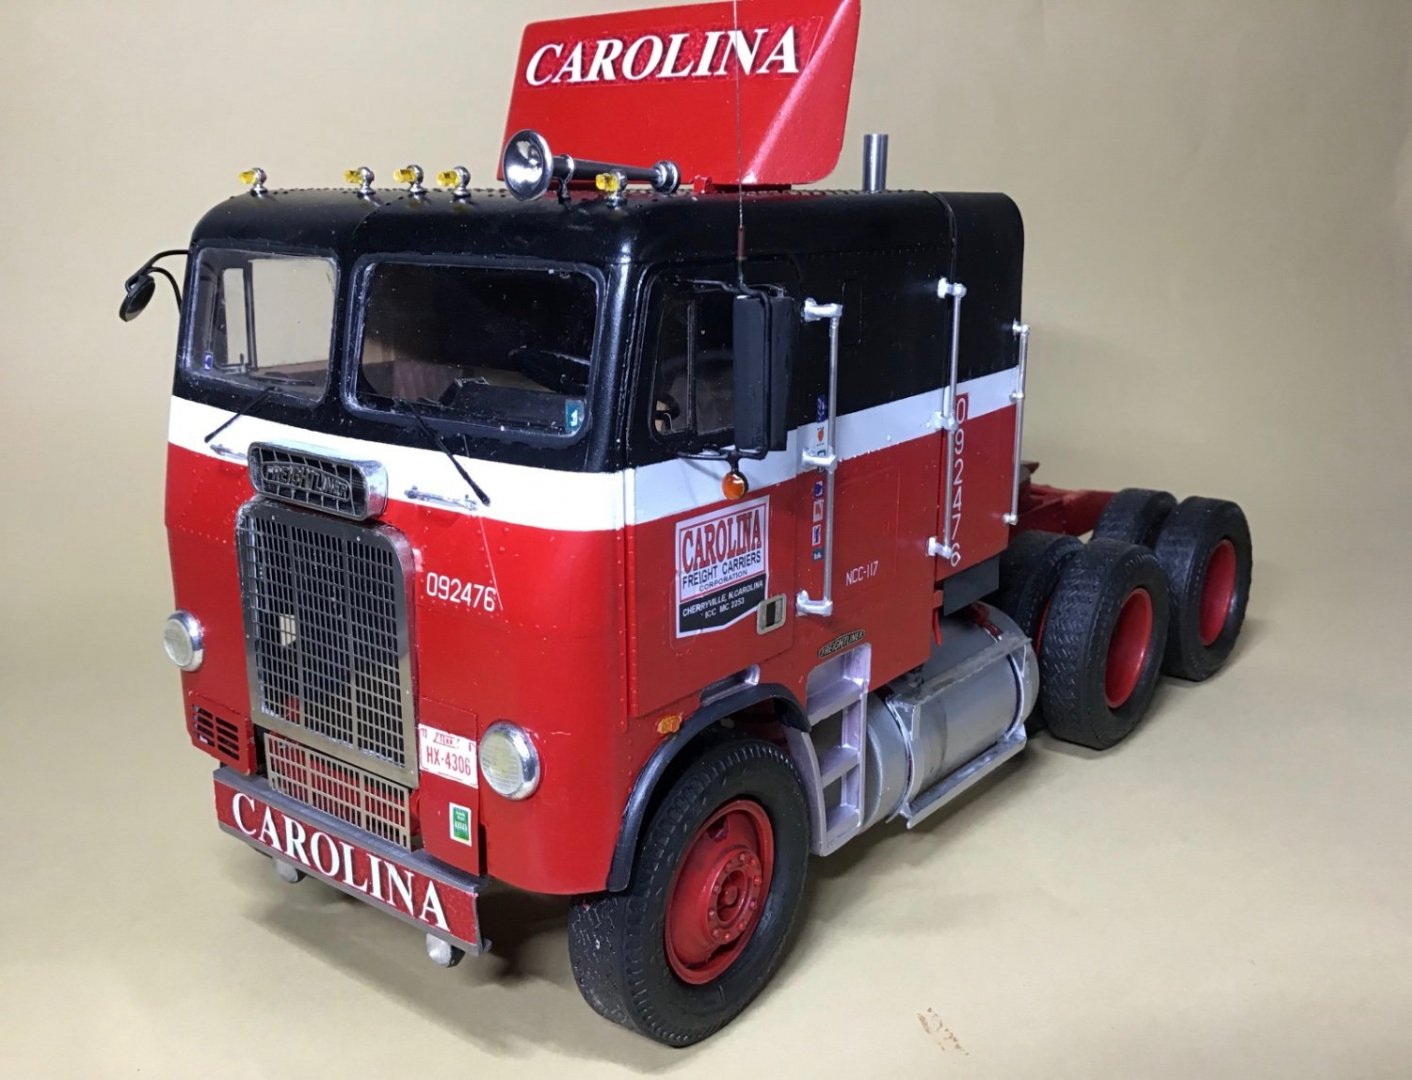
The tractor unit is a conversion of the standard AMT 1/25th. kit of the White Freightliner to represent the ones operated by Carolina Freight. The logo on the door is a commercially available decal but the fleet name on the roof deflector and front bumper, the fleet number and legal lettering are generated in a 'pages' file on a Mac to the correct size and font, given a red background and printed off on white decal paper. The red print colour matched the red paint I used on the cab.
I hope this helps you HOF.

-
-
1 hour ago, paul carruthers said:
Ammo Mig Ultra glue, good for small pe parts too,
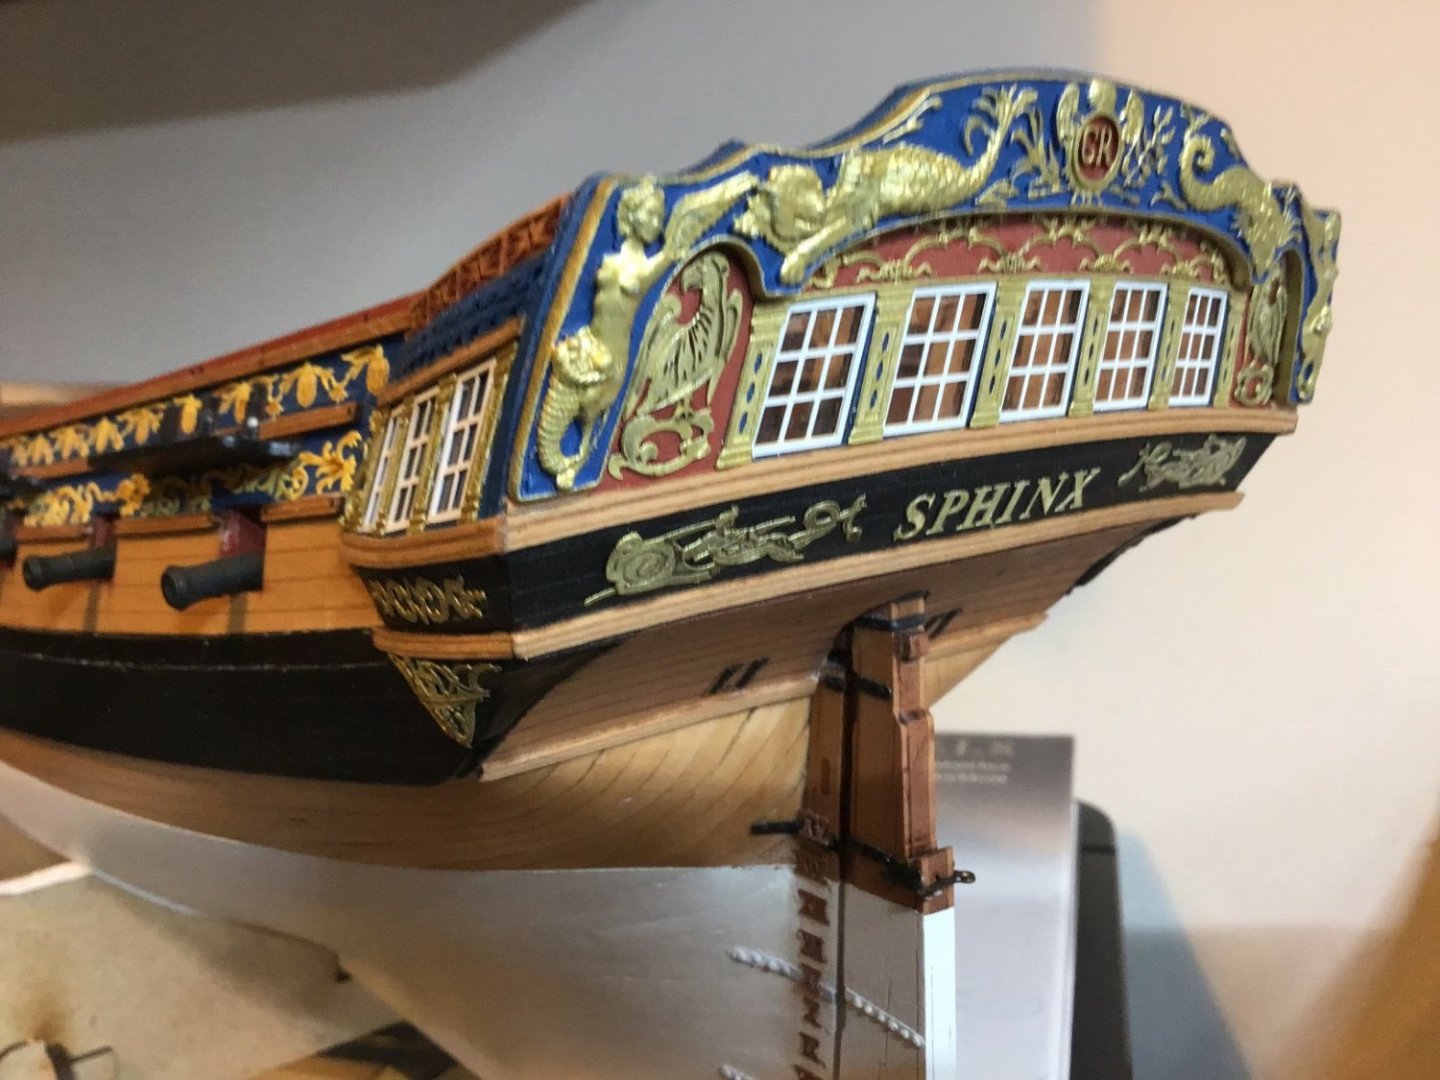
Having bought a jar of this to try I wouldn't be without it now, such a versatile glue. Not only the windows but all the PE and resin decoration on the stern of my Sphinx are securely attached with it.
-
59 minutes ago, Ian B said:
Thanks, I shall hunt the book down
")
Here you are:
- Canute, thibaultron and mtaylor
-
3
-
3 hours ago, Jasseji said:
I do need a piece of advise @glennard2523 or @James H do you paint all the decorations with liquid Gold or some of them with 'normal' Gold paint?
Or anyone for that matter who could advise?
Just before I read your post I had been fitting my interpretation of the frieze decoration to my model of H.M.S Sphinx.
Reading from various sources about ship decoration during the Georgian period I was not convinced that a small 20 gun frigate would have had that much gold gilt work and the frieze was more likely to have been painted in yellow or ochre paint if indeed it was decorated at all.
As I wanted to include all the exquisite etched brass pattern that Chris W. has provided I decided to use a white primer followed by a coat of light yellow acrylic colour by Vallejo. When dry this was then coated in Humbrol Clear gloss varnish. The detail on the etch is then highlighted with a wash of Seraphim Sepia from the Citadel range of washes called "Shades".
The photo shows the fitting of the first row of decoration on my model and I am very happy with the result. Over the next couple of days I will apply the the rest of the decoration.
I hope this gives you some idea of the possible alternatives.
Chris

-
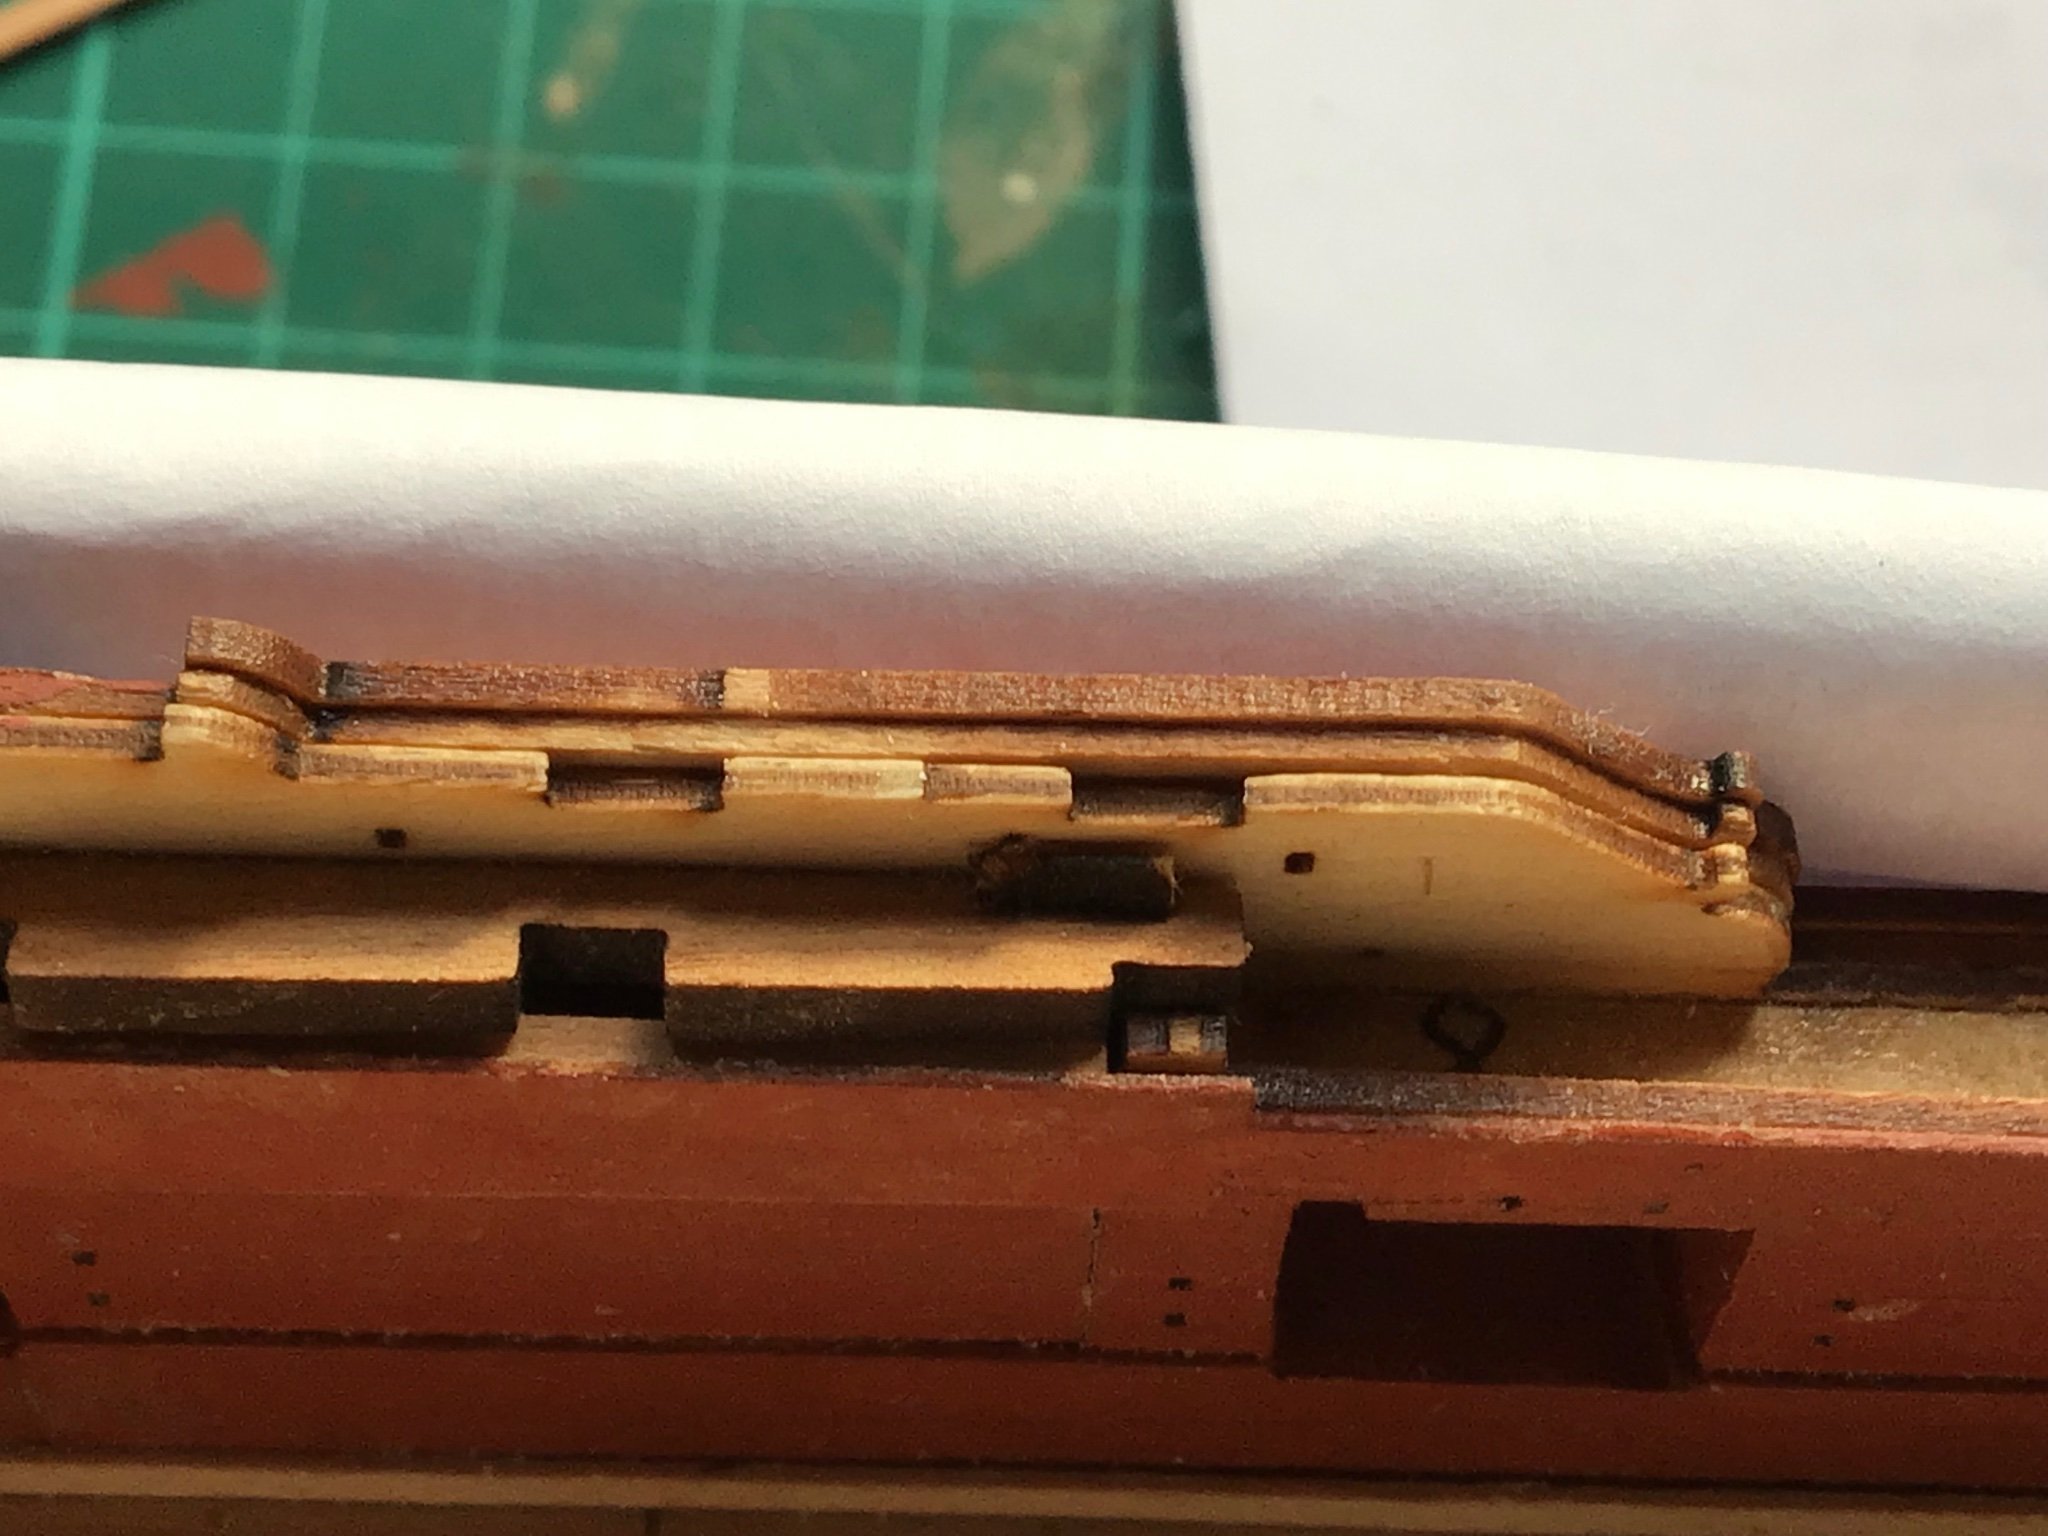
Further to your problem in post 88 and the replies from James and Chris, here are the slots to which they refer on my model,

- BobG, GrandpaPhil and JeffT
-
3
-
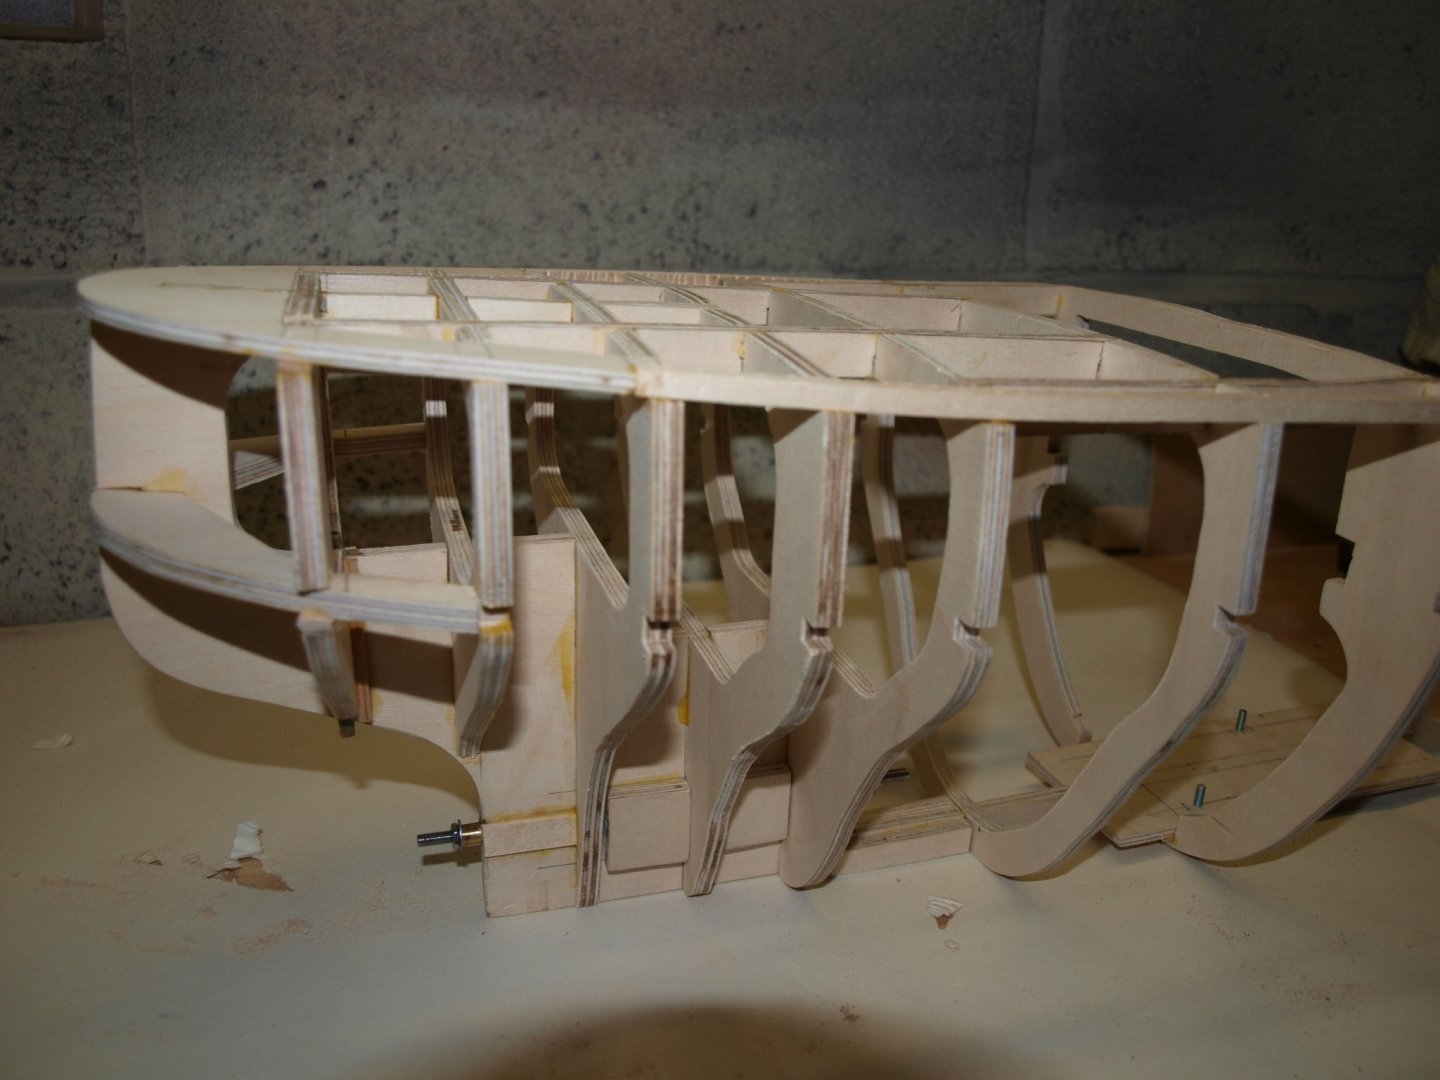
The hull bulkheads of the kit would require a lot of modification in order to fit a motor and stern shaft, as well as space for batteries and associated radio gear, keeping in mind that some access is required for maintenance. The photos show my scratch built hull frame for the motor collier, the M.V. Ballyloran. This is a 1/48th. scale model but the principles are the same and you will see that the motor bedplate and stern tube are fitted at this early stage to ensure an accurate alignment.
Should you decide to build the M.V. Brockley Coombe I would recommend a book "British Motor Coasters" by Charles V. Waine which is a very complete history of this type of vessel and where you will find a General Arrangement drawing of M.V. Brockley Coombe and photographs.

-
-
B.E. this book would add more interest in your search for the colour "blue":
but at a price!
Chris
-
I second that Malcolm, it is a great testament to the hard work that Chris and James have put in to the development of this kit and I'm looking forward to the arrival on my doorstep of a big box from The Forest of Dean in the next week or so.
Long live Vanguard Models.
Chris
- mtaylor and chris watton
-
2
-
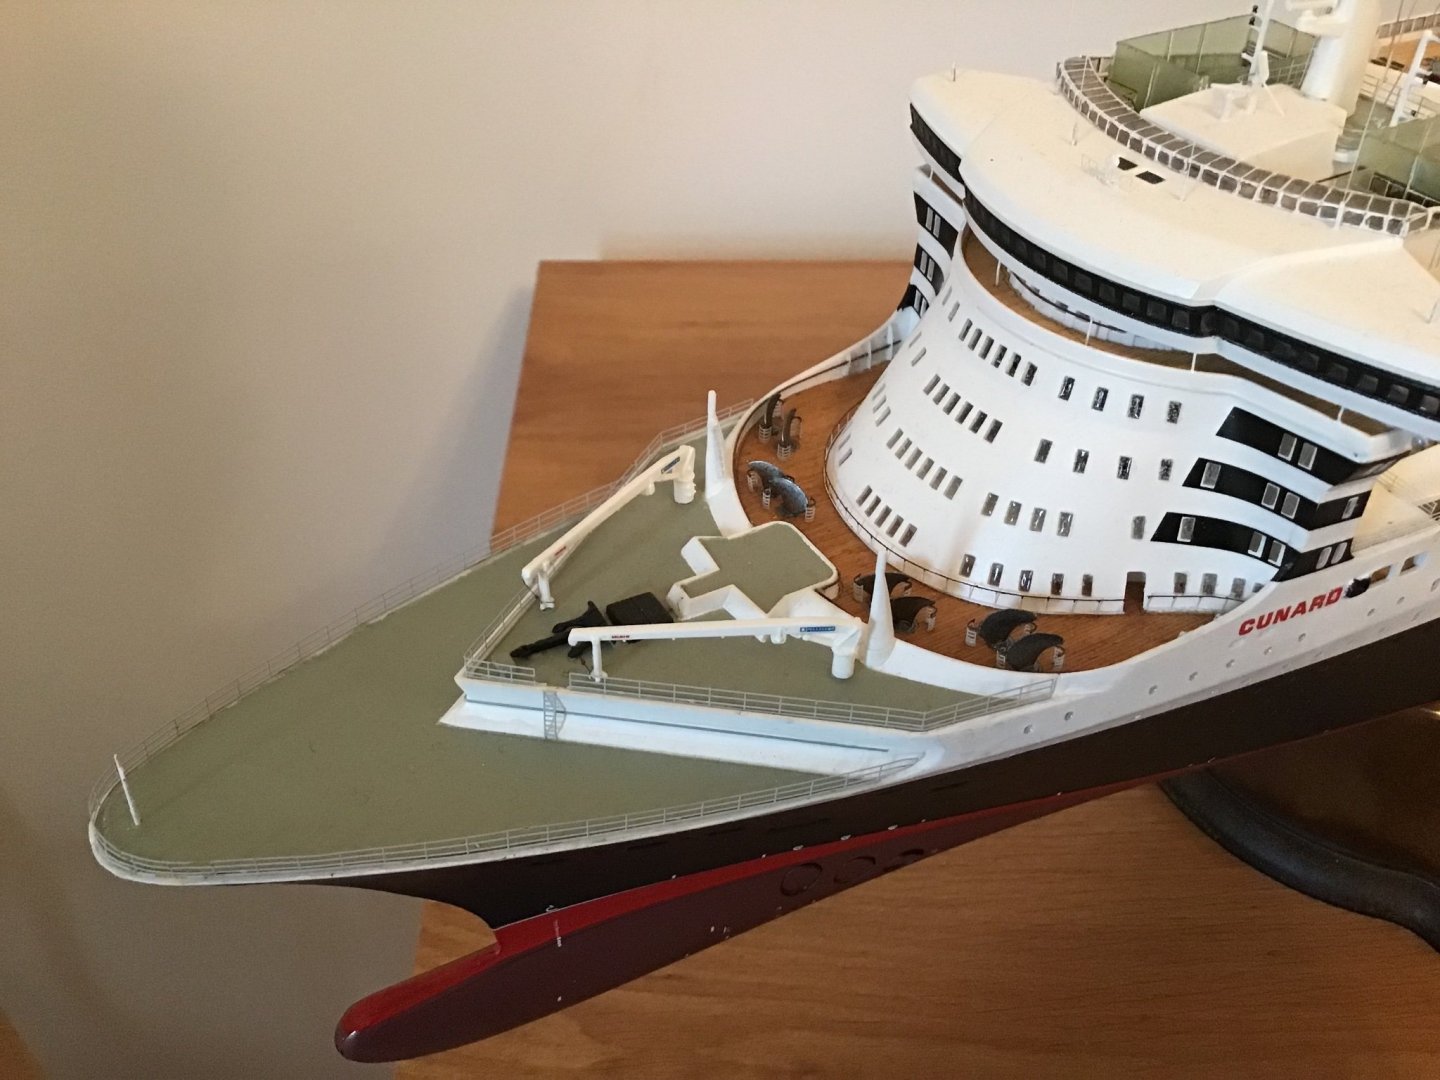
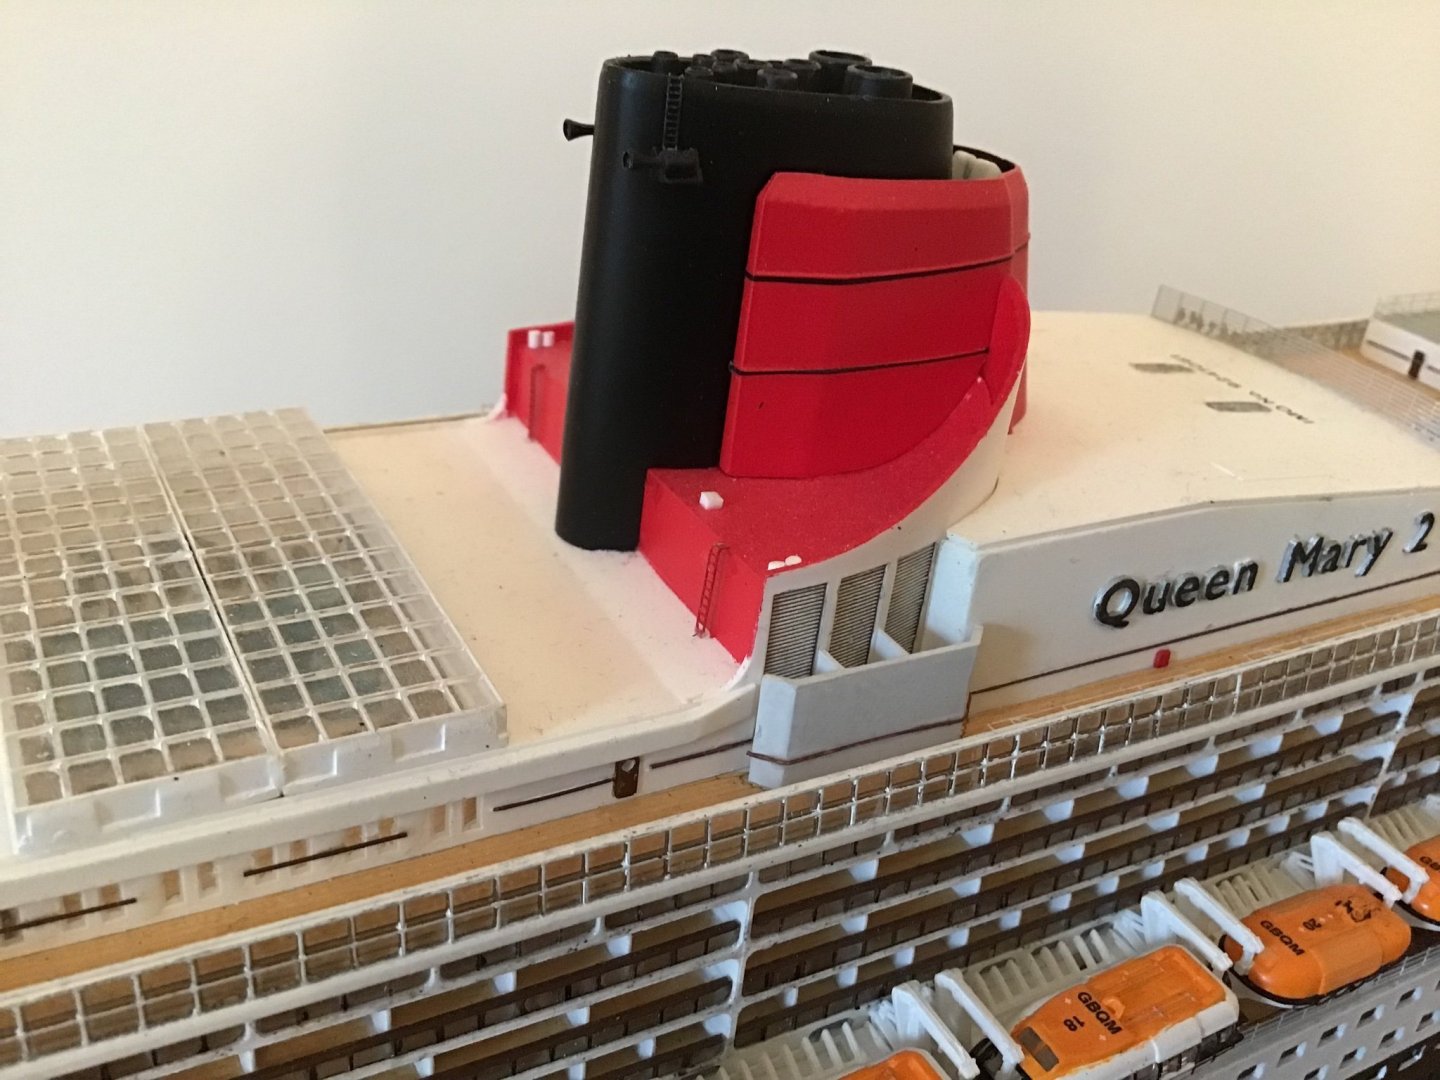
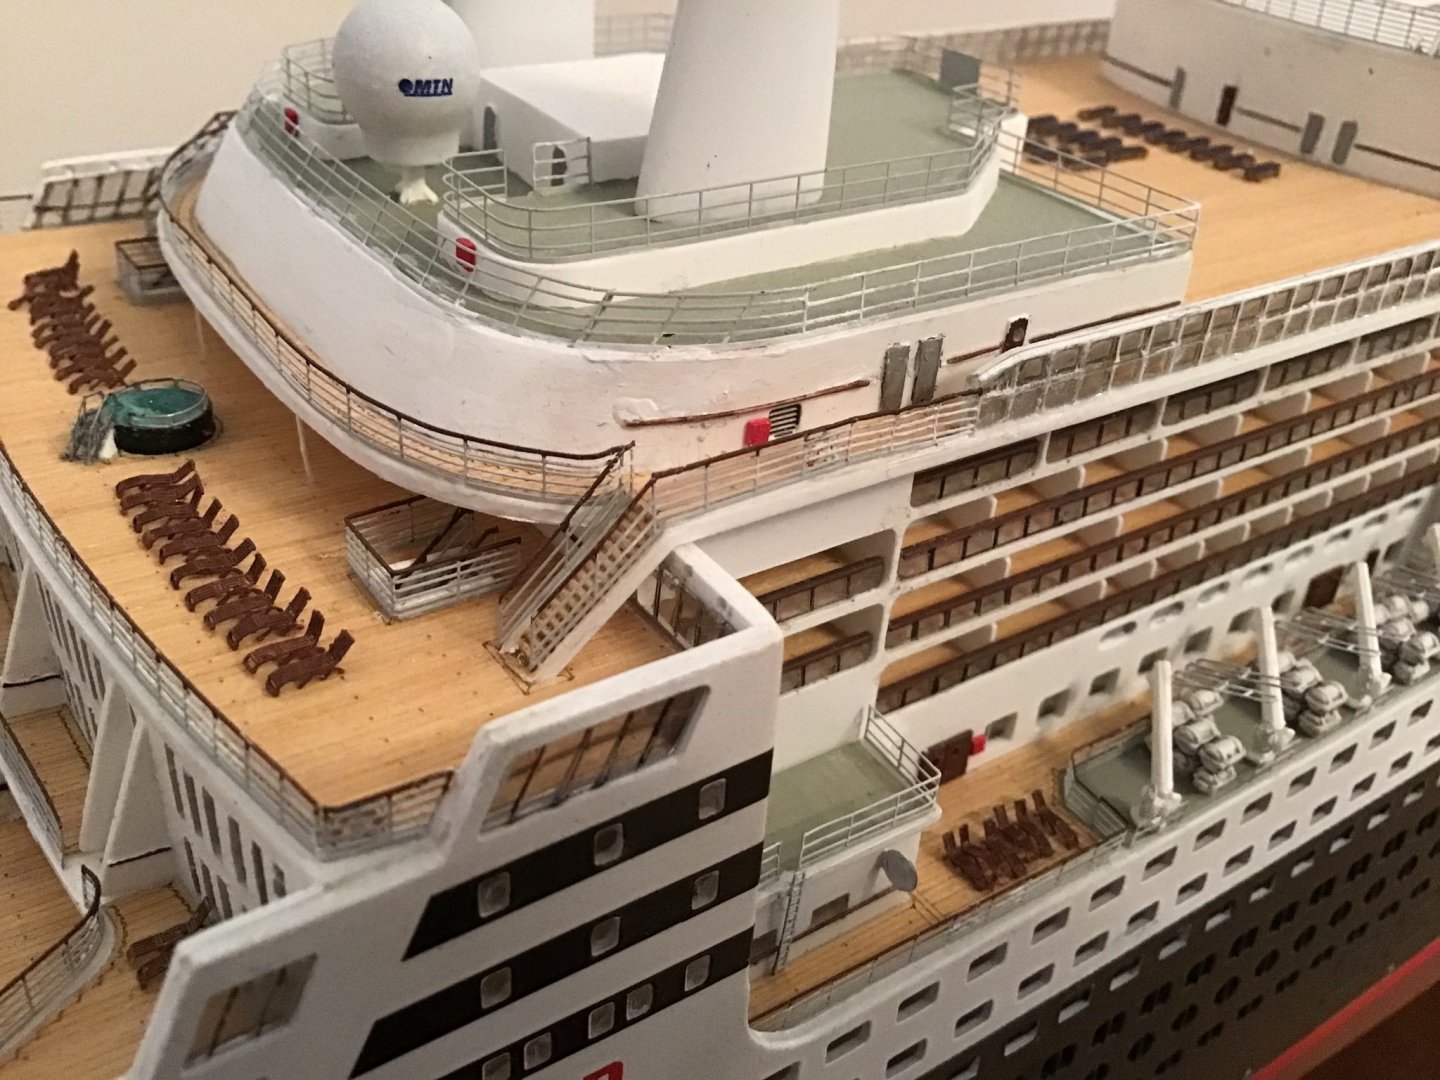
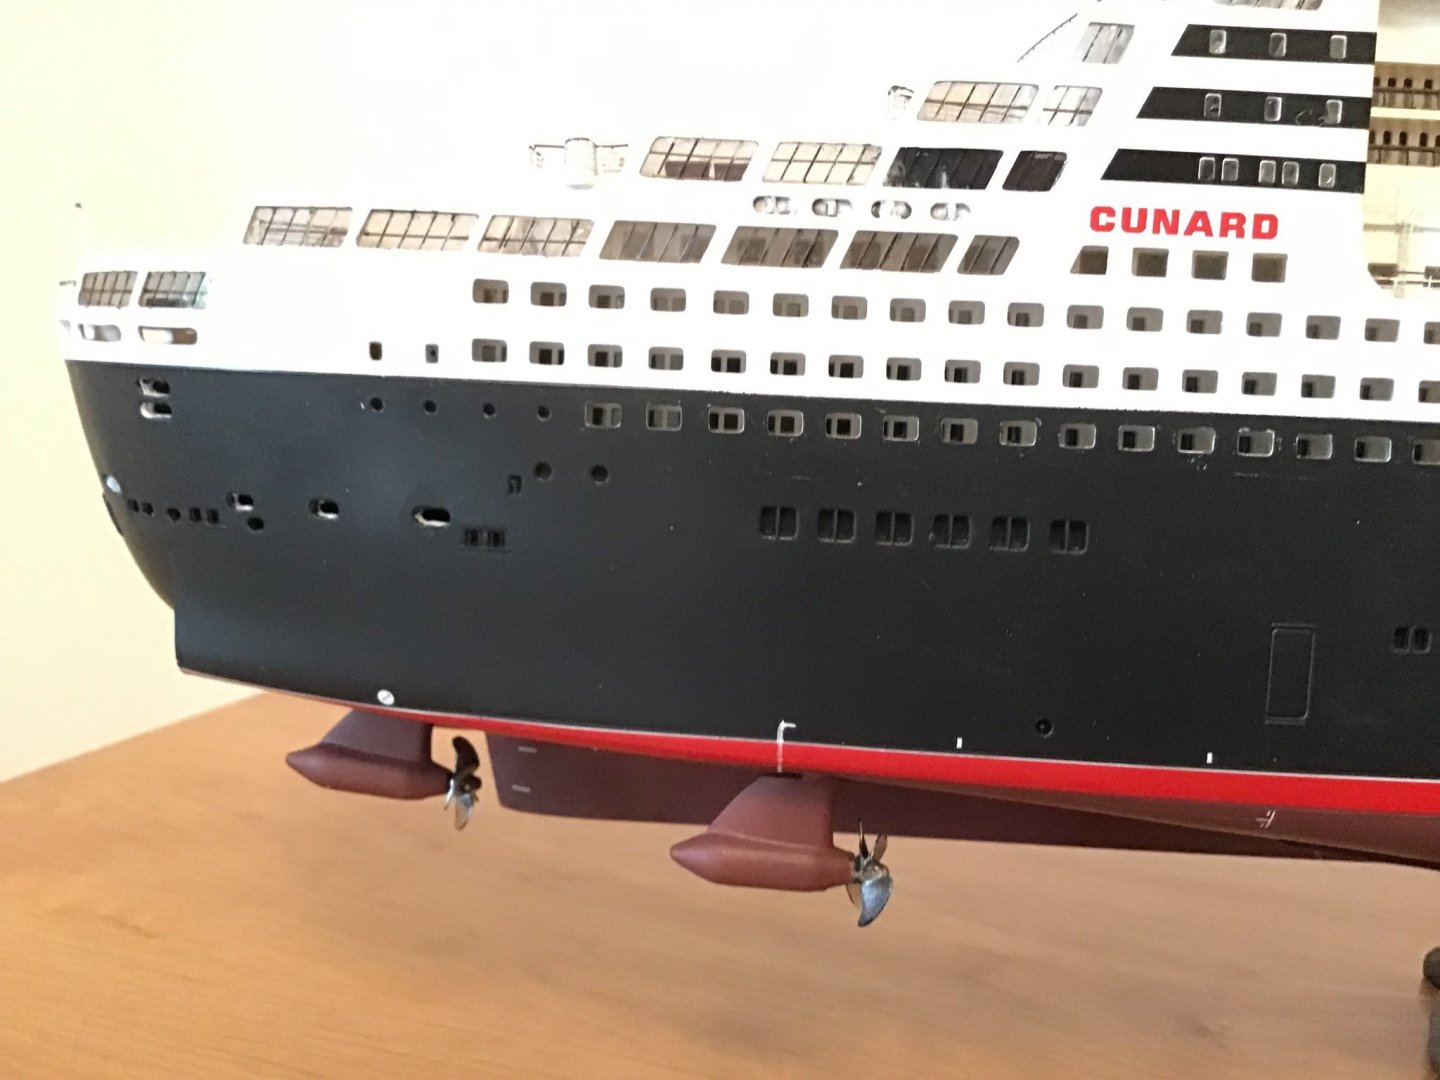
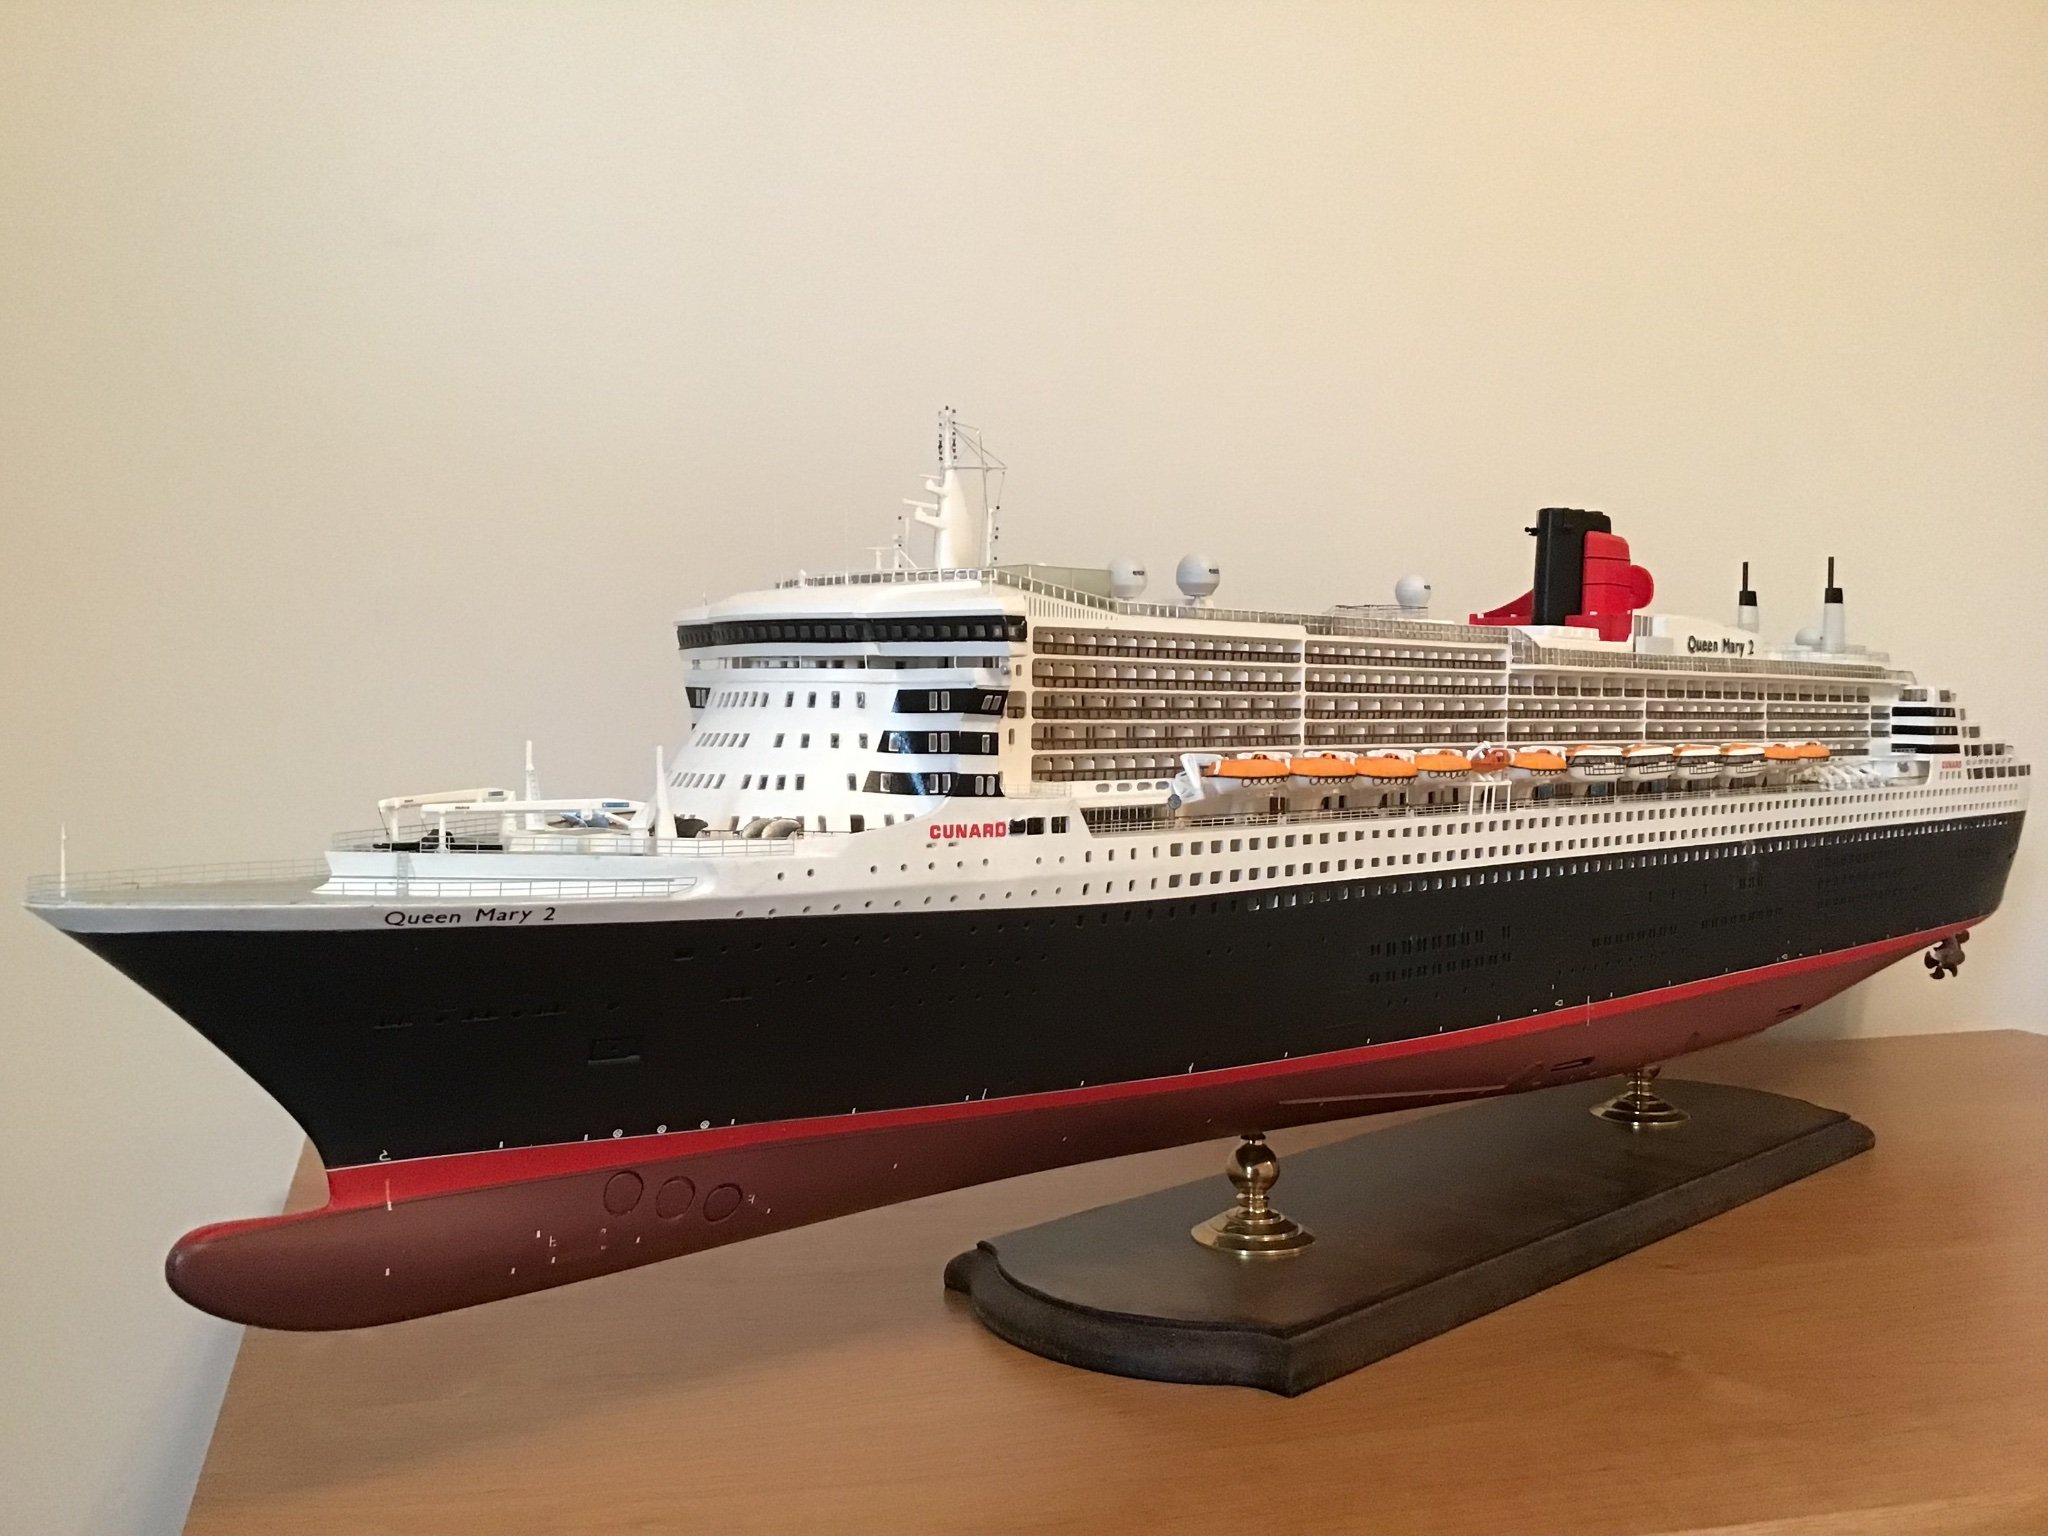
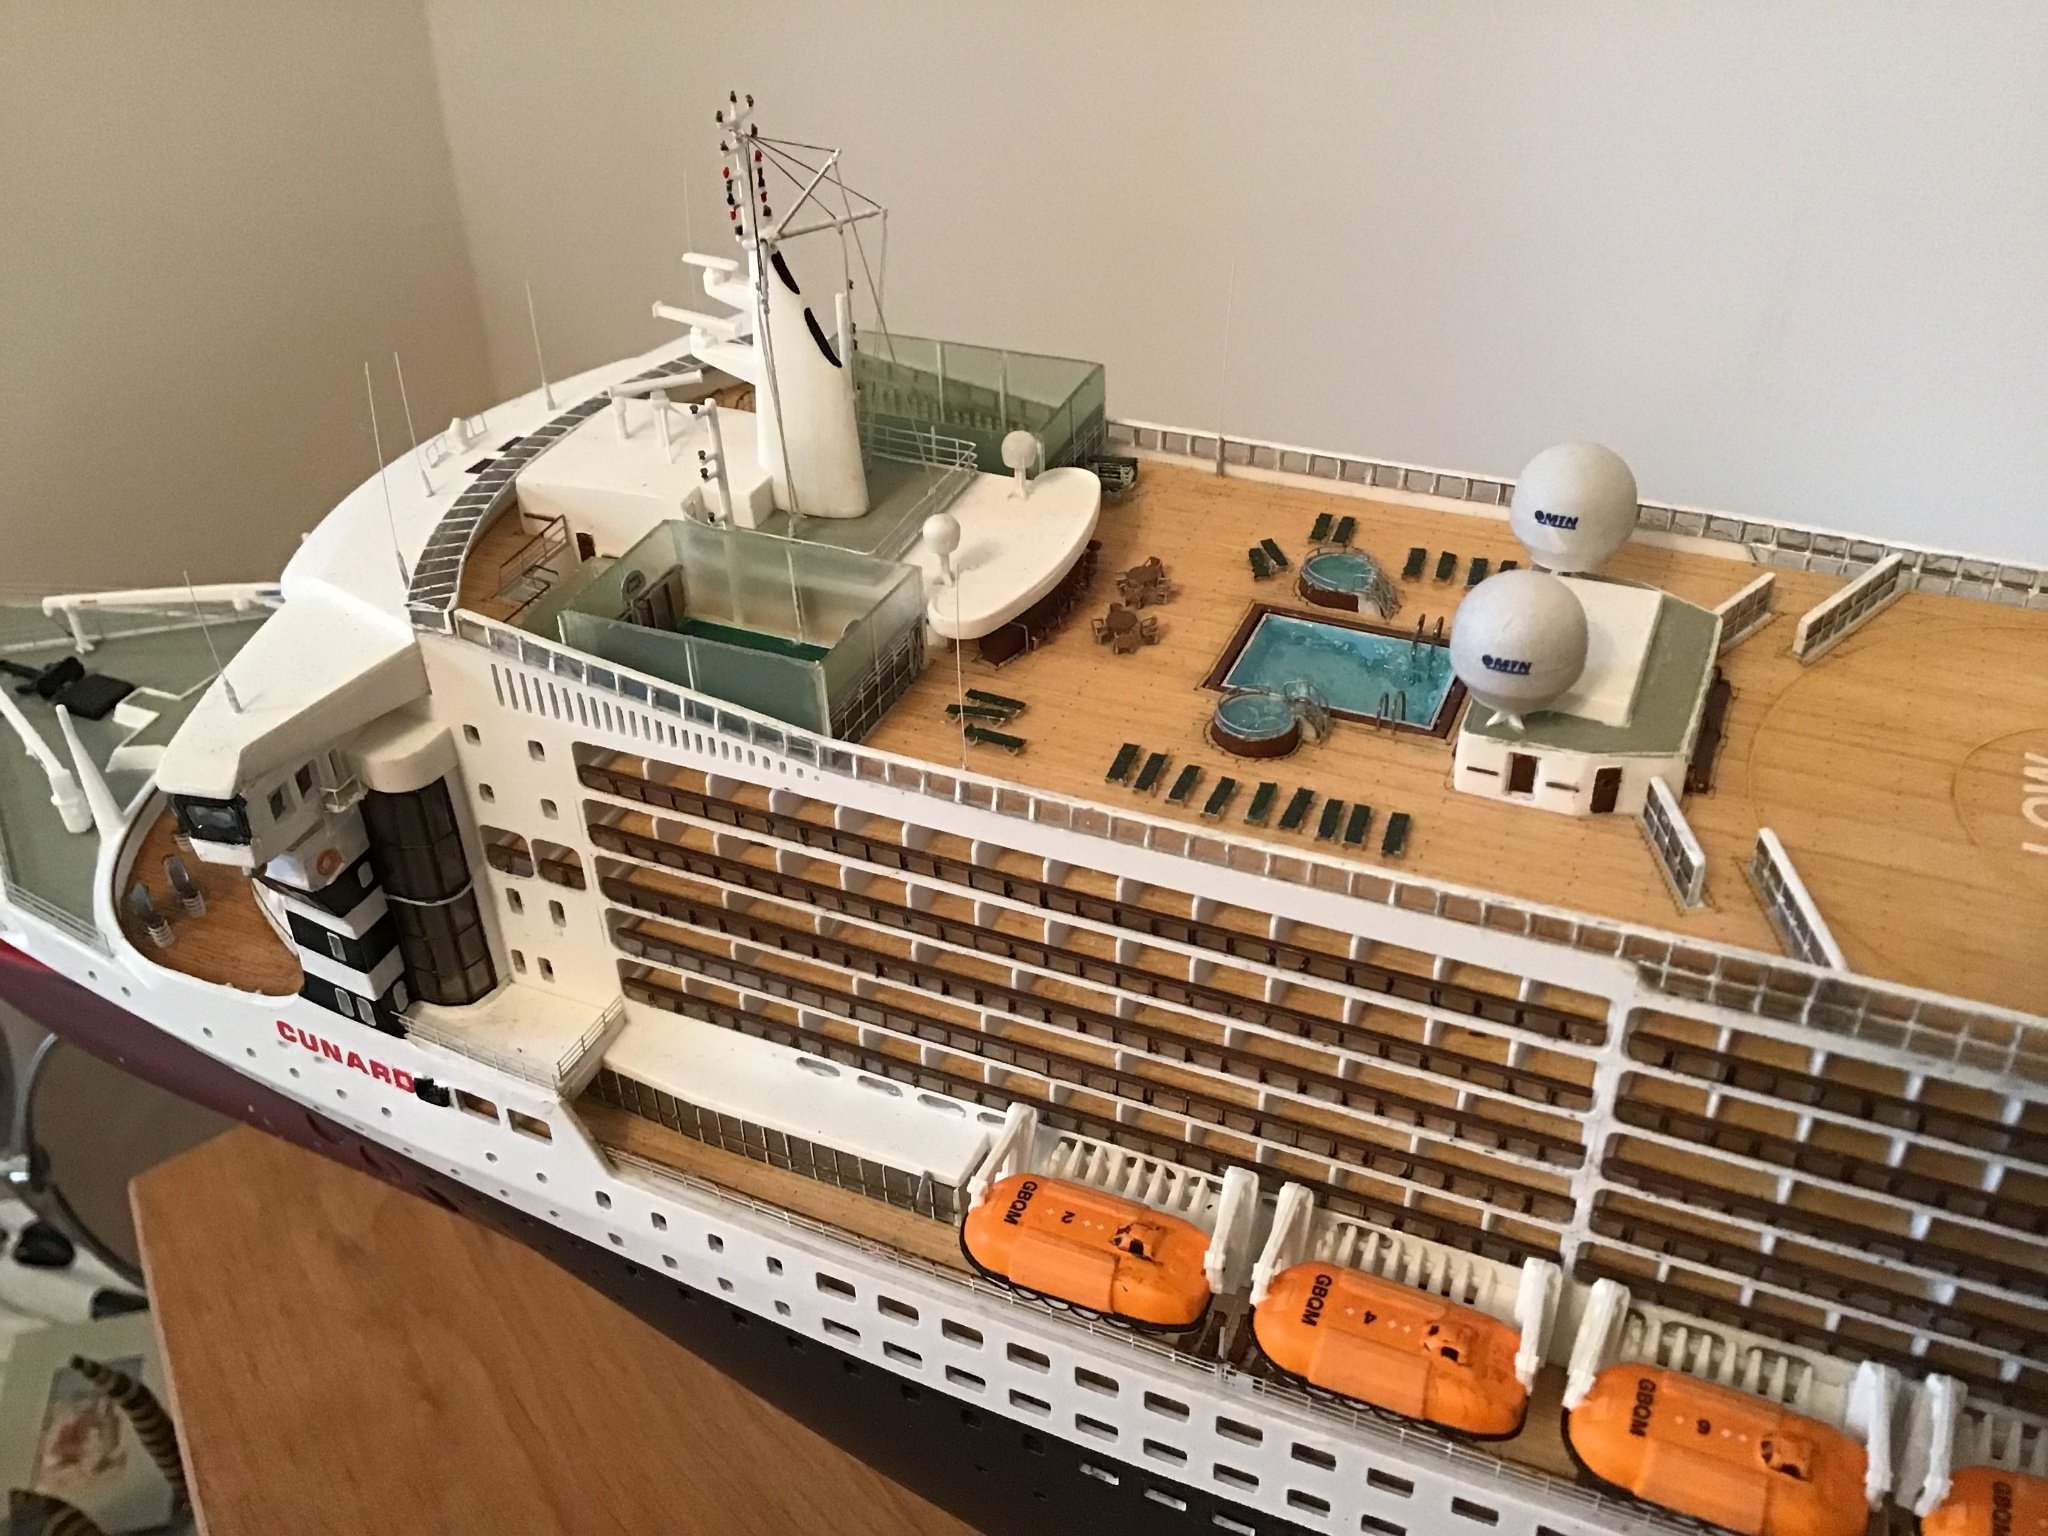
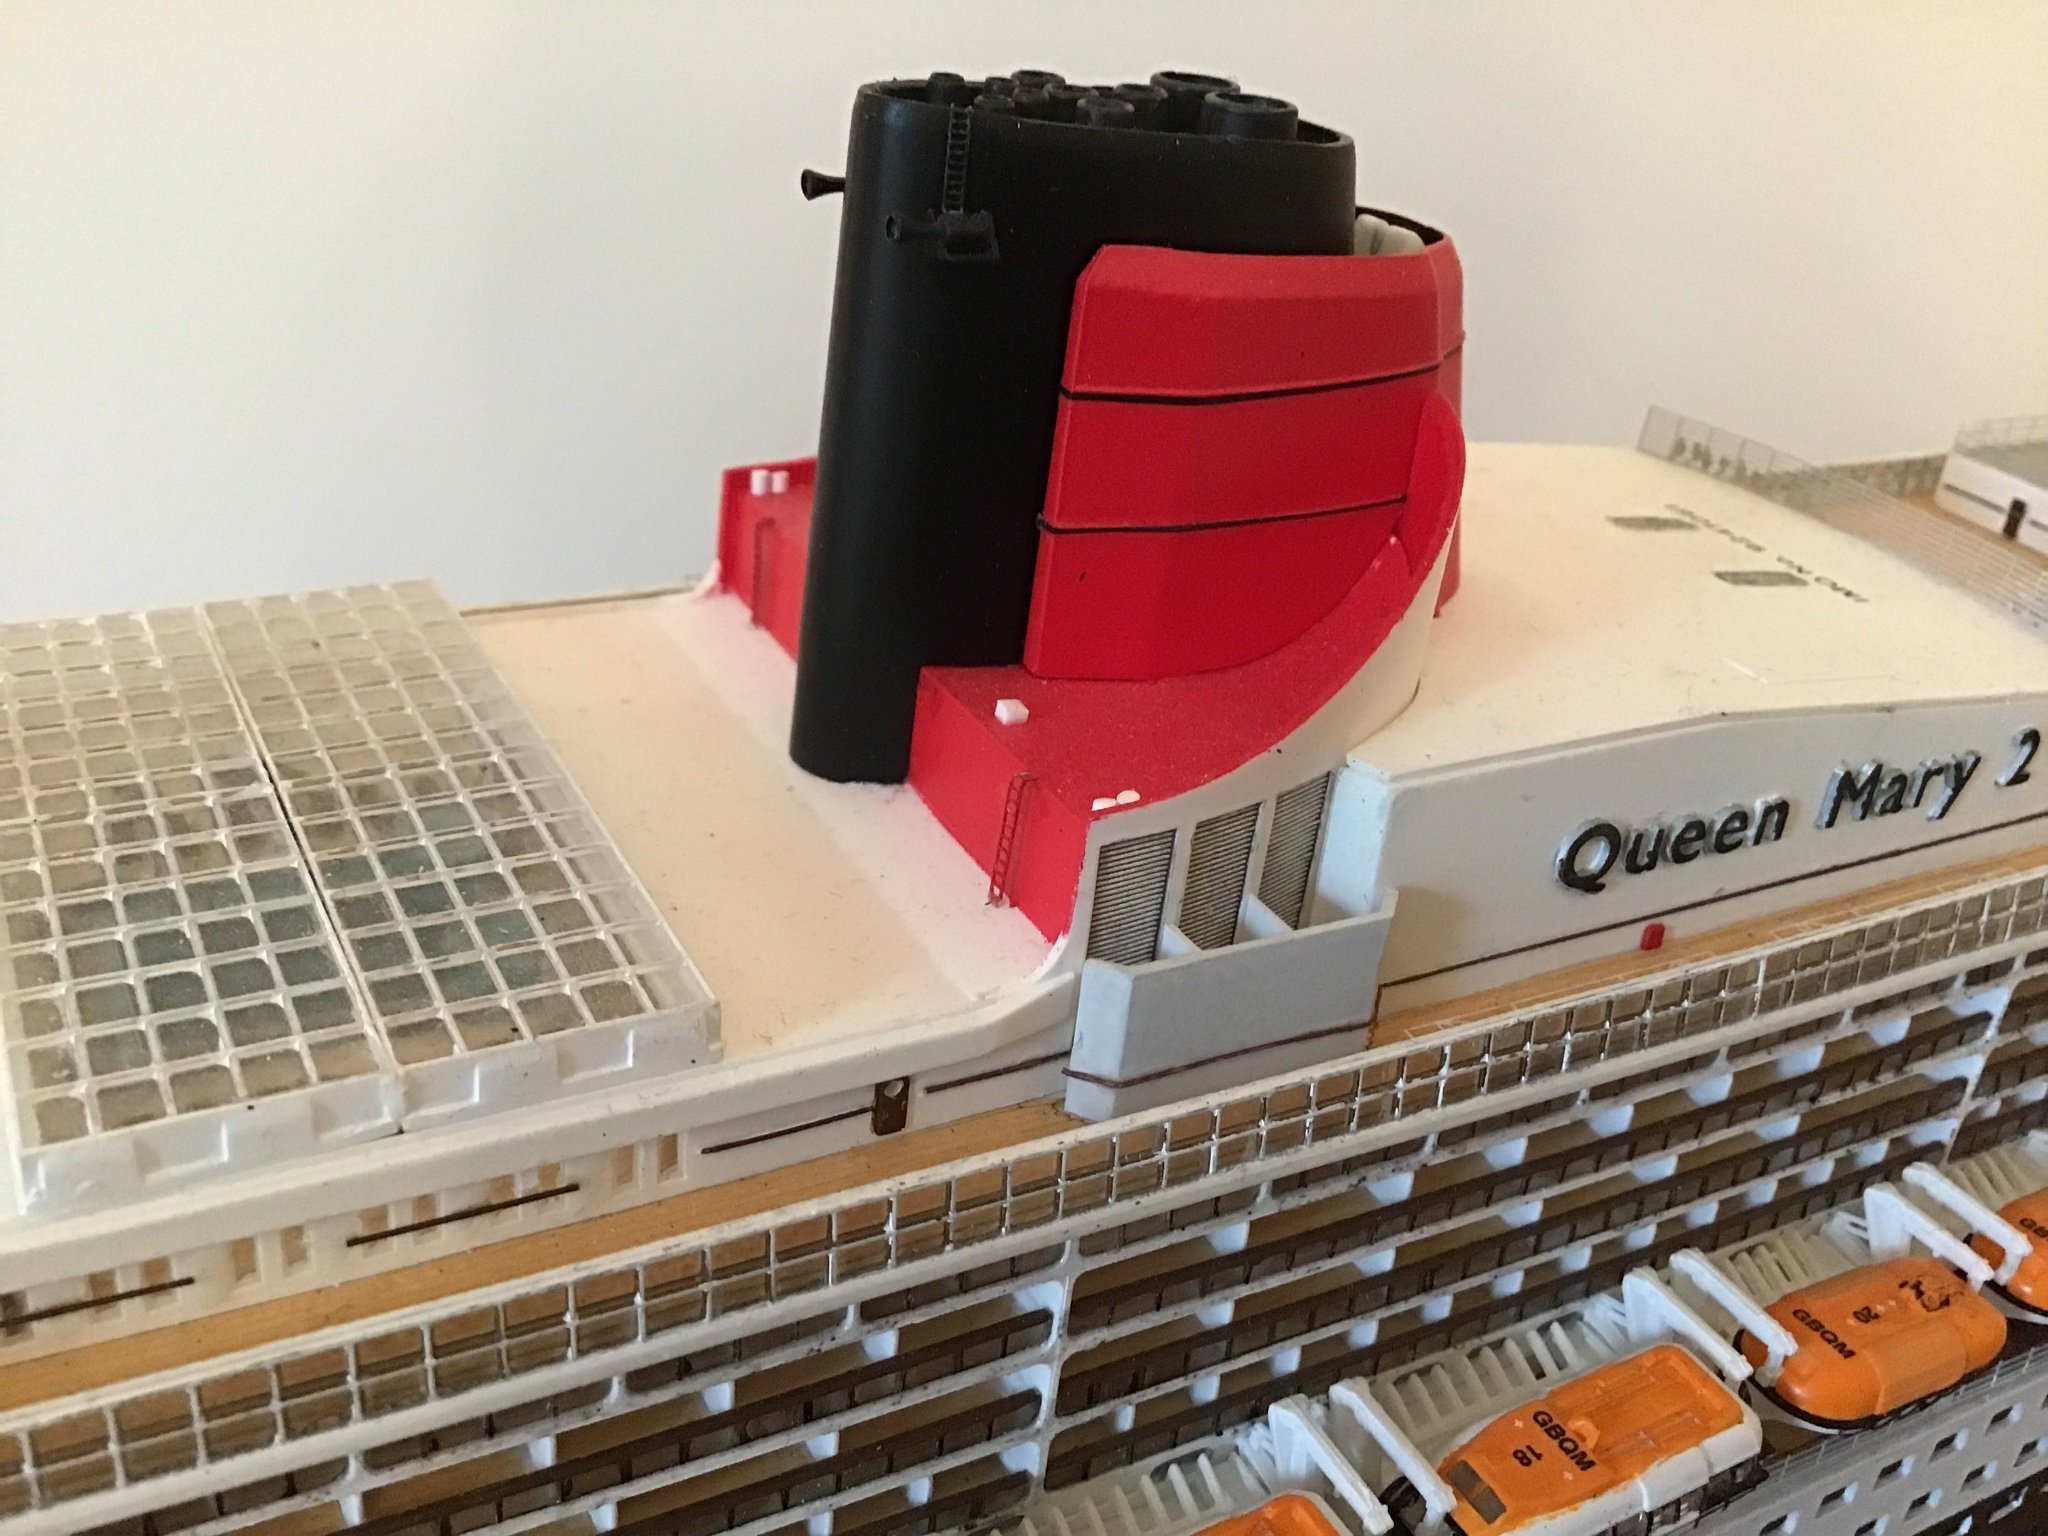
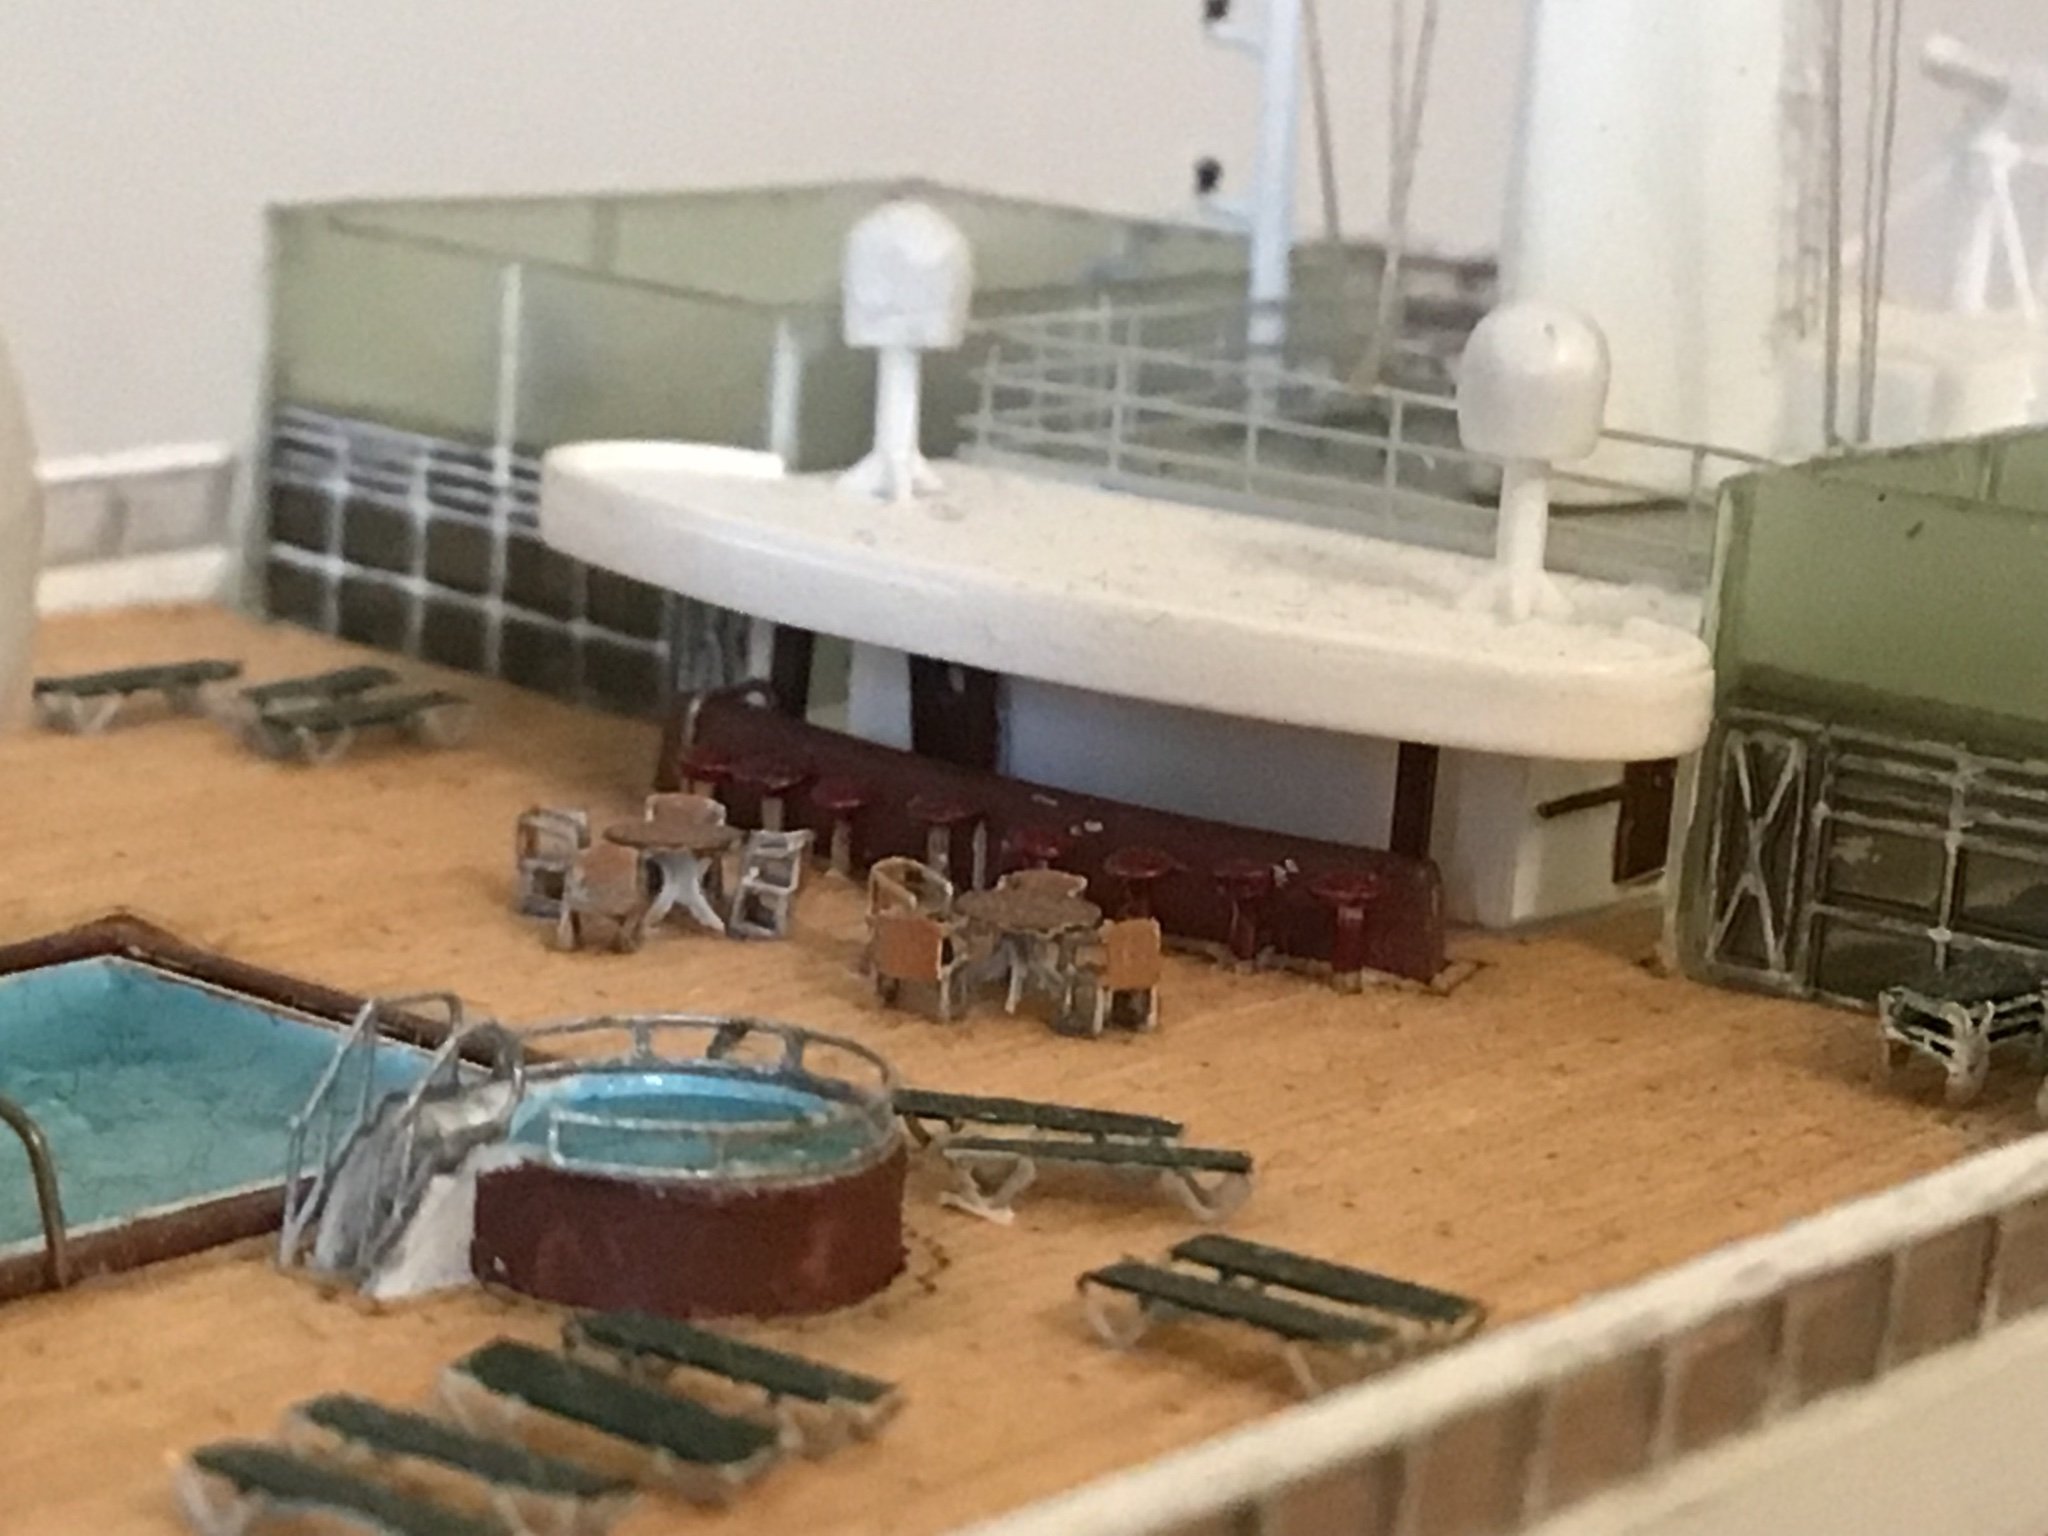
This is my most recent plastic kit, the Revell 1/400 "Queen Mary 2" with a Gold Medal Models photo-etch upgrade set and a KA wooden deck set.


- lmagna, GrandpaPhil, Harvey Golden and 13 others
-
14
-
2
-
4 hours ago, shipman said:
Bruce, now we are getting the dubious benefits that Brexit rewards us with.
I gather any and all imports are being slammed with arbitrary customs and handling charges.
No they are not, this month I have had two packages from the EU with no import charges applied, one from the USA and one from Australia with the normally expected charges applied. Please keep politics out of it.
- chris watton, Keithbrad80, Mark P and 7 others
-
10
-
-
There is a short section on the Enterprize Class Frigates in Conway's "The First Frigates" by Robert Gardiner containing a list of the vessels in the Enterprize Class and three profile draughts.
Chris
- mtaylor, Kevin, Old Collingwood and 1 other
-
4
-
I am nowhere near ready to start construction of this kit yet but have been studying the instructions, plans and components from the two boxes.
The photo shows one of the many frame component sheets and you can see engraved lines on the frame components that require fairing. My assumption is that each clinker step will need to be filed to the line to achieve fairing - a lengthy but necessary process.
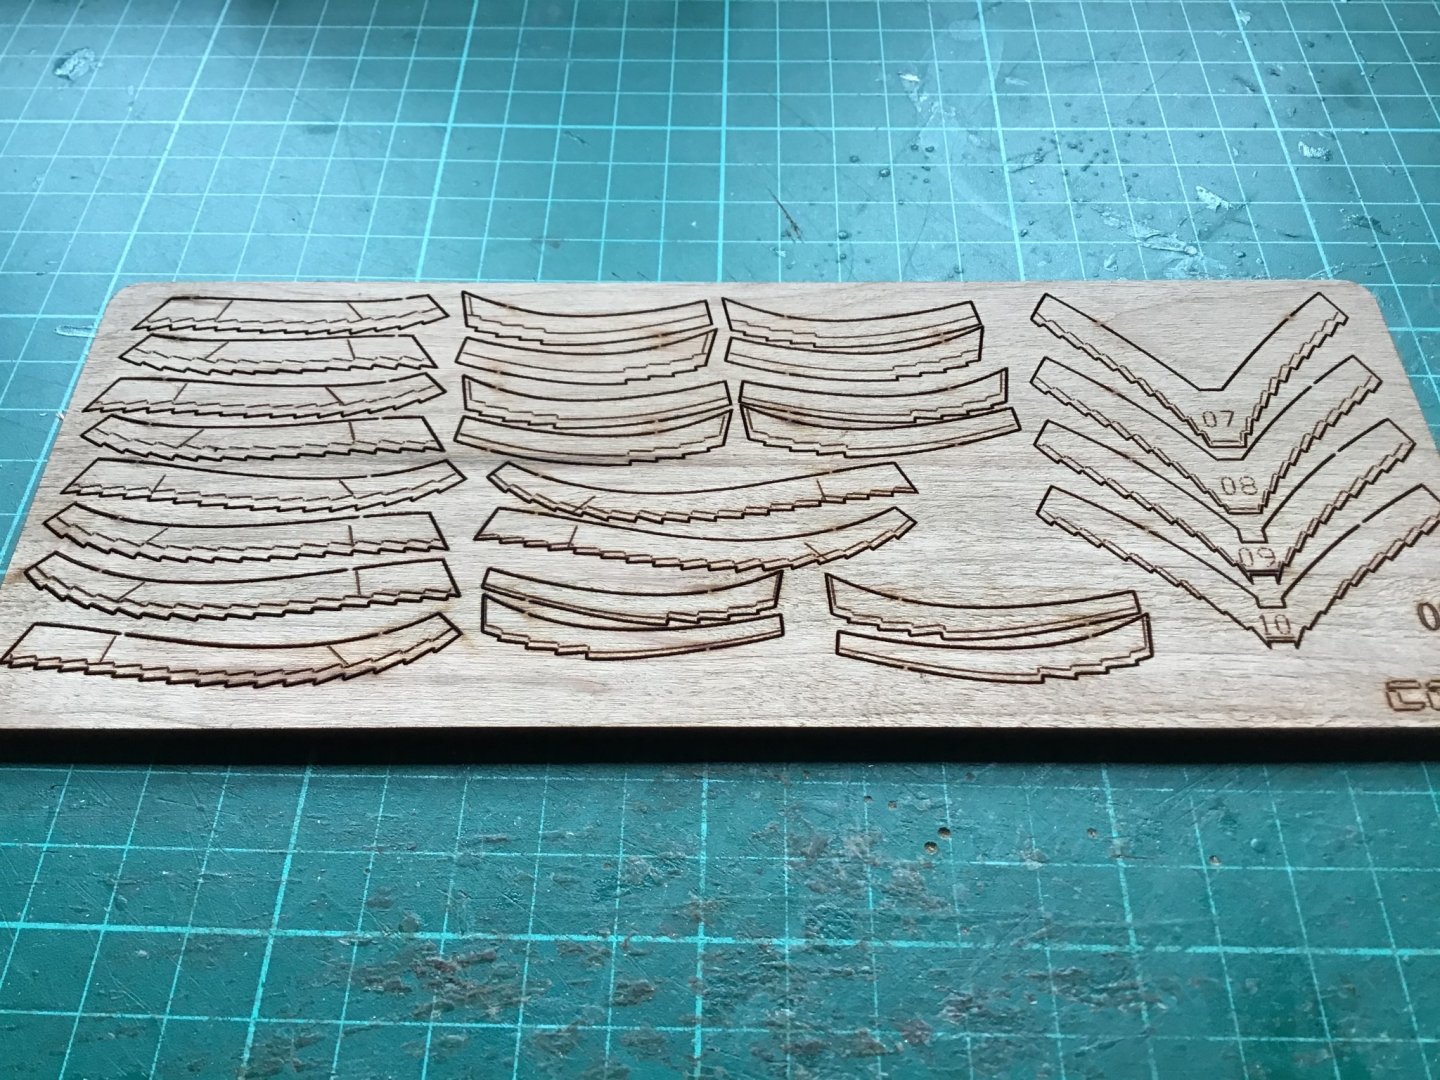
Hoping this answers your question ASAT.
Chris
-
-
Kevin, if you refer to profile Plan No.4 you will see a purple line marked from stem to stern. This is the level of the top of the deck clamp upon which the deck beams rest. The deck beams are 6mm. deep and the deck planks are 1.5mm. giving a height of 7.5mm. That is the line marked on Plan No.6 to which you have referred and is at the correct height for the cannon at the gunport.
The top horizontal timber you have added at the stern is the wing transom and the three below are filling transoms.The two vertical timbers each side that you have yet to add from the deadwood to the lower filling transom are the "vertical filling pieces".
Chris
-
Sorry Kevin, I had just been corresponding on another web forum with a gentleman named Derek about a Pocher 1/8 scale model car I had built so had the name on my mind.
Chris
- mtaylor and Old Collingwood
-
2
-
Derek, try working from for'd and aft towards midship, that way you have space to see what you are doing.
On the matter of terminology, the frames that you have assembled in the two jigs are known as the "hawse pieces" or "hawse timbers", the "cant frames" are the half frames nos.1-7 that you have assembled.
Chris
-
I have found it easier to scrape the char off with a Swann Morton No.2 blade on each segment before glueing anything together. Even those frames that require bevelling get this treatment as the char does not then clog up the Proxxon sanding drums.
Chris


HMHS Britannic by Kevin - Trumpeter - 1/200 - PLASTIC - from Titanic kit - Started September 2022
in - Kit build logs for subjects built from 1901 - Present Day
Posted
Deluxe Materials "Glue 'n' Glaze" is the product I have found that is better than PVA glue for glazing windows and portlights. It is similar in consistency but seems to give a better appearance.