-
Posts
7,009 -
Joined
-
Last visited
Content Type
Profiles
Forums
Gallery
Events
Everything posted by Kevin
-
one of the tankers destroyed http://en.wikipedia.org/wiki/Seawise_Giant
-
May 13 1793 HMS Iris (32), Cptn. George Lumsdaine, engaged Citoyenne Francaise (32) about 6 leagues from Gibraltar in the first action of the war with a French naval ship. 1796 HMS Salisbury (50) wrecked near San Domingo 1798 Boats of HMS Flora (36) cut out Mondavi, 1807 HMS Cassandra (10), Lt. George Le Blanc, lost by upsetting in a sudden squall off Bourdeaux.
-
Where did the expression "the whole 9 yards come from"? Whole nine yards & dressed to the nines Comment from Howard MacGregor in the Niagara Region of Canada: I was told many years ago that the phrase started in the 19th or maybe 18th century and it had to do with women's gloves that went up to the elbows when they went to gala events such as balls and tea at the palace and that those gloves had nine buttons so some occasions meant they had to "dress to the nines." Comment from Lance: And this, nine yards applies to just the shirt. The more fabric in the shirt, the wealthier you were. It was against the law to wear a shirt made of more material than your class was permitted. Comment from Brian Morris: I have heard that the saying the whole 9 yards comes from WWII days when the aircraft guns had their bullets in strings of 27 feet. When you went through all of your bullets, you went through the whole 9 yards. Comment from David Whyte: Apparently, in early England, an entire load of coal for heating was carried in a container that was nine yards long. Most people could not afford it, but if you could, you would take 'the whole nine yards'. I have no idea of the validity of the story, but it seems reasonable. Comment from Colin: Last night I was having some beers with a few USAF pilots. One insisted that the whole nine yards comes from the B-52. It's bomb-bay is 9 yards long and the phrase would then refer to dropping all the bombs from the bay. Another guy insisted that the phrase comes from WWI when the machine gunners would be issued nine yards of belted-ammunition at a time. Rosemary wrote: I have been sewing for 30 years, and cannot conceive of the largest-size shirt in the fullest possible cut using up more than half that amount! Unless perhaps the fabric is only a yard wide, or even 25" wide, both of which were not unusual in my grandmother's day. (Hence the expression "all wool and a yard wide" - not a cheap wool blend and only 25" wide.) However, it is quite conceivable that an average-size, moderately-tailored trousers, waistcoat, and vest would use up 9 yards. Brad Bellows claims the 9 yards would also include an overcoat, but I don't believe a full-grown man could get all 4 items out of 9 yards of fabric unless the fabric were much wider than is sold today. Lawrence says: I've heard that the whole 9 yards comes from the contents of cement trucks - a full load being 9 cubic yards of cement. Charles B: I was taught that the "Whole Nine Yards" refers to American football. On second down you go the distance for another first down instead of slugging it out for a couple of yards at a time. Bob Bledsoe" This may be a corruption of the Middle English "to then eyne" (to the eyes). I have heard "the whole nine yards" came from the amount of cloth on a bolt. When someone wanted to make sure they had enough cloth the got the "whole nine yards." Robert: from good authority, I hear tell that the phrase comes from the Scottish Kilt. In a proper kilt (including all the pleats) there should be 9 yards of material. Anything less is seen as not a proper kilt. Hence the phrase. 9 yards for a shirt seems a bit much. Charles B: "Dressed to the nines" refers to the theater in Shakespeare's time when the price of a seat depended on how close it was to the stage. The farthest seats were one pence and the closest seats were nine pence. If you sat in the expensive seats you dressed up so as not to look out of place with the other wealthy patrons. Even more from Ron: In most of India the everyday sari worn by women is made of material six yards in length. However, for weddings and special occasions, saris of nine yards are used. Hence, for these special occasions one goes 'the whole nine yards'. This could just be another example of the myriad influences the British inherited by controlling India for two centuries. Ron wrote: I'd just like to add to the confusion of the origin of 'whole nine yards'. In most of India the everyday sari worn by women is made of material six yards in length. However, for weddings and special occasions, saris of nine yards are used. Hence, for these special occasions, one goes "'the whole nine yards." This could just be another example of the myriad influences the British inherited by controlling India for two centuries.
- 1,148 replies
-
http://www.worldwidewords.org/articles/nineyards.htm
- 1,148 replies
-
May 12 1708 Sir John Leake's Fleet took a French frigate and convoy. 1781 HMS Thetis (32) wrecked off St. Lucia 1796 HMS Phoenix (36), Cptn. Lawrence Halstead, captured Argo (36) in the North Sea. 1797 The mutiny at the Nore begins 1799 HMS Courier cutter engaged a French privateer brig near Winterton. 1806 HMS Pallas (32), Cptn. Lord Cochrane, HMS Indefatigable (44), Cptn. John Tremayne Rodd, and HMS Kingfisher (18), George Francis Seymour, engaged French squadron off Isle of Aix. Boats of HMS Juno (32), Capt. H. Richardson, and Neapolitan Minerve, Cptn. Vieugna, destroyed batteries at Gaeta. 1808 HMS Amphion (32), Cptn. William Hoste, and boats engaged Baleine at Rosas. HMS Tartar (32), Cptn. G. E. B. Bettesworth (Killed in Action), and boats engaged at Bergen. 1810 HMS Tribune (36), Cptn. Reynolds, engaged Danish squadron of 4 brigs, under Cmndr Johannes Krieger, outside Mandal, Norway but was forced to withdraw. 1846 U.S. declares war against Mexico
-
On this date, 11 May 1918 - German Submarine SM U-154 is torpedoed in the Atlantic at 3651N 1150W by HM Sub E35. There were 77 dead (all hands lost). Wikipedia states, HMS E35 was a British E class submarine built by John Brown, Clydebank. She was laid down on 20 May 1916 and was commissioned on 14 July 1917. Service history HMS E35 sank U-154 (one of the 1,512 ton U-boat cruisers originally designed as cargo carrying blockade runners) off the island of Madeira on 11 May 1918. This sinking was helped by British intelligence who had learned of a planned rendezvous between two U-boats off Cape St Vincent. HMS E35 was sold in Newcastle on 6 September 1922.
-
i was just looking at the wikki for the last ship, what is this hanging off the yards
-
May 11 1762 Cptn. John Jervis (later Eart St. Vincent) HMS Gosport (44) escorting convoy to North America repelled a French squadron, under de Ternay, which was on its way to capture Newfoundland. 1780 Fall of Charleston, SC; three Continental Navy frigates, Boston, Providence, andRanger, captured and frigate Queen of France sunk to prevent capture 1806 Capture of Capri by English squadron under Sir Sidney Smith. 1808 HMS Bacchante (22), Cptn. Samuel Hood Inglefield, captured French national brigGriffon (16), Jaques Gautier, near Cape Antonio in Cuba. 1809 HMS Melpomene (38), Cptn. Peter Parker, destroyed a Danish man-of-war cutter at Huilbo, Jutland. 1862 CSS Virginia blown up by Confederates to prevent capture.
-
i was thinking to do the bottom of the house the same as the top with a black band through the middle, and paint the window frame red orche
- 1,319 replies
-
- caldercraft
- Victory
-
(and 1 more)
Tagged with:
-
On this date in 1917, (May 10), the first convoys were introduced by the British, and were immediately successful. Overall losses started to fall; losses to ships in convoy fell dramatically. In the three months following their introduction, on the Atlantic, North Sea, and Scandinavian routes, of 8,894 ships convoyed just 27 were lost to U-boats. By comparison 356 were lost sailing independently. As shipping losses fell, U-boat losses rose; during the period May to July 1917, 15 U-boats were destroyed in the waters around Britain, compared to 9 the previous quarter, and 4 for the quarter before the campaign was renewed.
-
the yellow orca has a nice deep colour to it - is it 3 coats?
- 80 replies
-
- deagostini
- victory
-
(and 1 more)
Tagged with:
-
very nice Andy - good god another post to you - without a mention of wabbits - ooooops
- 1,148 replies
-
HMS Victory by Yon - Caldercraft 1:72
Kevin replied to Yon's topic in - Kit build logs for subjects built from 1751 - 1800
sorry i misread the first answer, -
HMS Victory by Yon - Caldercraft 1:72
Kevin replied to Yon's topic in - Kit build logs for subjects built from 1751 - 1800
are the flags just coloured paper? -
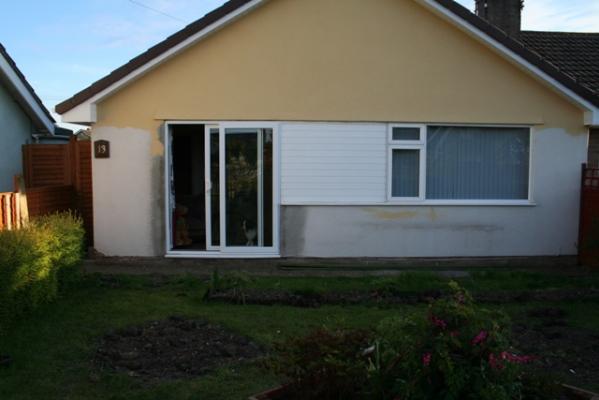
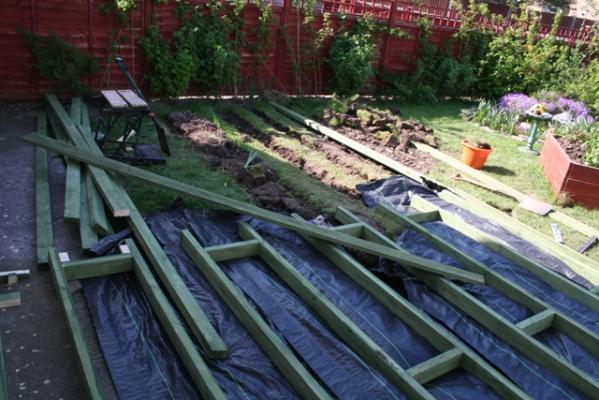
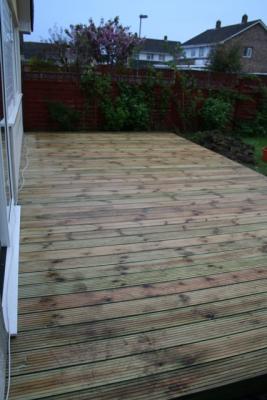
its been a quiet week so far, we have had more DIY work done, but i have the weekend off, so apart from going for a couple of runs, cleaning the wabbits out, FI qualifying and race, playing EVE i have Sat and Sun OFF
- 1,319 replies
-
- caldercraft
- Victory
-
(and 1 more)
Tagged with:
-
HMS Victory by Yon - Caldercraft 1:72
Kevin replied to Yon's topic in - Kit build logs for subjects built from 1751 - 1800
flag lockers look great, what did you use for the flags themselves -
SSRN-586 http://en.wikipedia.org/wiki/USS_Triton_(SSRN-586)
-
May 10 1800 USS Constitution (100), Cptn. Silas Talbot captured French privateer Sandwich (6) from the harbor at Port Plate, Hispaniola. 1808 Start of 5 day engagement between HMS Wizard (16), Abel Ferris, and Requin(16) from off Toulon to Goulette near Tunis. 1862 Confederates destroy Norfolk and Pensacola Navy Yards.
-
Documentaries of interest to MSW Members - moved by moderator
Kevin replied to Kevin's topic in Nautical/Naval History
For anyone interested http://www.bbc.co.uk/news/uk-22461359- 17 replies
-
- wester ross
- medals
-
(and 3 more)
Tagged with:
-
for anyone intrested http://www.bbc.co.uk/news/uk-northern-ireland-22461376
-
Good evening everyone no update so far this week and not not now either, but my flag locker inserts arrived, dropped and email to Jotika/Caldercraft on Tuesday, and they arrived today all the best
- 1,319 replies
-
- caldercraft
- Victory
-
(and 1 more)
Tagged with:
-
Coast Guard Strikes Back! Awarded Navy Cross On this date in 1942 (May 9), thirty miles Southeast of Cape Fear, North Carolina, U-352 attacks US Coast Guard cutter USCGC Icarus but misses with 2 torpedoes. USCGC Icarus (WPC-110) a steel-hulled, diesel-powered Thetis-class patrol boat, counterattacks with depth charges forcing U-352 to the surface. The crew abandons ship and scuttles U-352 (15 killed, 33 survivors). (WW2Daybyday) Wikipedia reports, Icarus sank the U-boat U-352 off the coast of North Carolina and took its survivors into custody as prisoners of war. U-352 was the second World War II U-boat sunk by the US in American waters, and the first one from which survivors were taken as prisoners. U-352 Incident While in Torpedo Alley, off the coast of Cape Lookout en route to Key West on May 9, 1942, Icarus picked up a contact on sonar, and a torpedo exploded nearby. Icarus anticipated the presumed U-boat's next move and dropped 5 depth charges at the site of the prior torpedo explosion. As sonar picked up a moving target again, Icarus moved to intercept, dropping two more depth charges, apparently hitting their target as bubbles were seen rising to the surface. Passing the spot again, Icarus dropped three more charges. Shortly thereafter, U-352 surfaced, and Icarus opened fire with machine guns and prepared for a ramming maneuver. When the U-boat's crew abandoned ship, Icarus ceased fire, releasing one last depth charge over U-352 as it sank beneath the water. The only U-boat previously sunk on the East Coast had gone down with all hands, and there were no standing orders concerning the rescue of survivors. Icarus had to call both Norfolk and Charleston before receiving authorization to pick up U-352's survivors. Forty minutes after the incident, Icarus picked up 33 of its crew, including U-352's commander, Kapitänleutnant Hellmut Rathke, and delivered them to the Commandant of the 6th Naval District at Charleston Navy Yard the next day. For his actions in sinking U-352, Lieutenant Maurice D. Jester, commander of the Icarus, was awarded the Navy Cross. There were only six Coast Guard recipients of the Navy Cross during World War II. Icarus was decommissioned on March 15, 1948 and sold on July 1, 1948 to the Southeastern Terminal and Steamship Company. She was later transferred to the Navy of the Dominican Republic where she was renamed Independencia (P-105, later P-204). She saw combat in the Dominican Civil War in 1965, was rebuilt in 1975, and was later sent to reserve.
-
May 09 1784 HMS Crocodile (24) wrecked in thick fog on Prawle Point, Devon 1795 HMS Melampus (36), Sir Richard Strachan, HMS Diamond (38) Cptn. Sir W. Sidney Smith and another frigate left anchorage in Gourville Bay, Jersey and took convoy of 11 French merchantmen and 2 gun-vessels, Eclair and Crache-Feu. 1812 HMS America (74), Cptn. Josias Rowley, HMS Leviathan (74) Cptn. Patrick Campbell, and HMS Eclair (18), Cptn. John Bellamy, carried the batteries at Languelia and captured or destroyed French convoy of 18 vessels. 1859 HMS Heron (12), William Henry Truscott, foundered between Ascension and Sierra Leone 1864 The Battle of Heligoland. The Danish North Sea Squadron under Cptn. Edouard Suensson, frigates Niels Juel and Jylland, and the corvette Heimdal, defeat an Austrian squadron under Linienschiffskapitän von Tegetthoff, frigatesSchwarzenberg and Radetzky, and the 3 Prussian paddle steamer gunboats Preussischer Adler, Blitz and Brasilisk.
About us
Modelshipworld - Advancing Ship Modeling through Research
SSL Secured
Your security is important for us so this Website is SSL-Secured
NRG Mailing Address
Nautical Research Guild
237 South Lincoln Street
Westmont IL, 60559-1917
Model Ship World ® and the MSW logo are Registered Trademarks, and belong to the Nautical Research Guild (United States Patent and Trademark Office: No. 6,929,264 & No. 6,929,274, registered Dec. 20, 2022)
Helpful Links
About the NRG
If you enjoy building ship models that are historically accurate as well as beautiful, then The Nautical Research Guild (NRG) is just right for you.
The Guild is a non-profit educational organization whose mission is to “Advance Ship Modeling Through Research”. We provide support to our members in their efforts to raise the quality of their model ships.
The Nautical Research Guild has published our world-renowned quarterly magazine, The Nautical Research Journal, since 1955. The pages of the Journal are full of articles by accomplished ship modelers who show you how they create those exquisite details on their models, and by maritime historians who show you the correct details to build. The Journal is available in both print and digital editions. Go to the NRG web site (www.thenrg.org) to download a complimentary digital copy of the Journal. The NRG also publishes plan sets, books and compilations of back issues of the Journal and the former Ships in Scale and Model Ship Builder magazines.


