HOLIDAY DONATION DRIVE - SUPPORT MSW - DO YOUR PART TO KEEP THIS GREAT FORUM GOING! (Only 20 donations so far - C'mon guys!)
×


Kevin
-
Posts
7,008 -
Joined
-
Last visited
Content Type
Profiles
Forums
Gallery
Events
Everything posted by Kevin
-
 good afternoon everyone i may have gone over the top with the weathering, but it is water based and will tone done, im just waiting to see what it dry's like


- 90 replies
-
- 12
-

-
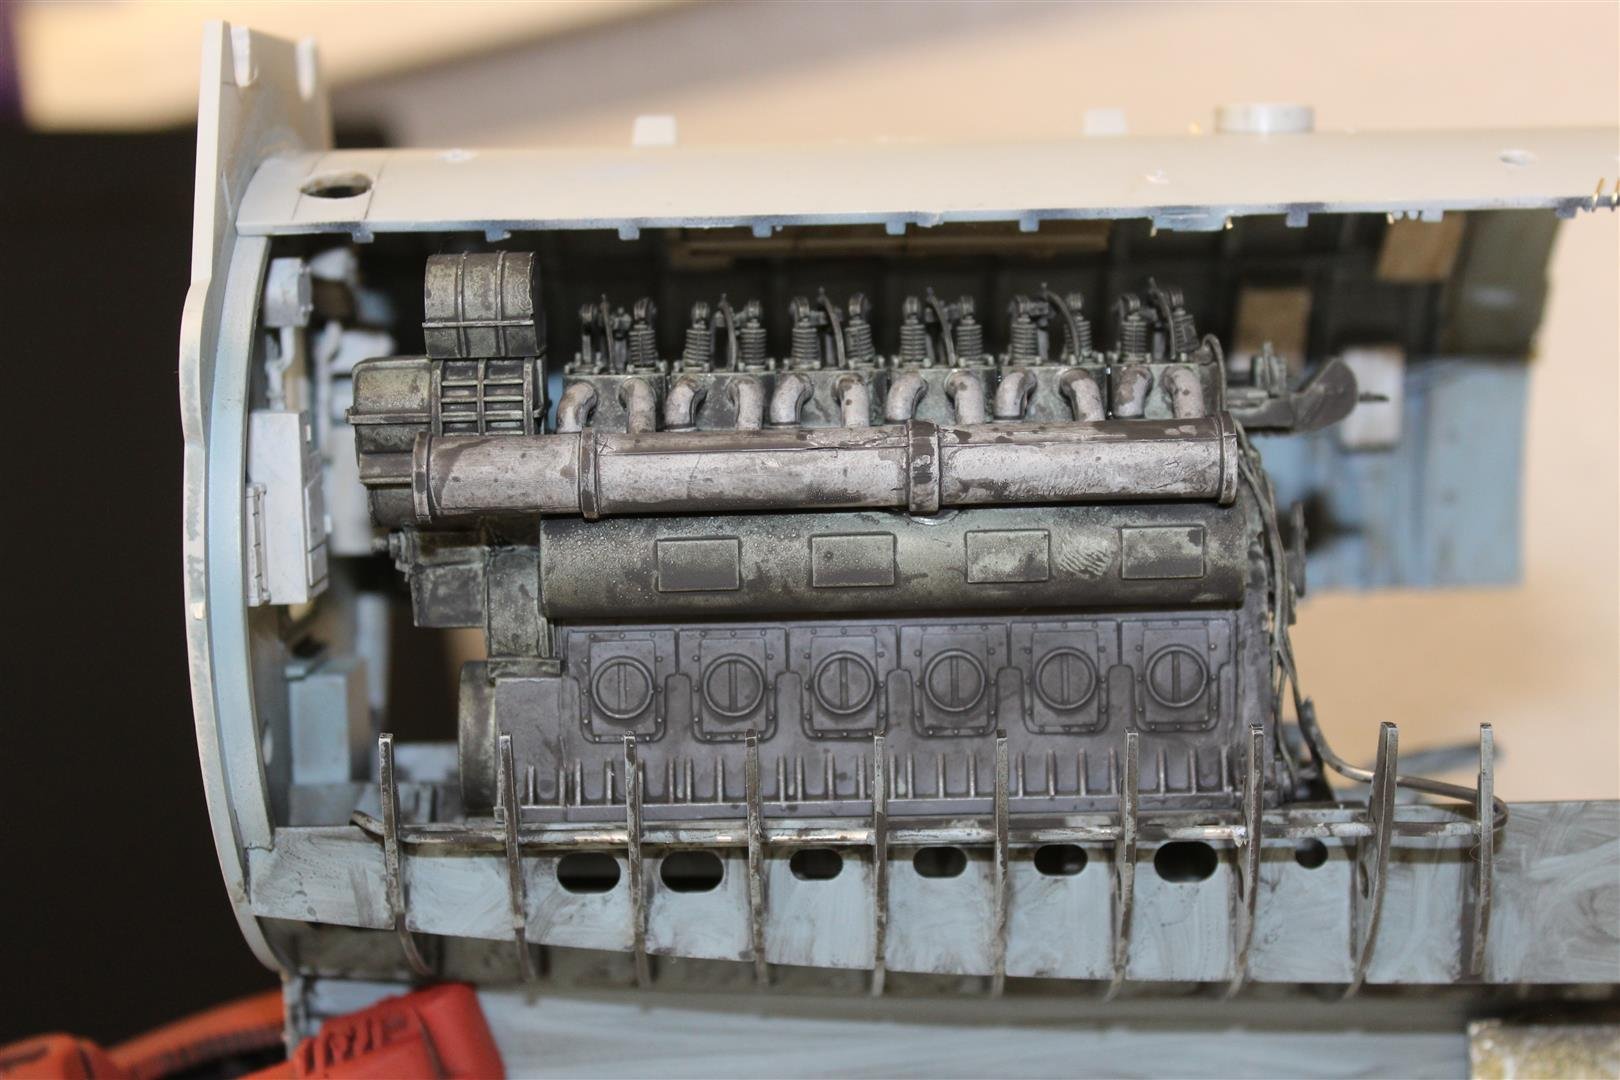
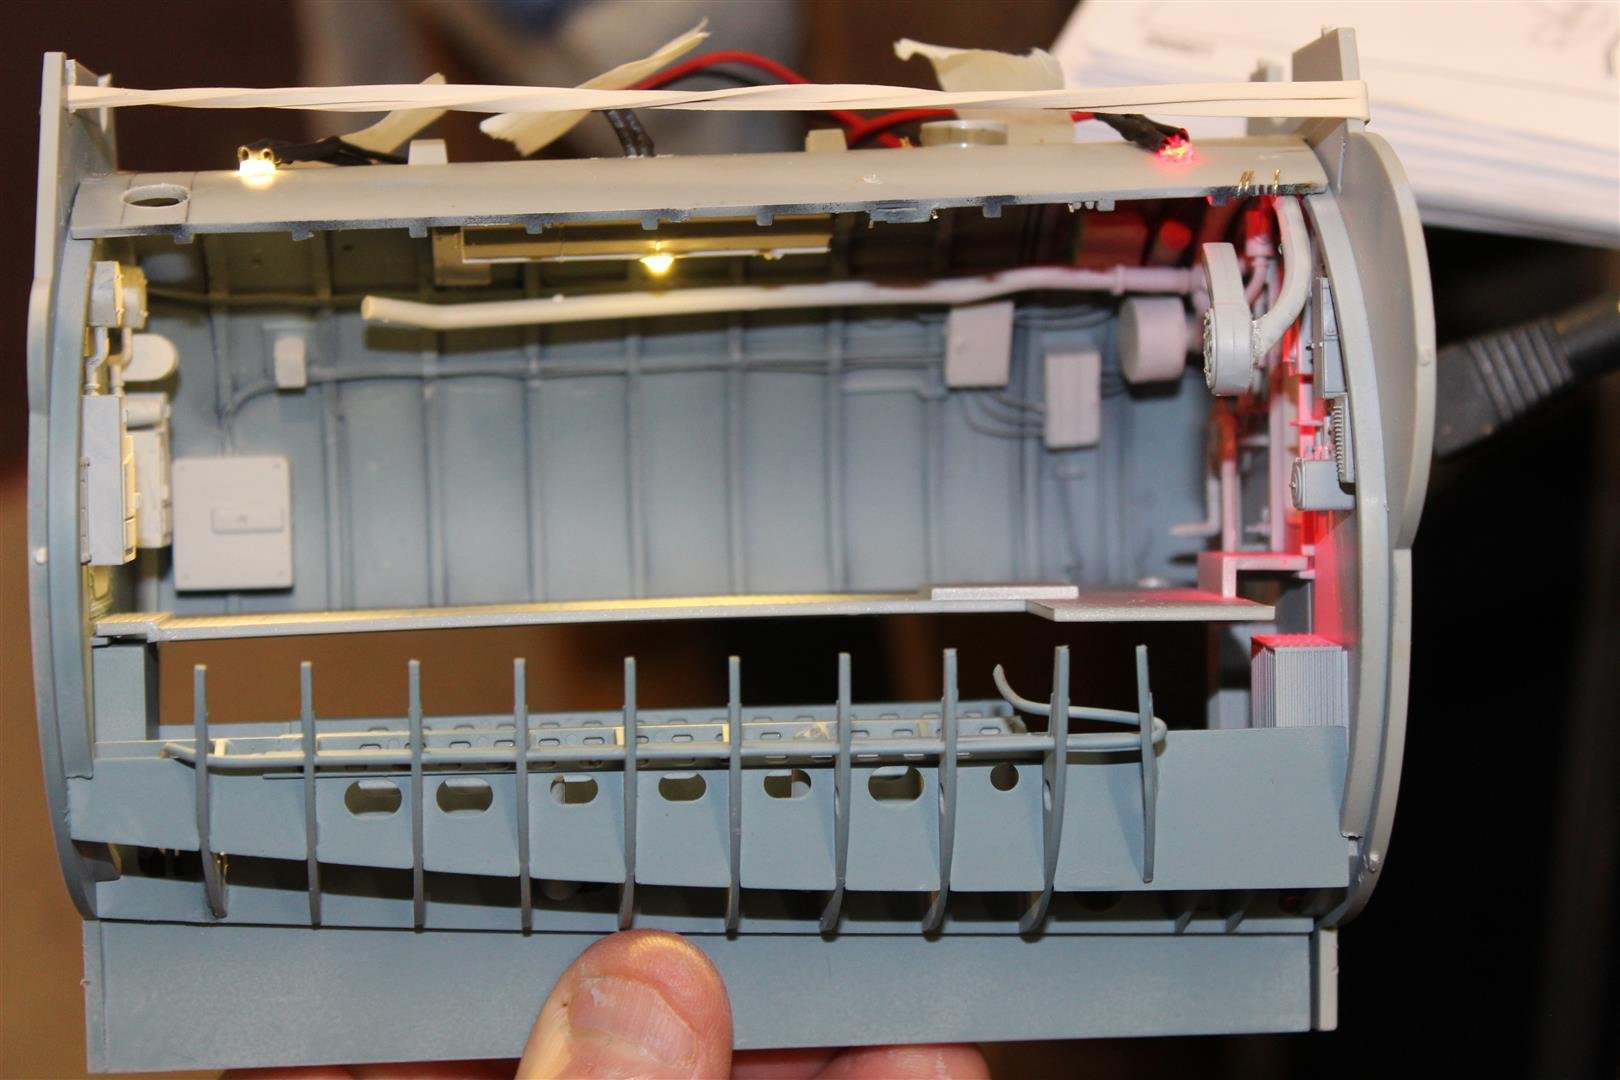
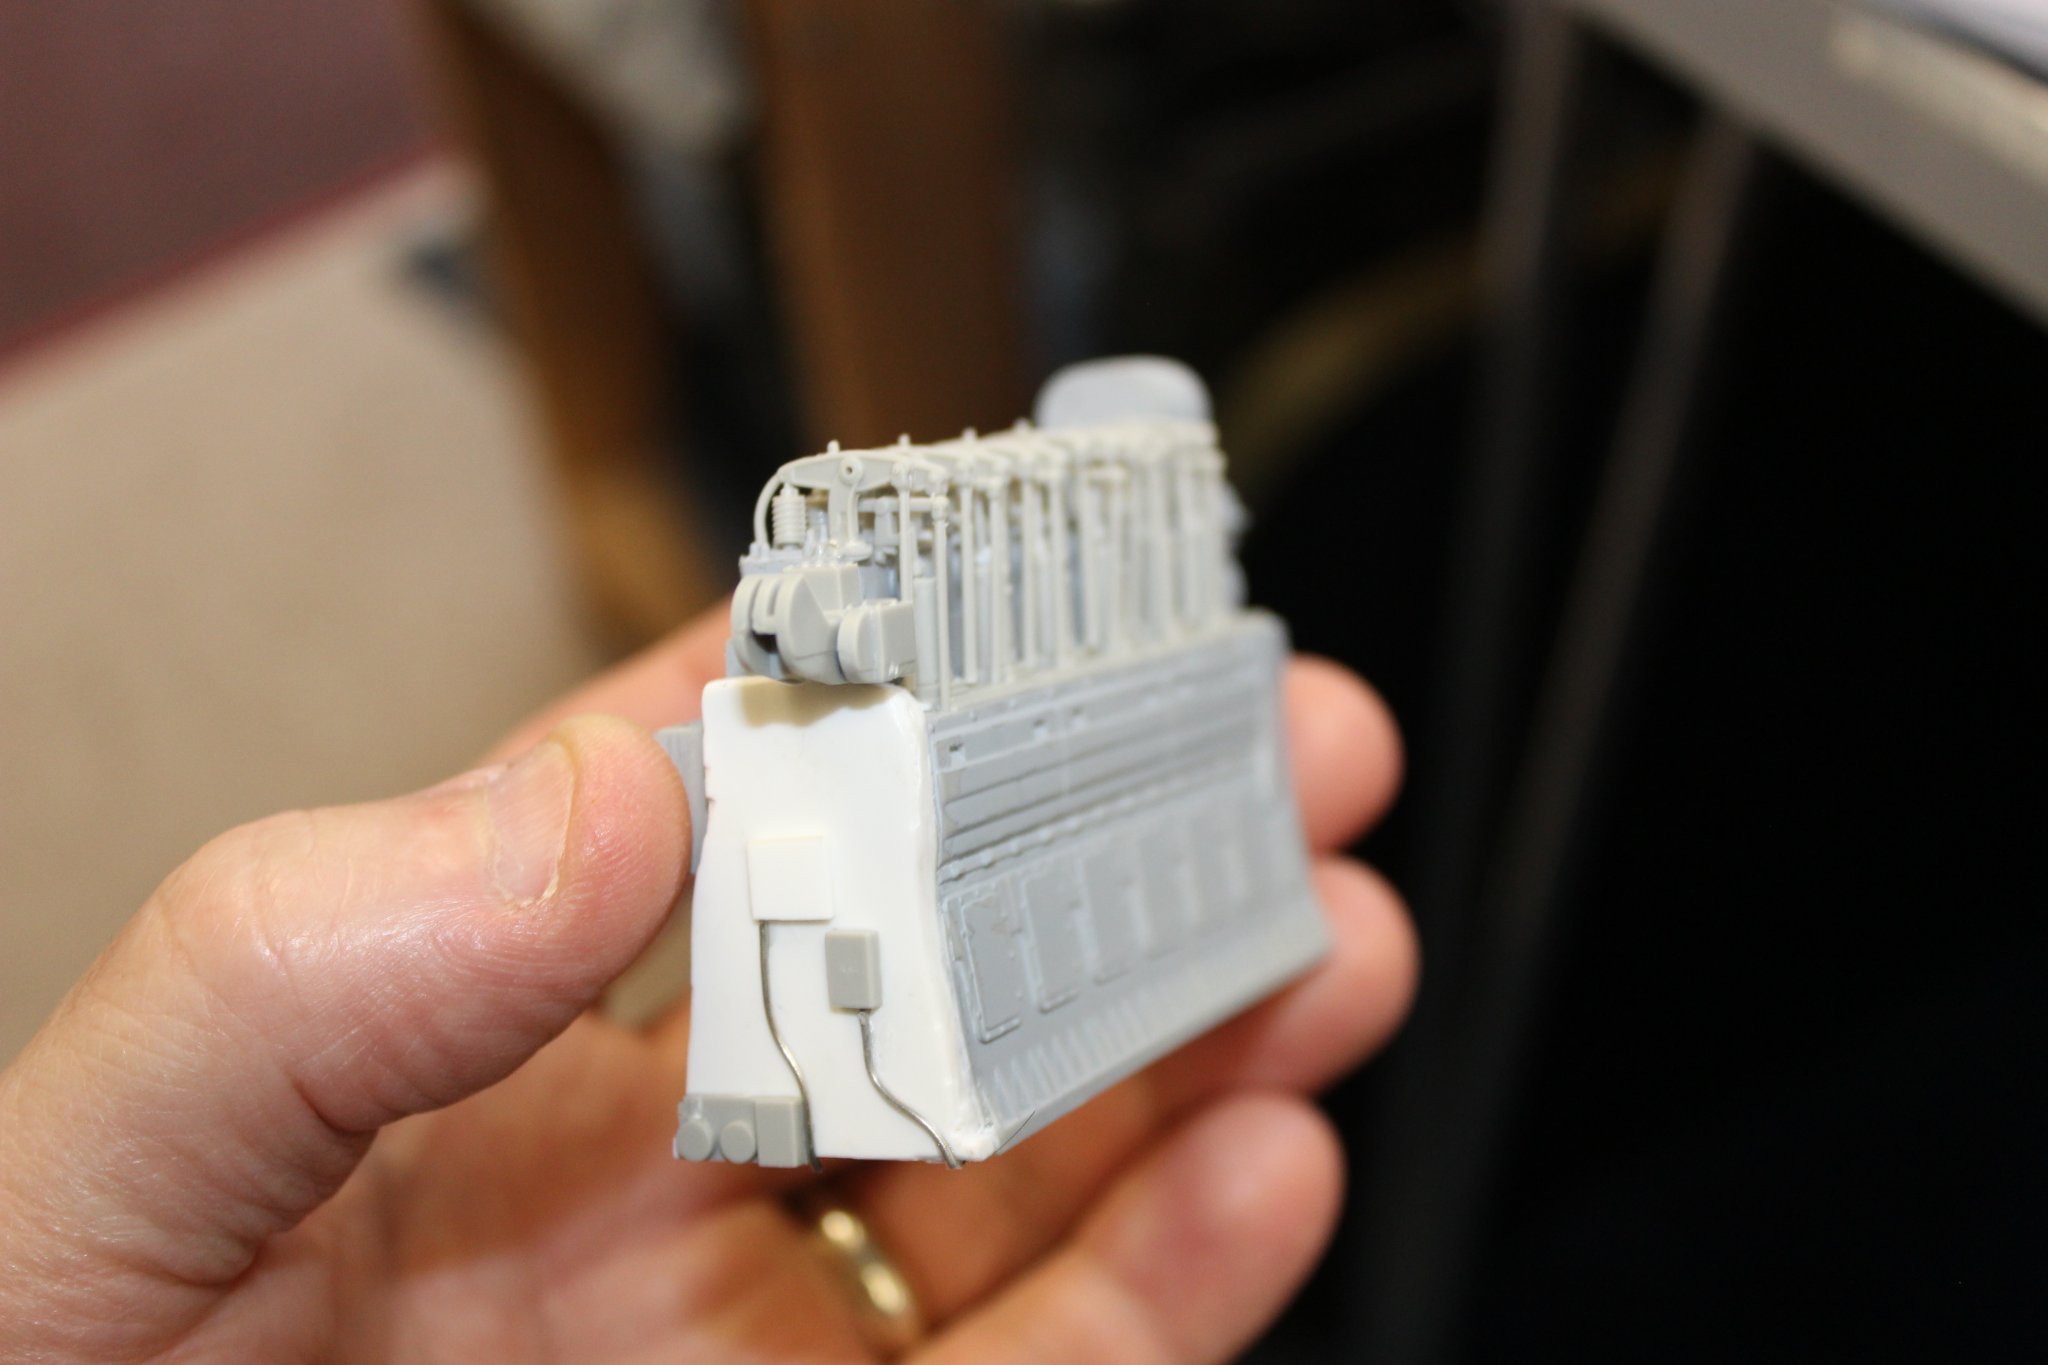
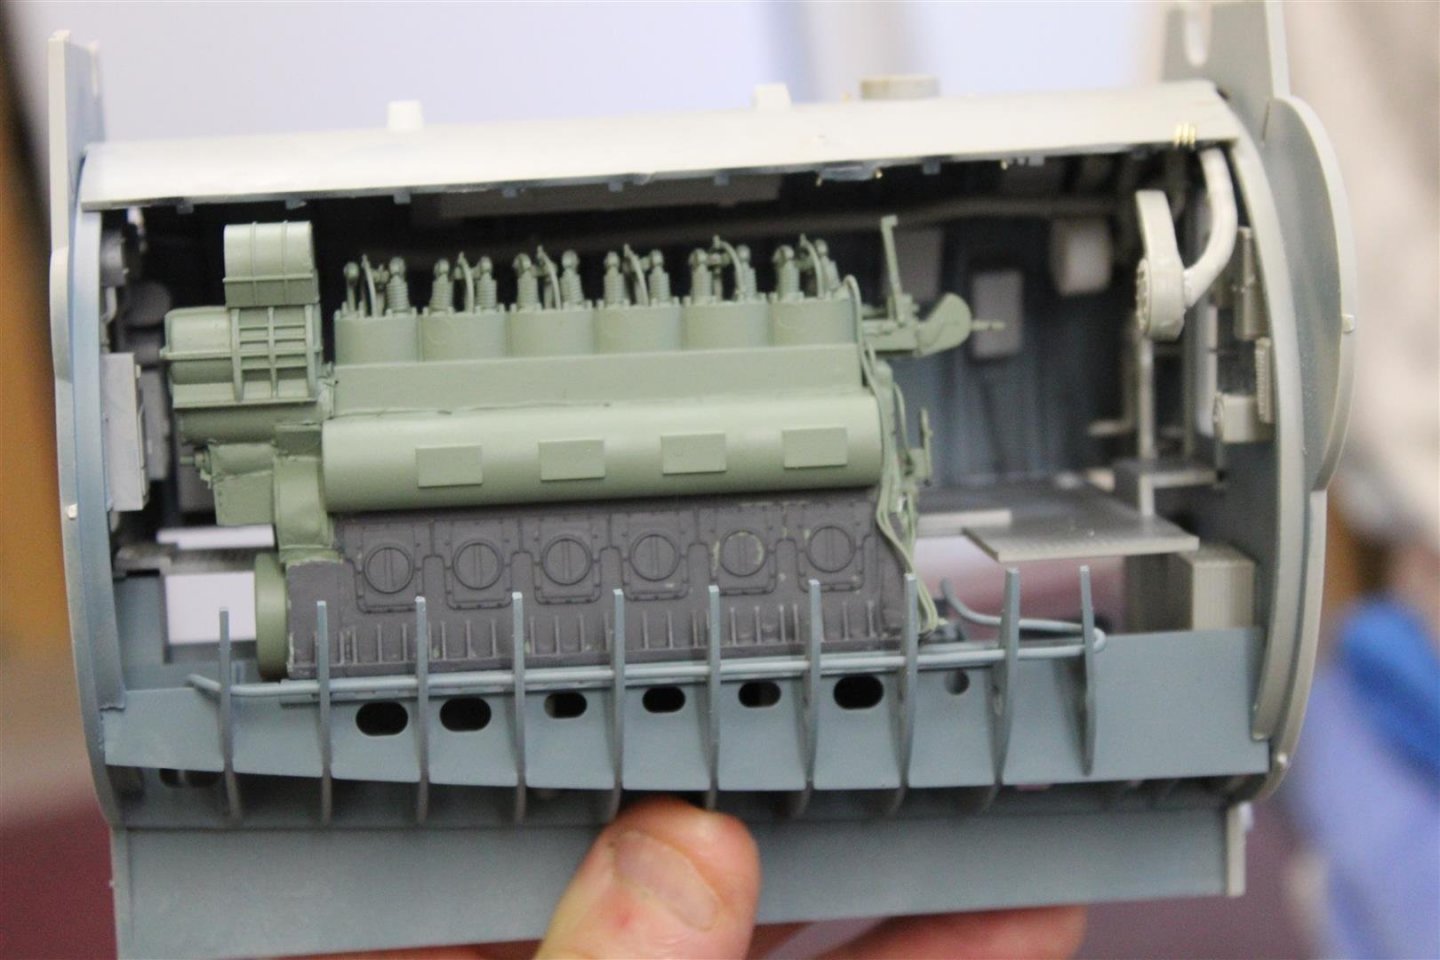
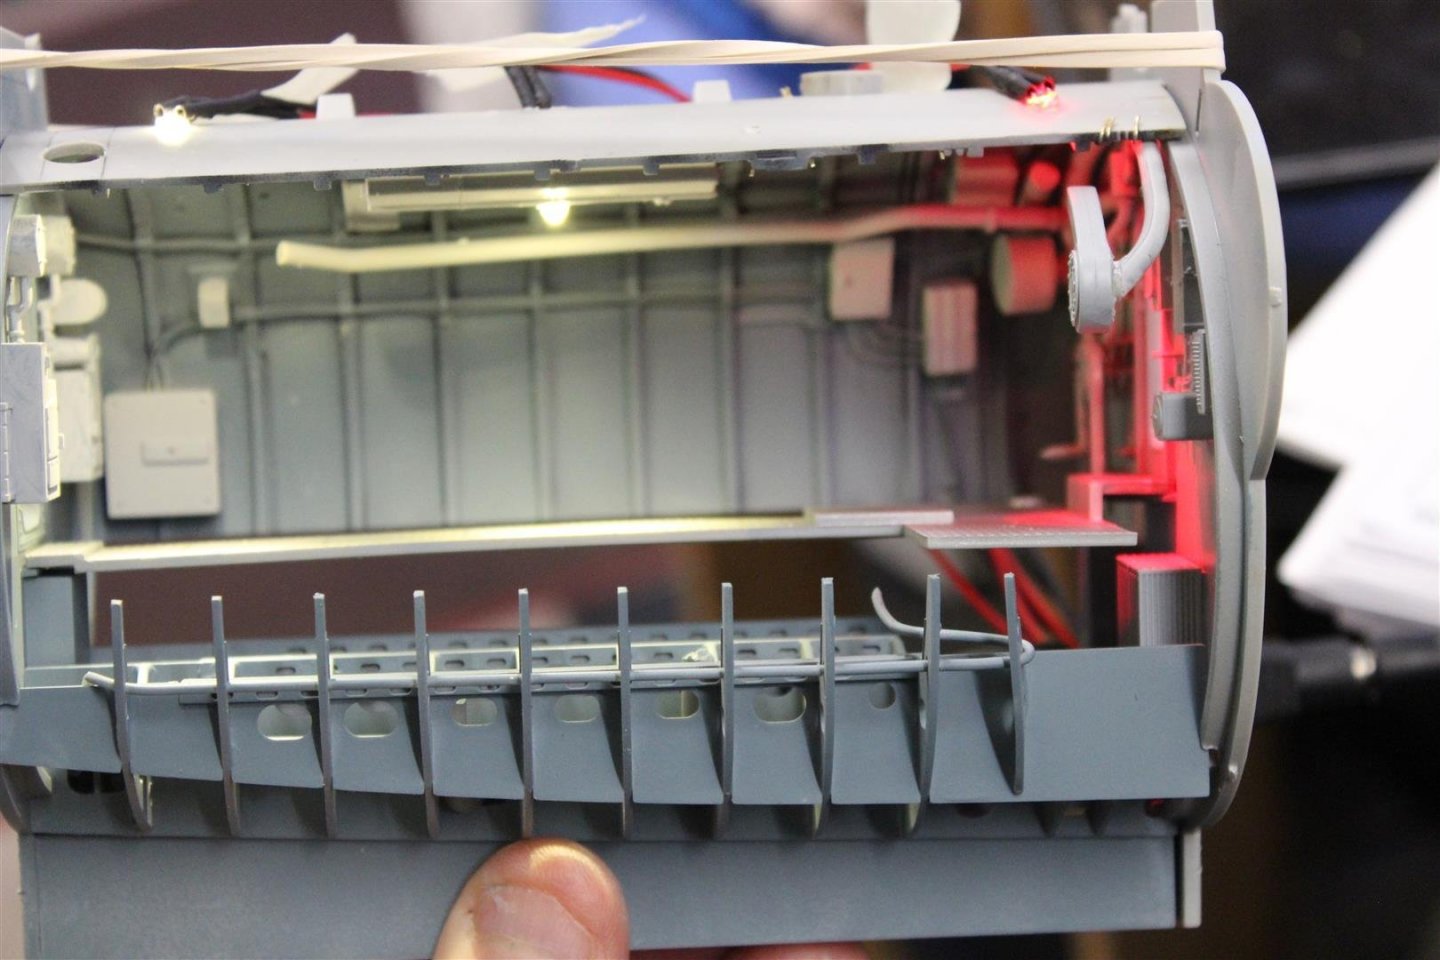
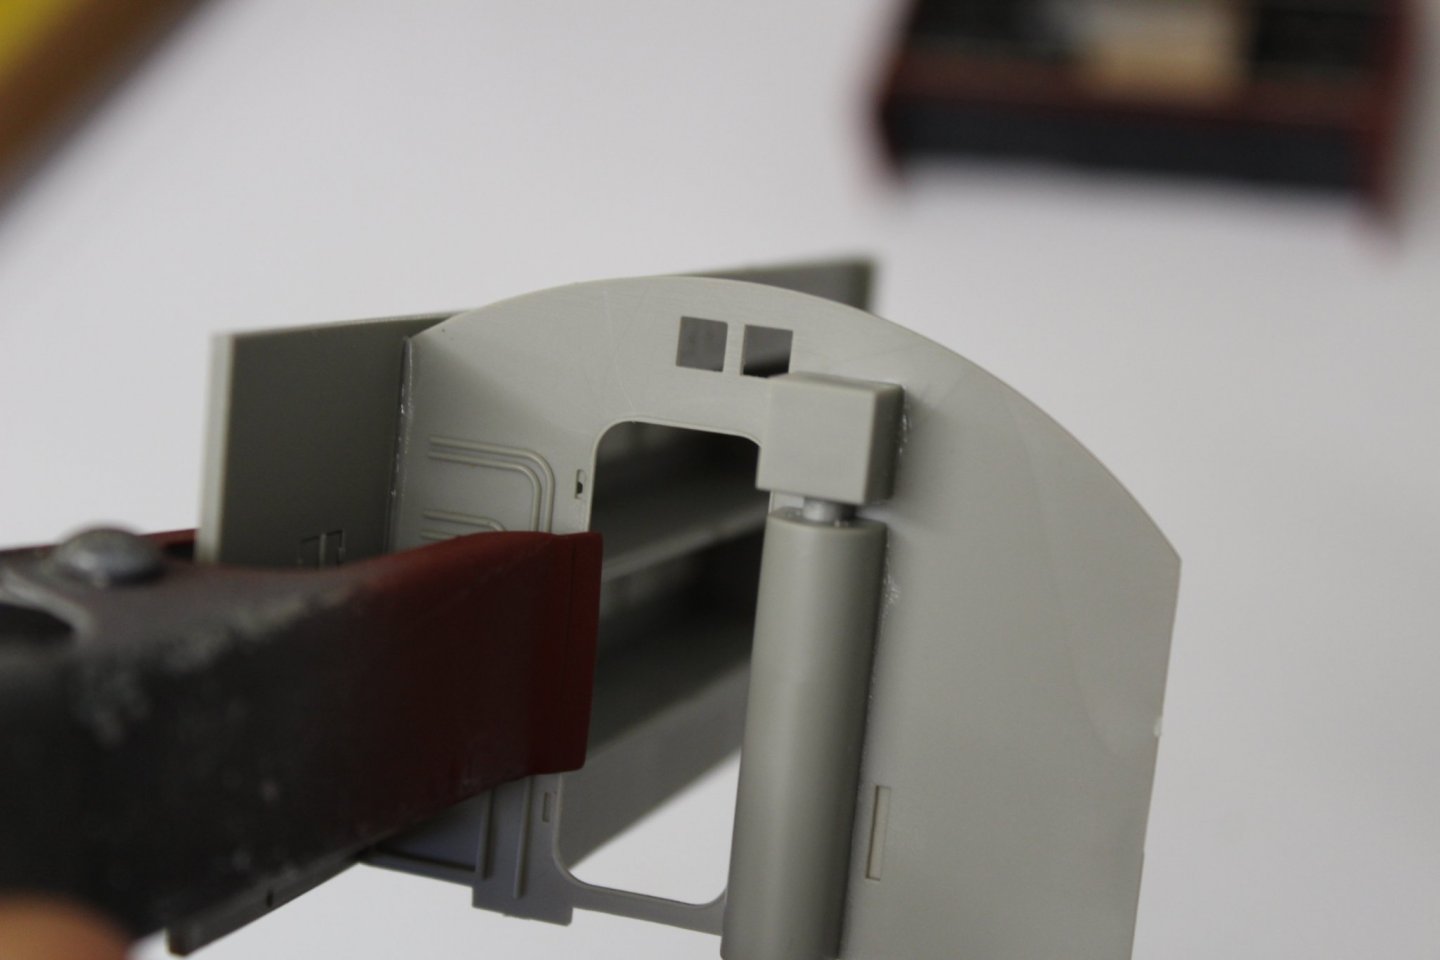
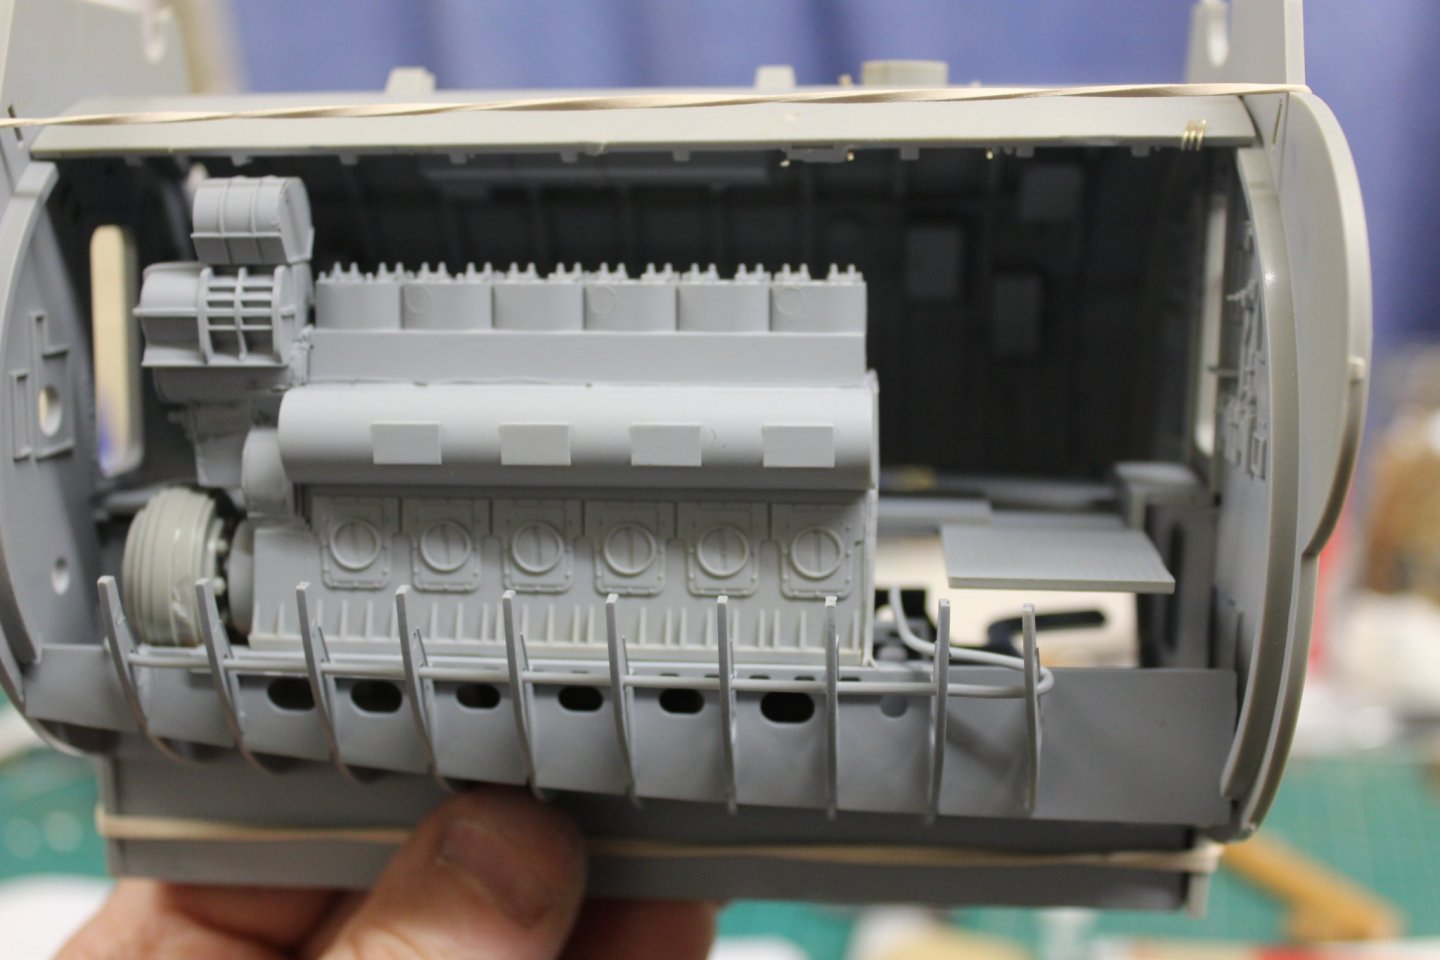
good evening everyone thankyou for comments and likes progress has slowed down a bit, Christmas is getting in the way, another couple of weeks and it will be long out of the way work still continues on the two modules, the diesel engine is still coming together, but i certainly wont be trying that again, its all the fun of exhausts, manifolds and ventilation that needs sorting now in the other module above the battery, the wood panelling is still drying, but looks ok moved fans to the stbd side and made replacements to go in its place new manifolds temp lighting


- 90 replies
-
- 10
-

-
-
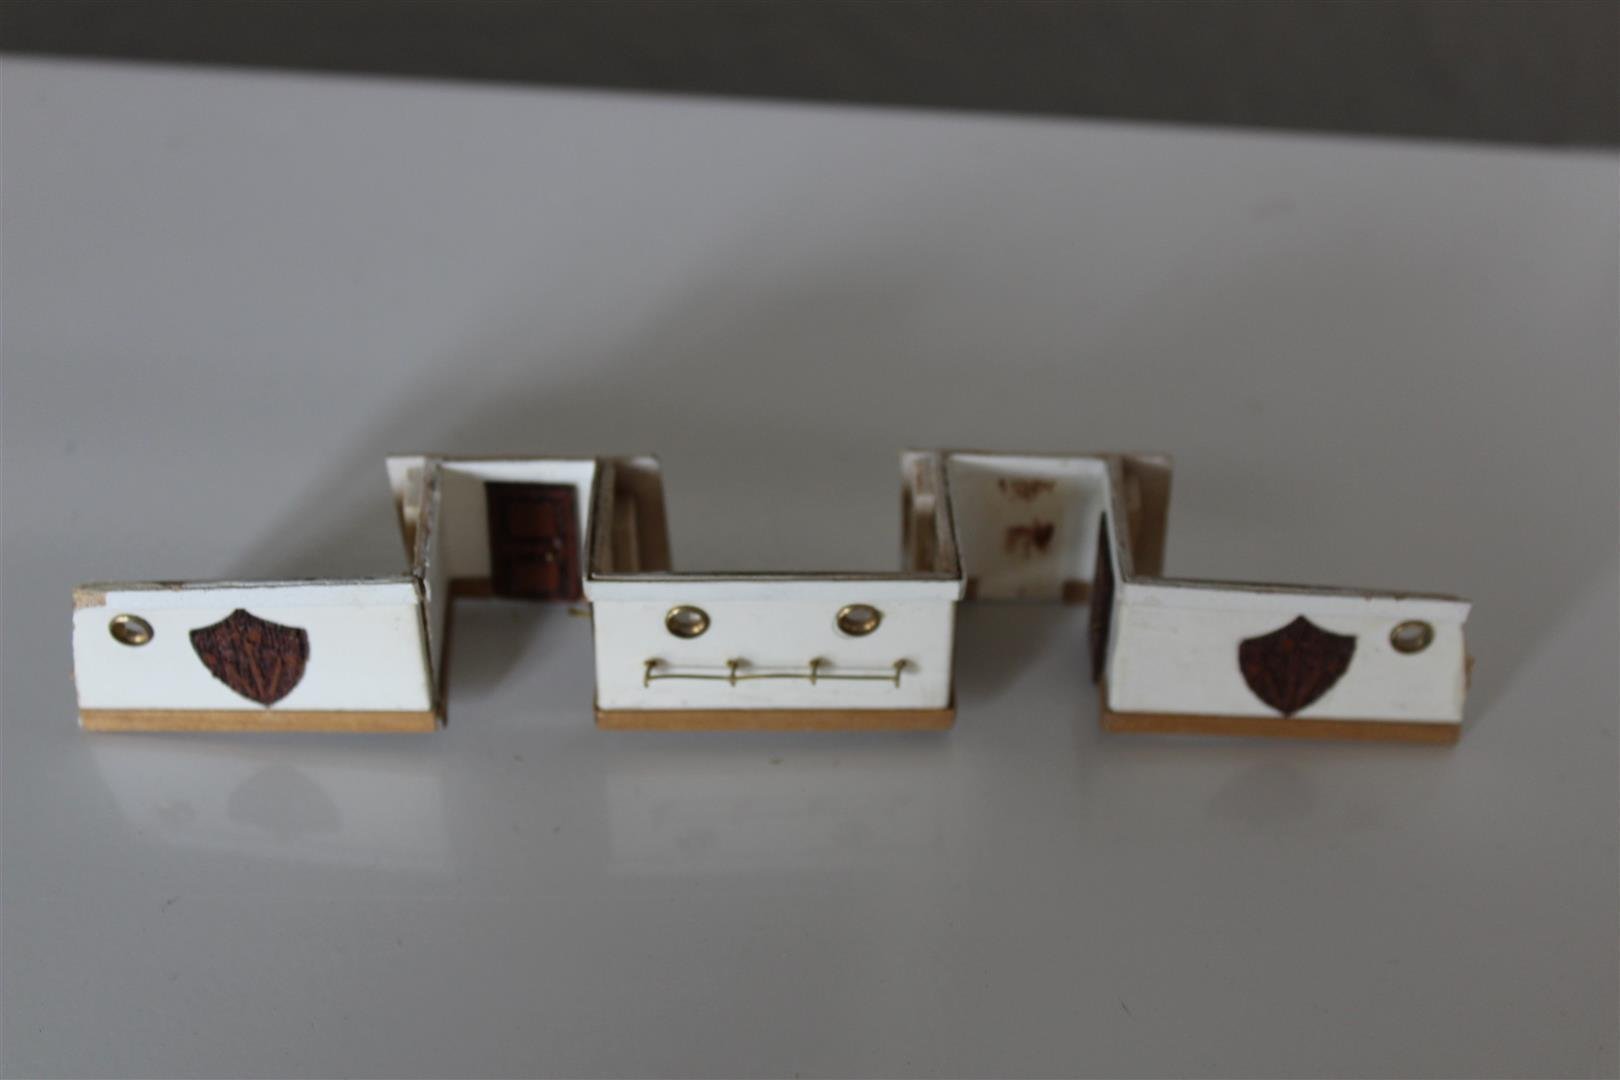
i just had a look to see if i put mine on, they were a very thin red wood veneer
-
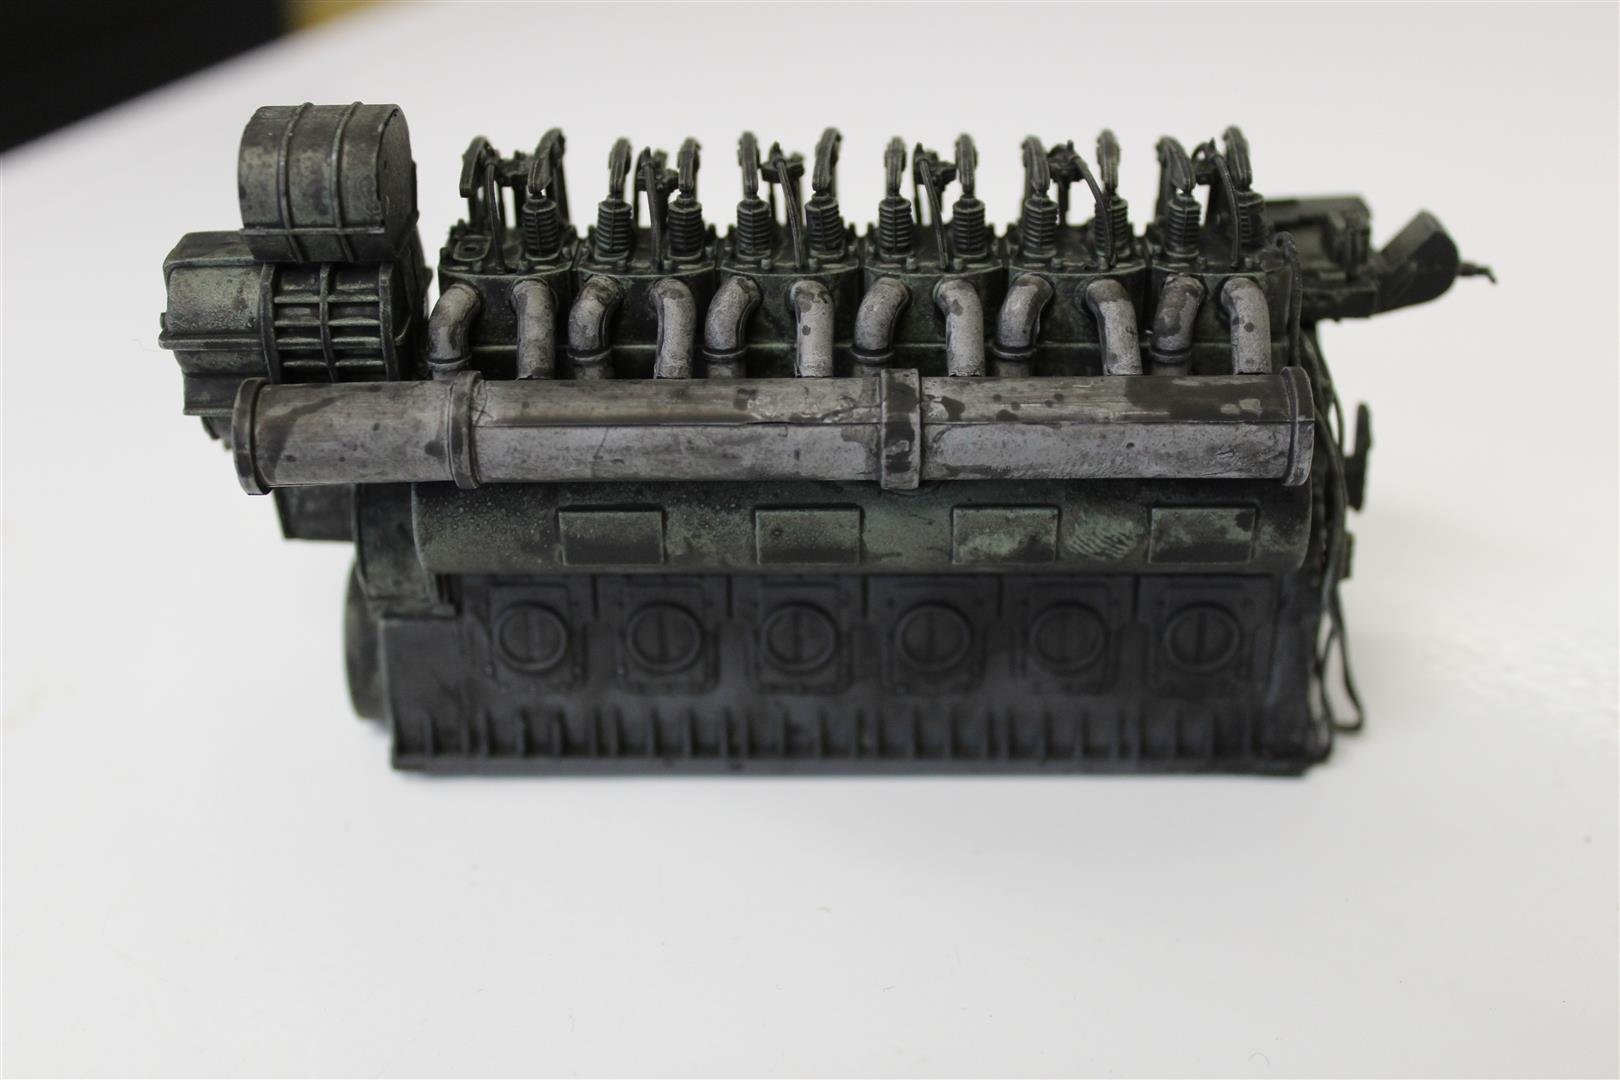
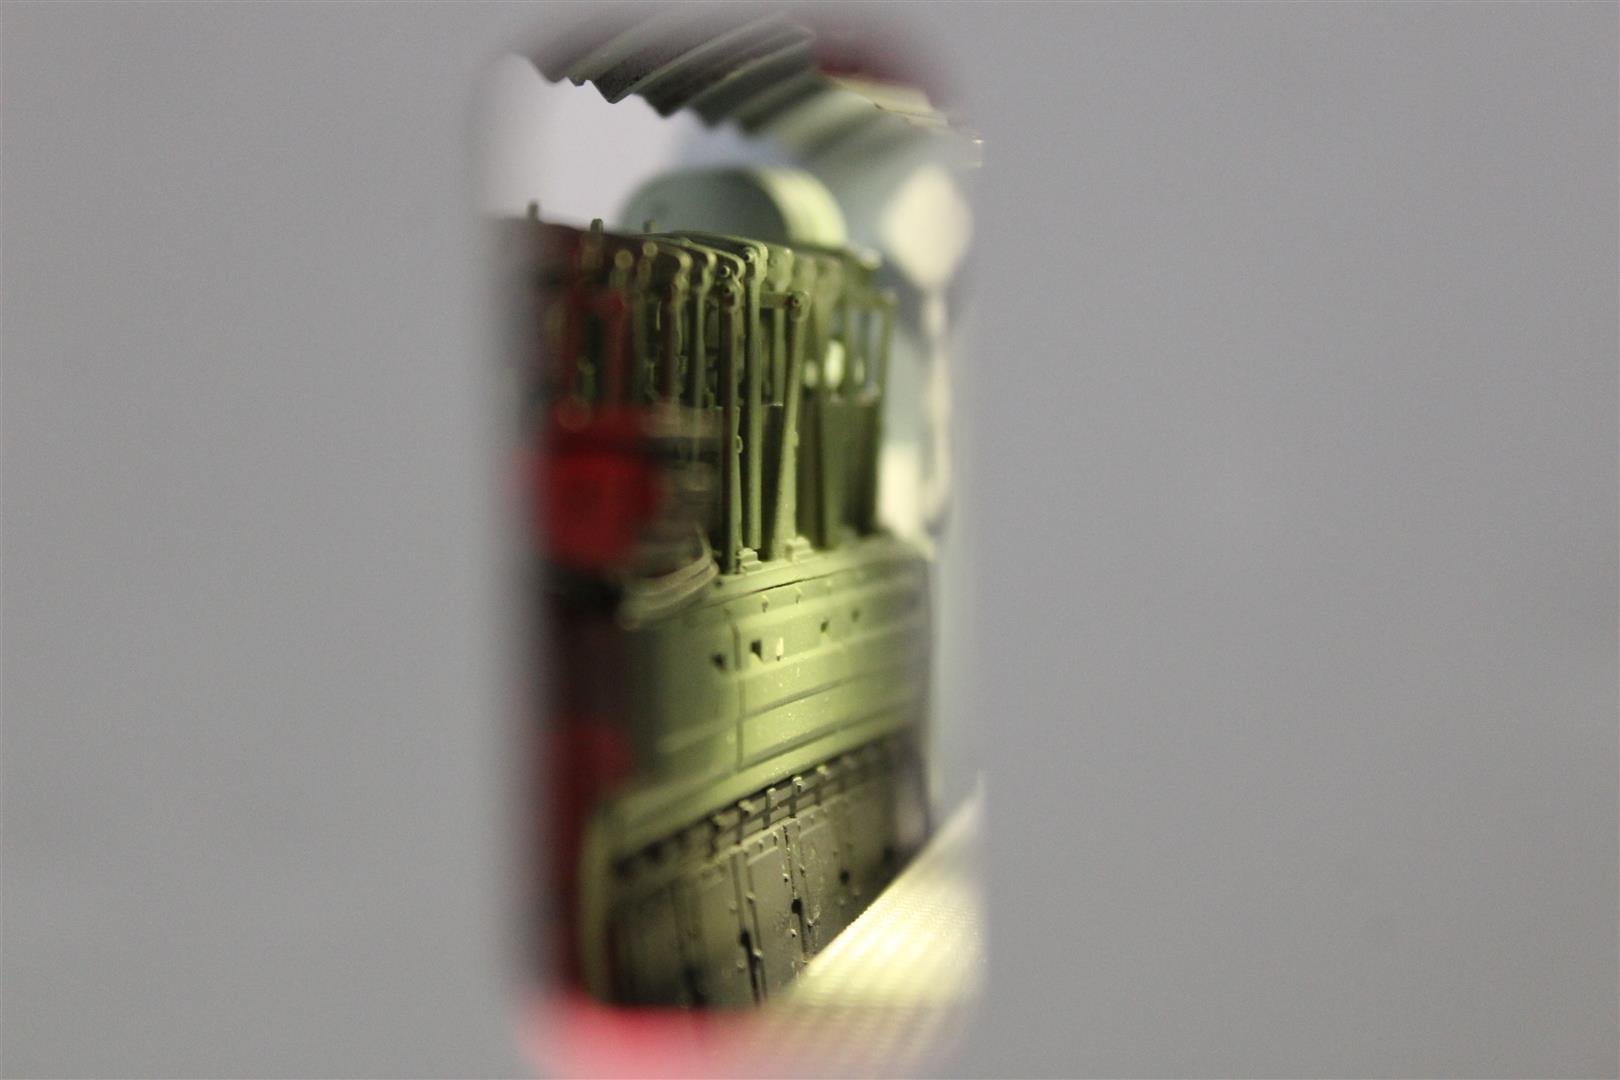
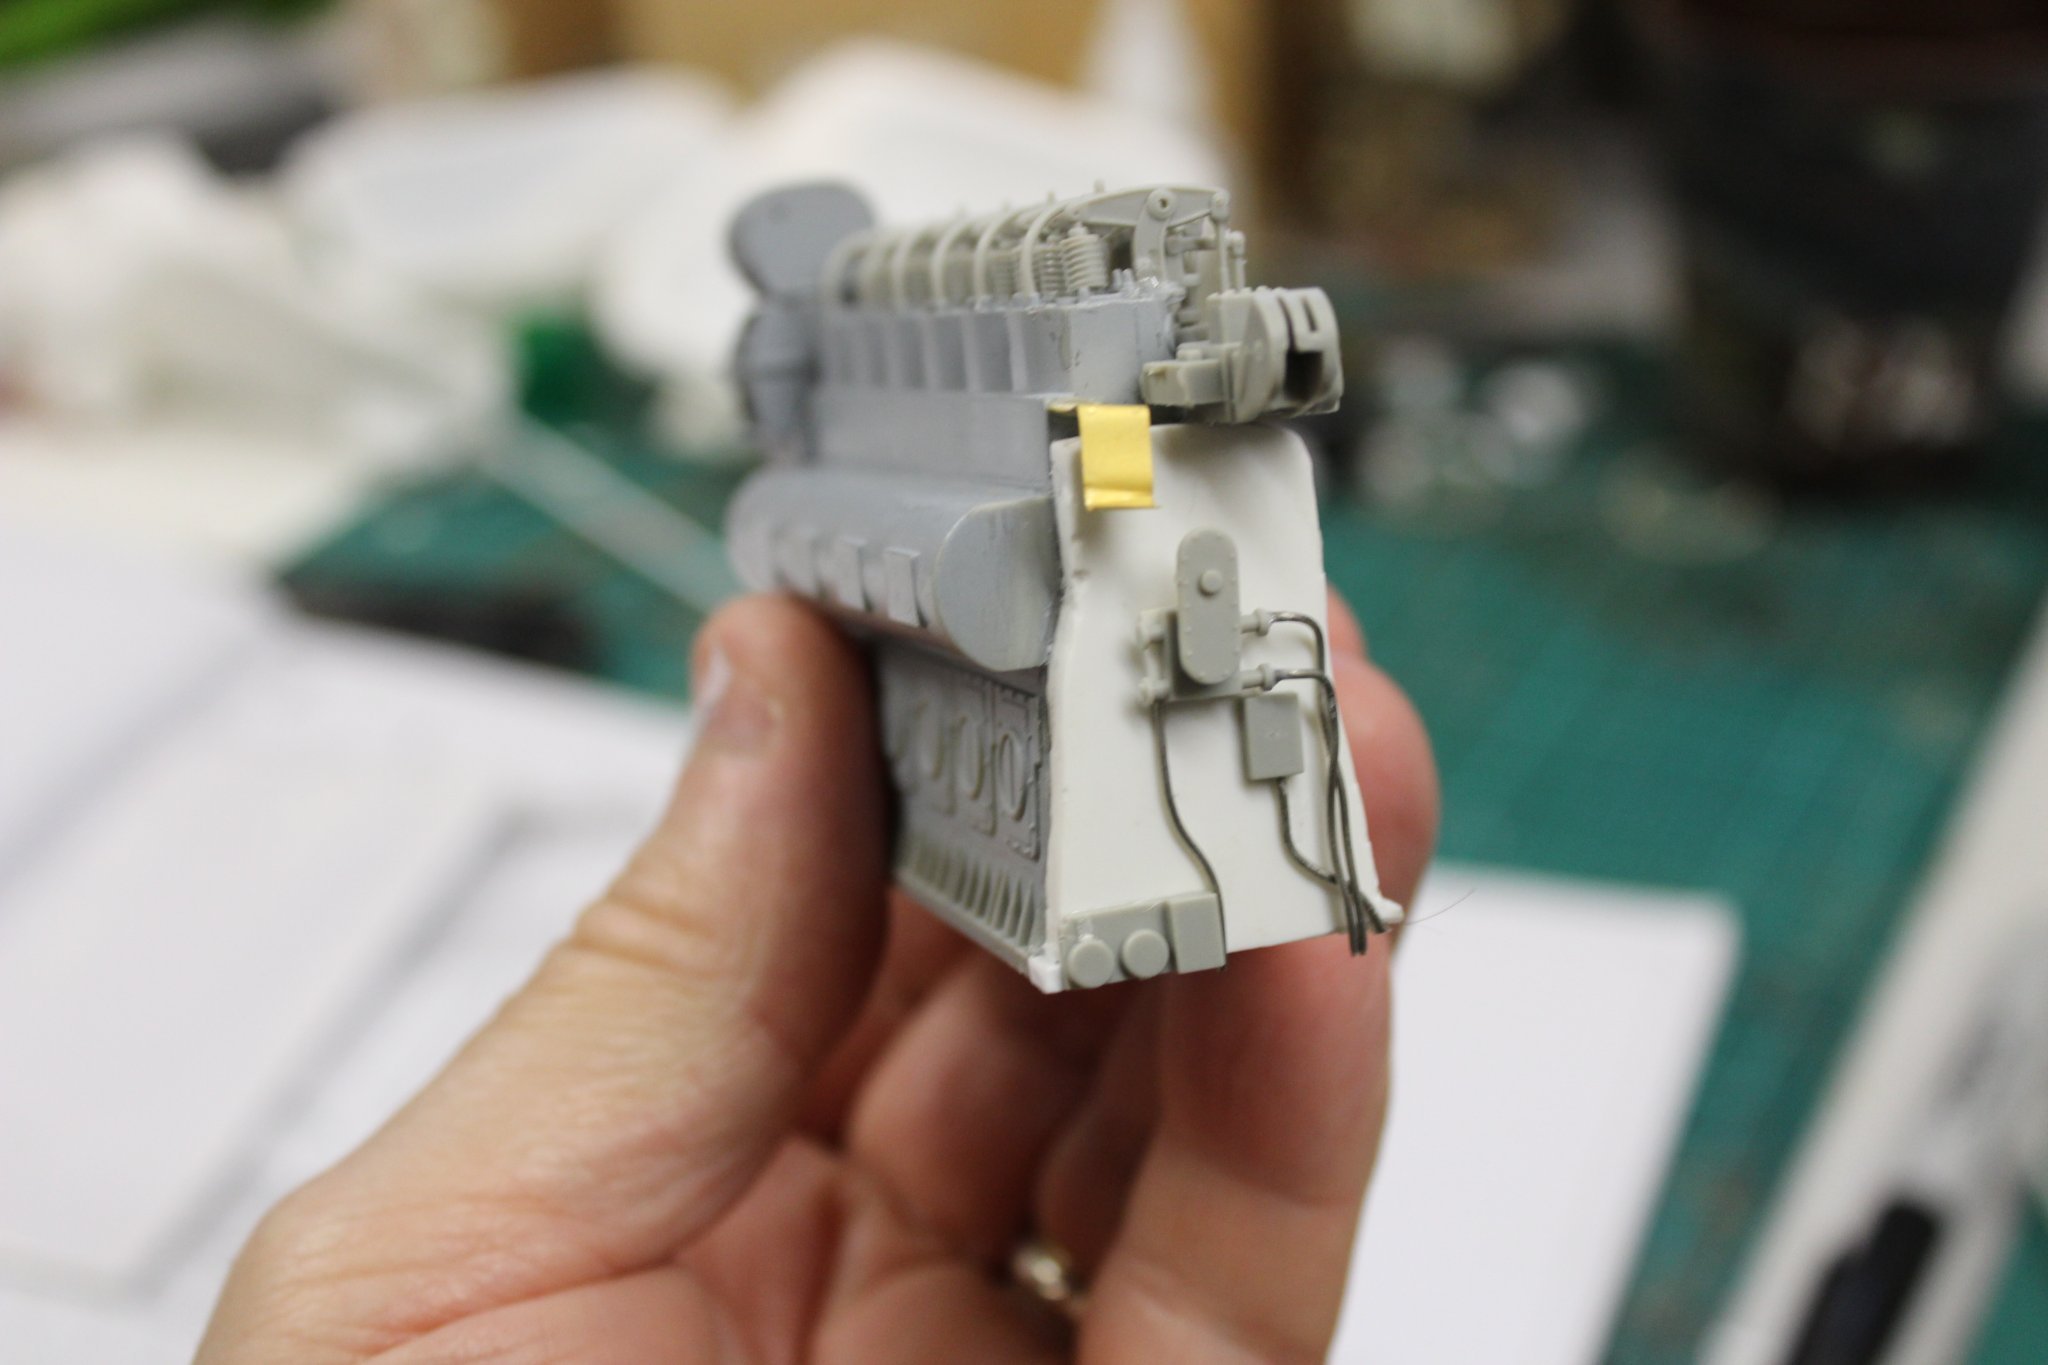
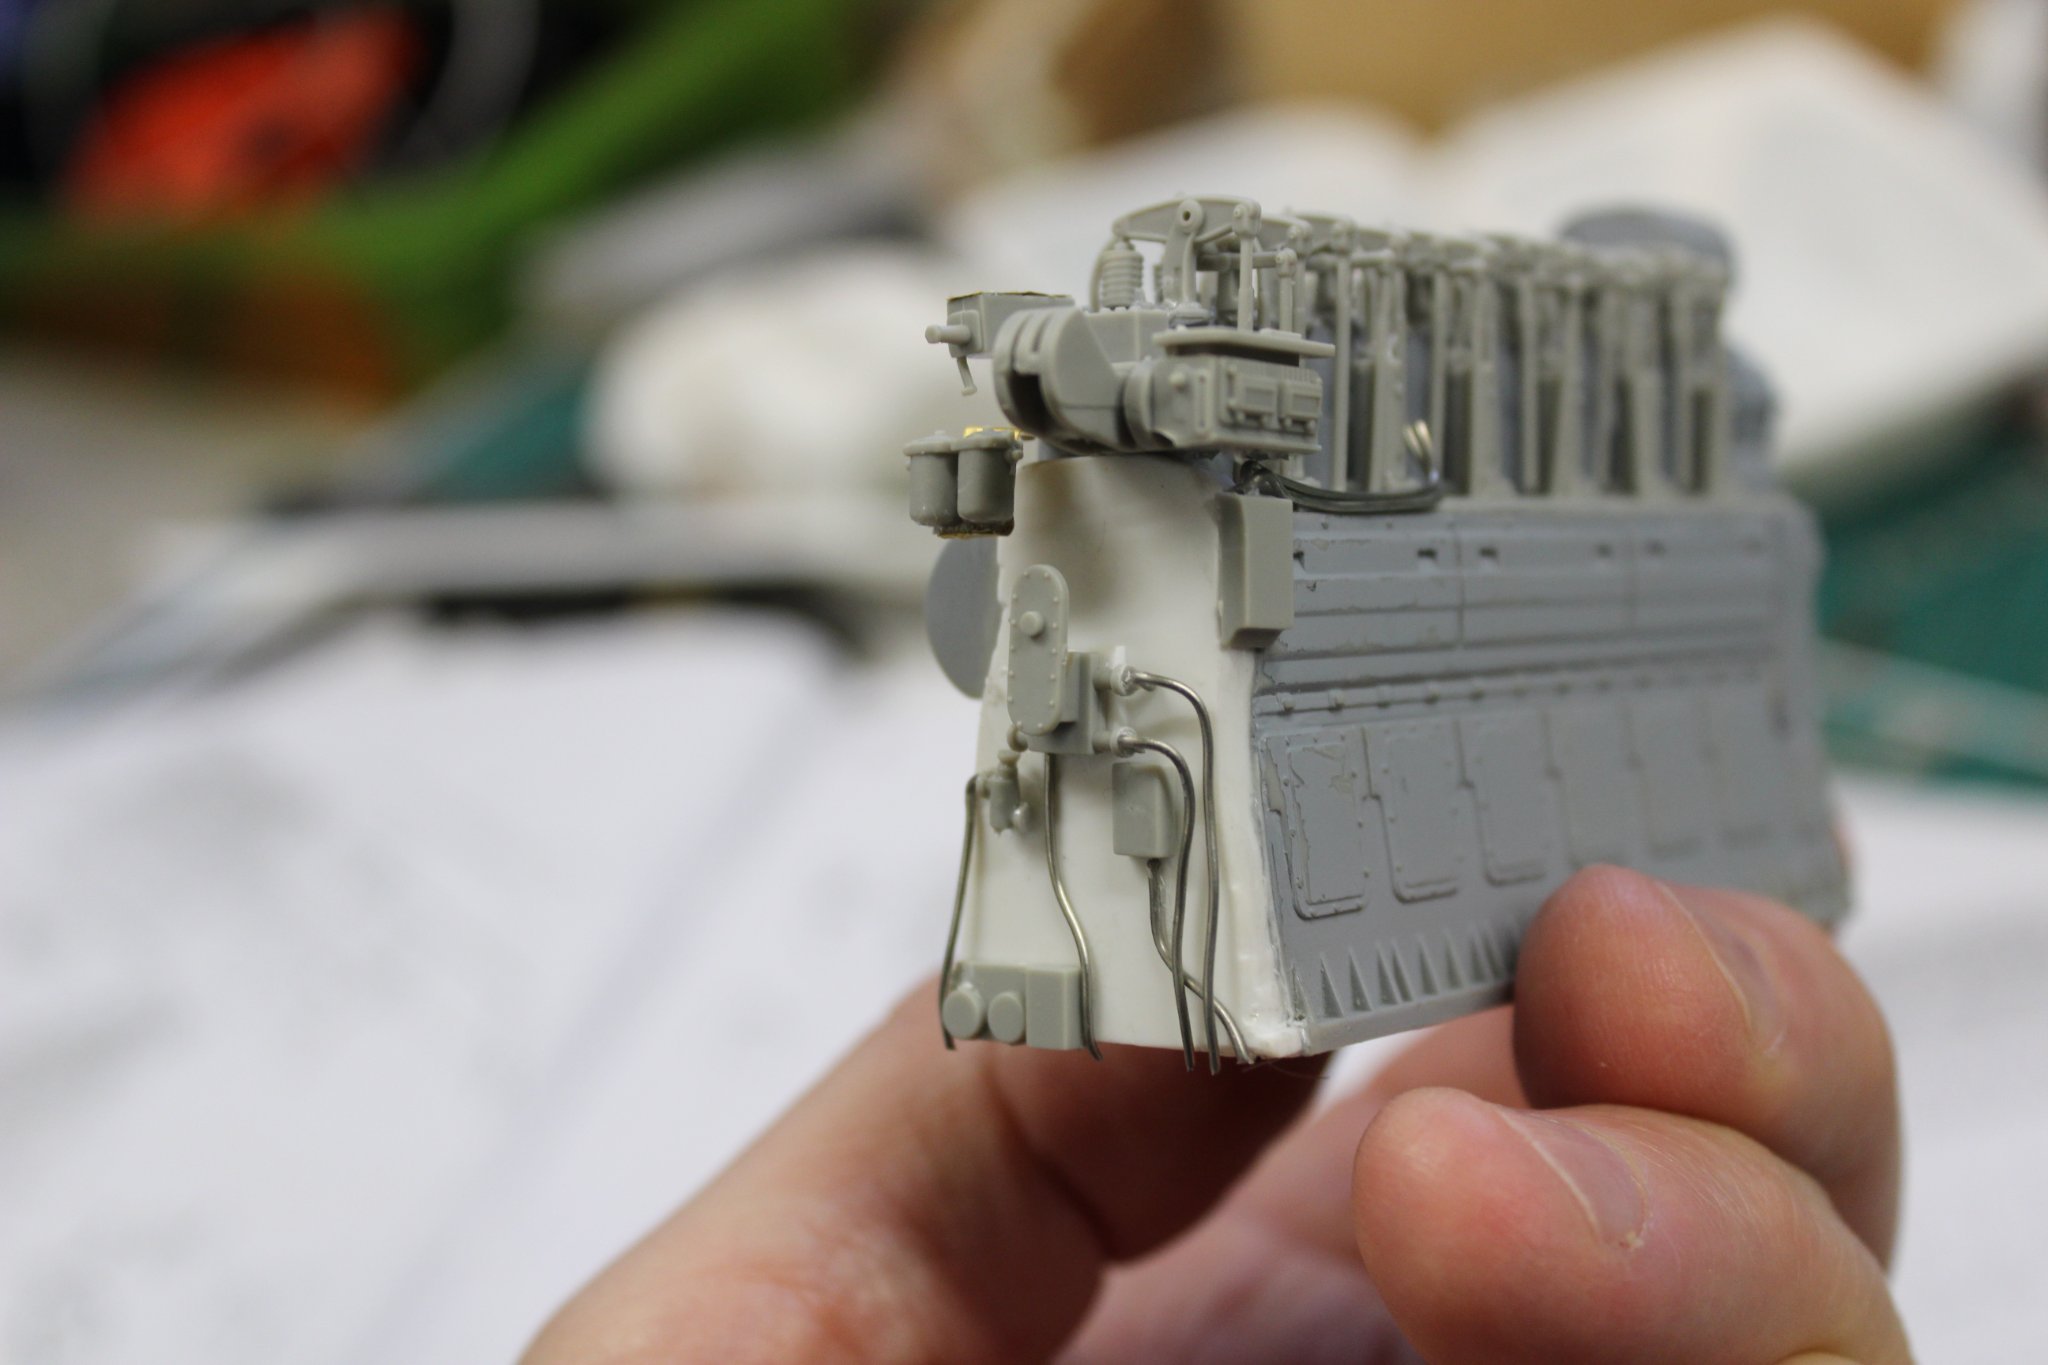
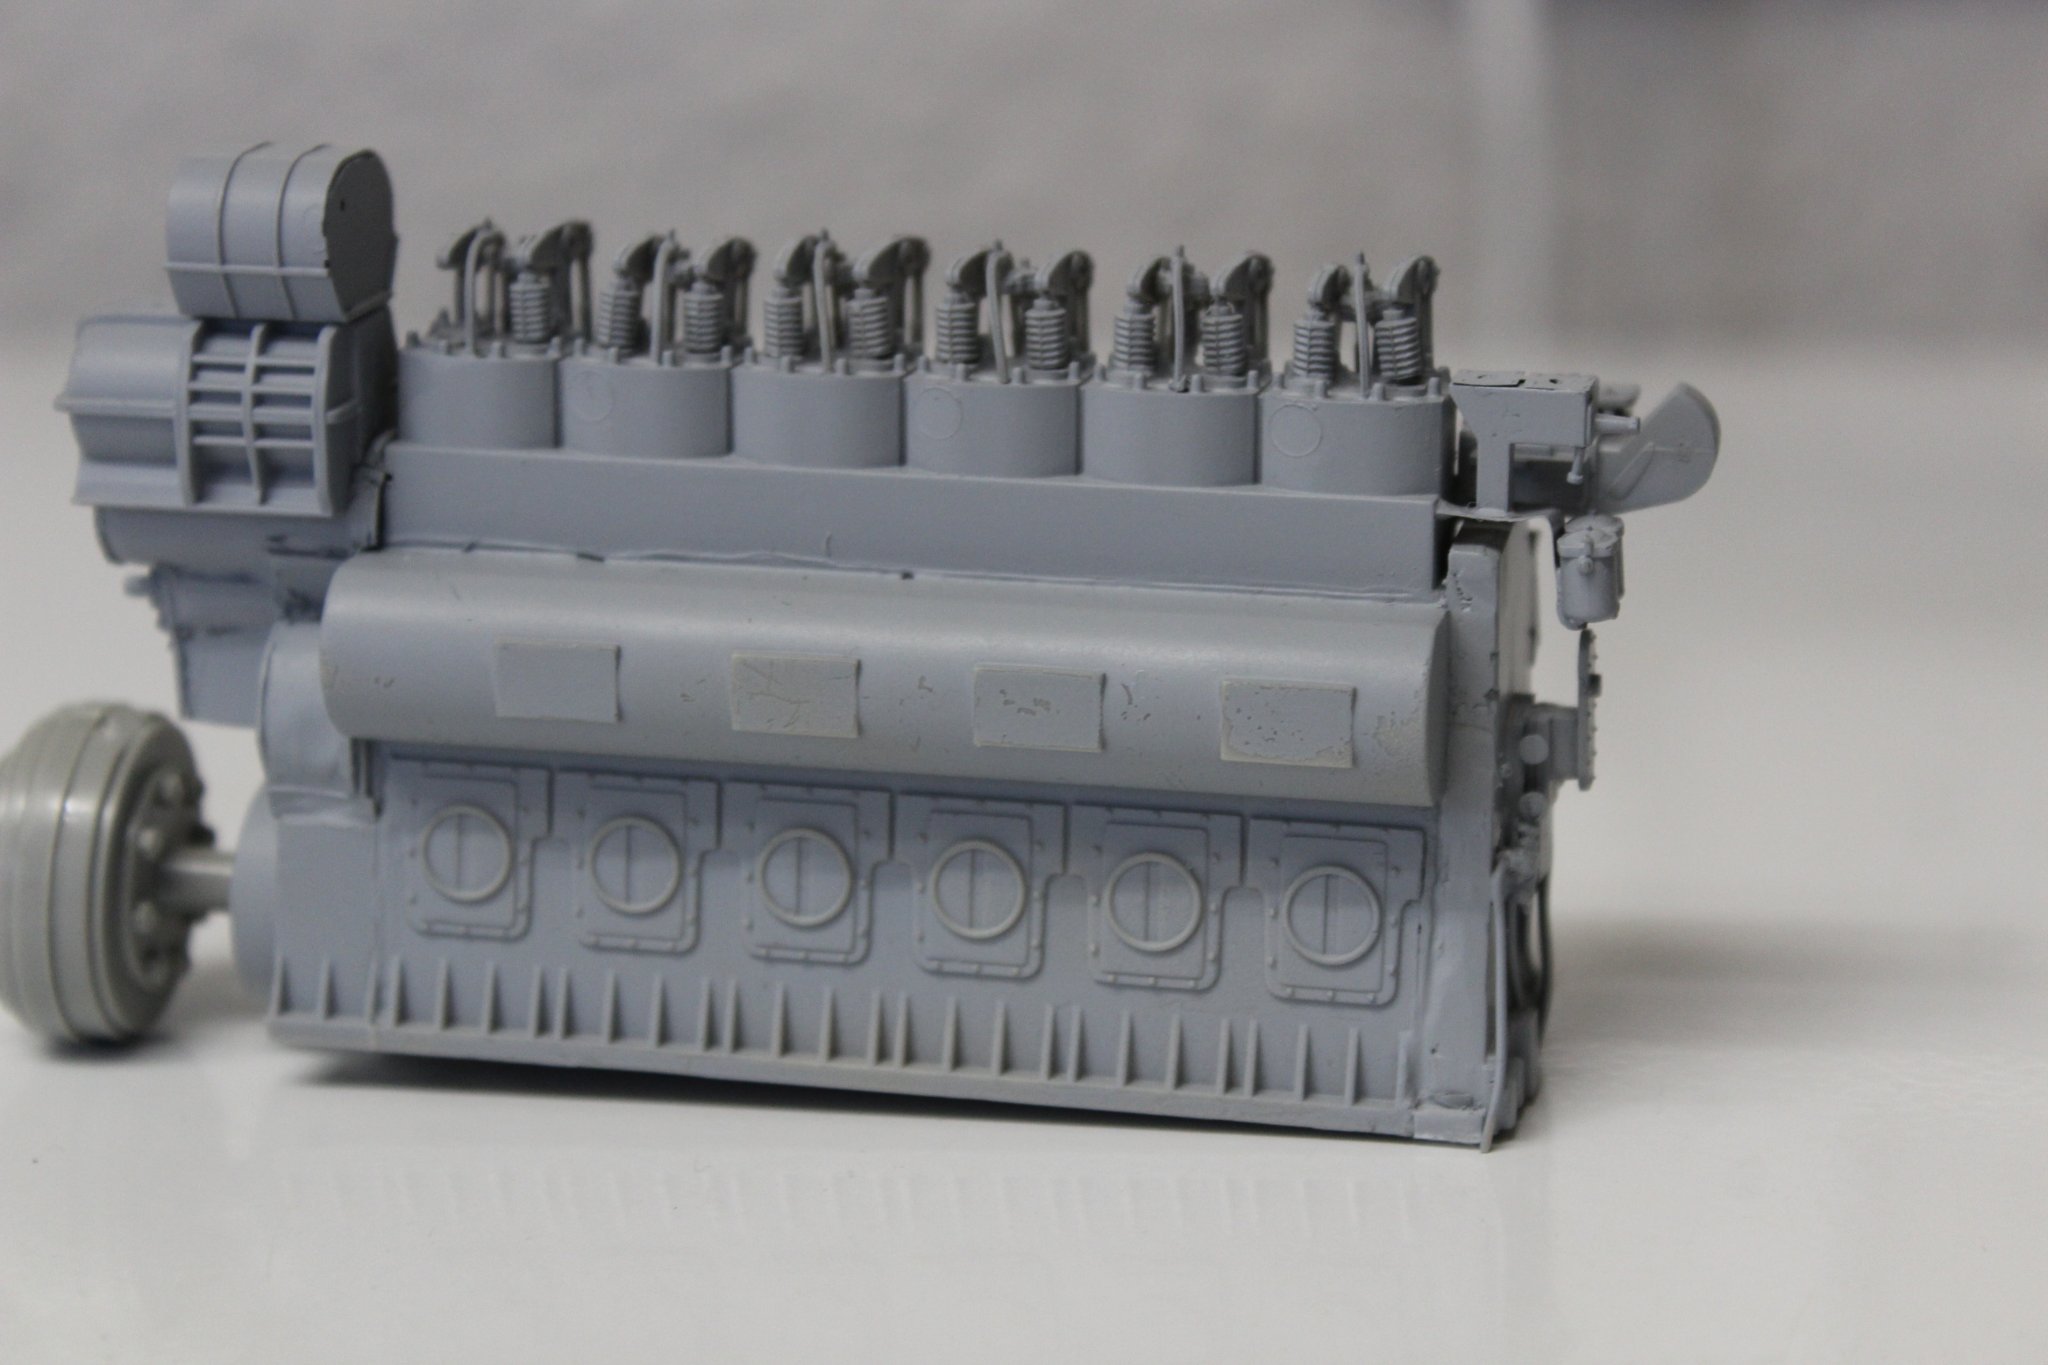
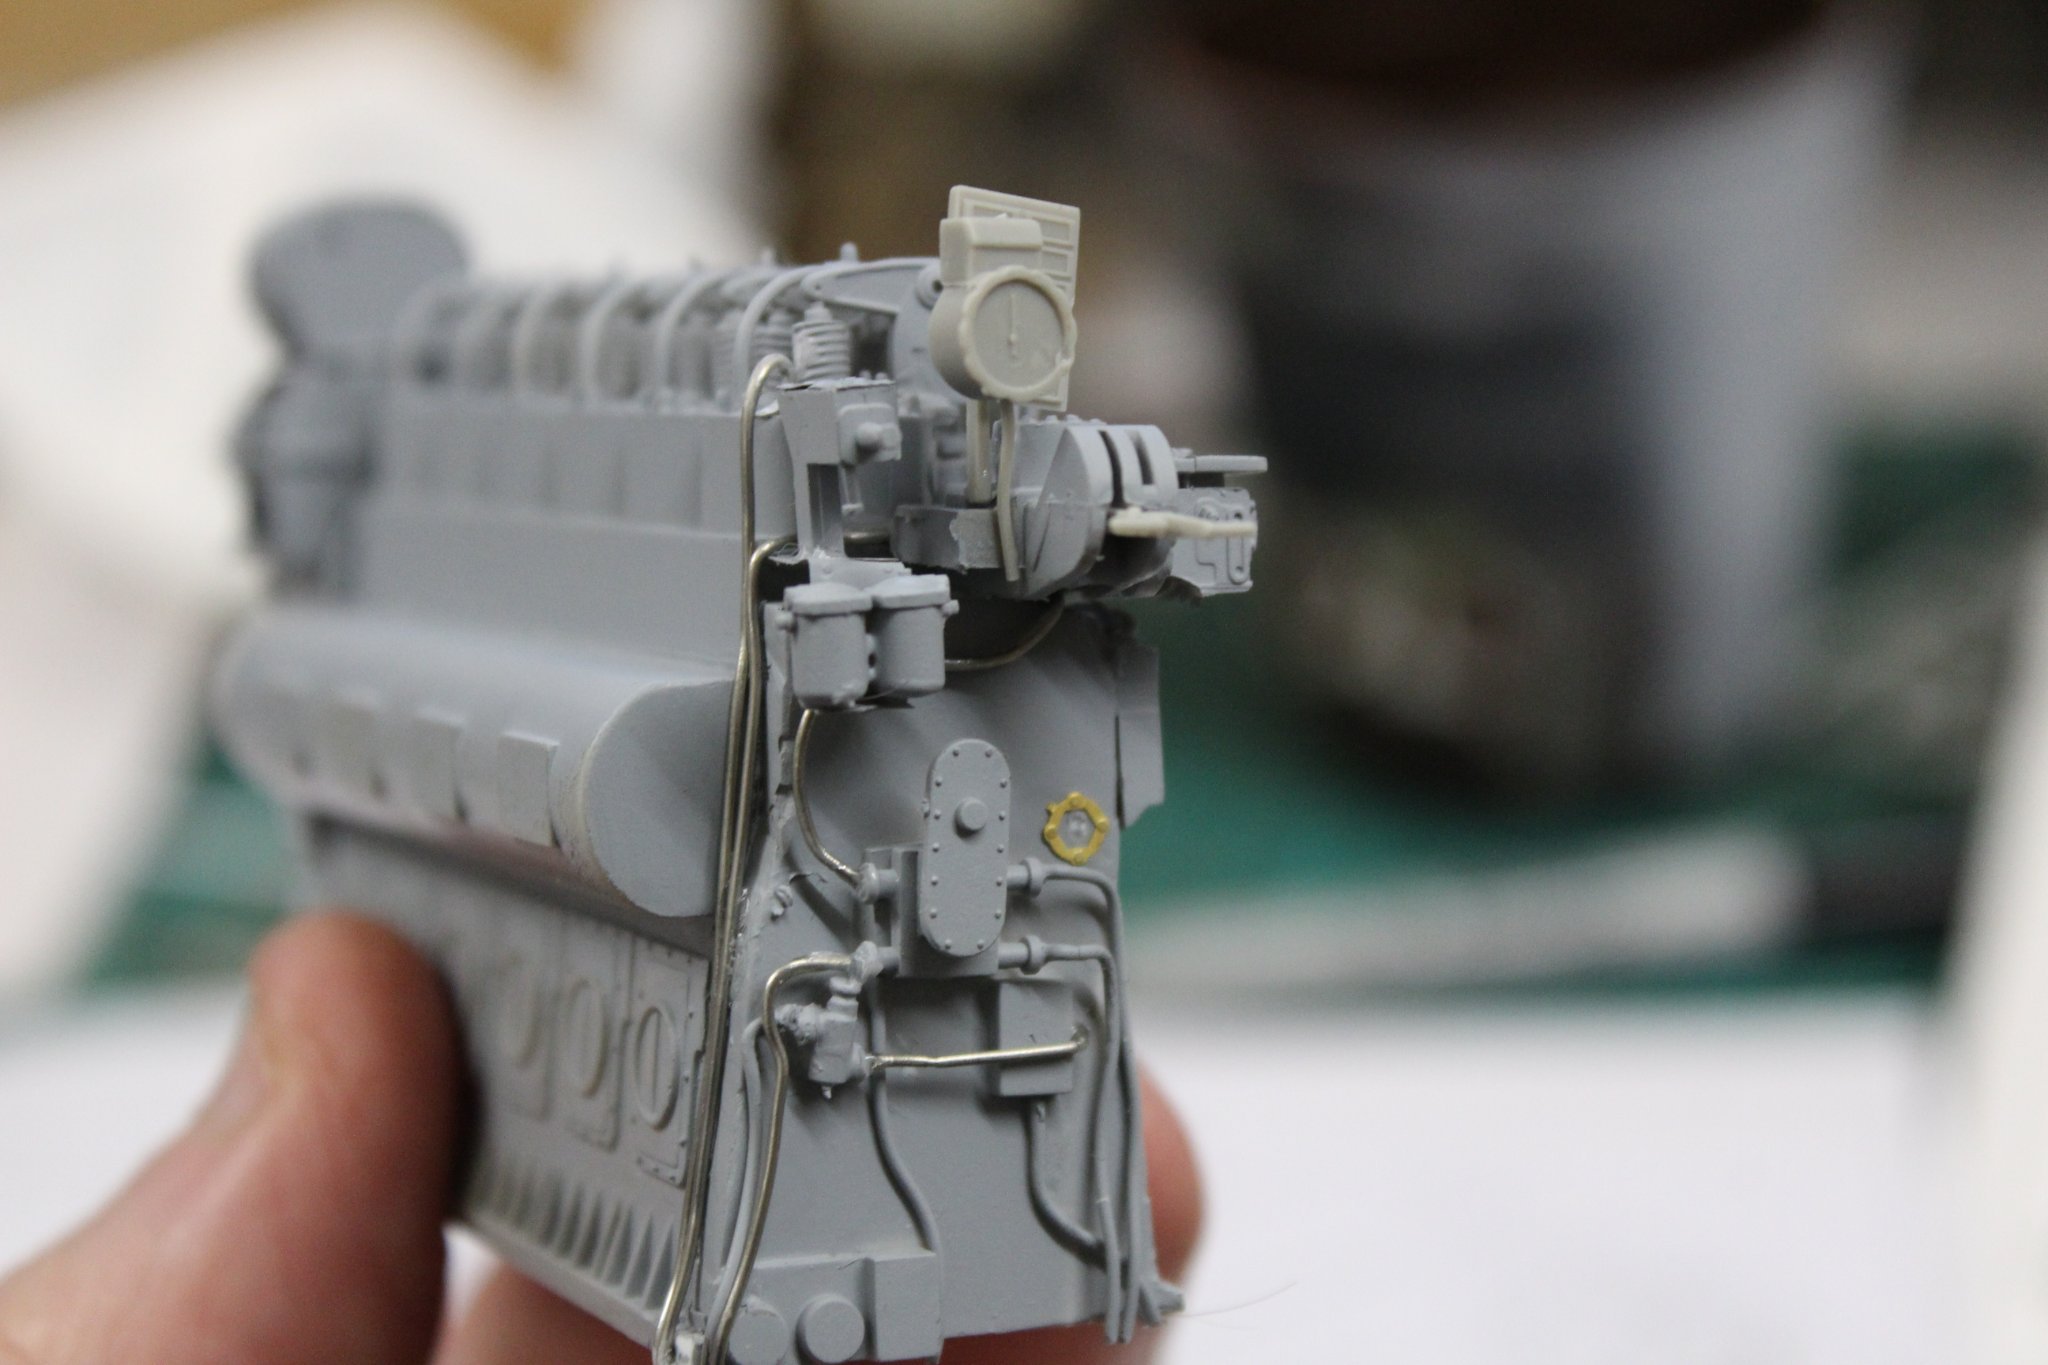
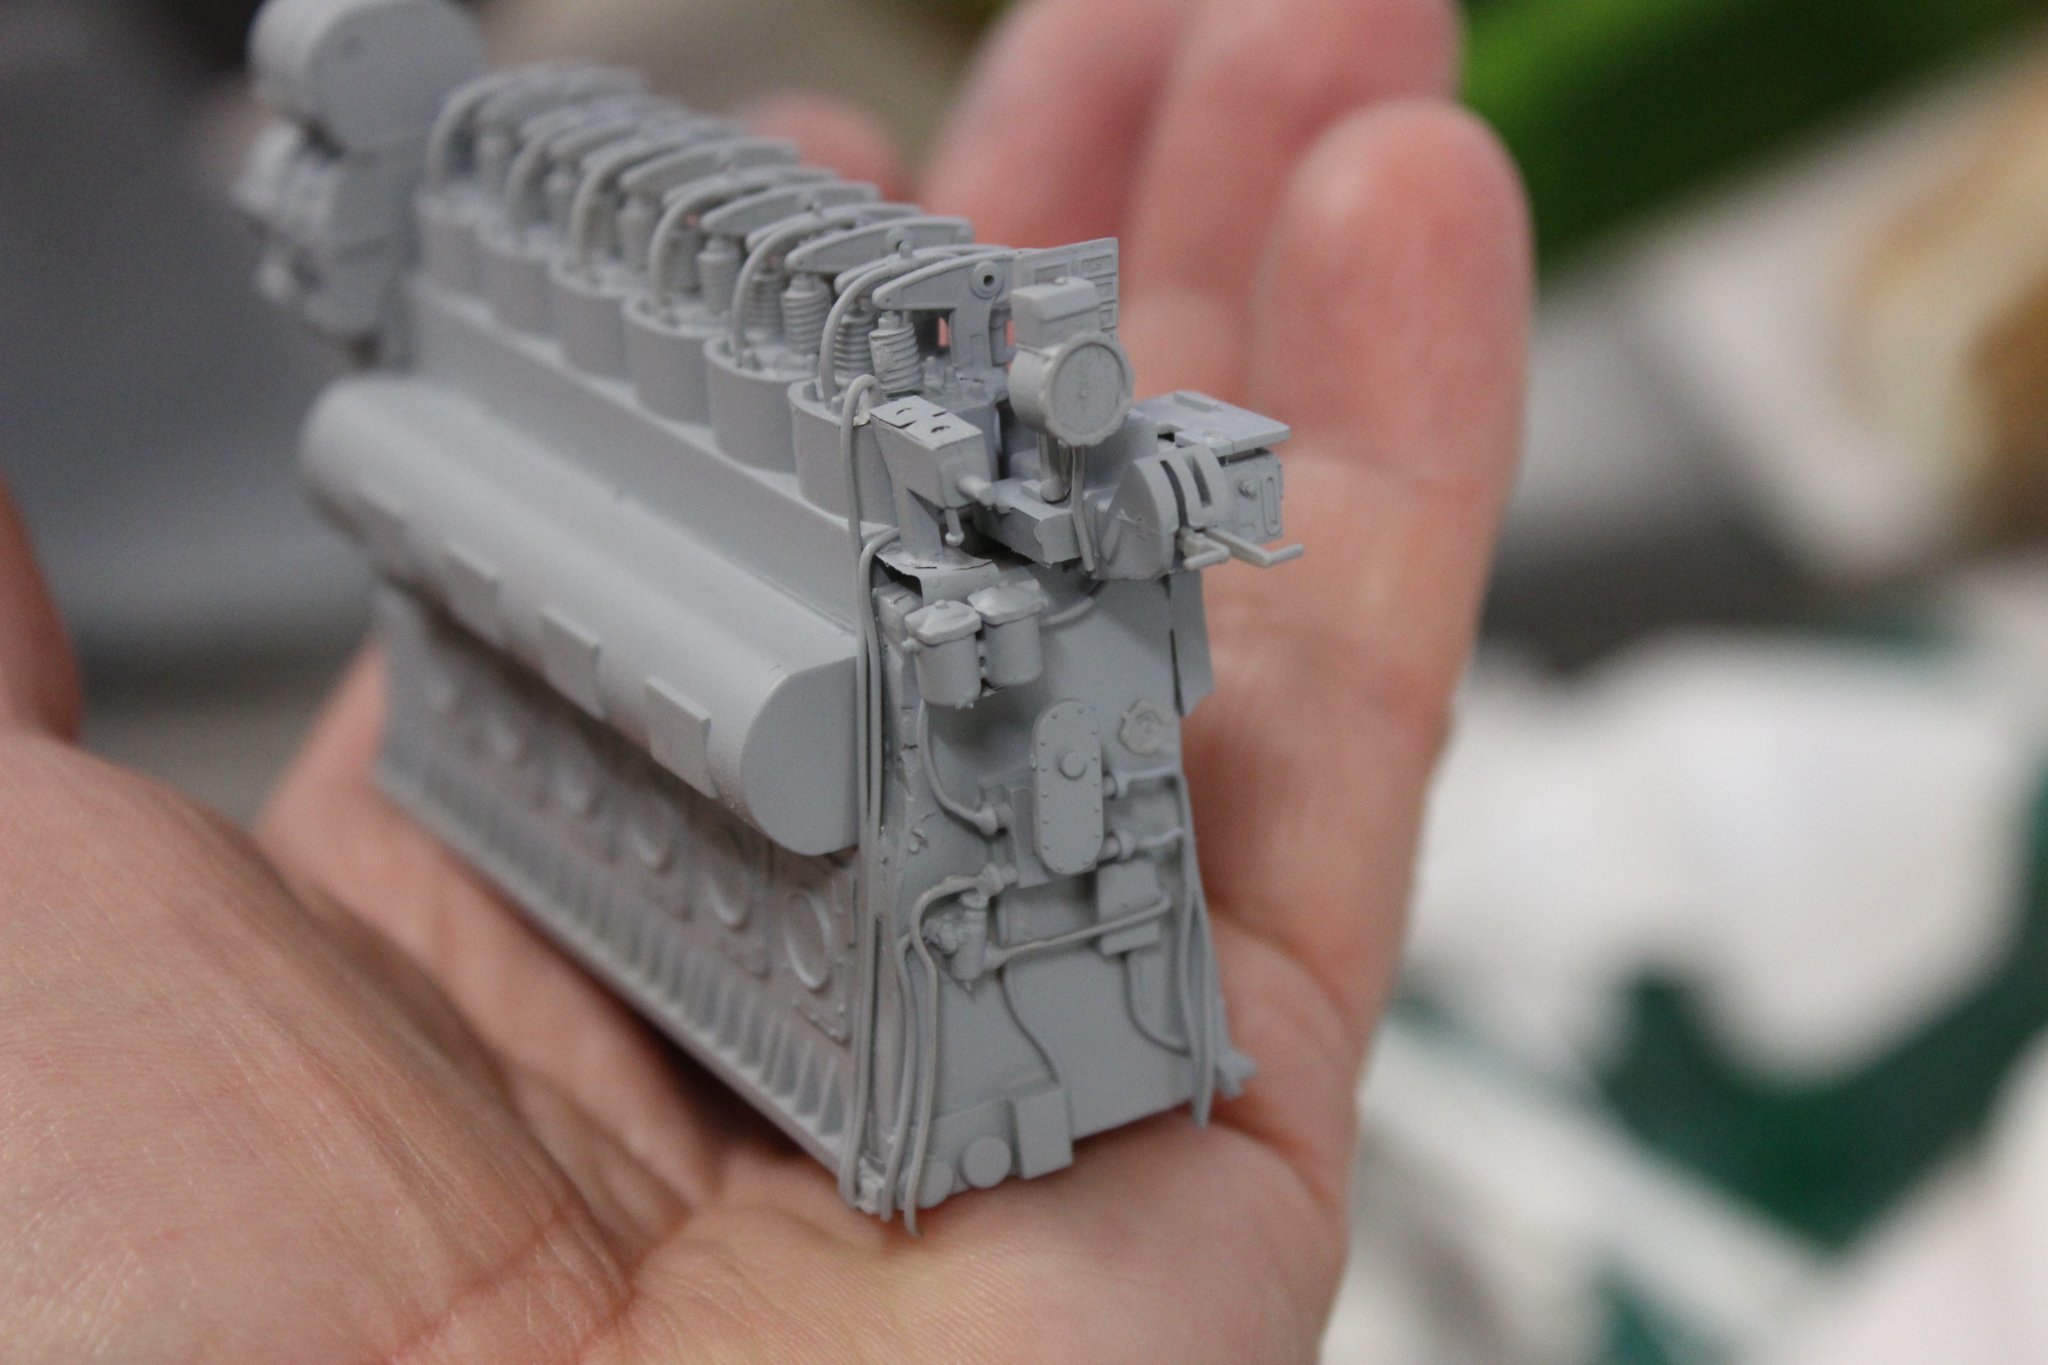
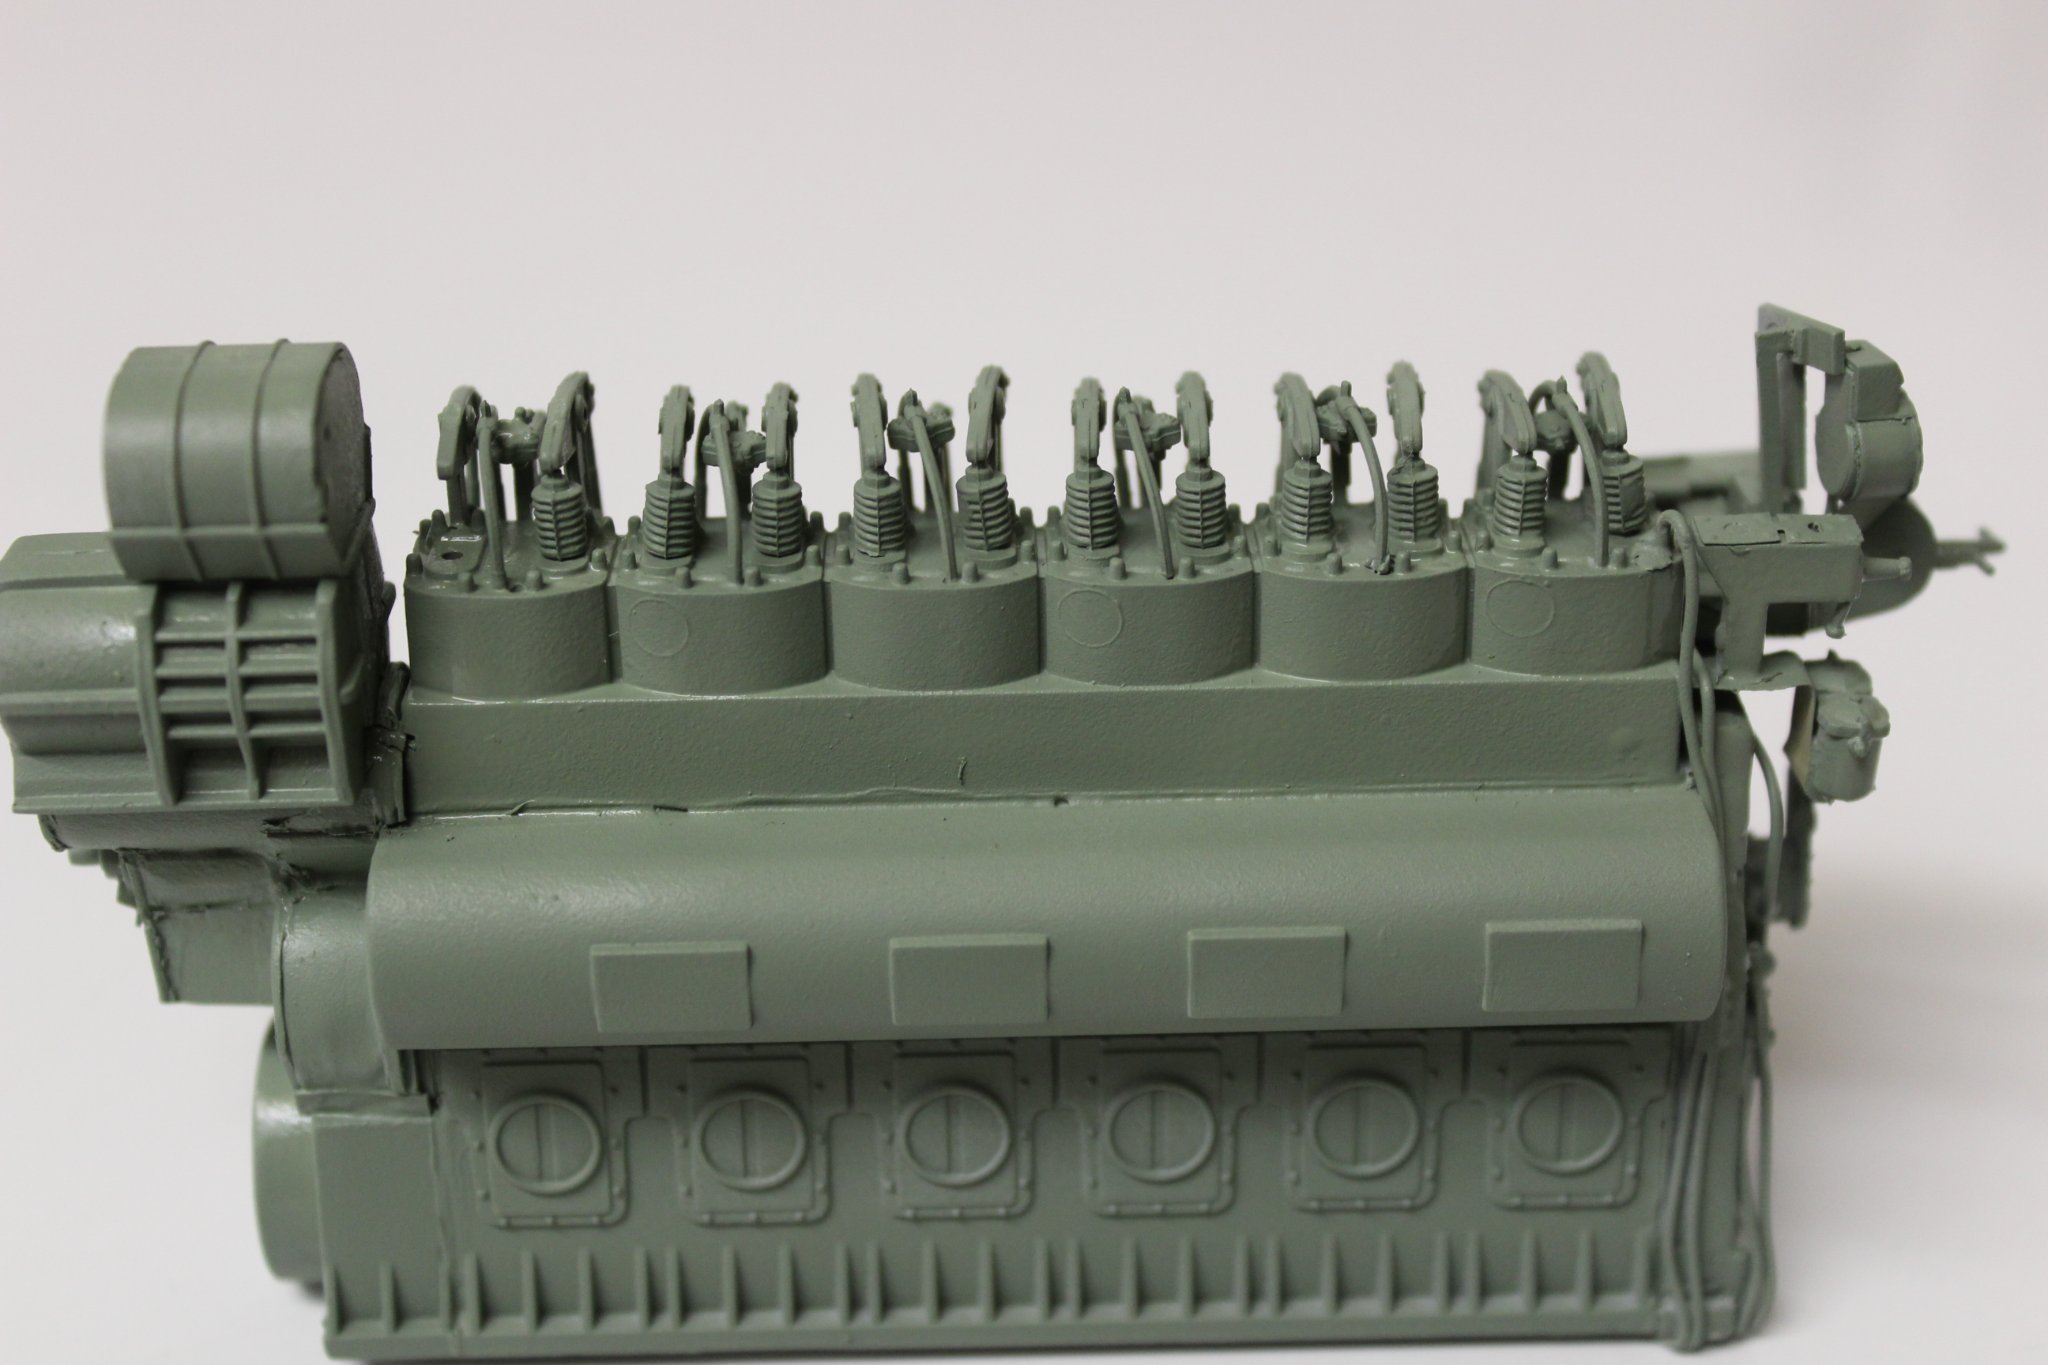
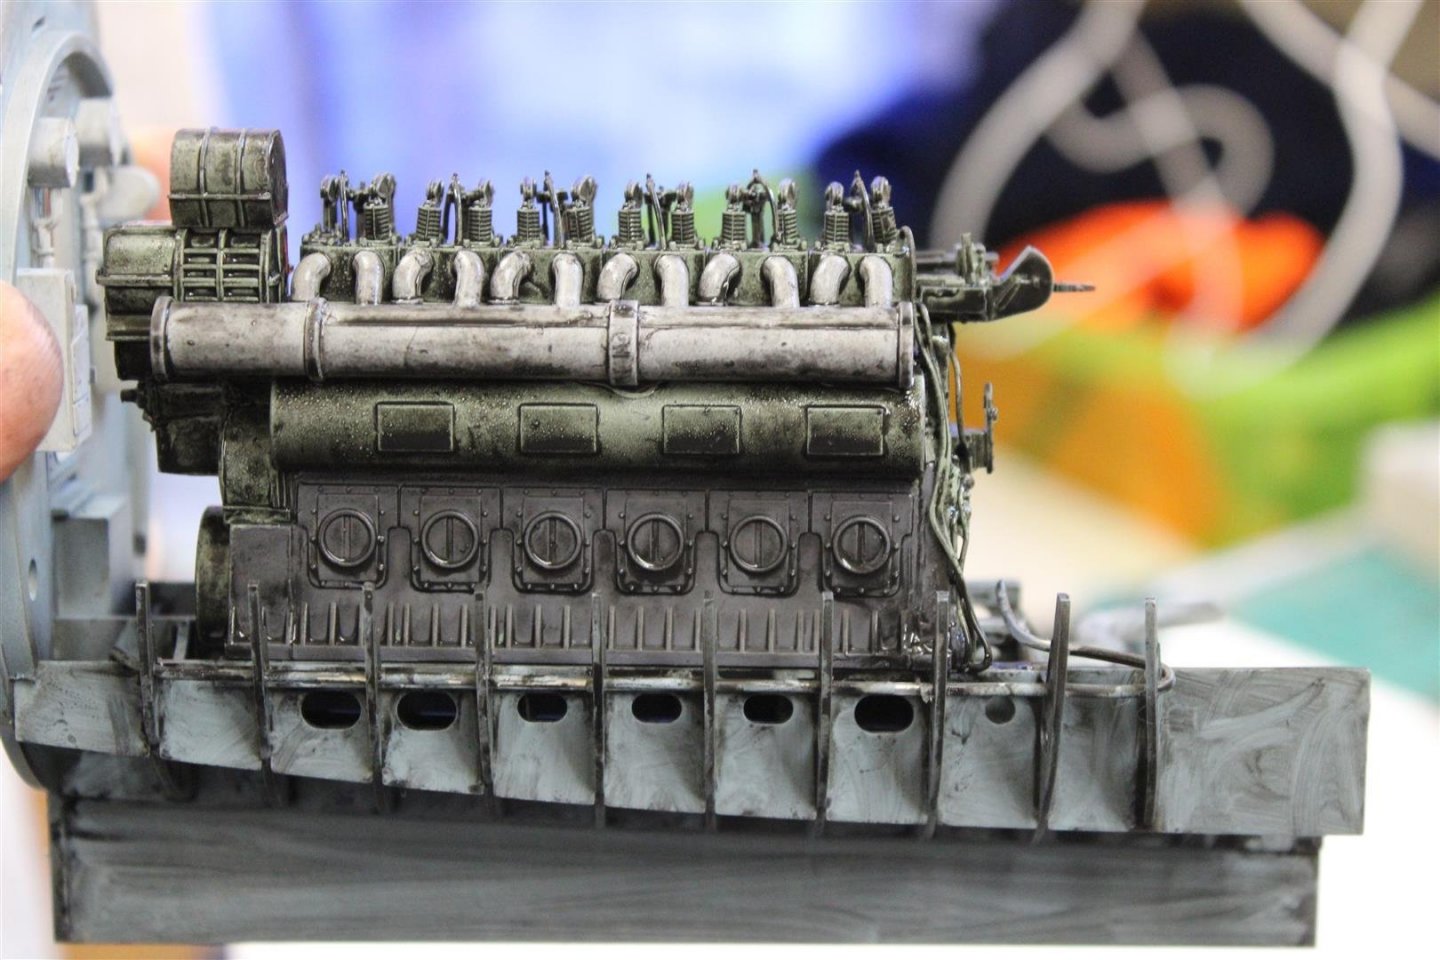
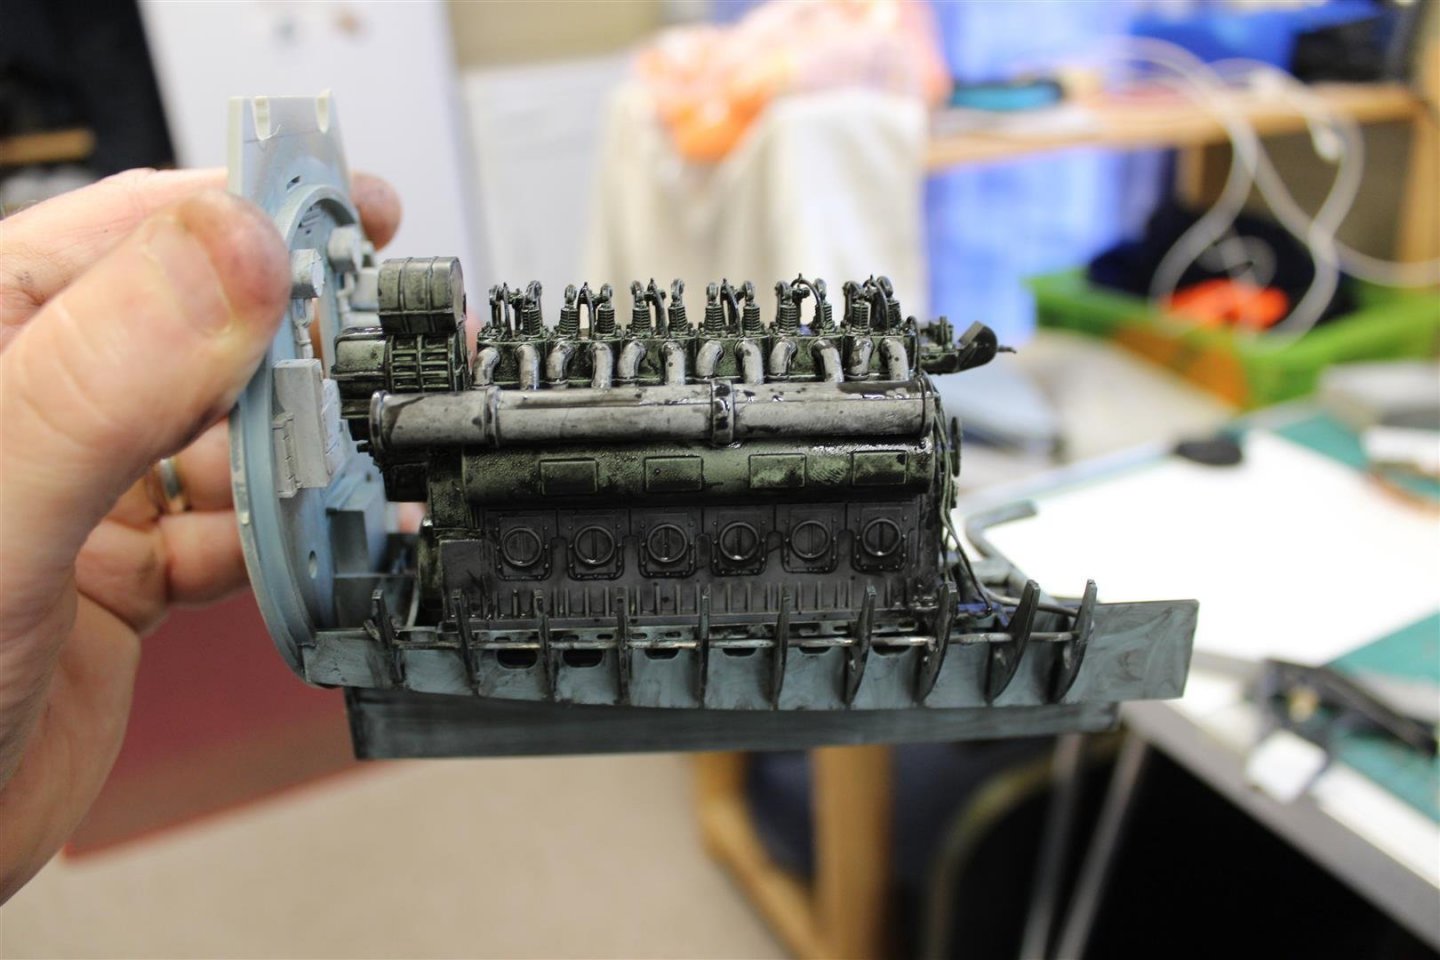
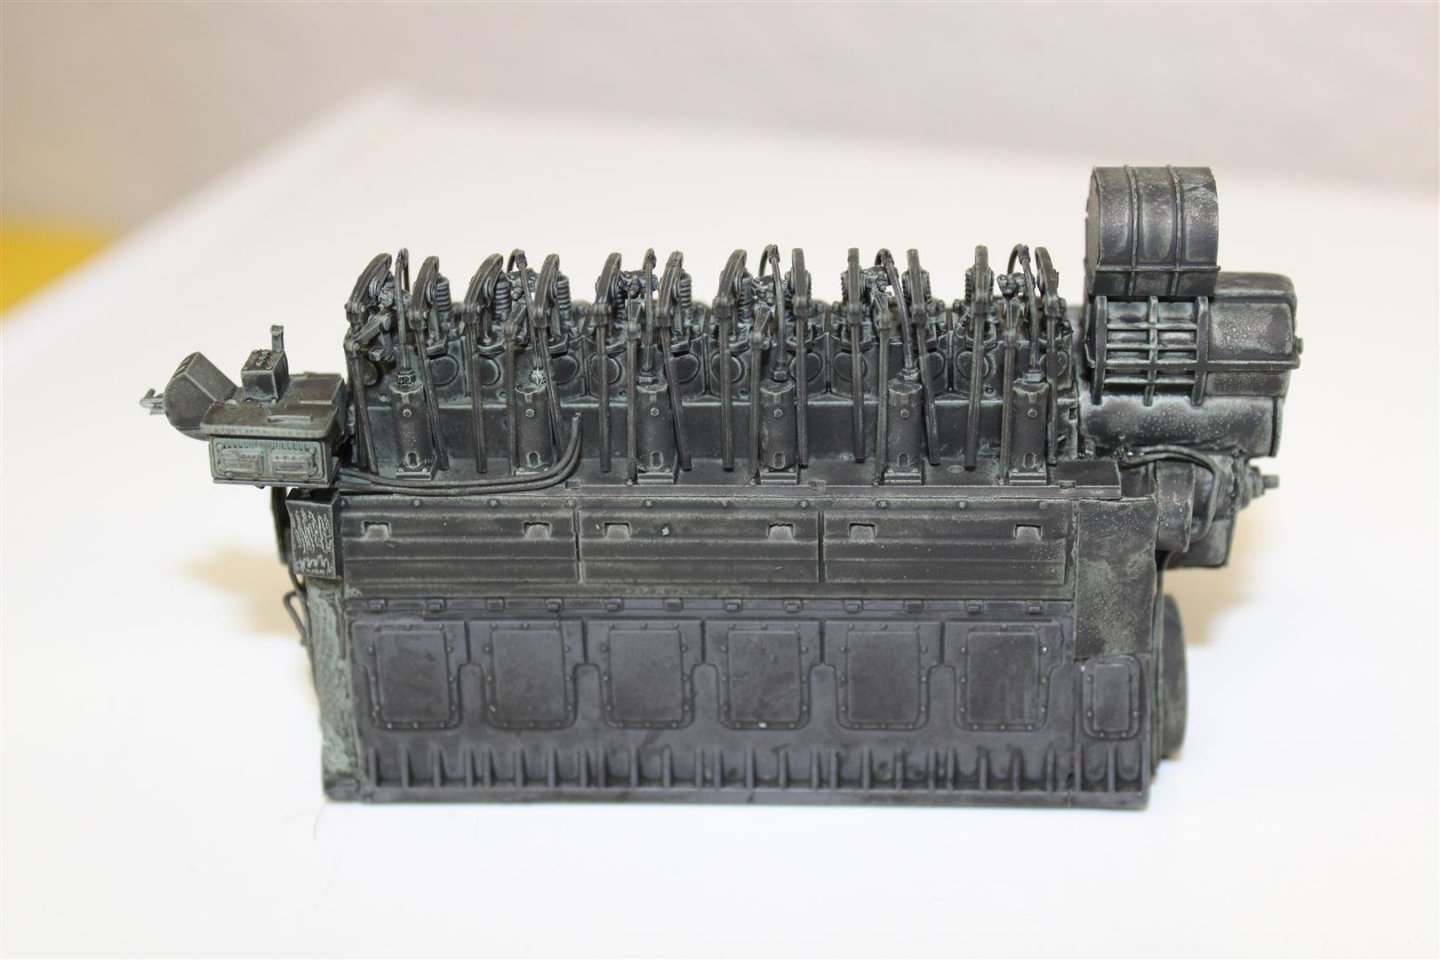
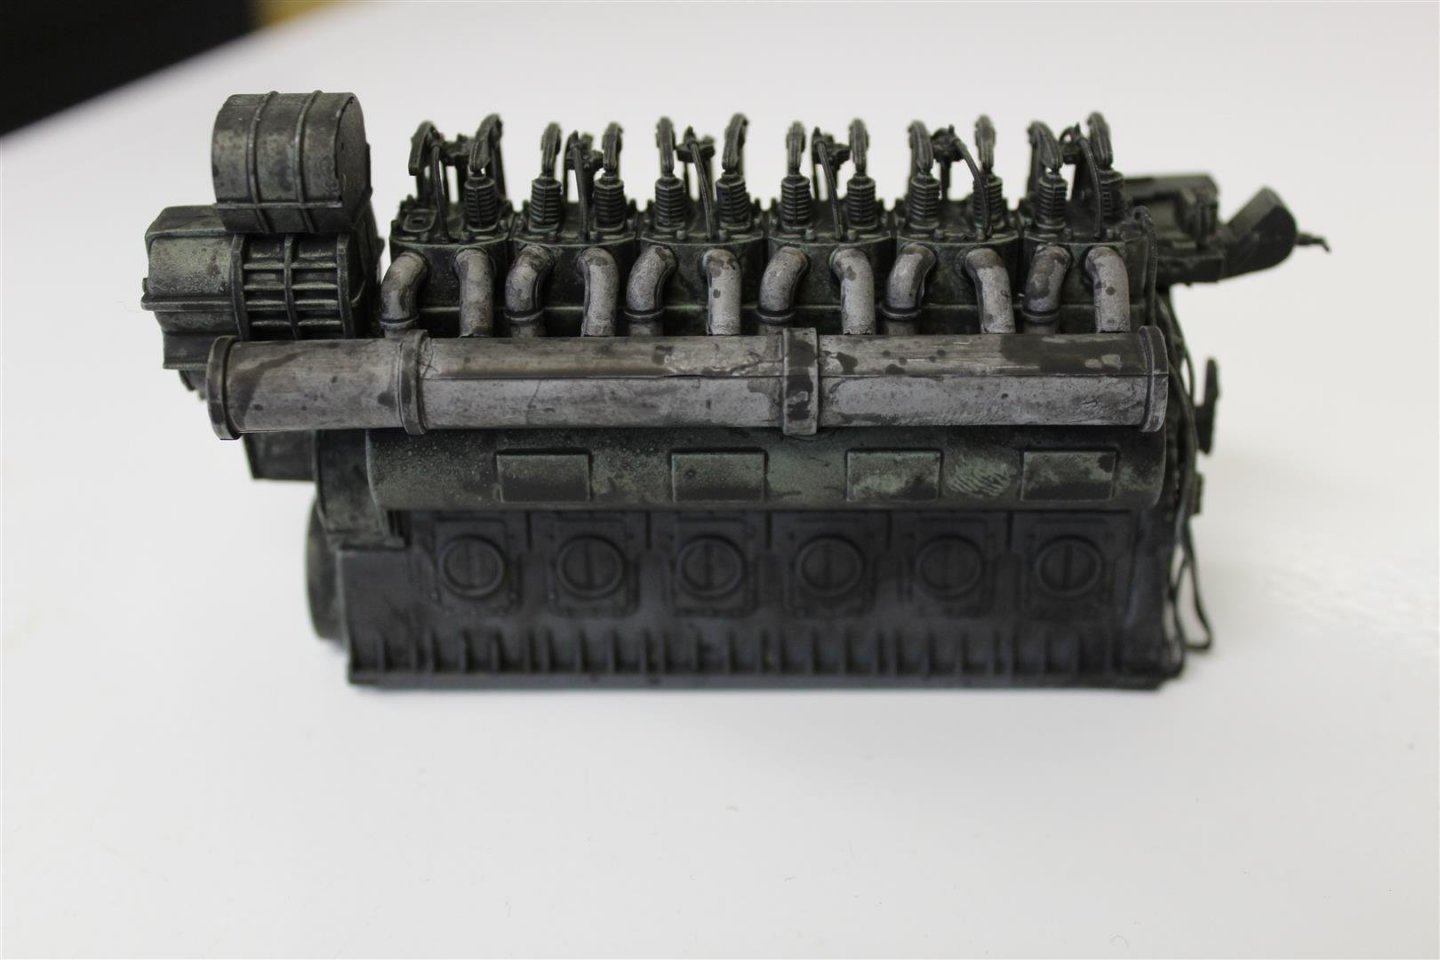
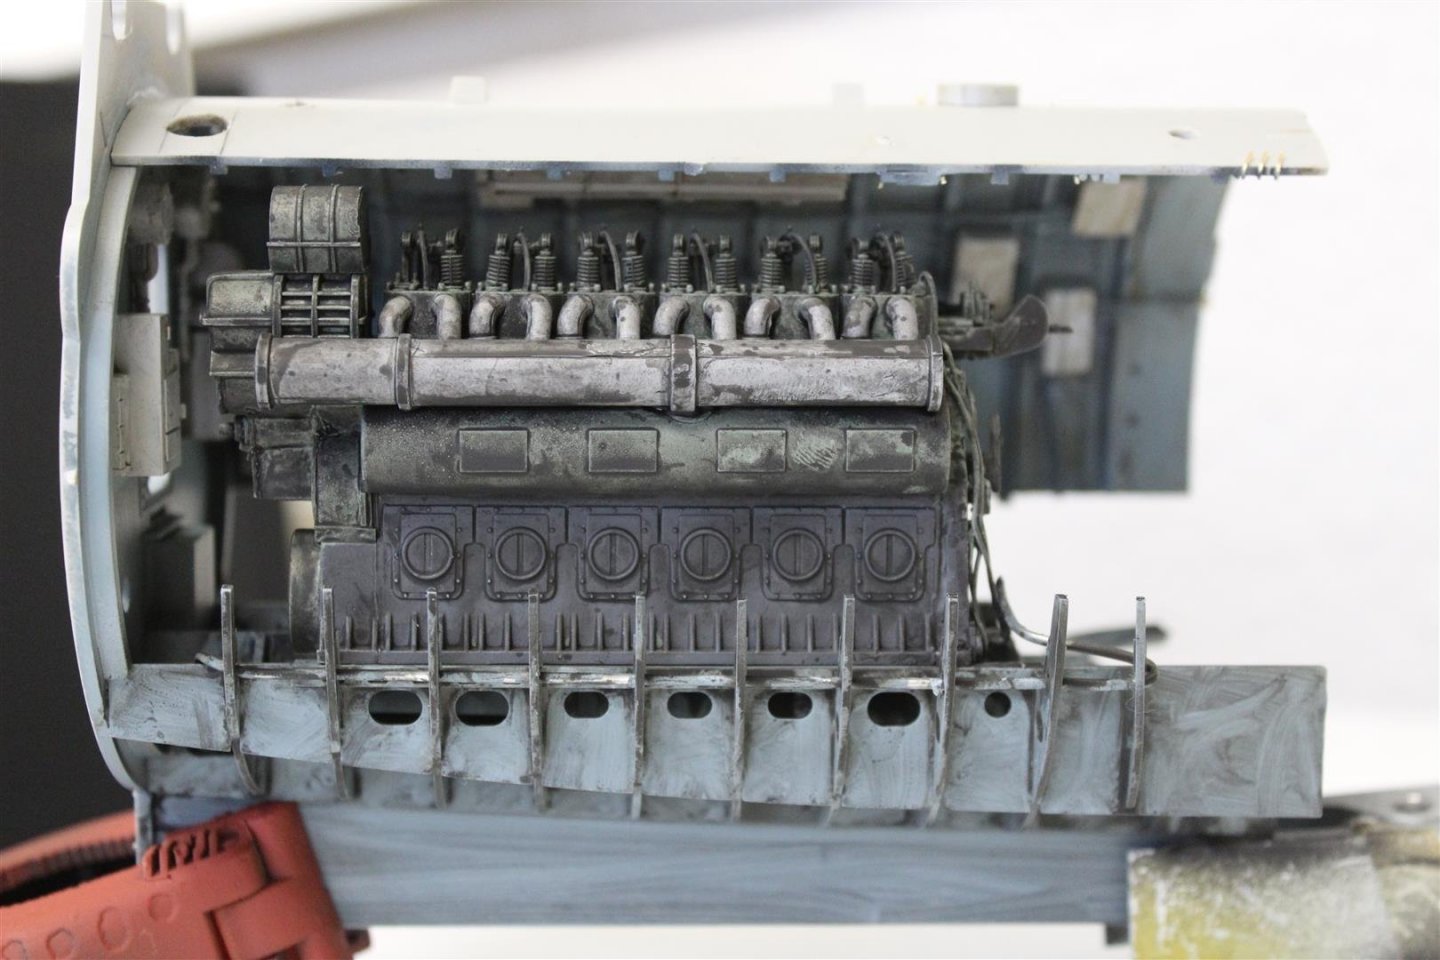
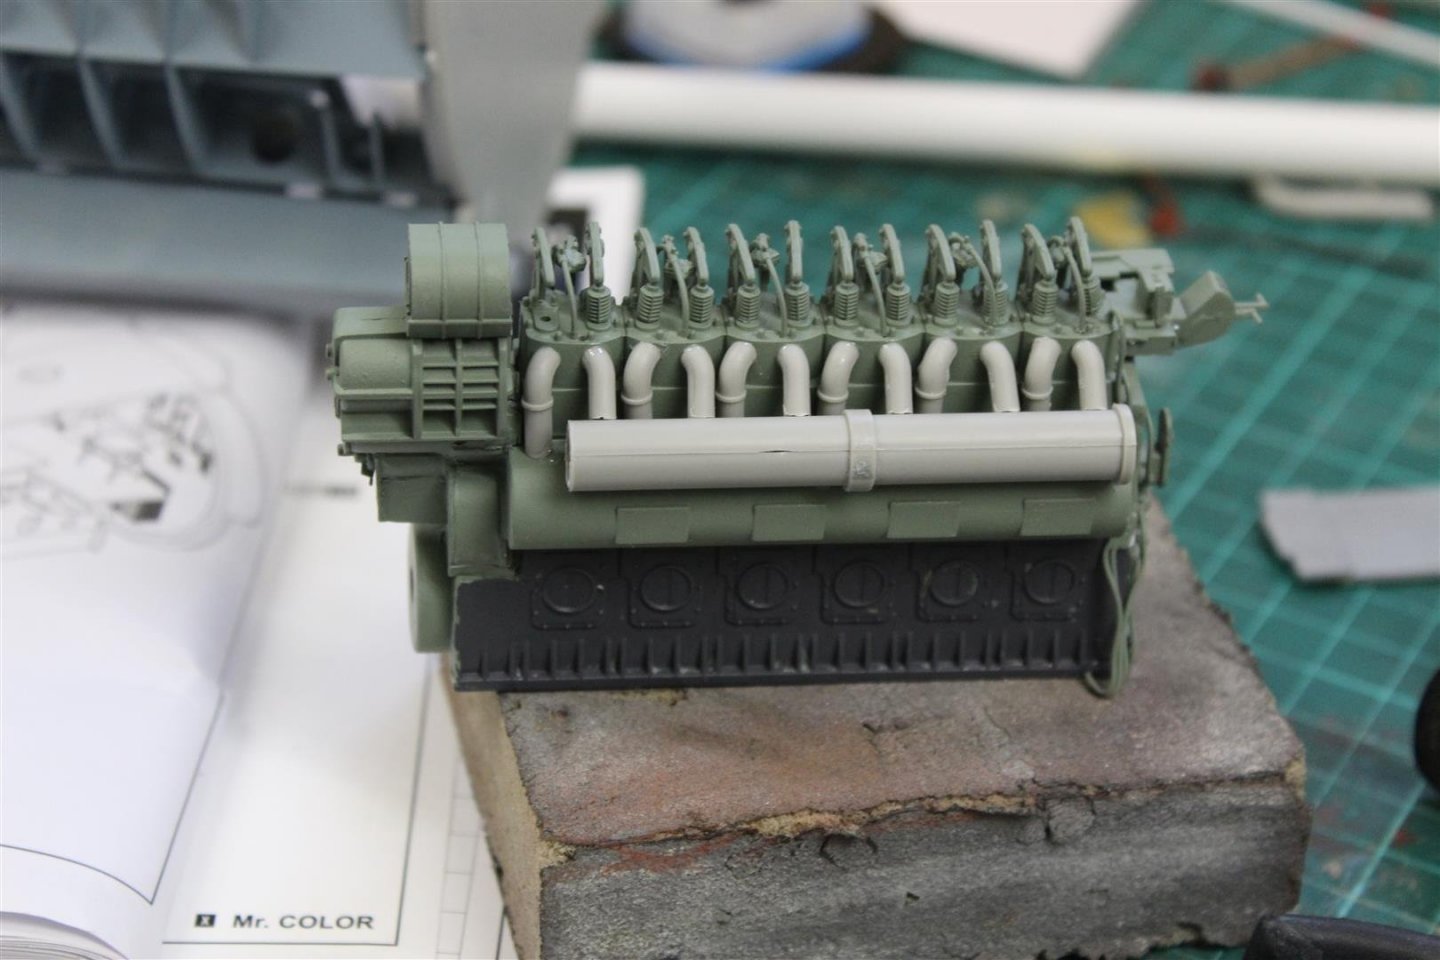
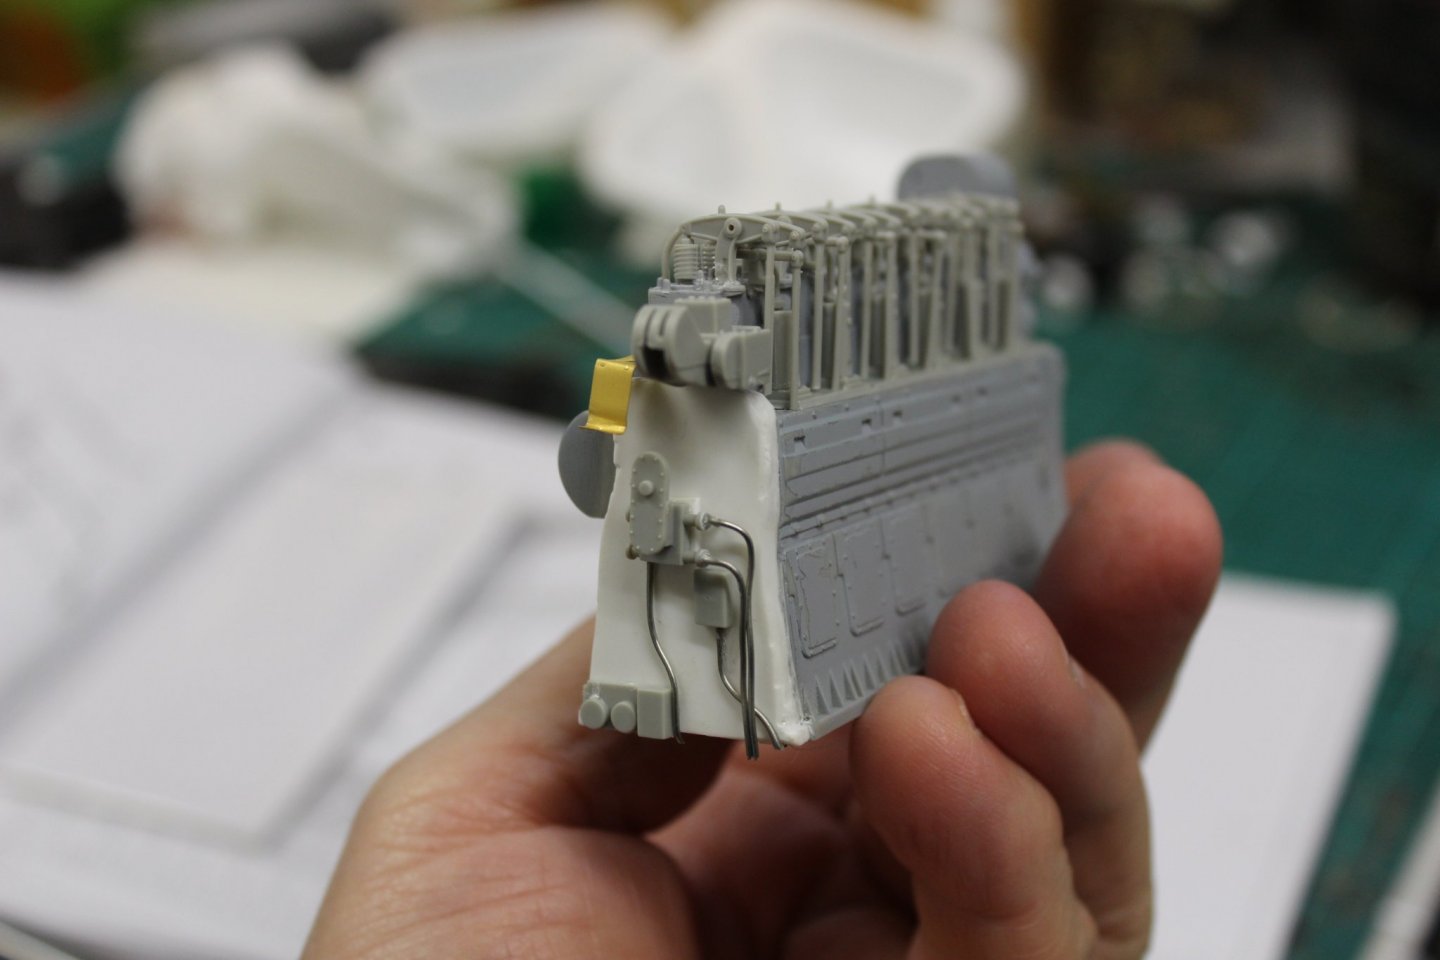
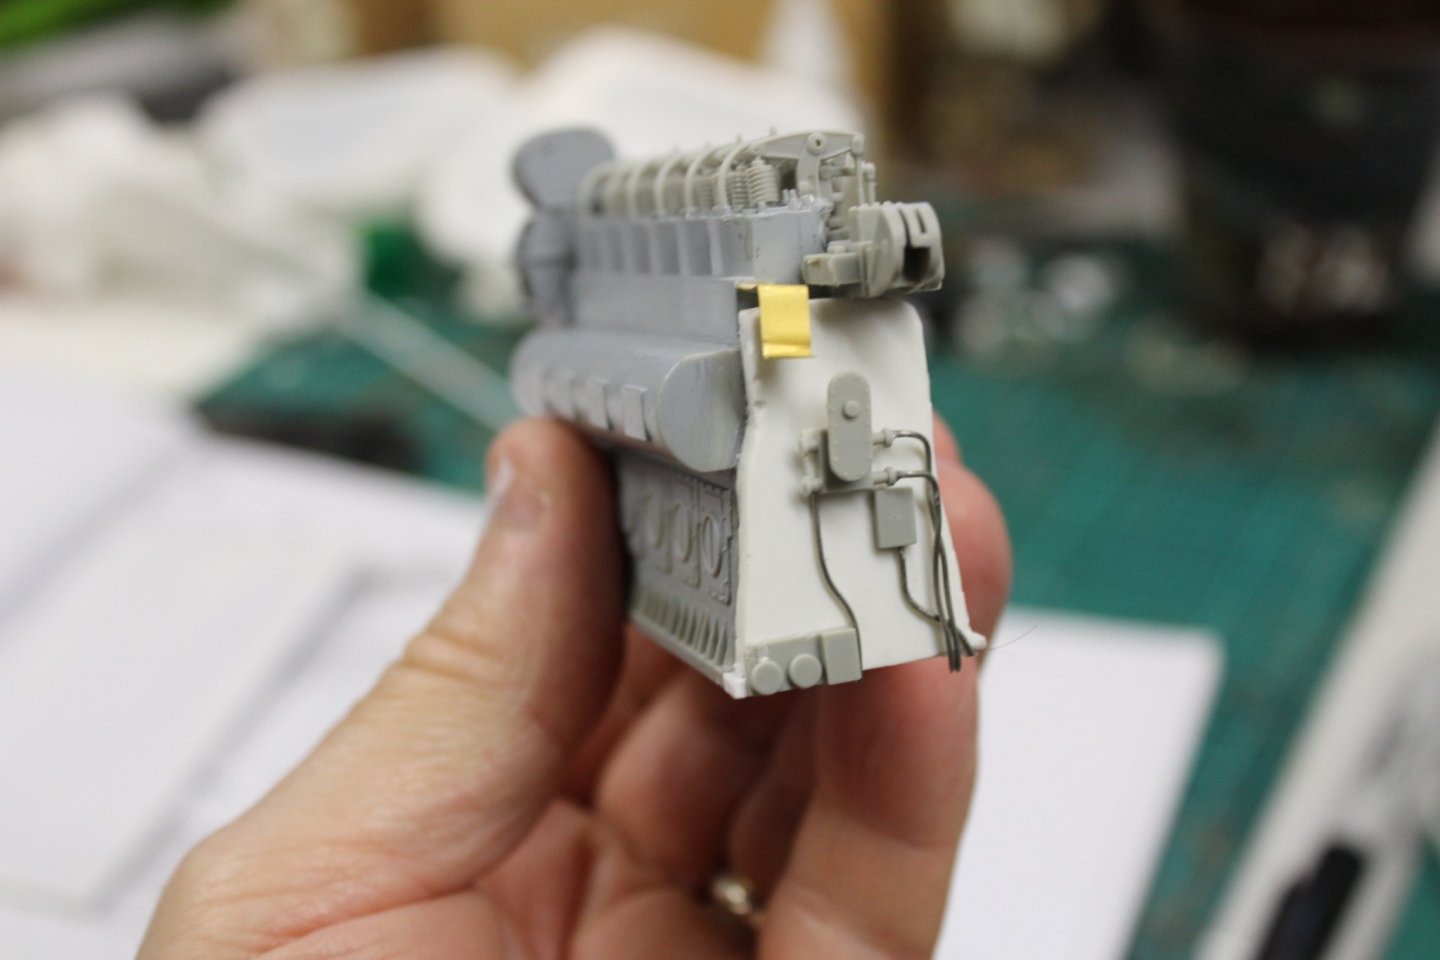
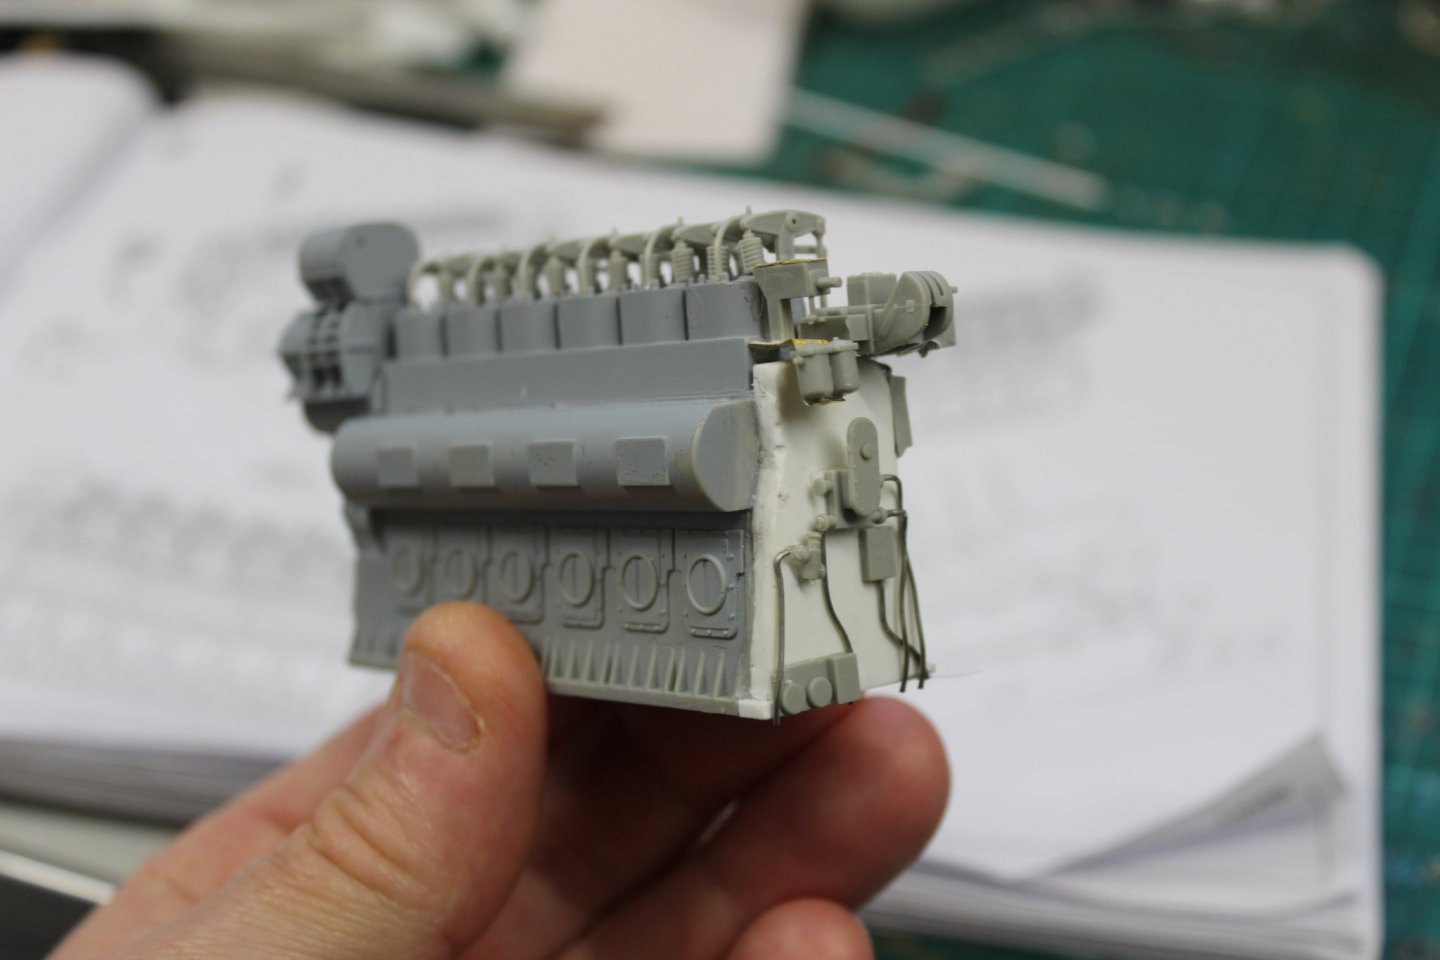
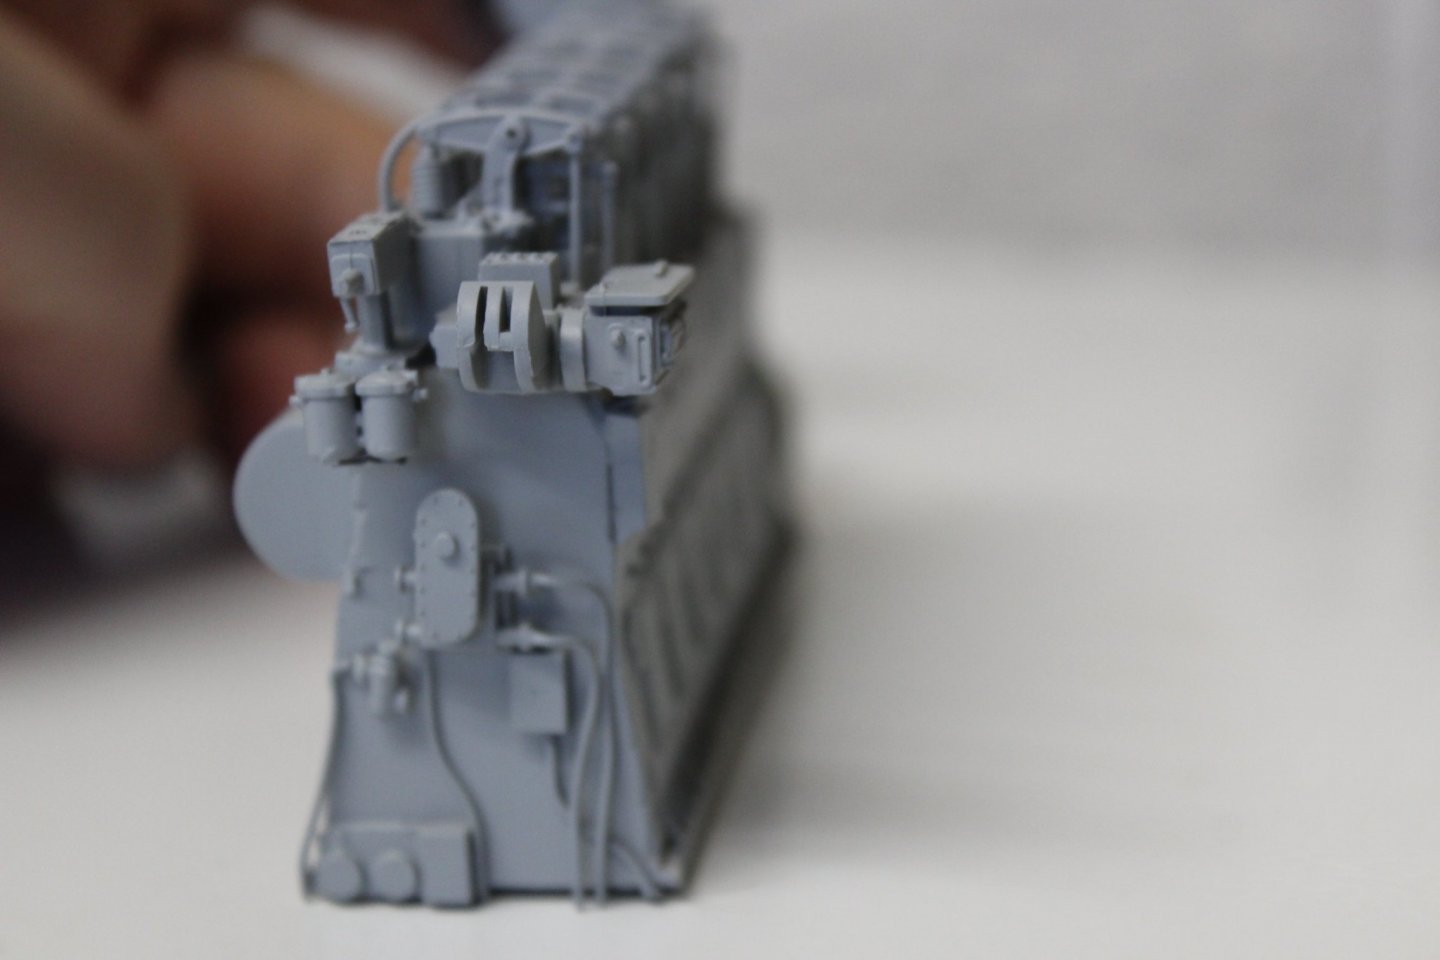
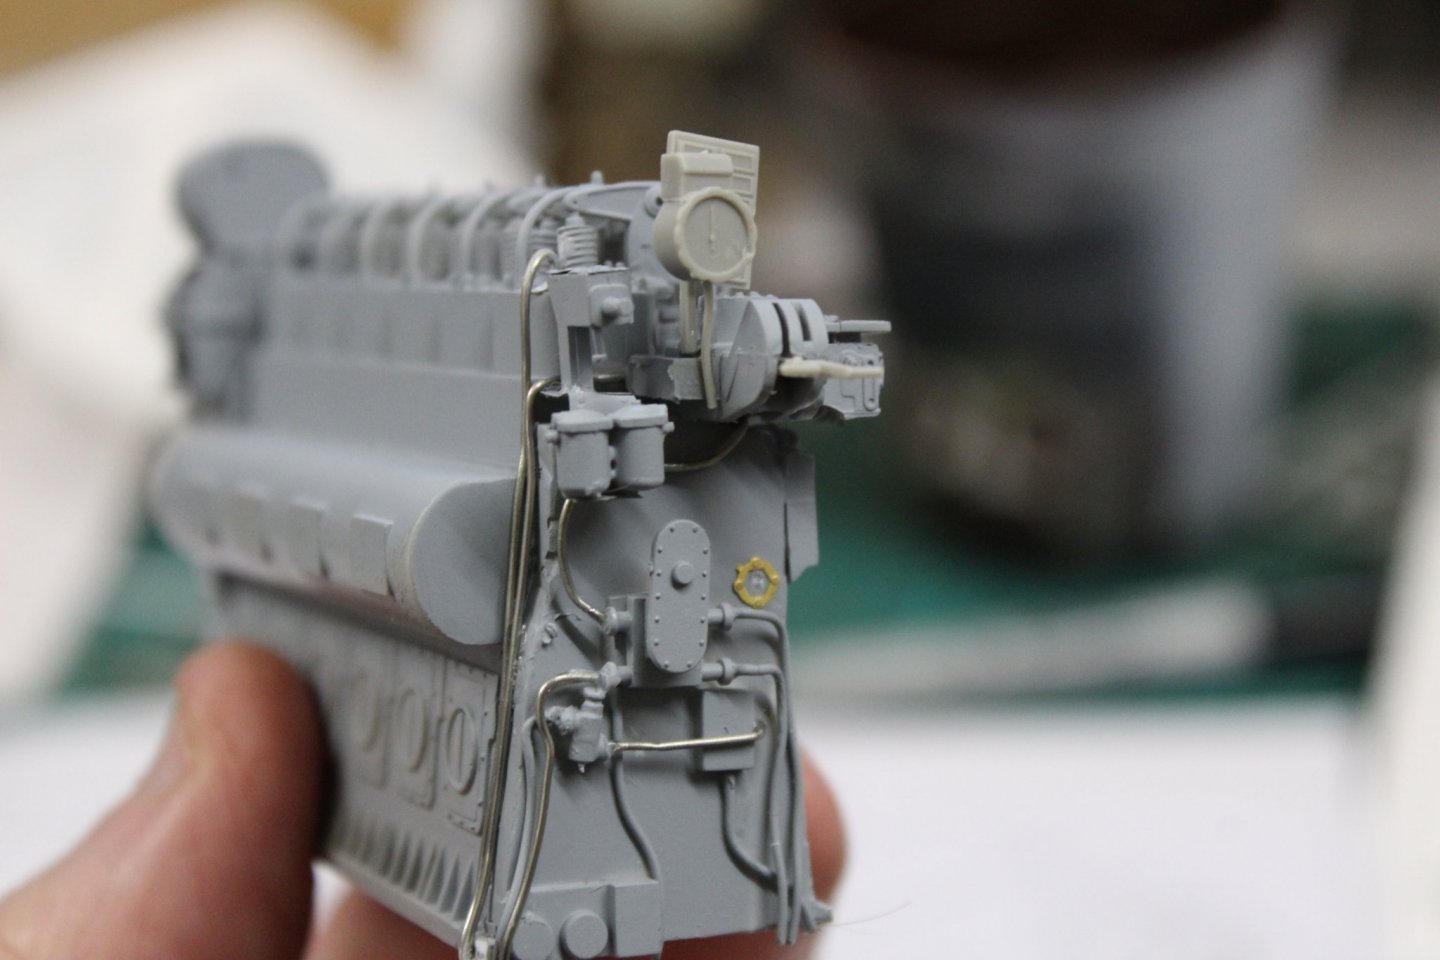
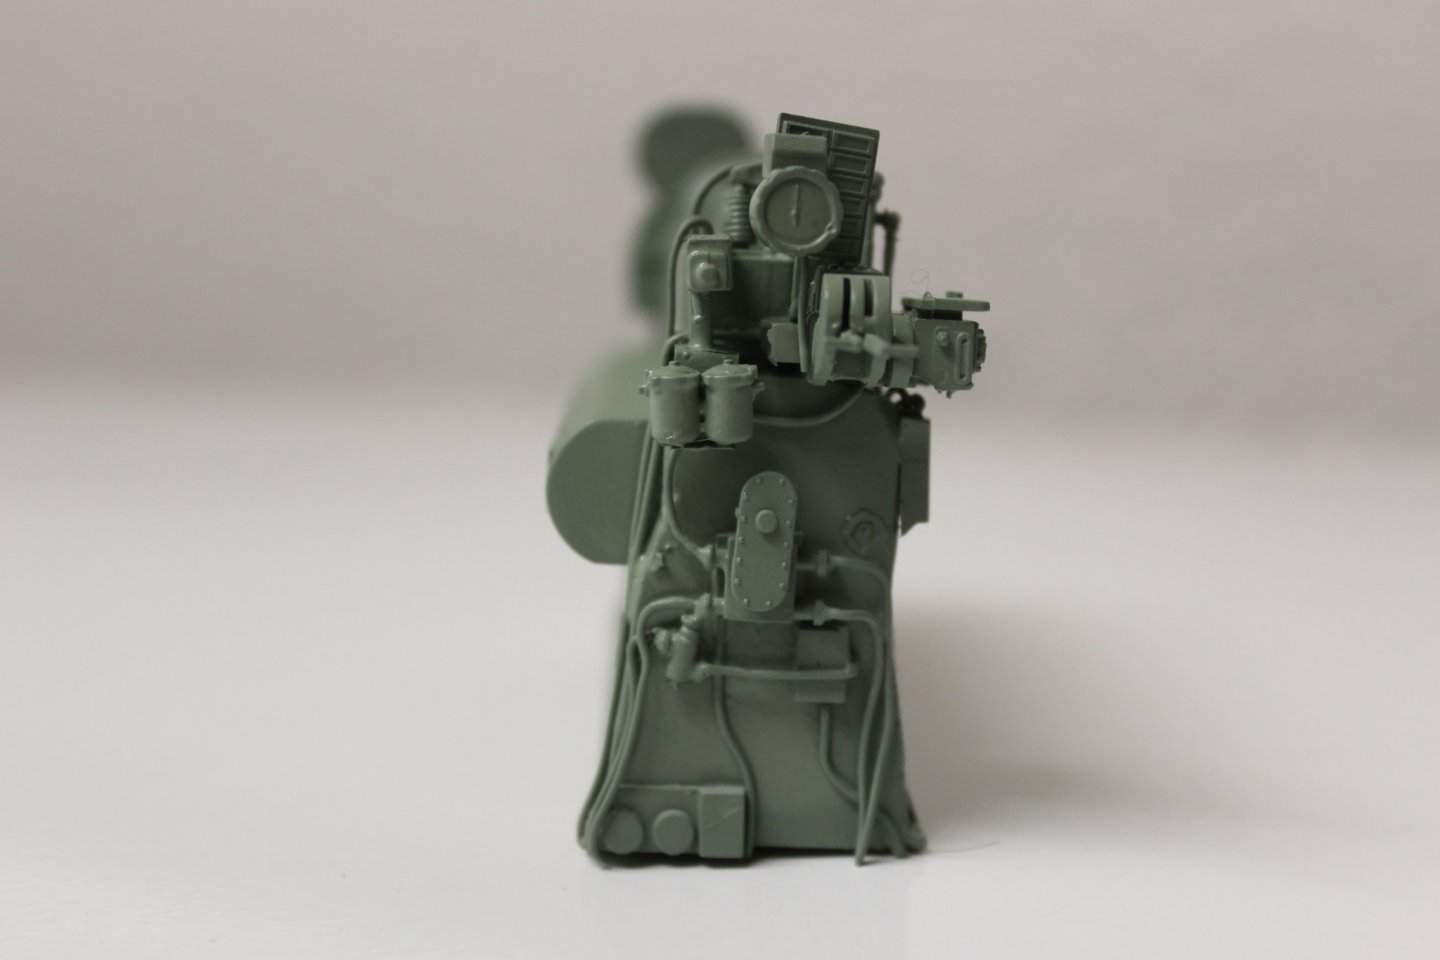
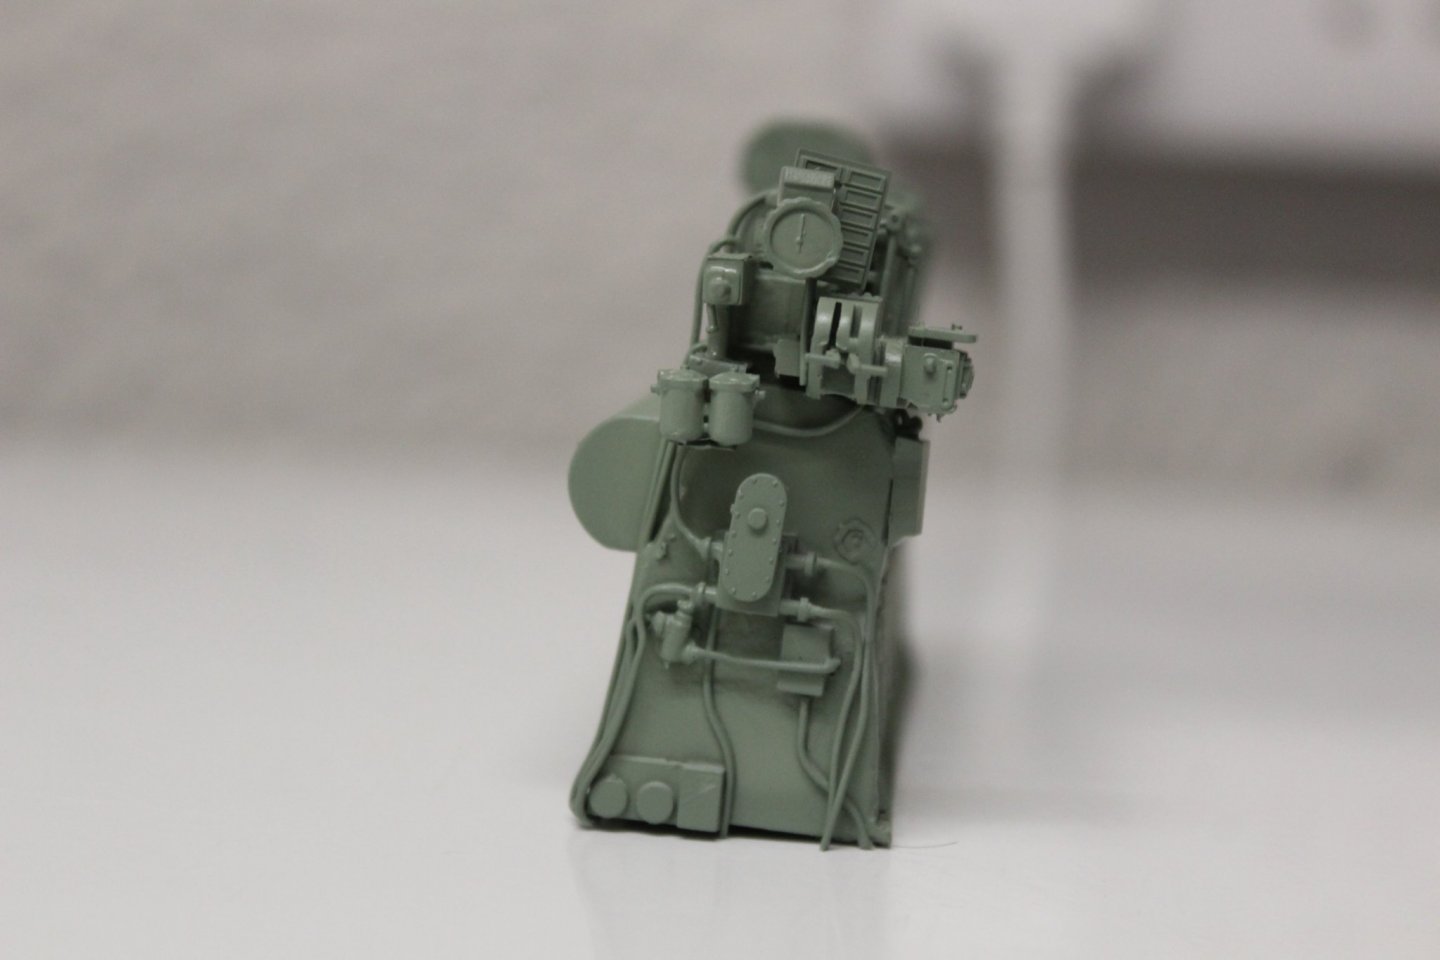
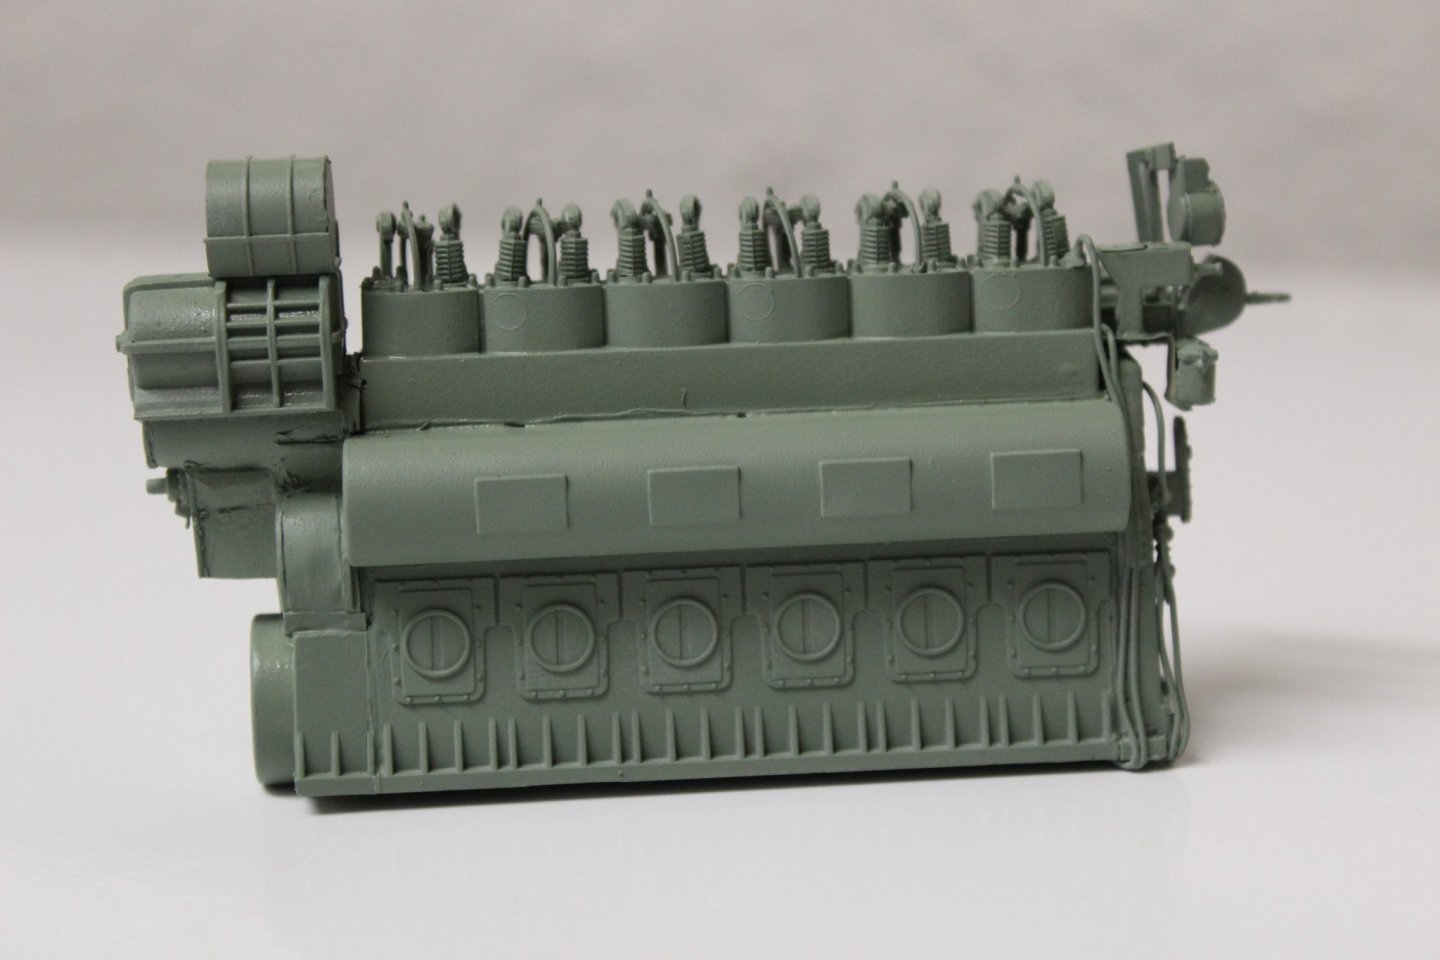
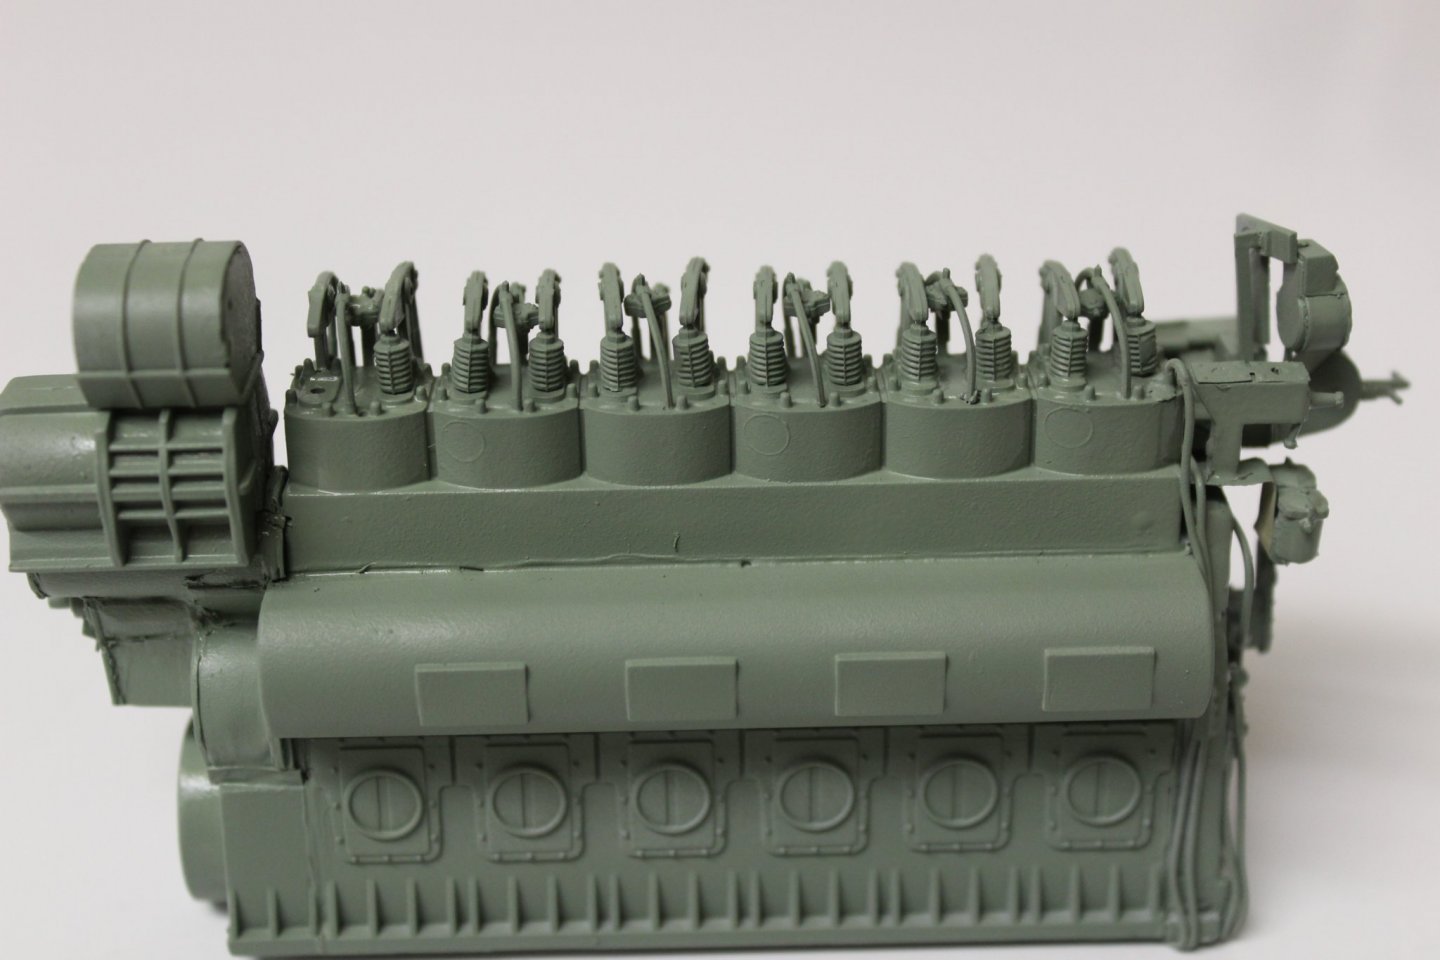
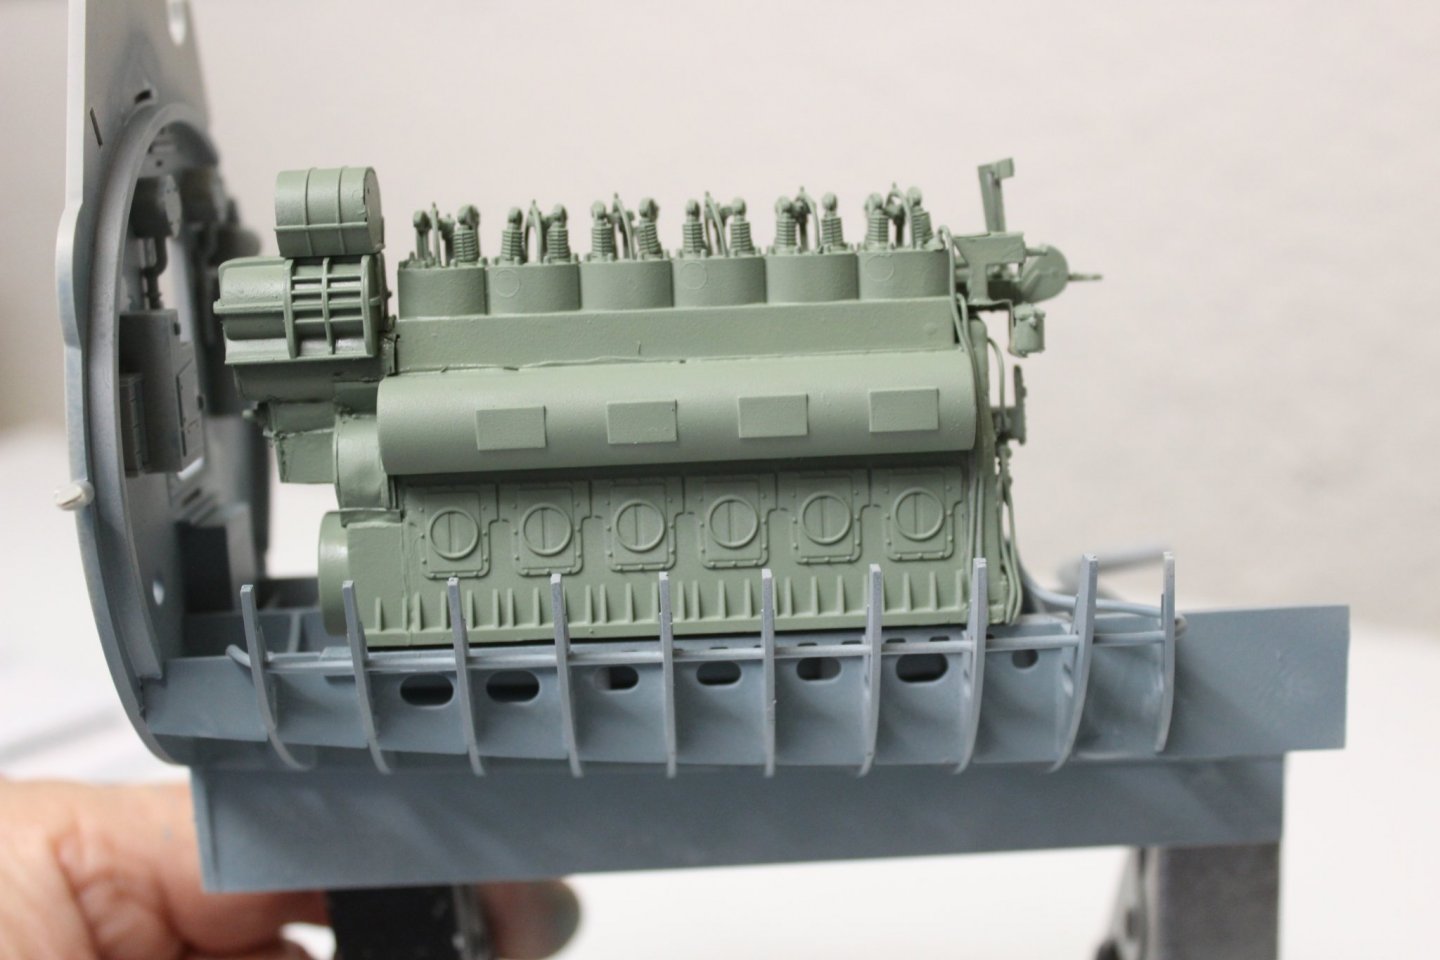
good evening everyone sticking to my only two modules on the go, i went back to the diesel room and got on with making something out of the stbd engine it never turned out as good as i had hoped (then again nothing ever does, but once weathered and in the diorama it might pass the test the pipes are 0.6mm solder, i then changed as much of the add on bits as best i could Green is Lifecolour darkgreen the engine frame is Lifecolour bluegrey


- 90 replies
-
- 10
-
-
-
i doubt it was very satisfying for those on the receiving end
- 27 replies
-
- 6
-

-
-
- eBay
- kit piracy
- (and 1 more)
-
love the effect
-
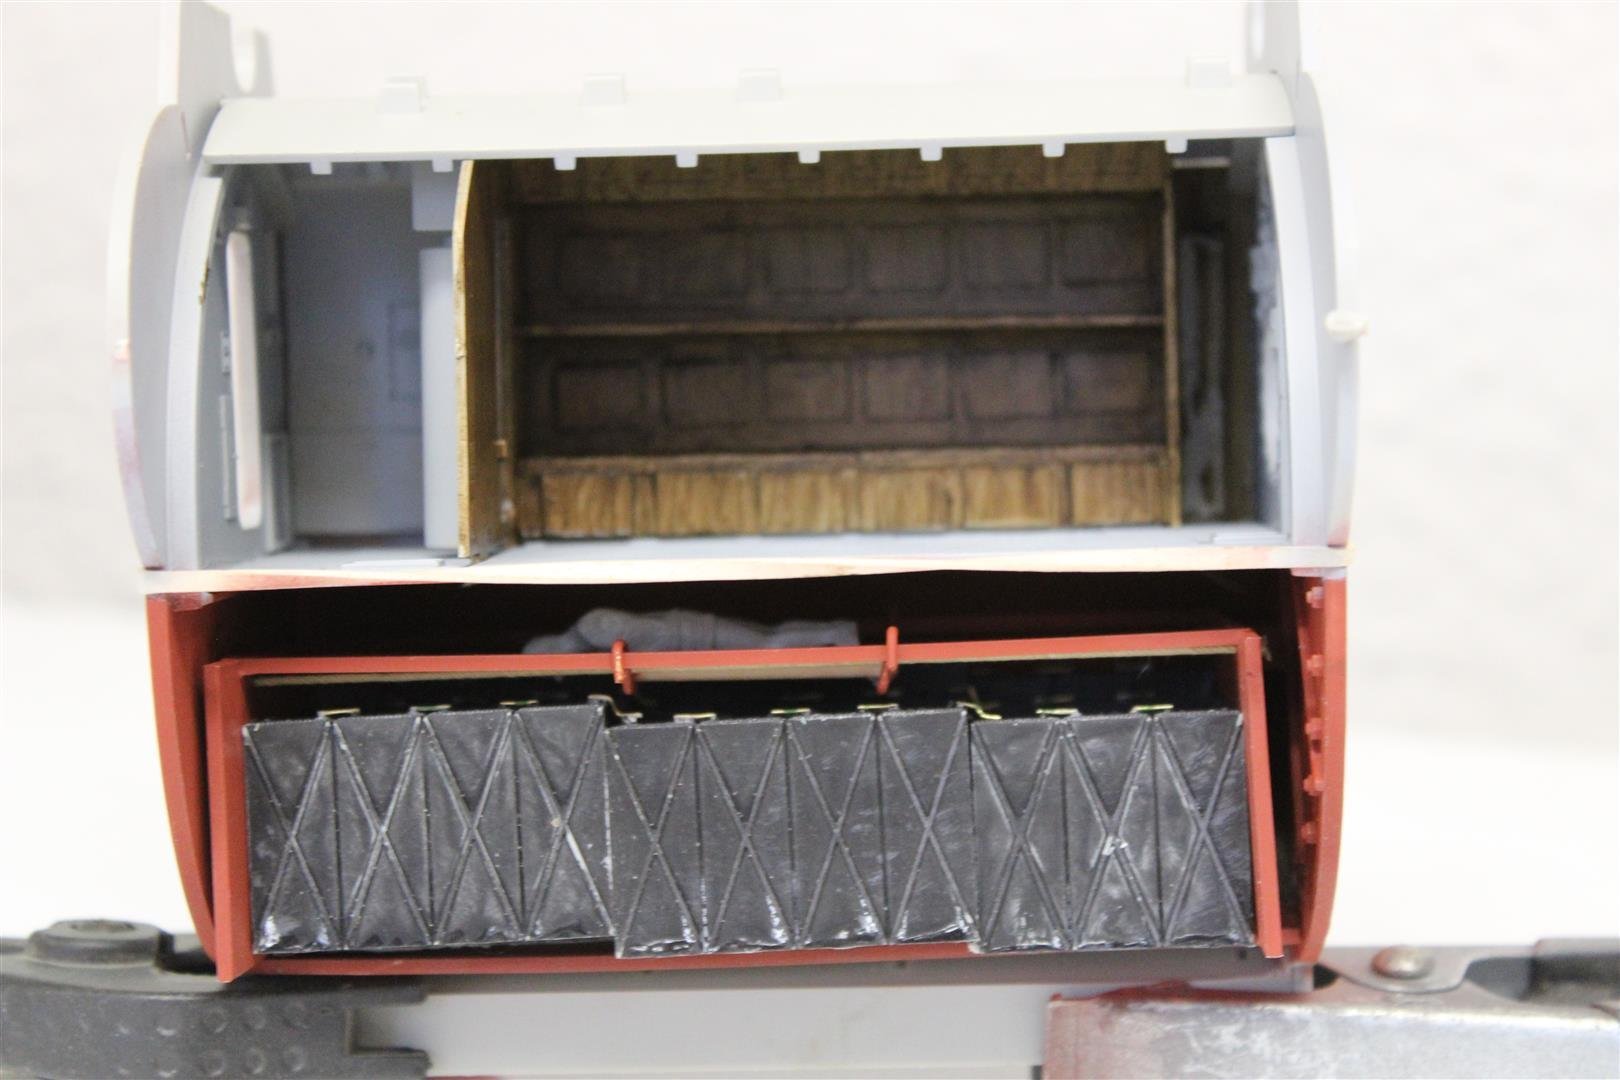
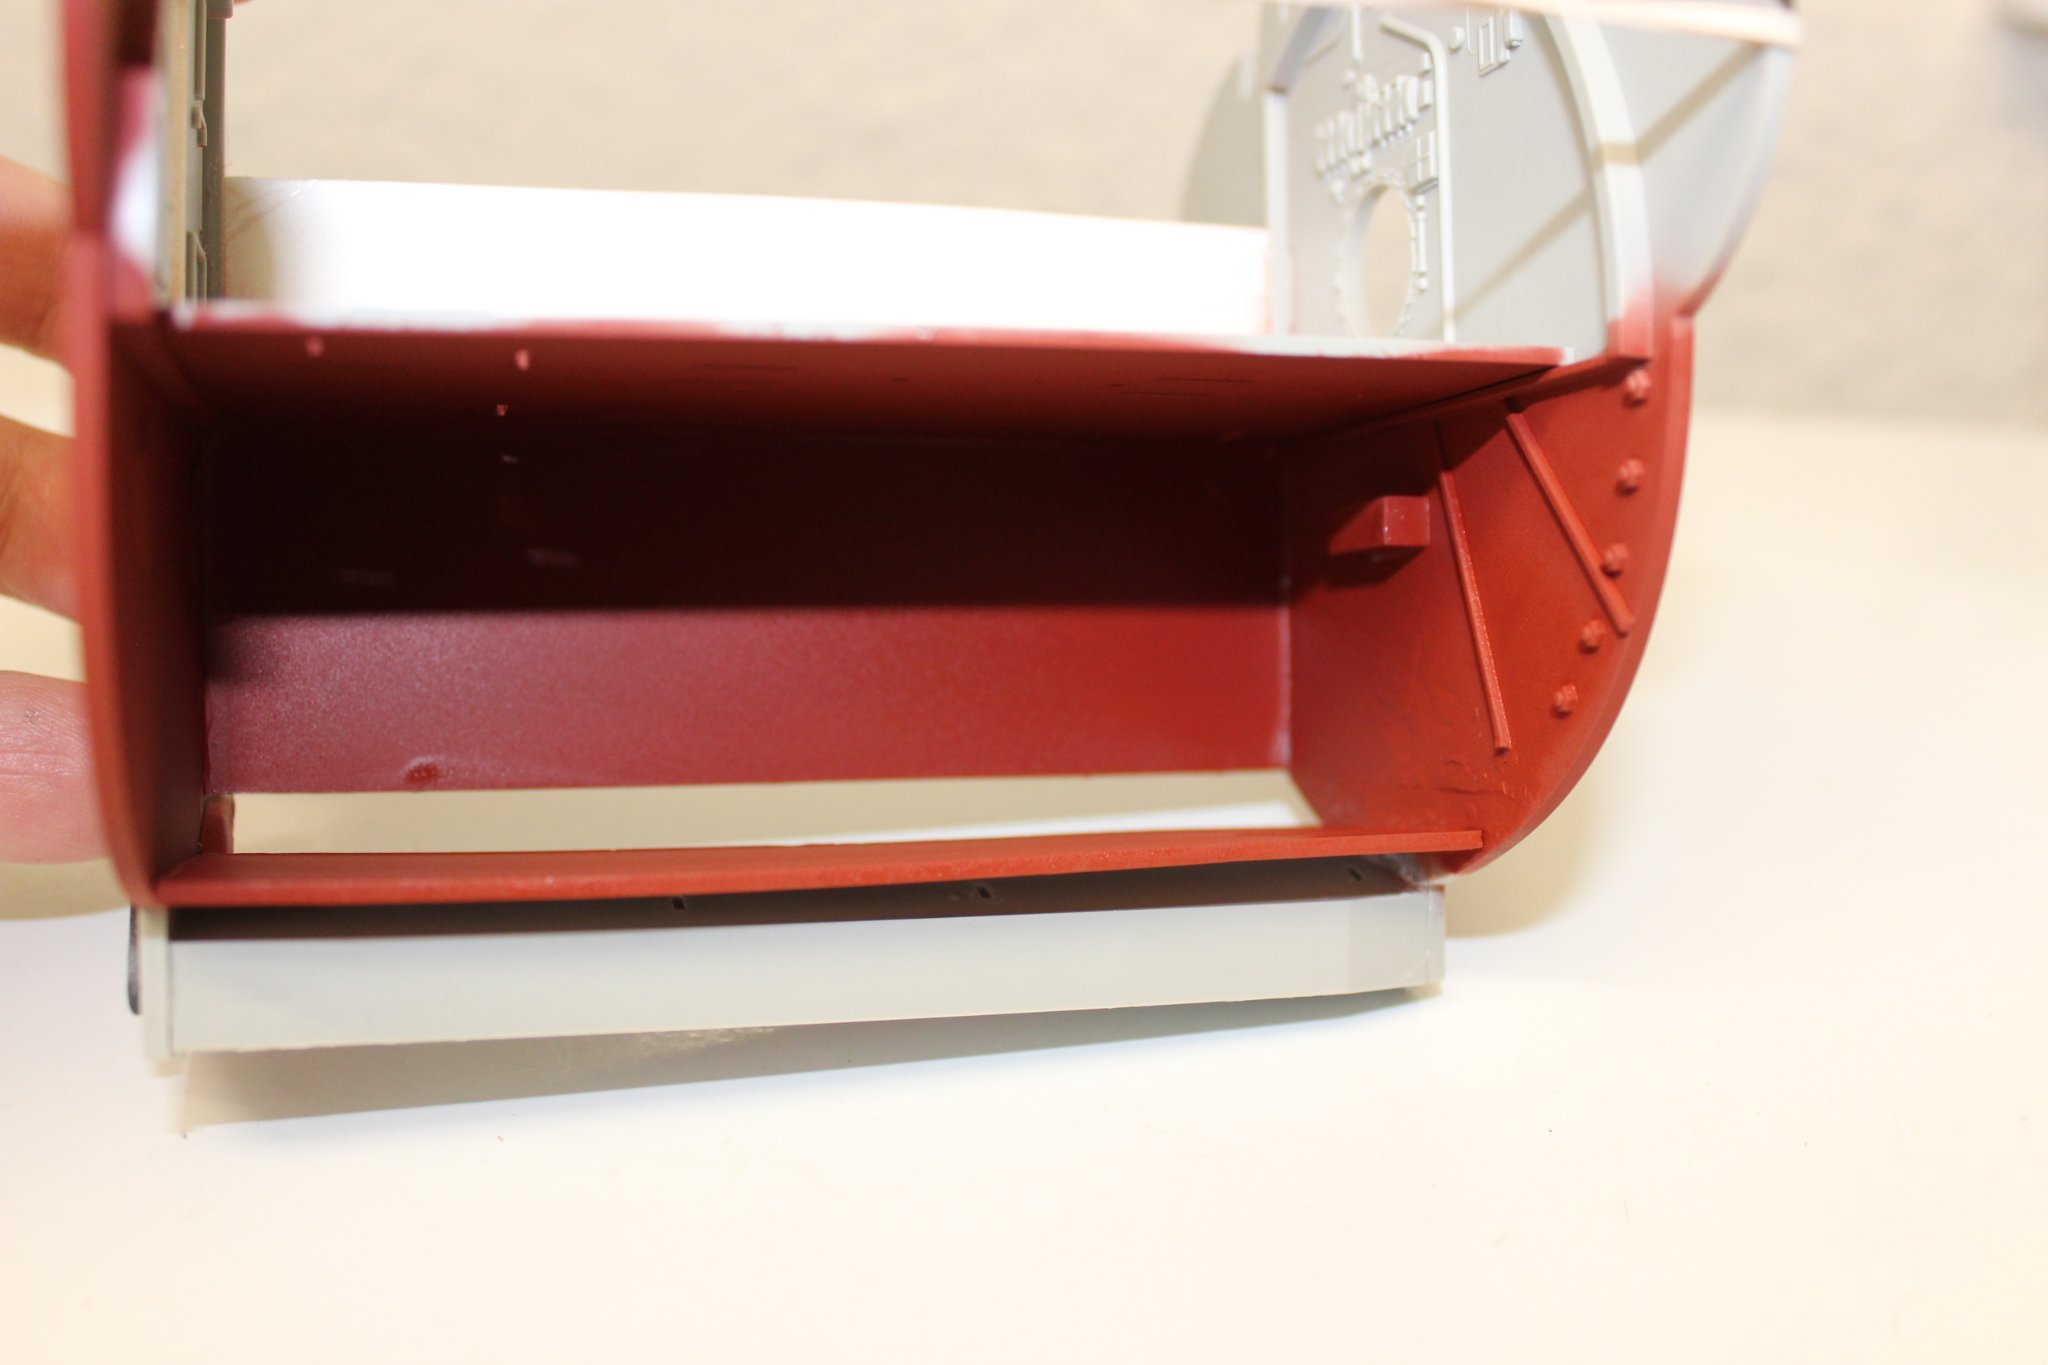
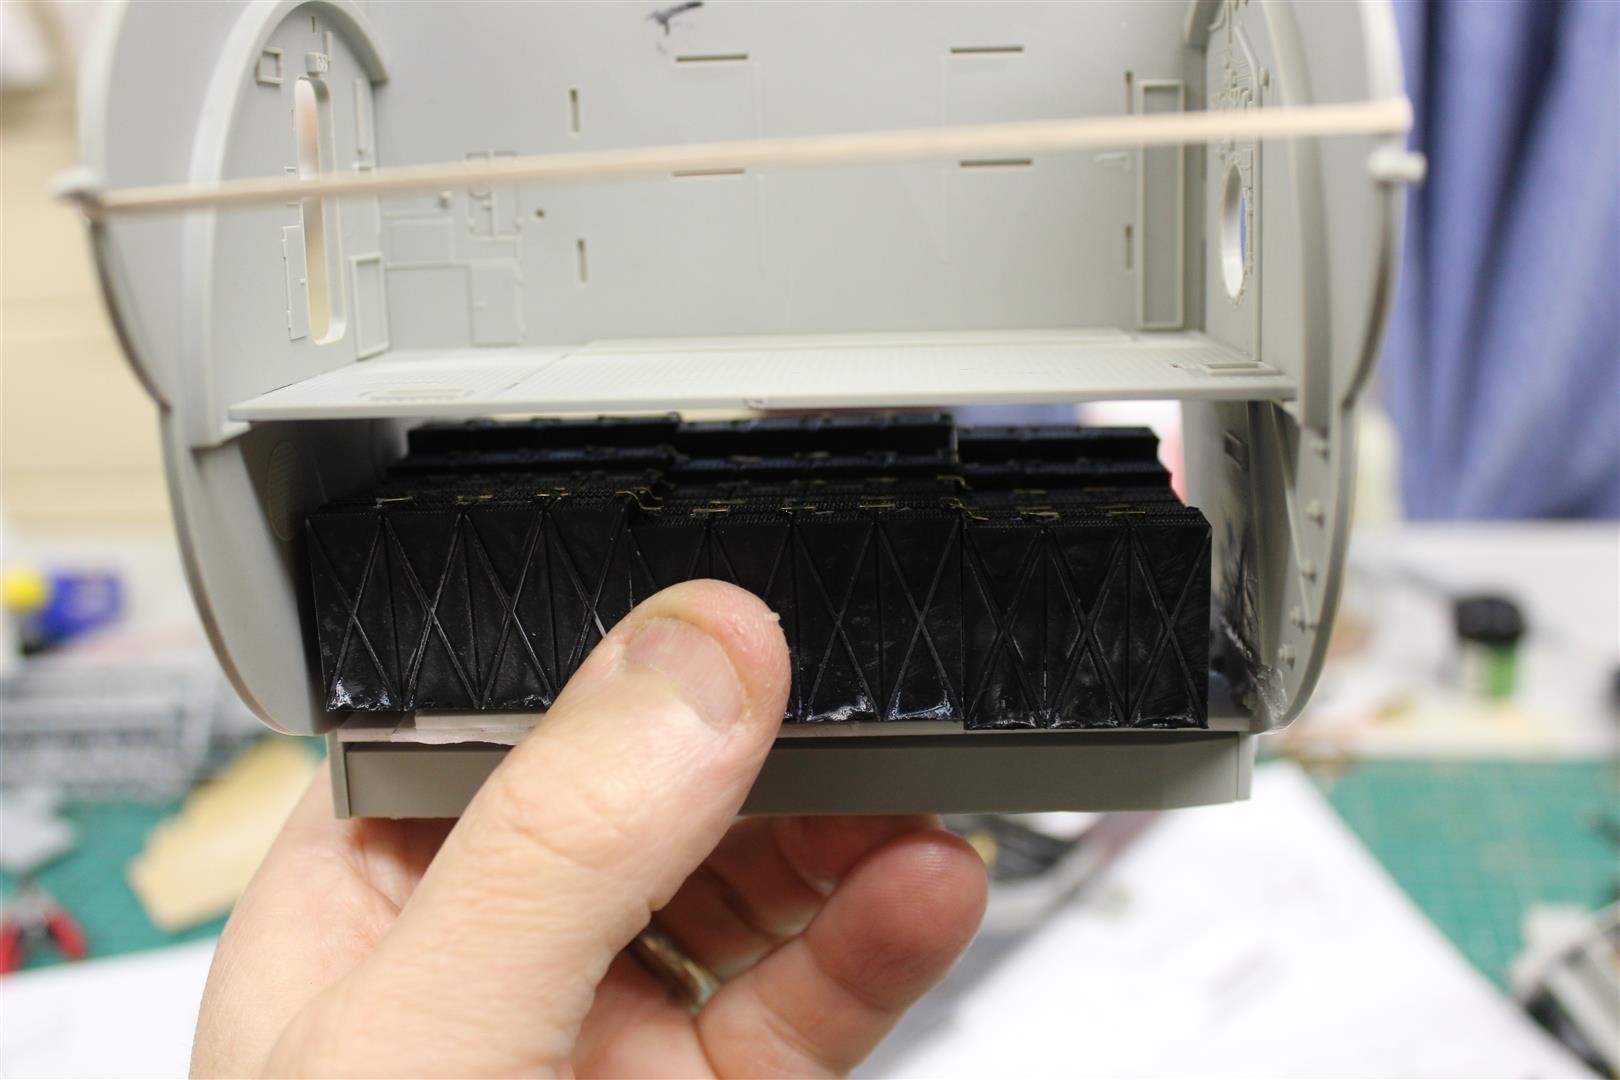
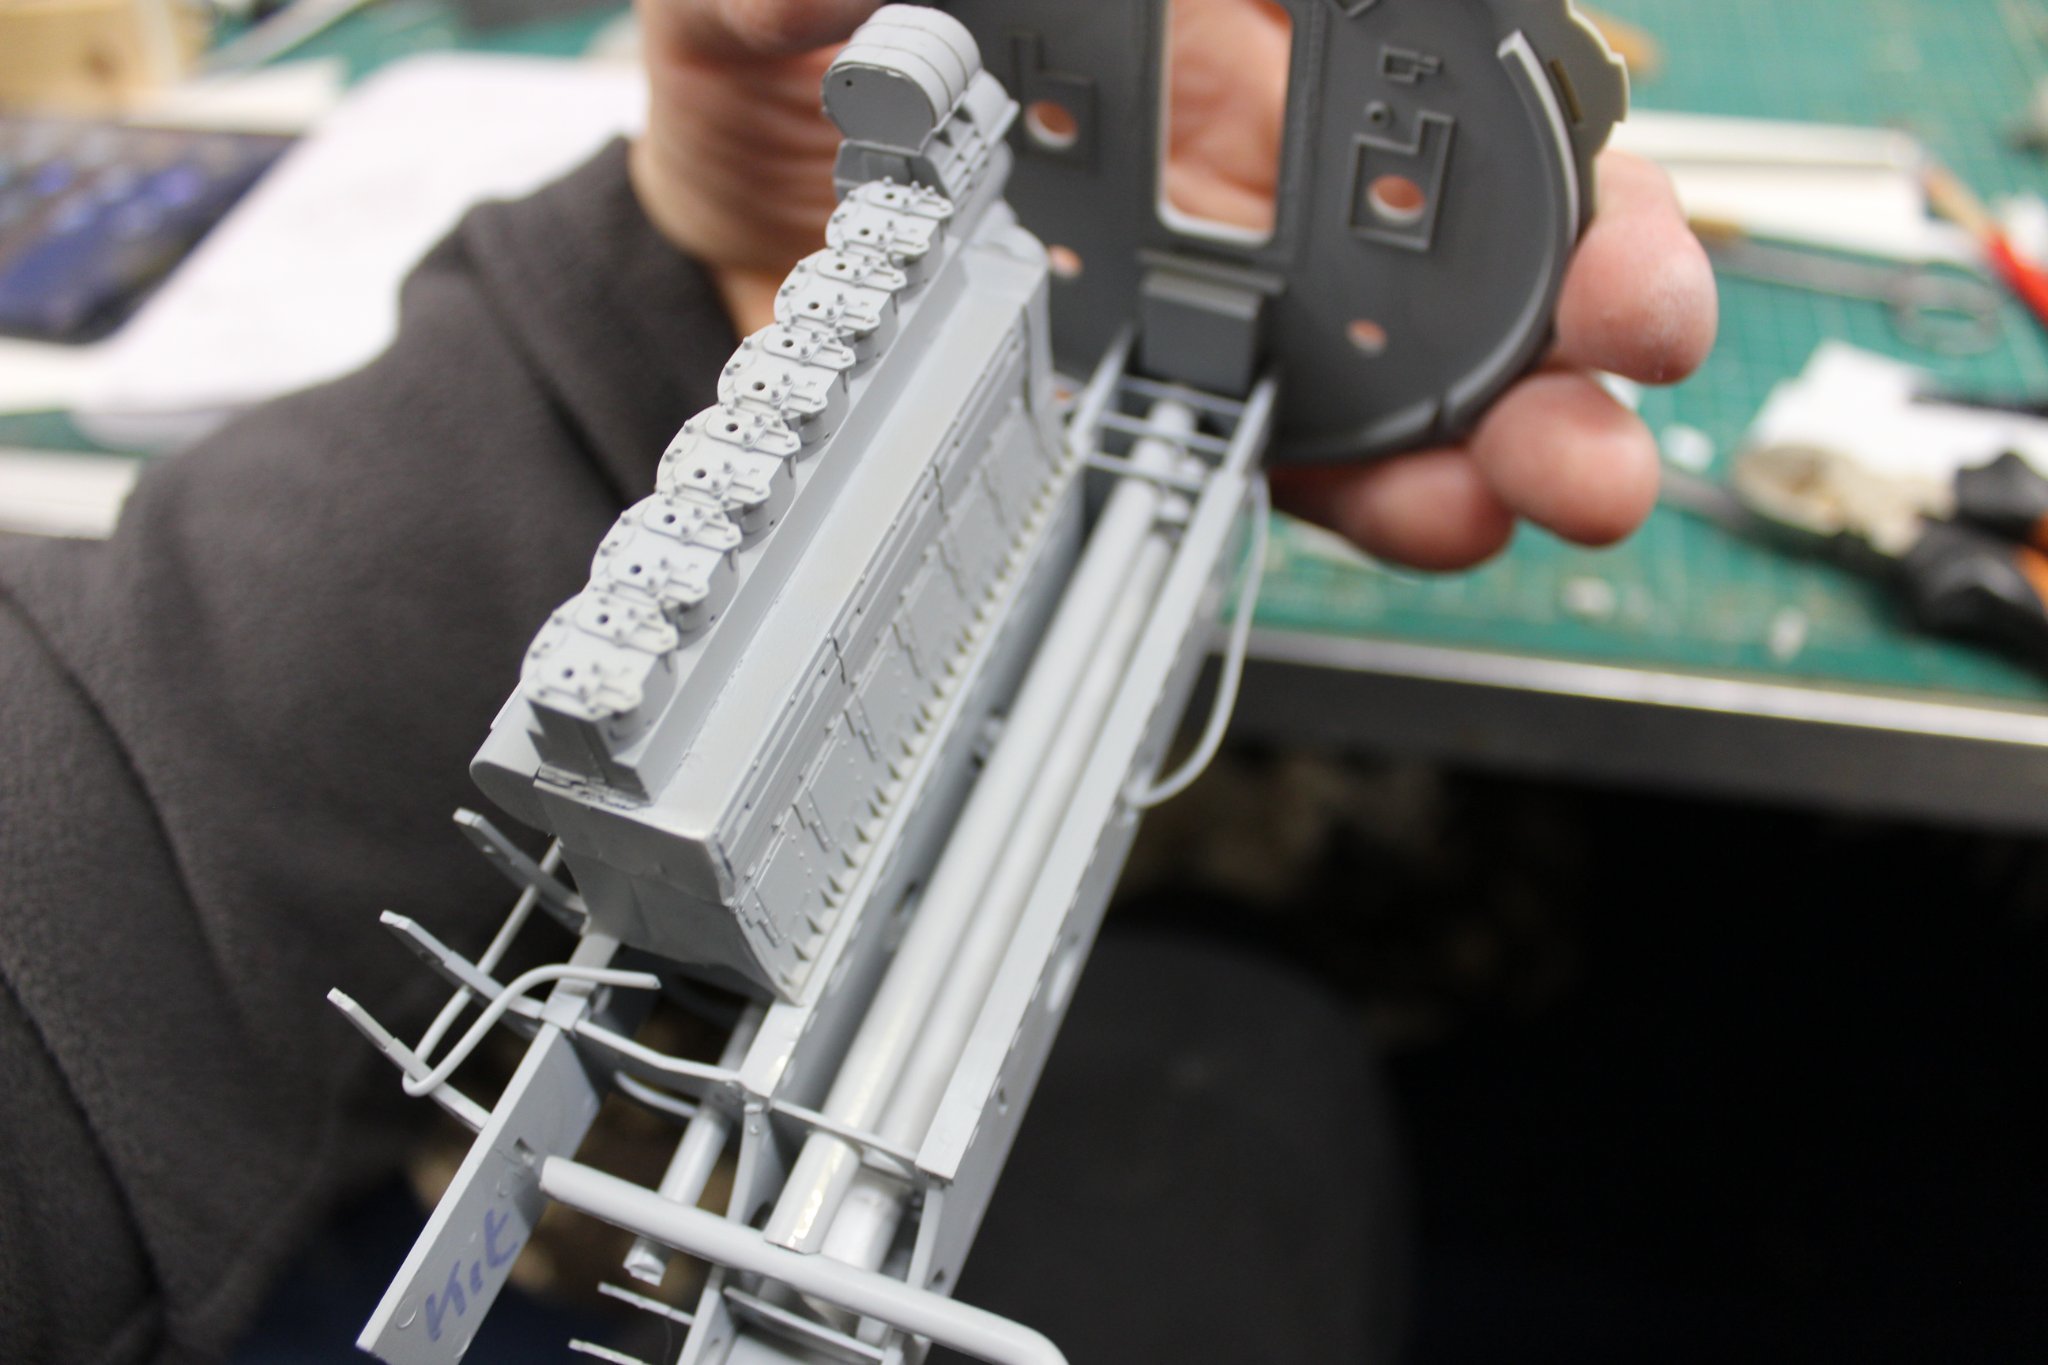
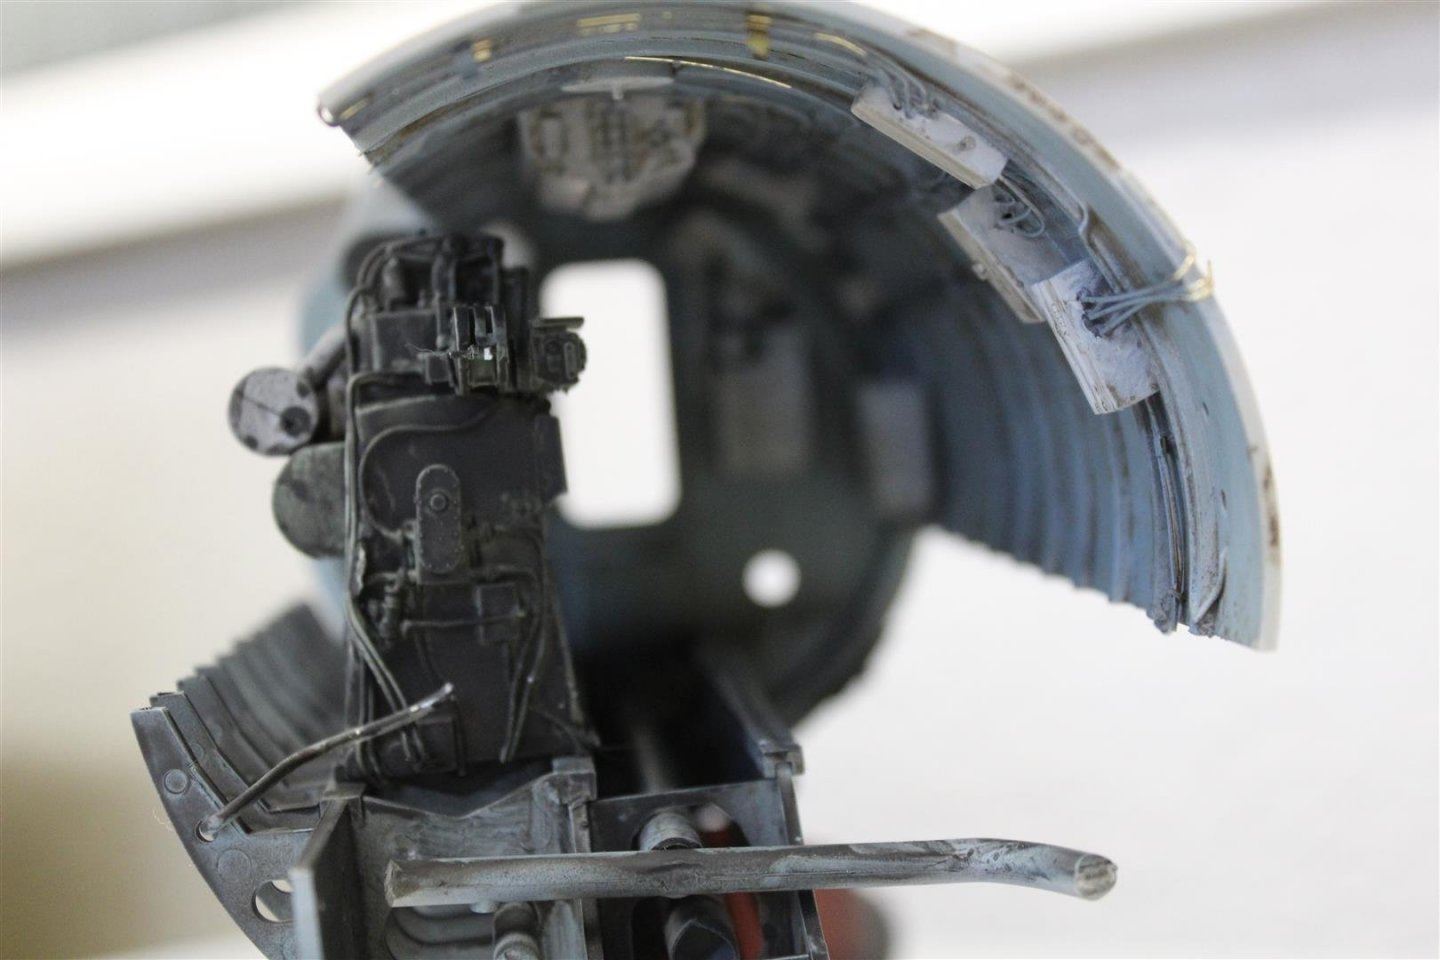
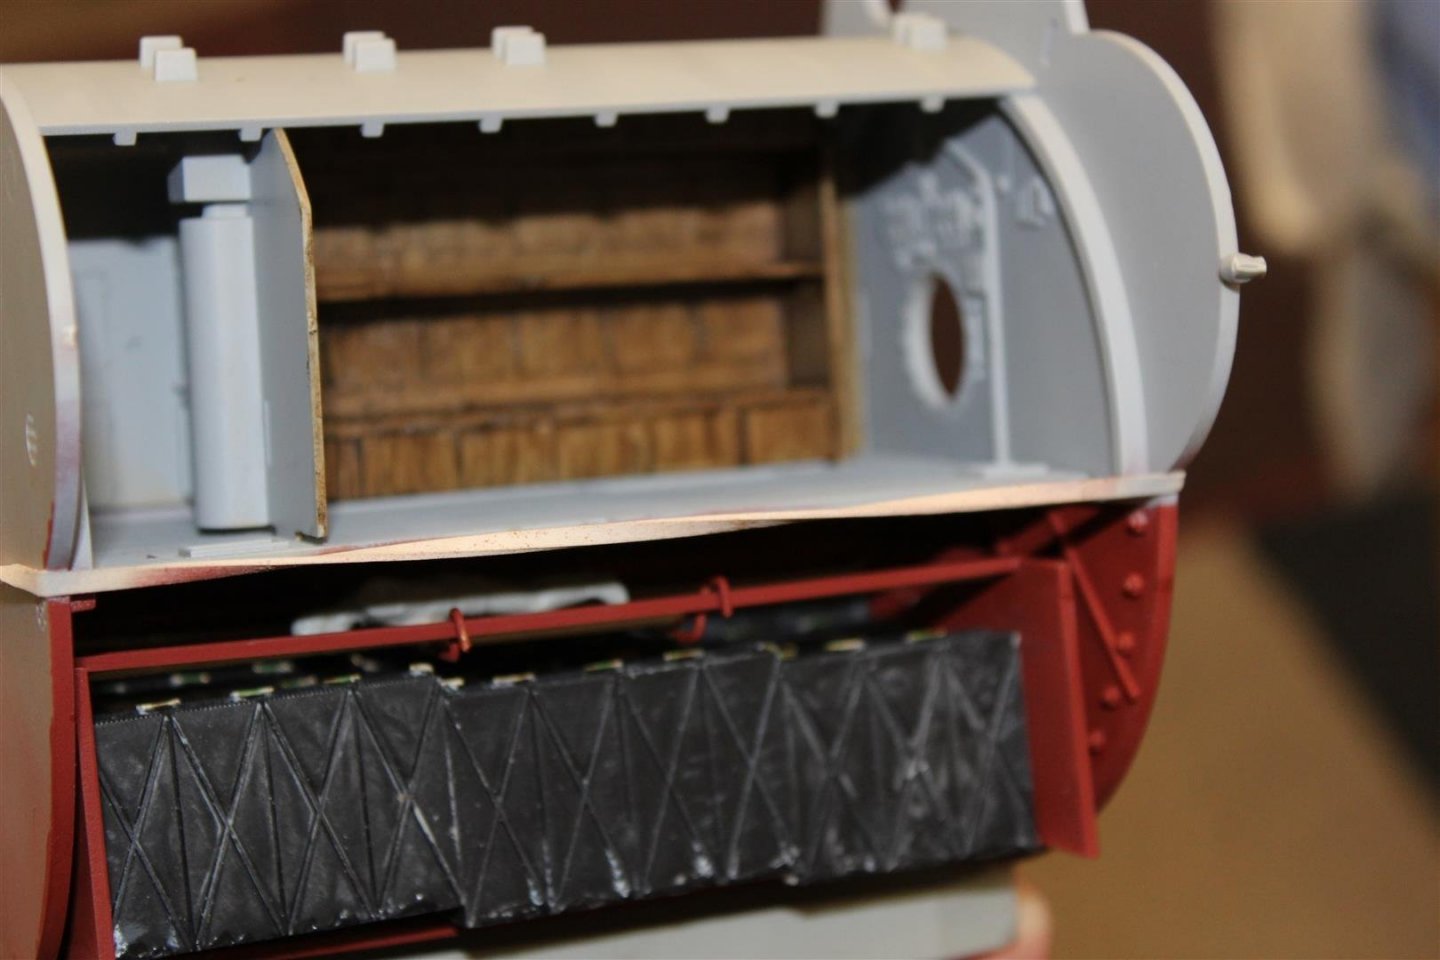
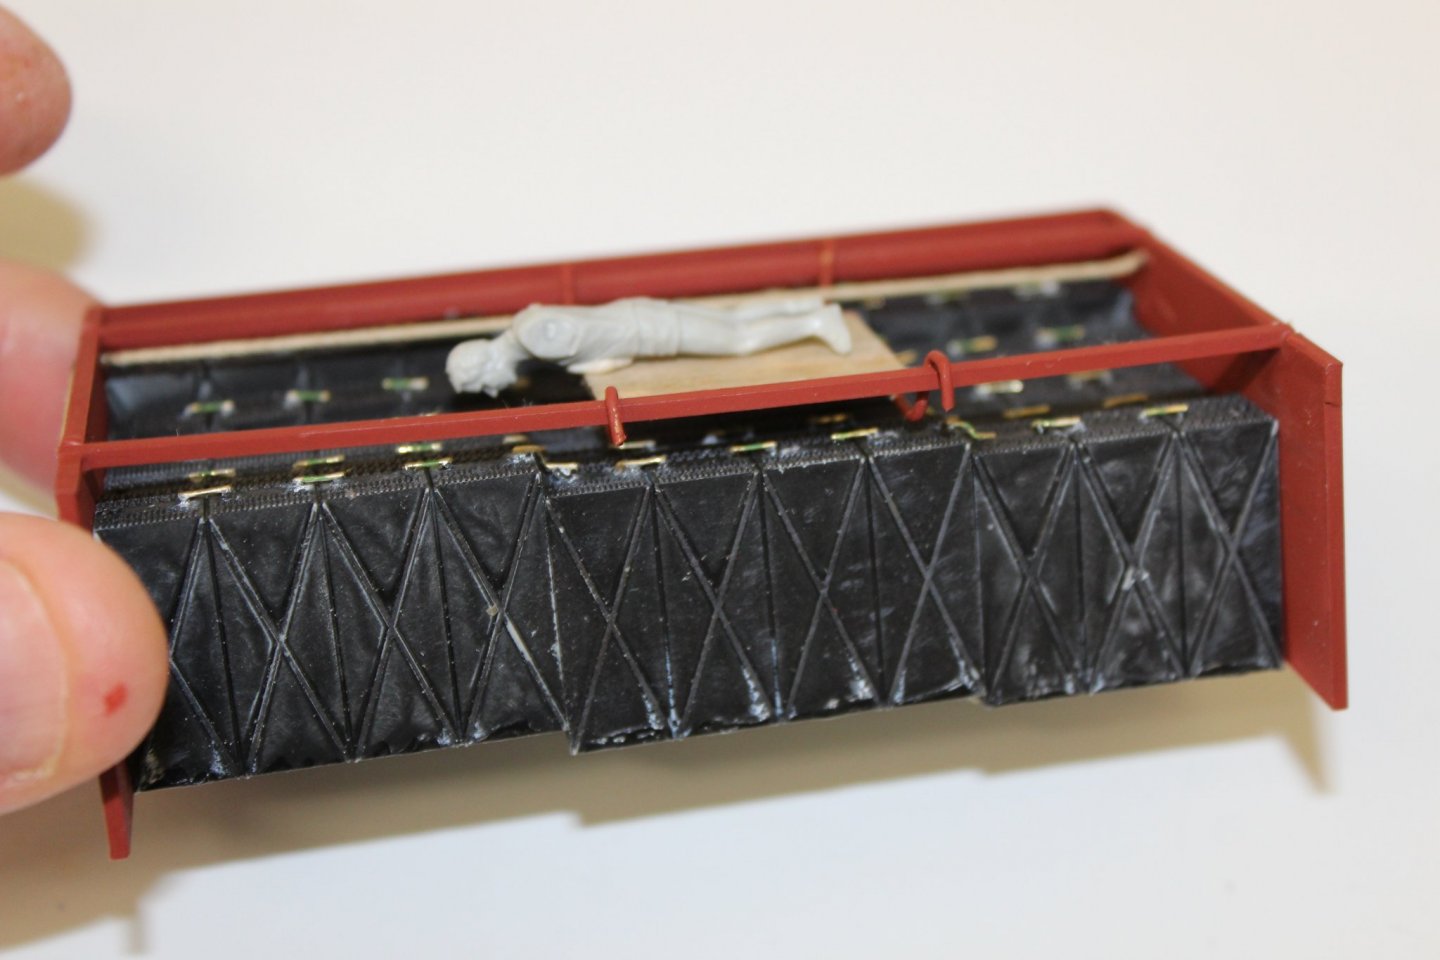
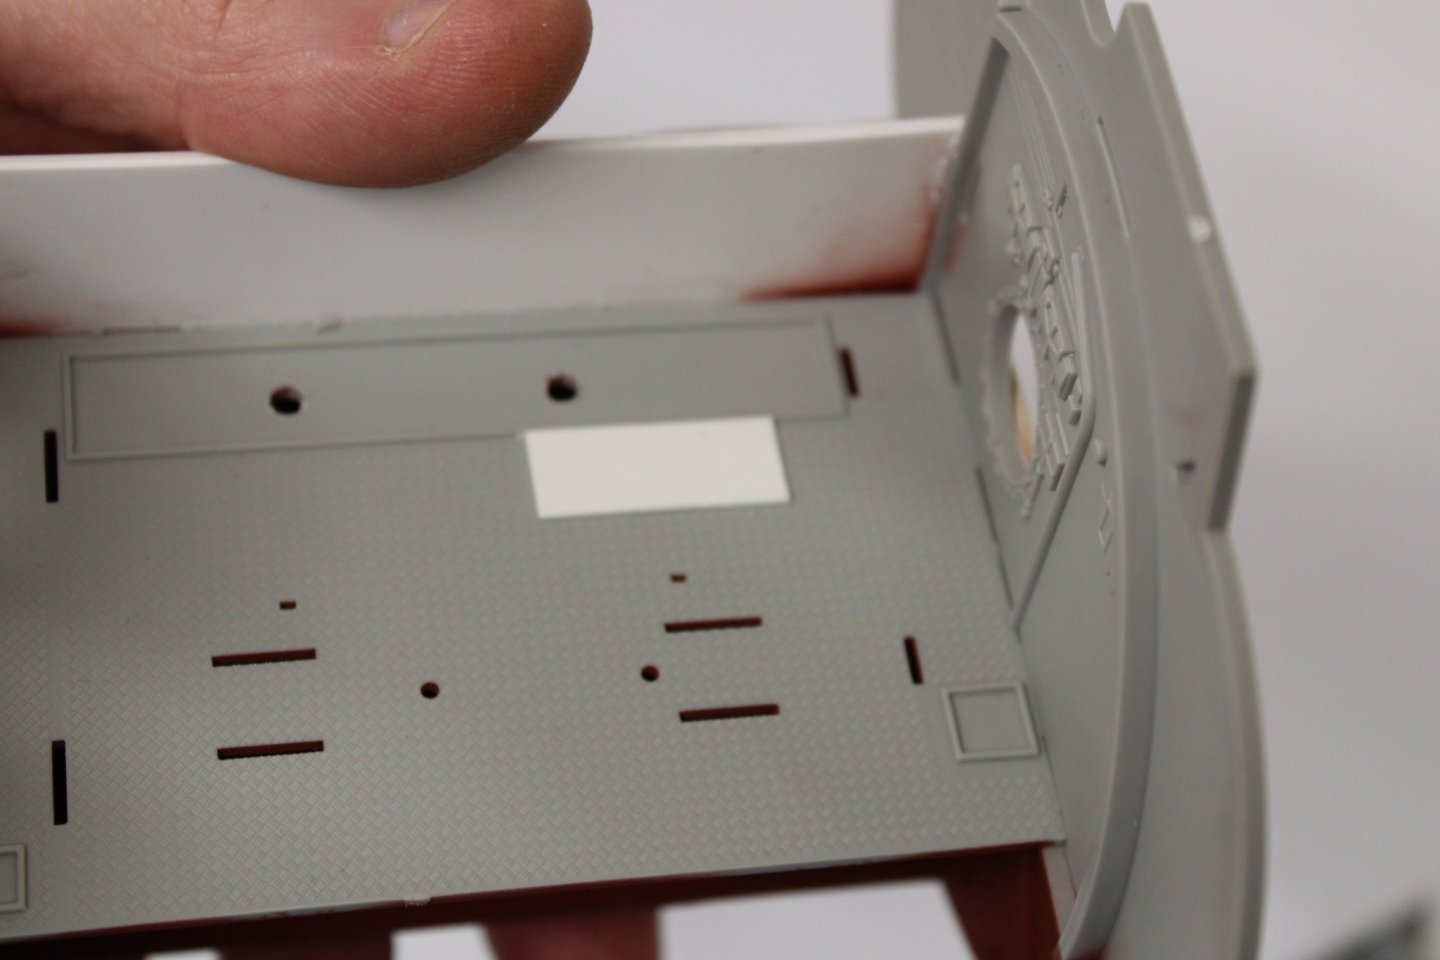
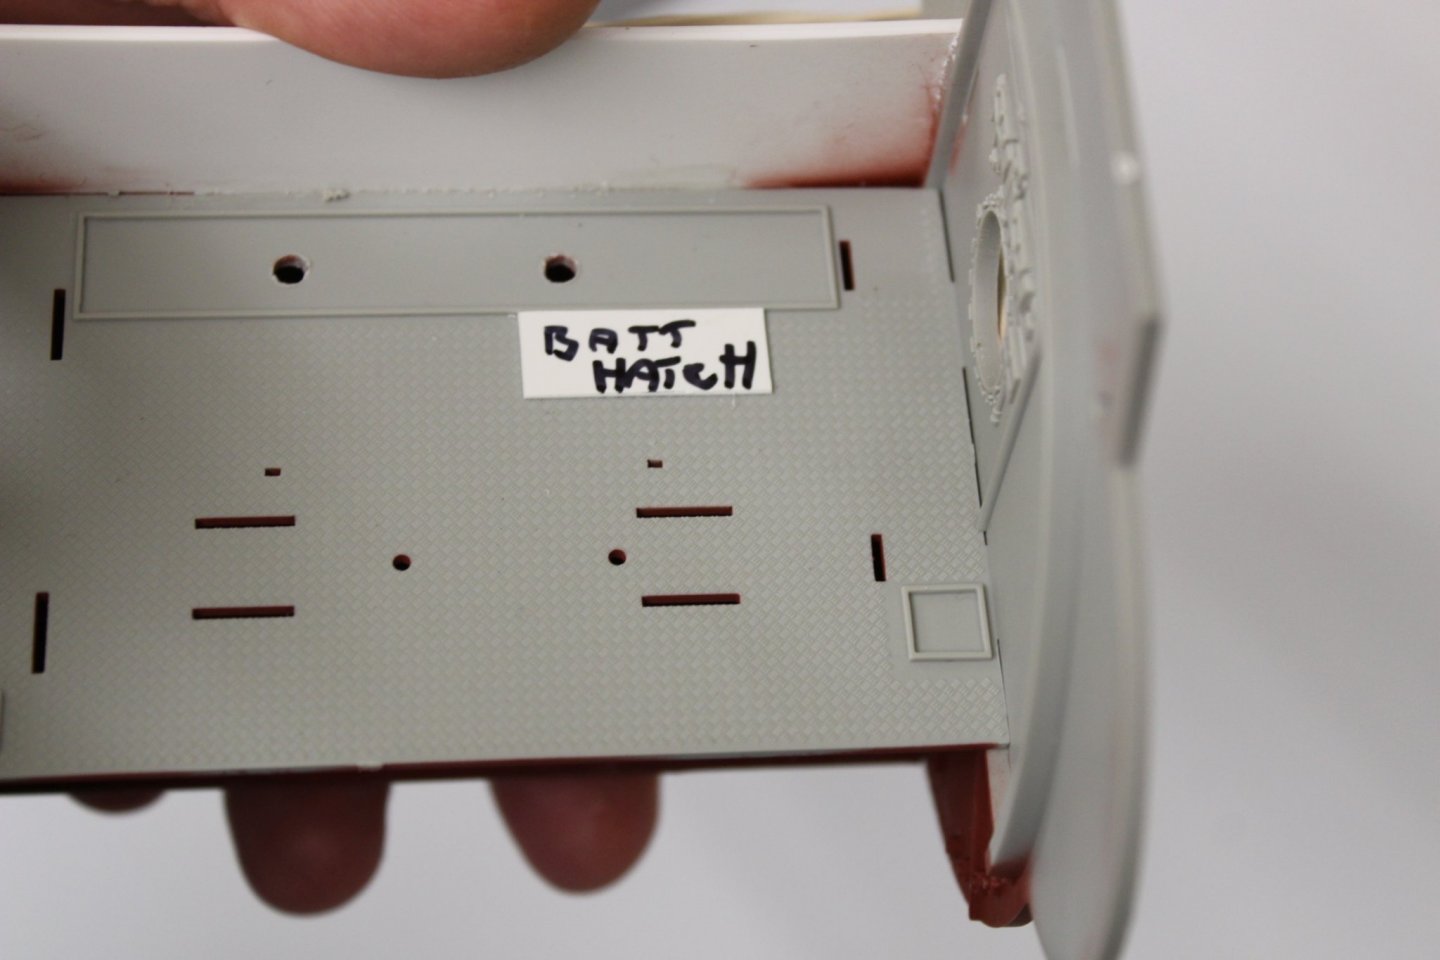
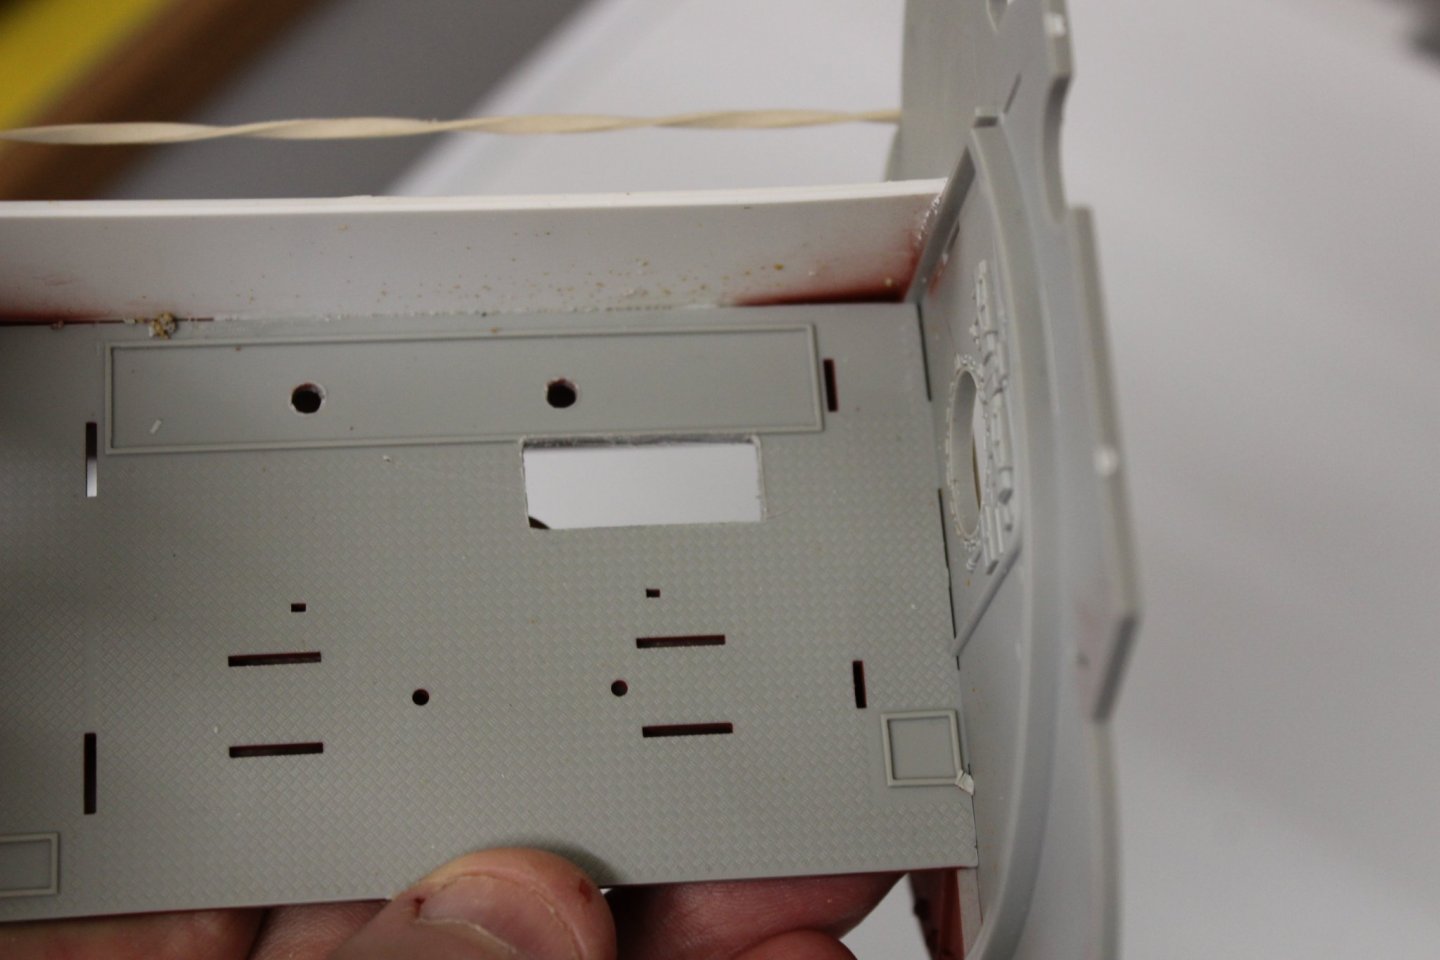
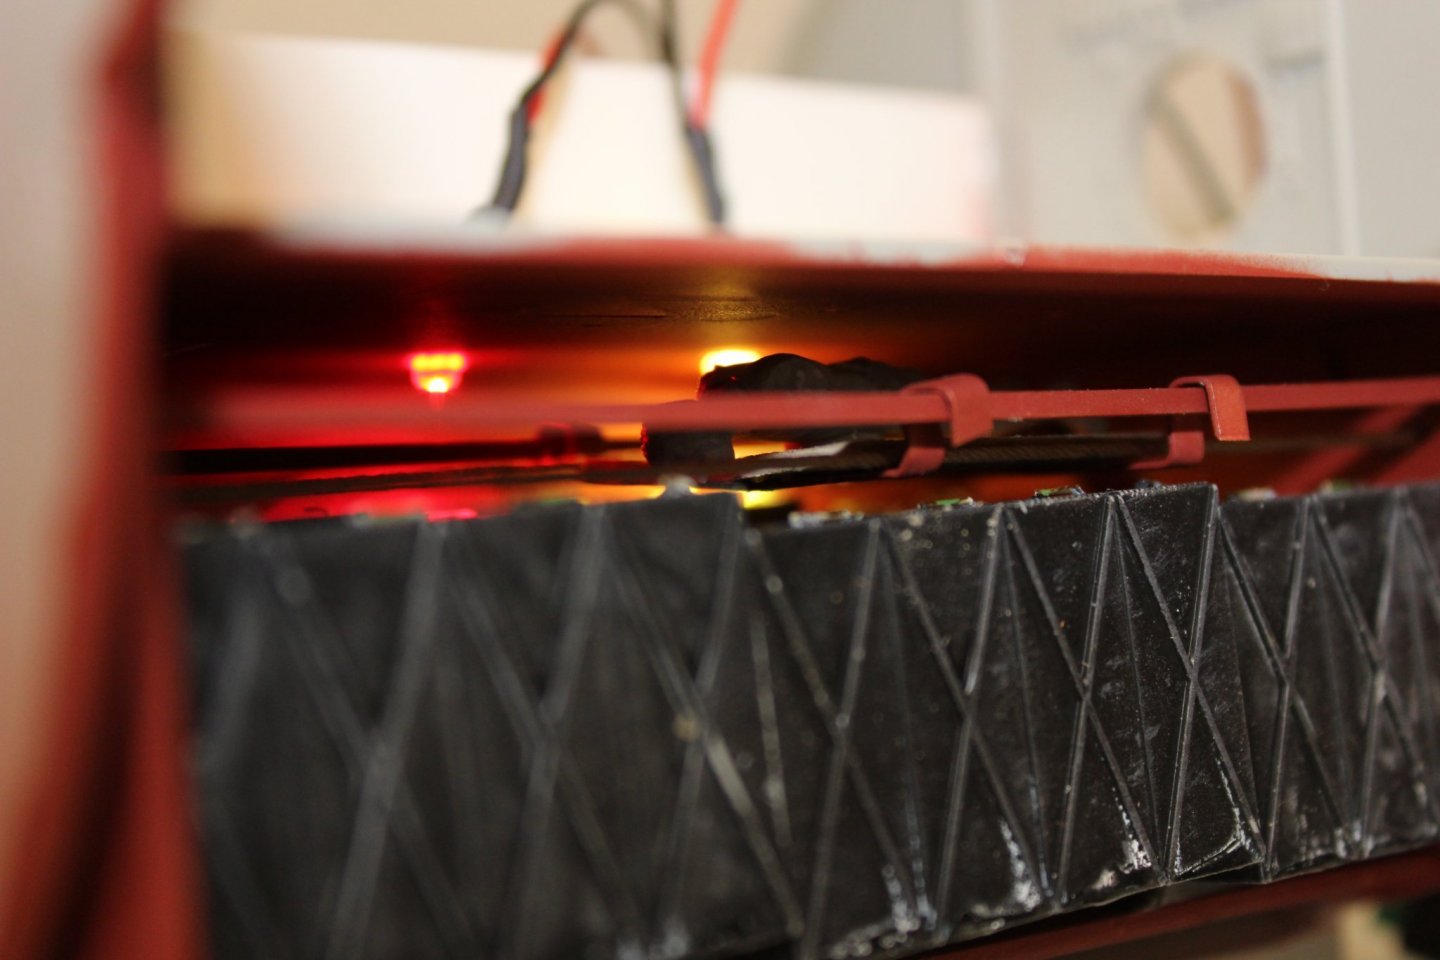
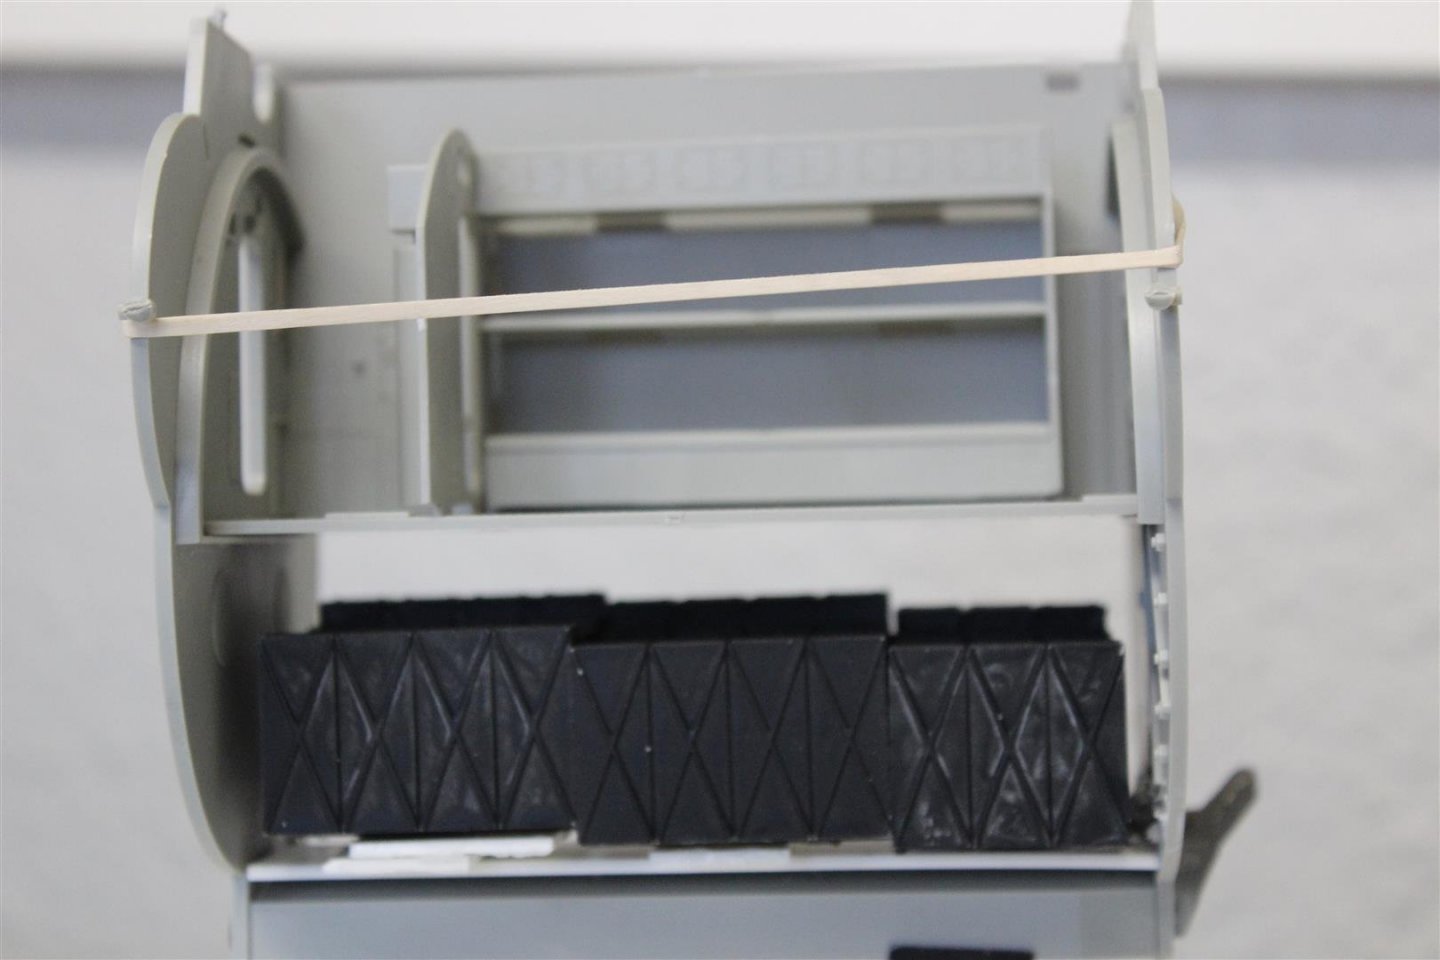
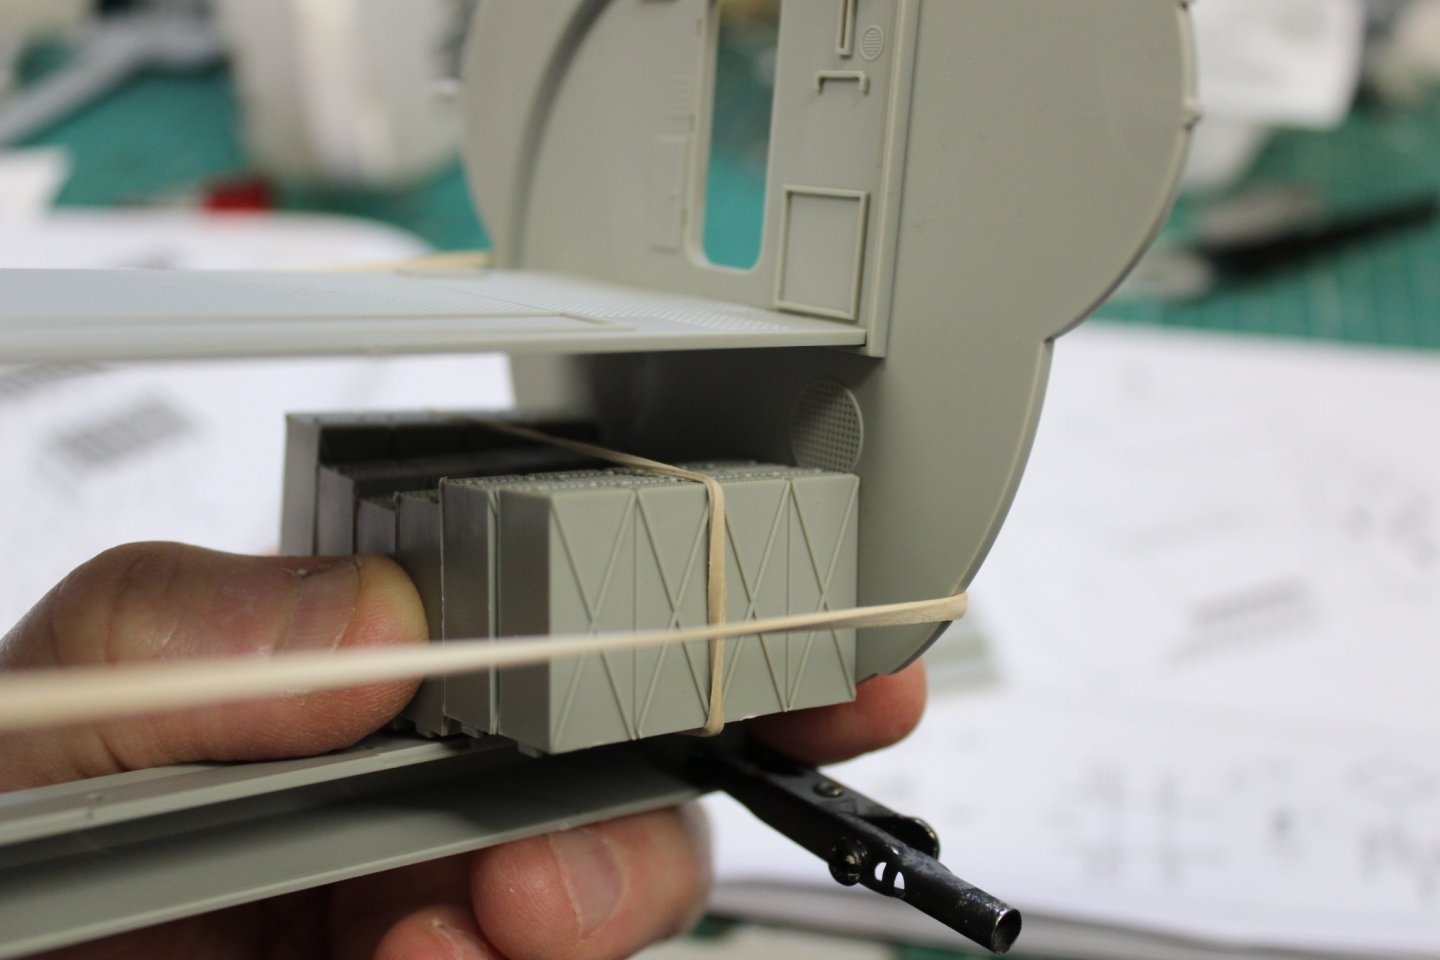
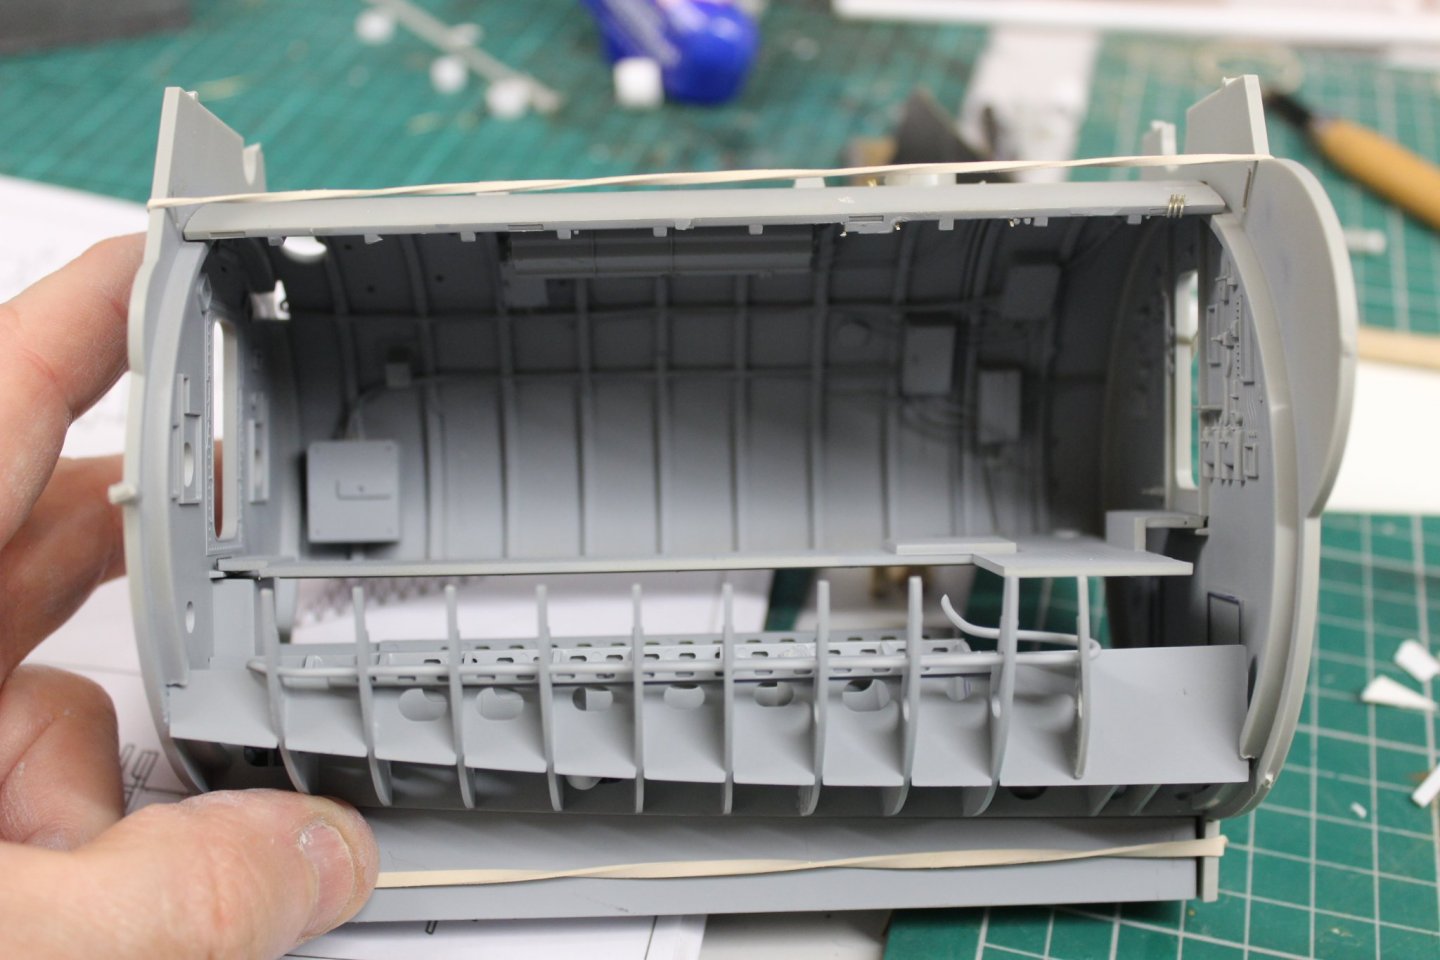
good evening everyone thank you for comments and likes i wasnt happy with the room i had given Hans to work on the battery, so i removed some from the bottom of the lowest pint on the cells then adapted the tank to put the raft cradle in which was also altered to make it look a little more in scale it was another Friday afternoon on the design of this module as you can see the bulkhead behind the bunks extends way above the pressure hull i wasn't able to find where the battery hatch was, so artistic licence put it there, this wasn't just for daily maintenance but for cell changes and whole battery replacement


-
yr welcome, an upgrade package has allowed you to the front nearer the popcorn machine i never realised that sort of thing was used in aircraft, lol its 0430 and i have learnt my new thing for the day already
-
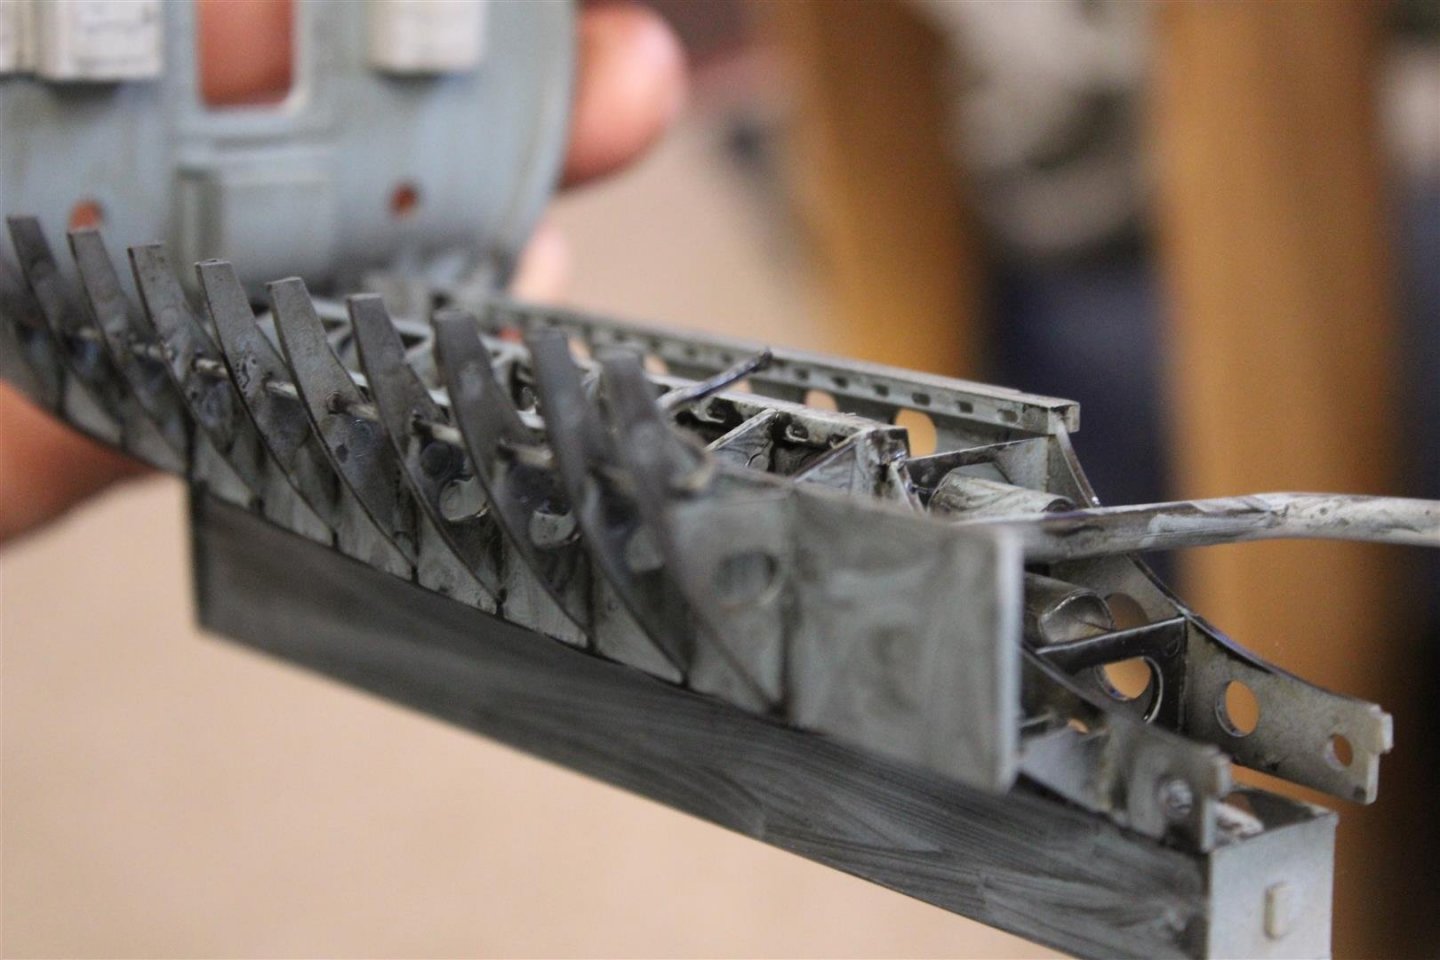
thank you it dont look right to me, i will remake the raft in a thinner material, and drop it down near the cell tops, not much else i can do with out dismantling the pack itself and taking some height out, the top of the keel is slanting upwards towards the back to facilitate the way the kit was intended, but if i level that off then i would not get the pack in within the pressure hull as it would come down to low i think the raft has to change
-
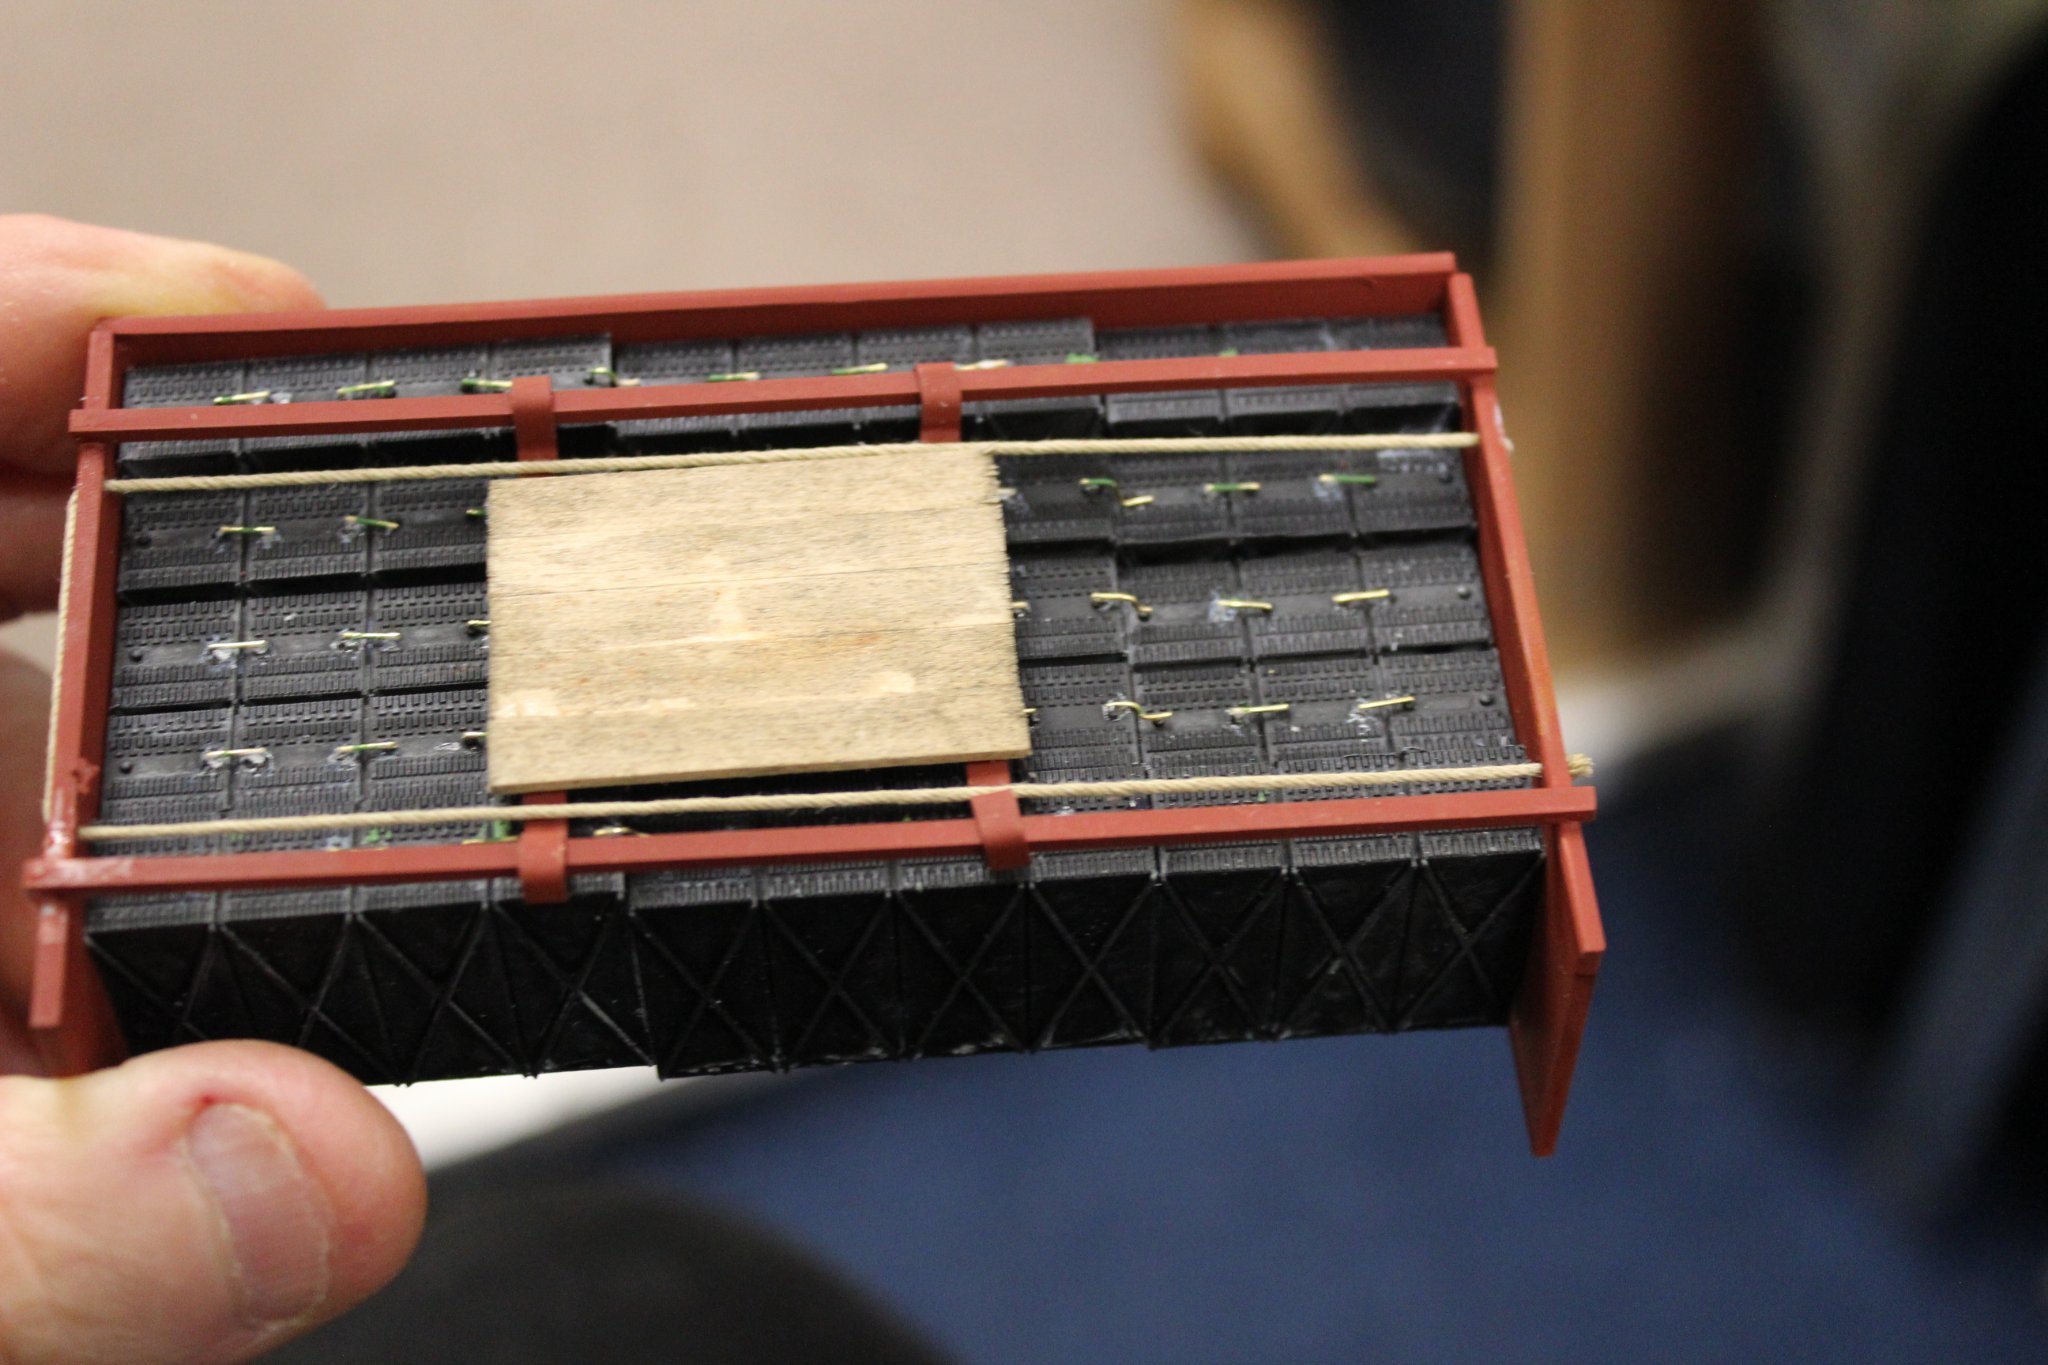
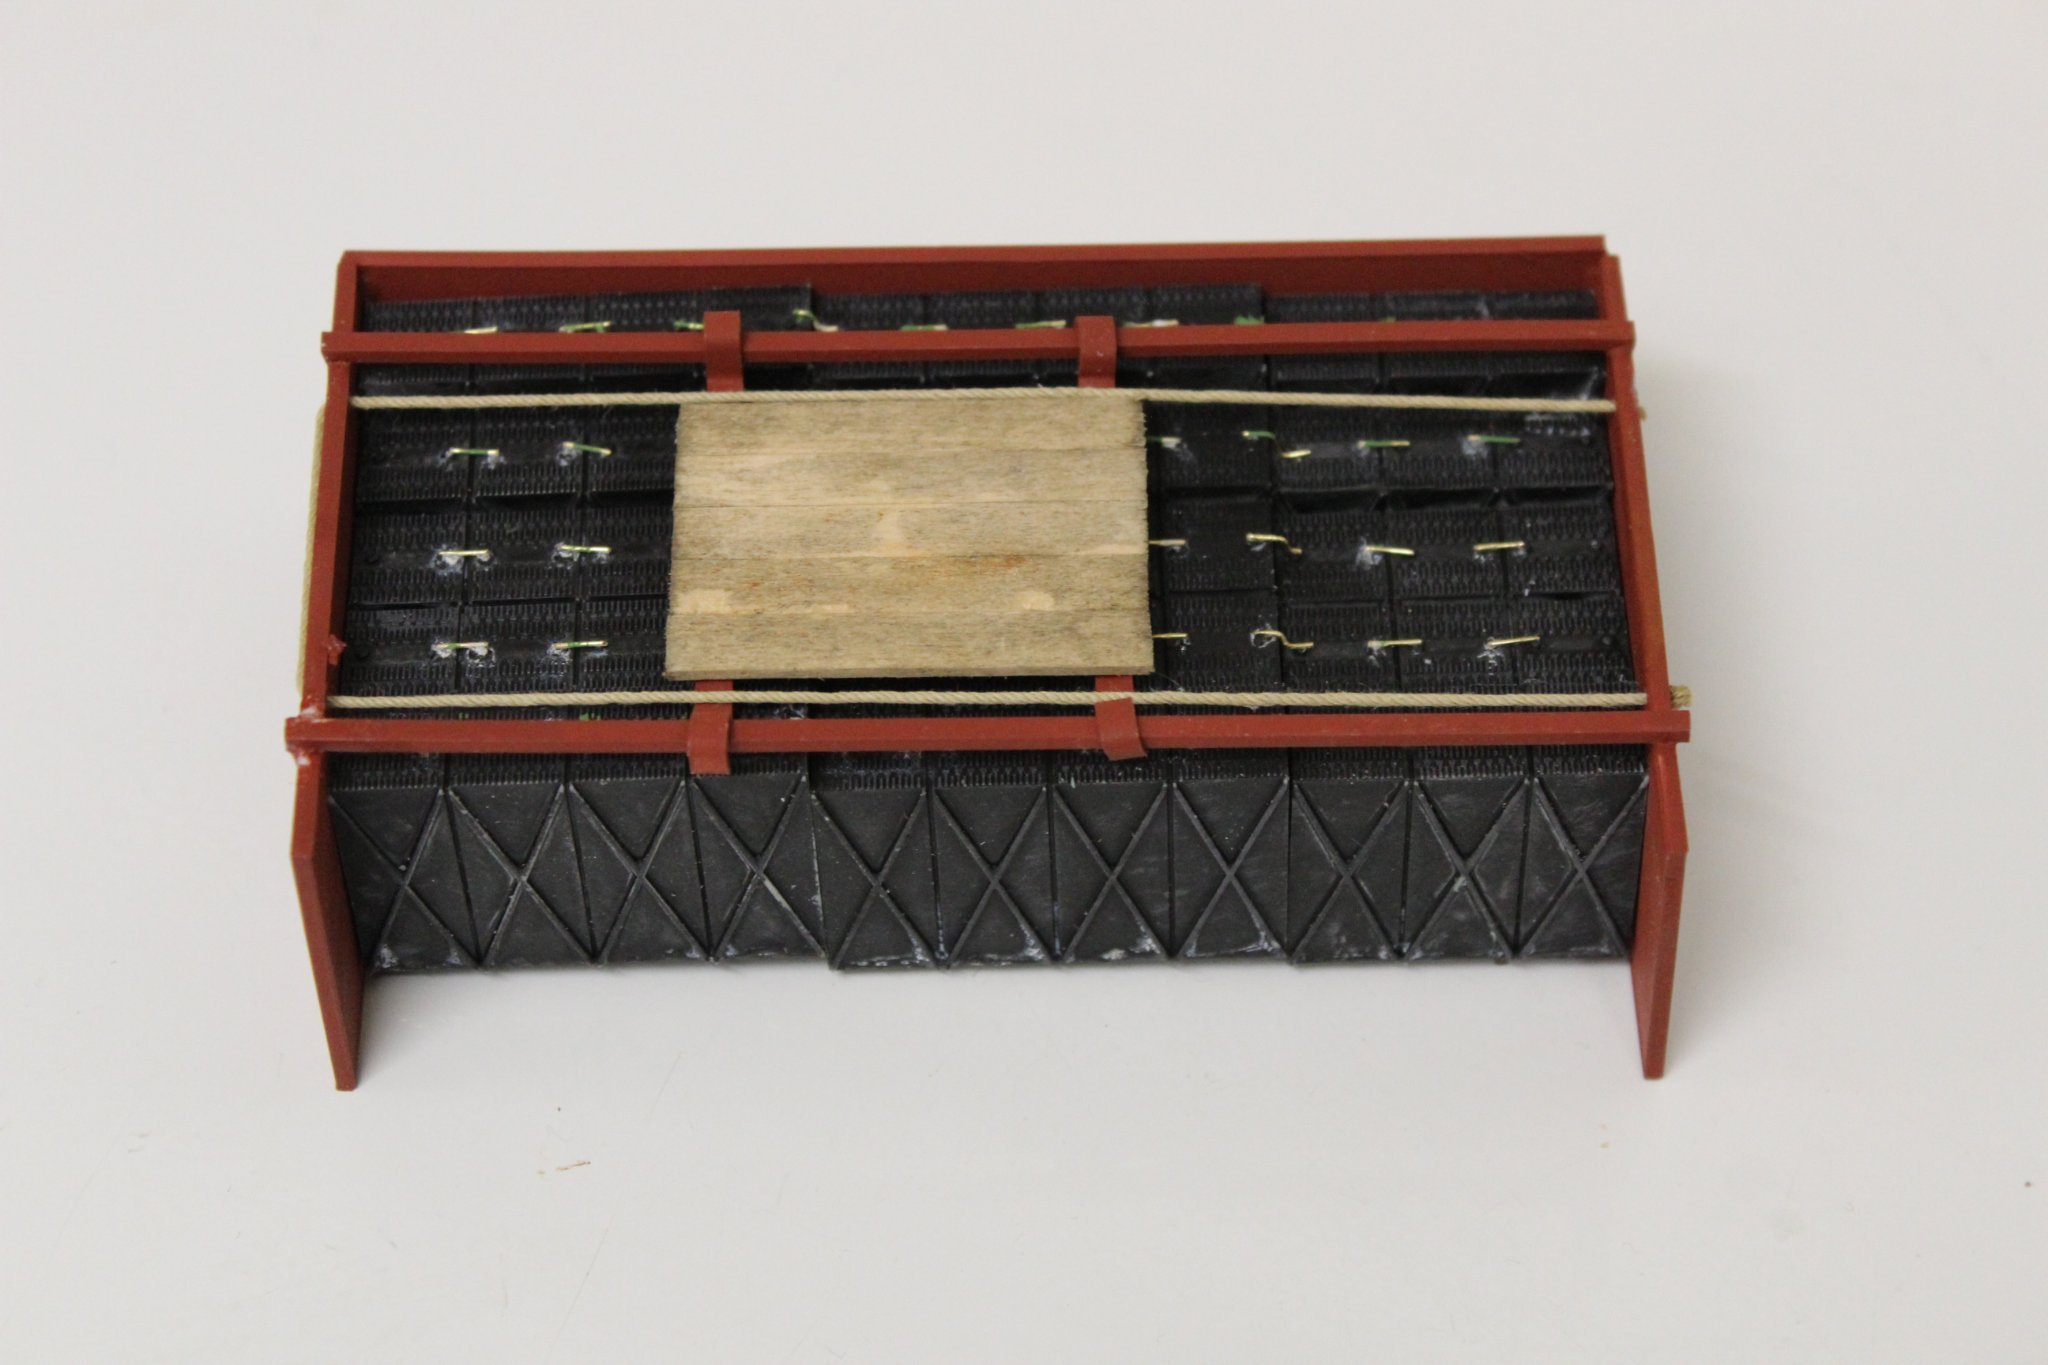
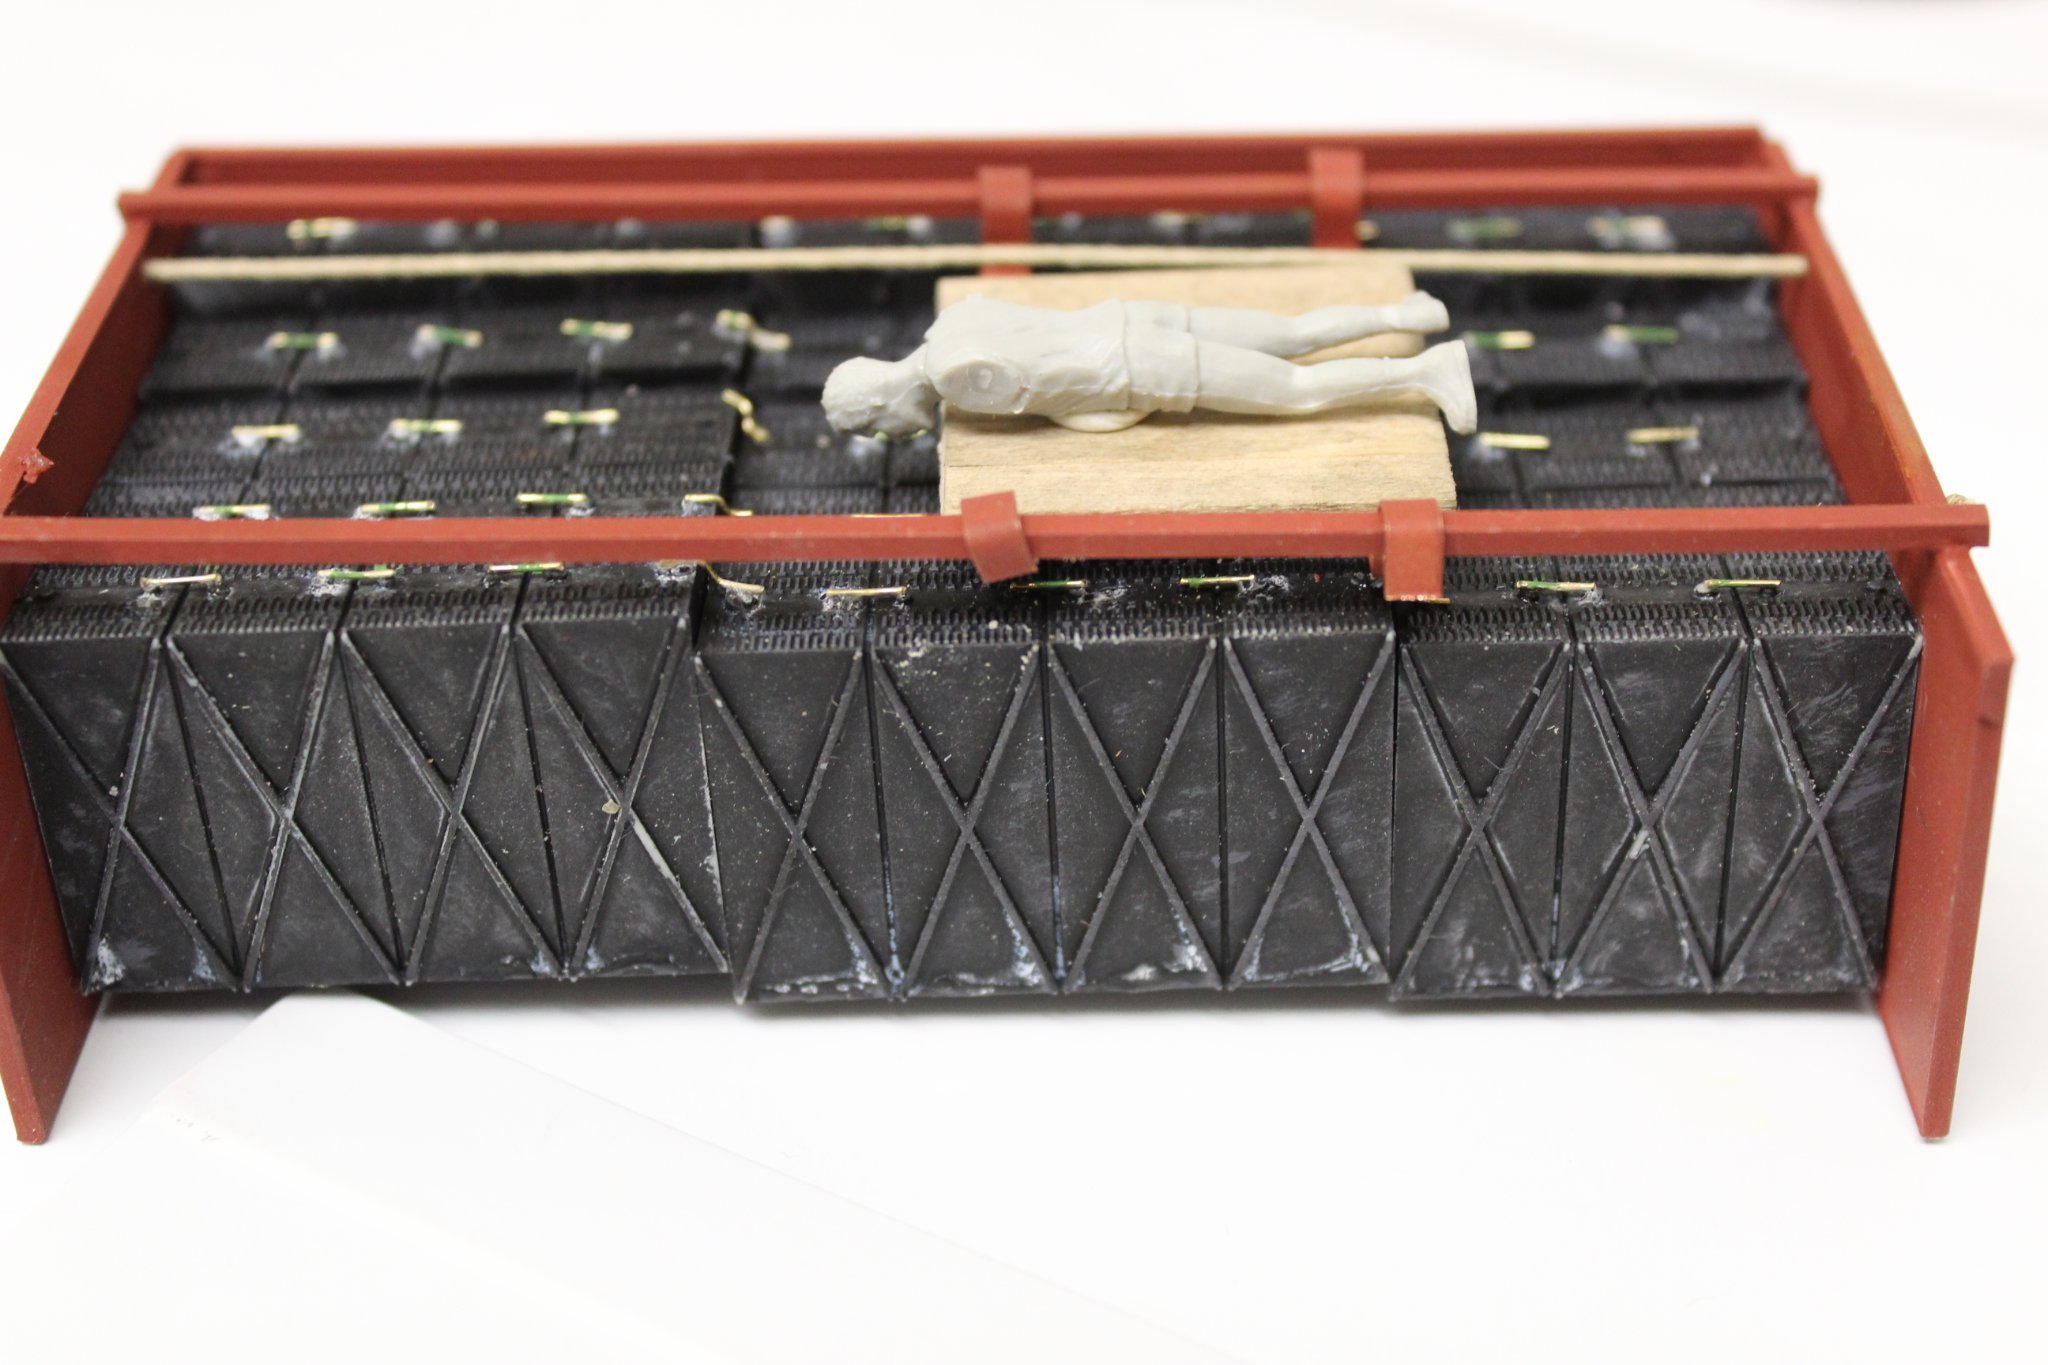
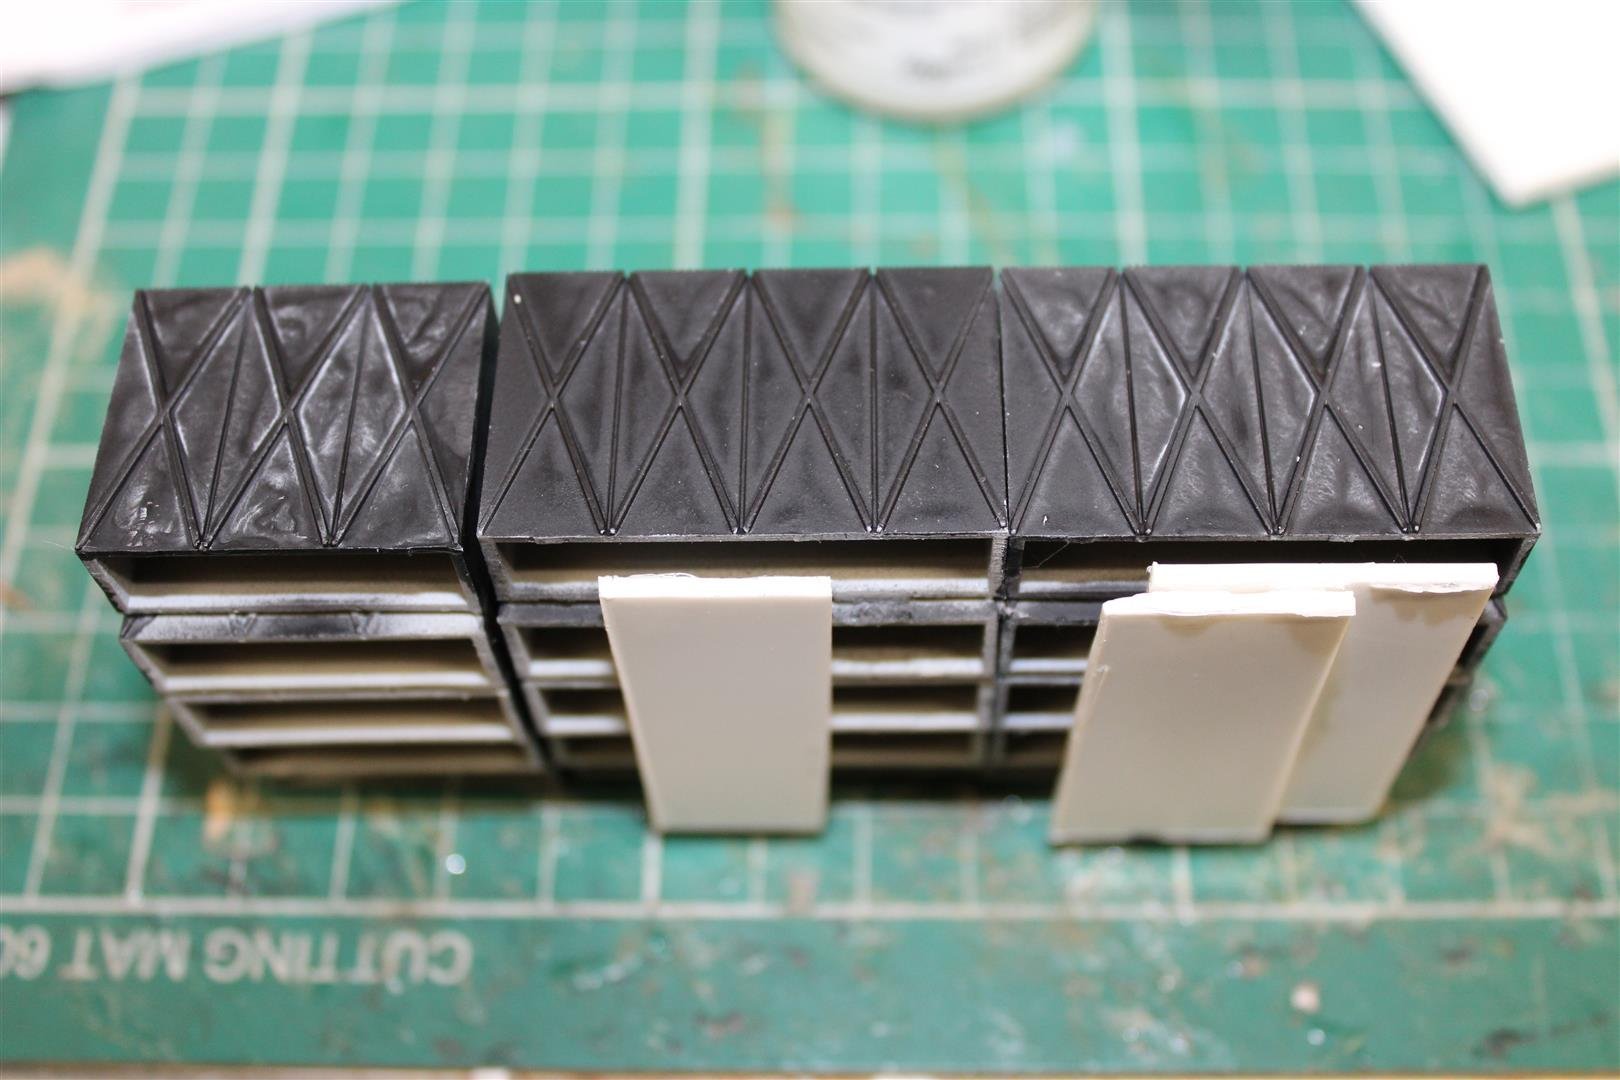
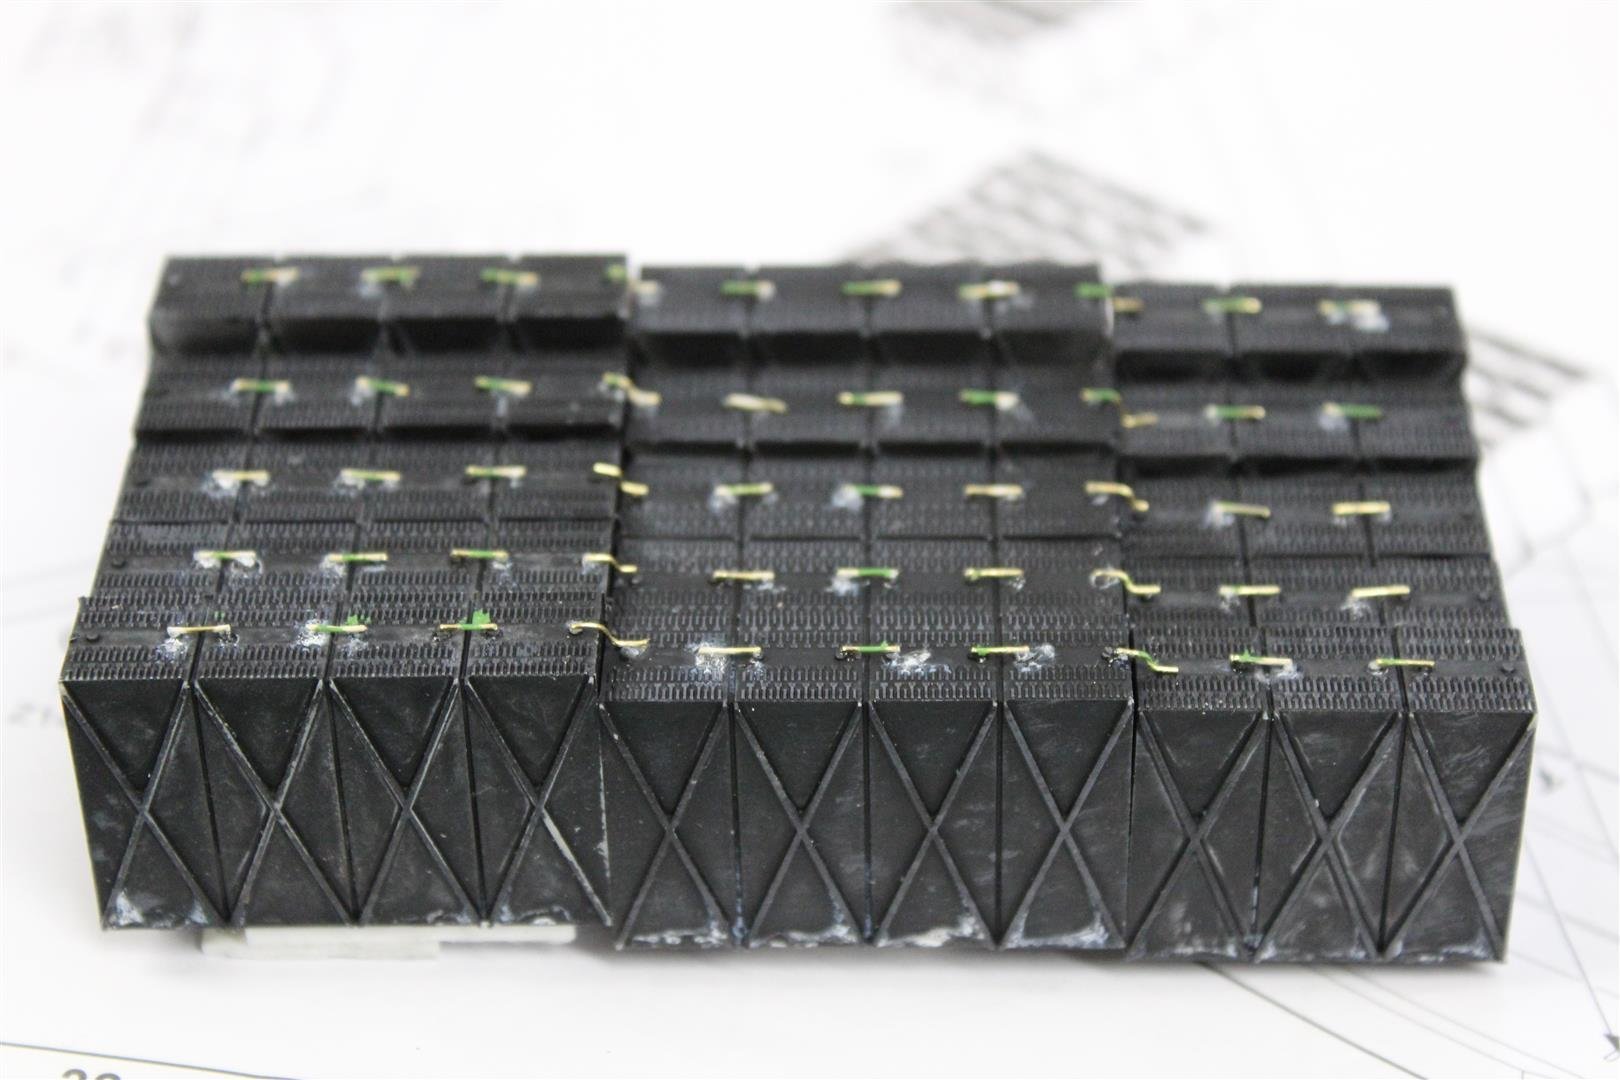
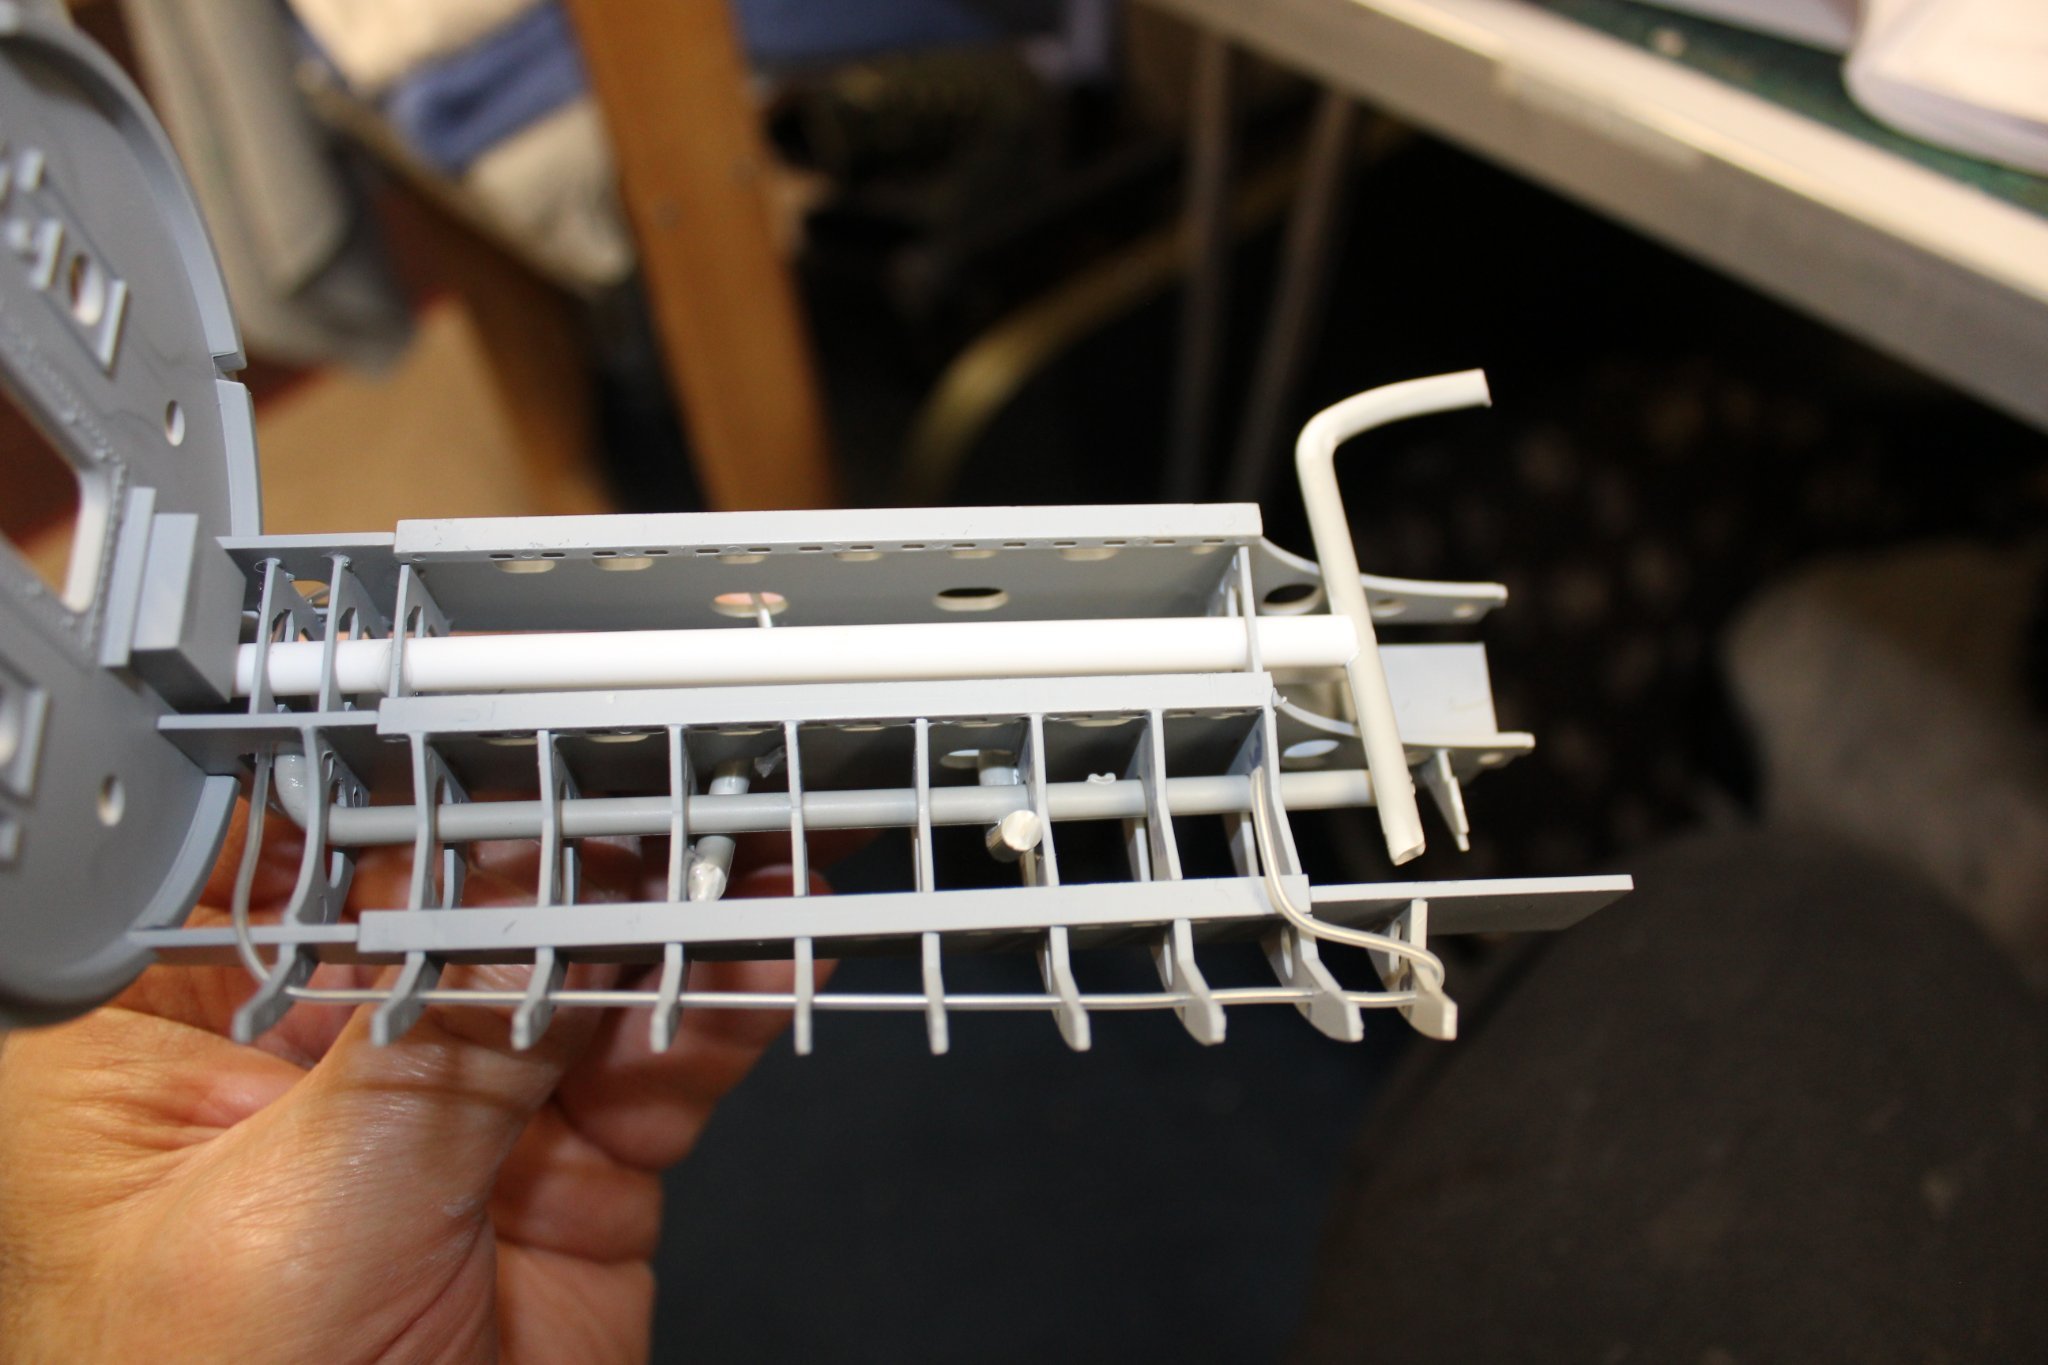
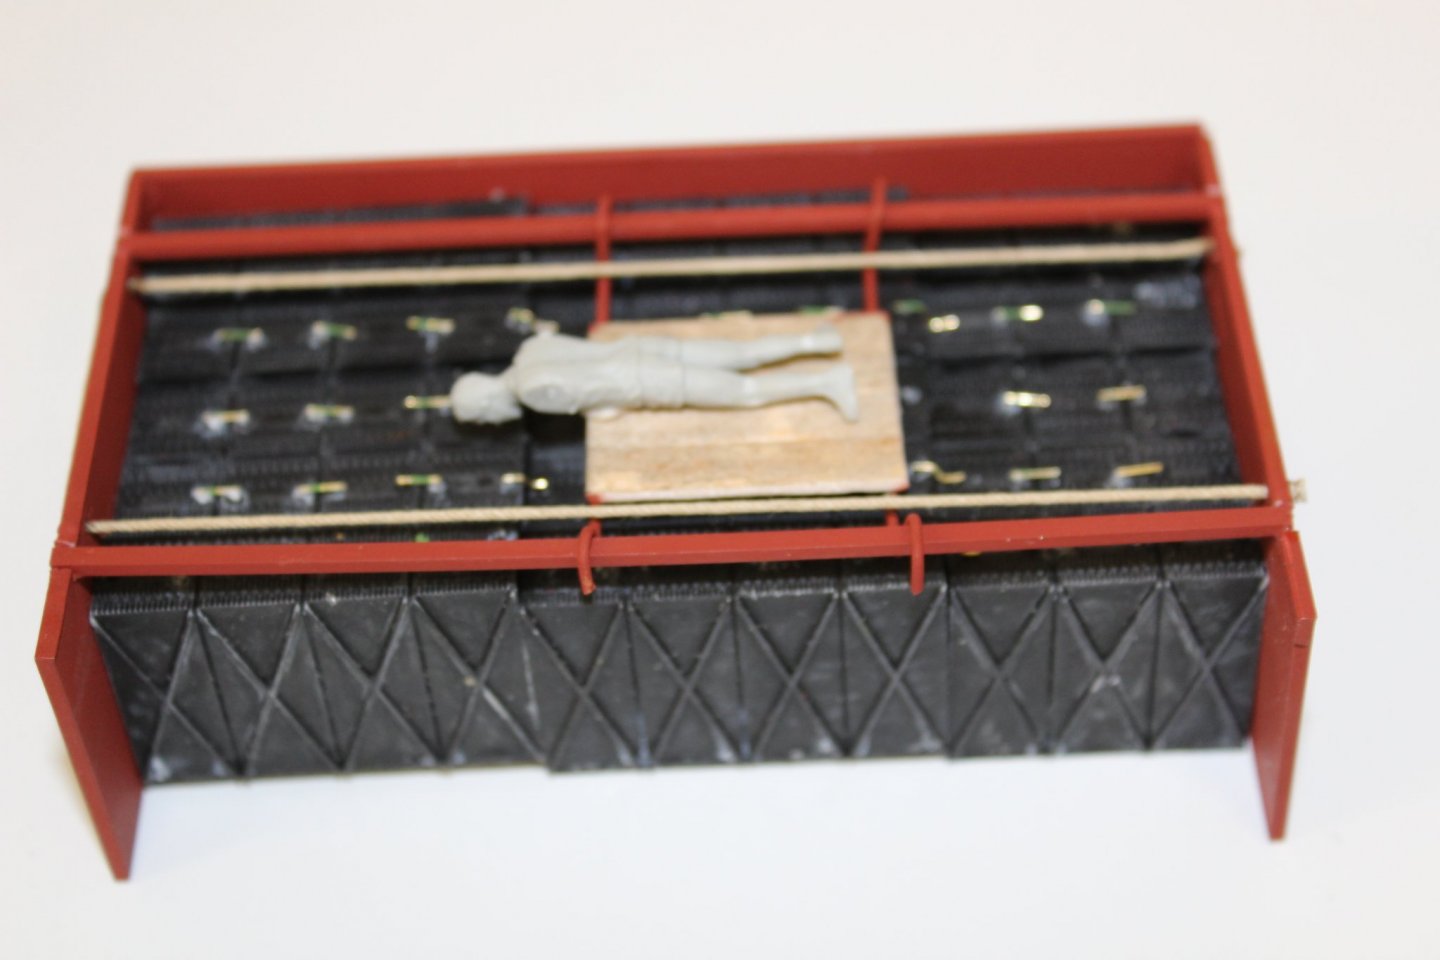
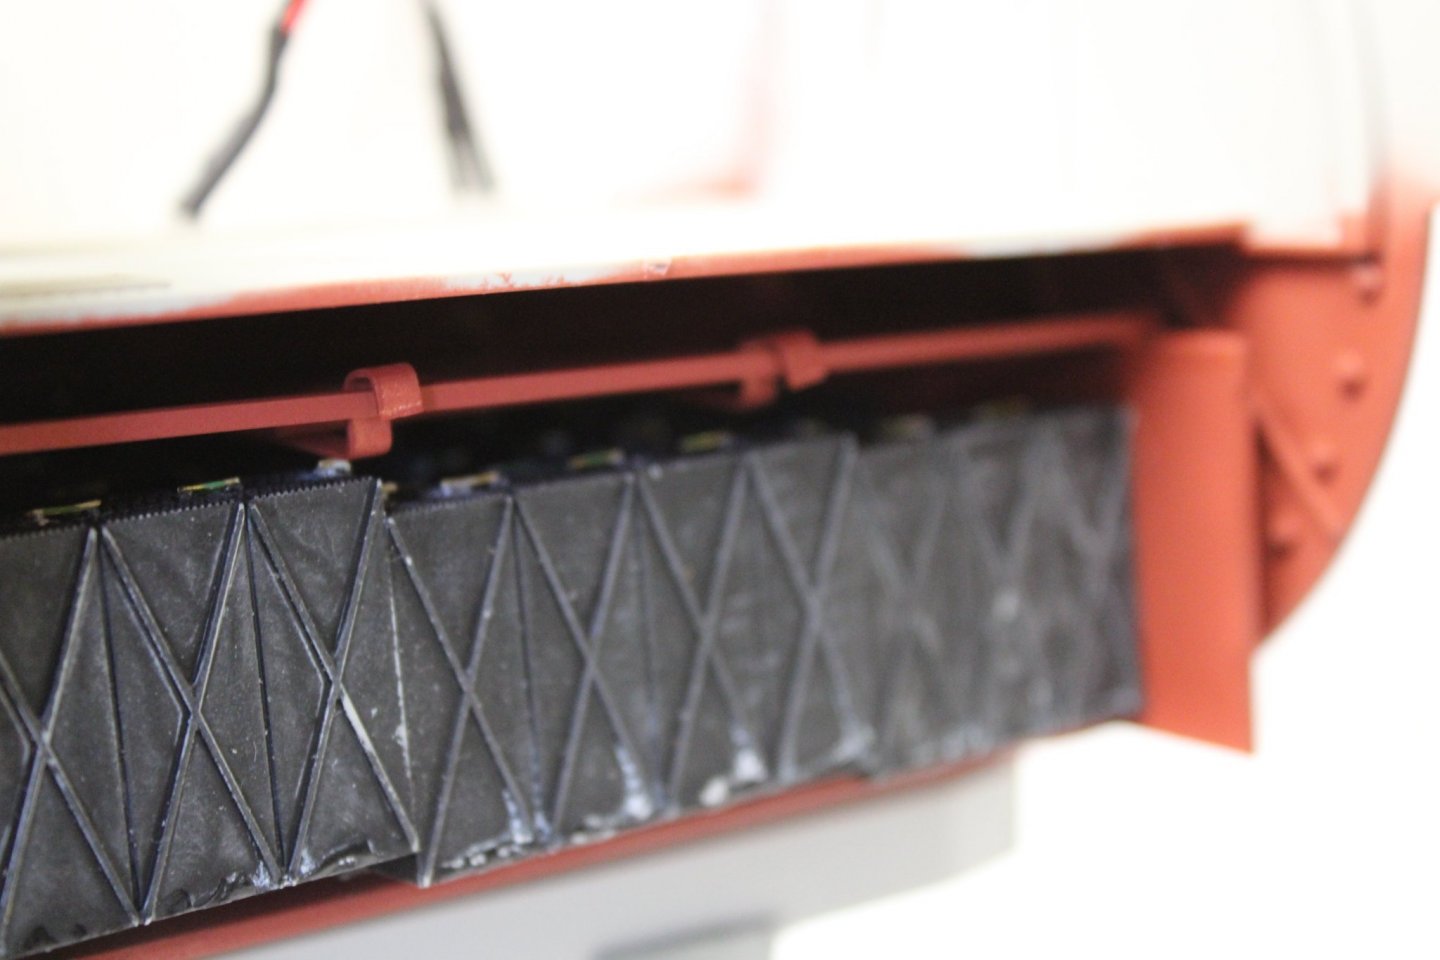
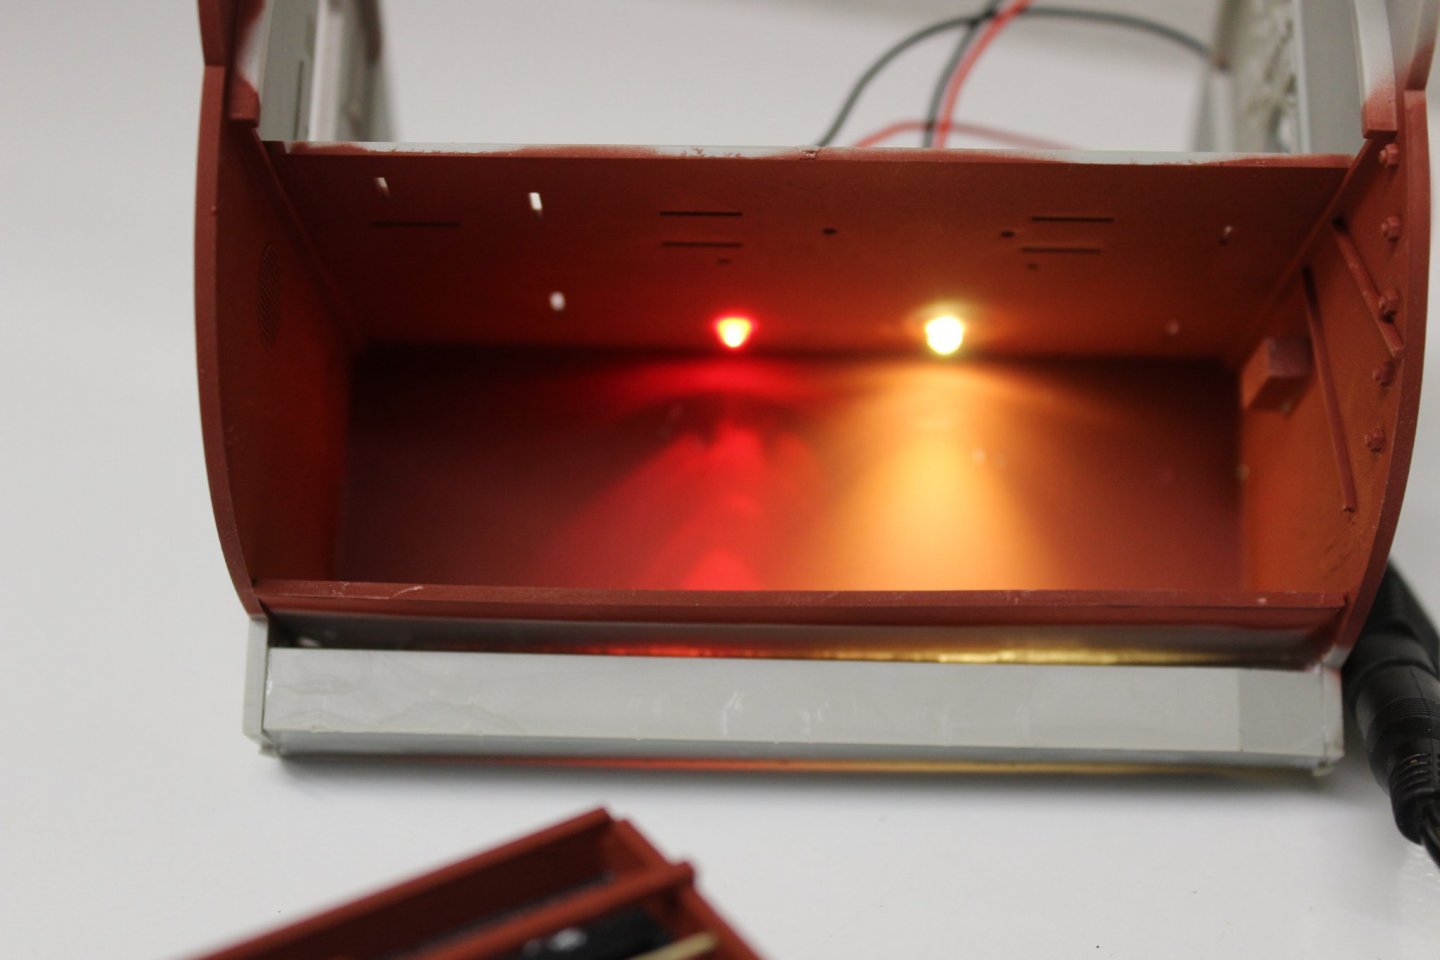
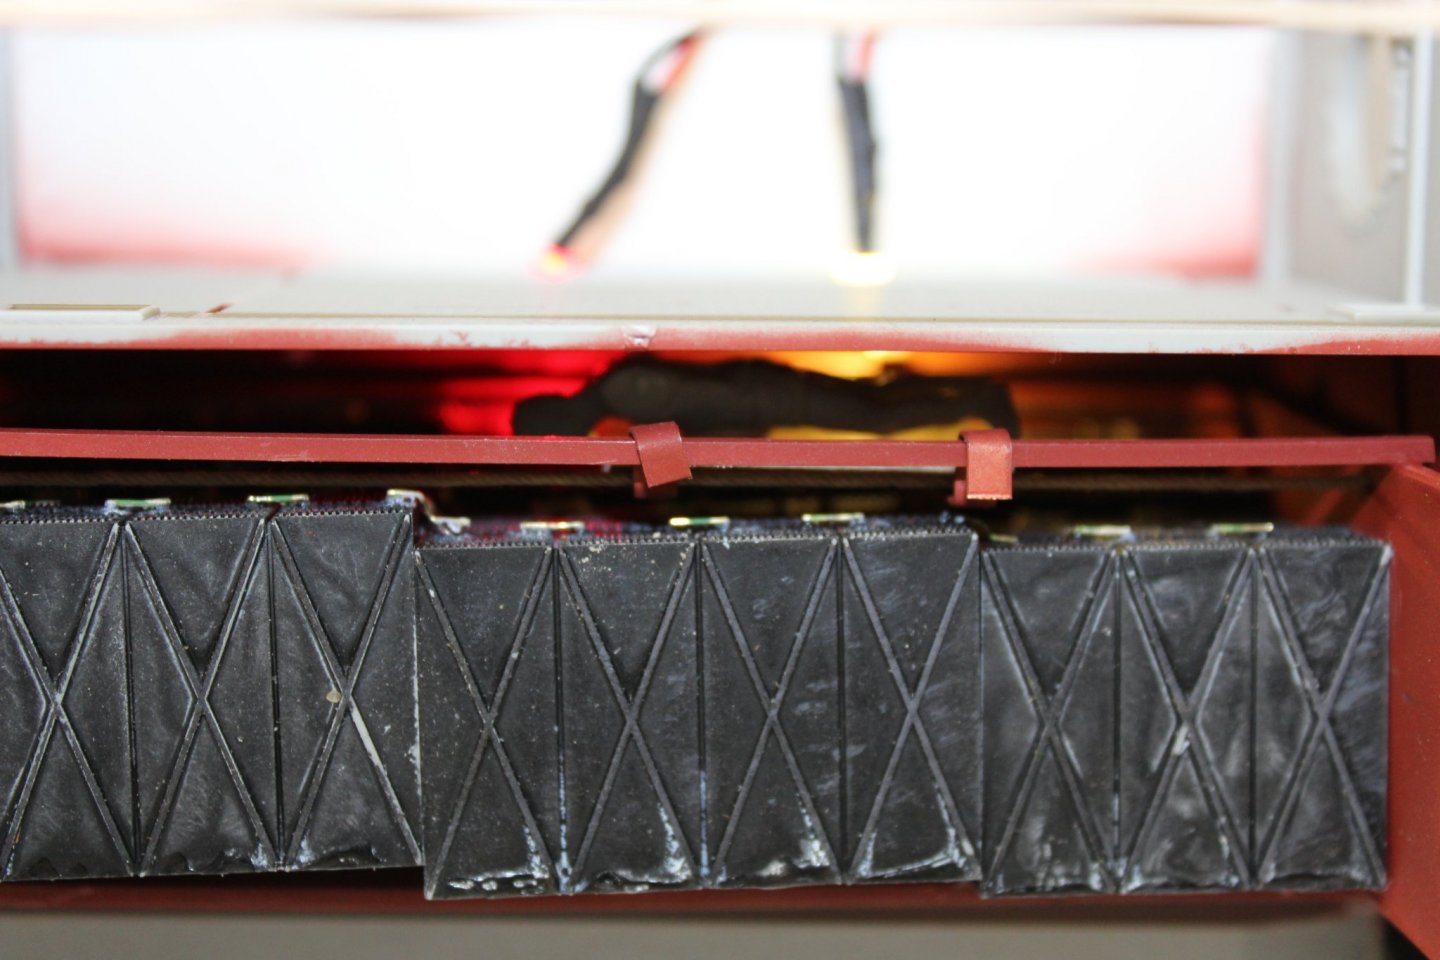
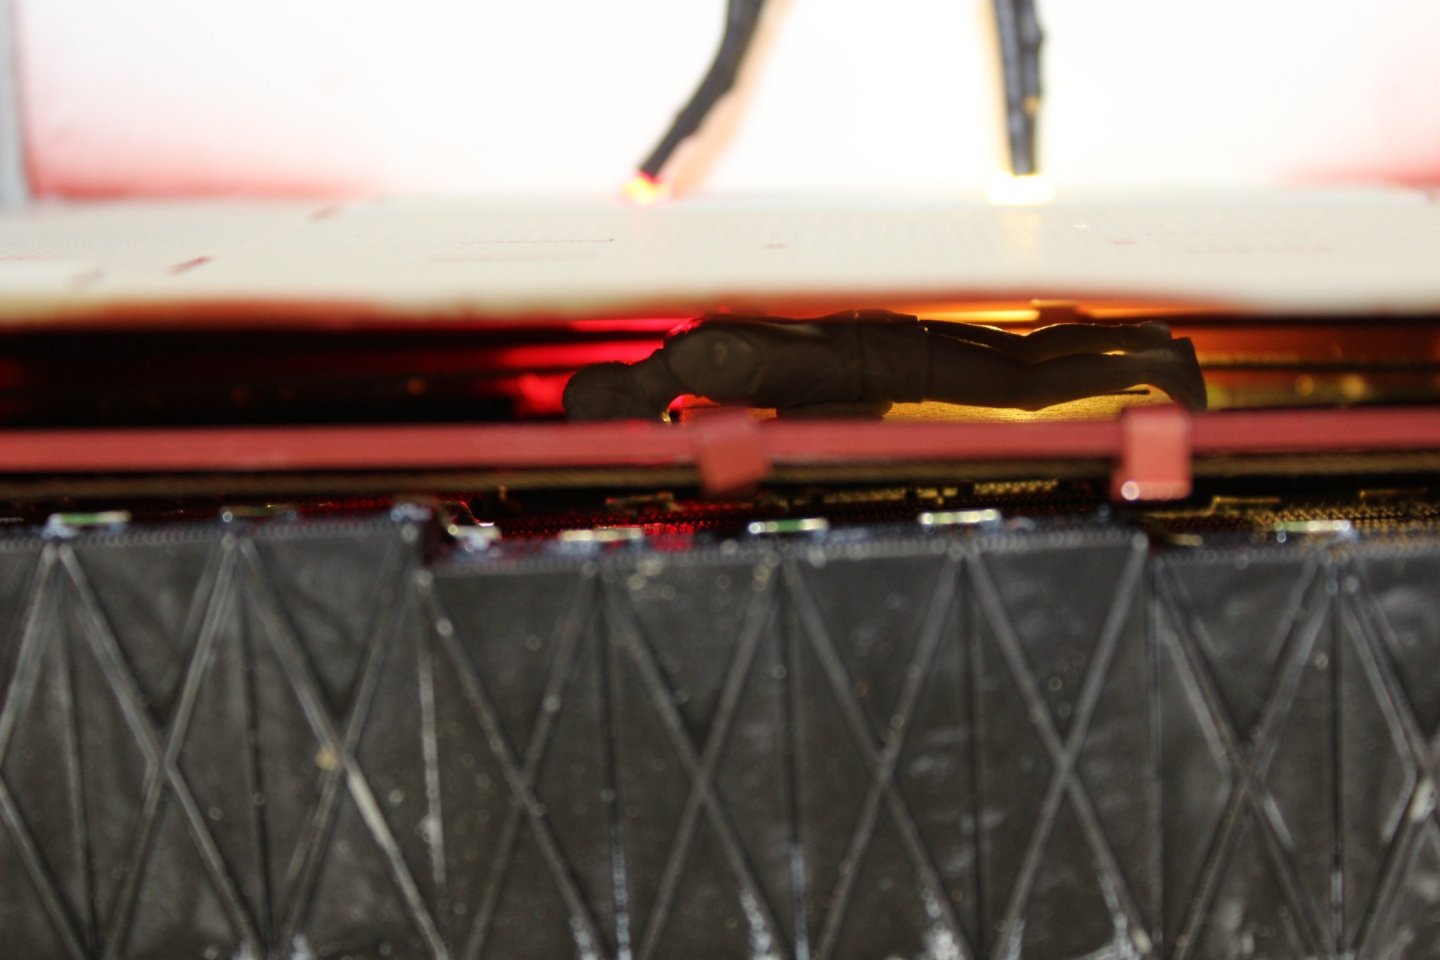
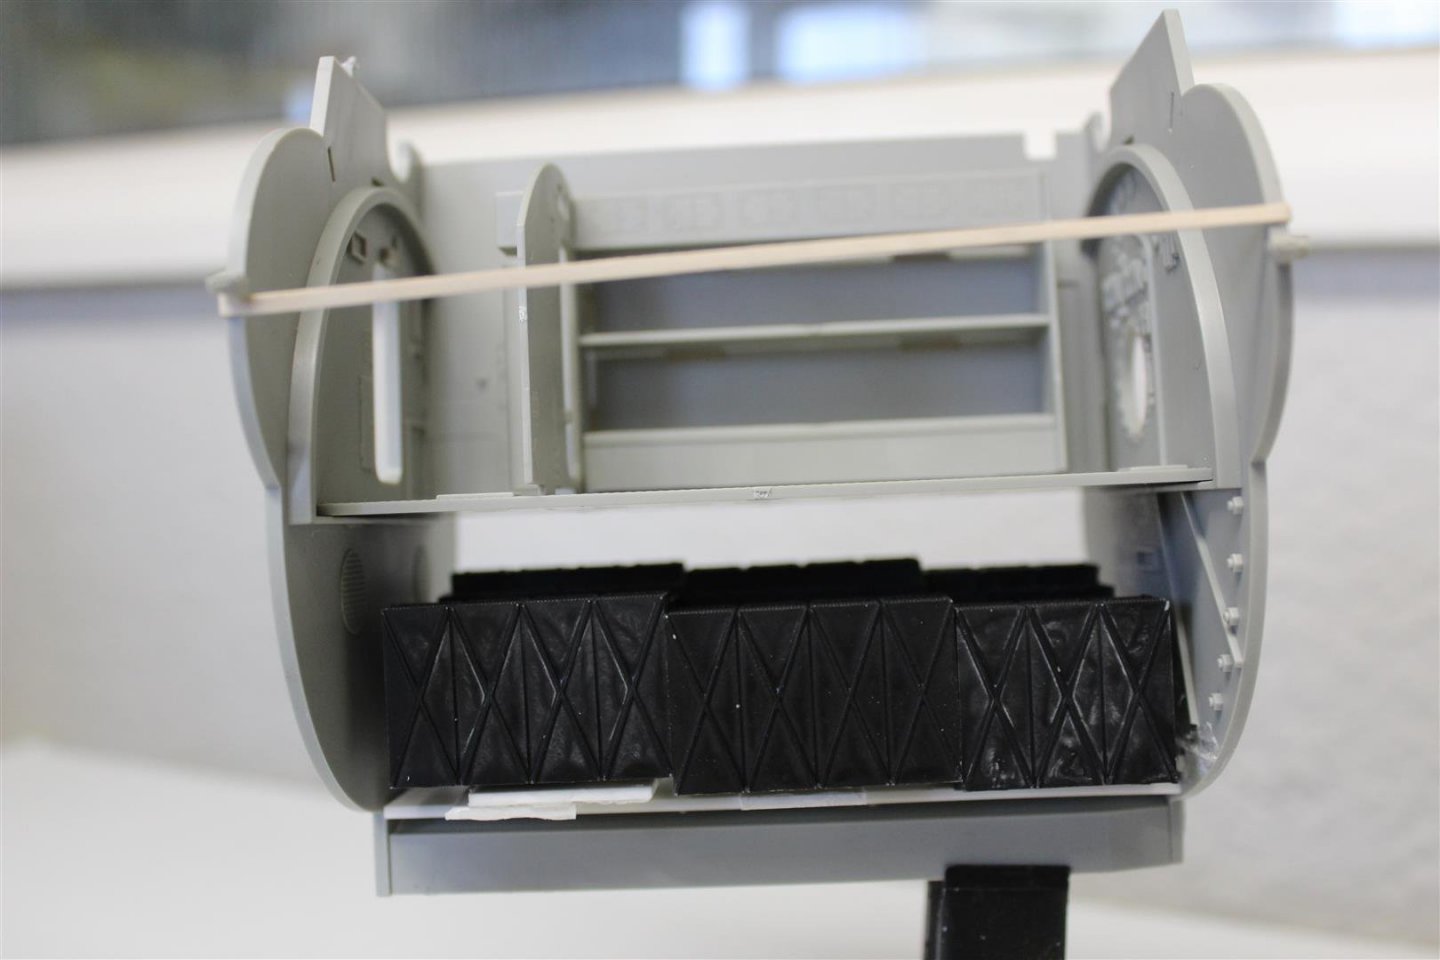
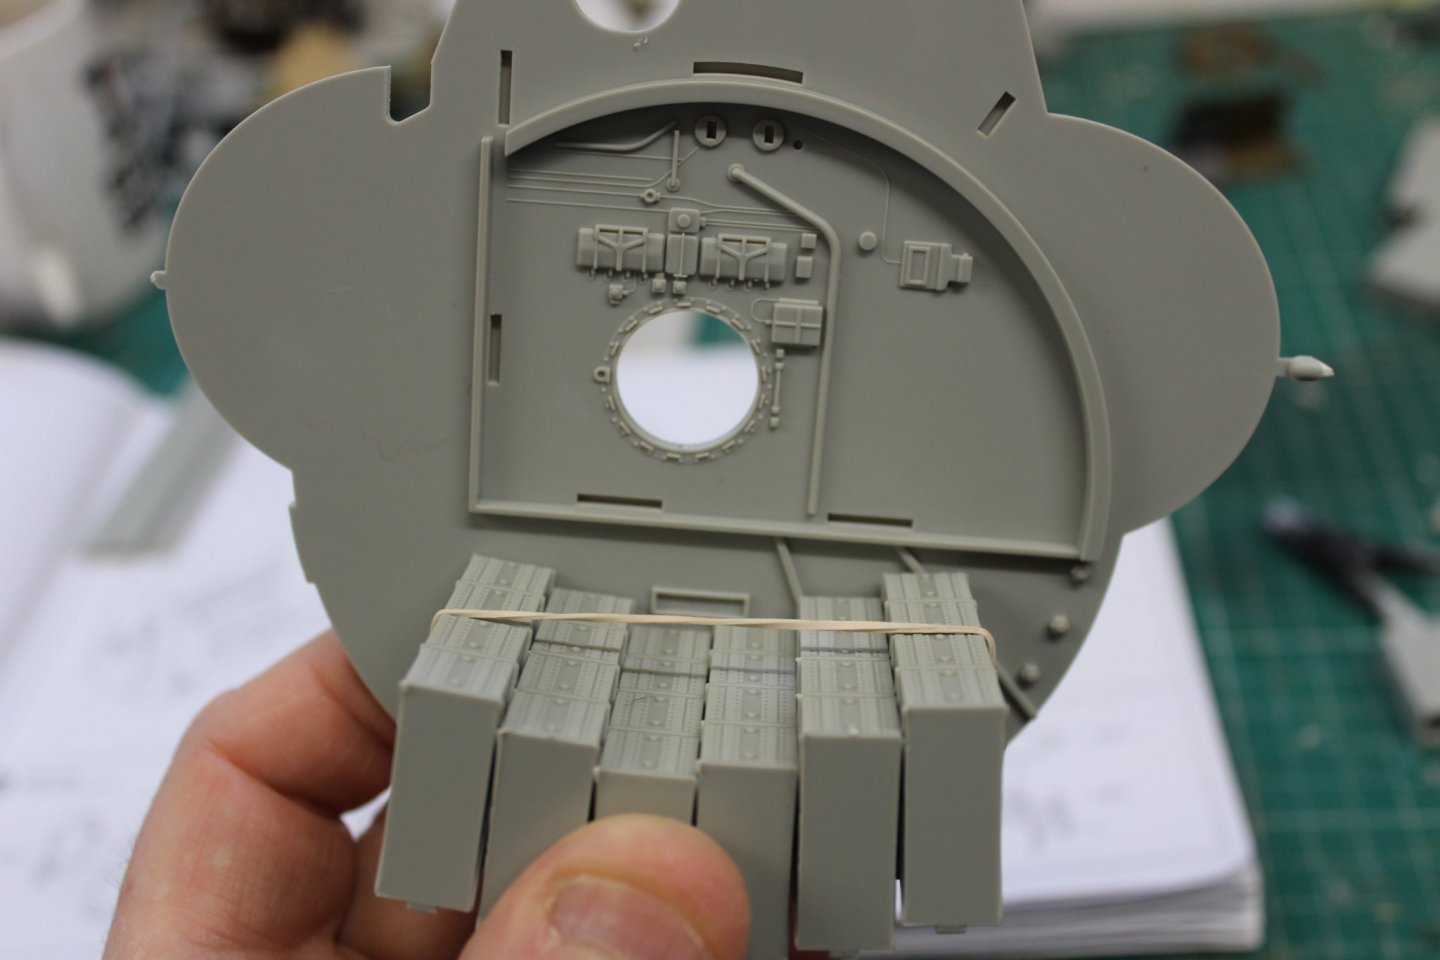
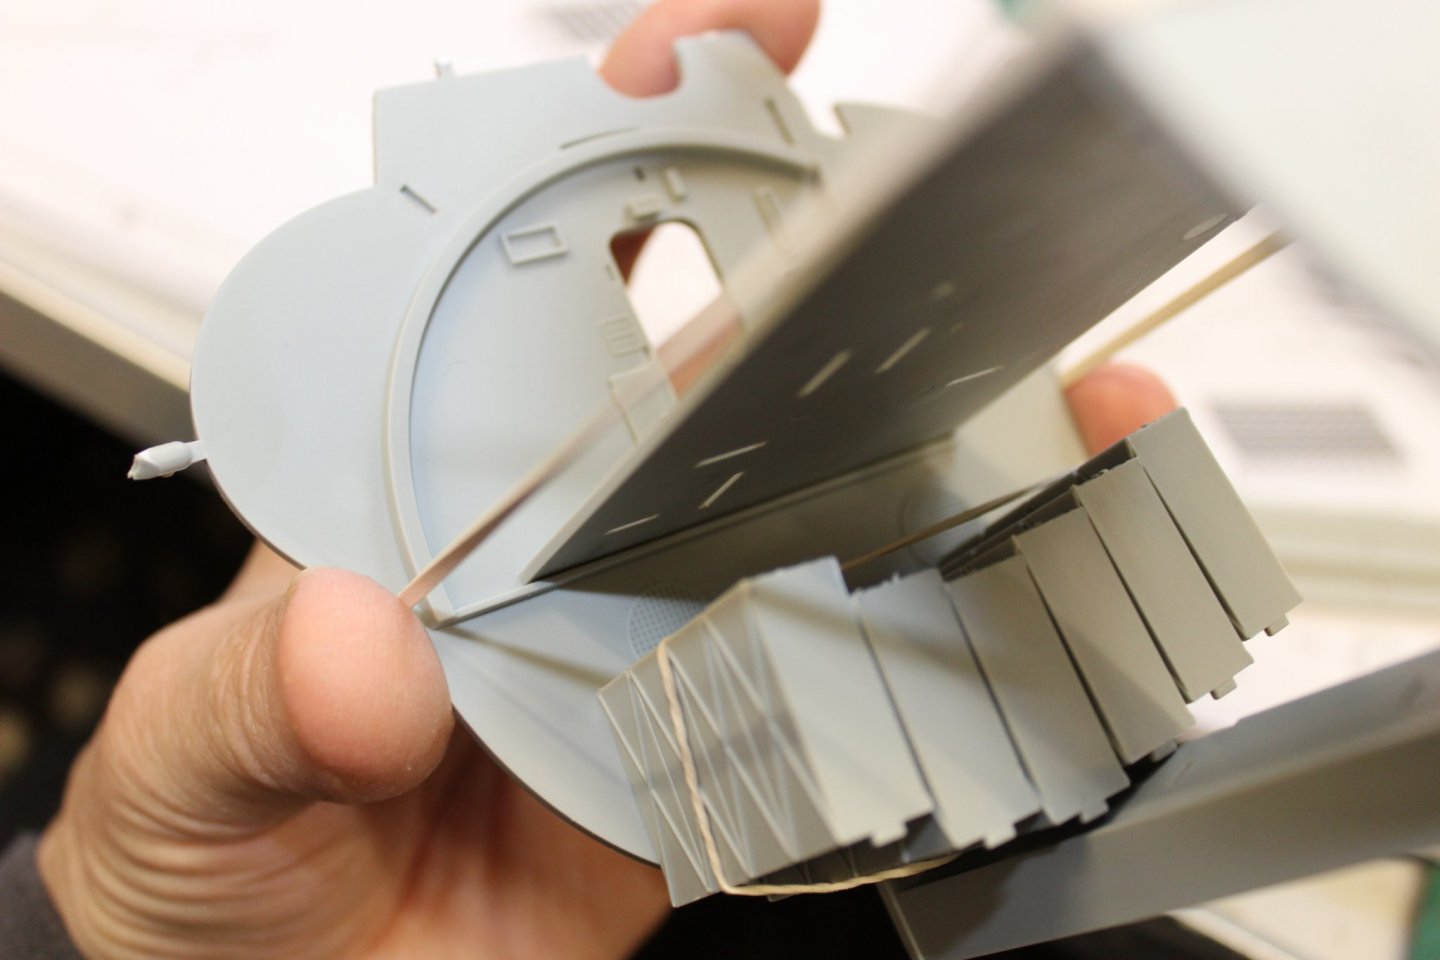
good evening everyone thank you for comments and like i put the cells into a tank to keep them upright and stop them moving around in roughers the space at the front is a missing row, the kit dont provide enough if you put the correct amount in although i dont quite know where the hatch is, i need to get someone to inspect the battery, not much room in there, but a small semi naked armless electrician will do and i have made provision for two lights to aid him in his work he needs a raft to move up and down the cell lines, i have provided a rope for him to aid this work my photos yet again let me down


- 90 replies
-
- 11
-
-
-
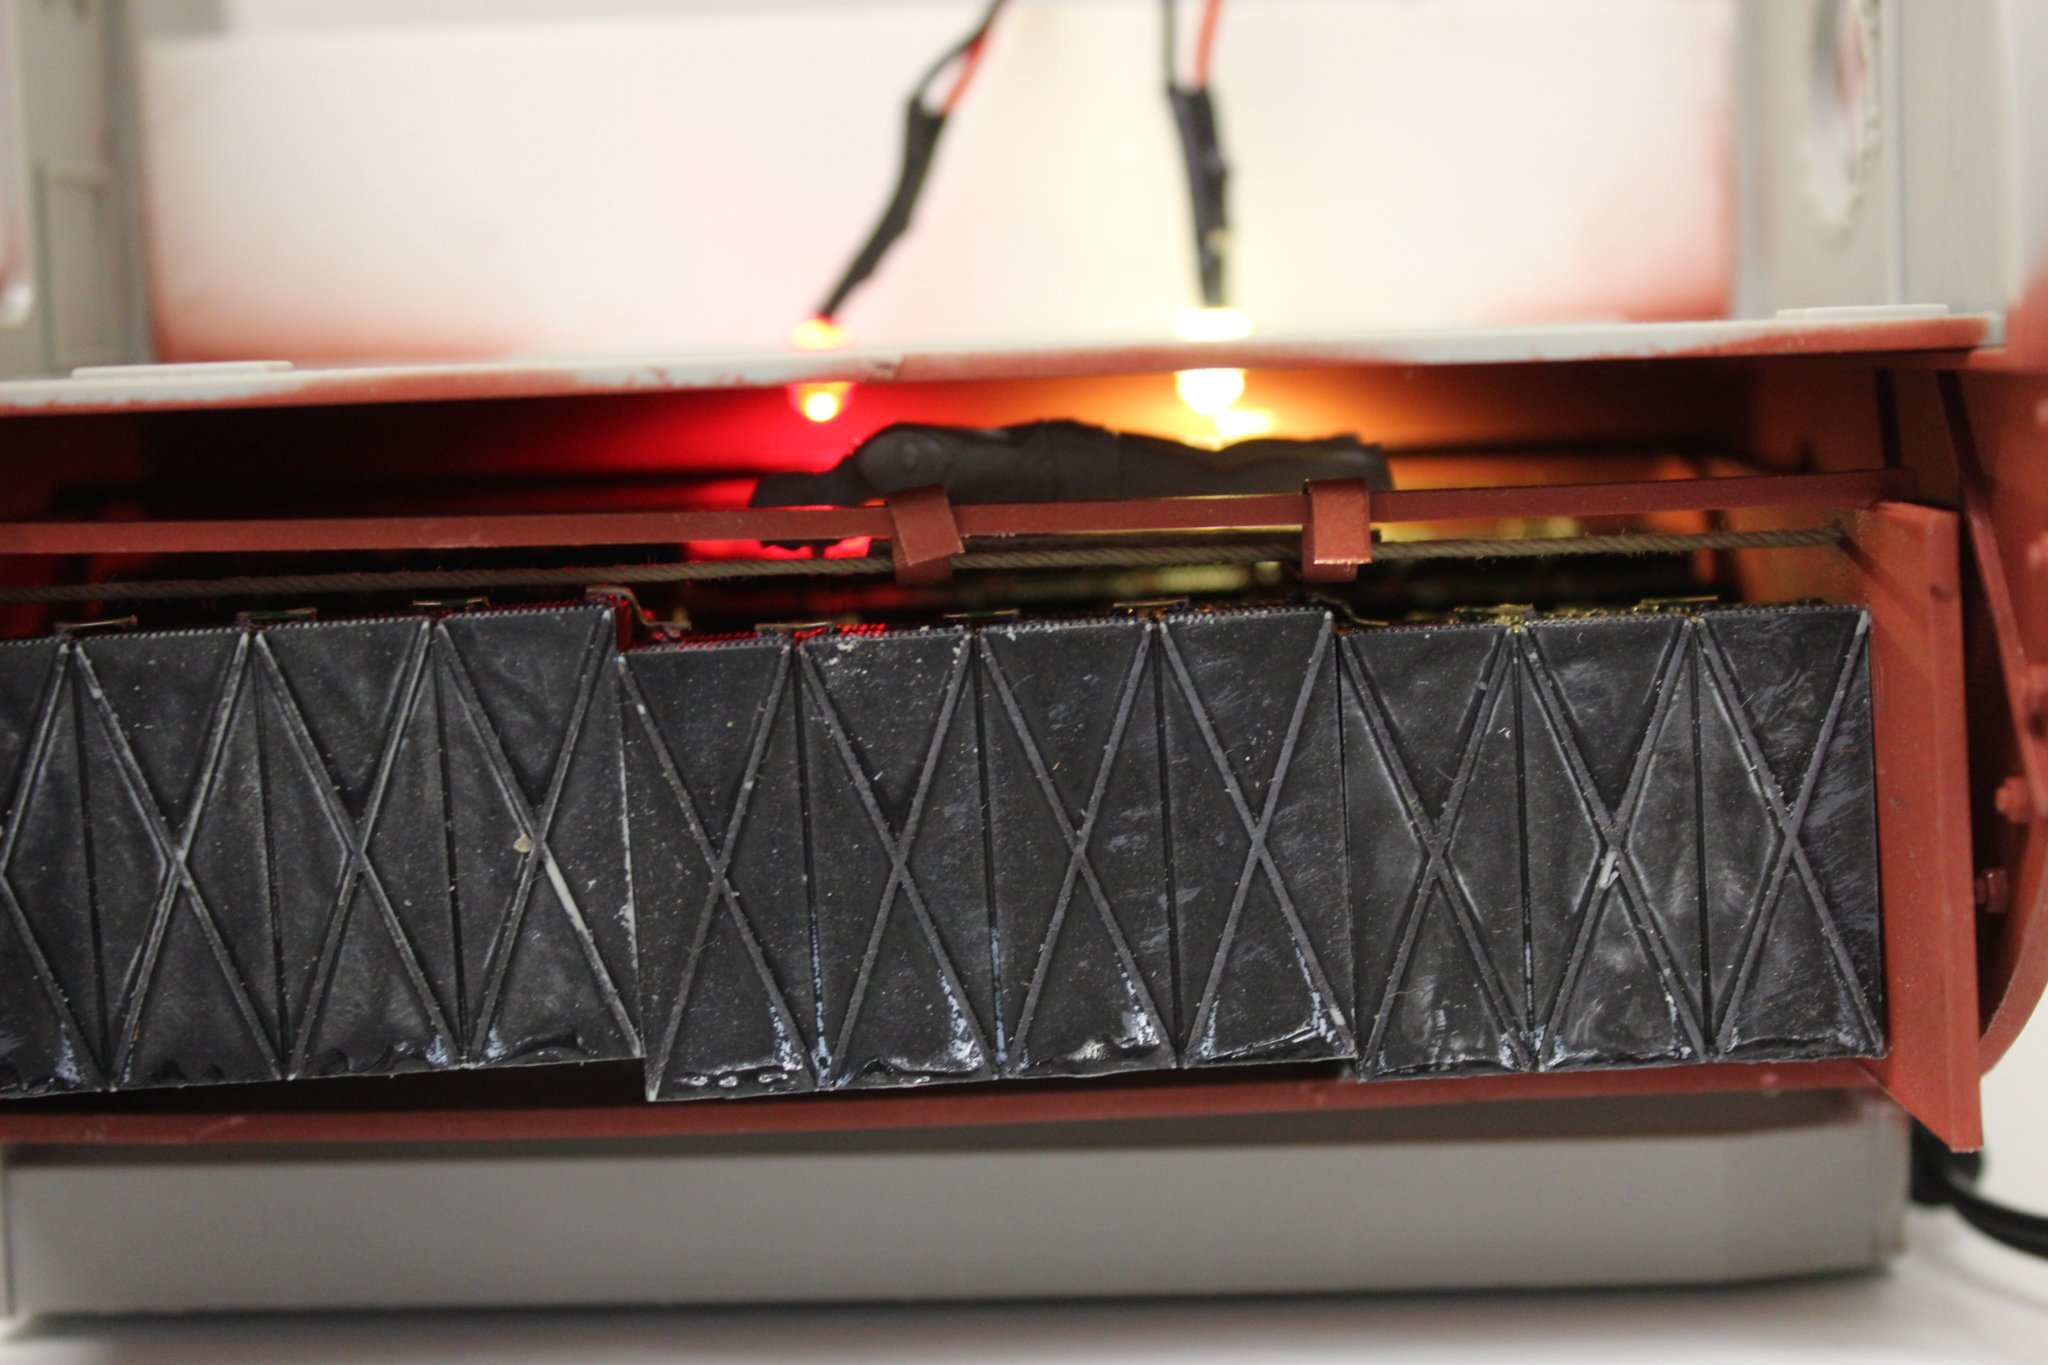
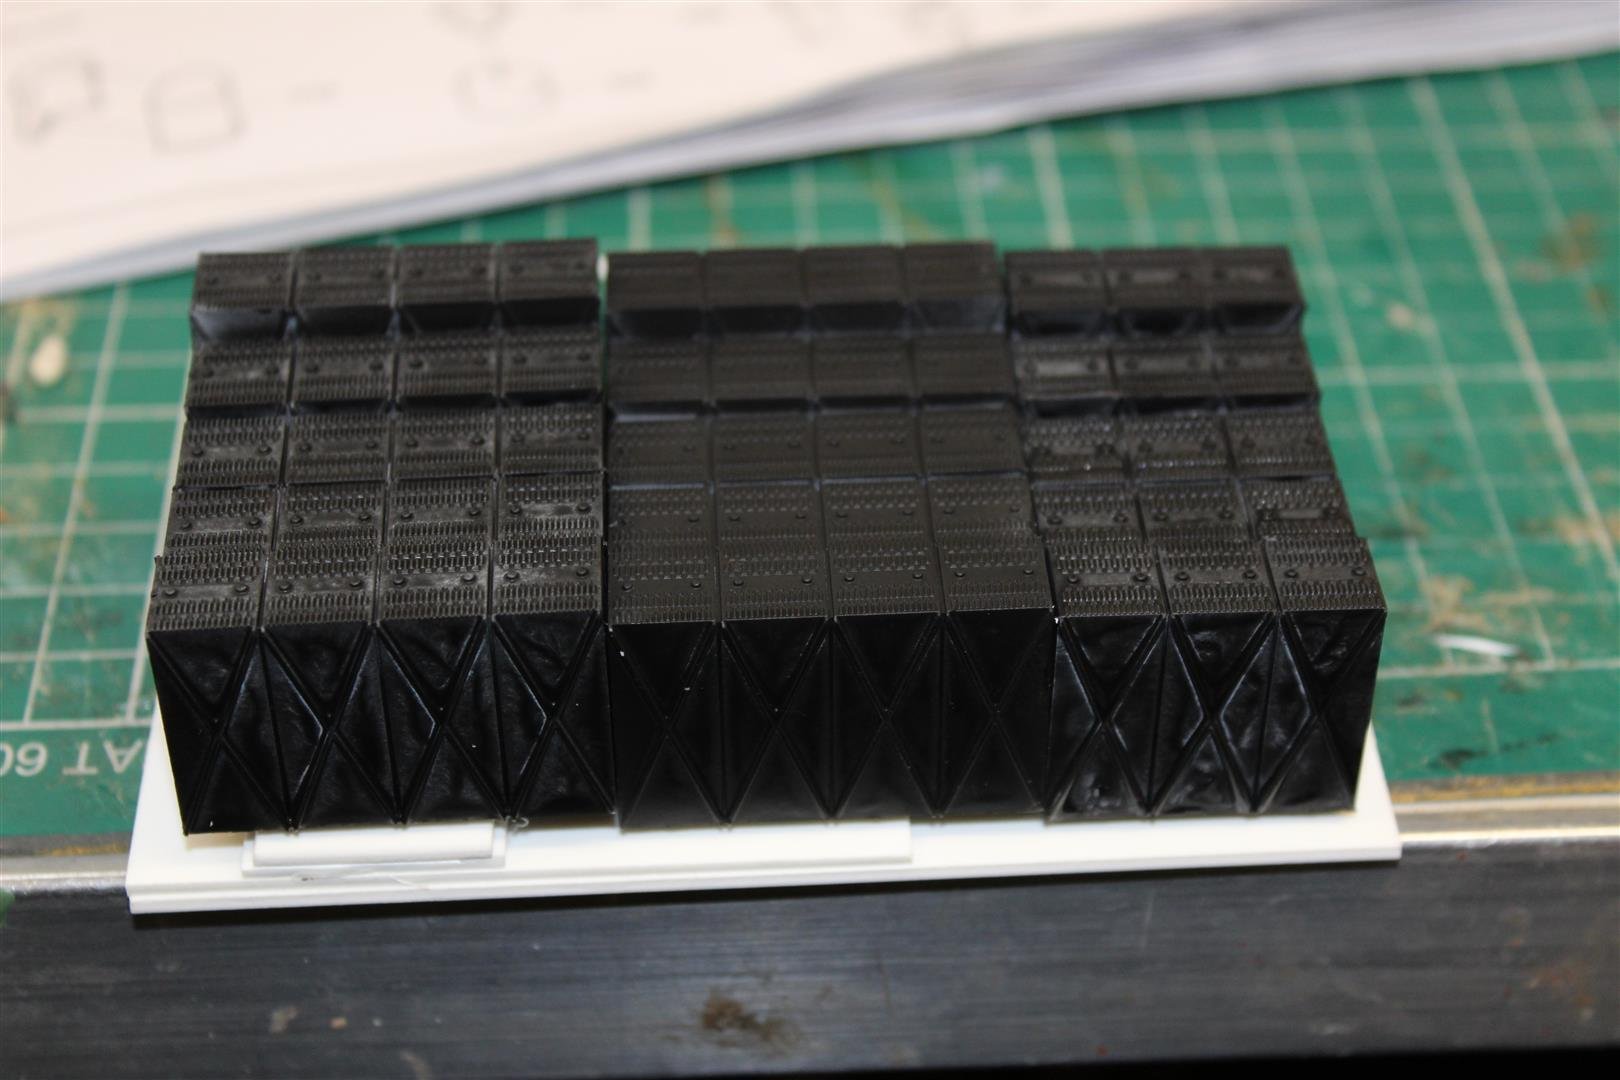
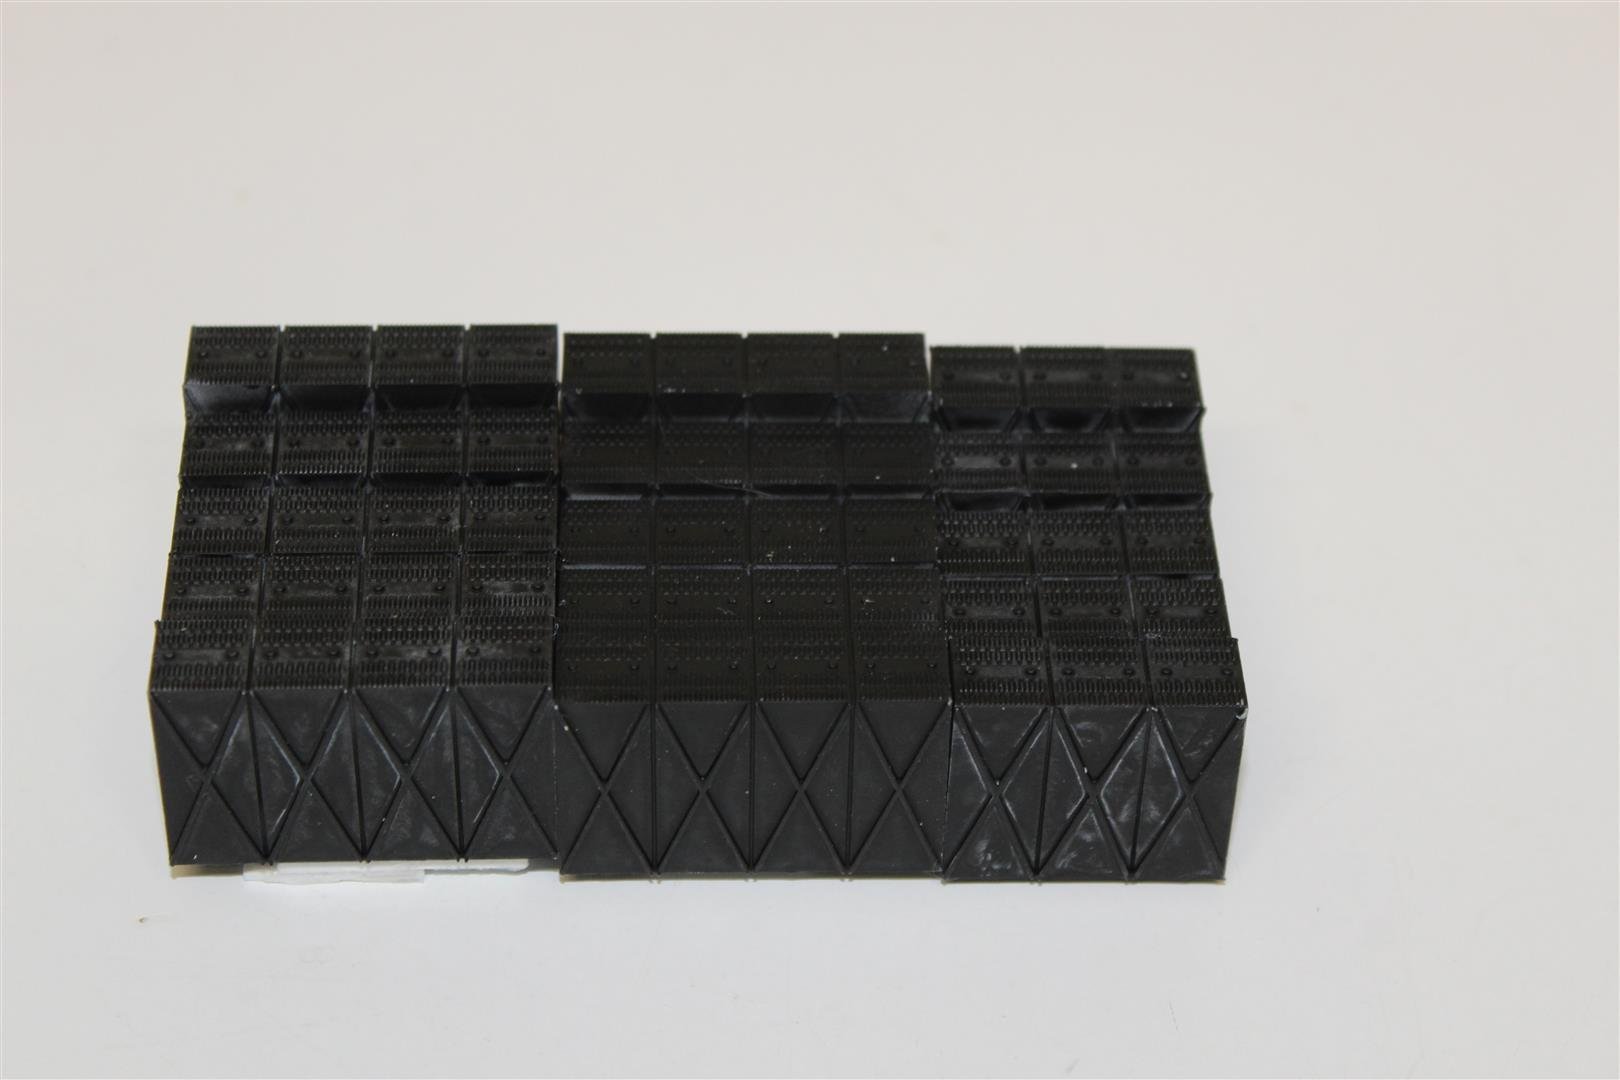
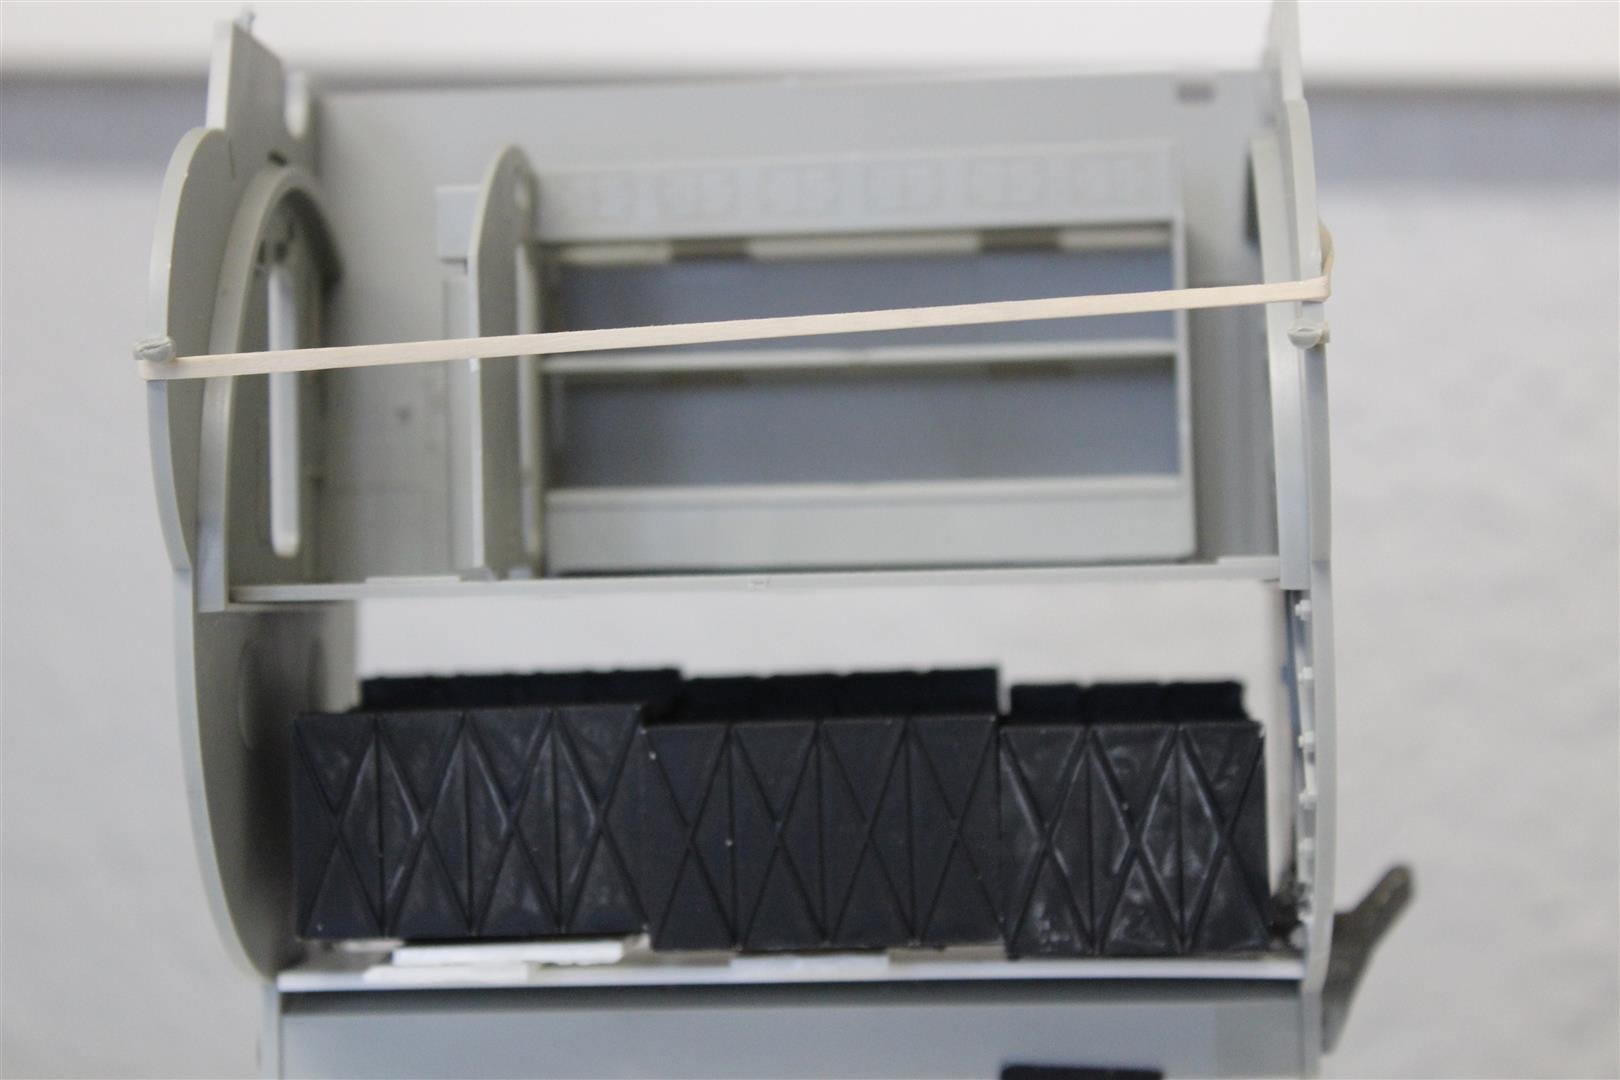
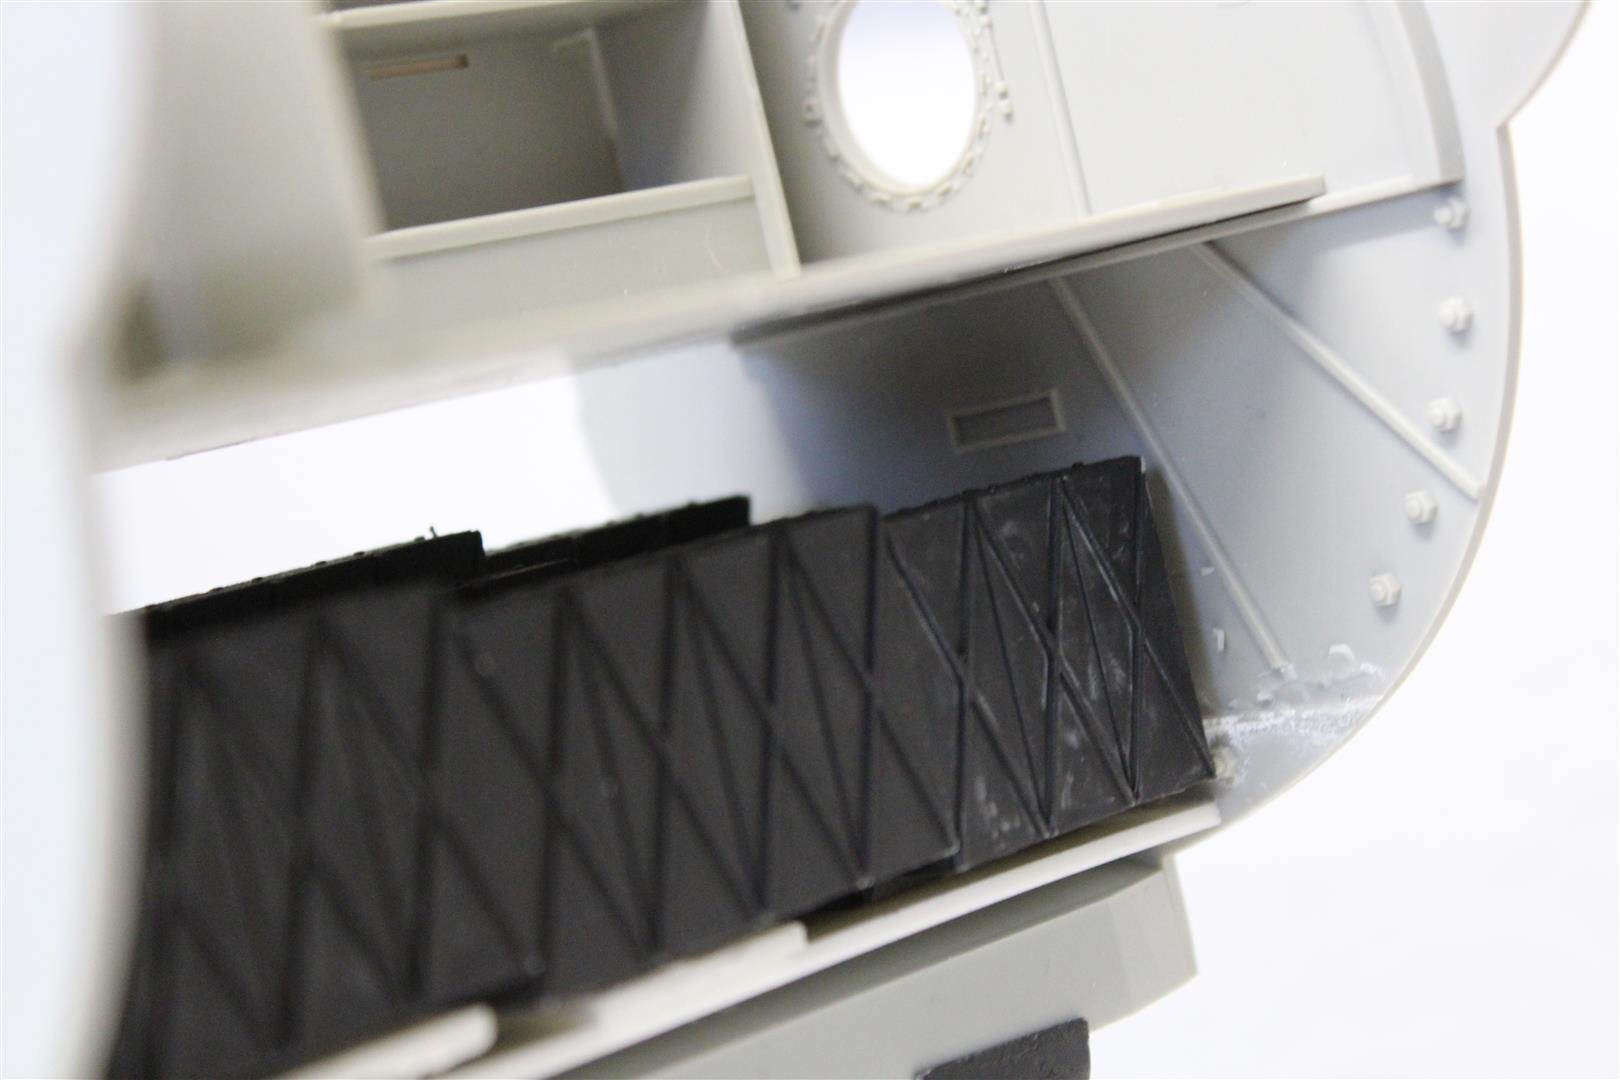
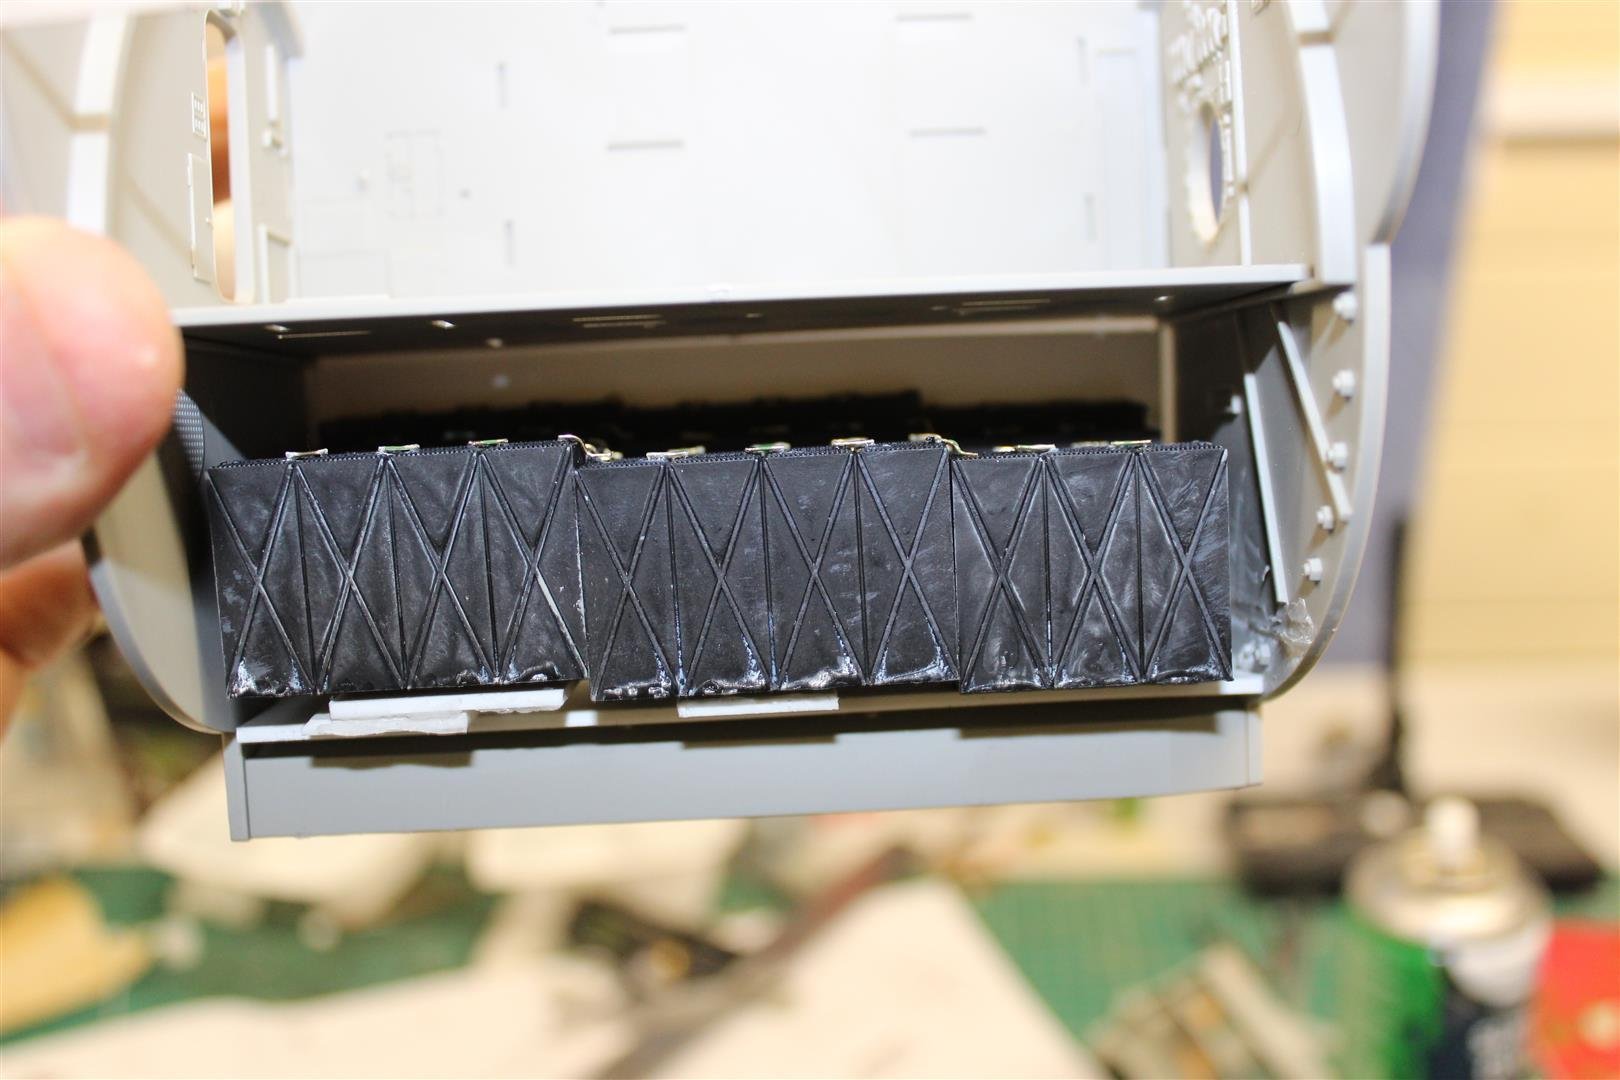
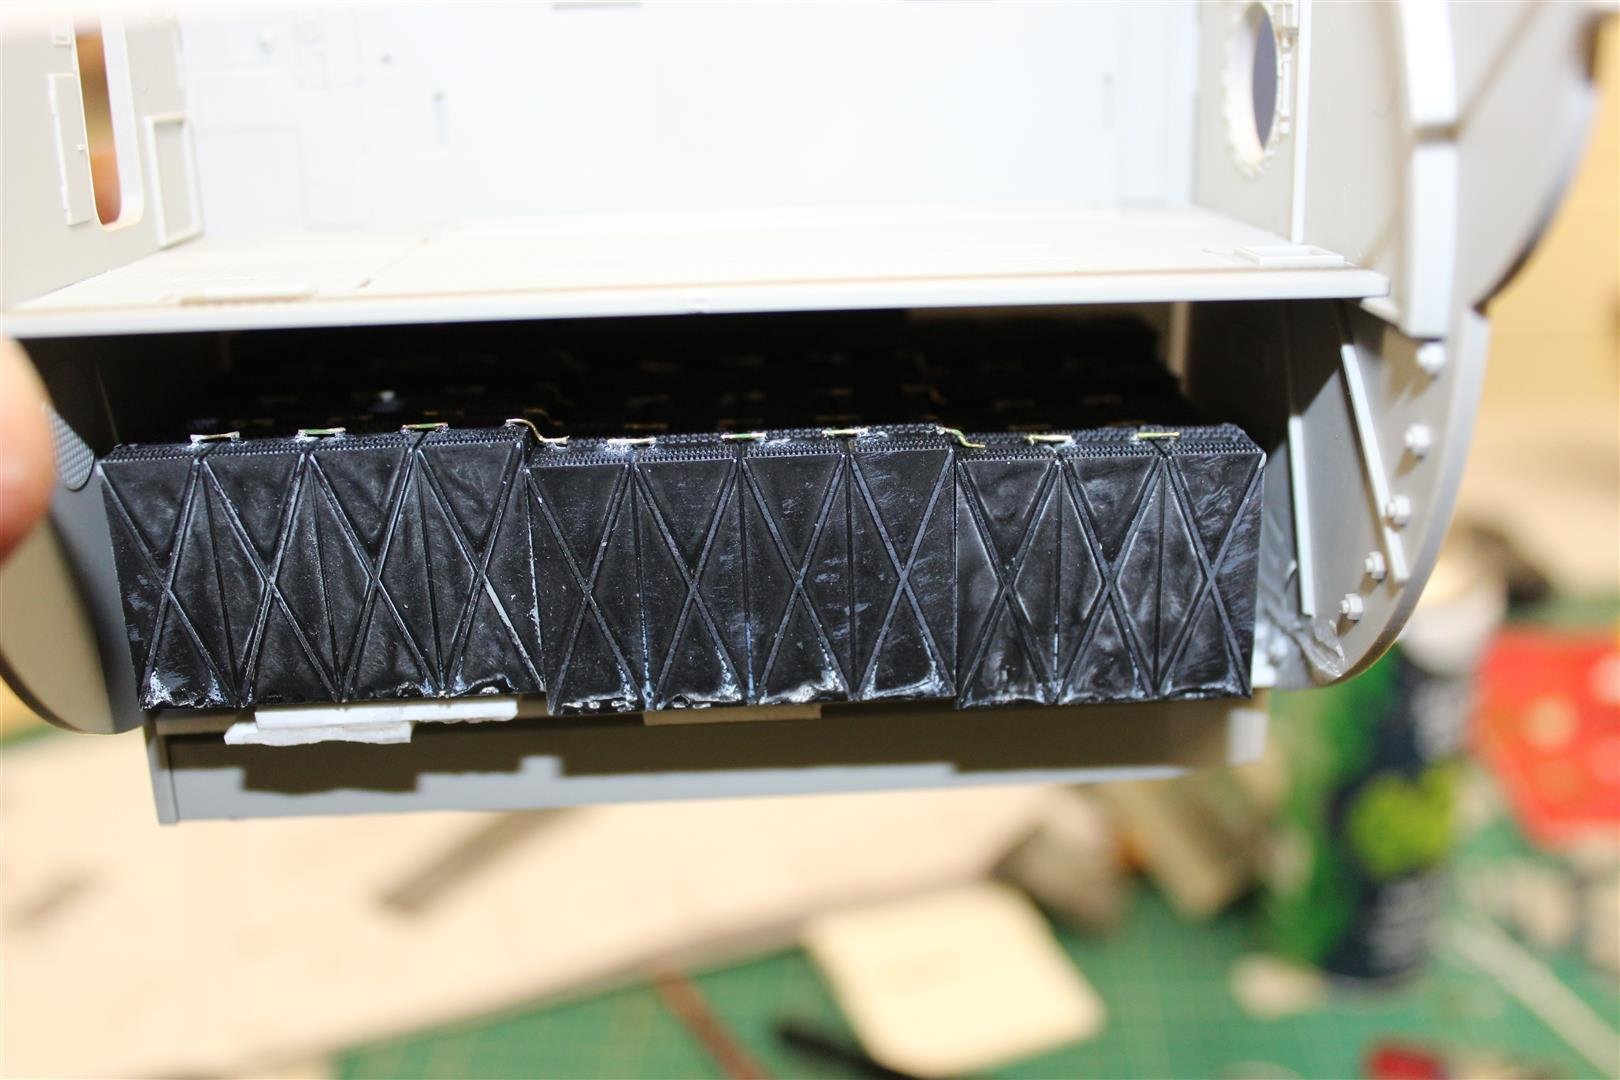
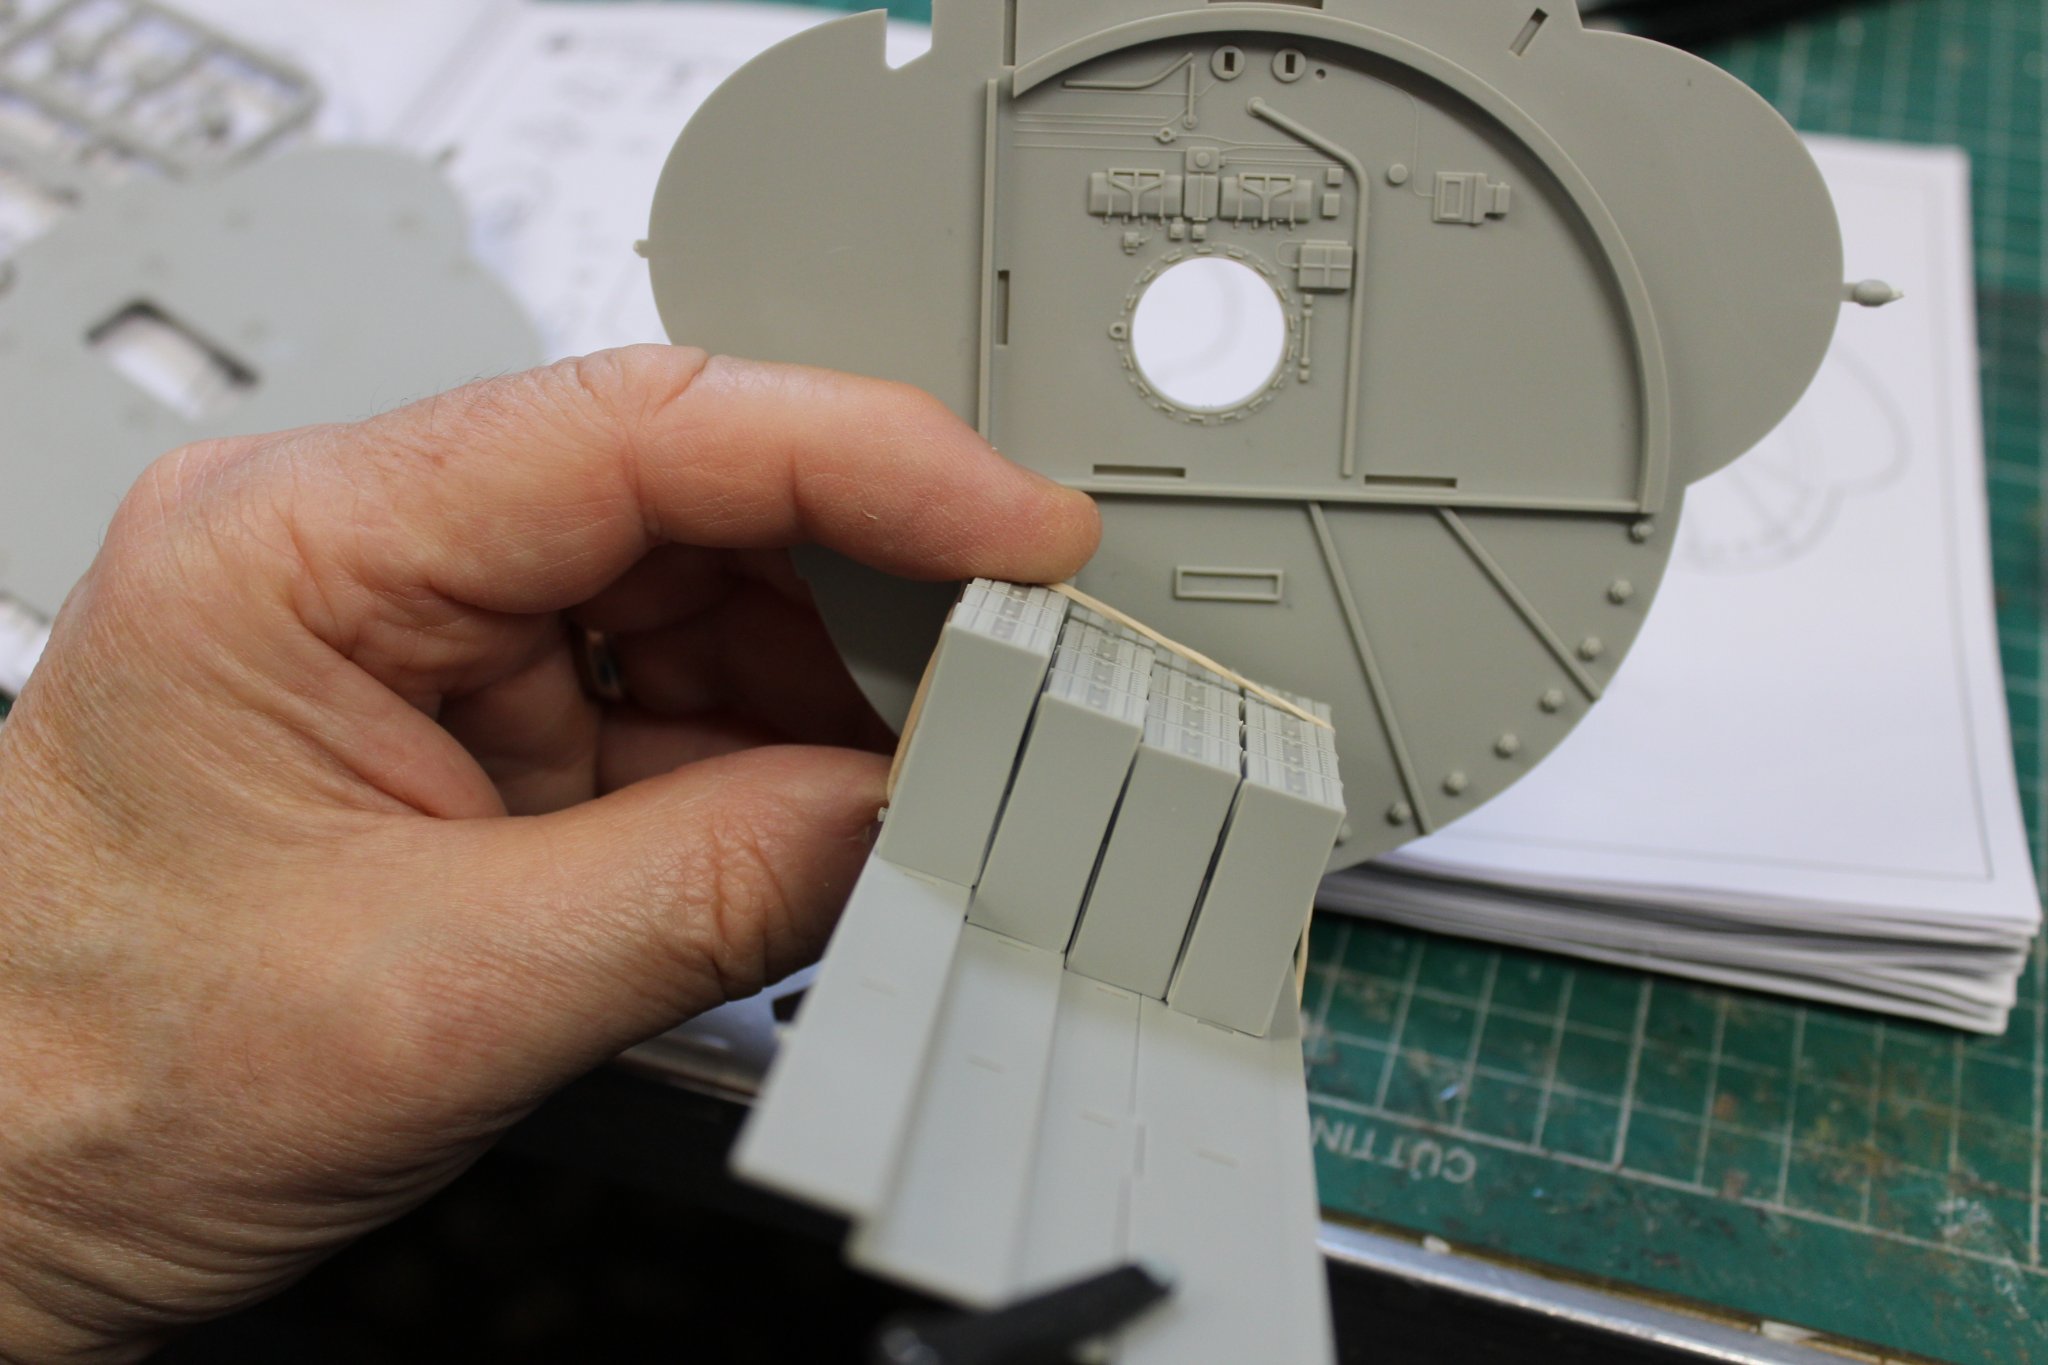
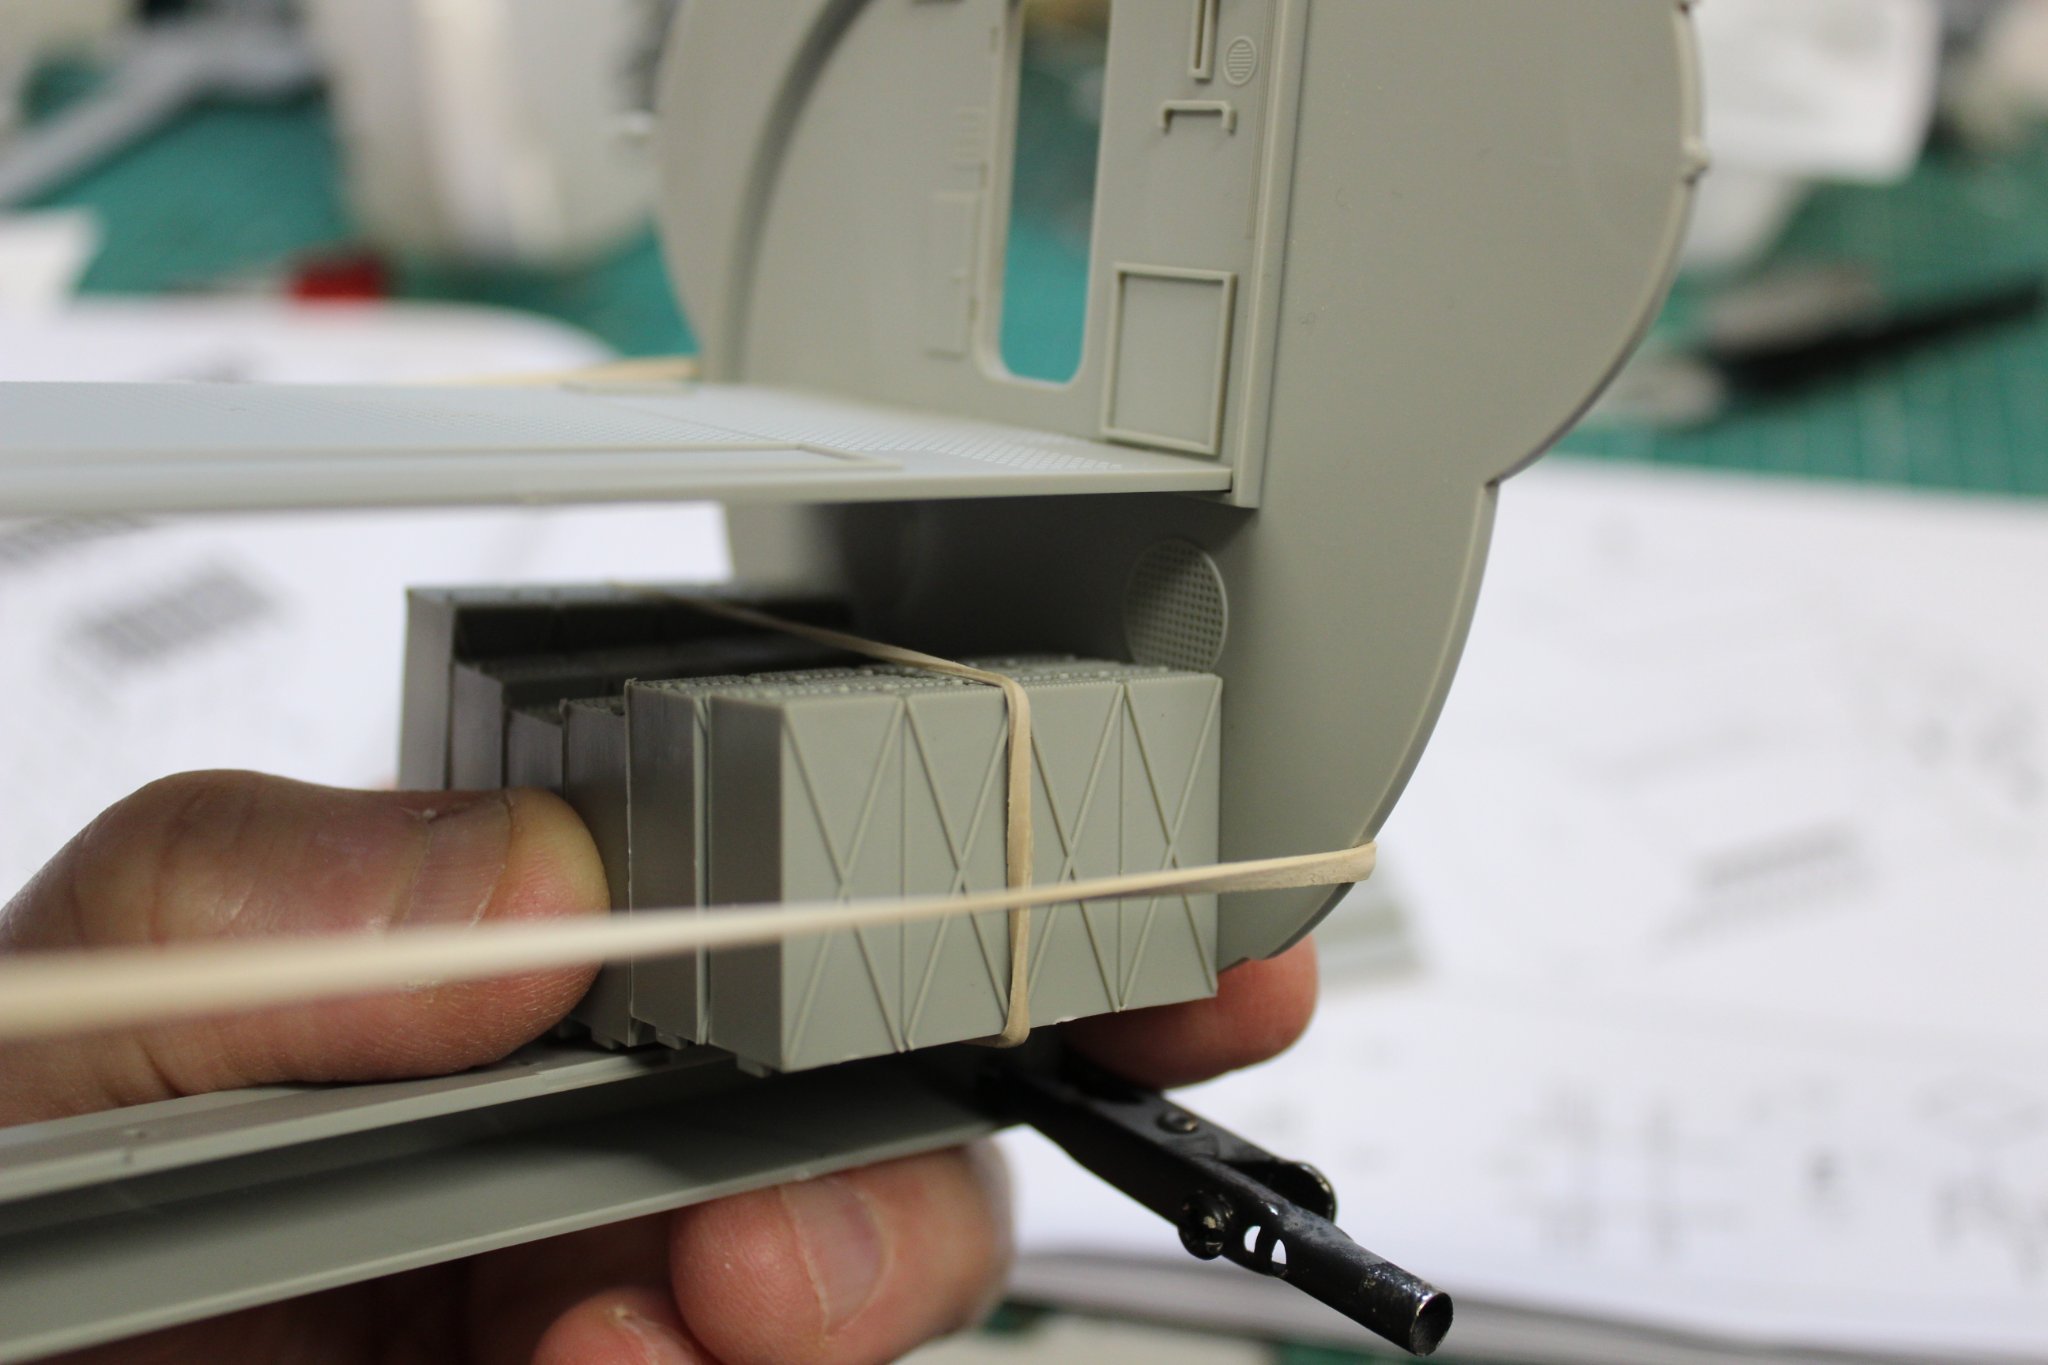
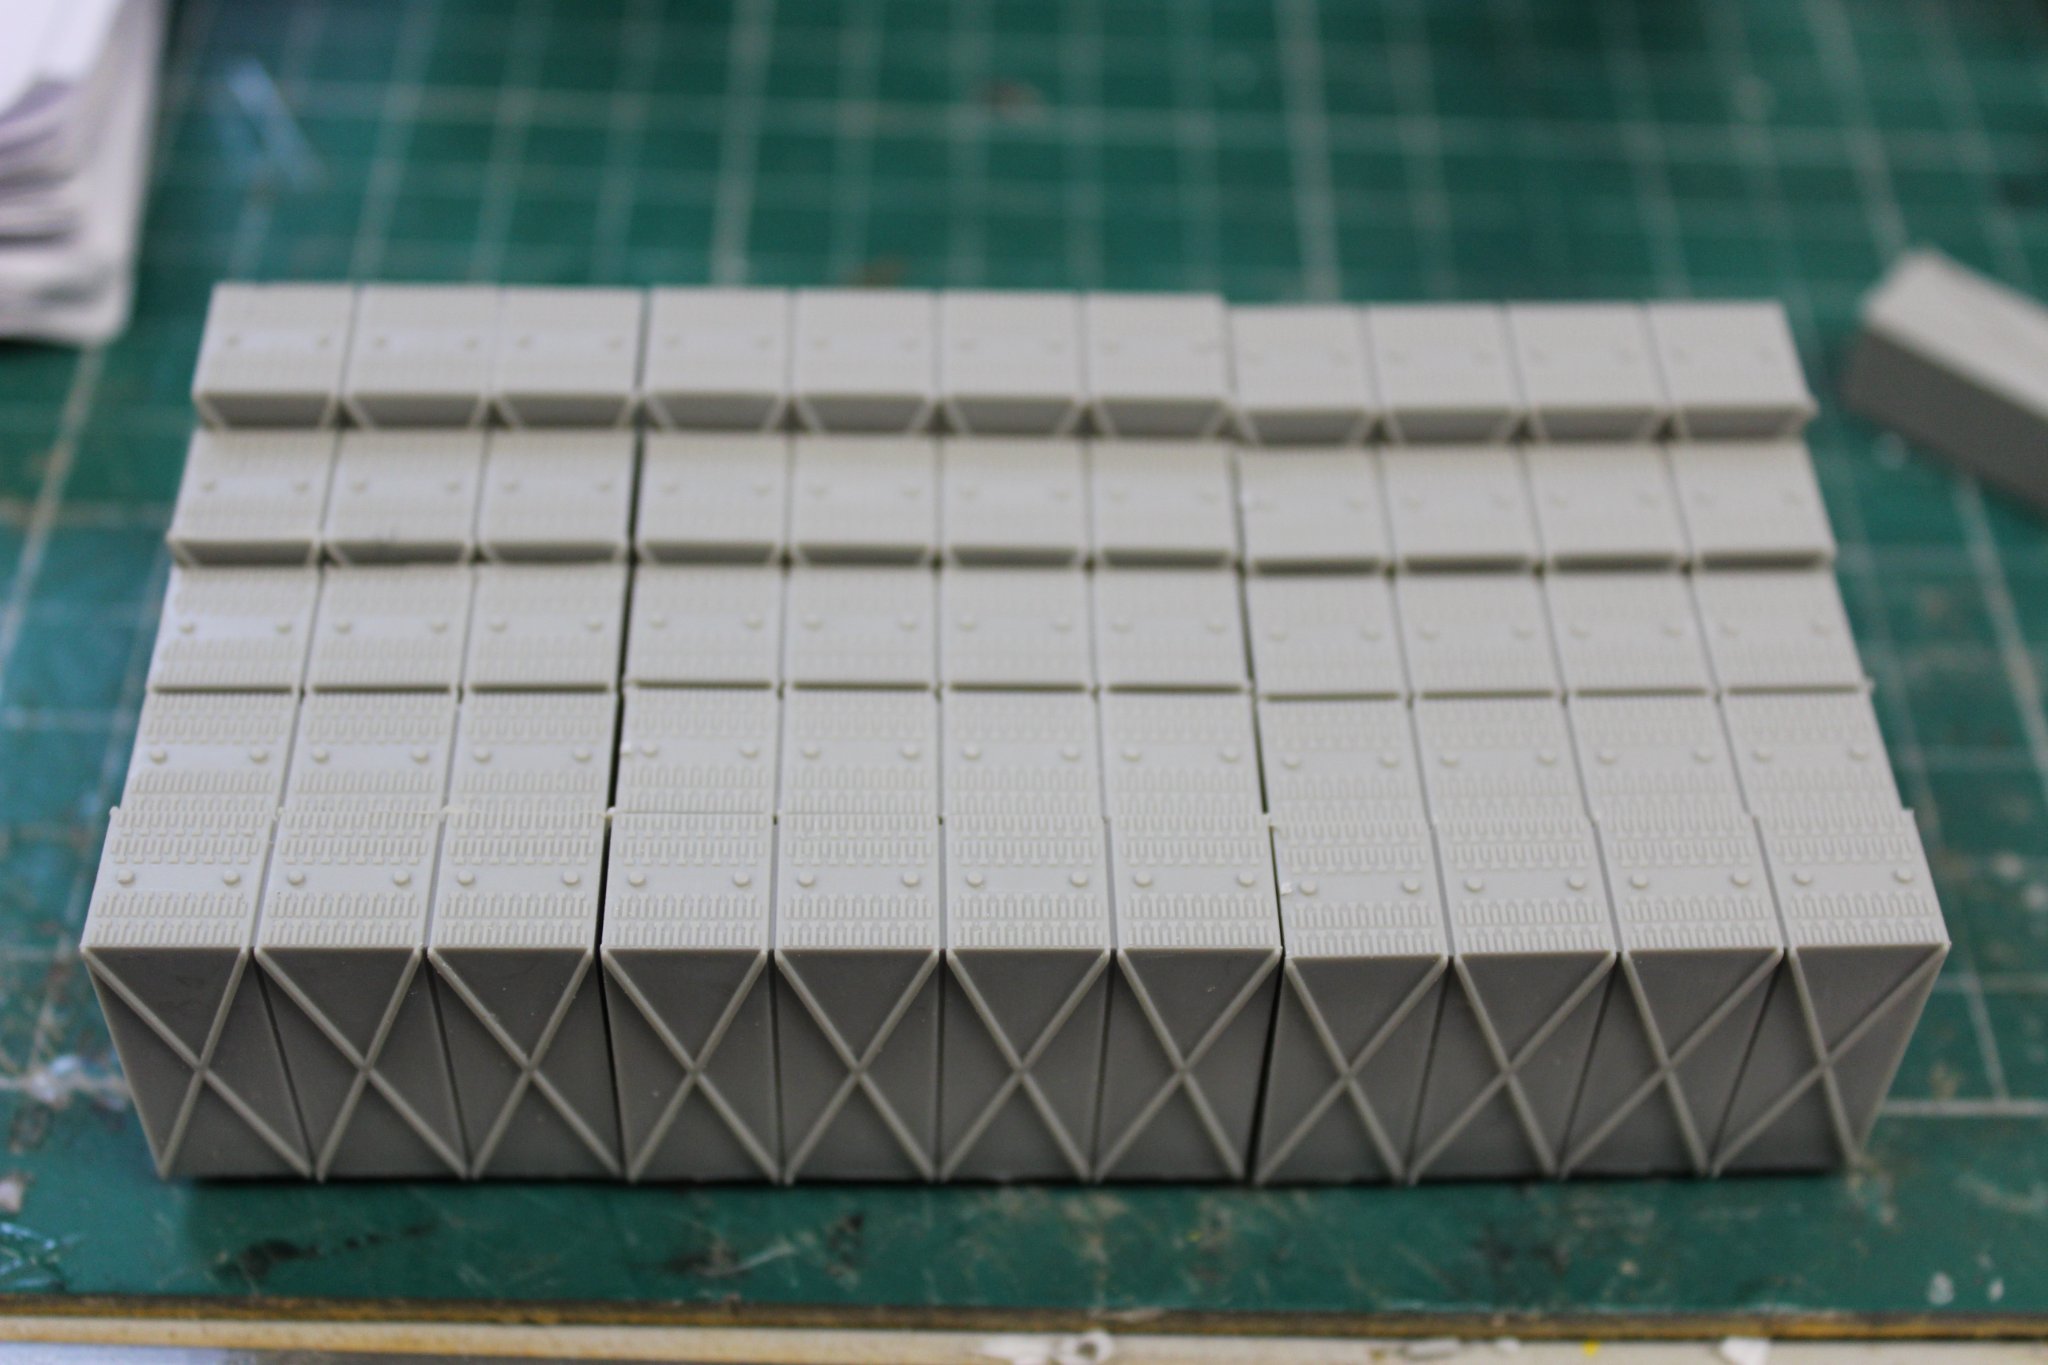
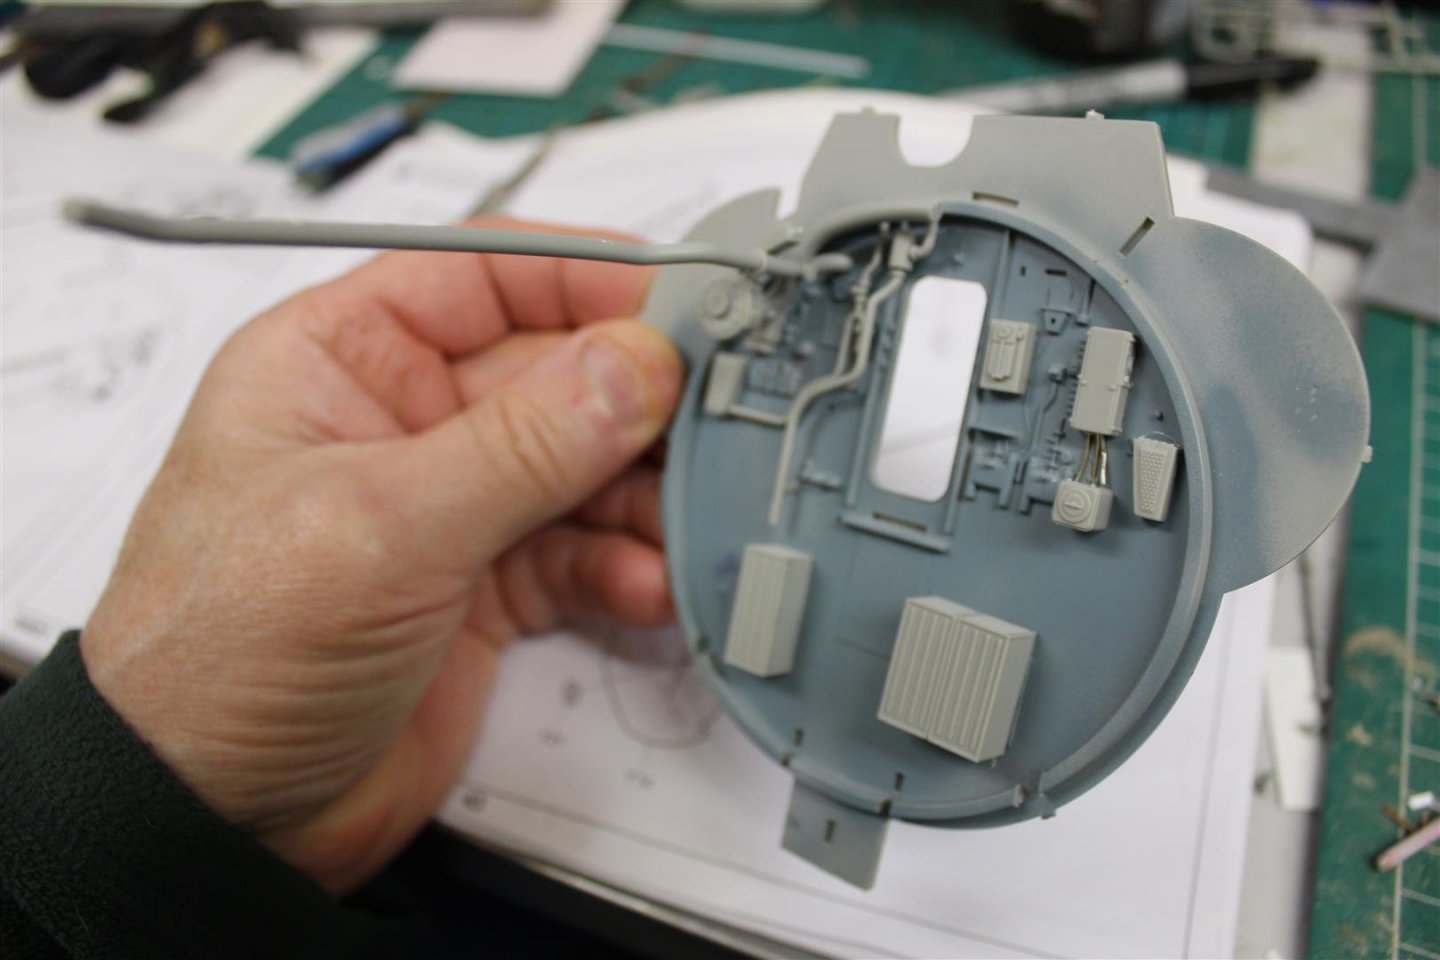
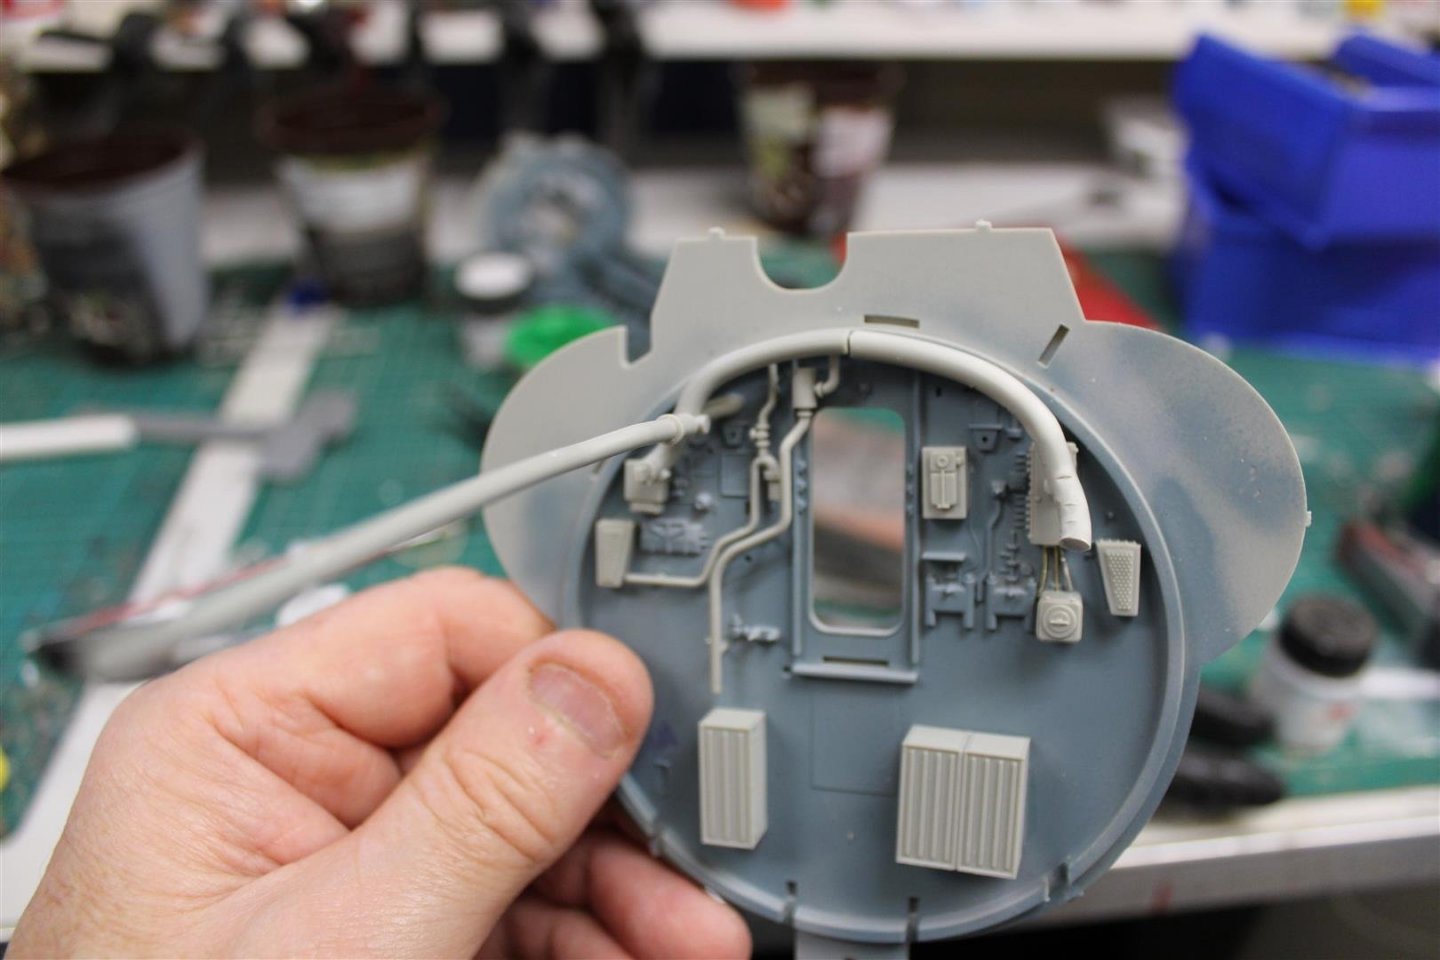
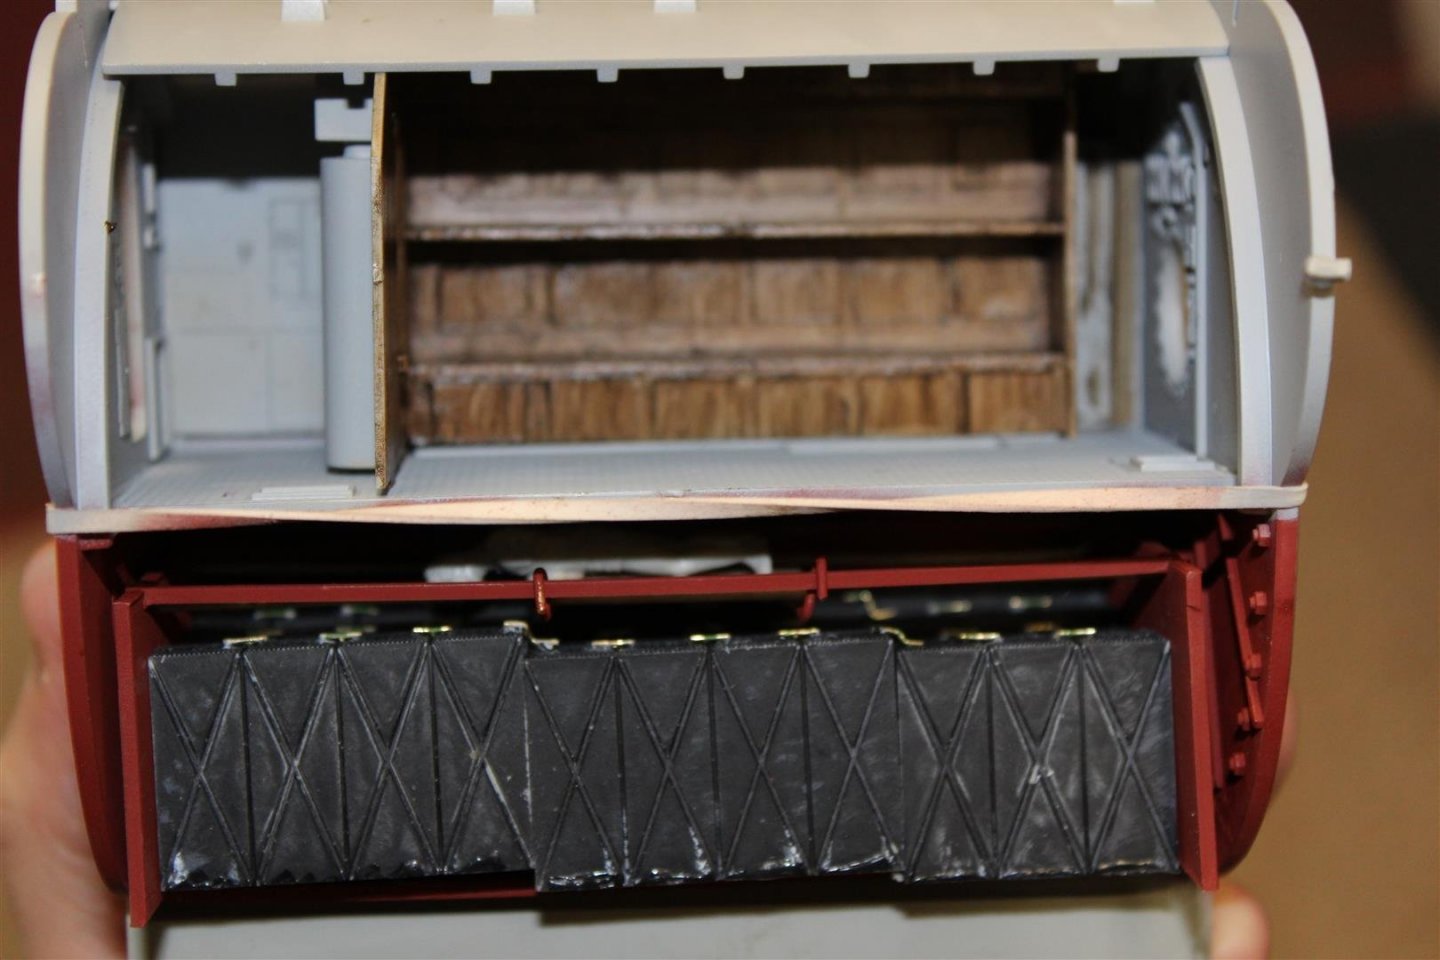
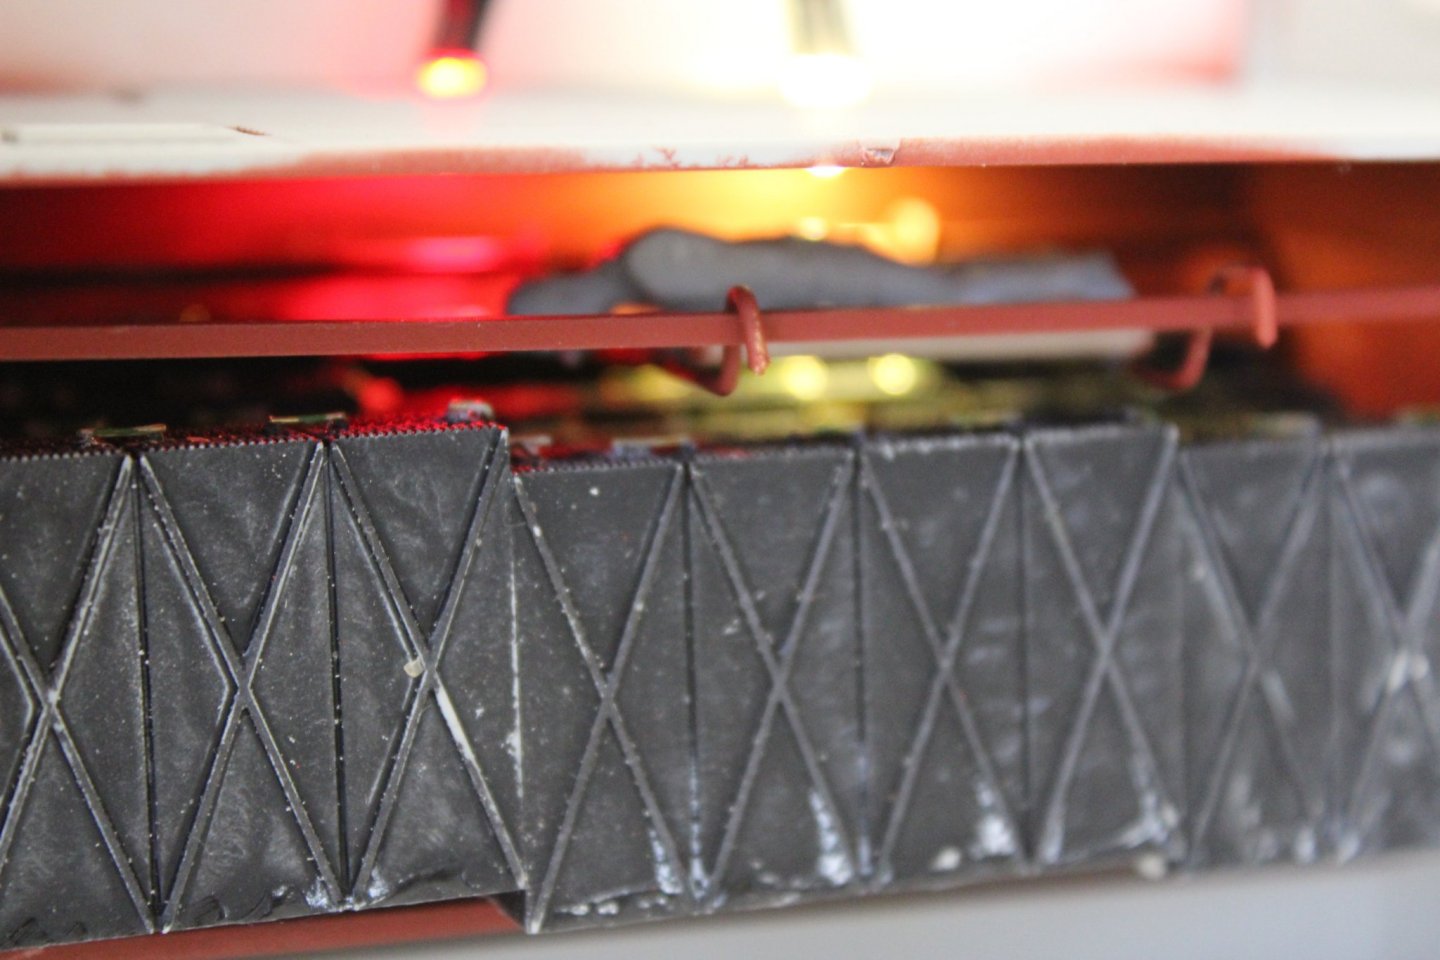
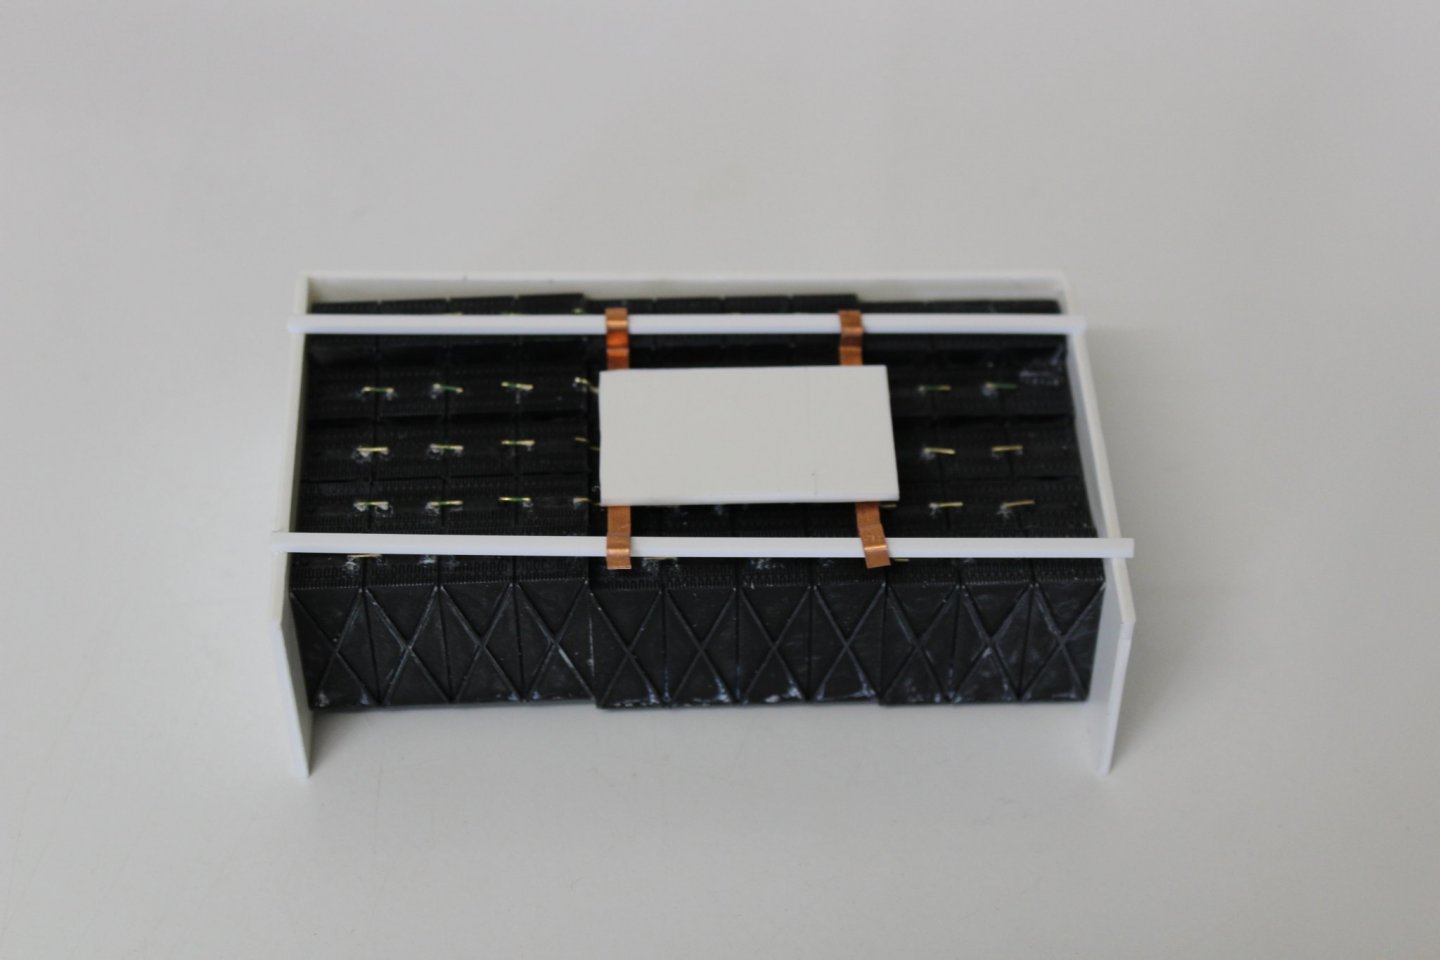
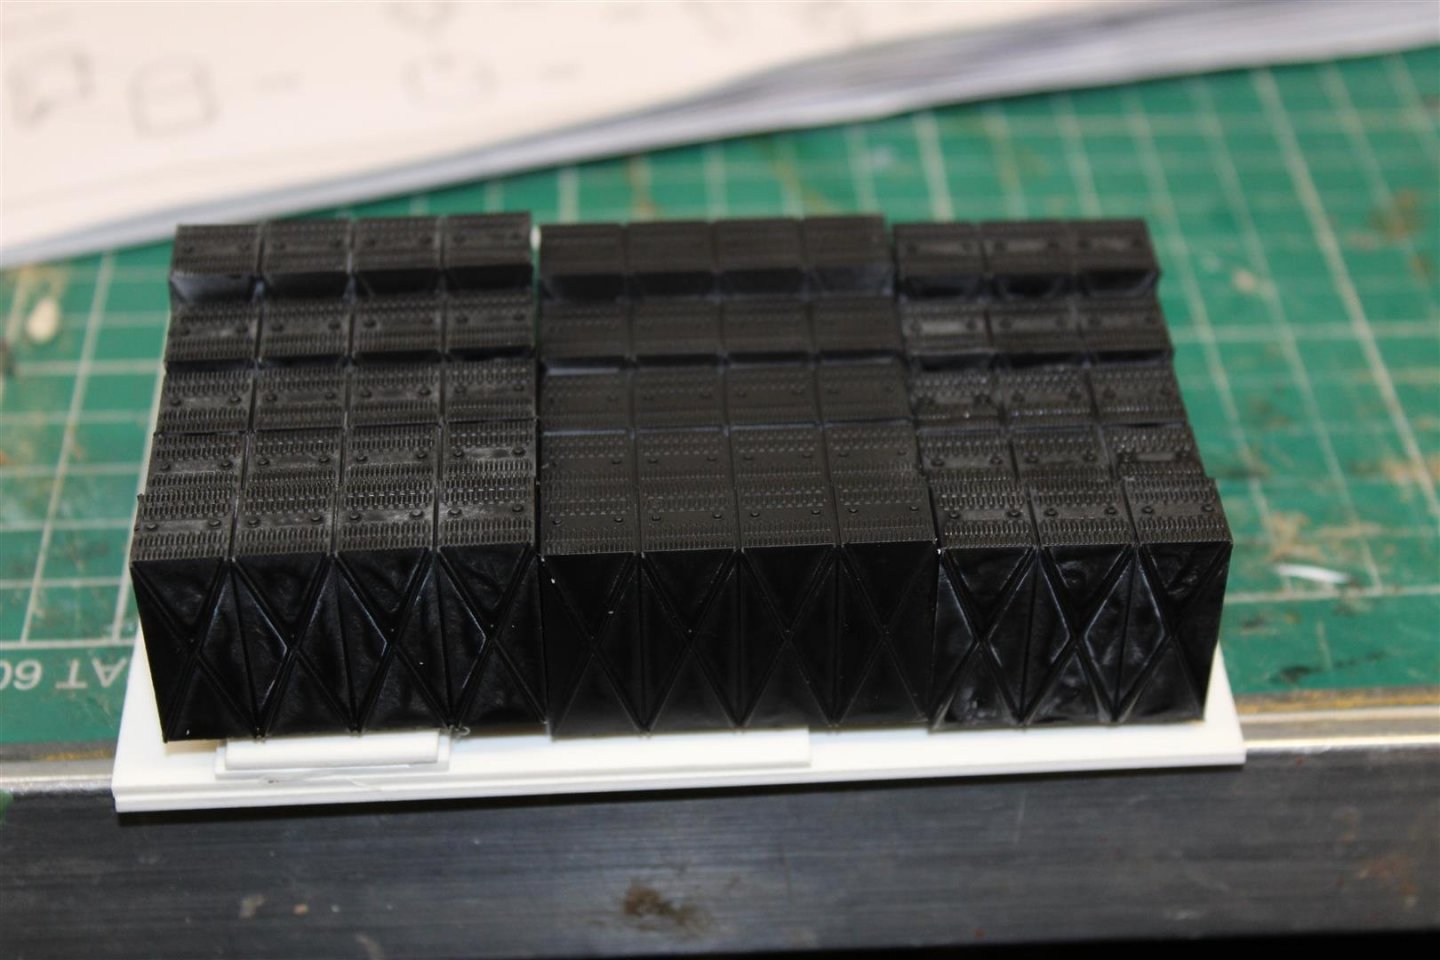
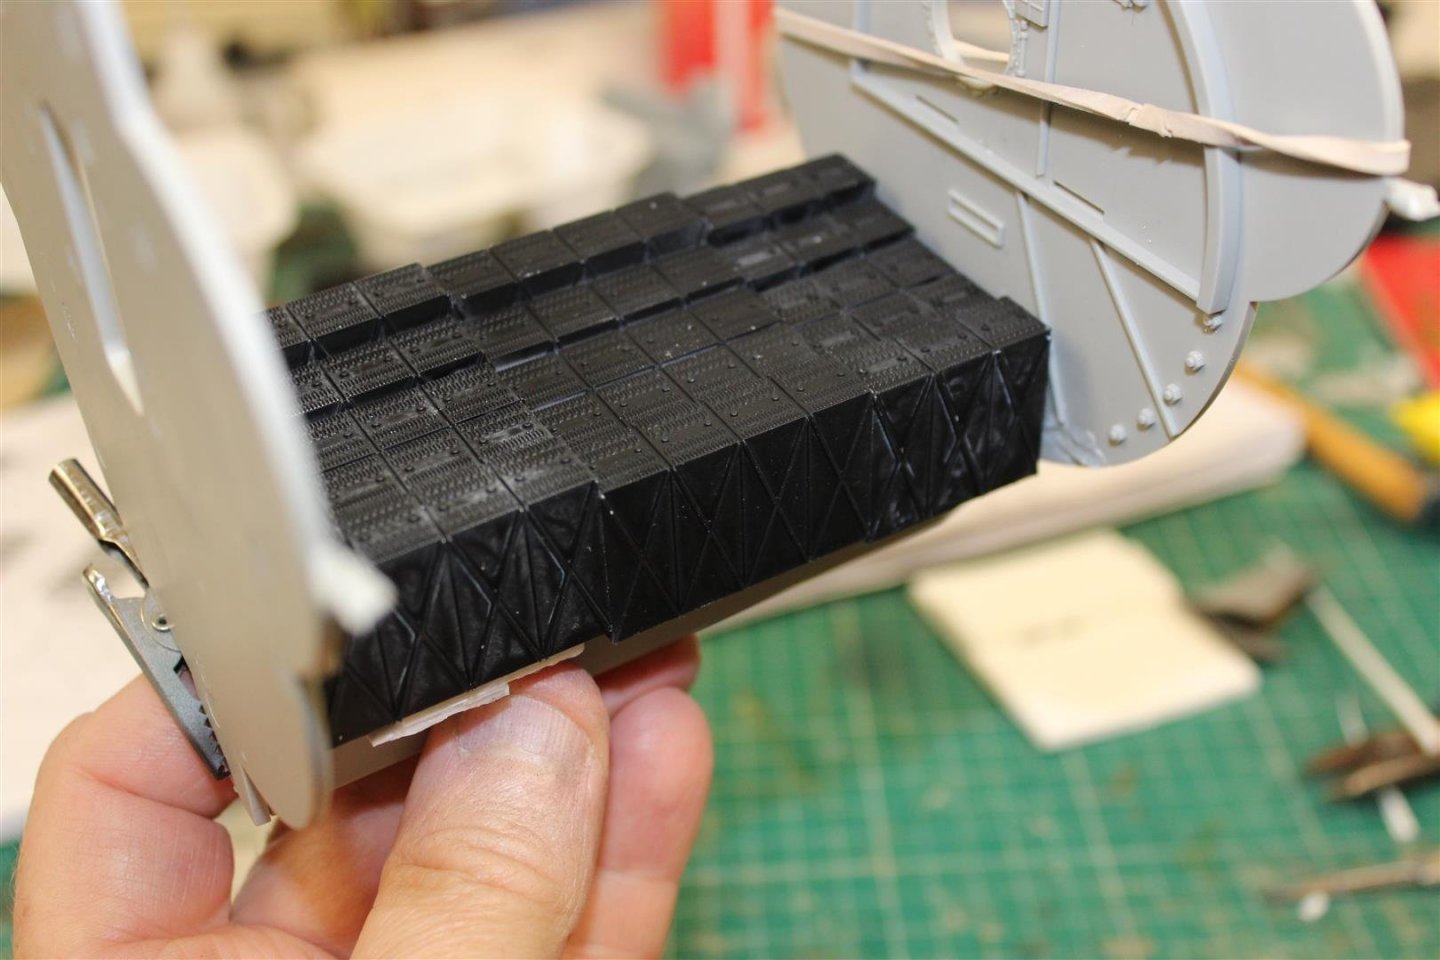
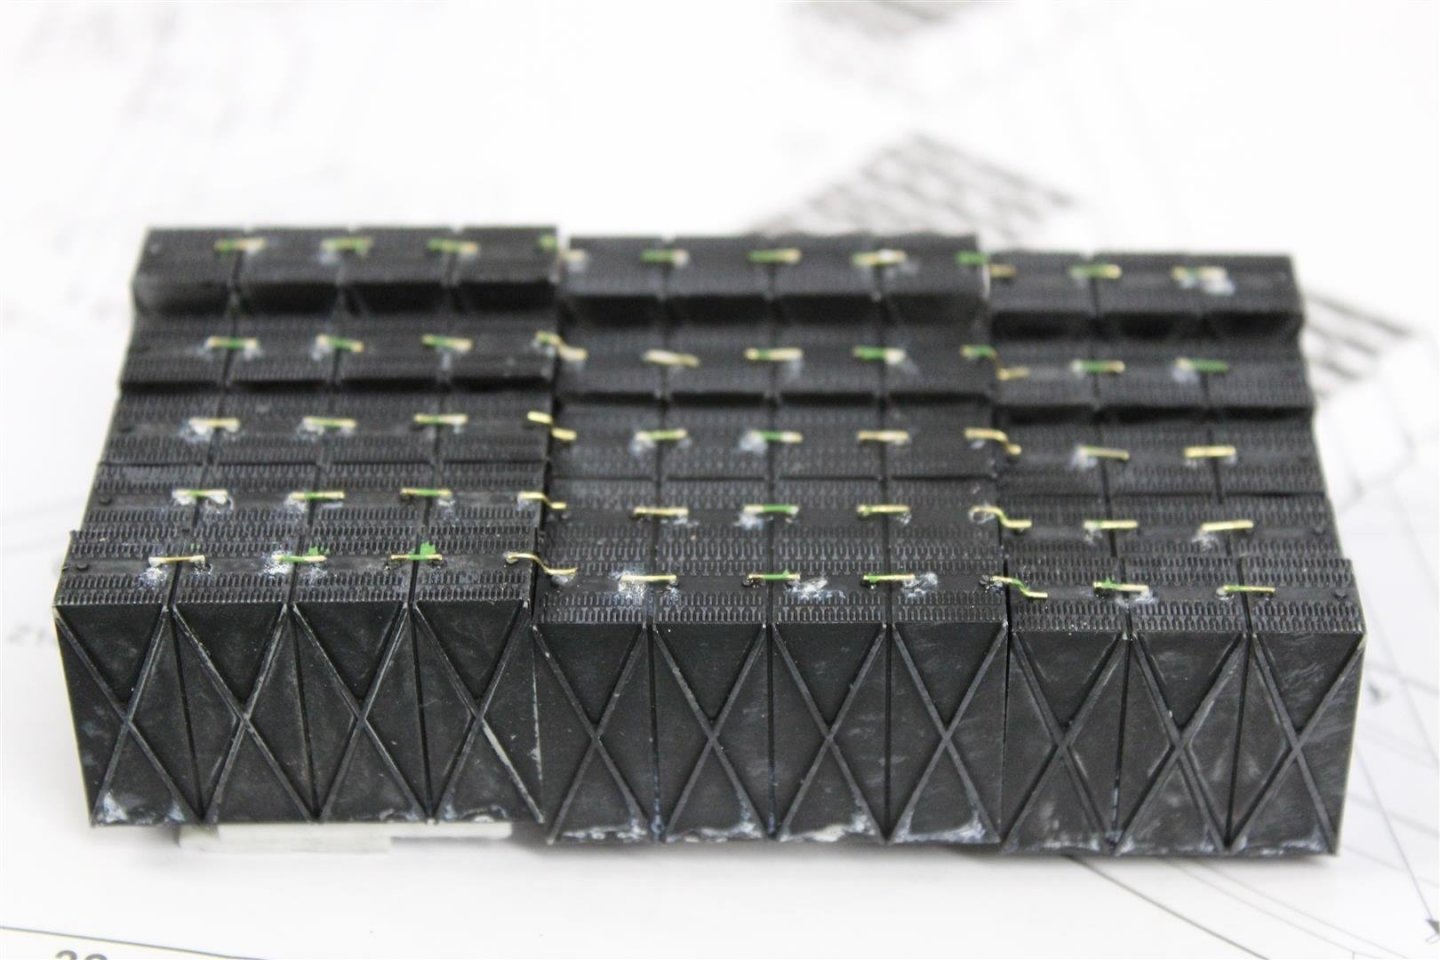
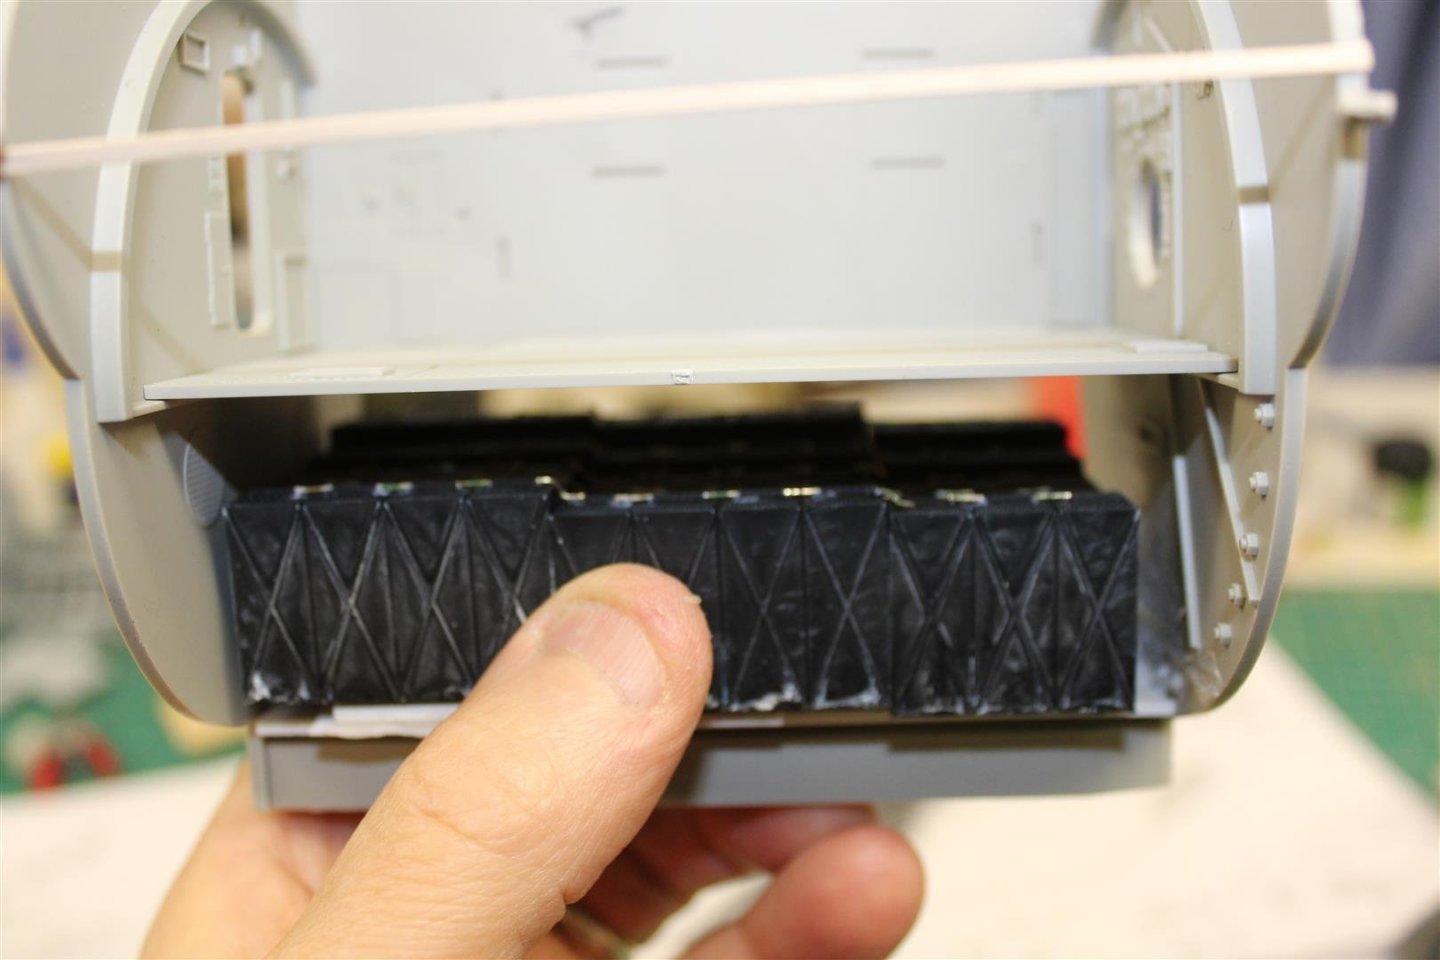
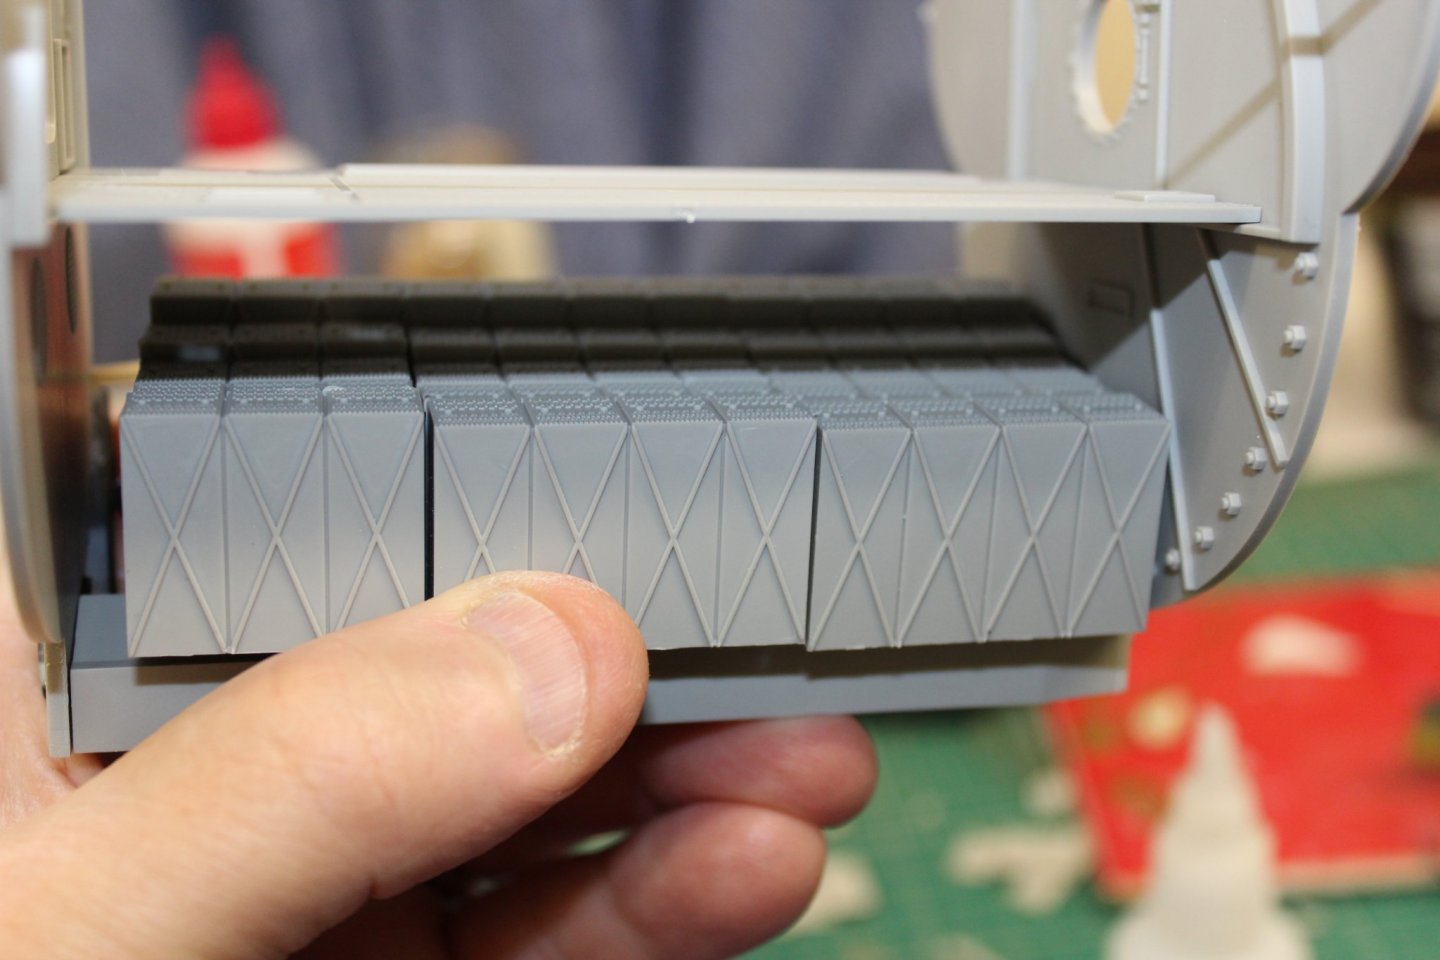
good evening everyone thank you for comments and likes i made the decision to show more off the battery tank, rather than show other bits that are not in the kit like fuel/water tanks the cells were made up, painted in lifecolor matt black, drybrushed with Tamiya dark grey oxidisation by superglue being forced dry by using an accelerator 0.4mm wire for connectors a tank to be made up next to give it a proper home


- 90 replies
-
- 12
-
-
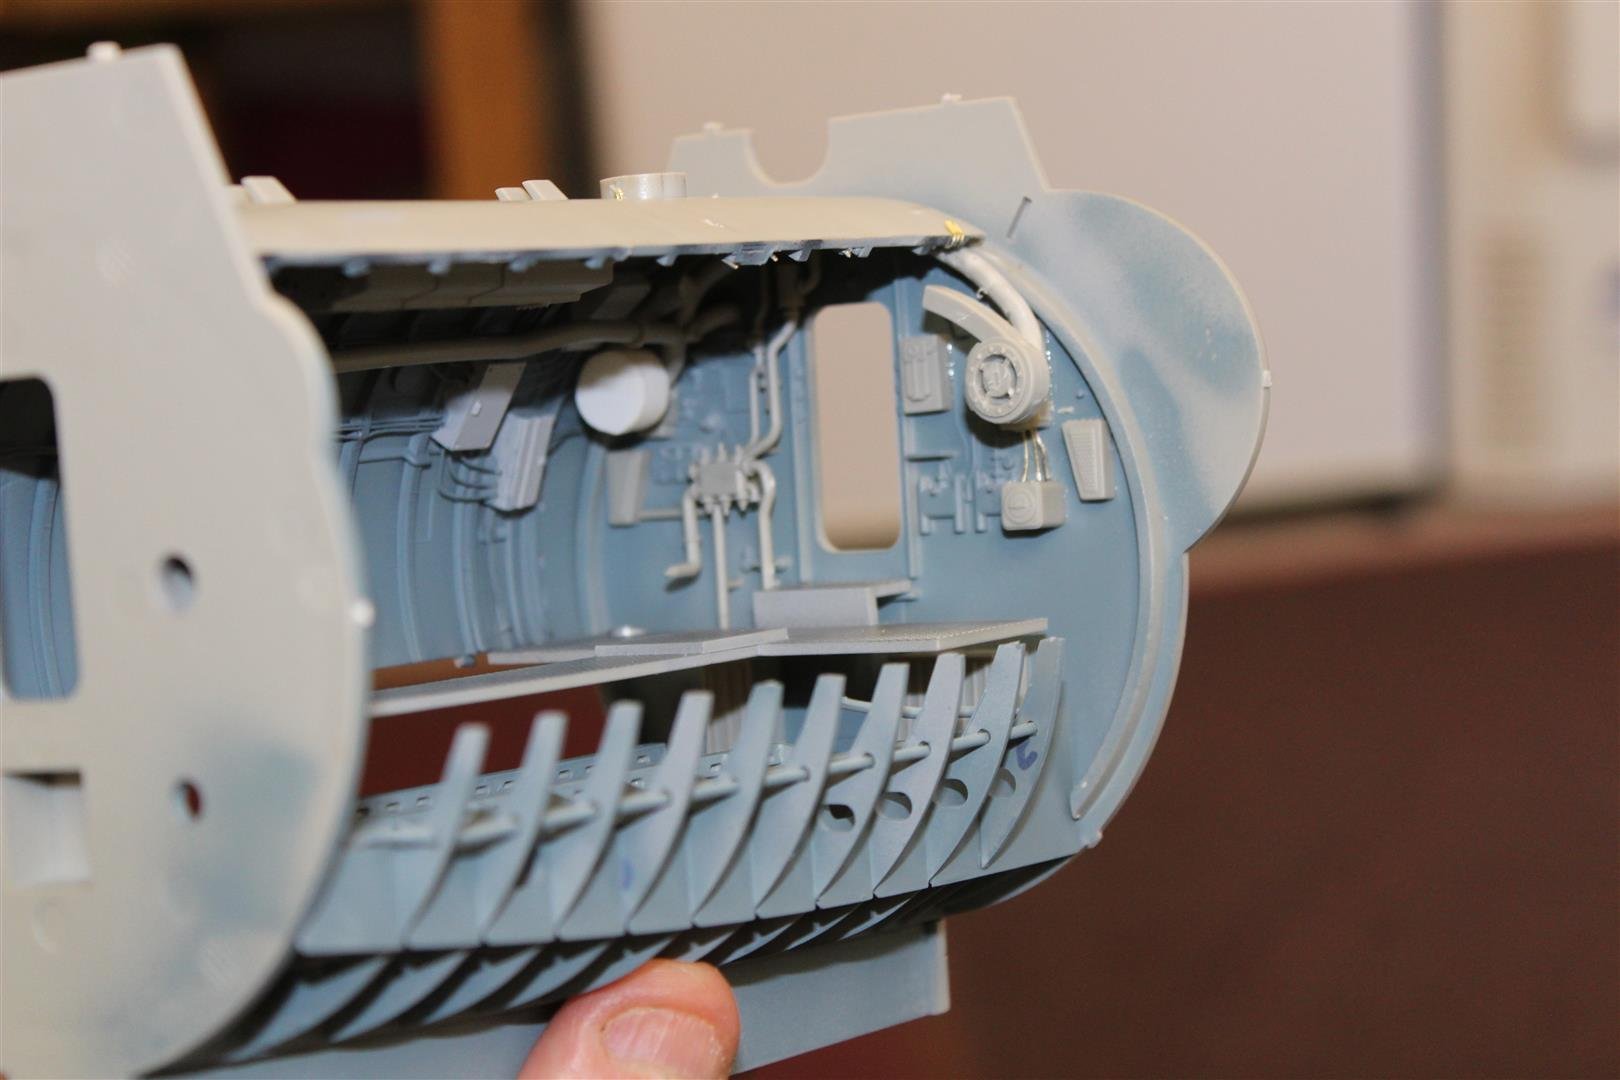
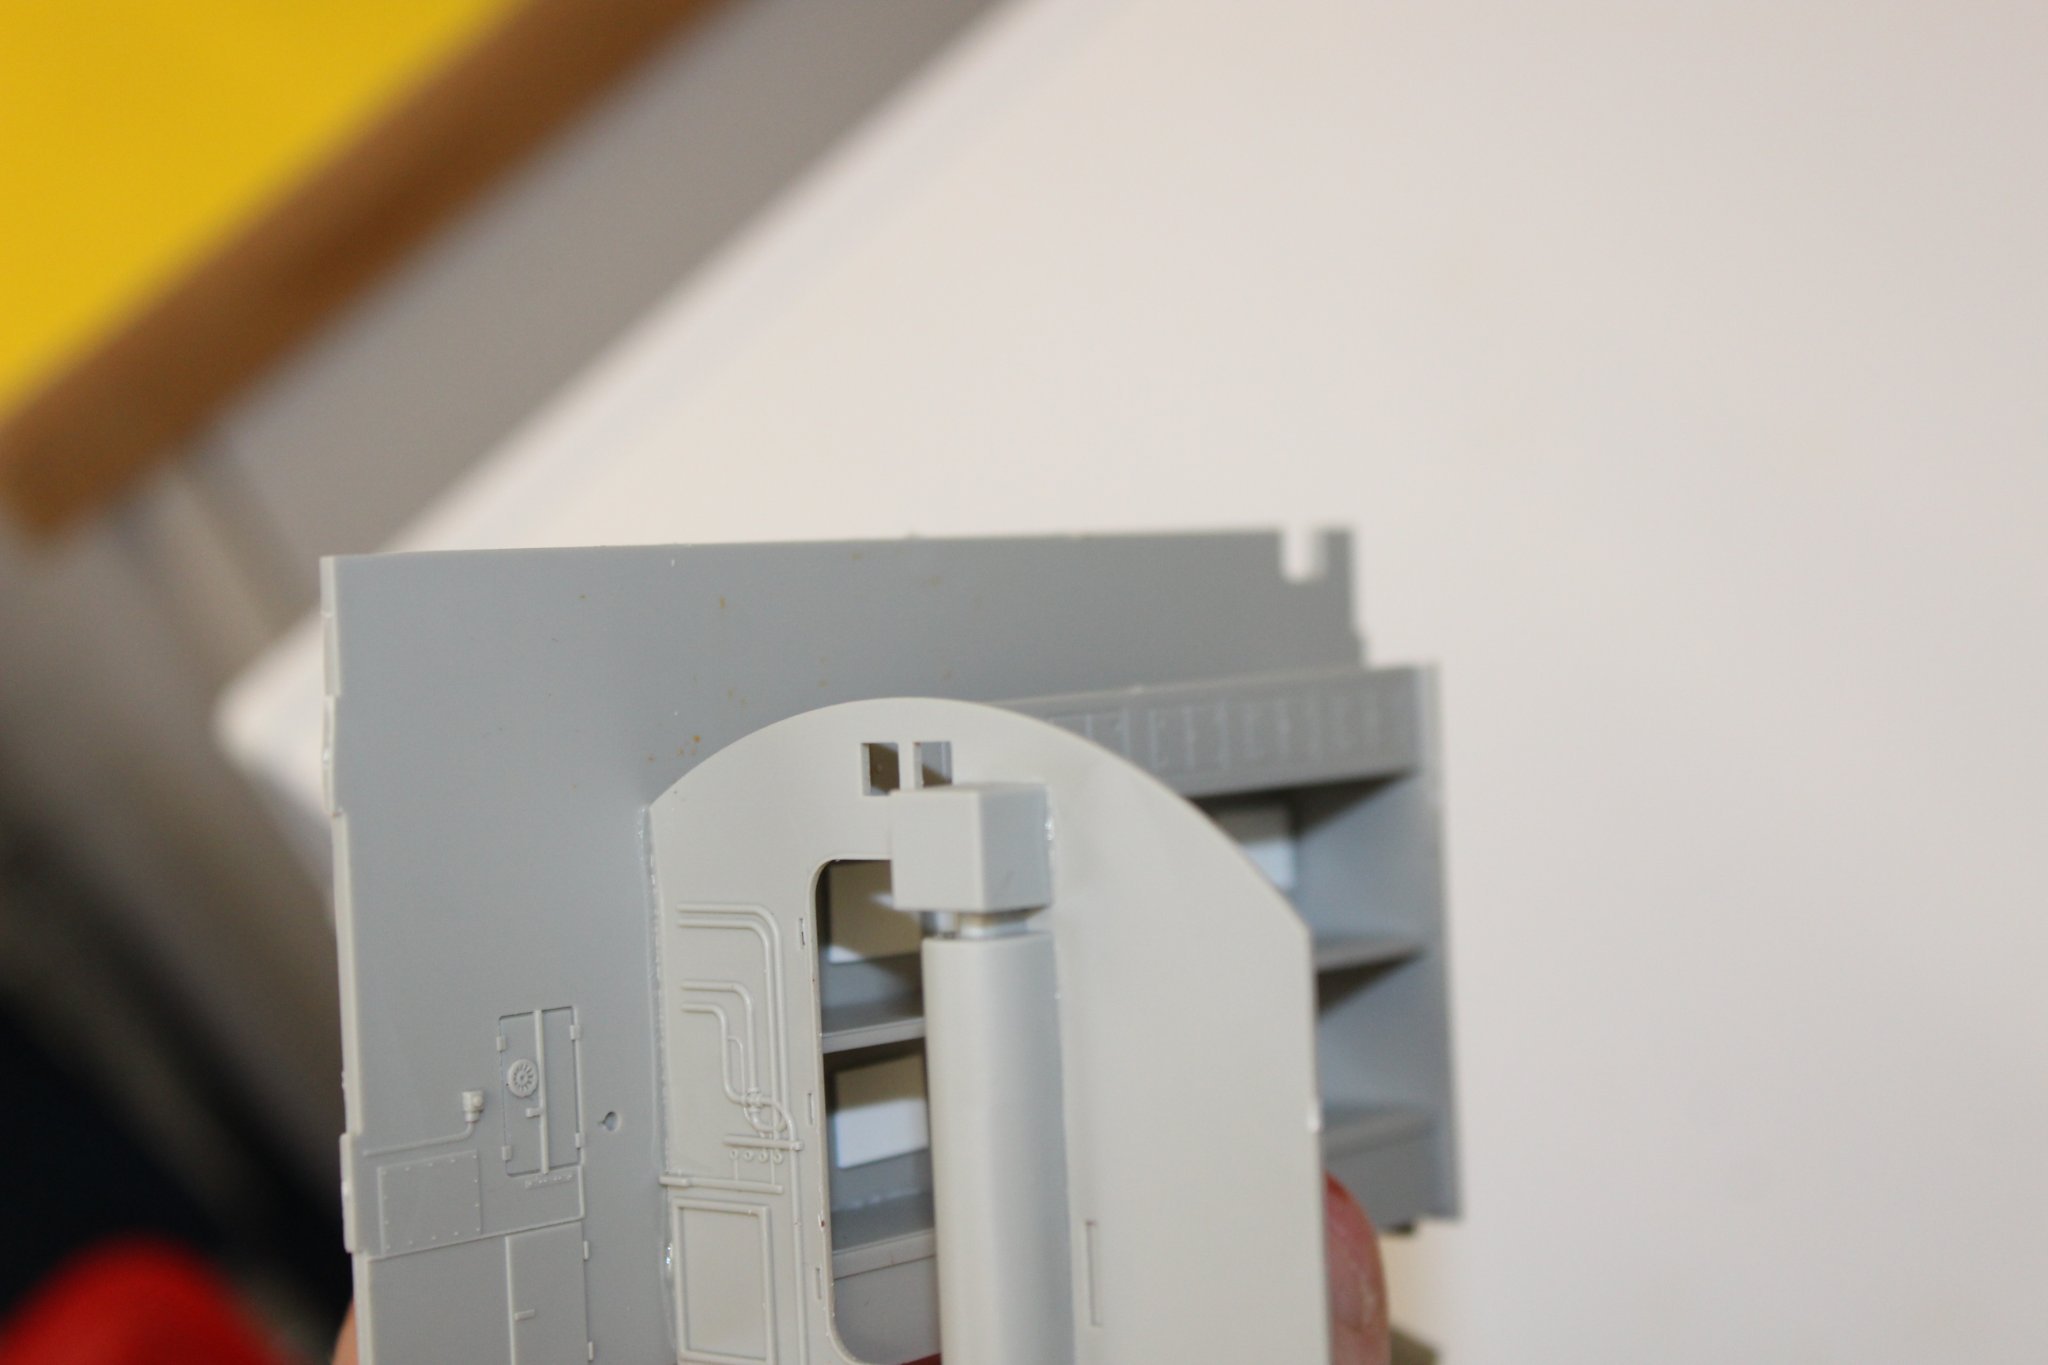
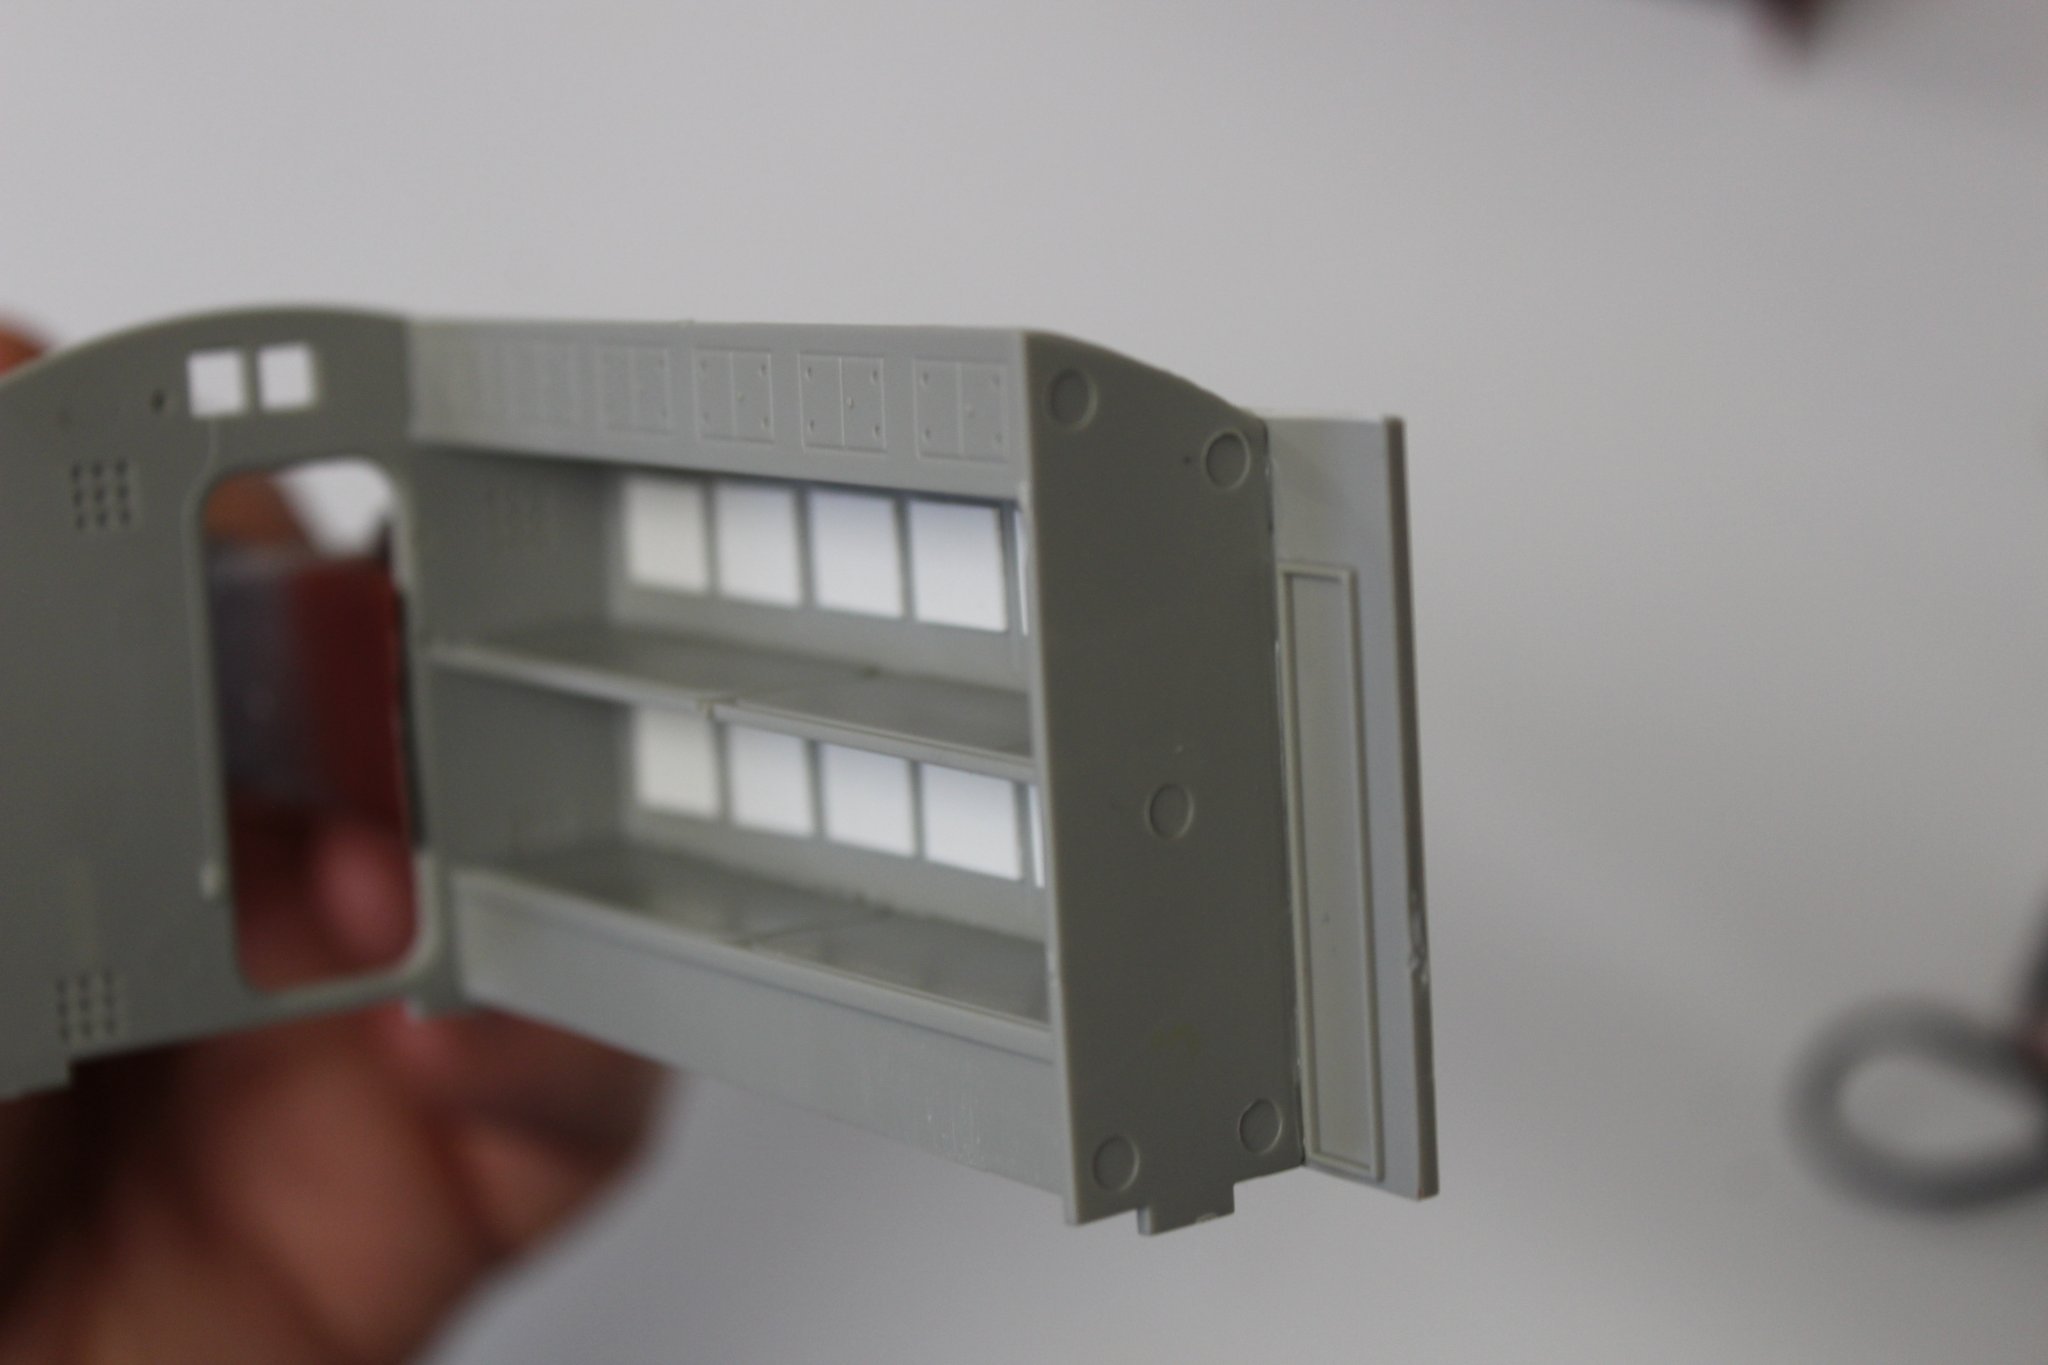
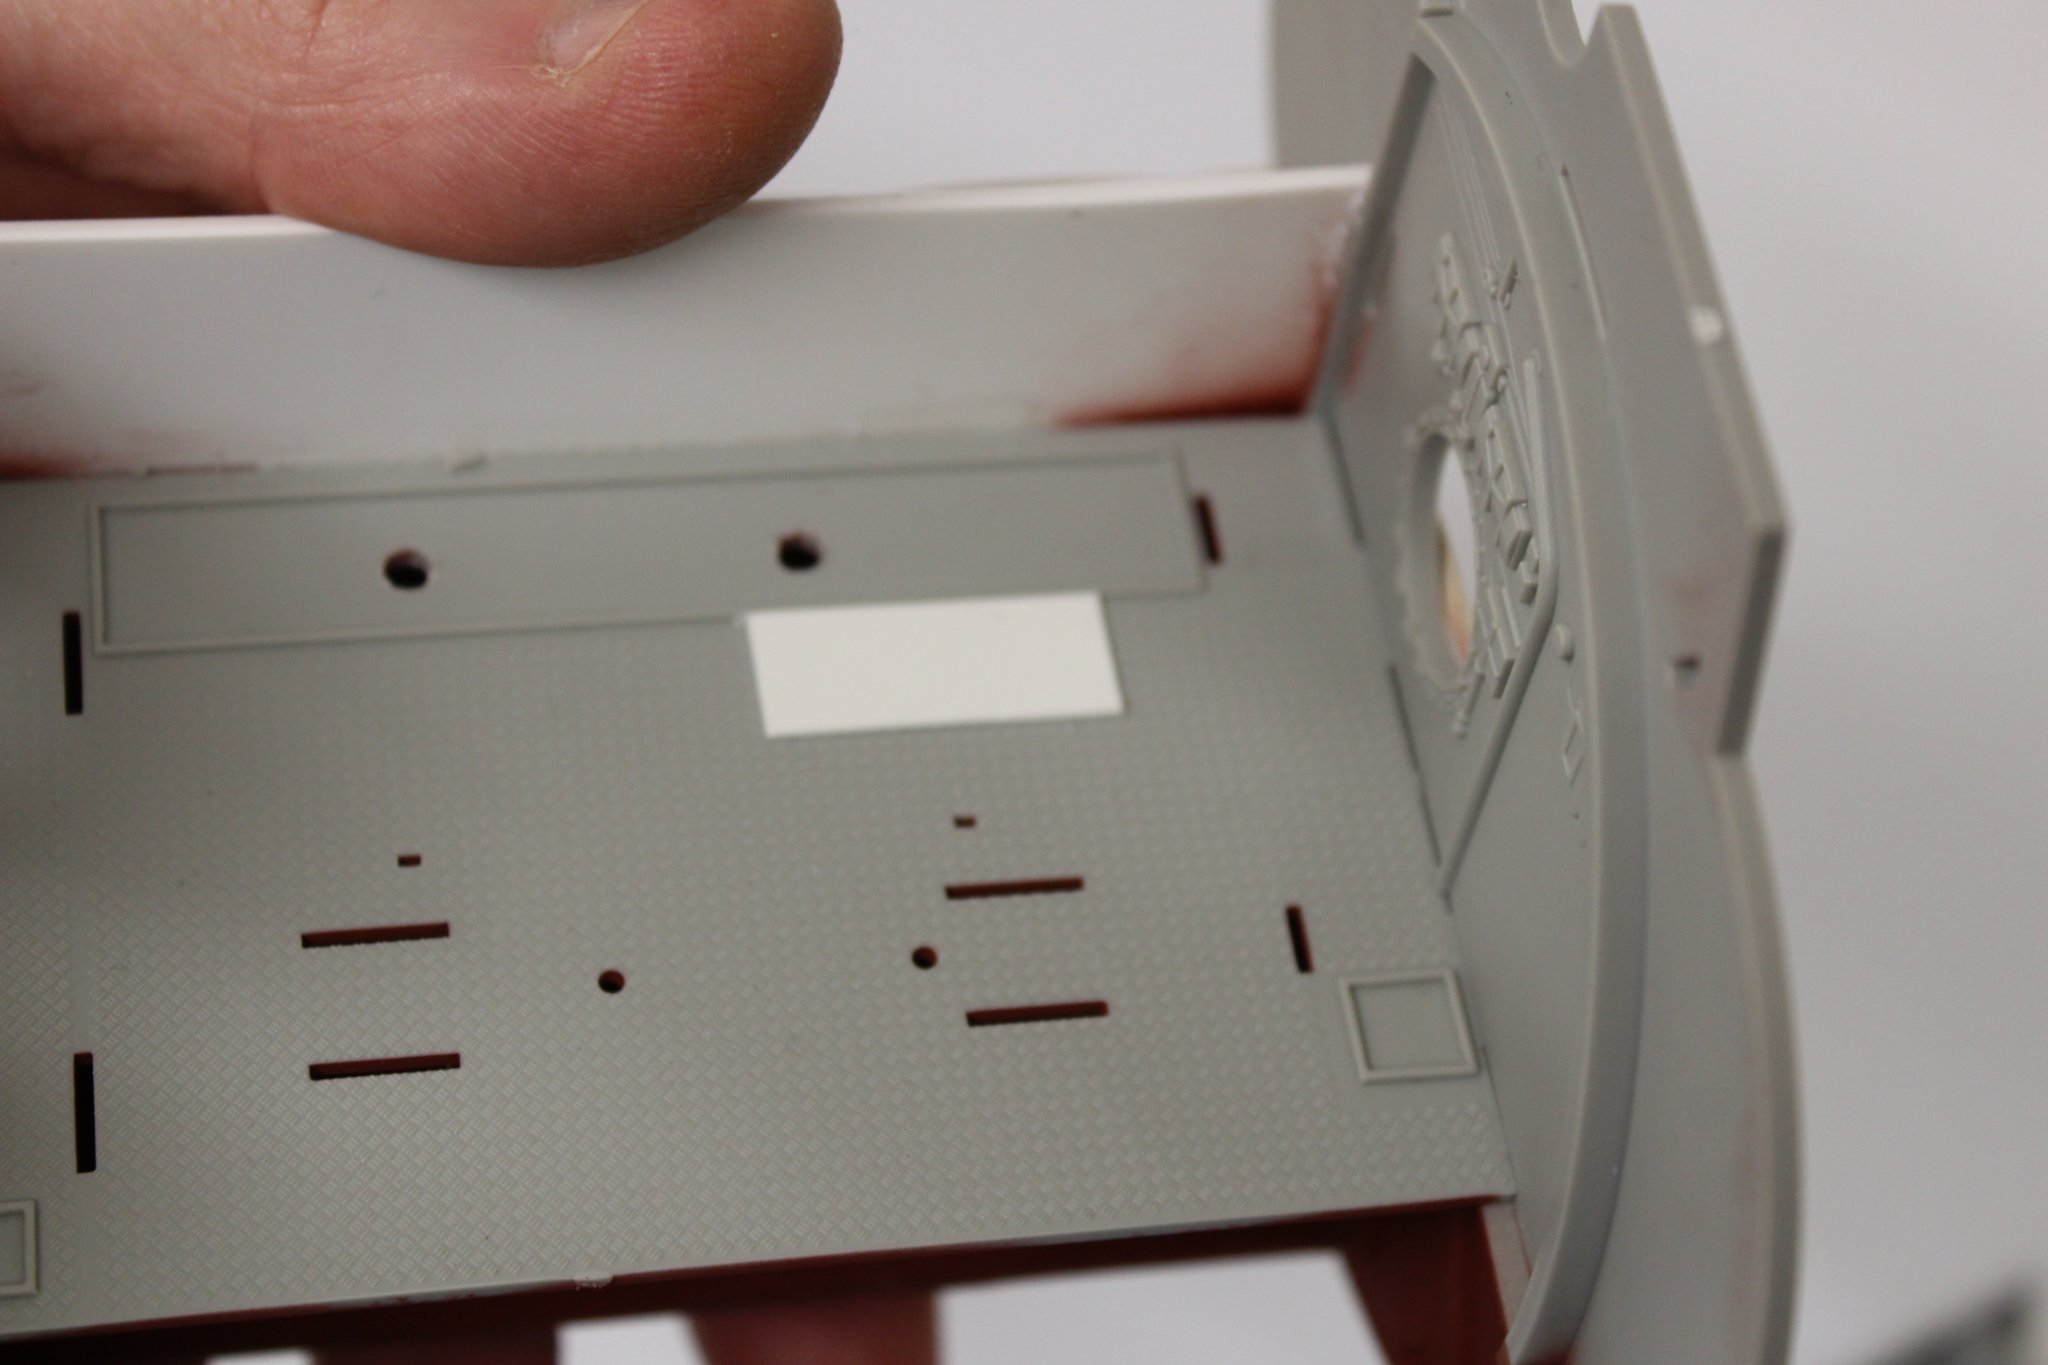
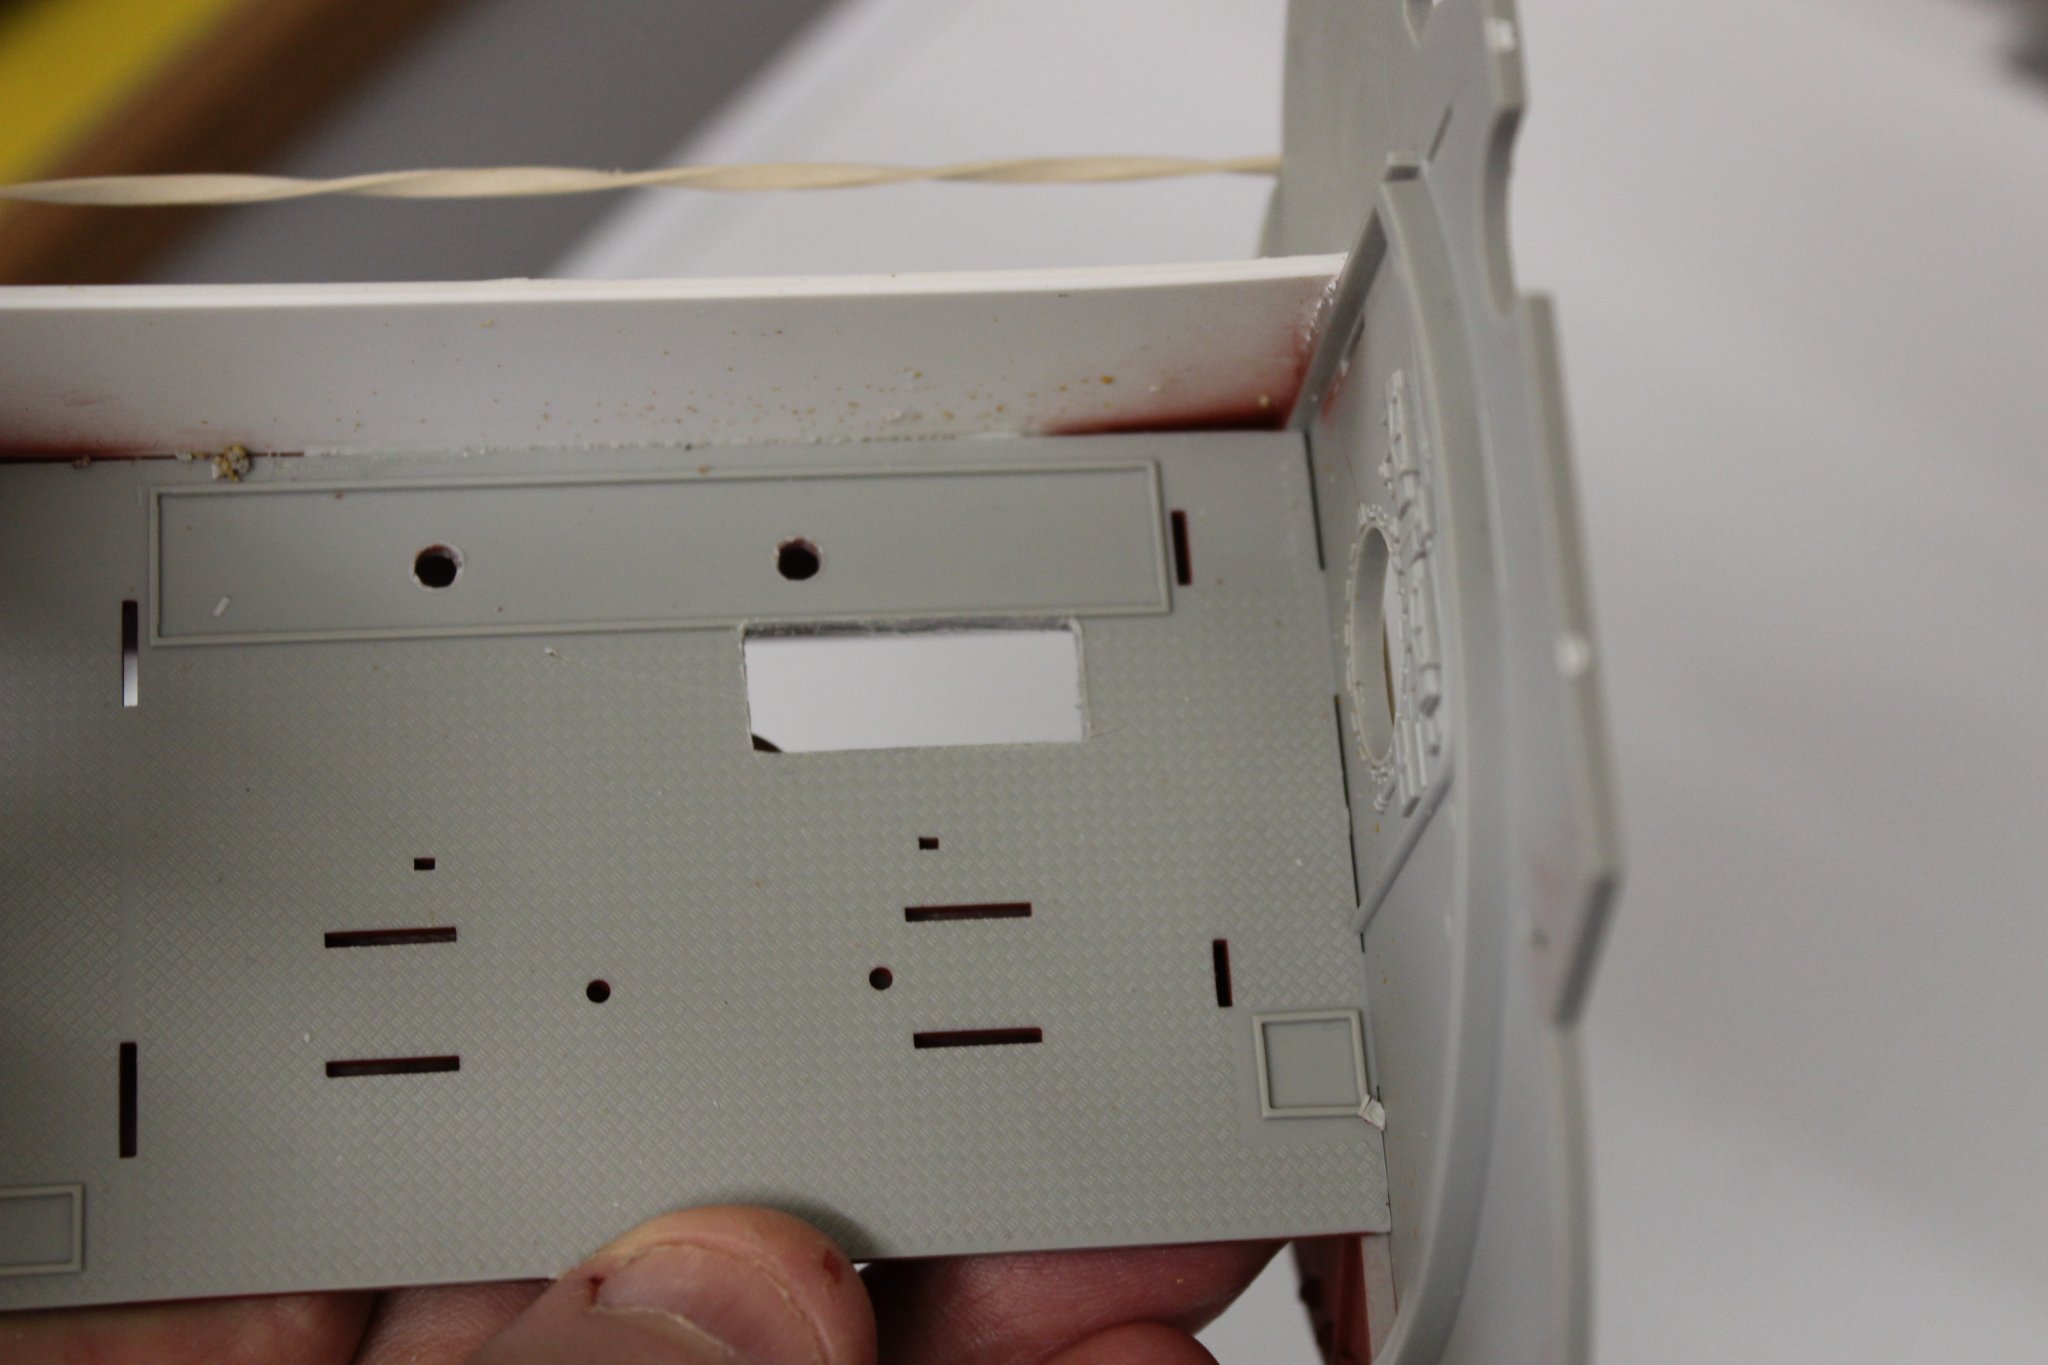
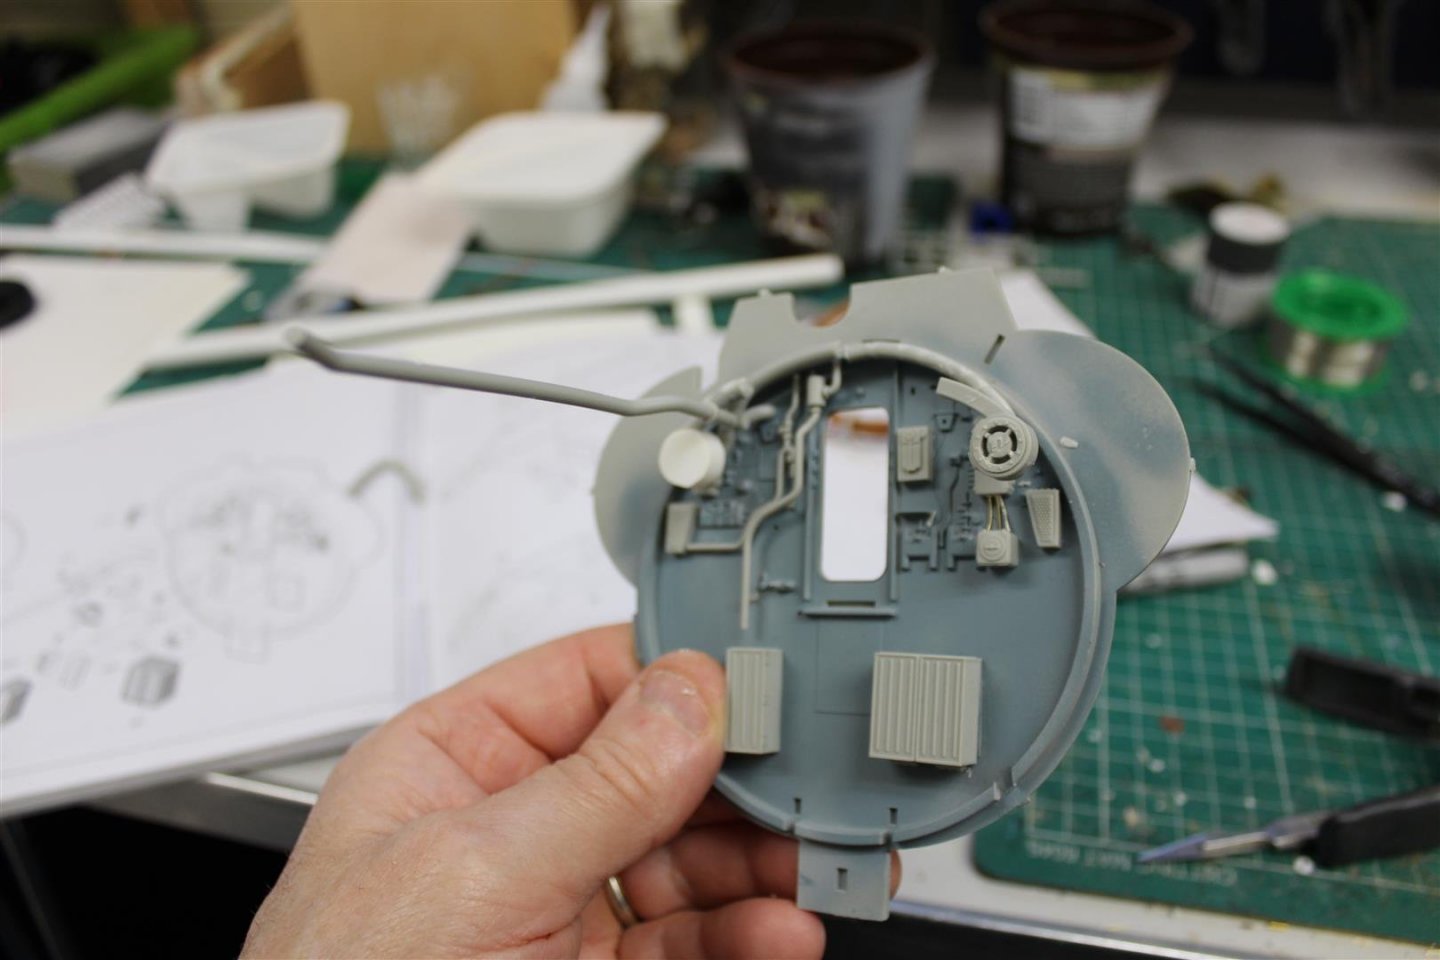
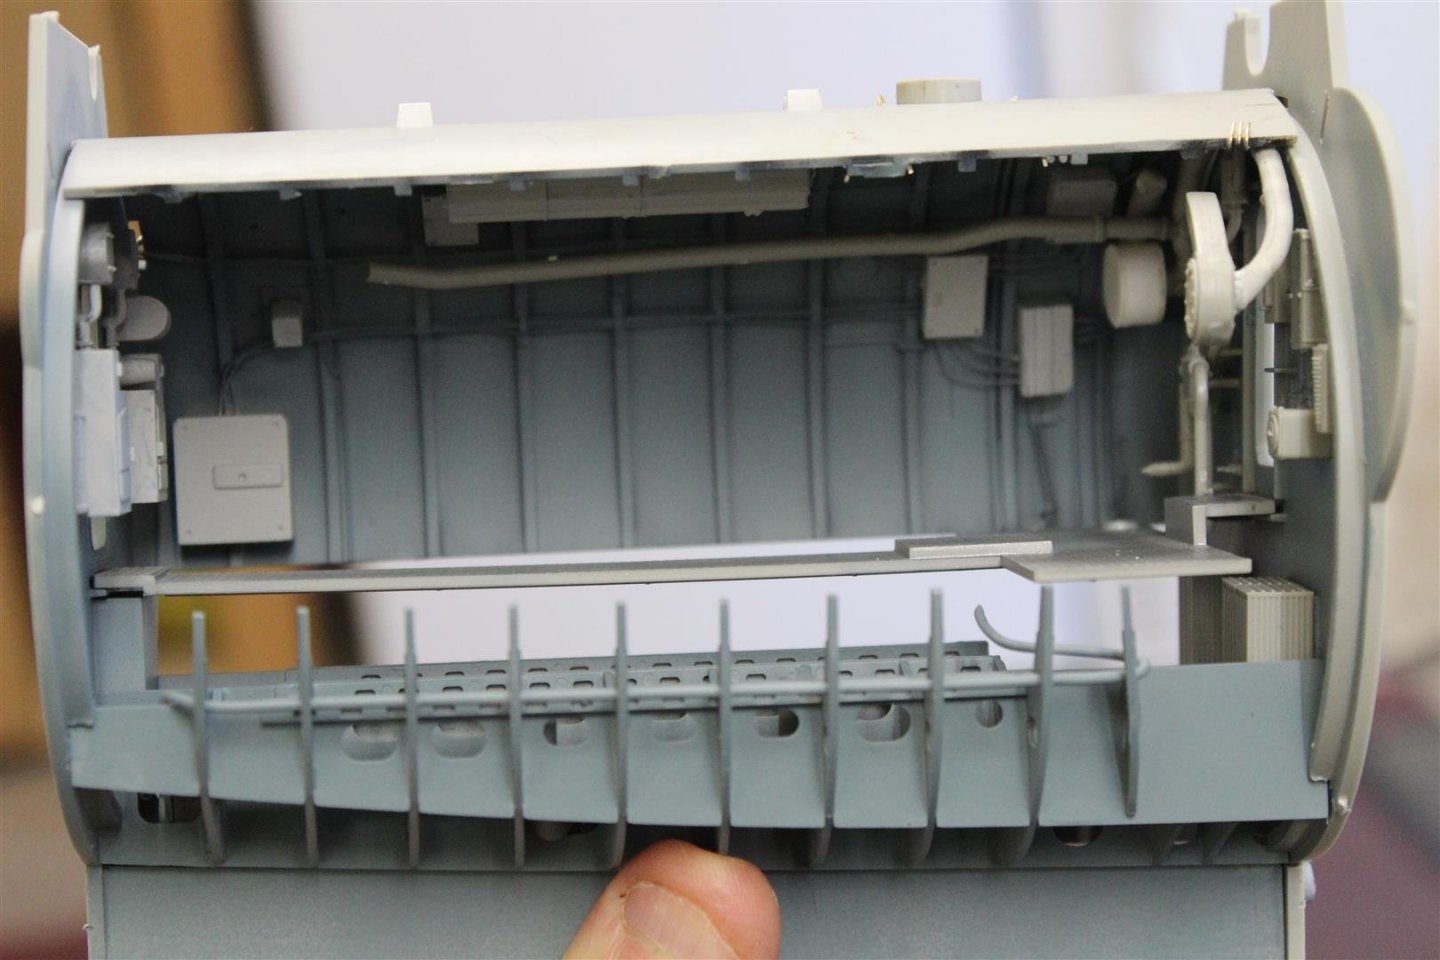
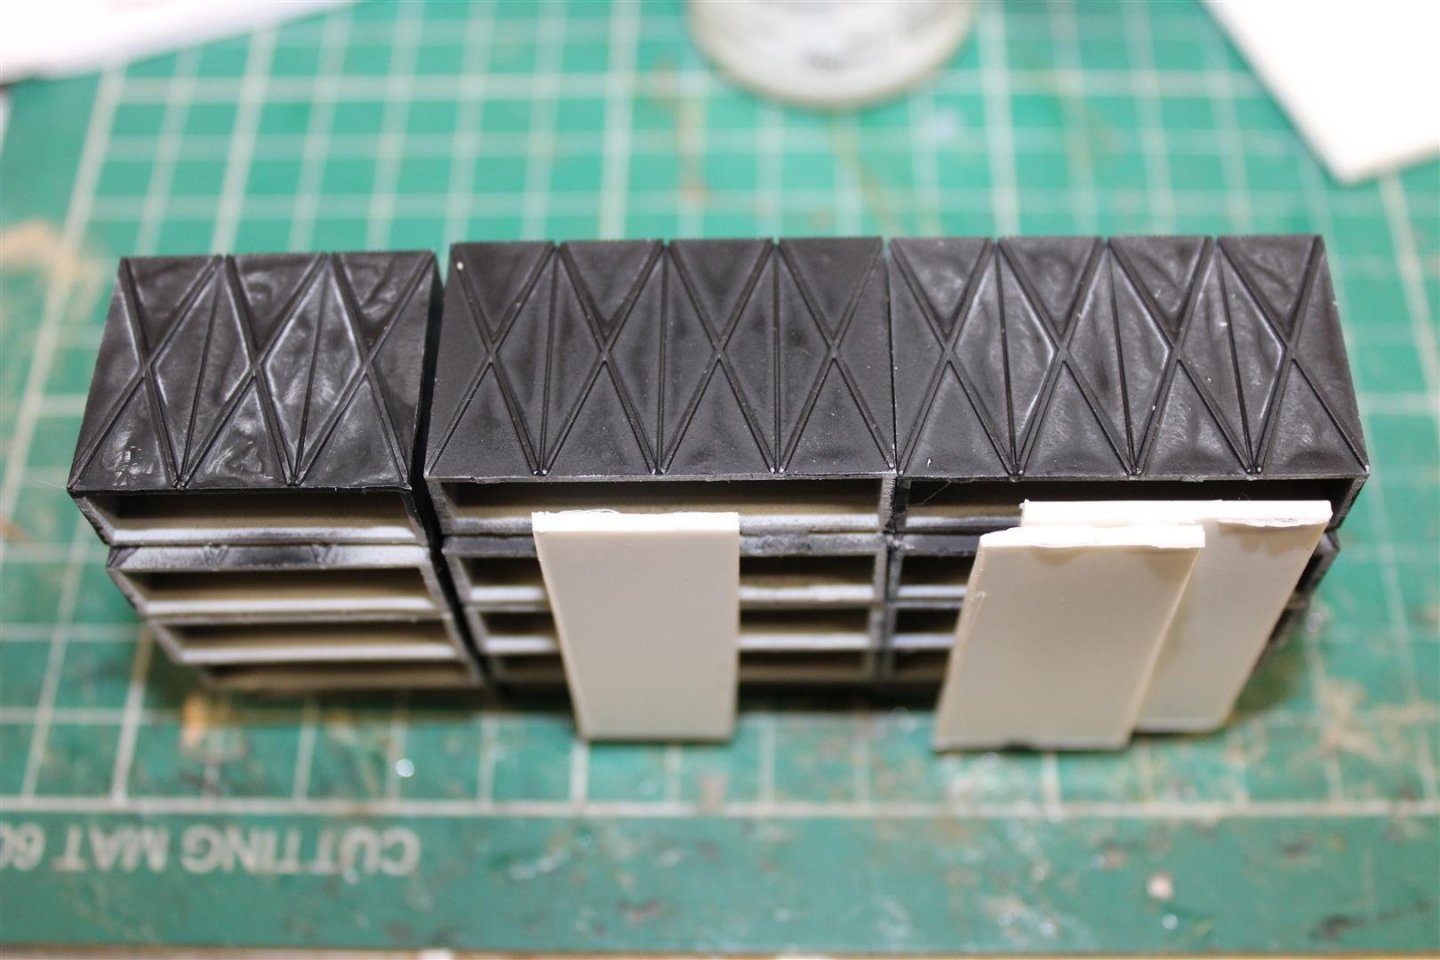
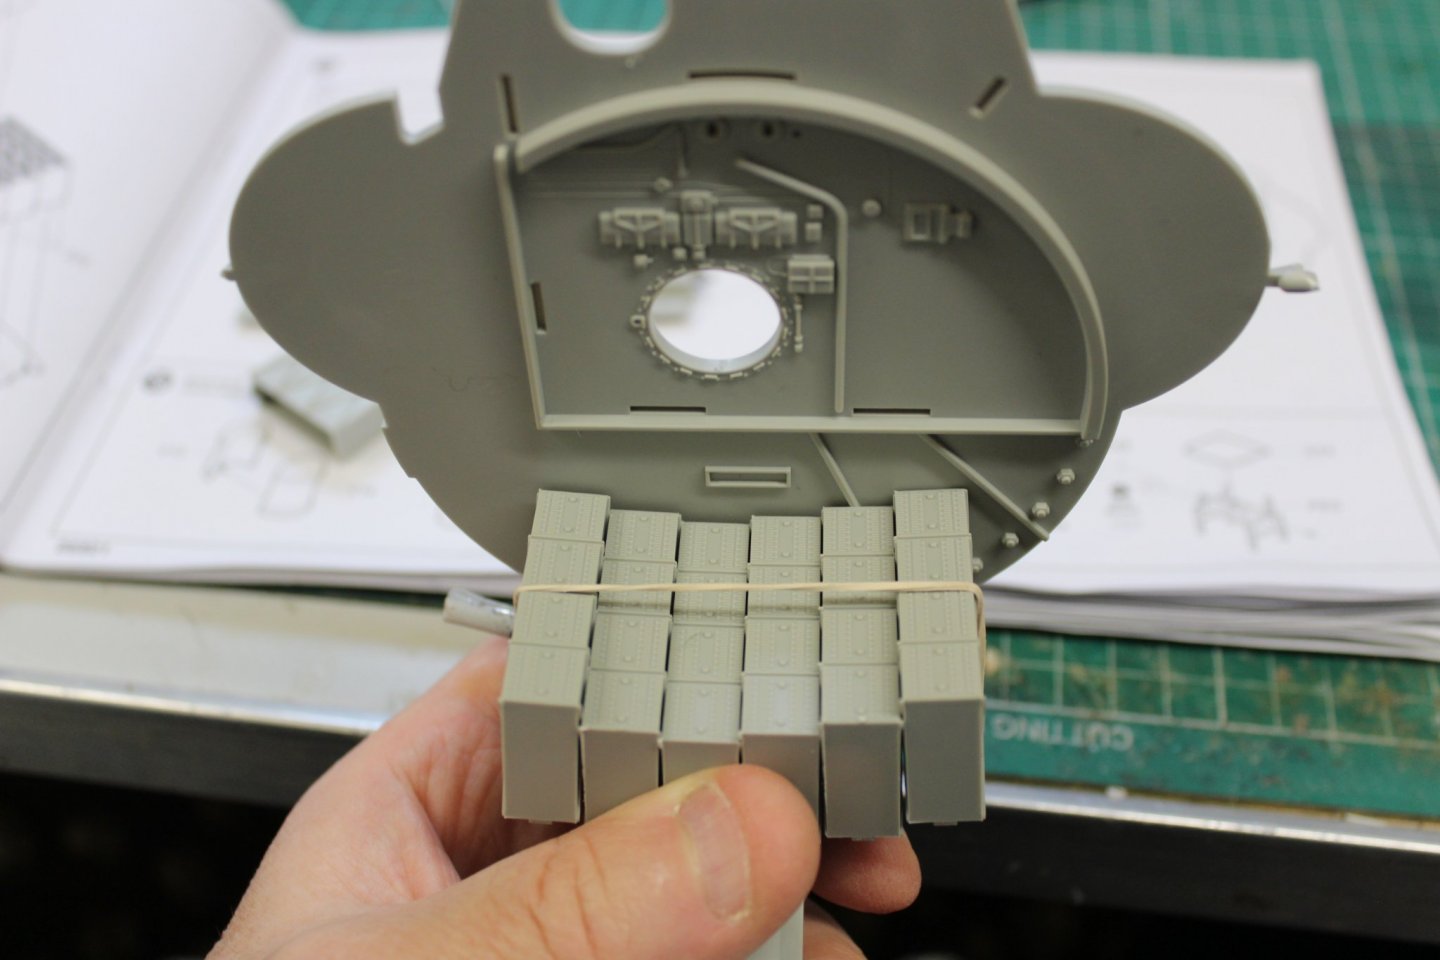
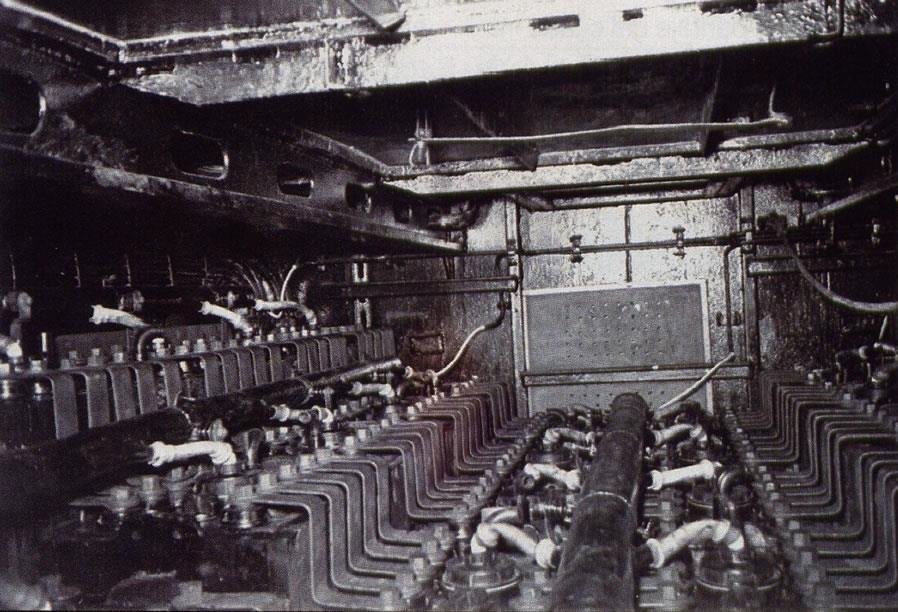
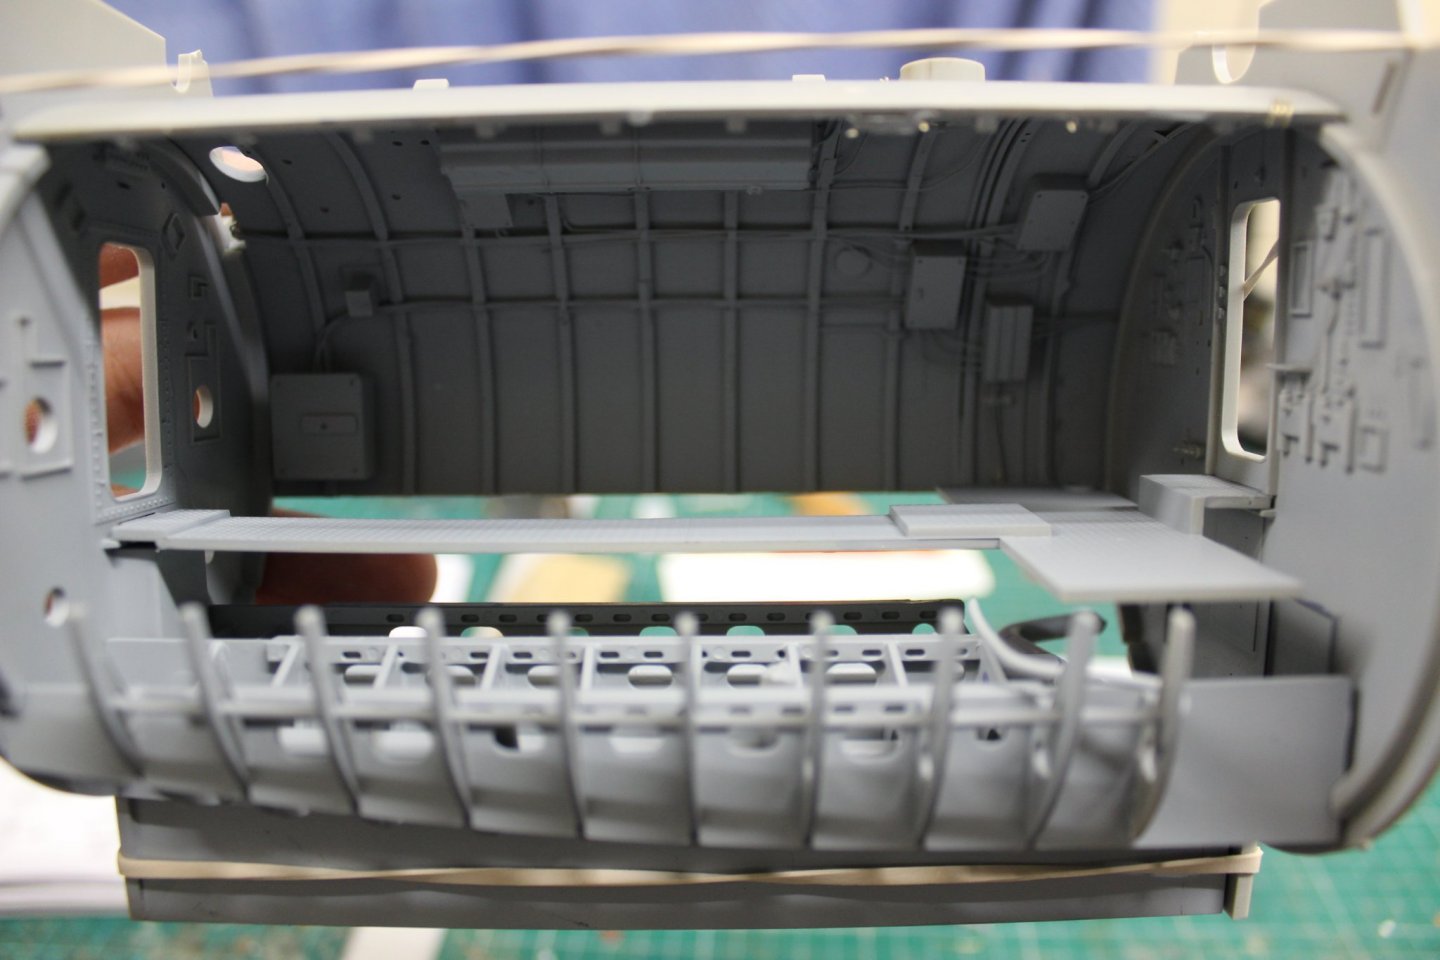
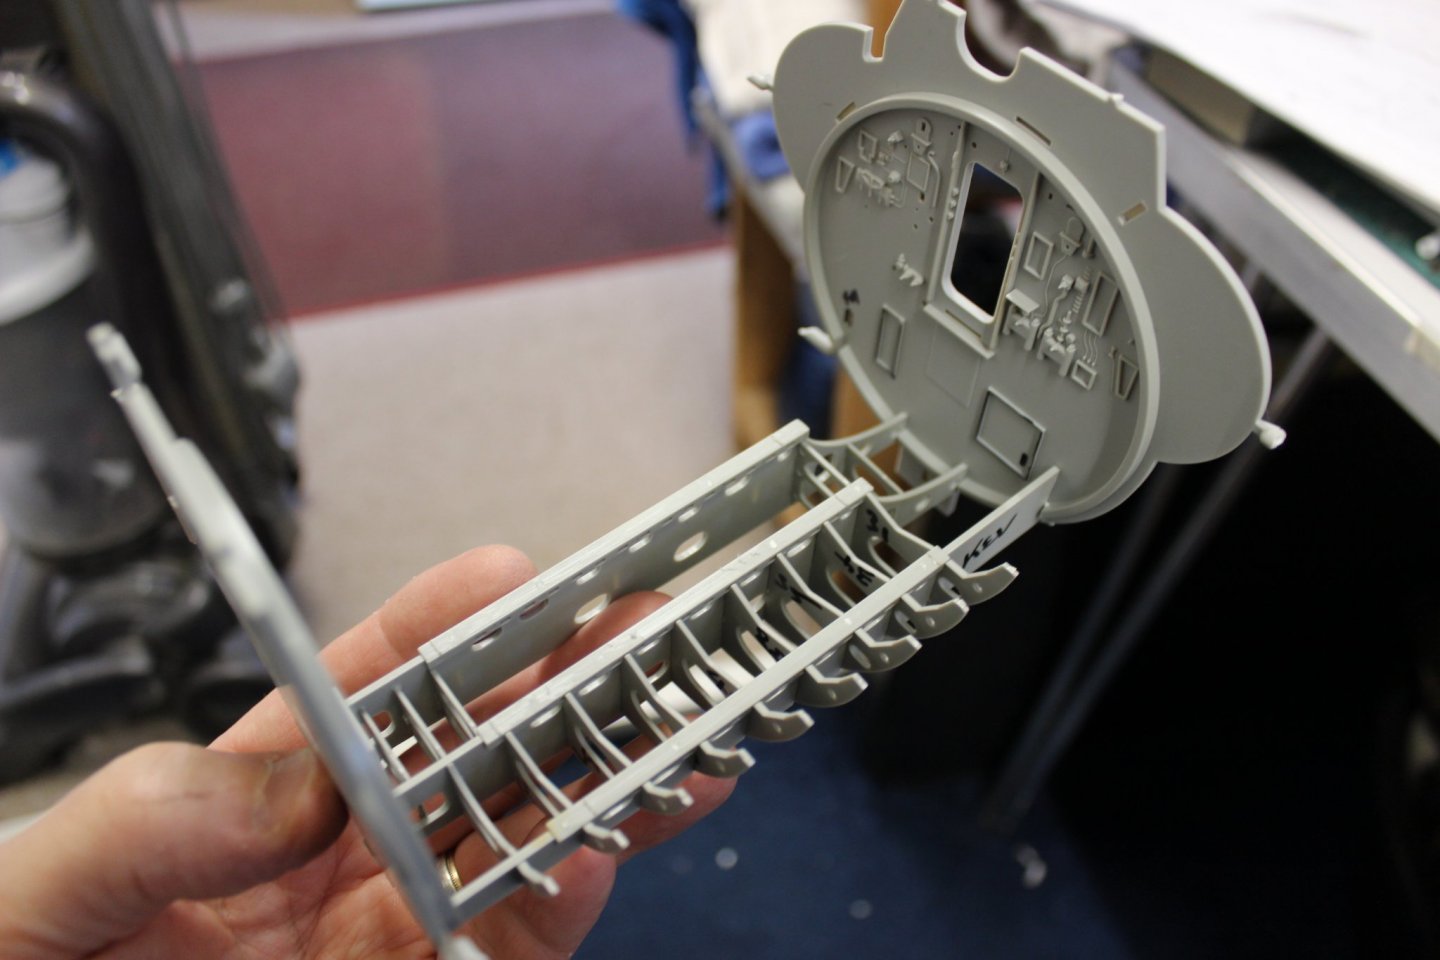
with the torpedo compartment nearly finished and the Engine room going to be a long term project i decided to start on the midships accommodation area under the main deck is the battery tank, and trumpeter made it to simple the kit call for all the cells to be placed on the port side and leaving nothing on the Port side, i will try and improve that, @yvesvidal showed a nice way of doing it, so i am basing my idea on that i propose to spread the cells across the hull using the kit floor as a template to get the cell at the correct height, but vision is restricted so i am looking at a way on how to improve the deck to look at the tank better NOT MY PHOTO


-
HMS Granado 1742 Kit - CAF Model - 1:48 Scale
Kevin replied to cafmodel's topic in Wood ship model kits
thats lovely @cafmodel -
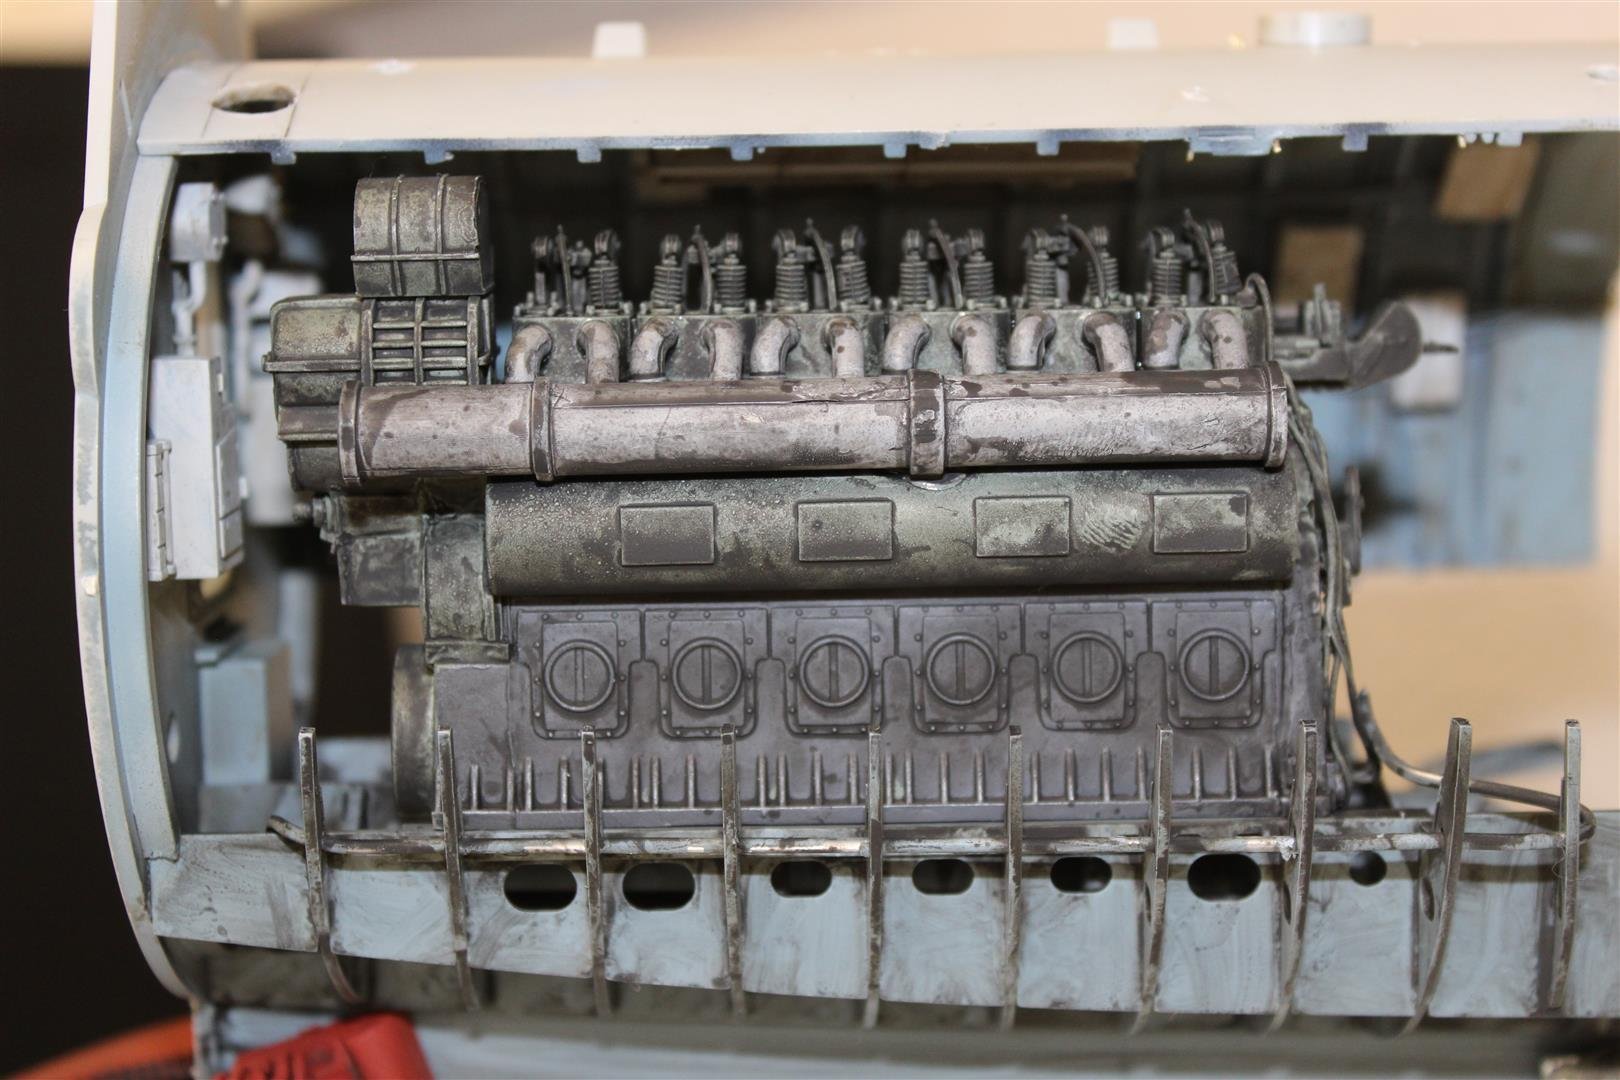
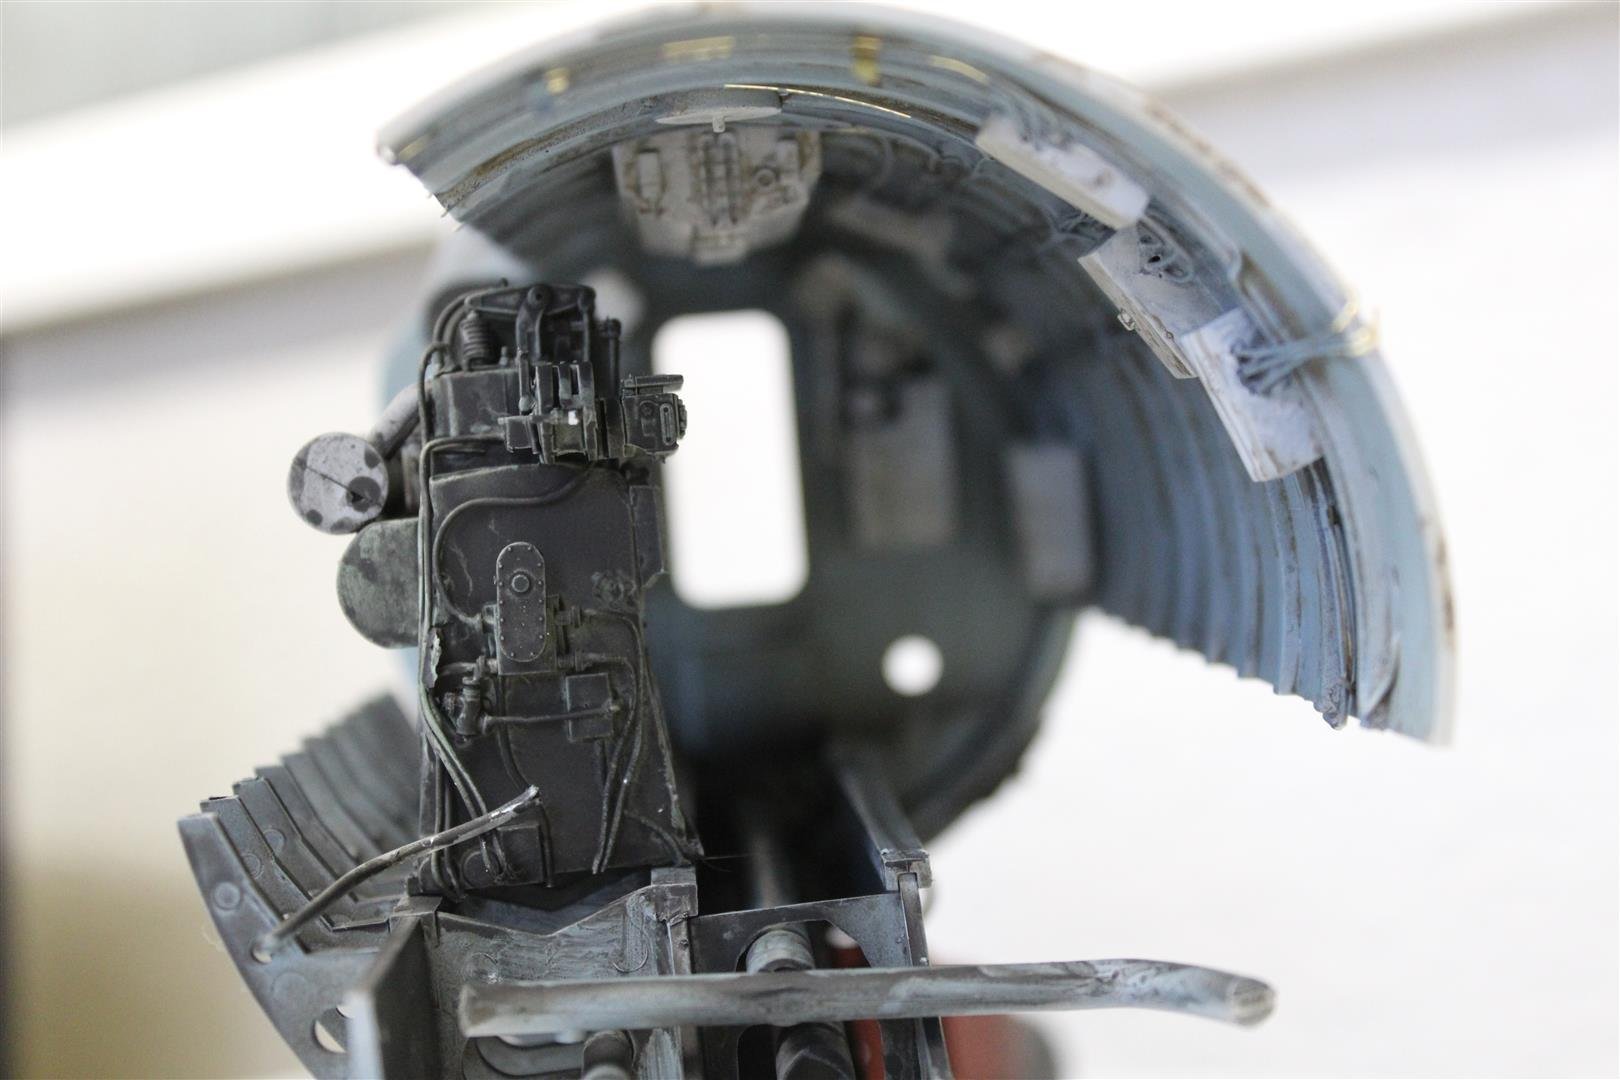
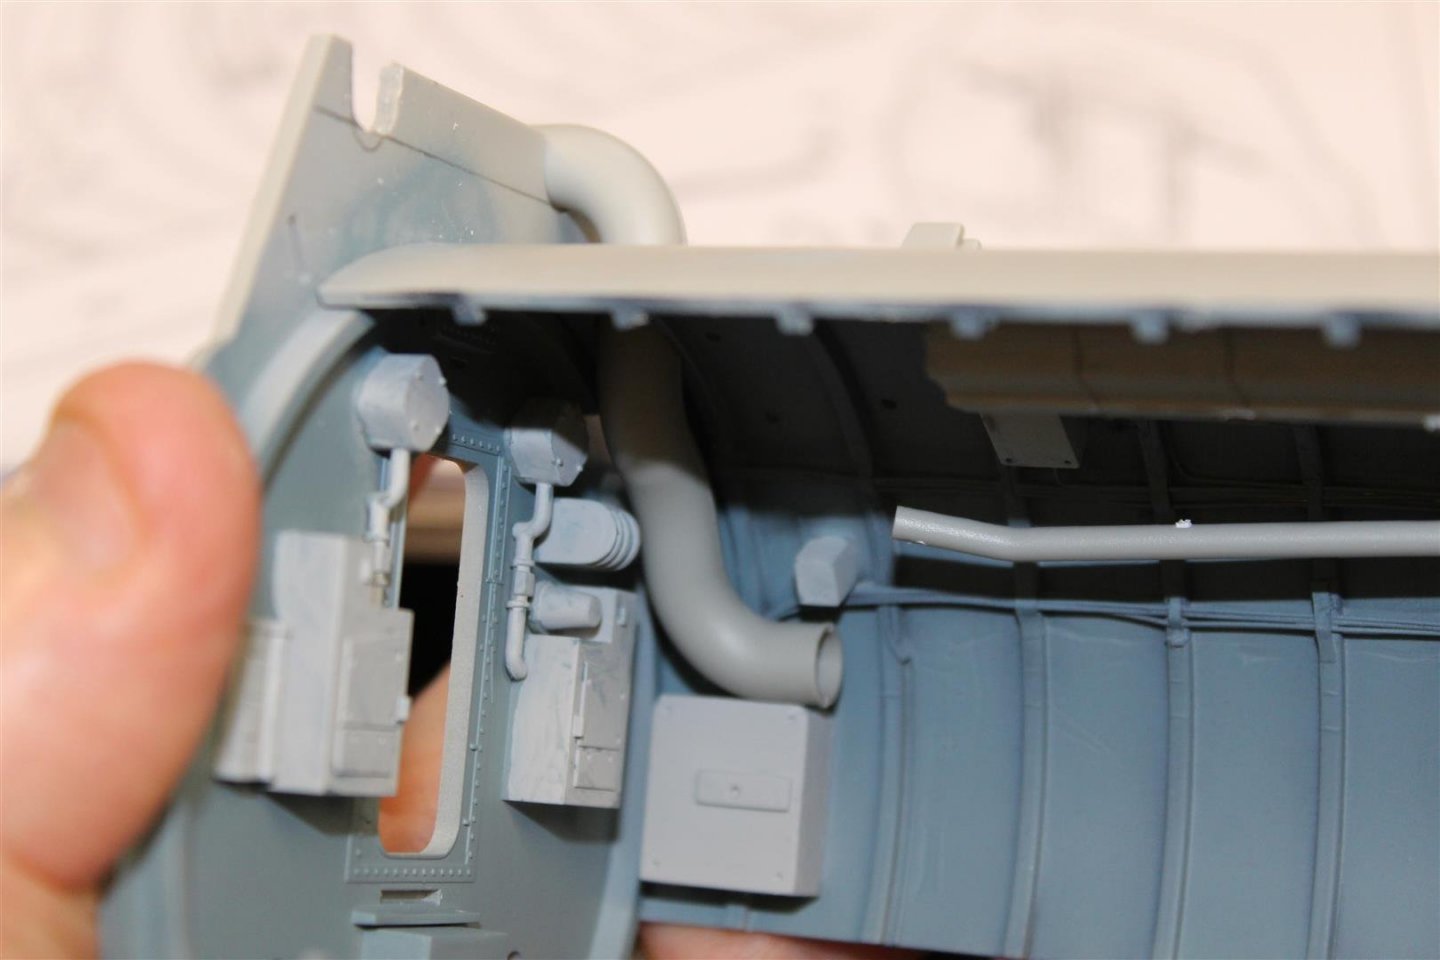
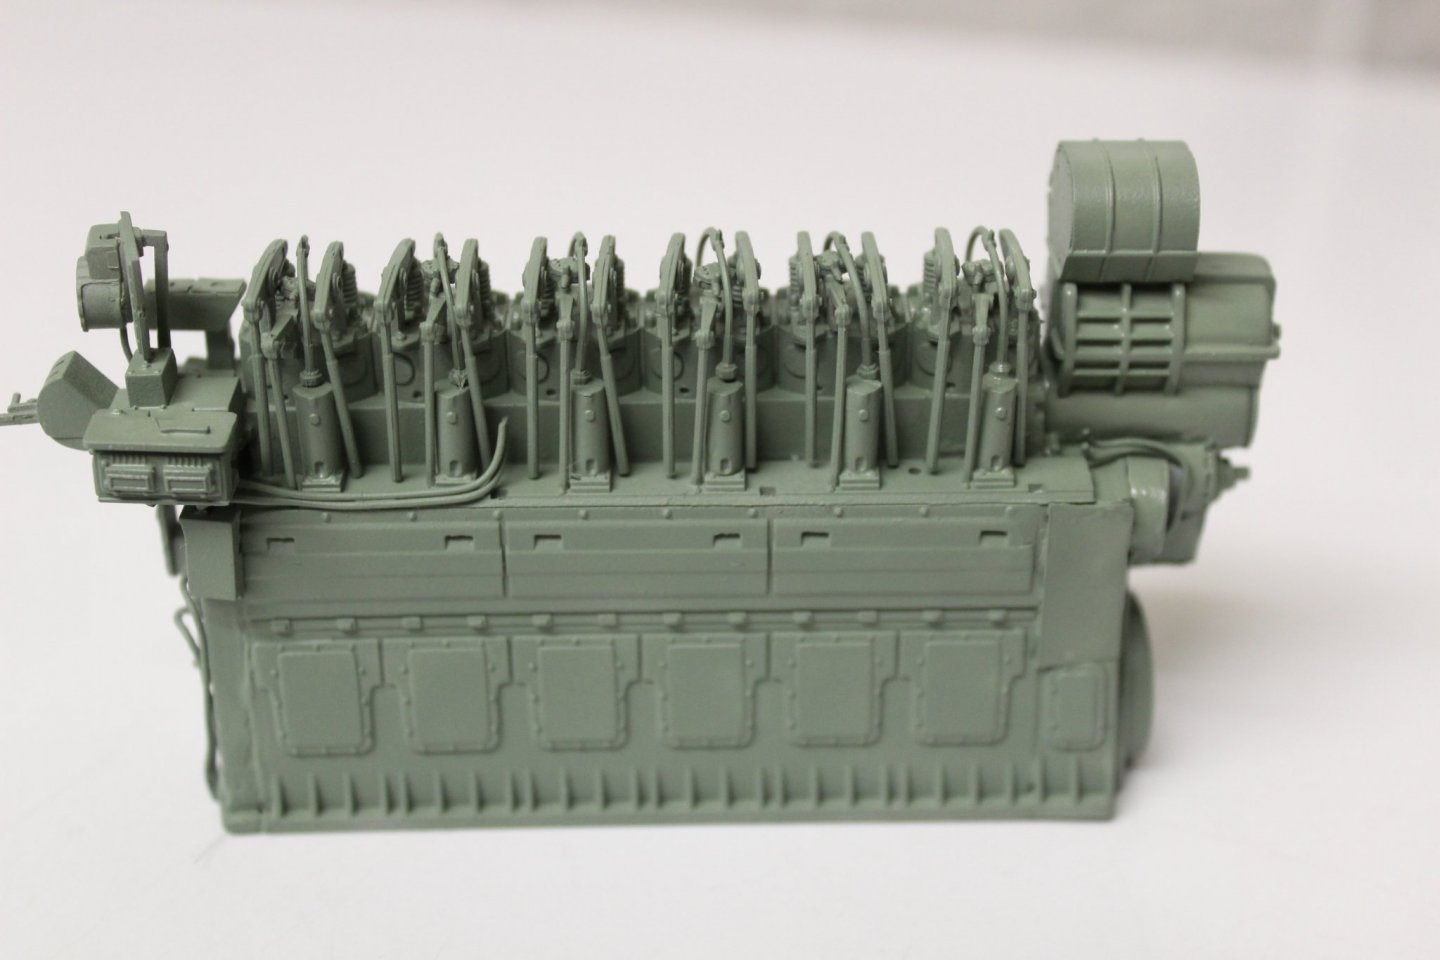
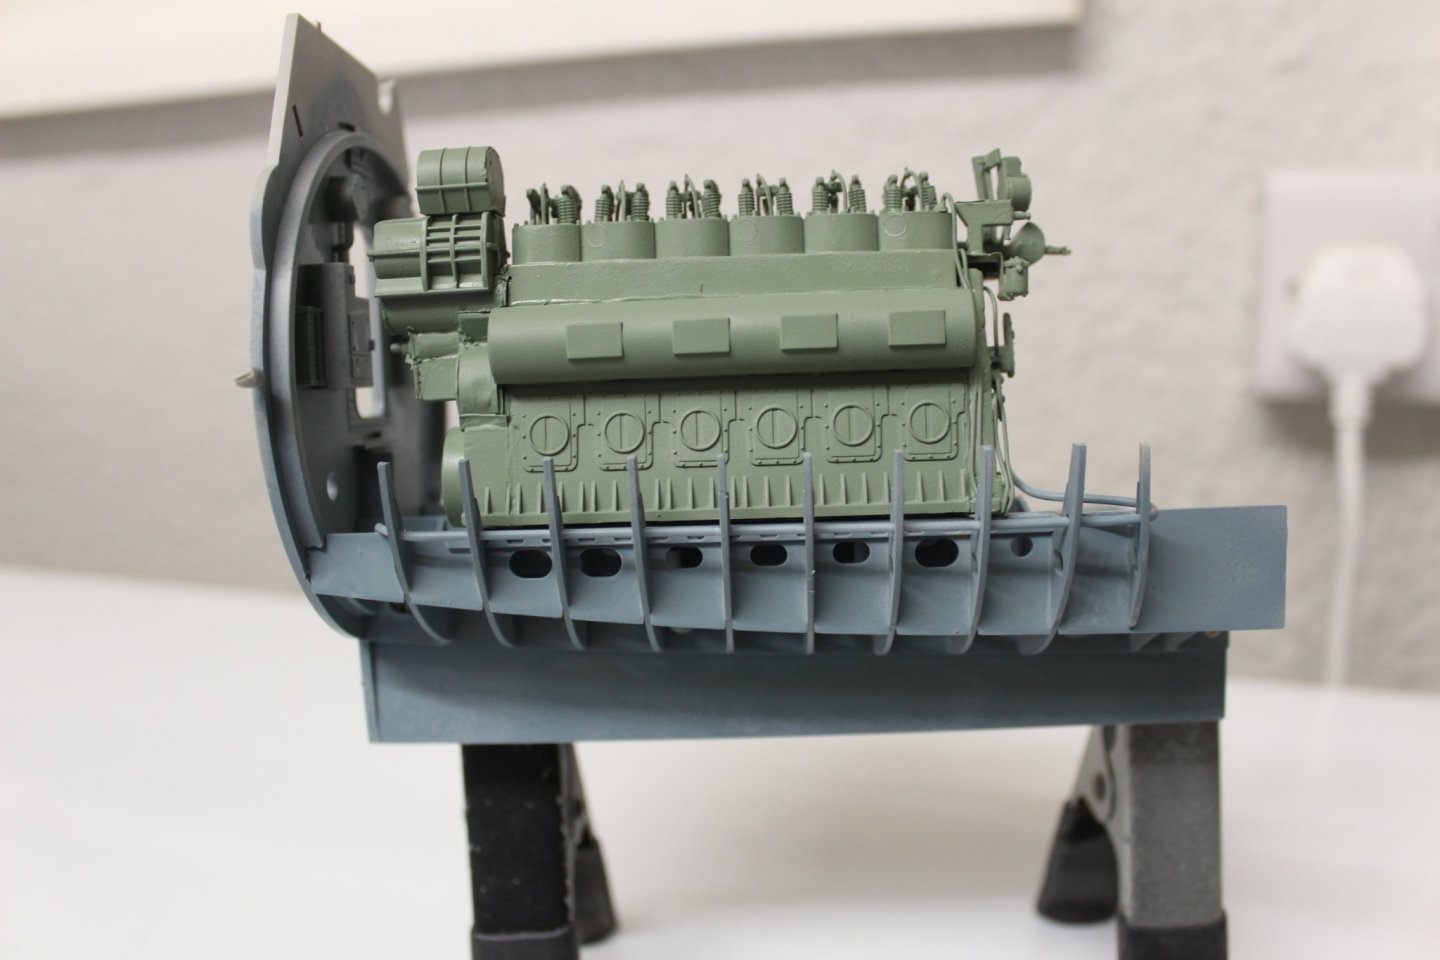
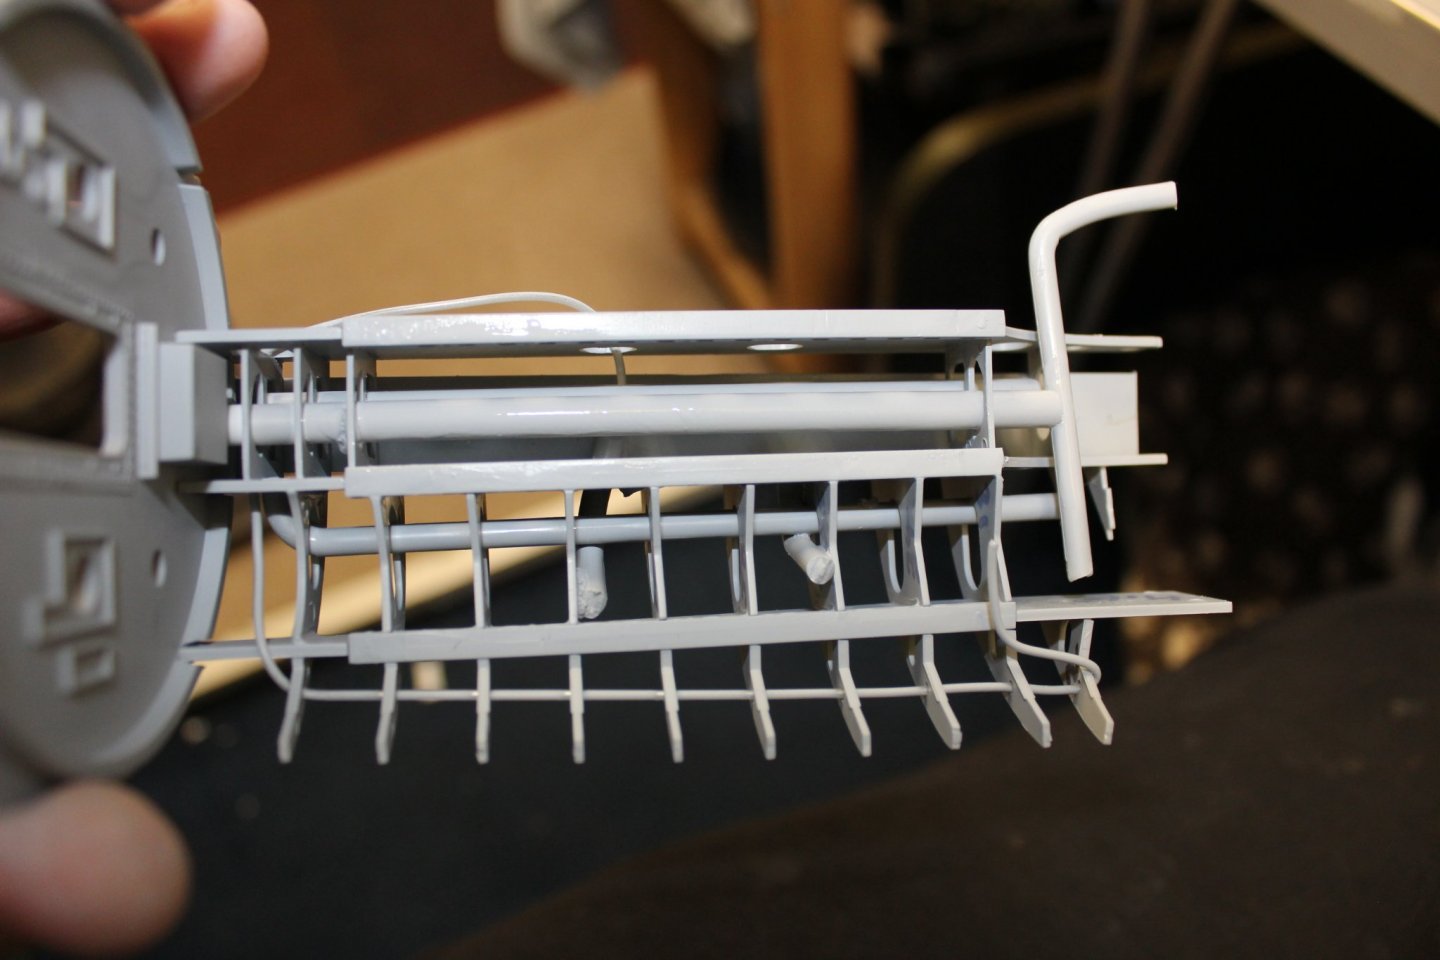
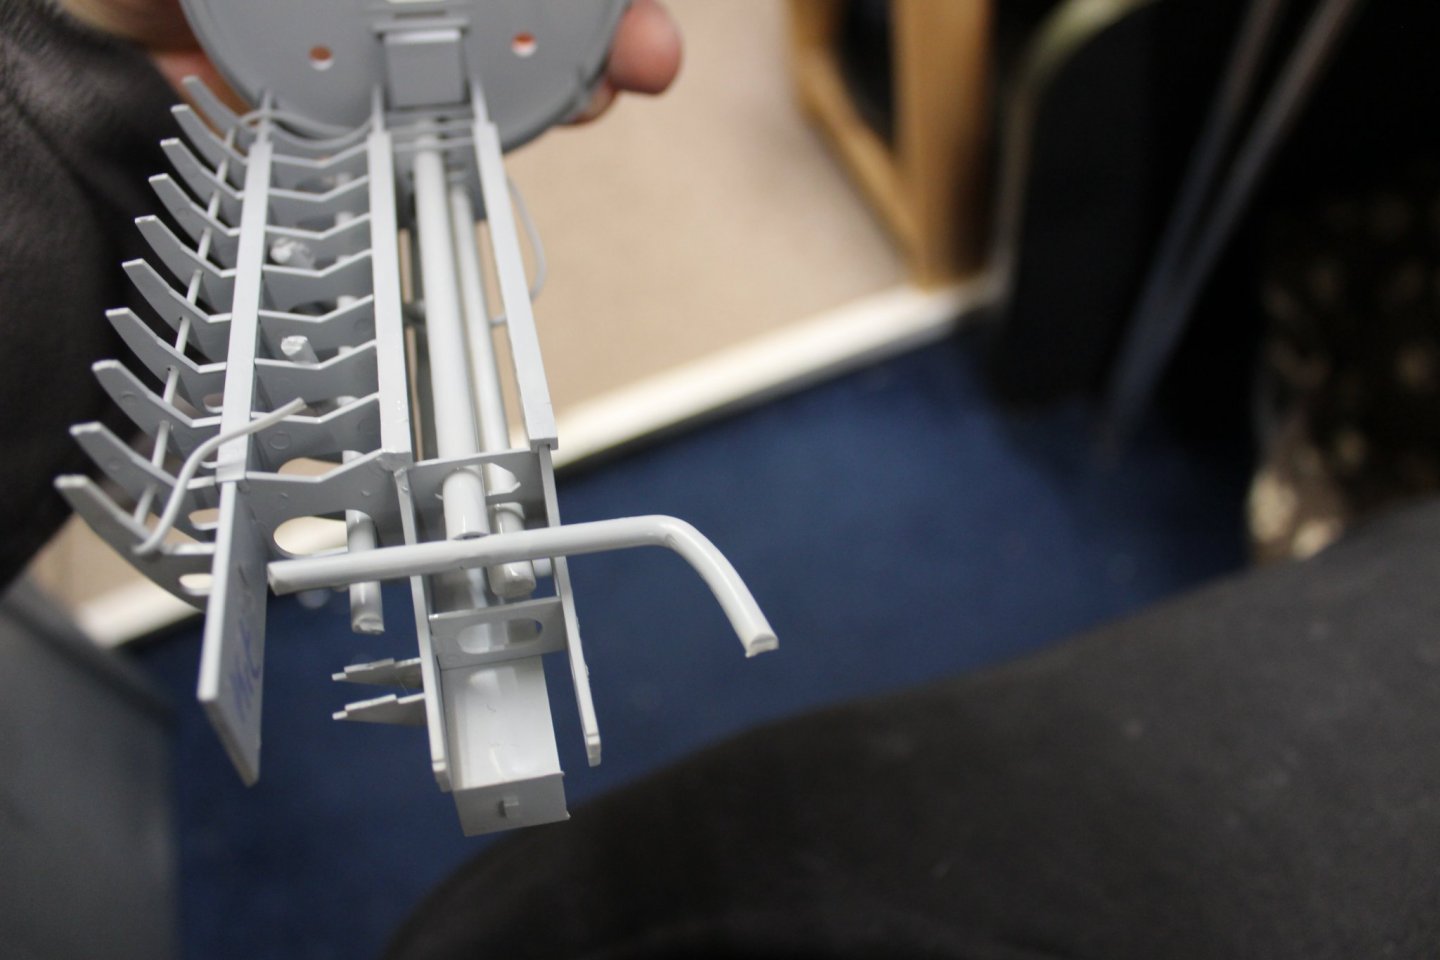
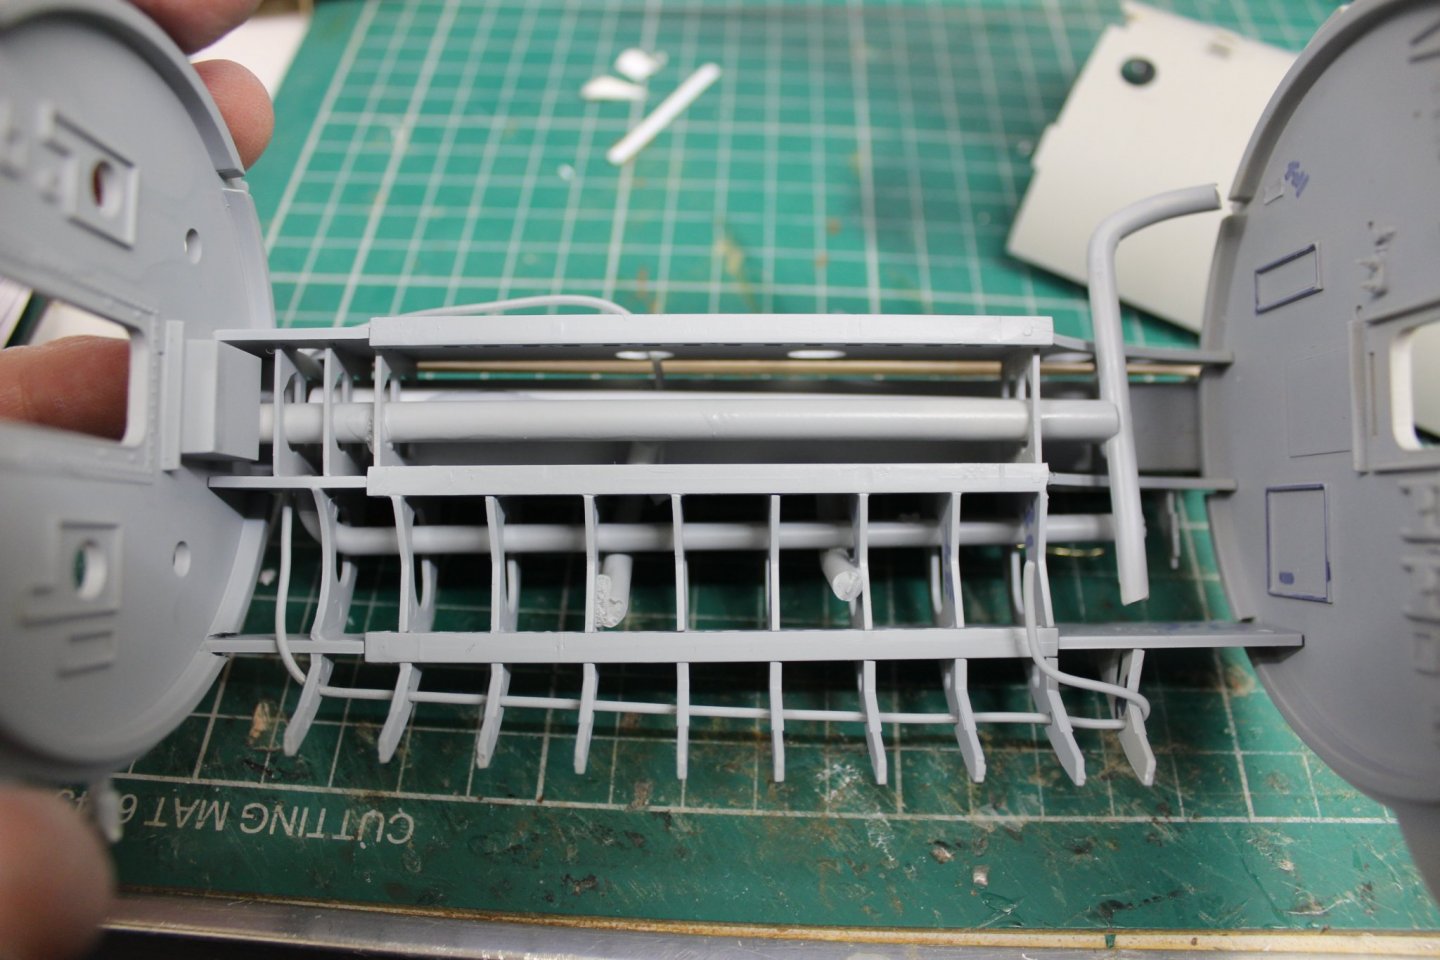
Engine room there is no space on a submarine, space is designed to have things put in it, so why o why is there nothing under the engines, it is/was full of hydraulic lines trim and ballast lines, fuel, exhaust, air, and on and on kit we have ....................................nothing so i am putting things in there, as to weather it can be seen it dont matter, and yes the pipes don't resemble anything, lol but no space


- 90 replies
-
- 10
-
-
to see a good one please see this here on MSW U-552 Type VIIc Submersible by yvesvidal - FINISHED - Trumpeter - 1/48 - Plastic - - Kit build logs for subjects built from 1901 - Present Day - Model Ship World™