barkeater
-
Posts
404 -
Joined
-
Last visited
Content Type
Profiles
Forums
Gallery
Events
Everything posted by barkeater
-
Welcome aboard. I grew up in Gloversville making model airplanes.
-
Recommendation - First scratch build
barkeater replied to Bill Hill's topic in New member Introductions
If you are going to spend the time doing a scratch build might I recommend perusing the National Maritime Museums ships plans on their web site. They have lots of original plans on a variety of vessels which you can purchase. Even if you don't find something that catches your eye, it's just fun to look. -
Edge Gluing Planks?
barkeater replied to turangi's topic in Building, Framing, Planking and plating a ships hull and deck
Stay away from CA. Always use the PVA except when gluing metal to wood. It seeps into the wood and makes a stain very hard to sand out. Use PVA {wood glue}. If you have gaps mix PVA with some sawdust of the wood you are planking with and use as a wood putty. If you just want to add strength just wipe on PVA with your finger tip, clean off any excess and sand. -
If your like me and need there to be canons on board might I suggest something like HMS Sherbourne cutter by Caldercraft. It's 1/64 scale and the are plenty of build logs on it. In addition to the excuses above, you can tell your wife that you wanted to start with a small ship before you did a larger. We modelers are good at excuses. You will be building for months if not more so you want to build something you like.
-
I would pull them. If you ran a single continuous plank the entire run of the hull then you can just cut out the bad section. If it is a double planked model and this is the first planking you might be able to get away with gluing and sanding but you have to ask yourself, why did they snap and are more going to snap? Did you fare your bulkheads so that the planks meet the bulkheads over their entire ends? If not this could be your culprit. Also did you add some scrap wood at the bow to help attachment to the keel? What kind of plank bender did you use? I use an electric steam bender and if I'm going to snap one, it happens when I'm bending and not overnight. I would strongly recommend steam bending if you are not doing it. There are some "plank benders" out there that don't do the job. Having said this, welcome to the wonderful world of ship building. We all have problems and we all learn from solving them.
-
Thin hull planking
barkeater replied to Gerarddm's topic in Building, Framing, Planking and plating a ships hull and deck
Thanks very much for the kind comment but I have to clarify that the variation in thickness I was referring to was meant for the sheets as the thickness of your sheet becomes the width of your plank after ripping. I acquired some ebony sheets a few years ago and ripped them to do the wale on my current build Unity. I put in three planking rows before I realized that the sheets varied in thickness from about 3.6mm to 2.5 mm. It was an "Oh crap" moment for me. The thickness of the sheet becomes the width of the plank so in spots I was now up to 3 mm off and nothing was uniform. It took a lot of extra work to even everything up as the wale was only 7 rows wide. Since then I have gotten some red heart from a different supplier which had variation but less severe. I realized this before hand and was actually able to use it to my advantage. It is just something you have to be aware of. -
Thin hull planking
barkeater replied to Gerarddm's topic in Building, Framing, Planking and plating a ships hull and deck
As noted above, pre-cut wood strips 1mm or even .5 mm thick are available from multiple sources. Also ripping planks on a mini table saw to 1mm or less is not a problem with several types of wood including but not limited to walnut which is commonly used in planking. Good luck in your build. If you decide to rip planks from wood sheets make sure that the pieces you get have a uniform thickness. I have seen variation in thickness which can be a problem if you don't notice it and allow for the variation. -
Agree with all above. Simpler is better for your first build. If you, like me, need guns on the deck then a cutter would be a good choice. You get to do a bit of everything.
-
Display pedestals with different heights?
barkeater replied to RPaul's topic in Wood ship model kits
I had the same problem with Badger 1777. I decide on trying dried driftwood. I found a piece which sort of branched and had the right contour to match the angle I needed and was stable in this position. There were two areas where it would be in contact with the model. I then cut a channel to match the keel in each of these two areas. When I was happy with it, I put a very small screw up through the driftwood and into keel. ( See Badger model folder in Scratch build gallery if interested although the solitary picture of it only partially shows the pedestal.) -
AUTHENTIC ACCOUNT OF THE DEATH OF LORD NELSON.
barkeater replied to AON's topic in Nautical/Naval History
Thanks, pretty interesting. I never knew they did a post mortem (autopsy) exam on him. I do know they put him in a cask of brandy for preservation until they could reach England. -
Also try Modelers Central in Australia. They ship worldwide and cost is not bad. The lengths are 39 inches and quality is good.
-
I'm not a fan of pin pushers or nailing unless it is the first planking of a double planked model. I clamp instead. Sometimes you have to get inventive depending on what you are doing. It helps to have a variety of clamps. You can clamp a piece of scrap wood to apply pressure. I also use have used multiple clamps with scrap wood or the butt ends of microfiles to jerry-rig clamping when a single clamp does not work. Nails can split the wood especially if you have to use a lot of torque to get the piece to lie flat. You also are left with a hole to deal with. If you treenail you can fill but you have to only nail where your treenail pattern would be (for me 2 holes at the butt and 1 hole about every four feet to scale). Alternatively you can use wood glue. Let it sit until it starts to thicken then place on your plank and use your fingers to clamp. Usually a count to 100 will do the trick. For tough angles such as the front or rear quarter of the hull where it is angling in you may have to hold for a count of 300 but the glue will take. I do not use ca as it stains and I do not paint my hulls.
-
I double plank. Besides allowing you to even out any imperfections it also gives you more strength to the hull. While this may not be as important on a schooner, with models having bulwarks above the deck cannon ports, hawser holes or any other perforation in the hull it is a big benefit.
-
I do one thing at a time. I scratch build and have to fabricate as I go along which means that some pieces have to wait until others are done in order to get the dimensions right. As an example, my current build is a two decker and I can't build the capstan until I have the exact height of the main/gun deck set. There are some things I could do such as carriages but one thing at a time works for me and helps to keep my clutter down.
-
Now I see pics in this link. Big job but your restoration really looks great.
- 53 replies
-
- 3
-

-
- clipper
- restoration
- (and 1 more)
-
Finding sheaves for small functional blocks?
barkeater replied to FoxtrotHotel's topic in Masting, rigging and sails
For the metal sheave, you can also use a round metal punch to cut out 2 pieces of brass or other metal plate. Then punch a hole in the center, blacken and place in your block. Not as elegant but it works if you don't have the power tools. -
If you are looking for plans to complete it, you could try looking through the National Maritime Collection Greenwich England site. You probably won't find the exact plans but you may find plans close enough to go on.
-
In the United States there are quite a few places you can get 20-24 inch pieces in 1/8, 1/4 and 1/2 thickness. The 1/8 is what I use for planking as it is between 3 and 4 mm. which fits my scale. The thicker pieces I use for things like cap rails. It depends on your scale. Larger pieces can also be ripped down to what you need. There are also a some places that sell wood strips in various thicknesses and widths although the variety of wood types is not as great as buying wood pieces and ripping them. As far as how much to have on hand, the ready availability allows one to just order what you need allowing for waste rather than stockpiling. Ships take months or years to complete so there is plenty of time to order new wood.
-
I just can't bring myself to paint over the thousands of treenails I made, drilled and installed. I try to paint as little as possible. I like the look of wood and use different species of wood to try to get close to what I think the paint schemes were and to highlight the different areas (eg. wales). Current build so far has walnut, bubinga, ebony, rose wood, yellow heart, red heart, cherry and beech. But this is just me and to each his own. It is whatever makes you happy.
-
Plank bending
barkeater replied to Timothy Doe's topic in Building, Framing, Planking and plating a ships hull and deck
I have and it works however I feel that soaking and then bending works better. If you do it be careful to not come in contact with the steam. I did a piece of Bolivian Rosewood and let the steam hit my face. The next morning I woke up with what looked like poison ivy on my face. -
You could also try duck decoy carvers as this is what is commonly used.
-
New-Upstate NY. USS Constitution question.
barkeater replied to Ronusny's topic in New member Introductions
A case will cost you several hundred dollars. You can use an air puffer to blow dust off and keep it looking fairly respectable. Is a case worth it? That is up to the individual and I would think that most people would only case models which they have built. -
Scott Hello from Monmouth County.
-
Best glue for paper templates?
barkeater replied to andante's topic in Modeling tools and Workshop Equipment
Watered down wood glue here. -
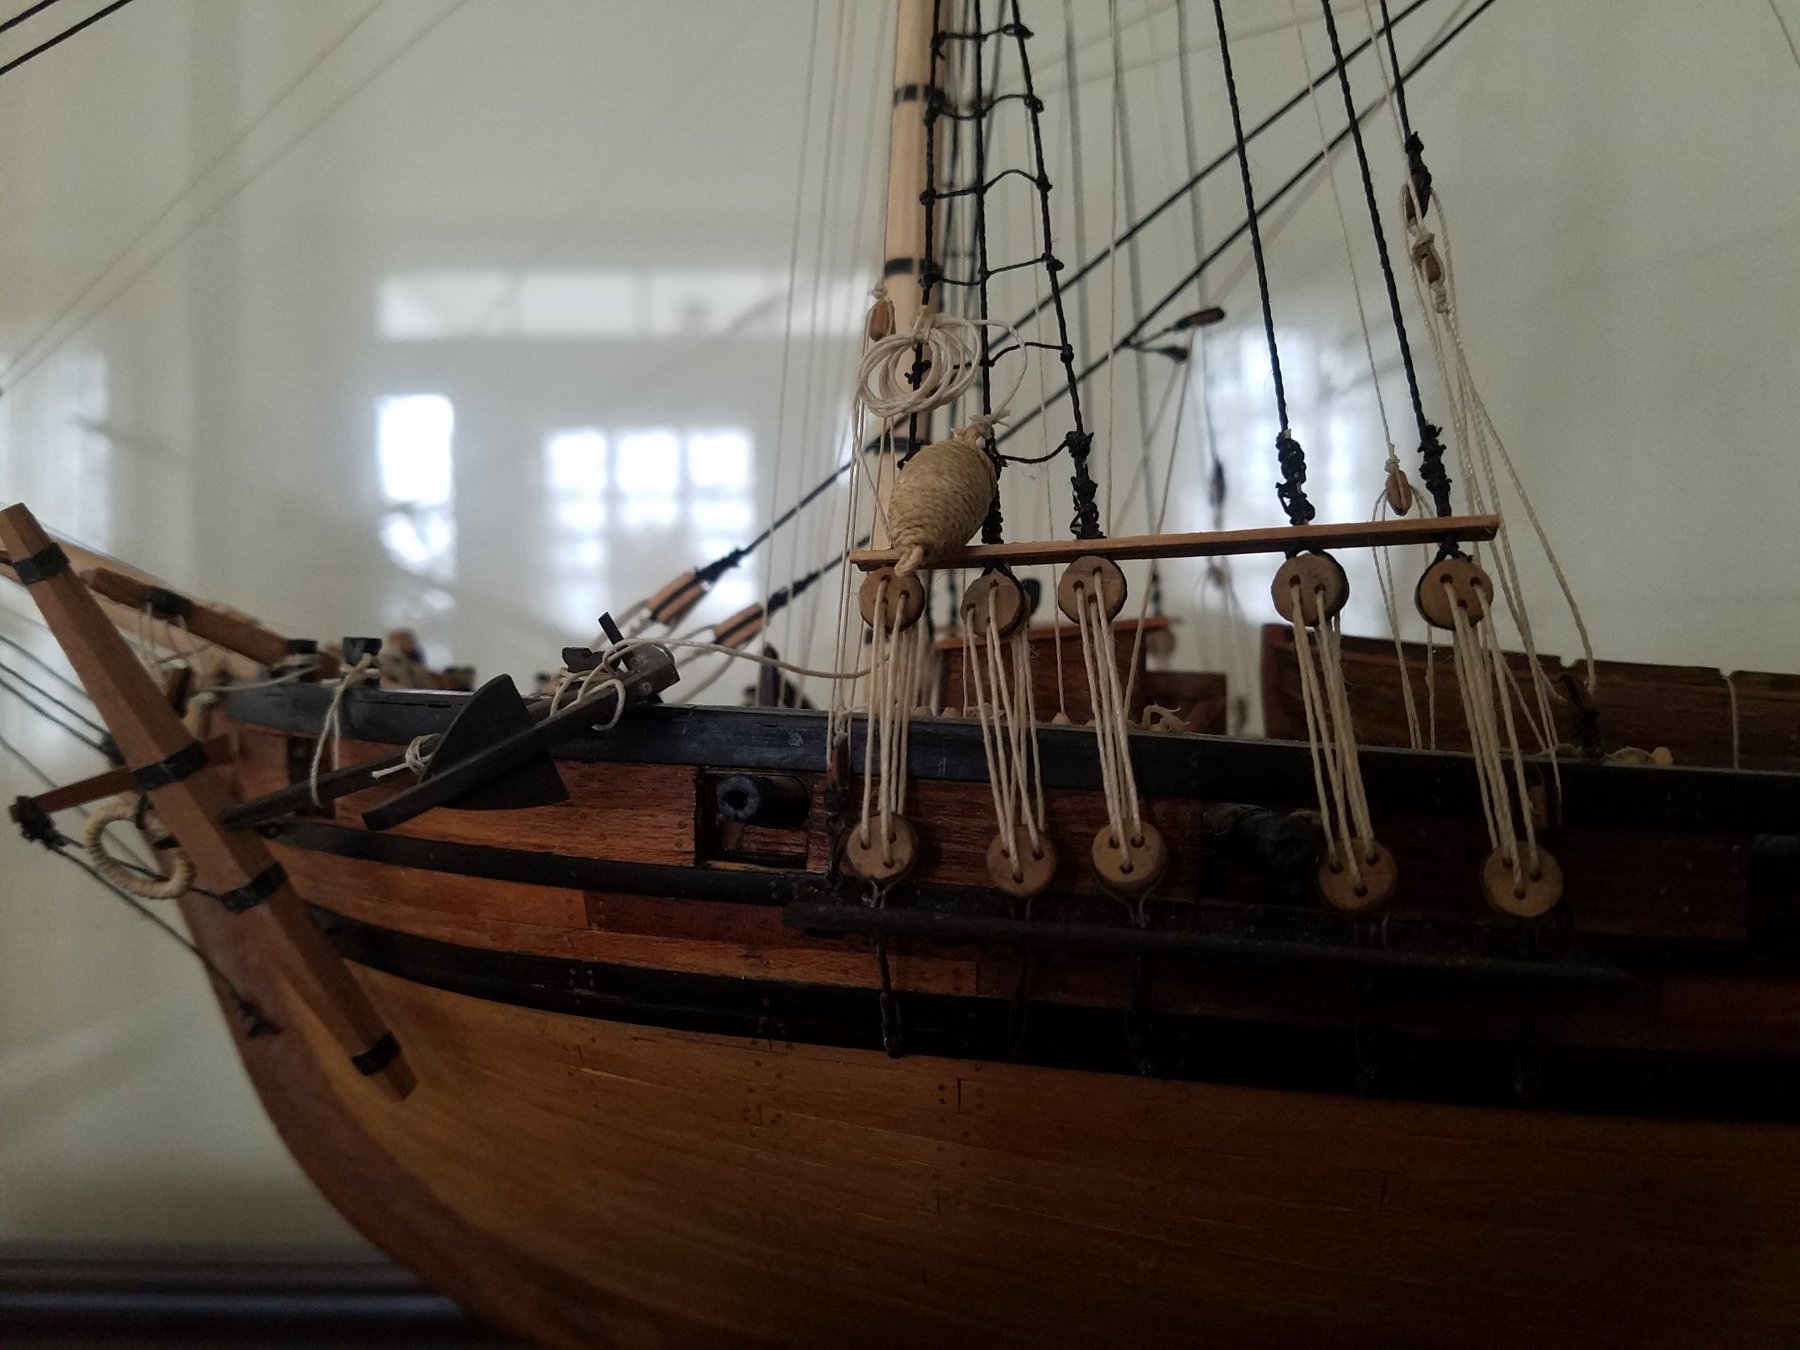
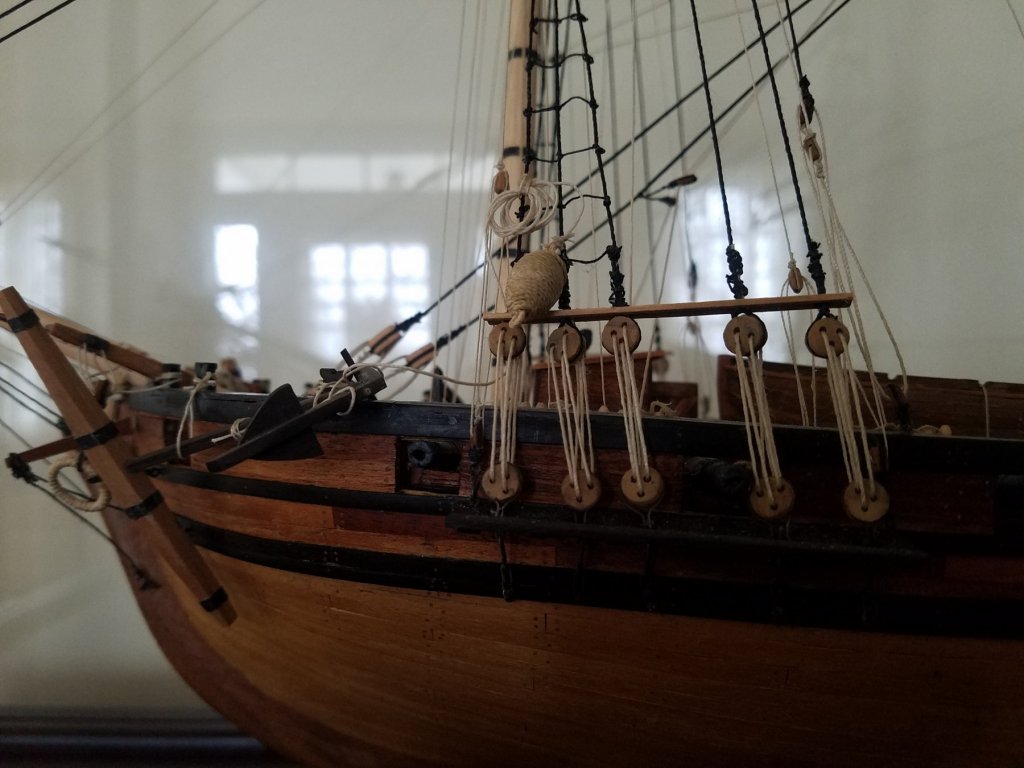
Added little details such as an anchor buoy can add to the overall appearance of a ships model. Being an avid fly fisherman I came up with this solution. I used a strike indicator (bobber) which is used in nymphing. They have a slot down the middle which you can use to form your two loops then double back to the far end and wind your line around the buoy towards you. I found it easiest to stop half way and cover with watered down white glue. Hold it in place either with fingers or a clamp if you have one that will work. Let it dry then finish the other half and tuck the free tag into the slot after applying the glue mixture. Let it dry again then attach your coiled line. Strike indicators come in 3 sizes so you can choose one to fit your scale.

- 1 reply
-
- 7
-