hexnut
-
Posts
406 -
Joined
-
Last visited
Content Type
Profiles
Forums
Gallery
Events
Everything posted by hexnut
-
The clear coats add strength--luckily it's going over a white hull, so the green on the clear film should read okay... you may need to apply in a couple of pieces.
- 287 replies
-
- 4
-

-
- michelangelo
- ocean liner
- (and 1 more)
-
I've had good luck with painting waterslide decal film--(I use 8.5x11" clear paper from MicroMark) a coat of desired color, then a coat of clear. (more coats of clear= stiffer and easier to position decals) the film stays fairly flexible...
- 287 replies
-
- 4
-
-
- michelangelo
- ocean liner
- (and 1 more)
-
This has been so much fun to watch! Not only have you you achieved an astounding level of detail throughout, but with the meticulous paintwork and brass work, your model resembles the great builder's models done as presentations to their clients--I can picture this as the Office centerpiece of a fin-de-siecle shipping magnate... Thank you for sharing this with us.
- 2,625 replies
-
- 5
-
-
- kaiser wilhelm der grosse
- passenger steamer
- (and 1 more)
-
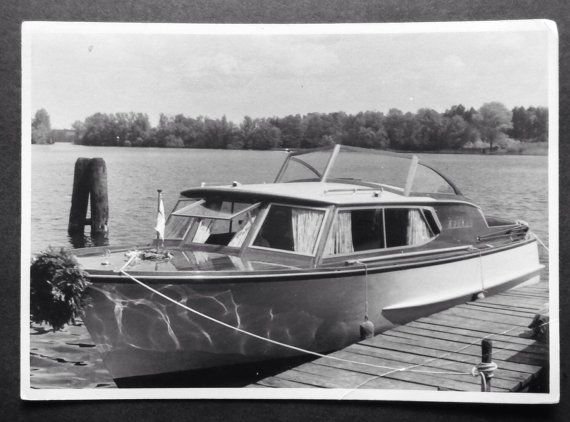
Very nice work so far--might have a go at something like the pic below... (Just use it as "inspiration", since so many of these mid-20th century cruisers were customized or one-off for individual tastes.) This way you wouldn't have to change the very nice deck you have, as well as having your craft become a smaller boat at a larger scale (somewhere between 1/32 and 1/24 maybe?) allowing for some nice detail work. All the cabin sides and glass are straight, the only curved bit is the roof, which can be easily executed with tissue over planking over ribs. Have fun!
-
Wow. I've loved watching all of your builds, but what really set this one apart for me was the artistry of value modulation and weathering that makes the close-up views reminiscent of the atmosphere of some of the best anime renderings:

-
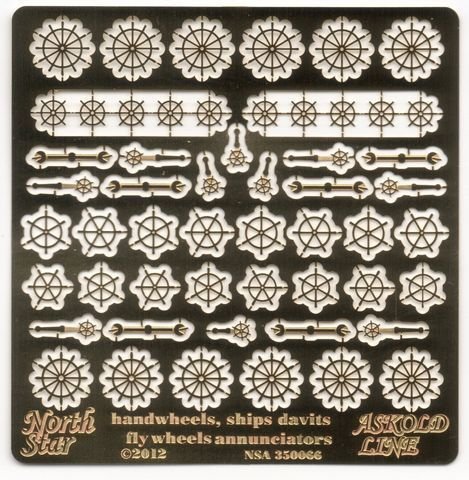
I am very much enjoying watching your wonderful work. If you are still looking for wheels, North Star Models ( https://northstarmodels.com/ )makes some nice ones in various sizes...
- 2,625 replies
-
- 10
-
-
- kaiser wilhelm der grosse
- passenger steamer
- (and 1 more)
-
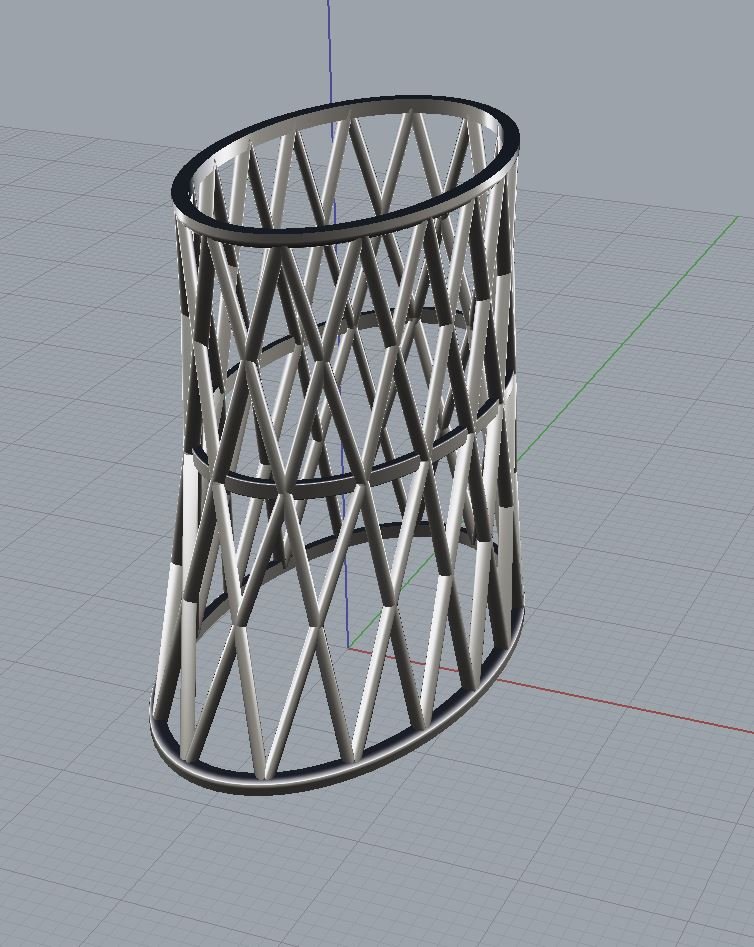
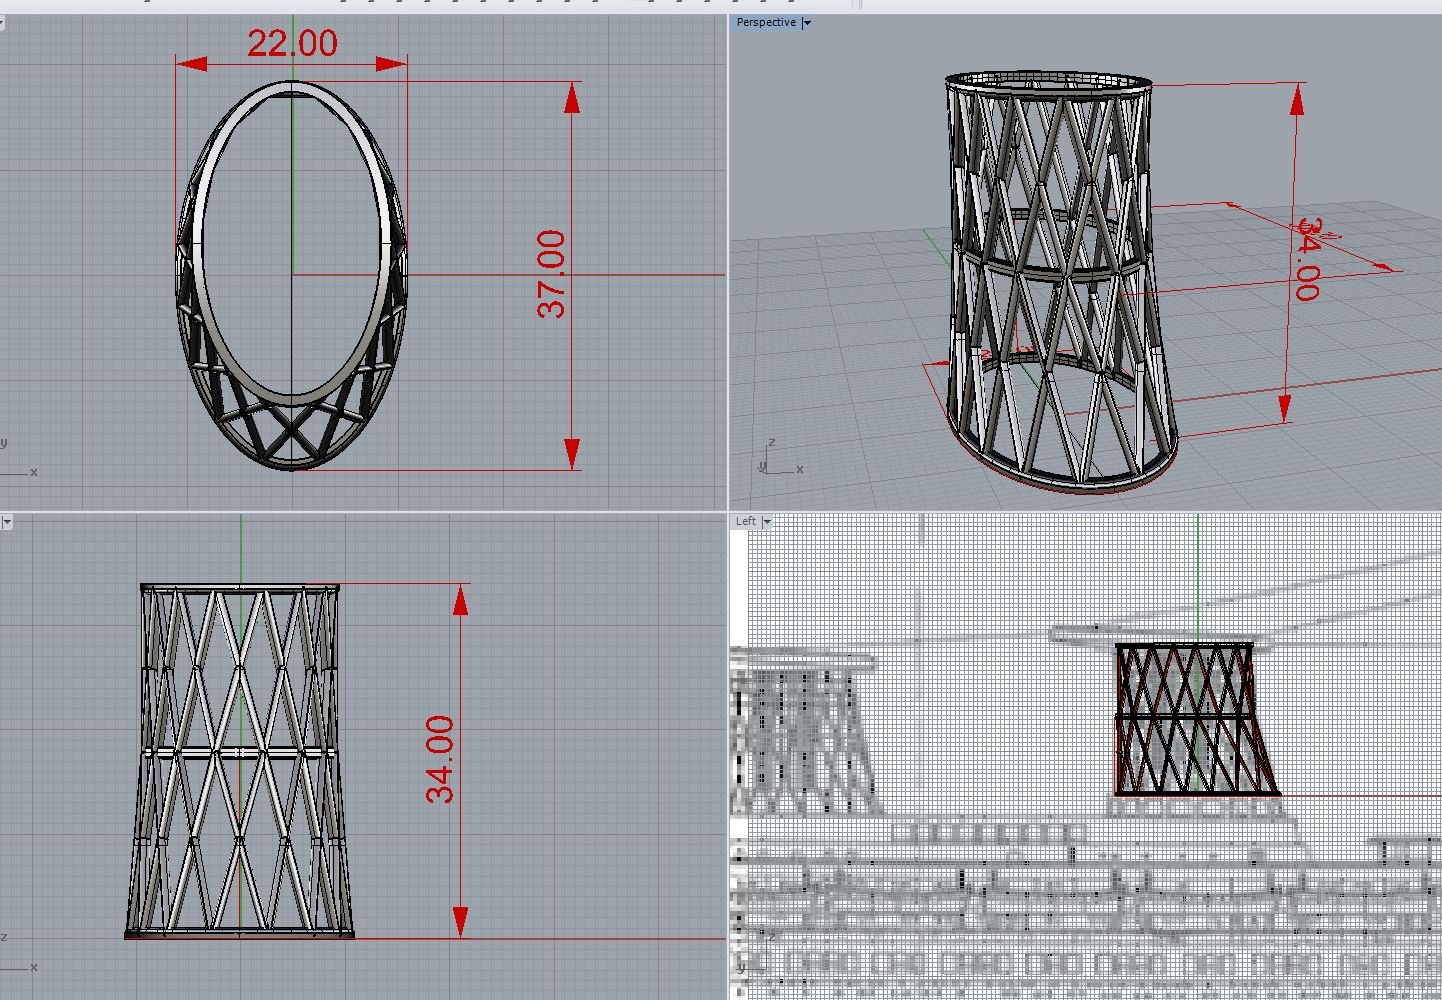
Thanks. This is just a test run, to see if the method I had in mind for constructing it worked, so it is all changeable. In looking at the photos, the intermediate ring should also be higher up, as well as straightening out some of the struts. I'd also like to get a more accurate cross-section for the strut members. With a higher- resolution elevation drawing and a bit more time studying the drawings, I think it should be fairly straight-forward to tweak it in the right direction.
- 287 replies
-
- 10
-
-
- michelangelo
- ocean liner
- (and 1 more)
-
The lattice sounds like a perfect application for a 3d printed part. When the time comes I'd be glad to do the cad work (these are fairly simple forms) to make an stl file to send to Shapeways or a service bureau. It's the only way I can think of off the top of my head to replicate an ovoid cross-section for the lattice struts...
- 287 replies
-
- 5
-
-
- michelangelo
- ocean liner
- (and 1 more)
-
Absolutely beautiful. I have to admit that I will miss the construction updates, will you be starting another one?
-
Continually amazing work. As others have said, electronics tweezers, like these are nice:http://www.mouser.com/ProductDetail/Apex-Tool-Group/EROP5SA/?qs=9HaPiGkN4pO7DF6F5vzBuw%3D%3D&gclid=CJKI58mKudECFZmKswodOIgAcg
-
Amazing work. What is the material of the blocks visible by your (very nicely) rebuilt aft stairs? (they look almost like mother of pearl/Bakelite in the photo...)
- 749 replies
-
- 2
-
-
- albertic
- ocean liner
- (and 2 more)
-
The salvaging and afterlife of minelayer UC-5
hexnut replied to dgbot's topic in Nautical/Naval History
Great blog, lots of interesting articles. Thanks for posting!- 1 reply
-
- 1
-
-
You have been doing great work all along, but that fixture is truly beautiful. If you felt like going into production, the MOMA (museum of modern art) store in NYC has a "product submission" form-- https://store.moma.org/museum/moma/MoMACustomerContactUsView?storeId=10001&catalogId=10451&langId=-1 You could pitch it as: "High-end maker fixture for soldering, positioning and accurate fabrication, or unique display stand for jewelry and miniatures"... Either way, really cool!
- 749 replies
-
- 5
-
-
- albertic
- ocean liner
- (and 2 more)
-
I've only used the "flame heat" kistky, not the electric ones, and I've only used them with wax, but I found them to be trickier and less predictable than a ruling pen (and that's saying something...) If the existing linework is an ink formulation as opposed to enamel, the Micron archival ink pens may be a really easy solution...I've had great luck with these on various surfaces. http://www.pigmamicron.com/
- 749 replies
-
- 3
-
-
- albertic
- ocean liner
- (and 2 more)
-
Wow. Very impressive project. Hopefully you have someplace nice and warm to paint the enamels... For the black lines, will you use enamel in a ruling pen, tech pens or Micron pens?
- 749 replies
-
- 3
-
-
- albertic
- ocean liner
- (and 2 more)
-
Thanks John, Joe, miss you guys too. Work has just been taking most of my energy lately--I've been making a lot of stuff, but all client work--I haven't touched my models in far too long. Meanwhile, I'm enjoying watching Sal and the rest of you doing wonderful things...
-
Really nice work Sal! As far as making the physical parts, working as you are in the same size as your intended physical model is a huge advantage, as it allows you to start "distorting" some elements to size them to common stock, whether wood, brass, or model railroad-type (Grandt Line, Titchy Train, Archer, etc...) scale nuts and bolts, then sorting the remaining parts into turnings, photo-etch, 3-D prints, building a B.O.M. as you go...just as if you hadn't retired! Of course making a 3-d model of Armenia "as built" is pretty awesome in of itself, I'm really enjoying watching this.
-
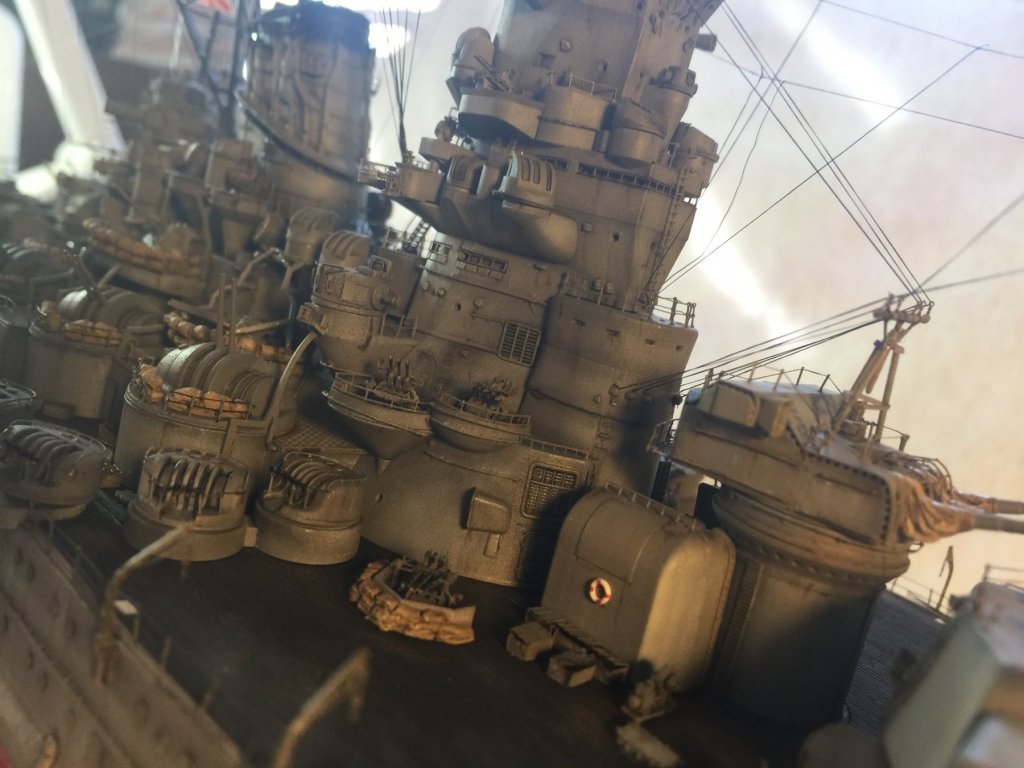
As always, this has been a real pleasure to watch, with the the final product really demonstrating all of the skill and patience in construction. What really stands out for me, however, is the way that you posed it with the awning supports rigged, the anchor down and the torpedo nets deployed, giving insight into the daily life of these ships. Thank you. In the words of the "Abyssinian" hoaxers, "BUNGA BUNGA!!"
- 342 replies
-
- 7
-
-
- dreadnought
- zvezda
- (and 2 more)
-
Been following this for a while, the only thing that I can contribute is that I really need an "awestruck" button...
-
Nice seeing all this great work come together. Since it's a luxury yacht, maybe see if Rolex or Patek Philippe will supply photo props...?
-
Wonderful work. I see that you use both 3dsMax and Rhino. Do you prefer one or other for different modelling tasks?
-
Great work. I love the expression on her face-- "Hmmm... golden apples...well-played, Hippomenes..."