


Nirvana
-
Posts
5,457 -
Joined
-
Last visited
Content Type
Profiles
Forums
Gallery
Events
Everything posted by Nirvana
-
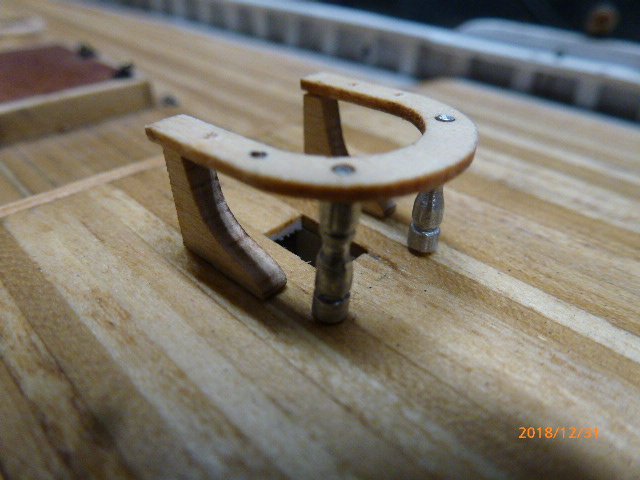
 Attacking the fife-rail, I want to be able to dry mount as much as possible before, this to reduce any misses that may occur while assembling. The brittania metal was adjusted to get a less "meaty" figure. The other legs will be thinned as well.
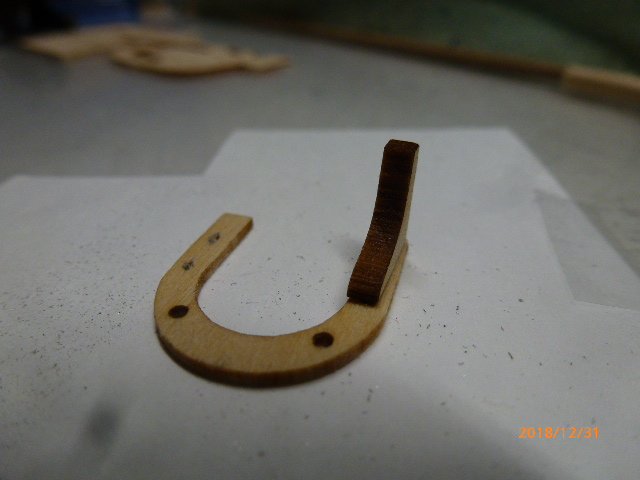
-
Congrats Grandpa. What a great Christmas gift! I am also waiting for my first grand child, my son is still young (26) but not me. Beautiful progress of your ship.
- 242 replies
-
- 1
-

-
- syren
- model shipways
- (and 1 more)
-
Thank you Chuck, have had a heck of a time to locate such.
-
@wefalck, good question; this as I couldn't find the color code either.
-
Sail design for 18th-century longboat?
Nirvana replied to Cathead's topic in Masting, rigging and sails
I am very confident that the long boat was an excellent sailing boat, has the right shape and the rigging is right in my opinion. It was probably not as efficient in tacking as a modern sailing boat, but still able head towards wind. -
Always listen to the Admiral, specially on a Christmas day.
-
I am looking forward trying this material. Maybe even get my own ropewalk, this as I already have Chucks serving machine.
-
I am using one 4' dual led overhead light fixture over the work bench, also have led lights in the ceiling in the garage, same area. With this also mixing regular "yellow" light to avoid eye fatigue while working long hours.
-
Nail files, comes with various grits. Works real well on CA.
-
Dave, once you have the waterways installed paint them directly. I didn't, which I should had for the clean transition to the deckplanking. How can I be to any help when it comes to the waterways? Don't hesitate to ask, that's why we all are enjoying MSW, and being part of this group. Your question may have been asked before, and can be hard to find. Reach out to us, we are here to help. Merry Christmas
-
Dave, make sure you have a vacuum cleaner nearby, you will have a lot of dust. I did my sanding outside.
- 389 replies
-
- 1
-
-
- bluenose
- model shipways
- (and 1 more)
-
Mark, that doesn't look bad at all. And I agree with you F360 has a learning curve, but it's fun to work with. I am working on the America model.
-
I have been using Inkscape for that purpose, it's not perfect but very helpful, saves to svg extension. Then I import it into Fusion360 and the tracing is easy.
-
That's a new way, something to consider for future models. Thanks for the idea. Btw; Nic, huge thanks for the items sent to me.... Superior service!
-
My only source for blocks!
-
Glass or plexiglass?
-
Exquisite! Marvelous.....I just love this build.
-
Very interesting you got the "stair stepping" while planking. I never experienced that phenomena. My planks went down very smooth and with good connection. Did you use any white glue to get a longitudinal setting between the planks?
-
Those Dutch designers, there was also confusion regarding the measurements, at this time, early 1600 century, one foot or inch wasn't standardized. According to late found plans her rigging should had been shorter. Again the designers wanted to impress the Swedish King and made her taller than needed.
- 91 replies
-
- 4
-
-
- deagostini
- vasa
- (and 1 more)
-
Nice cannon, Mark. F360 has a learning curve and in my opinion missing some features, this as I'm used to Sketchup. But F360 has the ability to save for 3d printing, which Sketchup doesn't have.
-
Gunther, That's what we are getting for buying kits and parts from Syren Model Ship Company..... pure quality!
-
Congrats to a final America. Very nice built!