Nirvana
-
Posts
5,452 -
Joined
-
Last visited
Content Type
Profiles
Forums
Gallery
Events
Everything posted by Nirvana
-
 Very nice progress Dave!
 -
Dave, I used the stem and stern piece as a guide creating the other scarf joints.
-
Keith, I found the approach workable. Less headache.
-
Looking very nice, and fun
-
Me and my pups feel your loss. The emptiness of a dear and loyal friend.
- 1,306 replies
-
- 7
-

-
- syren
- model shipways
- (and 1 more)
-
Eric, Warm welcome to the Syren world....
-
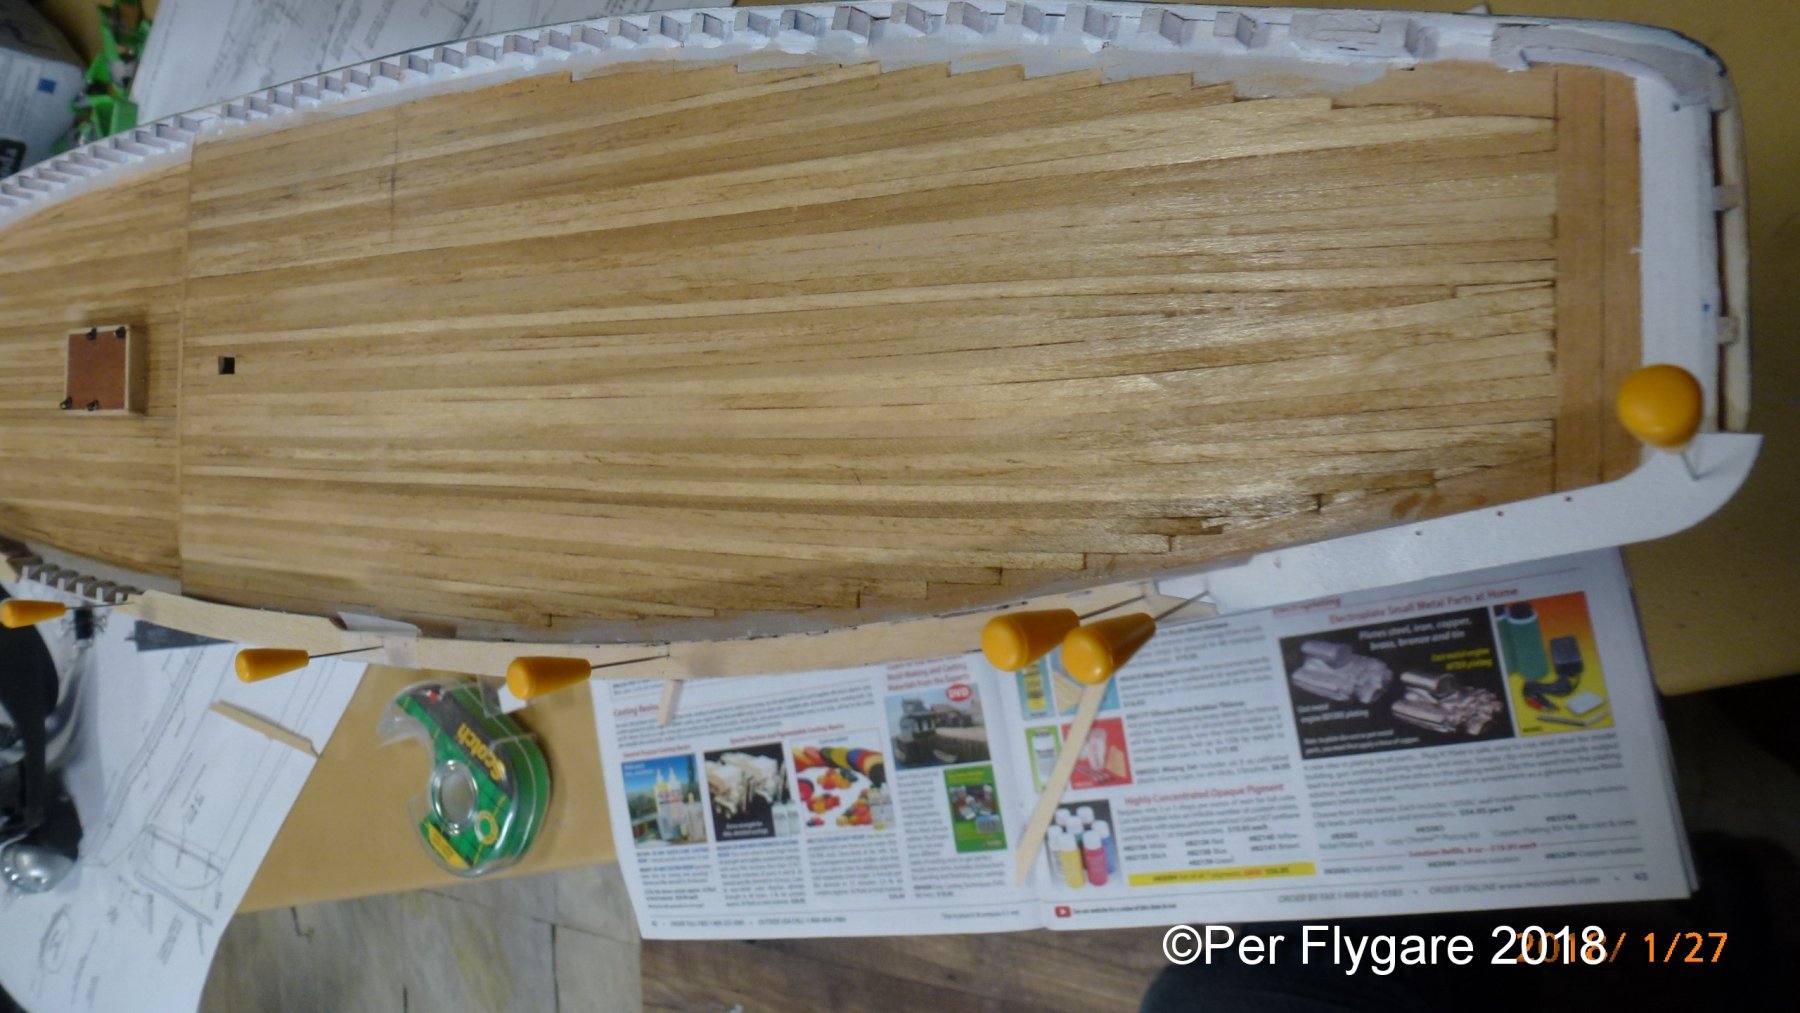
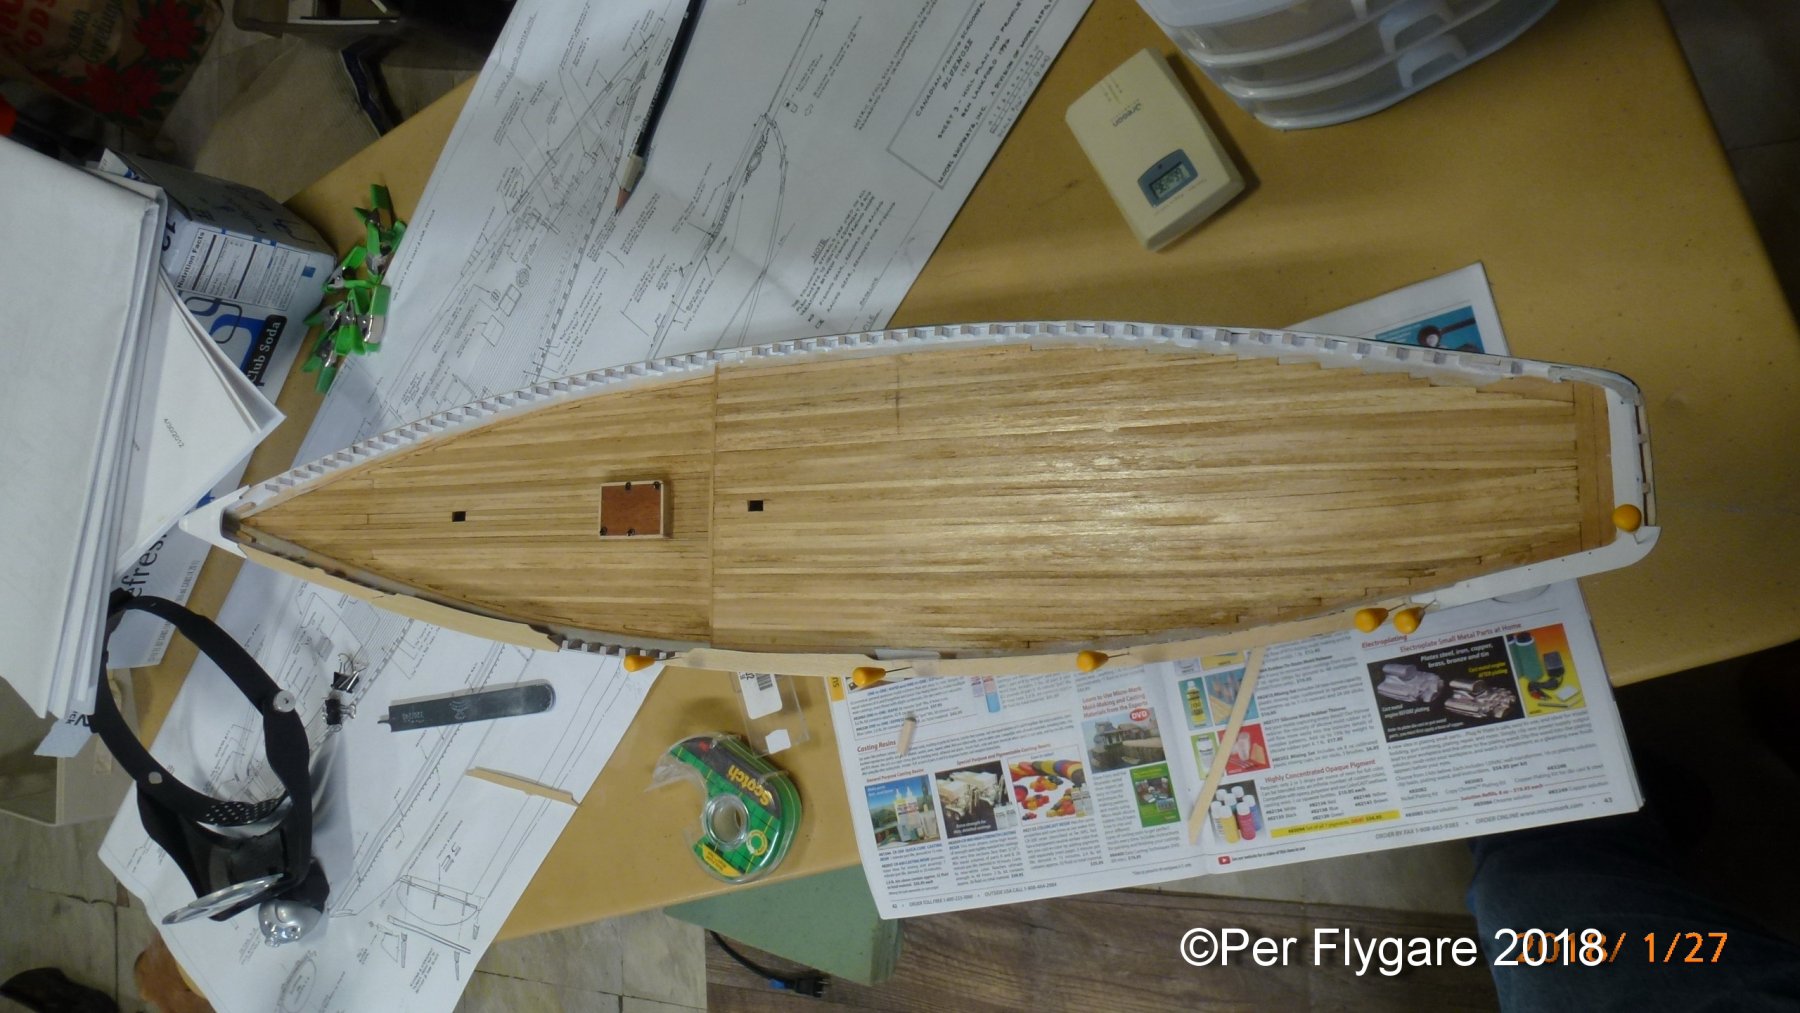
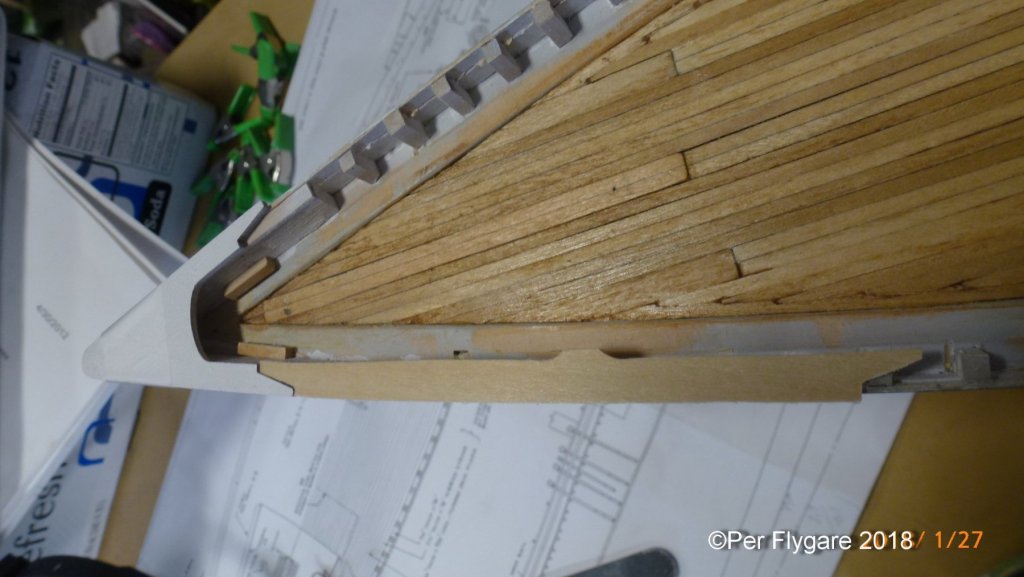
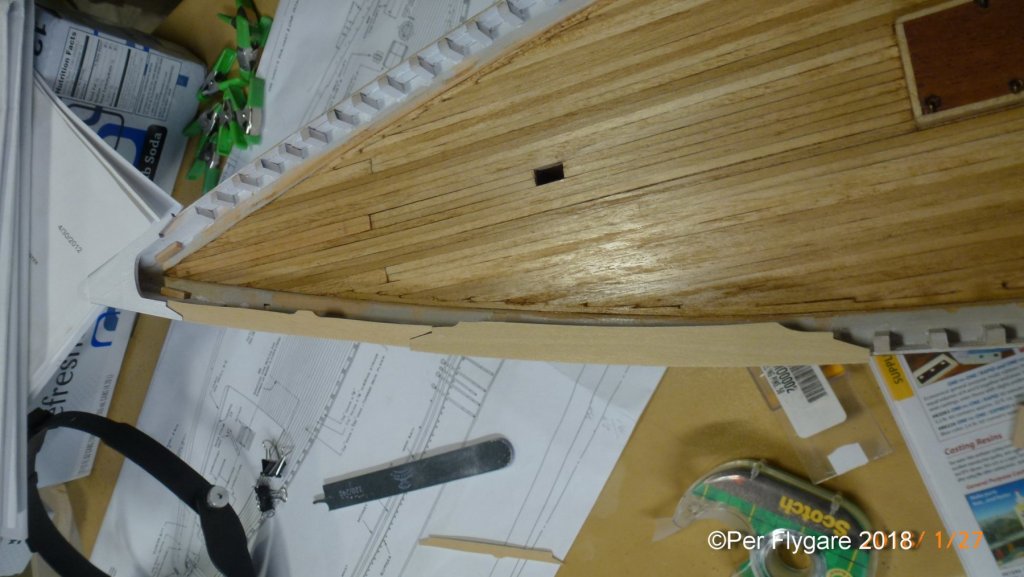
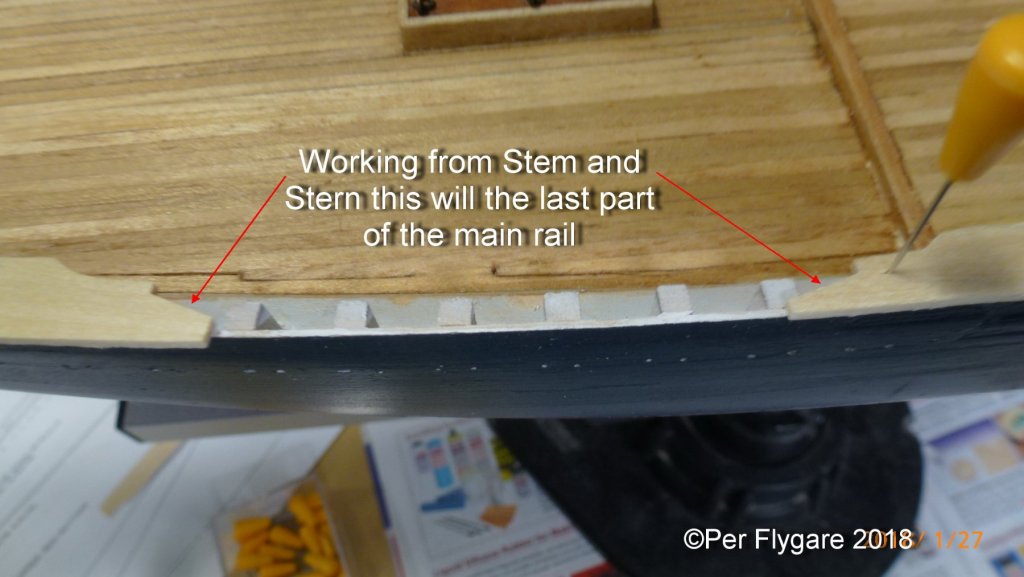
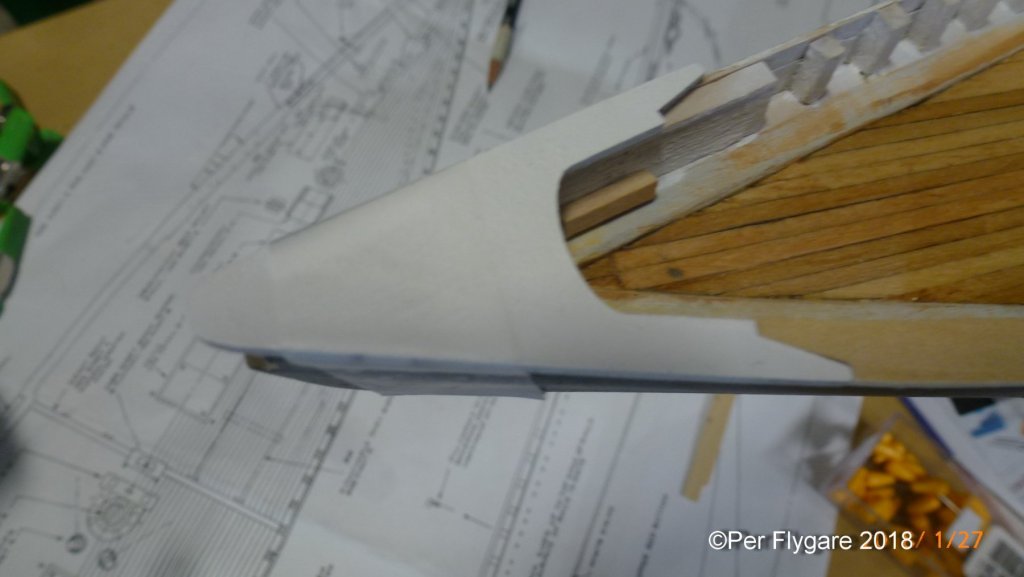
So I am getting to an end of manufacturing the main rail parts. Using both the plans and yacht I feel I have got a good fit. After the last part been cut and trimmed, sanding and pre-stain is next before painting. I worked from Stem and Stern to get my parts correct.


-
Bill, I used both methods. I was fortunate that there very little differences. What I don't like is the thickness of the material. It is too much "meat". It doesn't look proportional.
-
Steve, thanks for the feedback. It was more of a trial using the video. I am to re-post the maintain construction. Info regarding Vimeo, if you can stay below 500mb clips per week and 25gb per year it is free. Yes, there will be ads in the beginning before your video is shown.
-
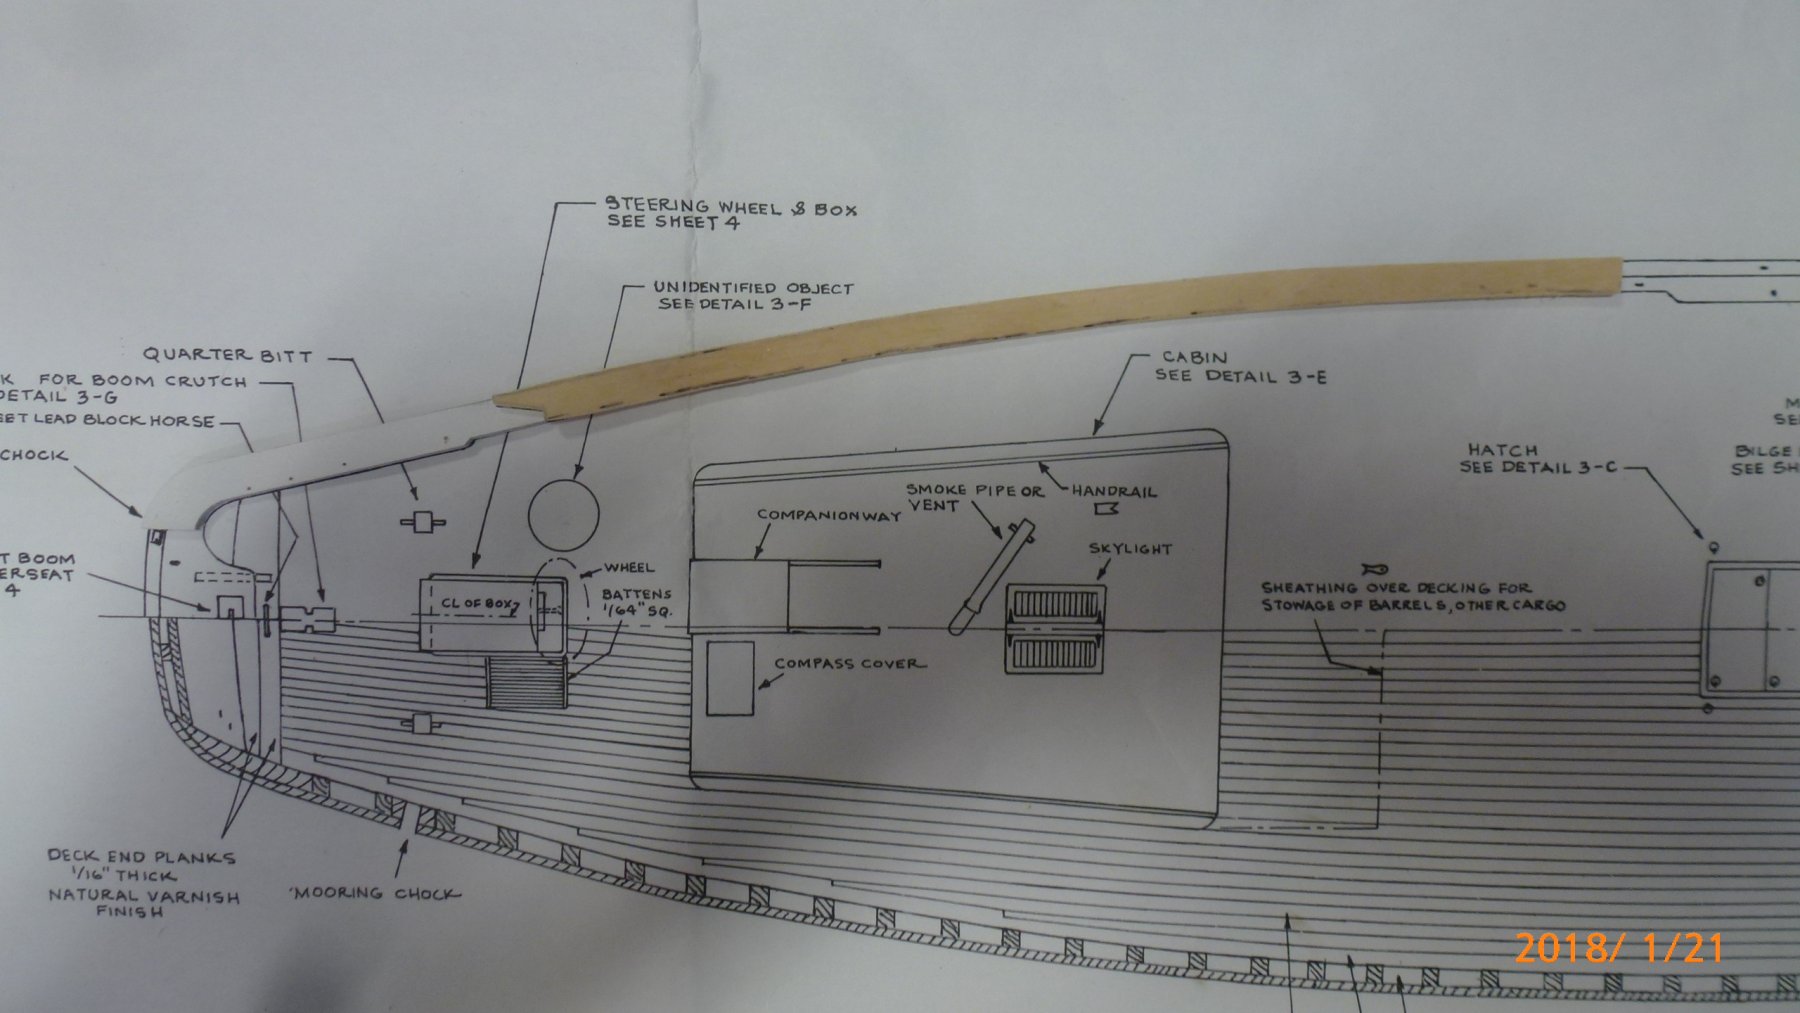
Using the plans I lifted the layout for the main rail, transferring it to the .5" wide strip and shape them there after. Here they are in place but not finished nor glued. This is the first time I am using vimeo, if this works I will continue use the media. Feedback is welcome in this matter. Thanks all Main rail
-
Brian, make two "Masters" - one for fore-deck and one for aft-deck. Use them as guide for marking then cut all the pieces. Adjust the height afterwards by sanding. Don't measure and cut one by one. WorldWay has done the procedure very nice. Wish I had done it the same way, the only way - The WorldWay
-
No laser cut rails! Hand made by my delicate hands........
-
That cross-section is starting itching for me..........
-
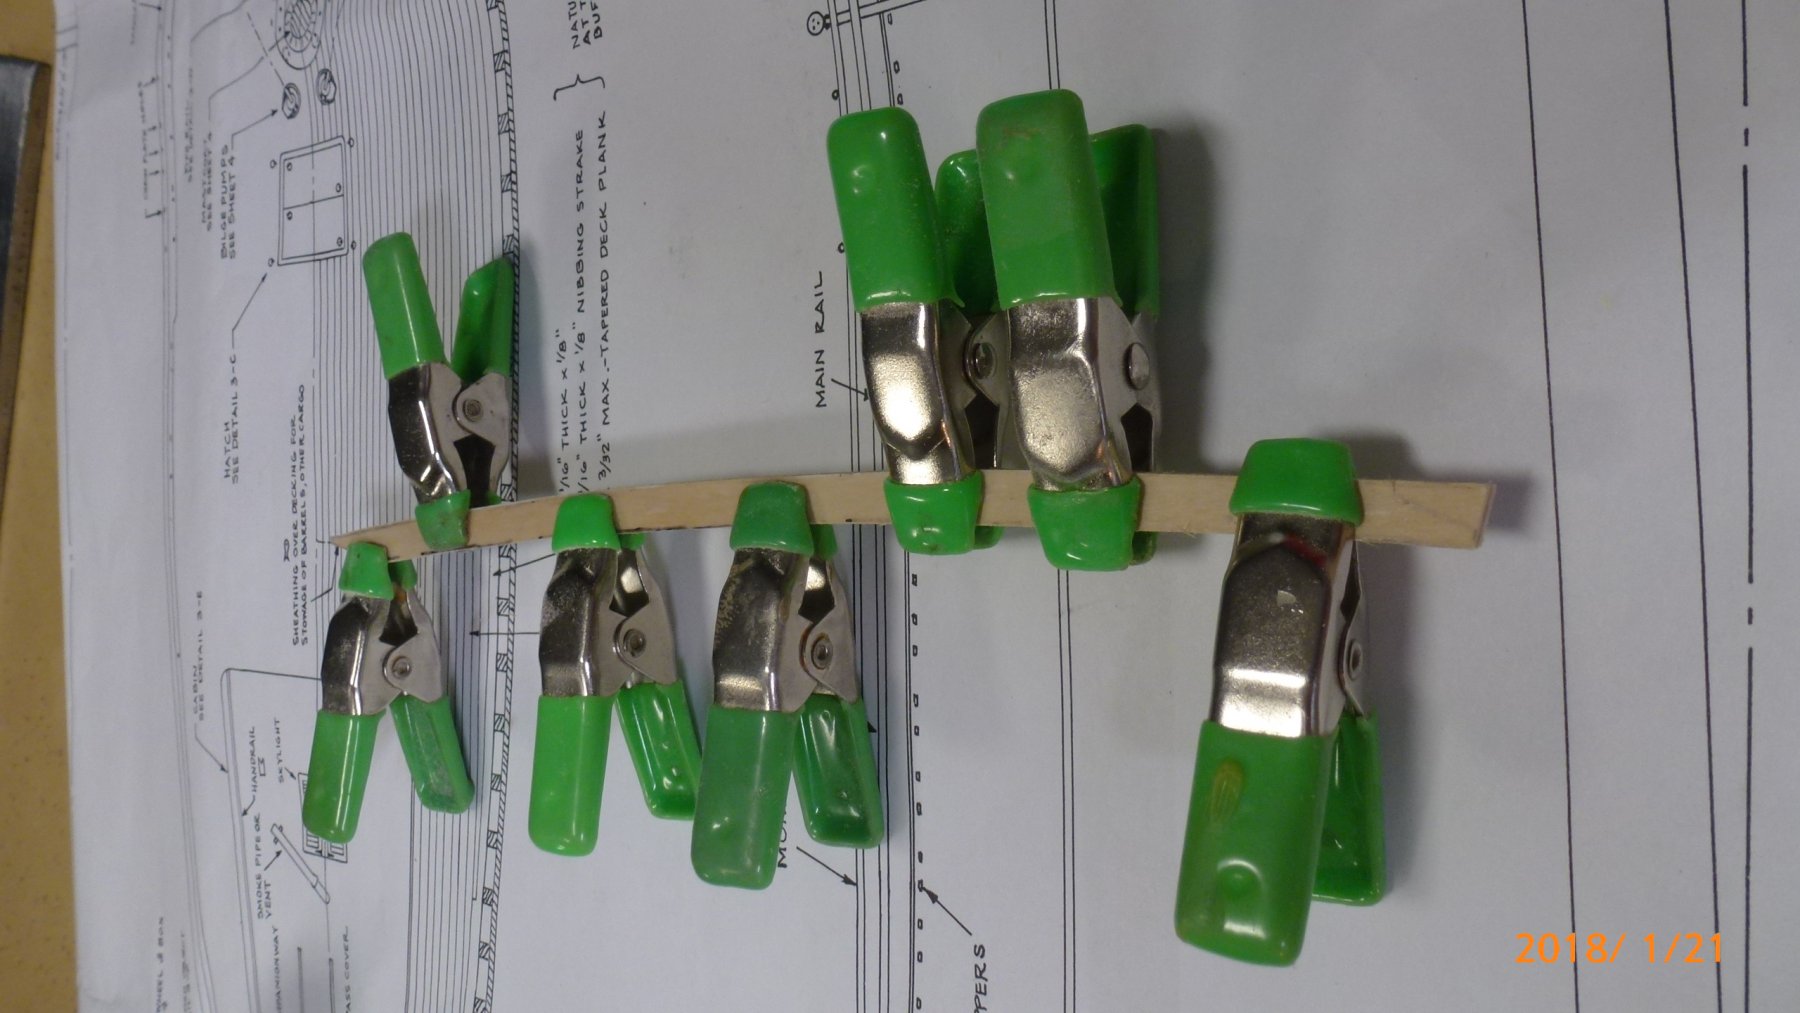
To get some decent curve to the main rail I used regular clear tape and out it on the plans. Same thing was done transferring markings for eye and bolts going into the rail. From there I traced the outlines and transferred to the strips. Doing both port and starboard at the same time I am somewhat certain of getting the same shape to the parts.


-
Beautiful planking. The varnish really highlighted your great job!
-
GreatGalleons, Very nice build, seems you are doing a fantastic progress with your build.
- 34 replies
-
- 1
-
-
- finished
- Constructo
- (and 1 more)
-
From Pacific Northwest, a warm
-
Derek, When I have been airbrushing, Bluenose as my first one, I used acrylic based paint. Doing so, I noticed there is no need of ventilation.
-
The Dutch Boeier is certainly an unusual model that I would like to build. I would certain like to see more European style in your inventory. Maybe early 20th century.
-
Amalio, how many times do you apply sealant? Your wood is so clean and without any fuzz. Truly like it!
-
Floyd, there is a whole bunch of free classes on-line to learn SketchUp and be efficient in it. But for what we are doing go to Sketchucation.com, sign up and you have access to a huge library. Many of us using SketchUp learned it by trying by error. Many (not me) are today professionals in various design fields. SketchUp program cover a huge field other 3d program cannot compete with. Maybe I should set up an on-line class for you
-
Jon, This build log of yours is so well done and from another builders perspective it would be a good log to learn from. I like those filler blocks.
-
John, I got the mission from another member of ours to create the caronades in 3d from the plans. They are now ready for the first 3d printing trial. The Caldercraft are expensive. And this will be a new area when it comes to modeling. Will share pictures once we are there.
- 90 replies
-
- 2
-
-
- syren
- model shipways
- (and 1 more)
-
Or buy the gudgeon kit from Chuck.