Nirvana
-
Posts
5,457 -
Joined
-
Last visited
Content Type
Profiles
Forums
Gallery
Events
Everything posted by Nirvana
-
Välkommen till MSW.
-
Yay, my Friday morning treat!
-
 I have this kit as well, got wood deck for her. Will invest in better cannons and rigging. Very likely buying the rope walk from Chuck. What I will do, is to "create" ballast so she won't tip over. Probably using modeling clay. But I will certainly follow the remaining part of this log.
 -
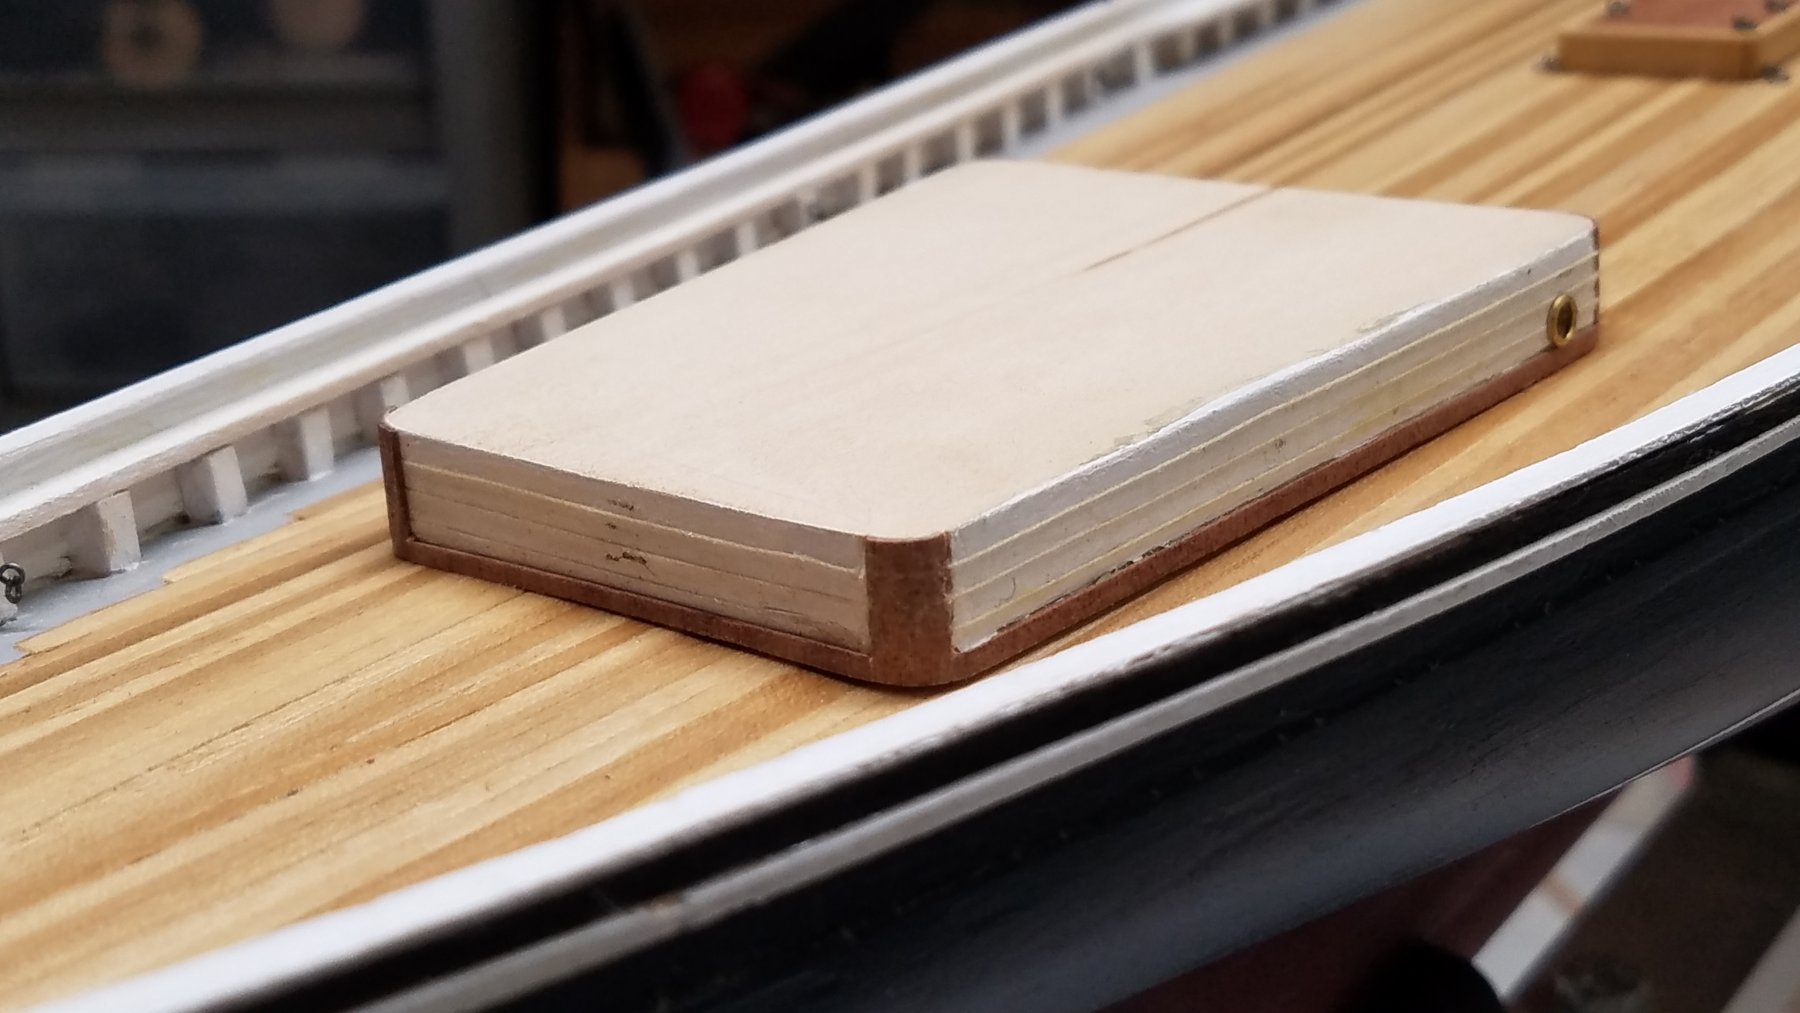
Corner trim in place so is the brass rings for the airport. Test fitting on the deck.mo

-
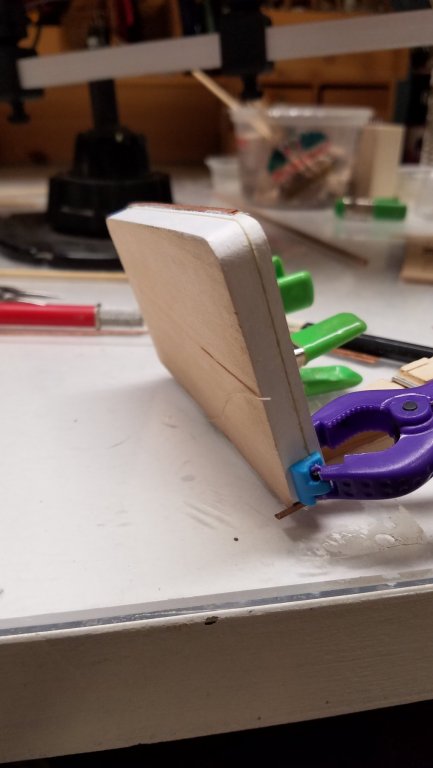
Bending veneer for the cabin.
-
Bob, Thank you, you certainly inspired me with your build log.
-
As I am cheating when building the main cabin, instead of planking the sides I am using a sewing thread to create the illusion of plank separation. When 16" away I can't tell if it's scribed or not. The line is glued into places with diluted wooden glue.
-
"I wonder if the Chinese knock-offs are putting these smaller outfits out of business " Well, that is spot on of what's going on. Companies like Micro-mark are doing this to the market, promoting Chinese knock-offs.
-
Mucking about in Fusion360
Nirvana replied to pointfiftytracer's topic in CAD and 3D Modelling/Drafting Plans with Software
I am pulling up a chair to follow this F360 creation. I think we all have different approaches of making our hulls. You have certainly go the lines right. -
She is big! Looking forward to see the detailing being added. Nice job.
- 133 replies
-
- 3
-

-
- alert class
- tugboat
- (and 1 more)
-
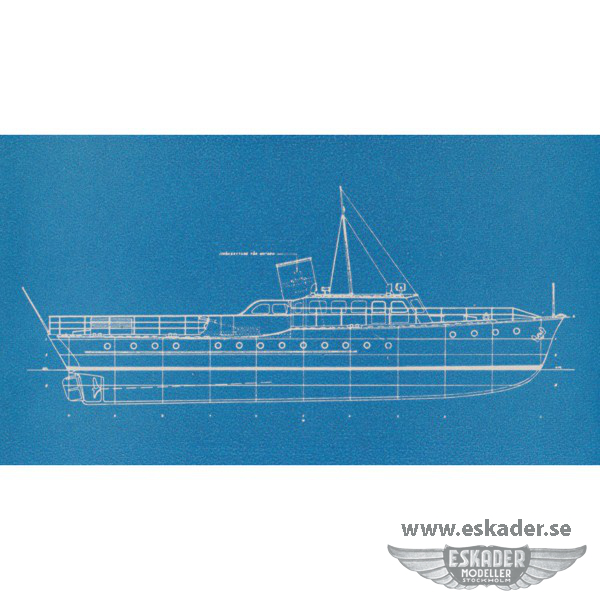
John, the plans are scaled to 1:50, so she is just little longer than 23 meters or 76". She was part of a very popular group of luxury yacht in Sweden and Europe.
-
I have been part of a tug/barge project over the past year. This project has involved designing everything using Fusion360. I am now back to regular physical modelling but started a new private project. This involves a motor yacht from 1930, I have the plans so it will be a fairly easy work to create a 3d model. But I won't stop there, my intention is to create frames and parts for building her as a RC yacht. Here is a picture of her as on plan.
-
Swan class 3D model in progress
Nirvana replied to dvm27's topic in CAD and 3D Modelling/Drafting Plans with Software
Denis, You should have added some staining from "glue" and "mis-painting" to really throw of us....... lol Your work is outstanding! I am working with Fusion 360 and doing the rendering, but I am lightyears behind you. I have alot to learn!- 141 replies
-
- 2
-
-
- pof swan series
- swan
- (and 1 more)
-
A new angle in precision sanding
Nirvana replied to Arcticbeaver's topic in Modeling tools and Workshop Equipment
I have a belt/disc sander combo as in picture but a no-name brand. It's doing a good job when no-precision sanding is required, but is very noisy in comparison to Byrnes disc sander. I am some 100 dollars away from buying a Byrnes sander. Have the thickness sander of his and am very happy. And it's very quiet too. Have an old Proxxon "workhorse" table saw that works real well, so the disc sander is more in consideration than Byrnes table saw. -
Great work! Now it's time for the boat to be in the gallery.
- 168 replies
-
- 1
-
-
- 18th Century Armed Longboat
- Model Shipways
- (and 1 more)
-
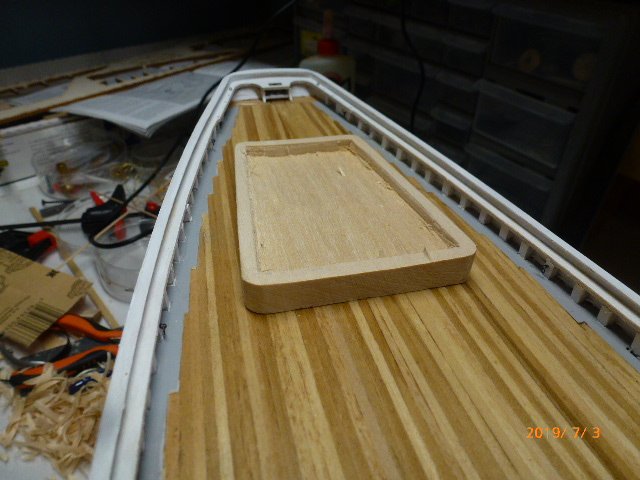
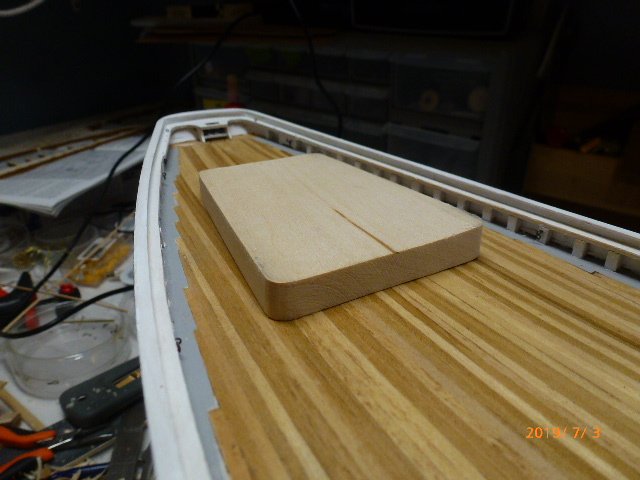
I had a lot of thoughts around the main cabin, and finally decided to make it out from solid basswood. I am so glad having Byrnes thickness sander, to get the material down to right thickness before applying any roofmaterial. In order to get the cabin shaped correctly I started hollowing it out, to get some walls. More chiseling is to be done. This will also allow to create the port and starboard skylights. Placing a coarse sandpaper over the area where the cabin is to be located I was able to create uniformed "walls".
-
I am sorry to hear about the burning of dining area and top it off with termites. Not what you want every day. Hope for a quick recovery. Looking good though.
-
Nice recovery! We all do our oops, and as long items has been covered up, changes will be easier.
-
Eric, a warm Welcome our amazing world at ModelShipWorld. Glad you found us, you have just entered a world where questions can repeated and you will an answer and guidance. Start a build log, when you get stuck (which will happen) just ask for help and we will do our best to get you past that point. Again, warm welcome.
-
Good morning Amalio. Thank you for my "morning treat". Even better, it's on a Friday.
-
Now that makes me excited and more intrigued about the kit. Thank you Chuck.
-
Rich, I just read up regarding FlexSeal. Nasty stuff, as it can solution can explode just by electrostatic touch.
- 1,135 replies
-
- 2
-
-
- model shipways
- syren
- (and 2 more)