Nirvana
-
Posts
5,453 -
Joined
-
Last visited
Content Type
Profiles
Forums
Gallery
Events
Everything posted by Nirvana
-
Troy, As a member from the East side of WA soon to be a resident of the west side, A warm welcome to MSW. This is the place when you have a question you will get an answer. Happy NEW Building year!
- 6 replies
-
- 1
-

-
- fairing
- hull fairing
- (and 2 more)
-
I have Jim's drawplate and another one from Mikro-Mark, I used the MM just once( did throw it away) while Jim's frequently. Oil the drawplates, no matter the brand as they may start having surface issues later in their life.
-

Converting a Backyard Shed into a Model Workshop
Nirvana replied to Hank's topic in Modeling tools and Workshop Equipment
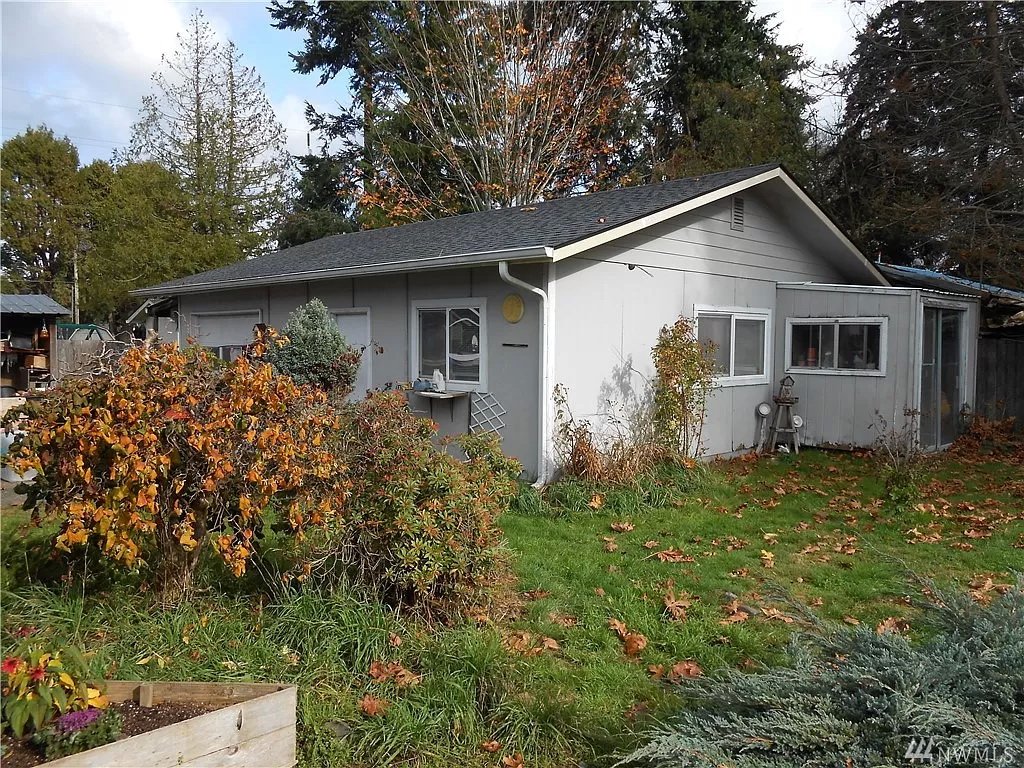
Hank, that looks real good. The that porch covered seems to be healthy to. Are you to cover the entrance too? -
Converting a Backyard Shed into a Model Workshop
Nirvana replied to Hank's topic in Modeling tools and Workshop Equipment
Thanks for the idea of critter removal. Hope I don't need to use it though. -
Converting a Backyard Shed into a Model Workshop
Nirvana replied to Hank's topic in Modeling tools and Workshop Equipment
Hank, it sure was the most expensive Christmas gift we ever got ourselves! But well worth it! When we saw the house we were greeted by five deer across the street munching on old apples. -
Converting a Backyard Shed into a Model Workshop
Nirvana replied to Hank's topic in Modeling tools and Workshop Equipment
Well, the place do need some elbow grease...… but what we are paying for 2000sq.ft house plus shop fits our budget perfectly. The shop has some tools and I don't know whether the gentleman will take it along with him. Either everything has to stay for us to take care of, or a complete clean of the seller is necessary. I didn't mentioned the best part of the new house - it's located in an area where it's not snowing in WA. No more snow handling for me! -
Converting a Backyard Shed into a Model Workshop
Nirvana replied to Hank's topic in Modeling tools and Workshop Equipment
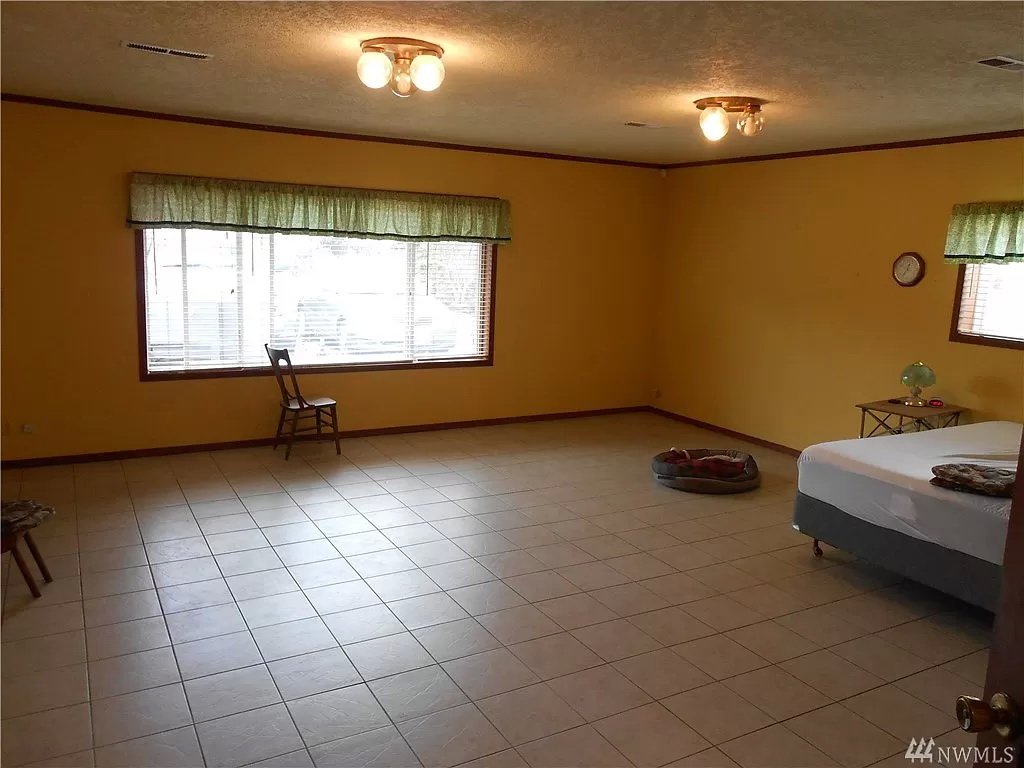
Okay, I guess it is safe to say this..... The Admiral and I are moving. A promotion has created this situation, not for me but for her. We have found a new house and I feel very fortunate, first of all the new house is almost twice the size of what we have today. The house have three bedrooms, which of one will become an office, then a guestroom plus the ordinary master bedroom. When the house was built the intended garage became a bonus room. Which will be our entertainment room. So now you are wondering where I will be doing my modelling? There is a one car garage but with a huge workshop. The previous owner was into making wooden furniture and probable leaving lots of tools behind as he will be living in a service center. The garage with workshop is all insulated as well. Two pictures for you guys.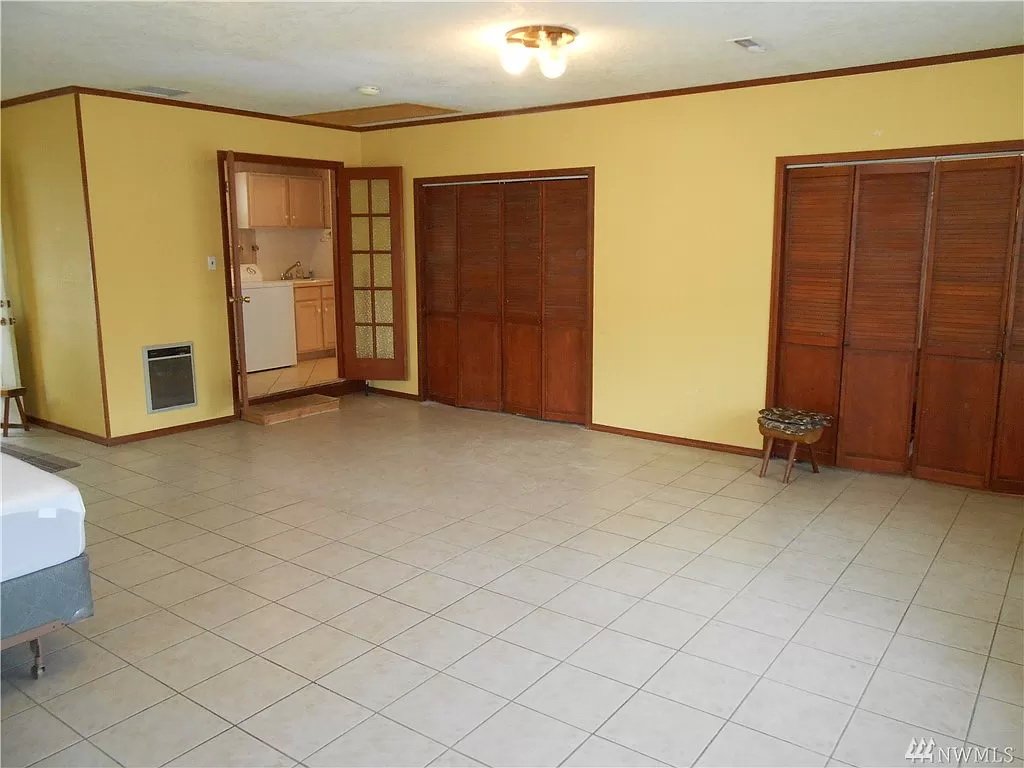
-
English please!
-
Aaah,..... thank you!
-
Breath-taking stunning build and amazing pictures!
-
Have had my share of miss-fitted or damaged part, but ME has always impressed me with outstanding customer service. My hat off for Mr. Garcia taking such good care of us.
-
From another PNW'er to you, huge welcome to our group.
-
Can i live without a BYRNES TABLE SAW
Nirvana replied to shihawk's topic in Modeling tools and Workshop Equipment
Two machines of Byrnes I really like to get is the table saw and sander. I have the thickness sander of his and I love it. One thing when it comes to Byrnes machines, is how quiet they are. -
Amalio, good morning to you too. Having breakfast and enjoying the latest pictures of yours. Thank you!
-
Amalio, true handcraft! Beautiful done.
-
I like your way approaching of the top rail in just one piece. I created all mine in pieces according to plans. I have to get used to using the ship curves.
-
Mucking about in Fusion360
Nirvana replied to pointfiftytracer's topic in CAD and 3D Modelling/Drafting Plans with Software
Very nice! One advantage creating a model in Fusion360 is that the base frame (keel and bulkheads) will be straight. Unless you make it like a banana on purpose. Now add on with some plywood surface and do another rendering (HQ) and we will be blown away. Rendering makes a huge difference and so realistic. Keep it up! -
Yes
-
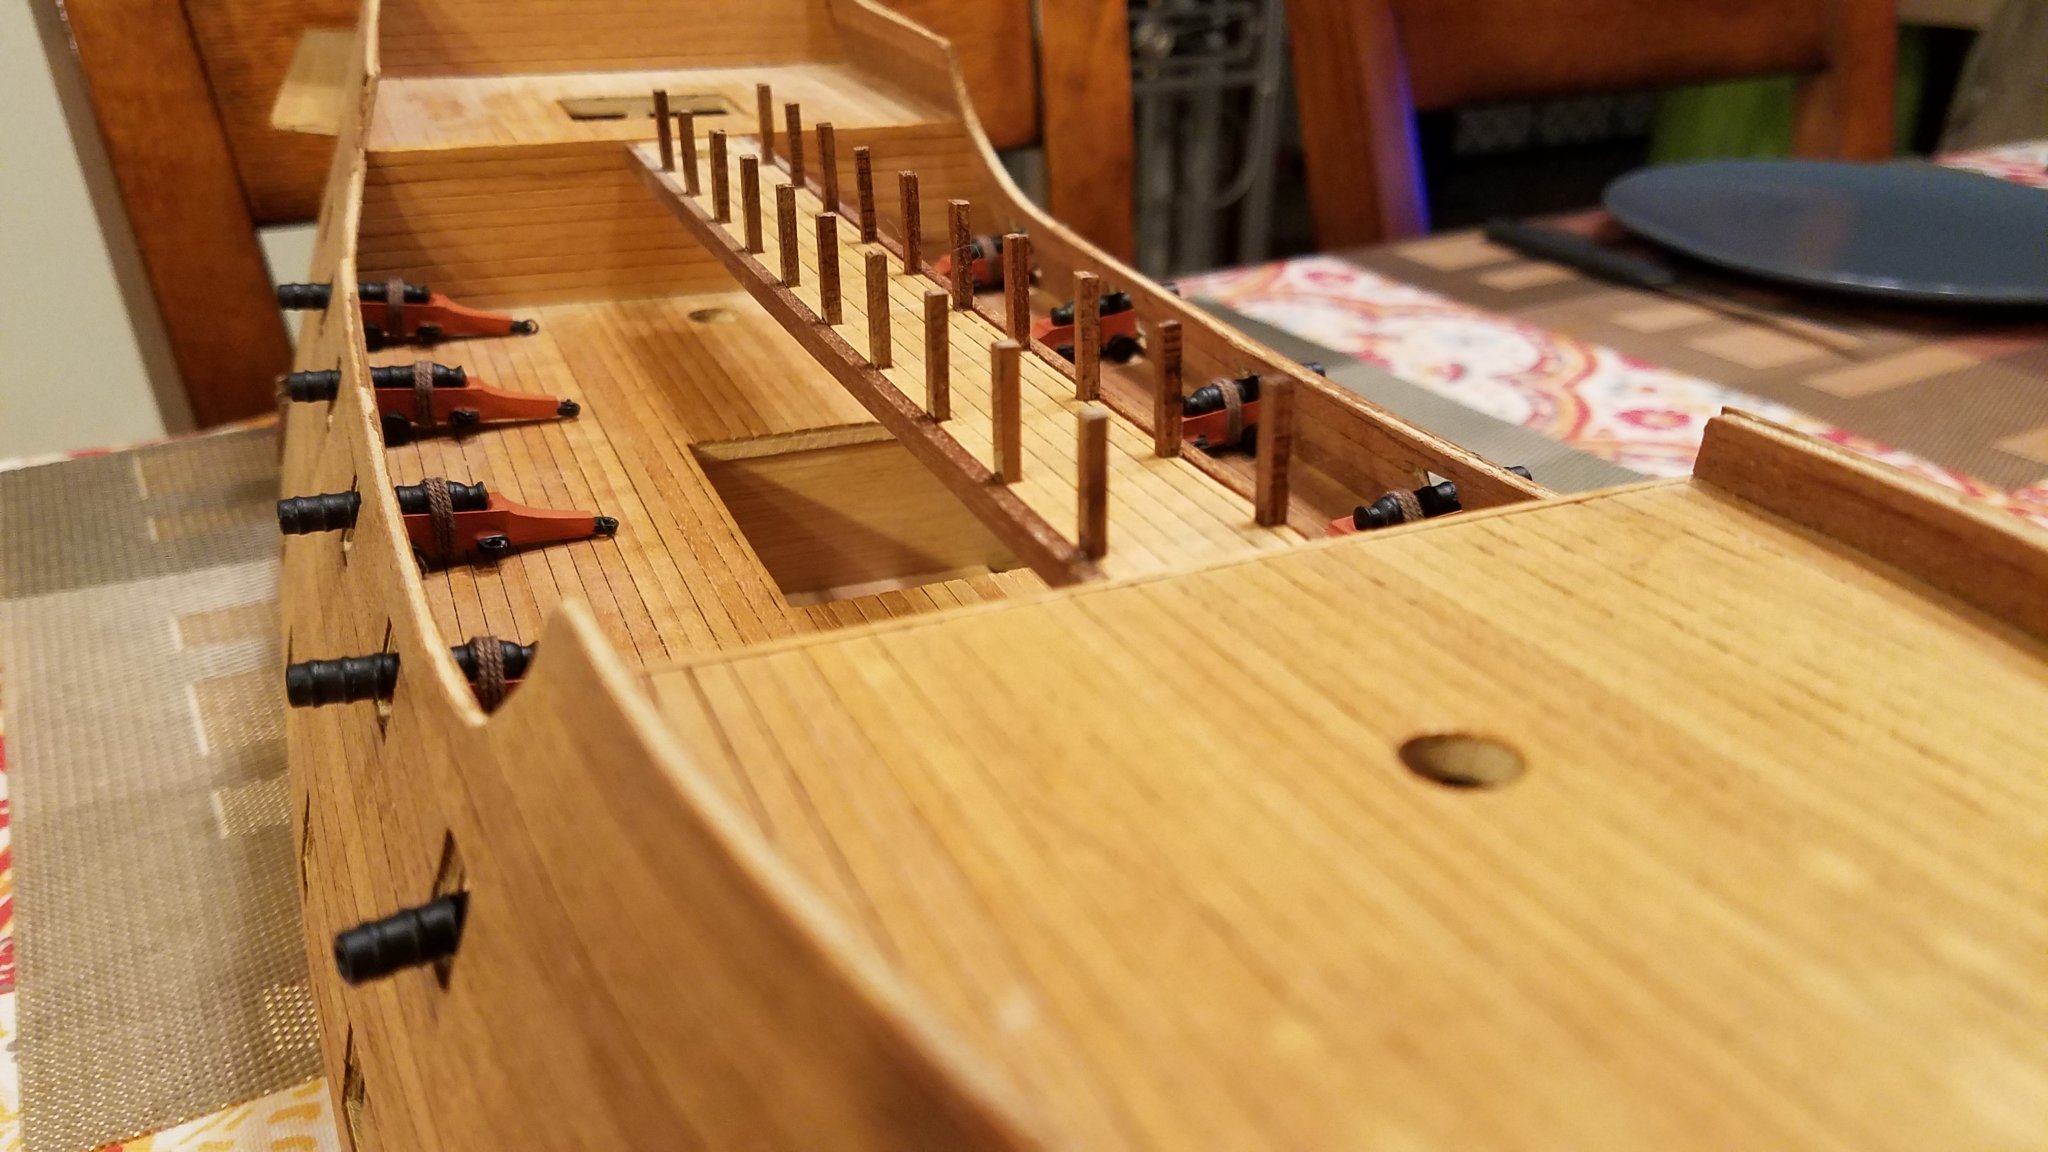
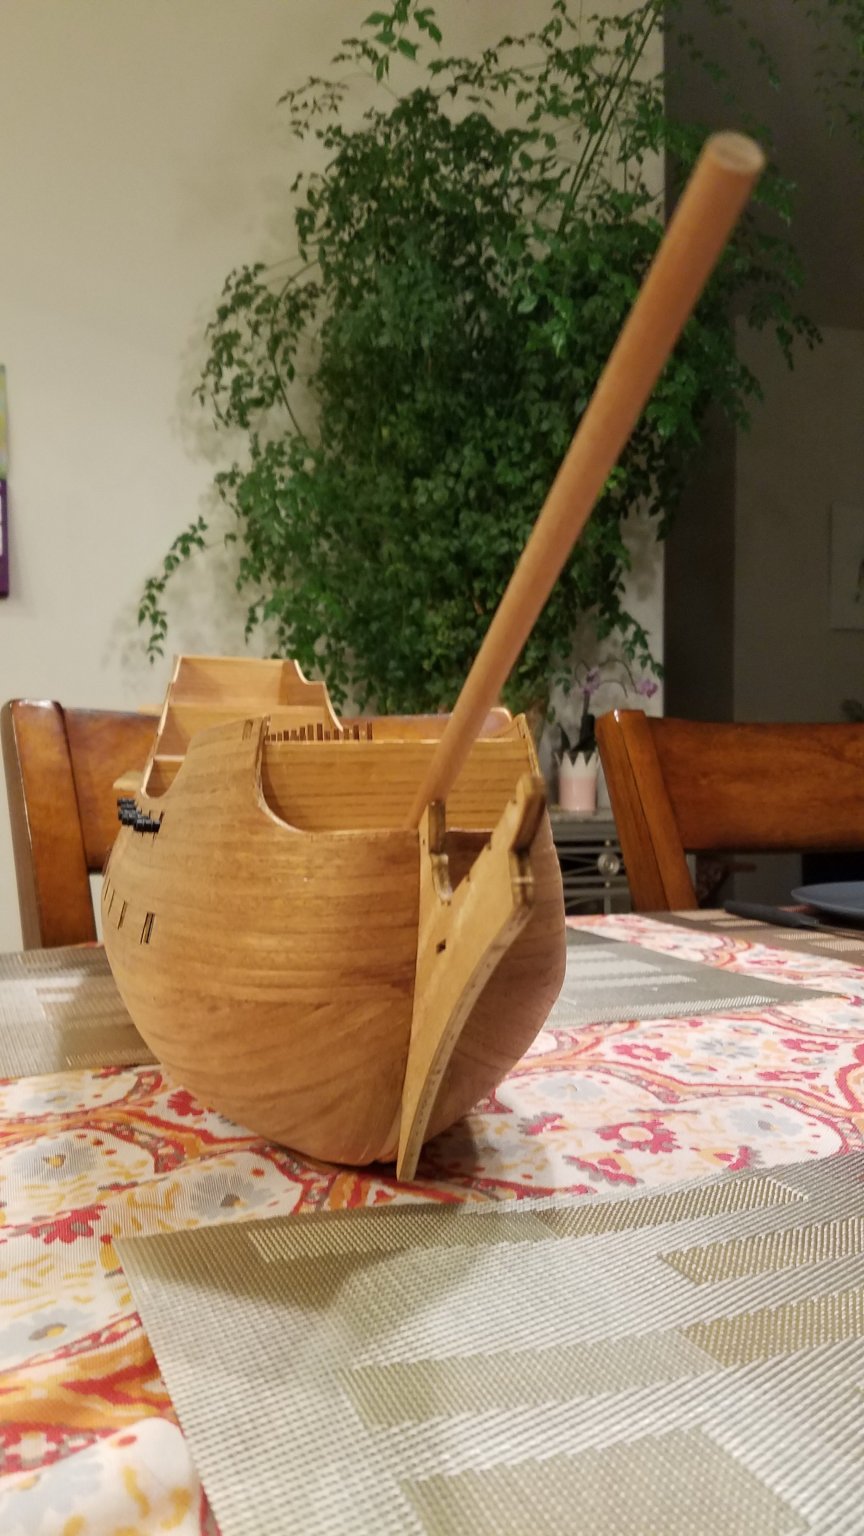
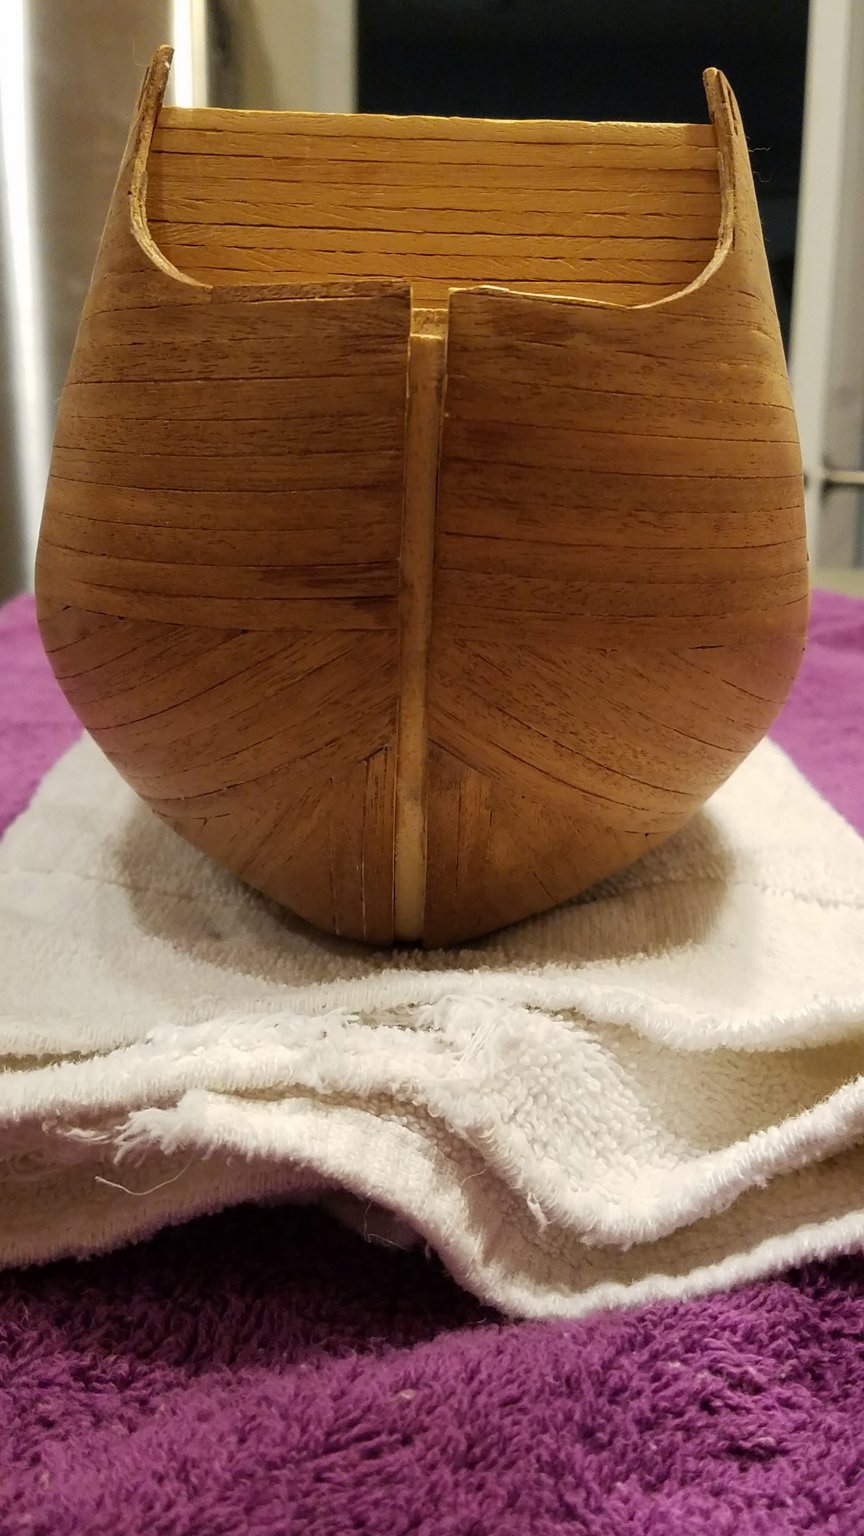
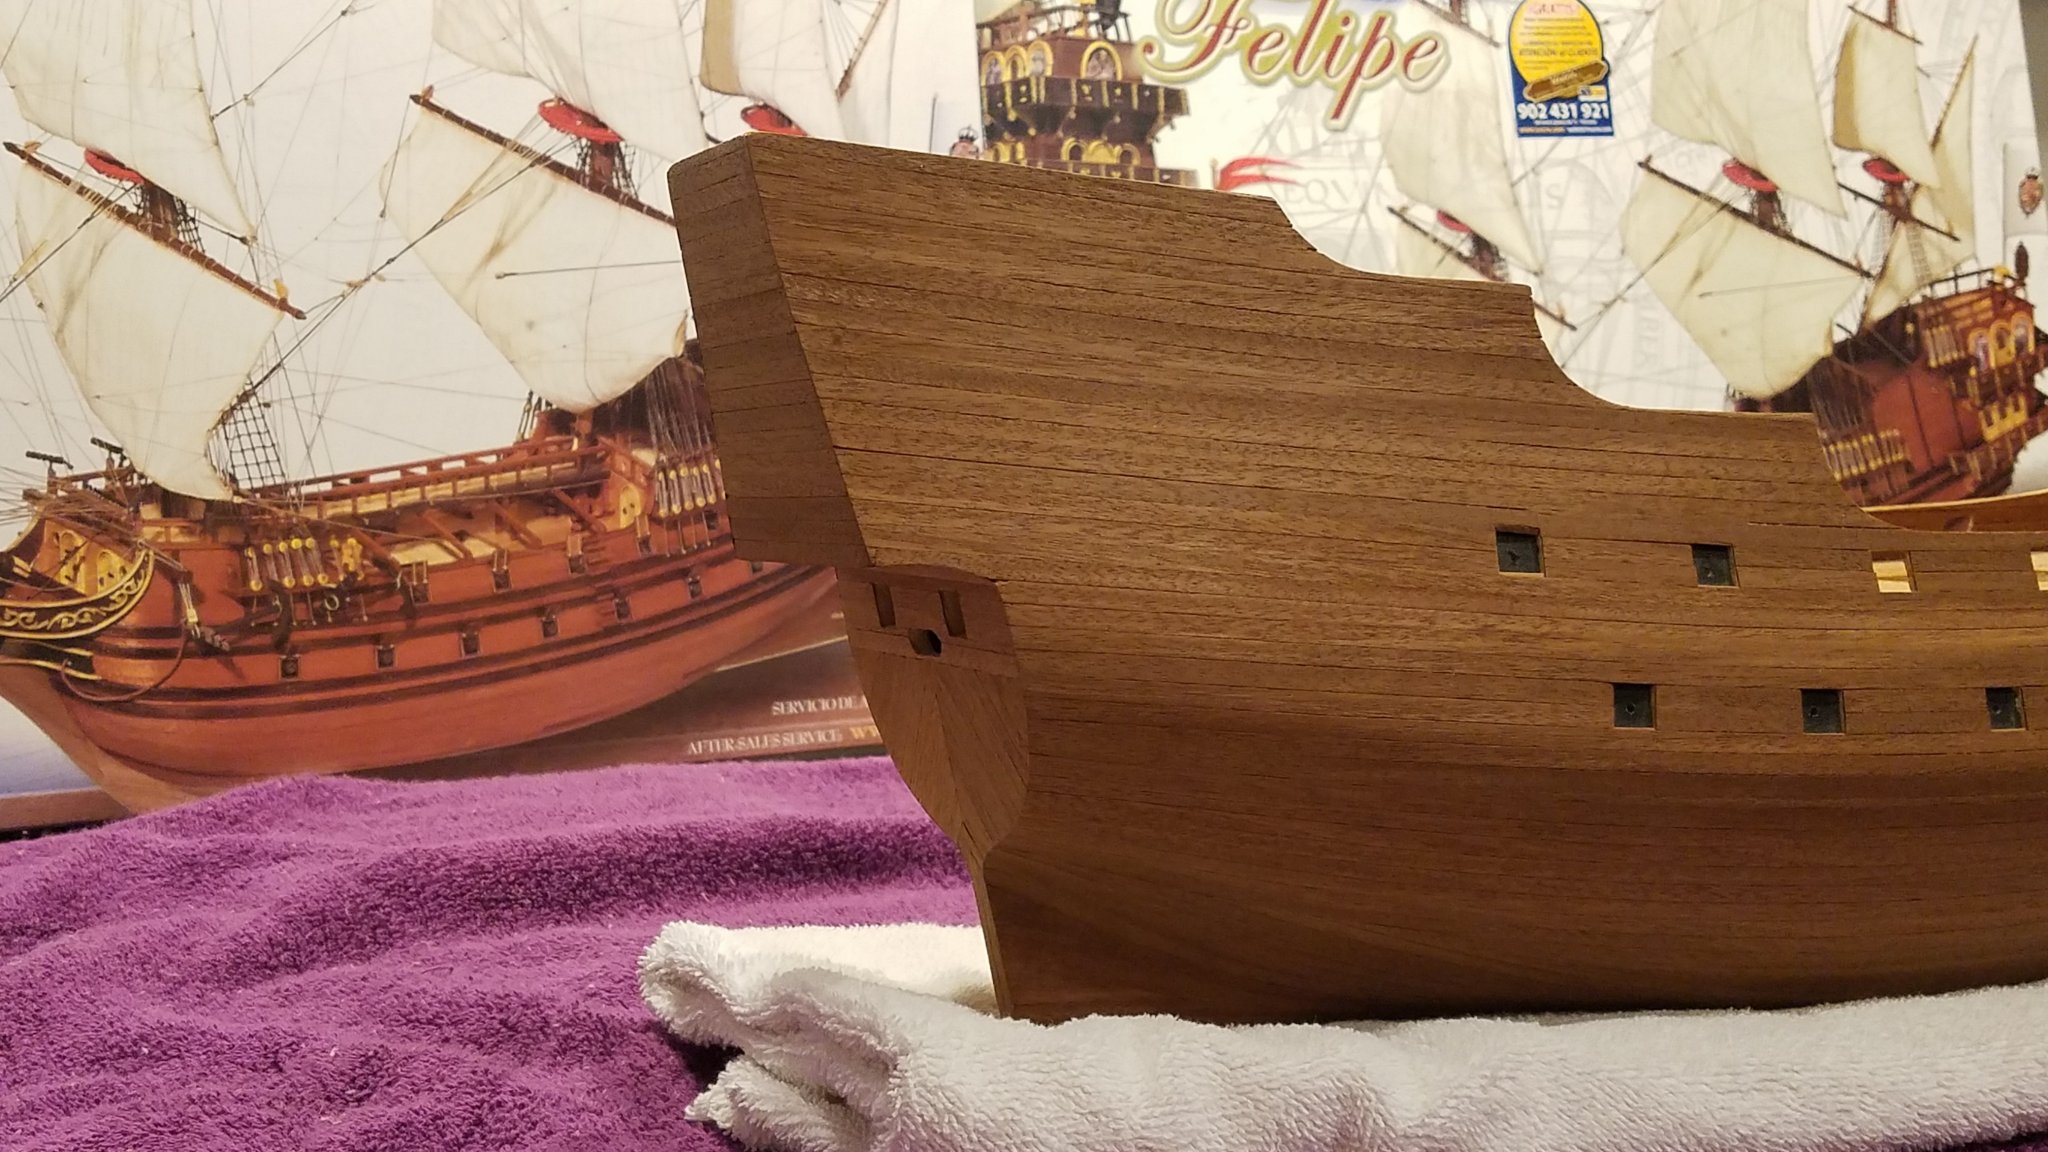
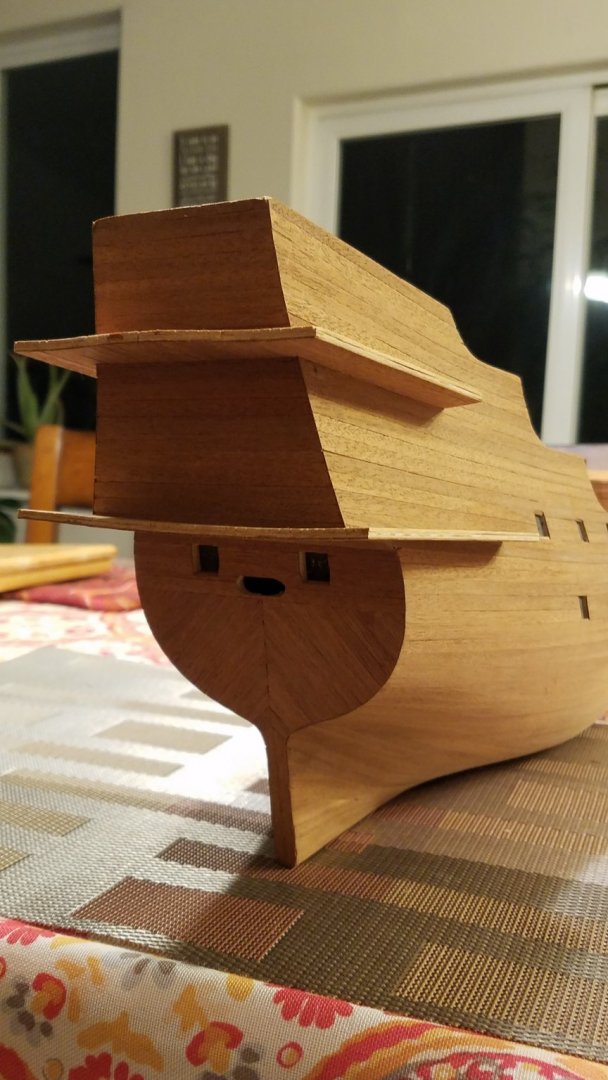
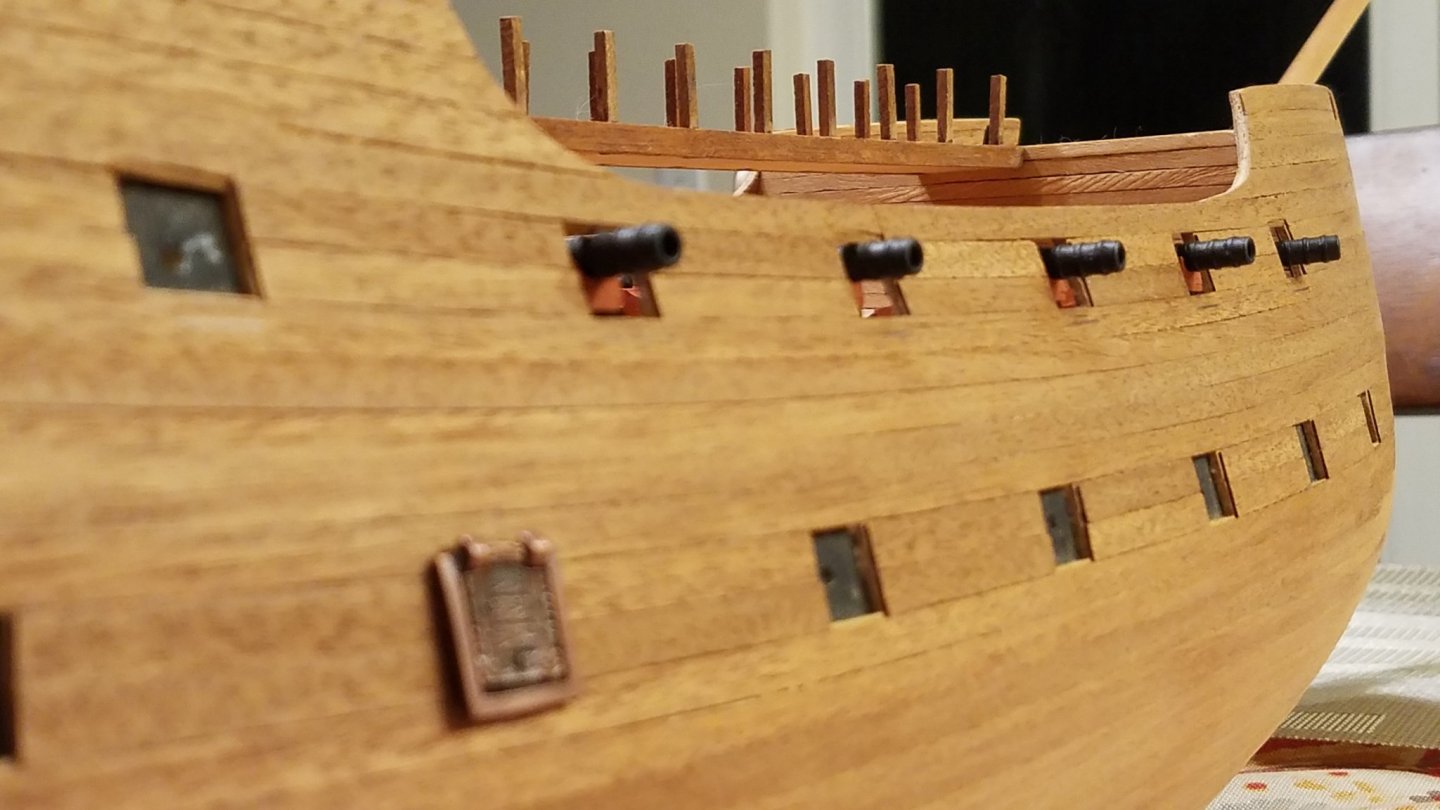
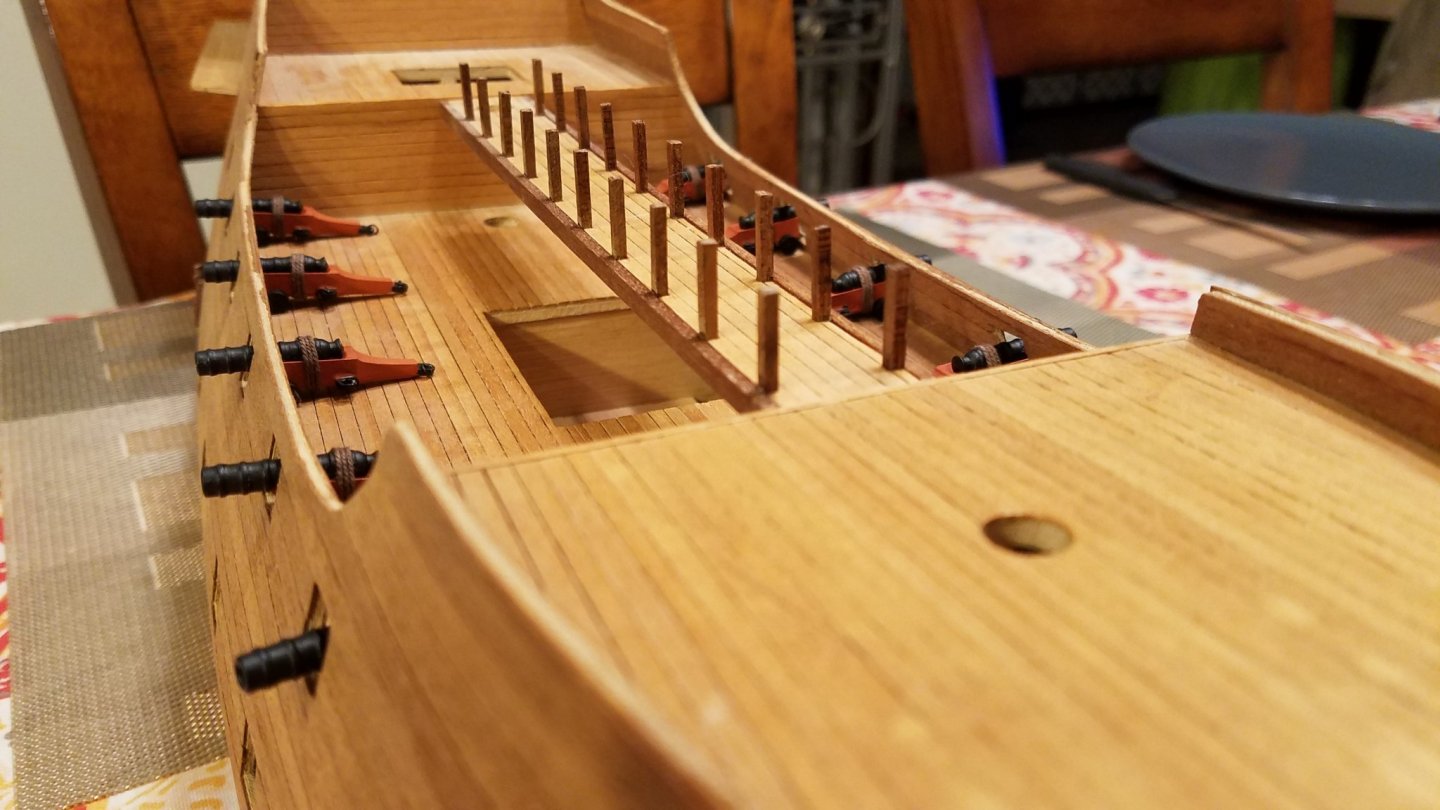
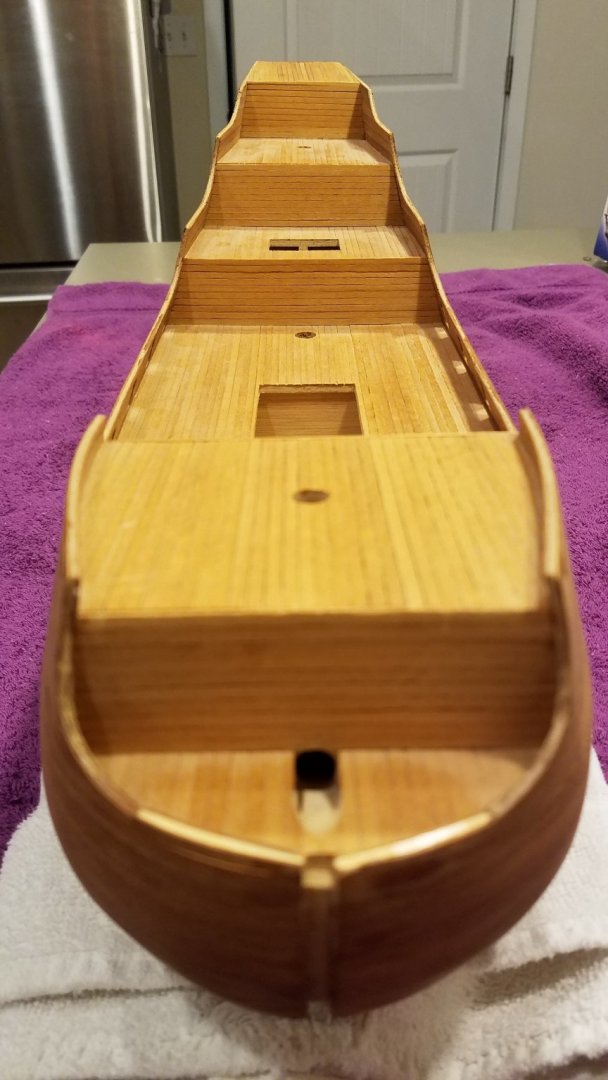
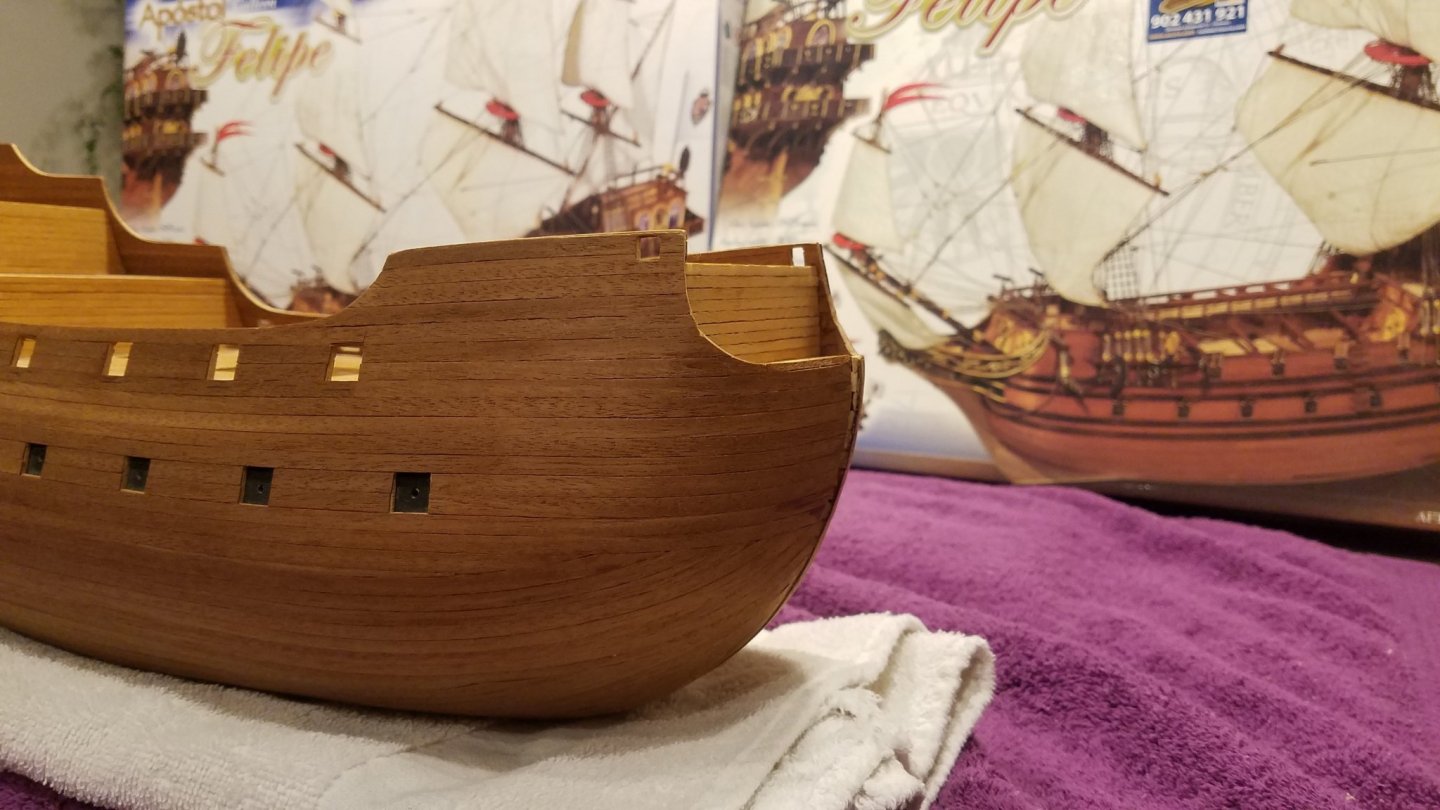
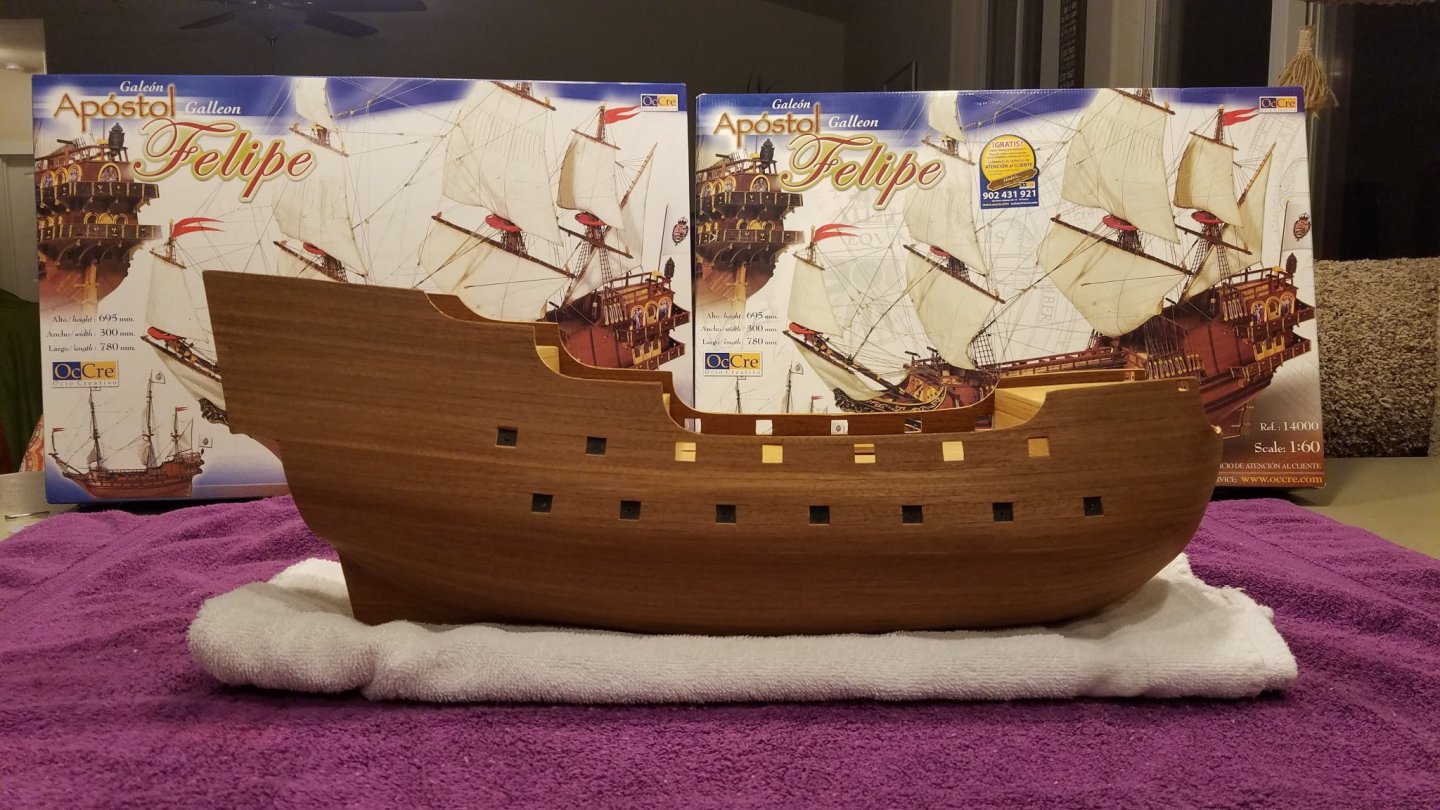
Just recently I was fortunate of getting a free kit. This kit was already started with the framing and planking done. I am looking forward to continue this kit. The cannons and walkway are just dry-fitted so is the stem piece.


-
Friday treat on a Thursday? Thank you, Amalio You made my day.
-
Amalio, in post #705 you have a ruler placed length wise and marks 520mm. Is that midship? If so, … all I have to say is wow, she will be a big lady. What is the projected height from bottom of keel to top of mast? Very beautiful build!
-
Aah, my morning treat. Thank you, Amalio
-
Välkommen till MSW.
-
Yay, my Friday morning treat!