Nirvana
-
Posts
5,452 -
Joined
-
Last visited
Content Type
Profiles
Forums
Gallery
Events
Everything posted by Nirvana
-
 Rich, even though tiny small items can and are tricky to get there, they truly emphasize the detailing. Some people (spectators) may overlook that part of work, I can tell from my own modeling I know what I have put into my ships. This looks so good.
- 1,135 replies
-
- 3
-

-
- model shipways
- syren
- (and 2 more)
-
Floyd, you certainly picked up some pace there, considering all the hours we talked about the gun port area. Looking good.
-
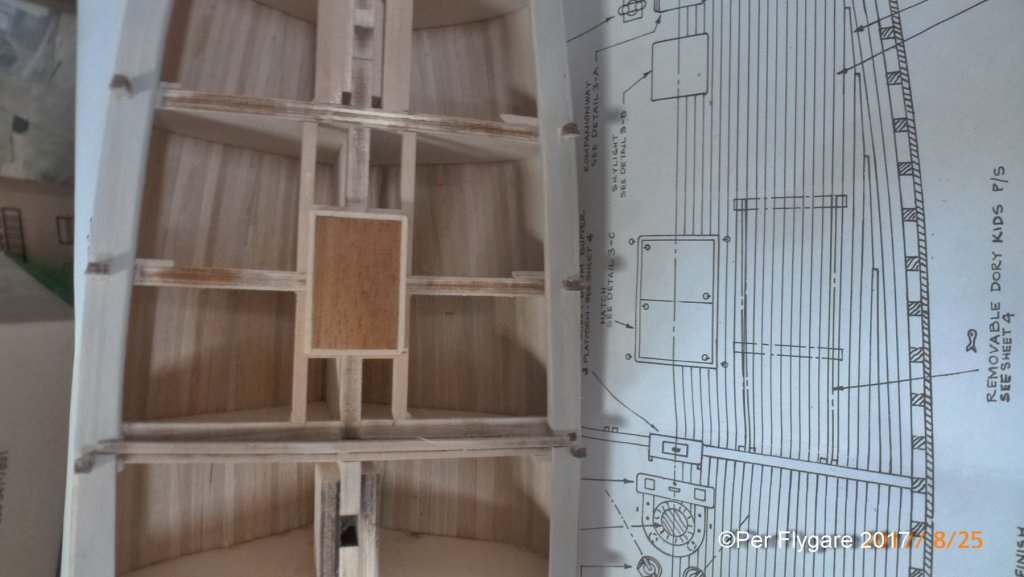
Just boring pictures, skylight in place and more planking. Although the last plank is not glued into placed.
-
I have started the planking, it's very different with structures installed prior planking. The planks has to be so cleanly cut prior installing. Sadly the caulking smudges the plank and make the "dirty"
-
Rich, Did Argus have stern chasers? Looking good with the alternate build.
- 1,135 replies
-
- 3
-
-
- model shipways
- syren
- (and 2 more)
-
There are several kind of poplar, but stubbornes found me that the Scandinavian core is the better one. As it ages it will have a very light greyish tone. The grain is easy to work with and makes a very smooth surface. Poplar is very popular for fine detail wood working in Europe. Poplar is a good source of wood for scratch building as for a solid hull. I have the material waiting for such project. Good luck
-
Mike, I am stunned and don't know what to say........... I am out of word...... I am tryin to learn from you. Beautiful work!
-
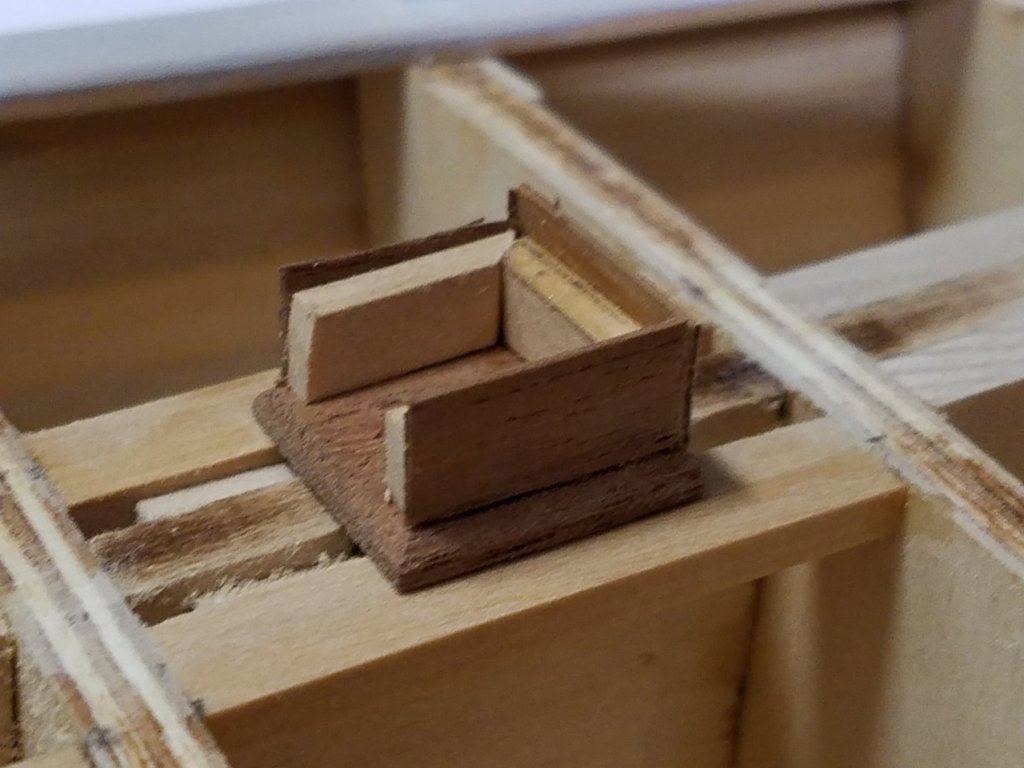
I am back to my Bluenose, build logs will slow down due to personal and family causes, new will follow in this matter... but tonight I got some time with my lady, and one of the deck houses was finally installed. trying to create an old style photo
-
Doug, Ouch for that crash, but it looks somewhat easy fix, it could had been worse. I know you will fix it!
-
Svein-Erik, great to see another Syren. I find it interesting and fascinating you're adding the led lights. Good luck and be careful, the Syren has it's traps.
-
John,
-
Hello i'm new here and to ship building
Nirvana replied to Derek C's topic in New member Introductions
Derek, from a smoky Pacific northwest I welcome you to MSW. -
Hmm, interesting and great info.
-
Rich, Sanding since yesterday?! I am surprised you still have a ship....
- 1,135 replies
-
- 3
-
-
- model shipways
- syren
- (and 2 more)
-
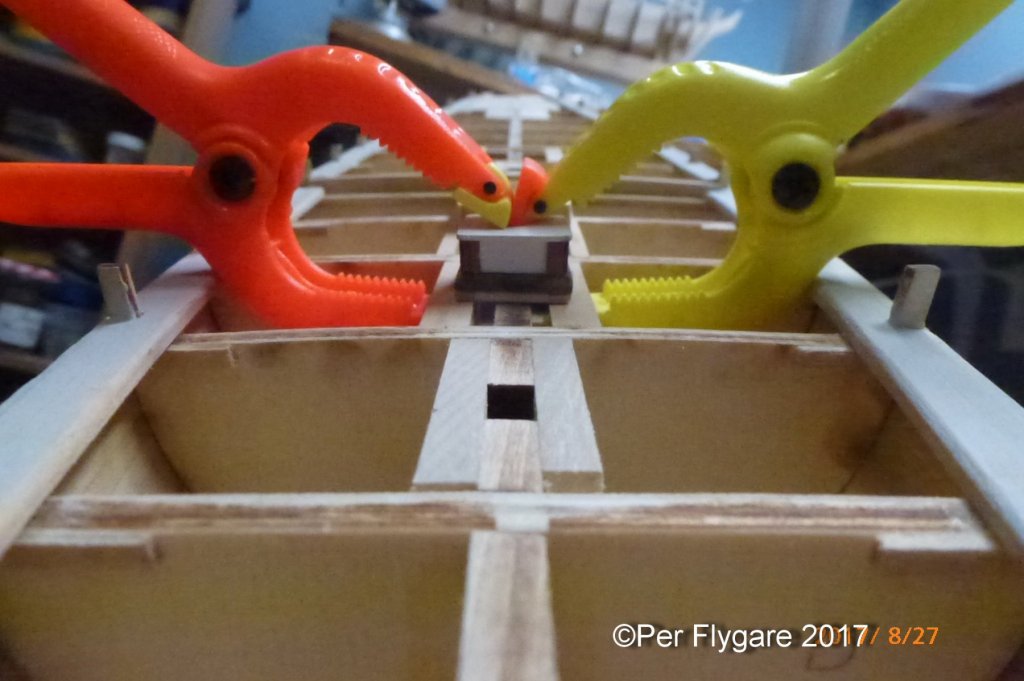
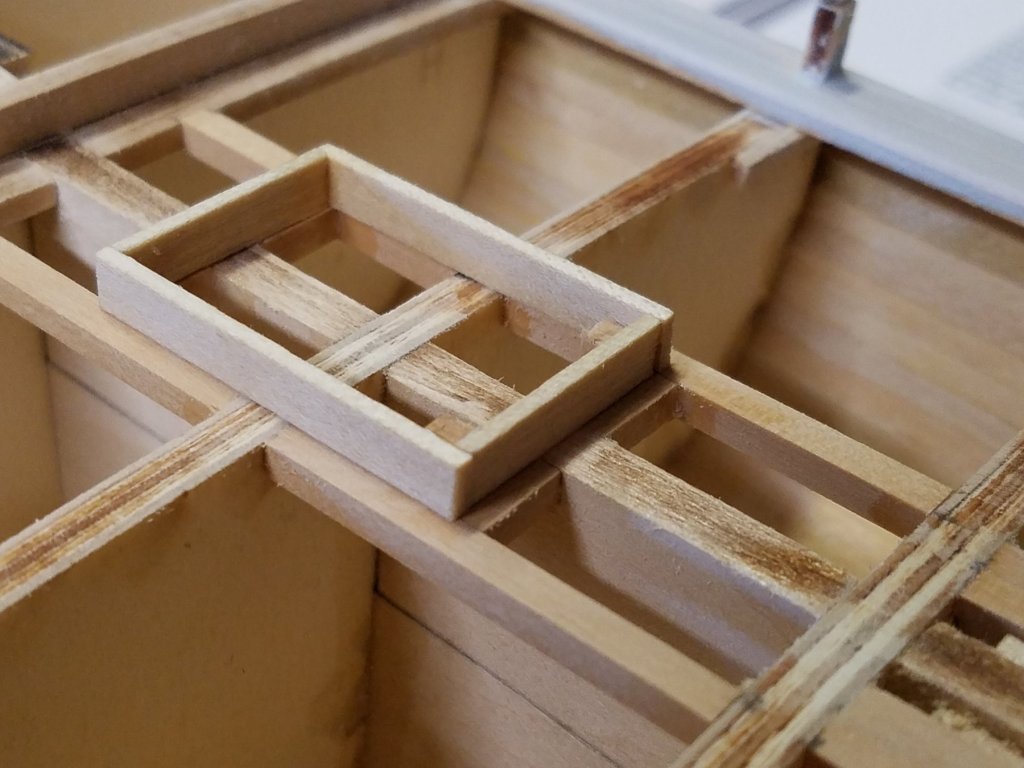
The skylight under construction.
-
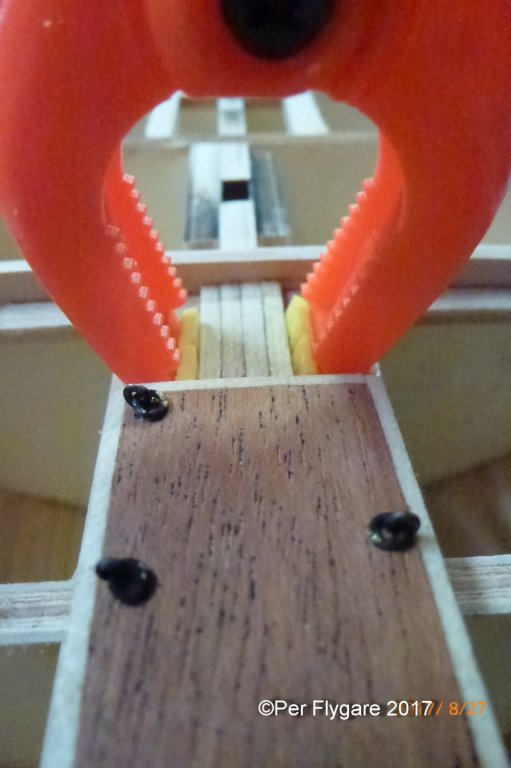
Well, it's amazing what poly-wipe-on does to wood. Something that is important is to raise all the structure by 1/16 the same as the deckplanking.

-
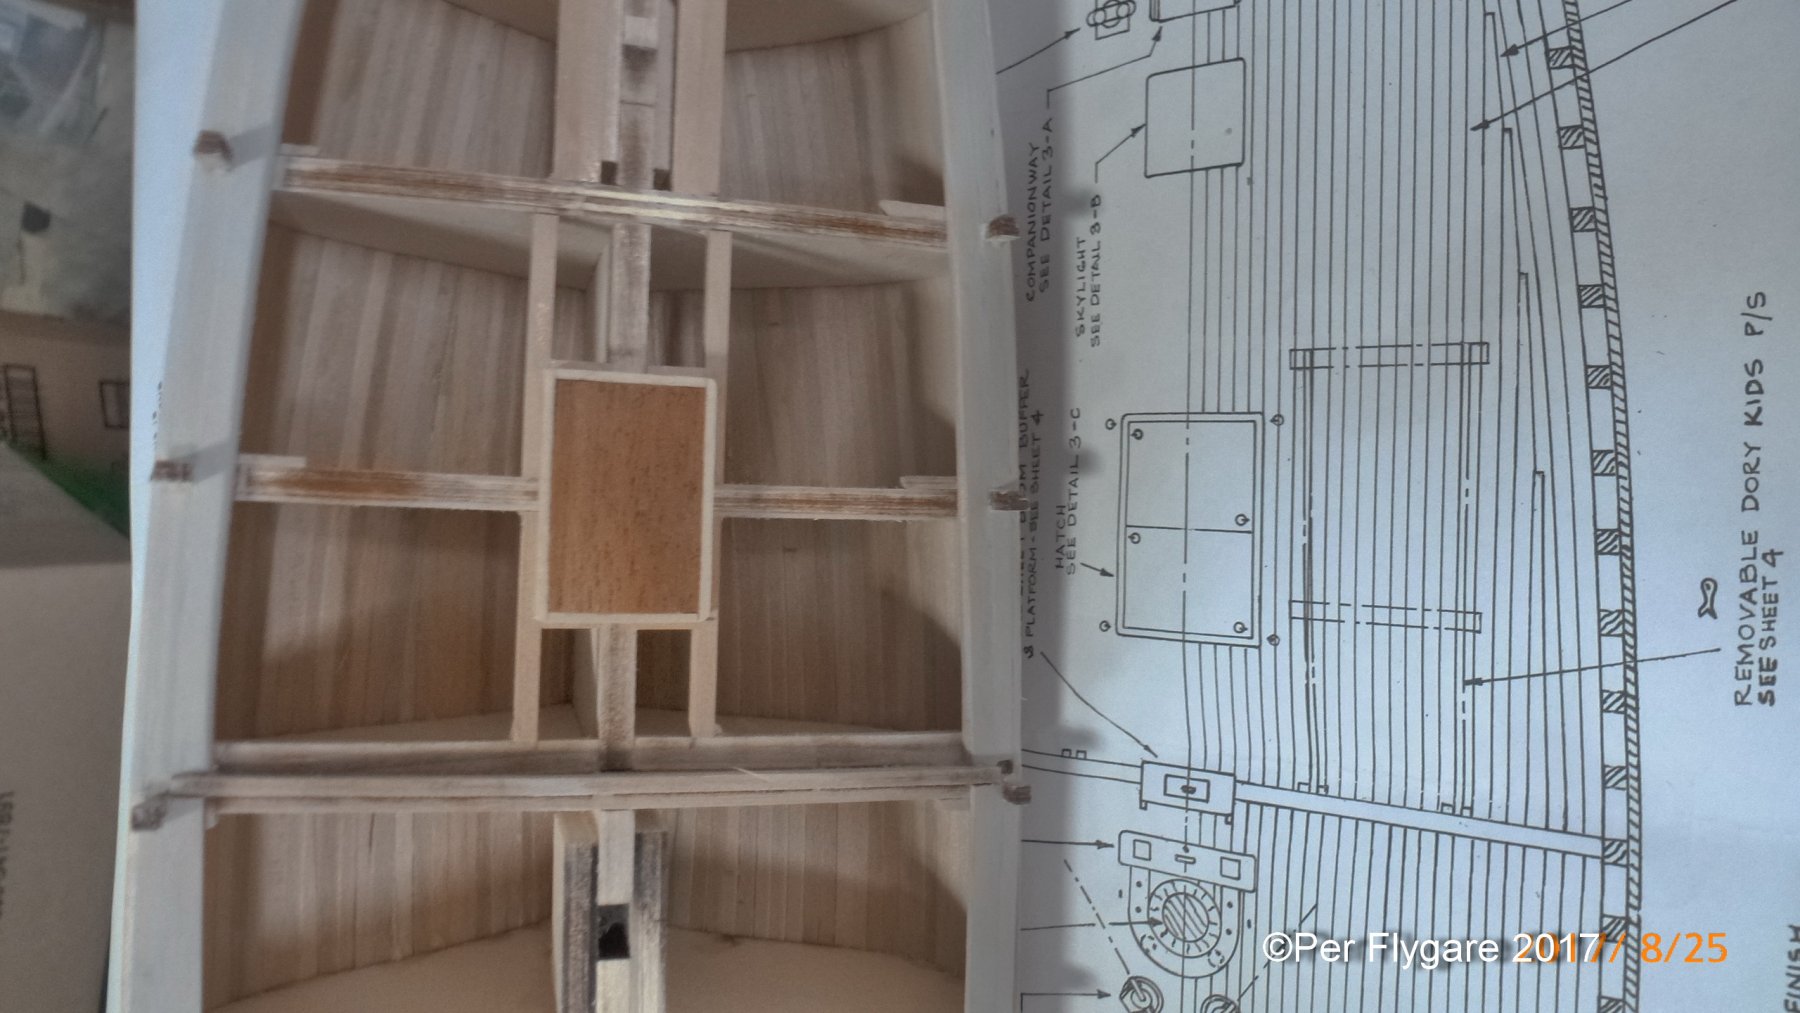
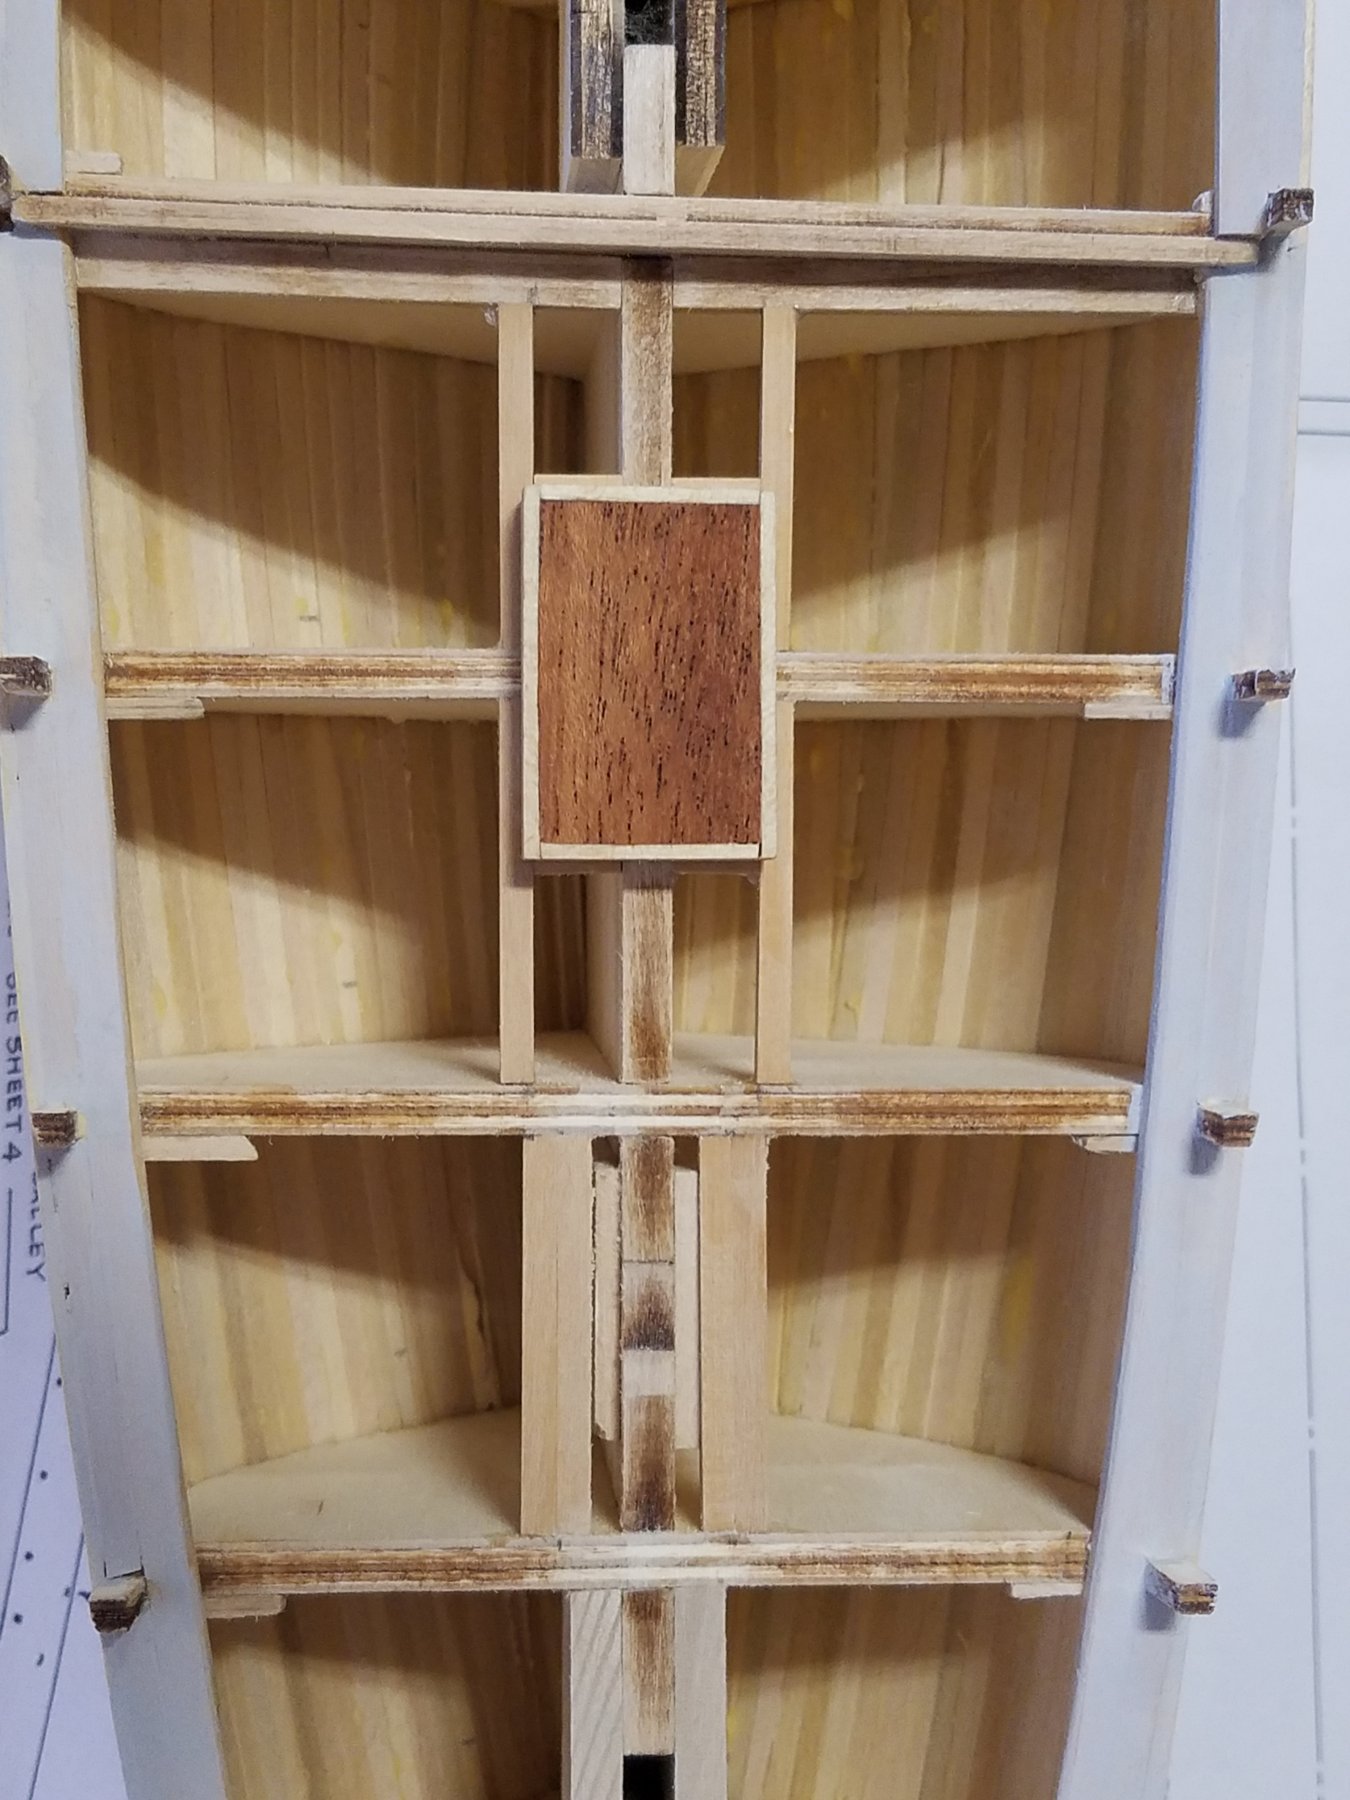
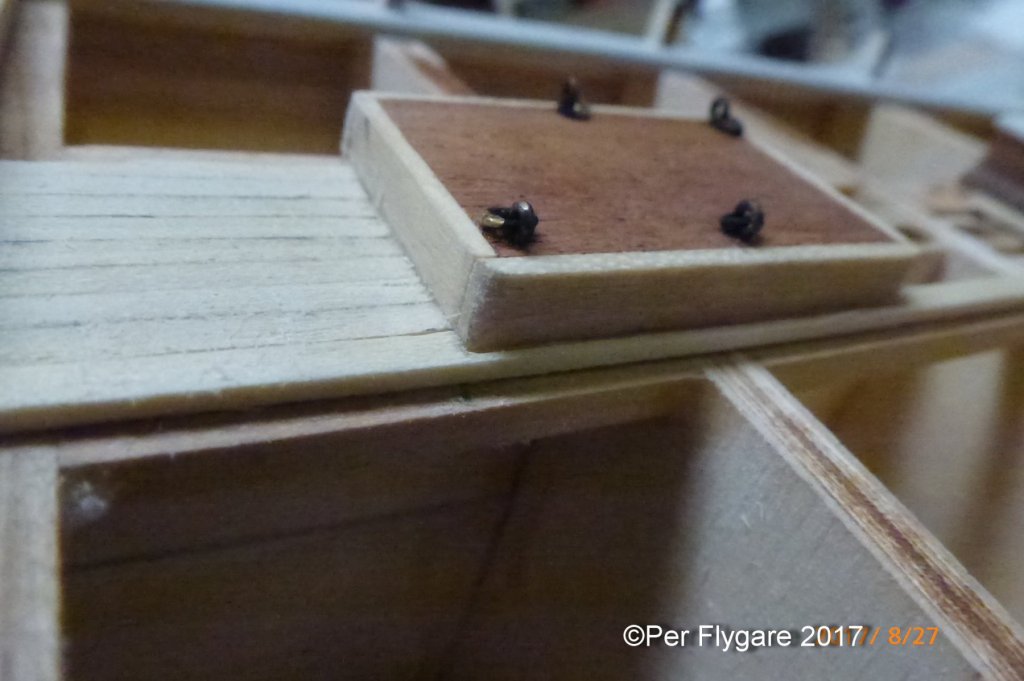
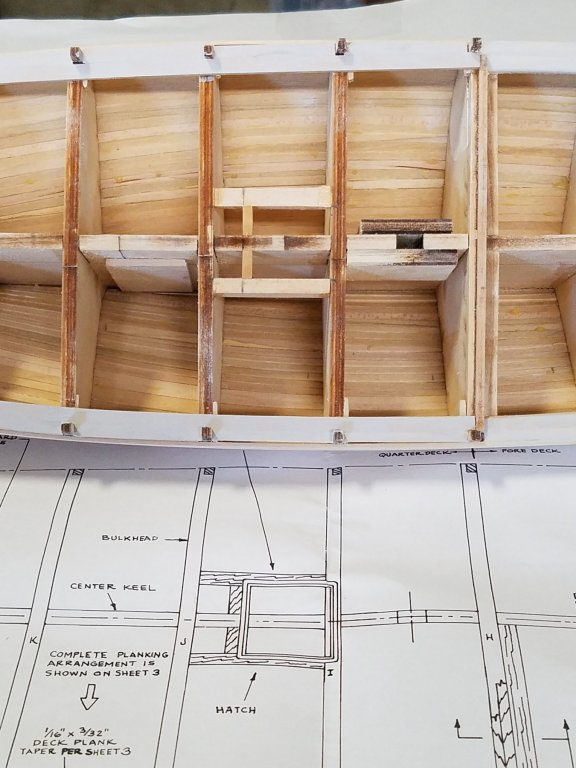
Well, I got the hatch made. In Bob Hunts practicum it's mention that the top is to be umber colored, but since I had mahogany laying around. I used that material instead, turned out nice in my opinion.

-
Just another angle.
-
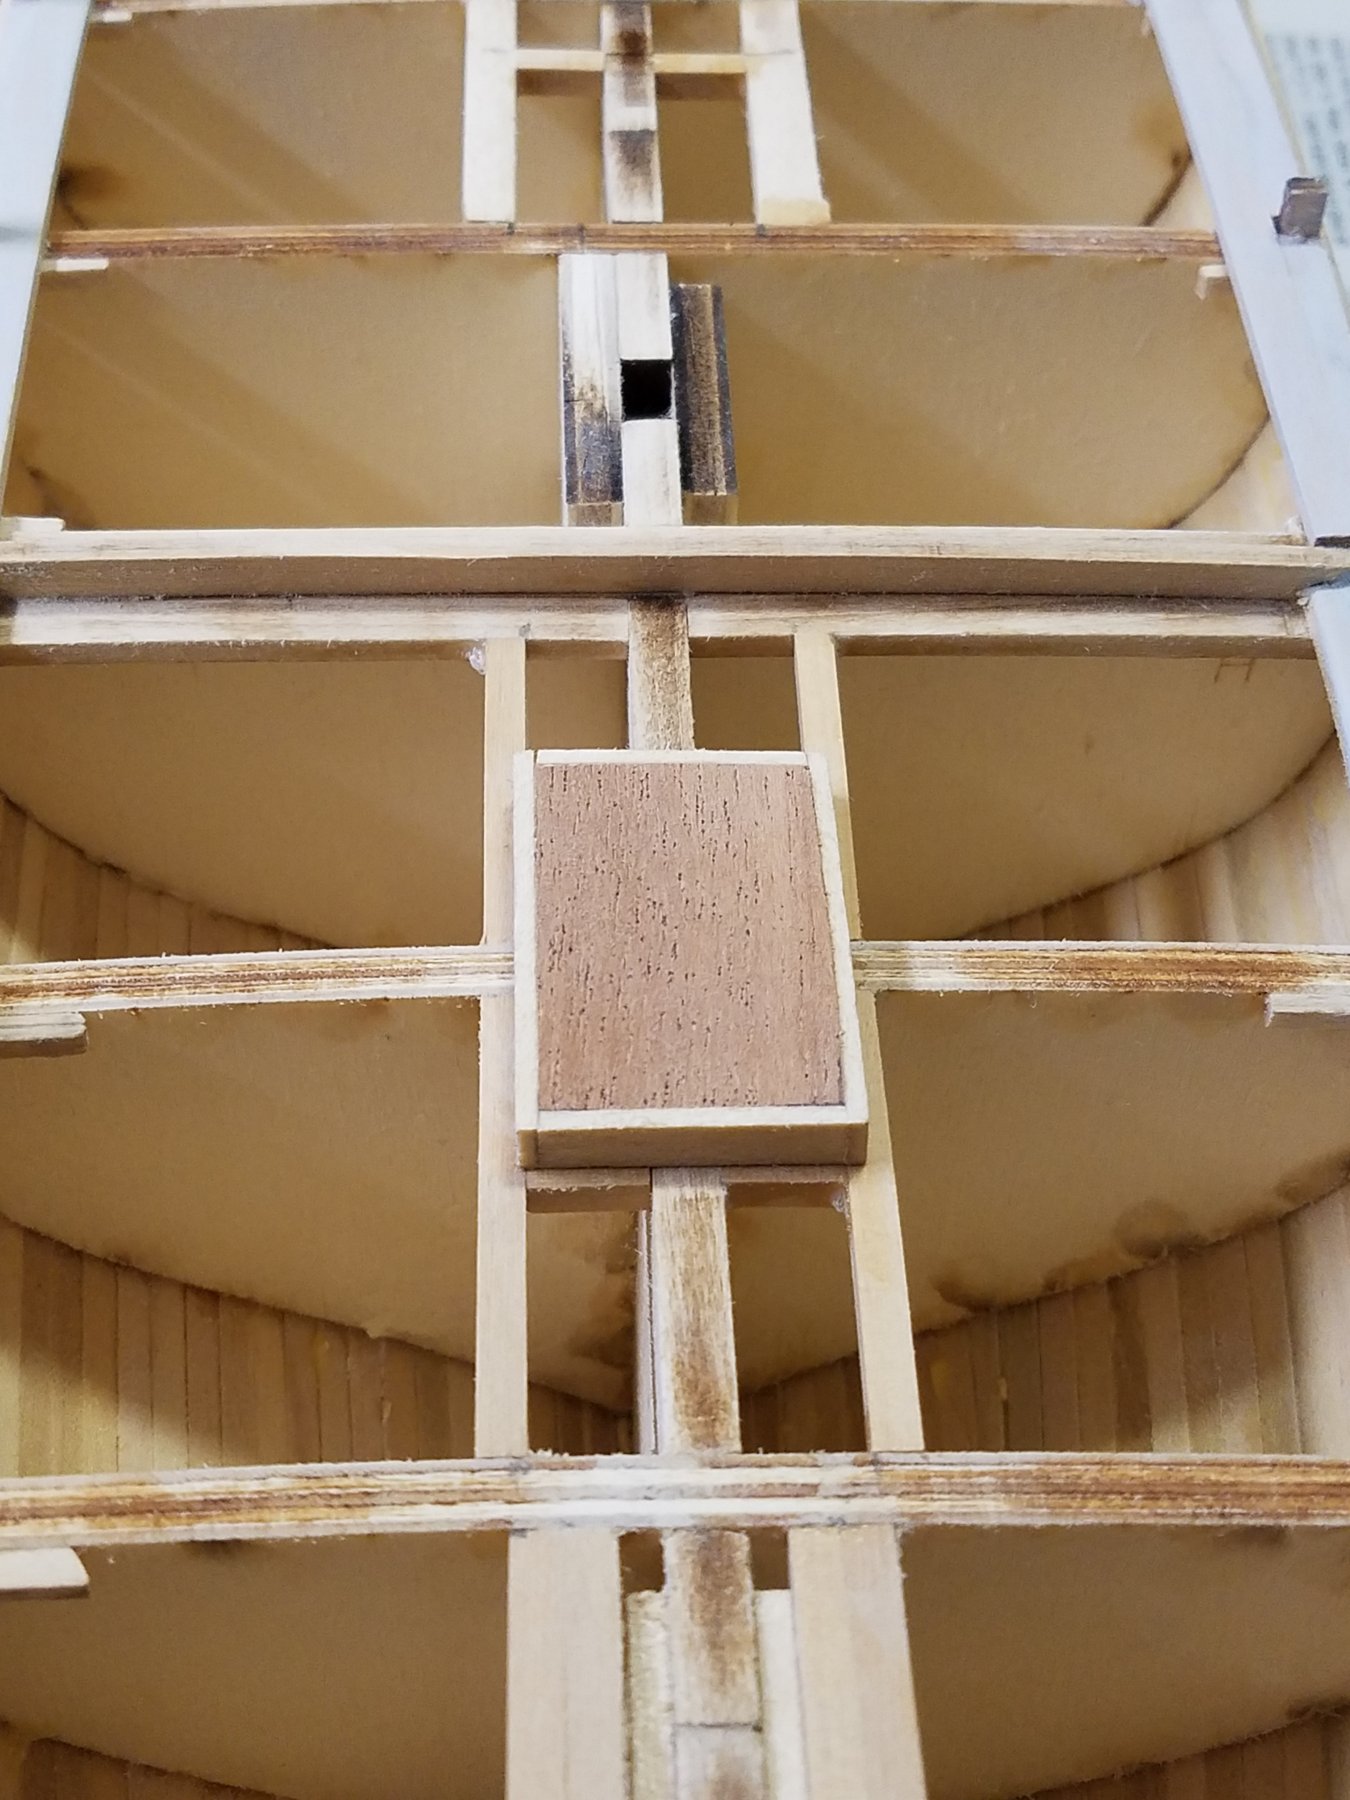
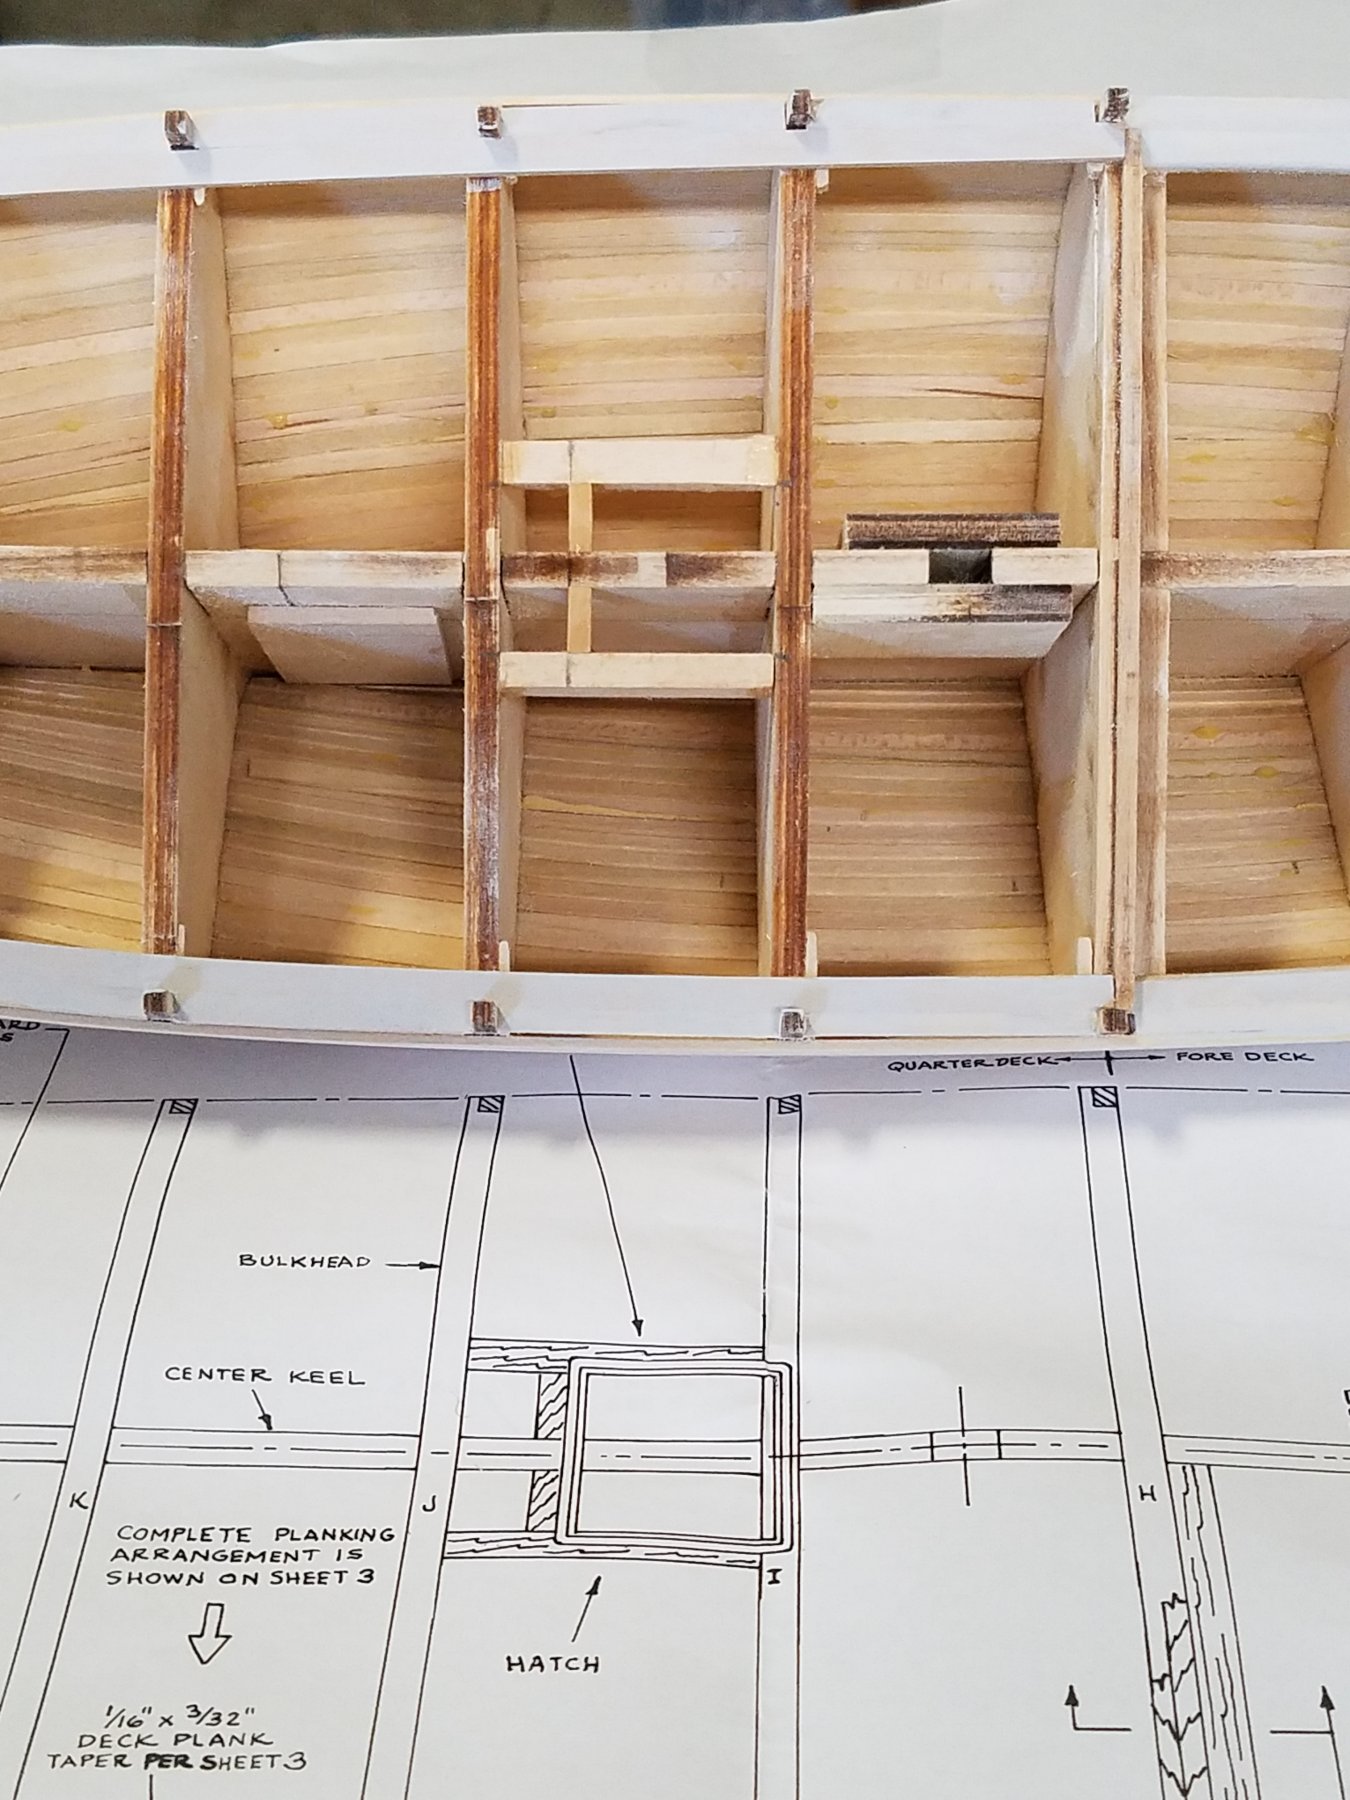
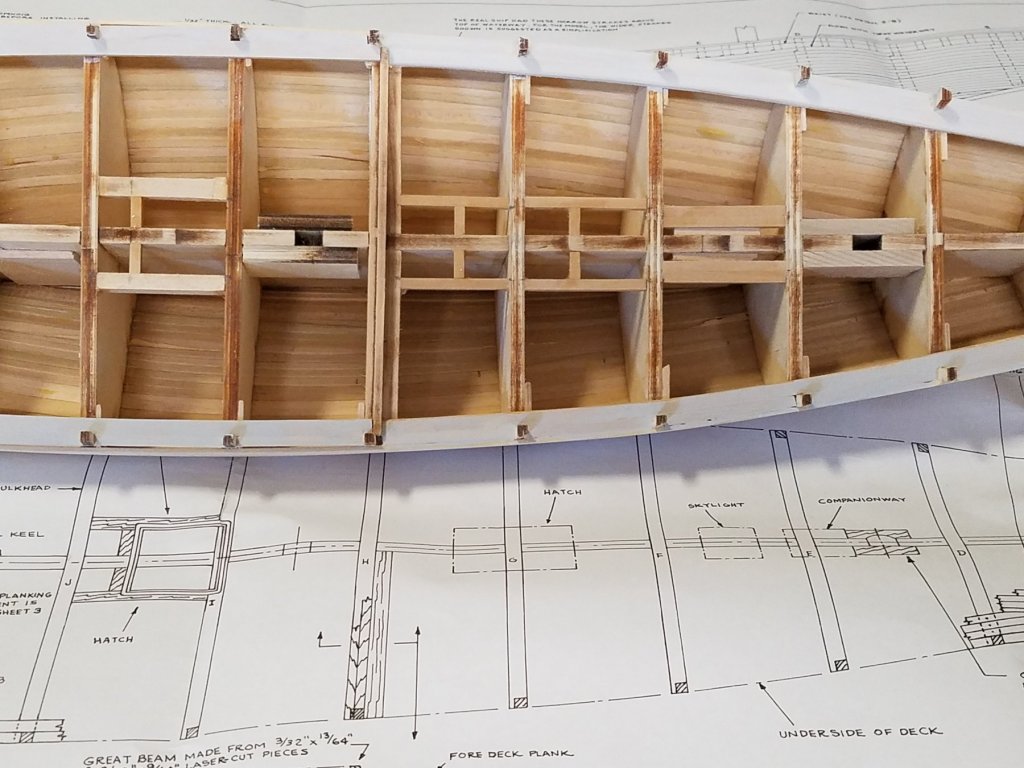
So the hatch is being constructed, the framing support are spot on for hatch and planking. Here is the hatch just put (not glued) in place. Hopefully my planking will be as good so I won't have any gaps around the structures.
-
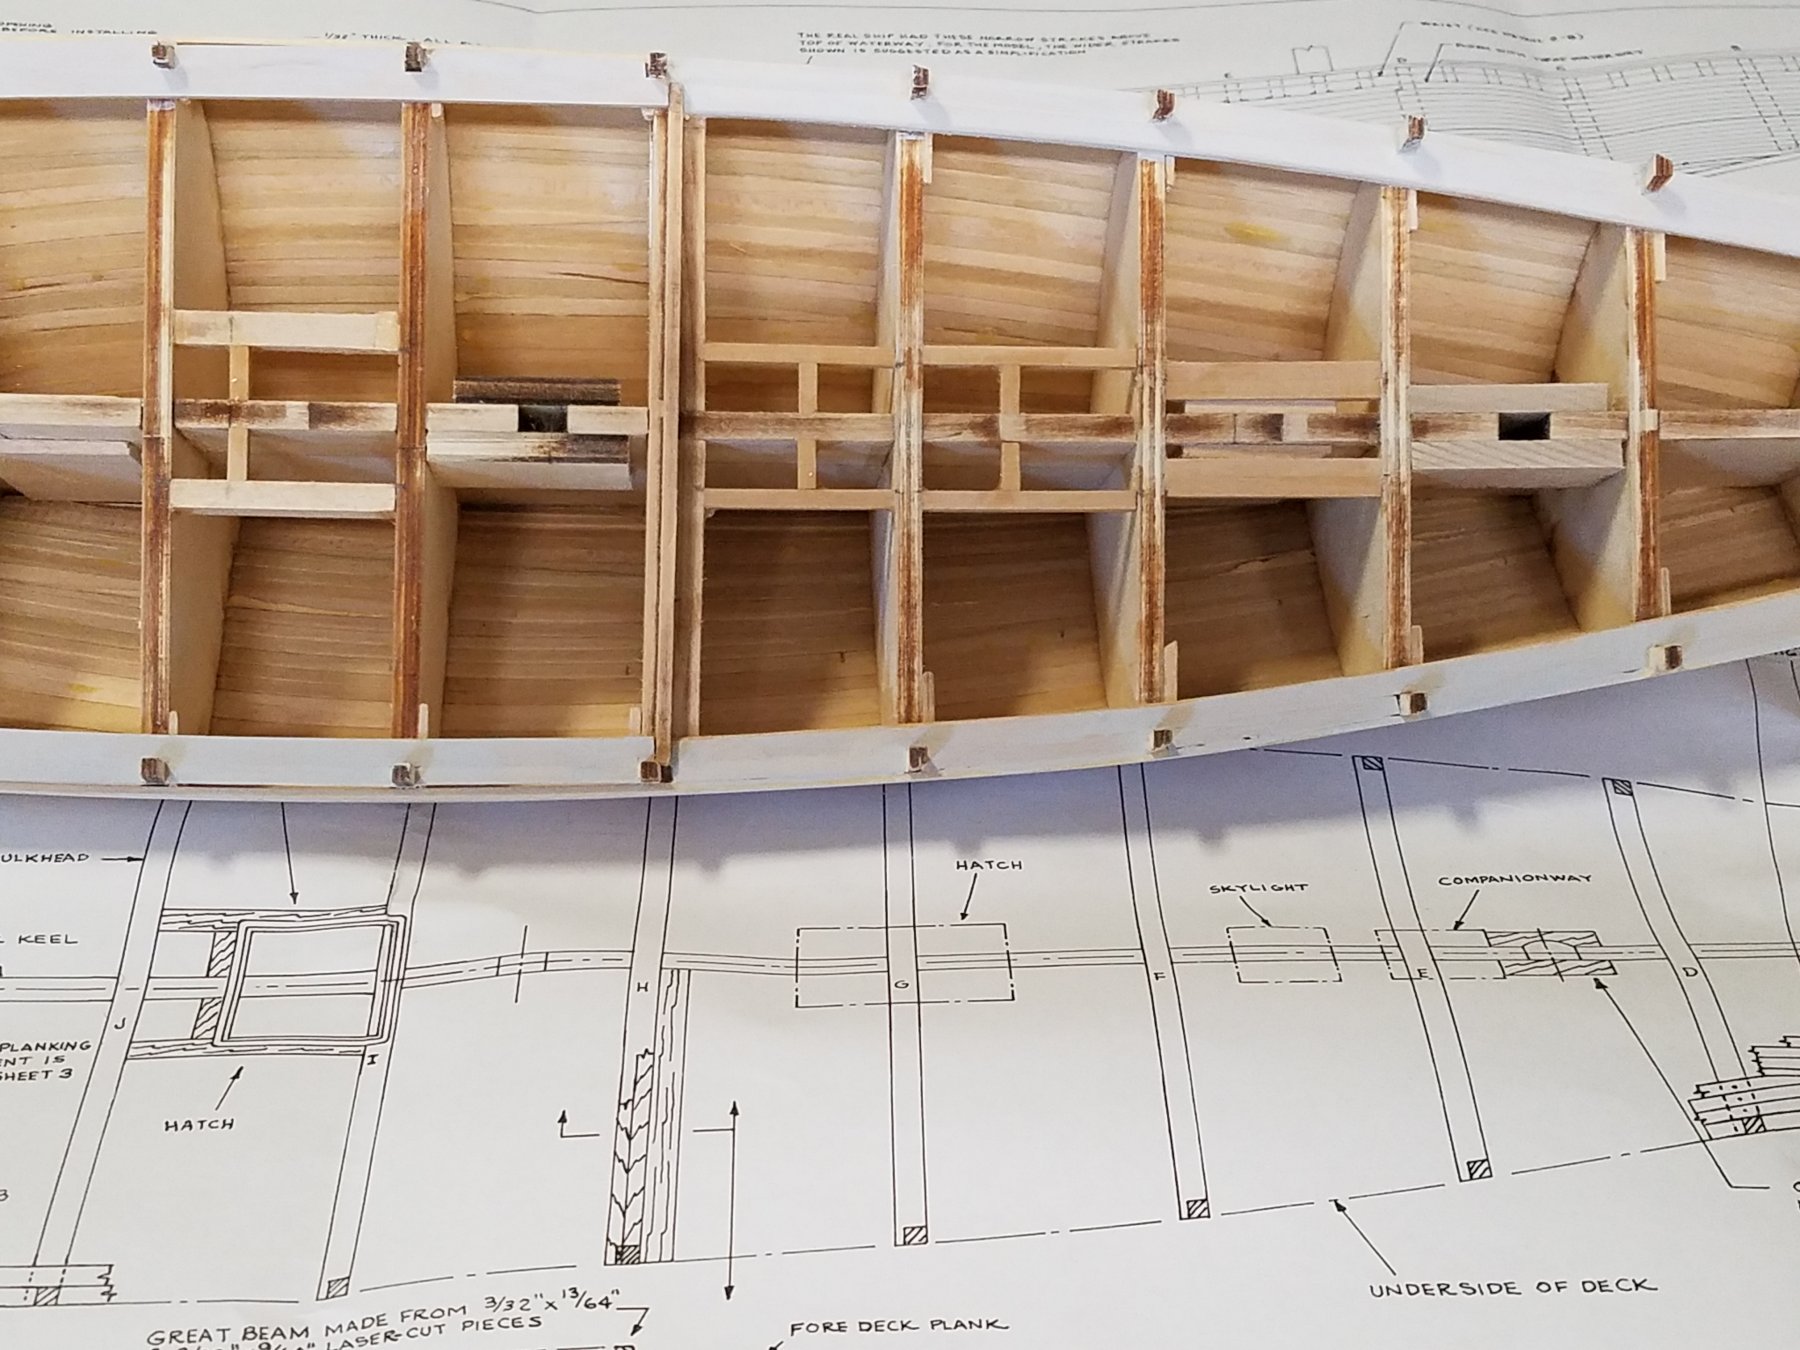
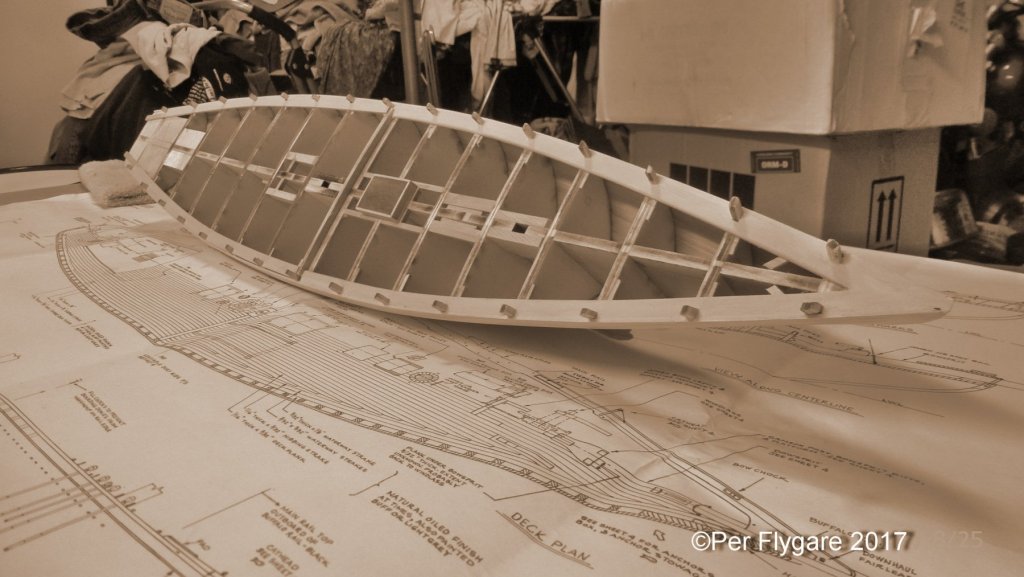
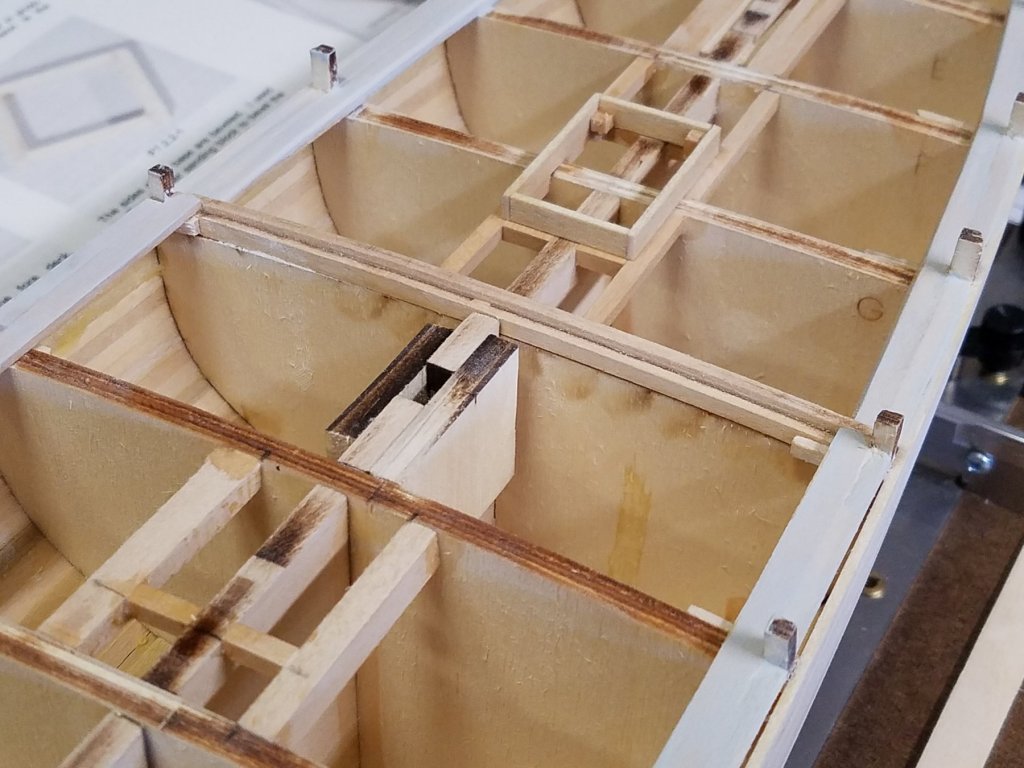
More framing in place, getting time to start working the superstructure. This as they are needed prior decking.
-
So I thought going the more challenging way, by creating framing support for the coamings and deck structure. This means I have to jump in between chapters.
-
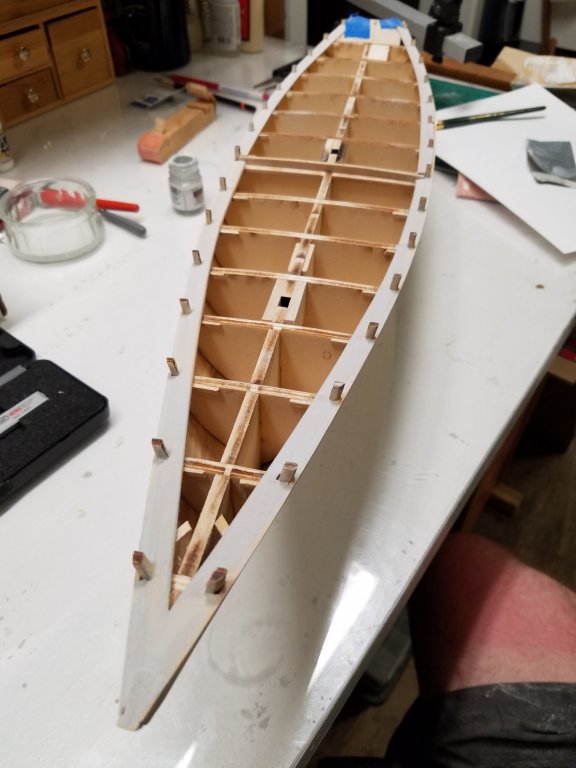
Got a baby smooth hull, I am really happy. Since I have the waterways fully exposed, I decided to give them a first layer of buff/light grey.
-
Sure it was, sadly to mention.