Nirvana
-
Posts
5,452 -
Joined
-
Last visited
Content Type
Profiles
Forums
Gallery
Events
Everything posted by Nirvana
-
 Elijah, Thank you for your thought, I appreciate all inputs. I didn't know whether to go a zig-zag or straight line. The instructions nor the practicum of Bobs didn't say which way to go. However going straight was easier. Besides it all will be painted, so it won't matter. I have had plenty of time today with my lady so this is the progress so far.
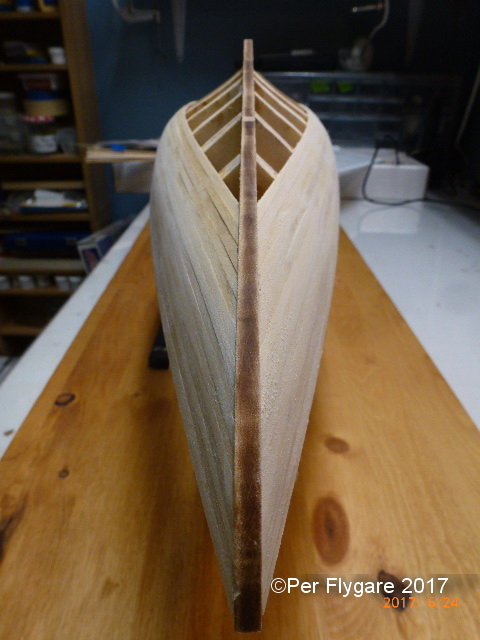
-
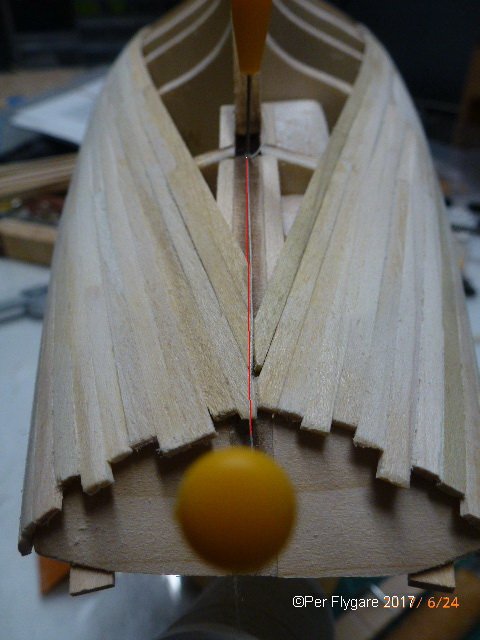
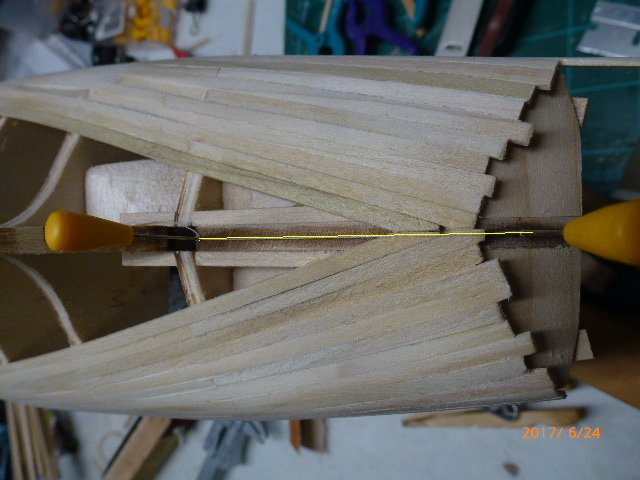
Should had thought of this before, I like the "plumbing line" feature. Now if only I could take pictures that are perfect, so the inserted red line would line up right.
-
Fokker Dr.I by Torbogdan - FINISHED - Model Airways
Nirvana replied to Torbogdan's topic in Non-ship/categorised builds
John, I am following them as well. Besides as you say arch rivals in the sky. I would like to build one of those models, but I think I will stick to my stash of ships. Which are quite a few. Many years of building! -
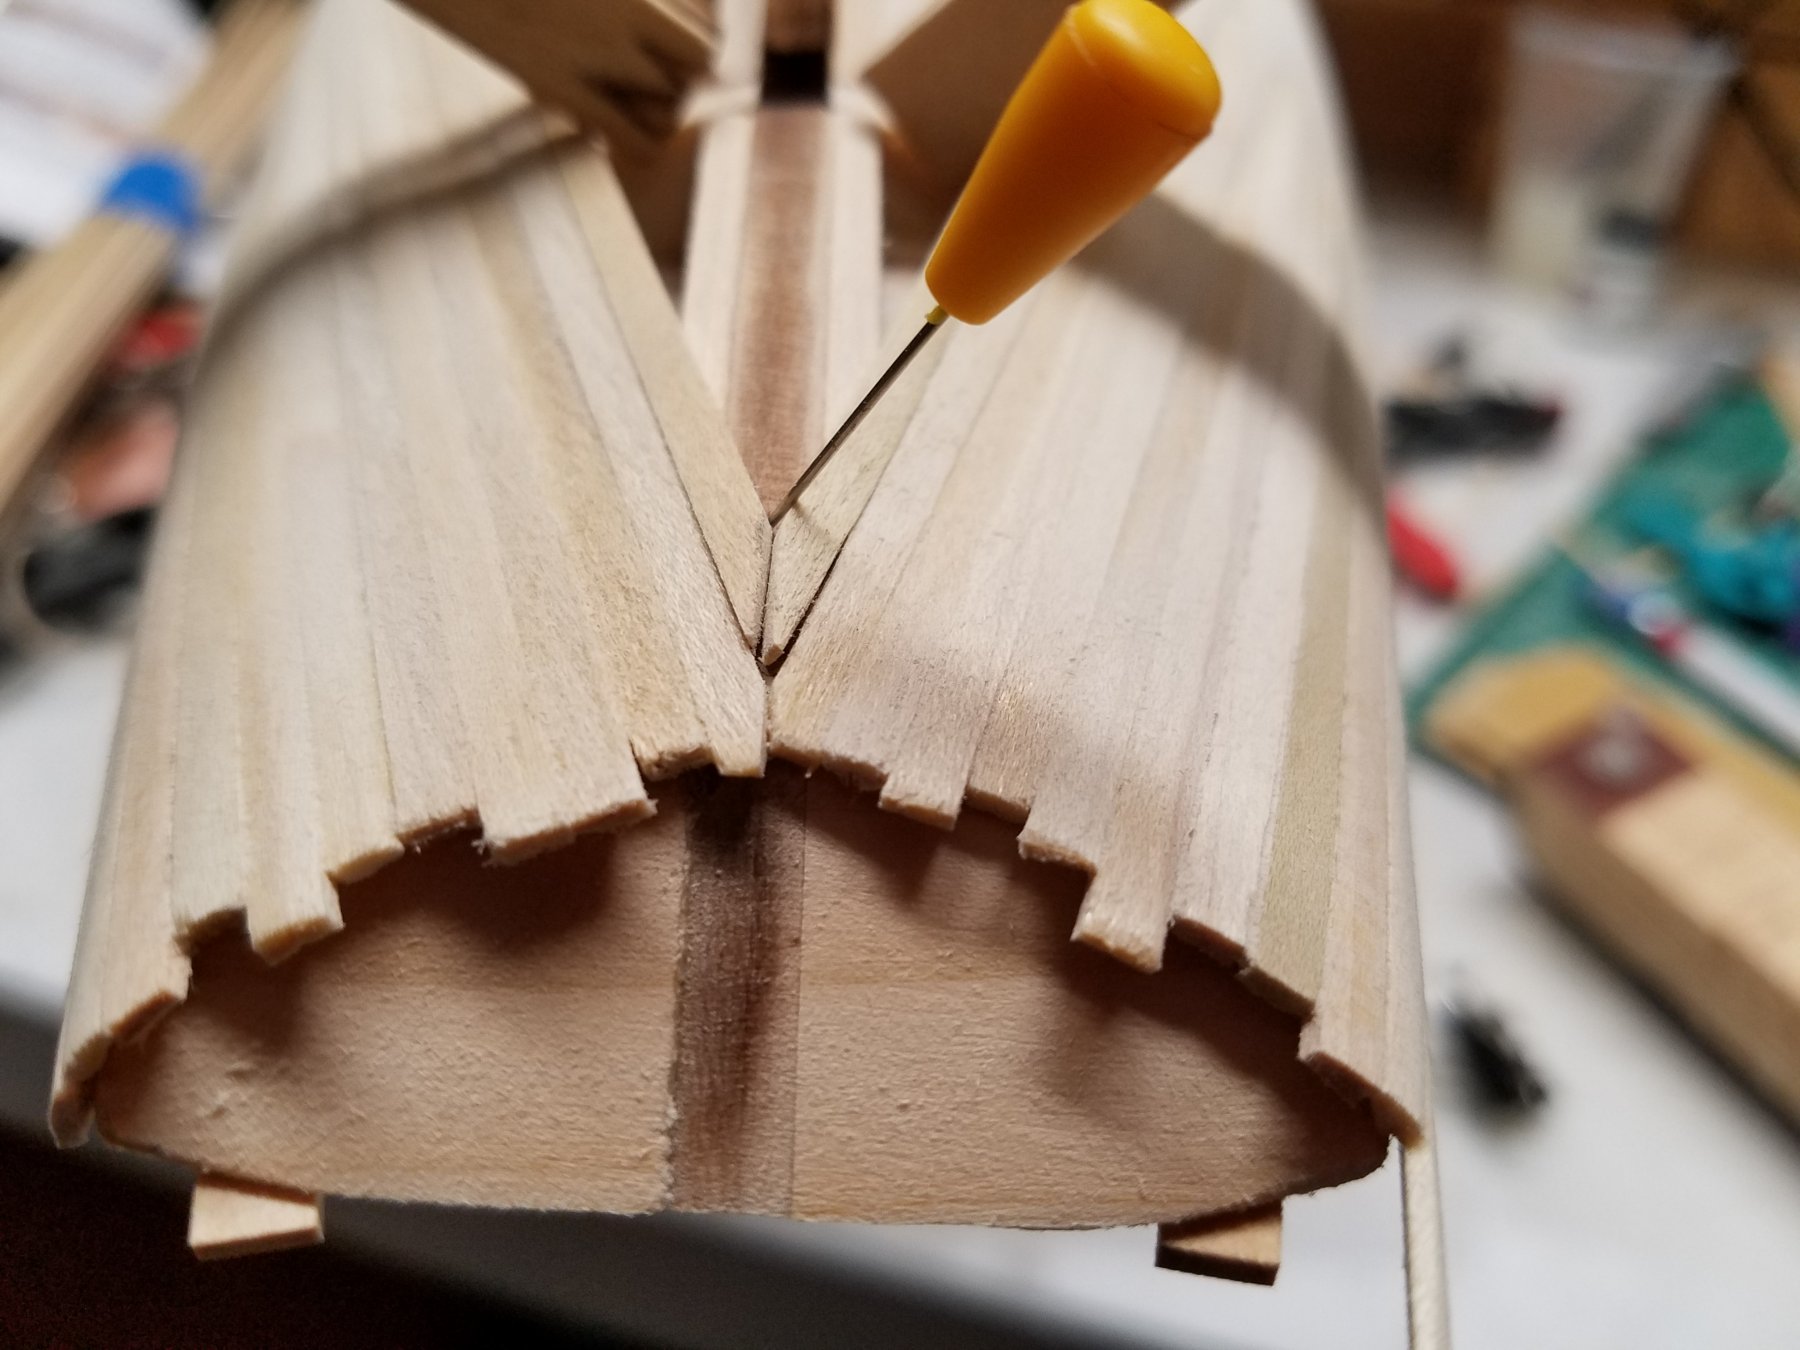
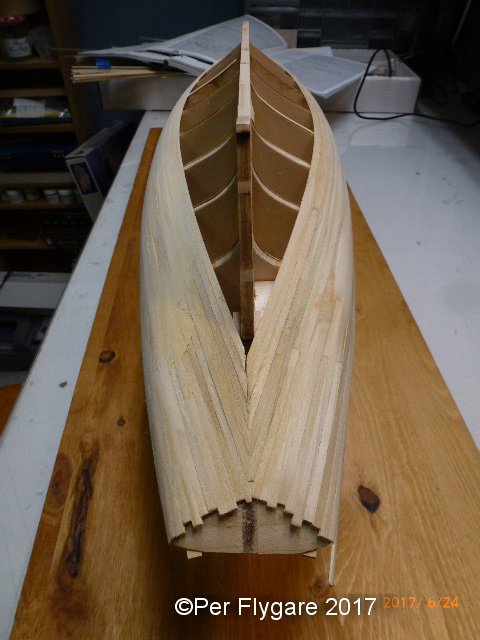
Figuring out how to get the planks meet up centerline I took step backward and thought "wait a minute, this what I am to do has been posted before" Using a fine needle and sewing thread to get my centerline. I should had done this before as I saw how "bad off line" I was with the planking. Well, building is a learning experience and one will improve and get better by it. Hopefully I can recover and get the remaining planks more center butted.
-
Fokker Dr.I by Torbogdan - FINISHED - Model Airways
Nirvana replied to Torbogdan's topic in Non-ship/categorised builds
John, I am sorry if I hurt any ones feeling in this matter that wasn't the intention of the input. Some years ago I belonged to a forum that was dedicated to one type of topic , it got infected by peoples side hobbies and the moderator decided that wasn't the idea of the forum. It resulted it was taken off line. Don't take me wrong, I truly enjoy following the builds of airplane. They are extremely exquisite and very well detailed. And you are right, the shore leave is to open for any topic. -
Fokker Dr.I by Torbogdan - FINISHED - Model Airways
Nirvana replied to Torbogdan's topic in Non-ship/categorised builds
Please remember the purpose of this forum, and the reason why we have it. I like airplanes too, but then I will visit the proper forum. -
Bill, Very nice and tight build.........
-
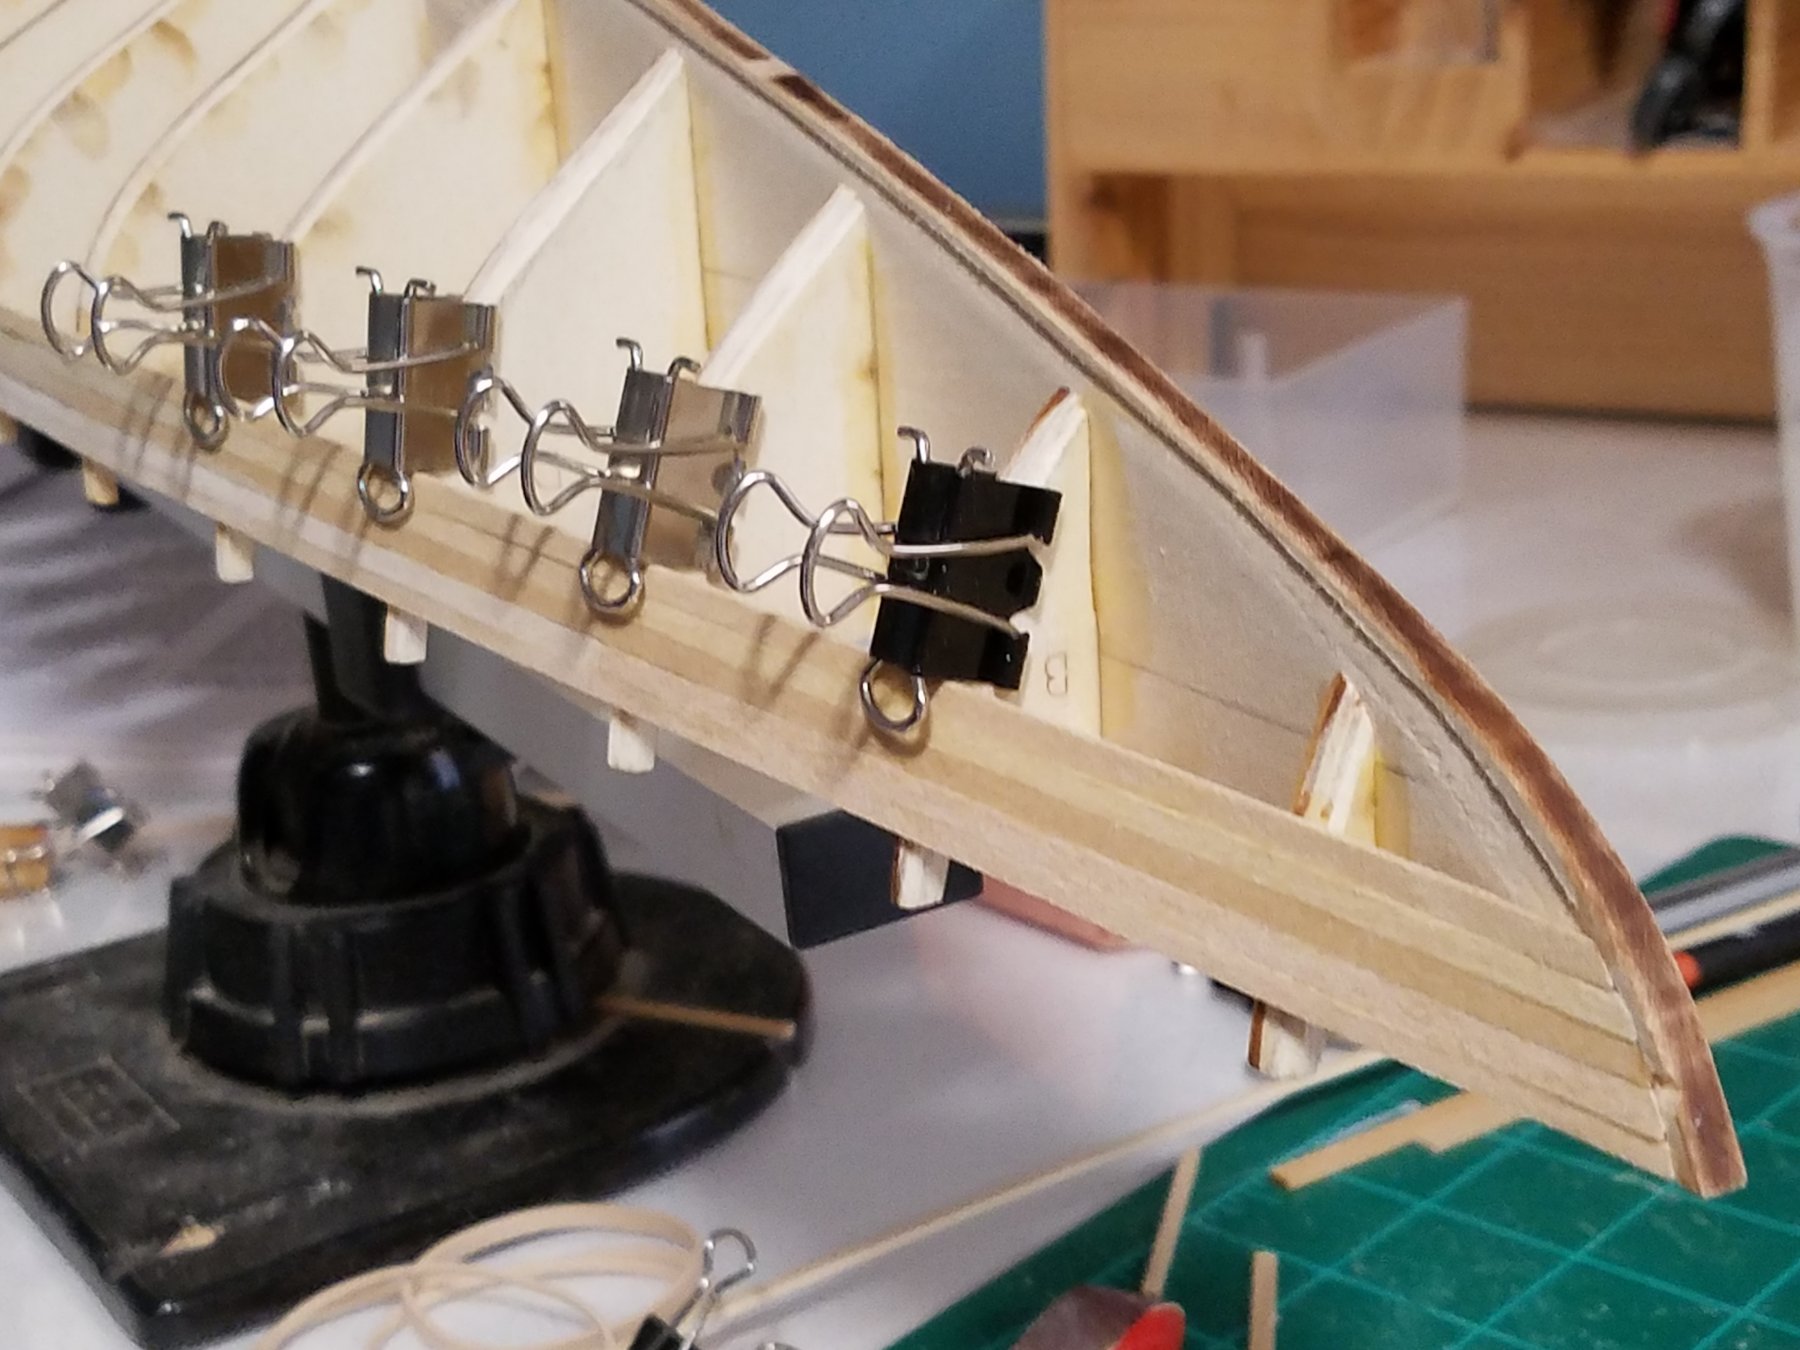
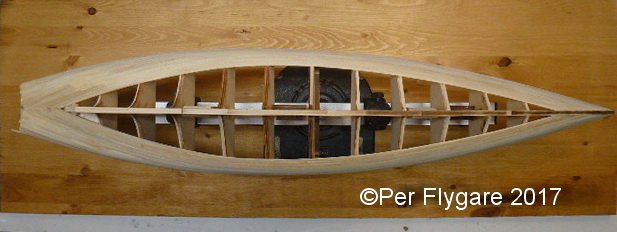
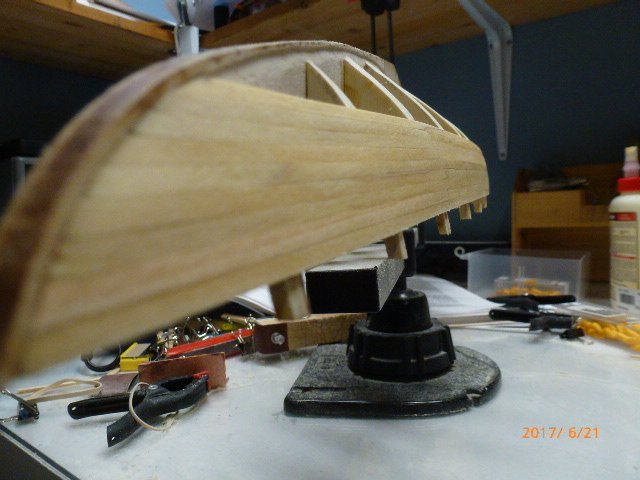
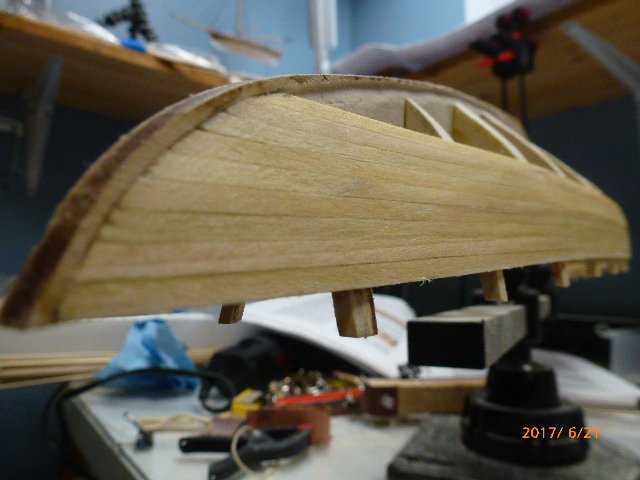
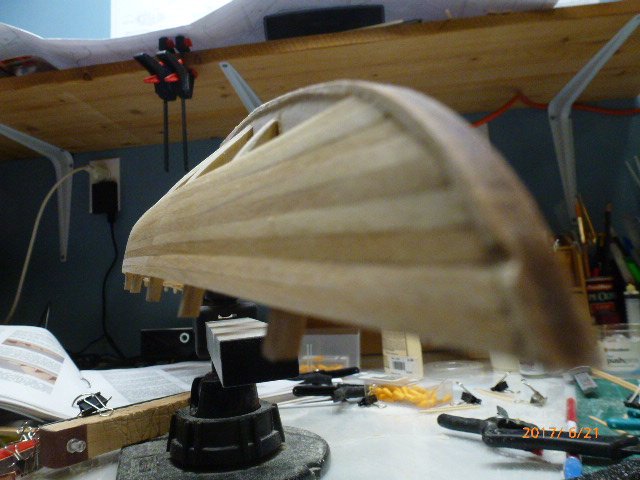
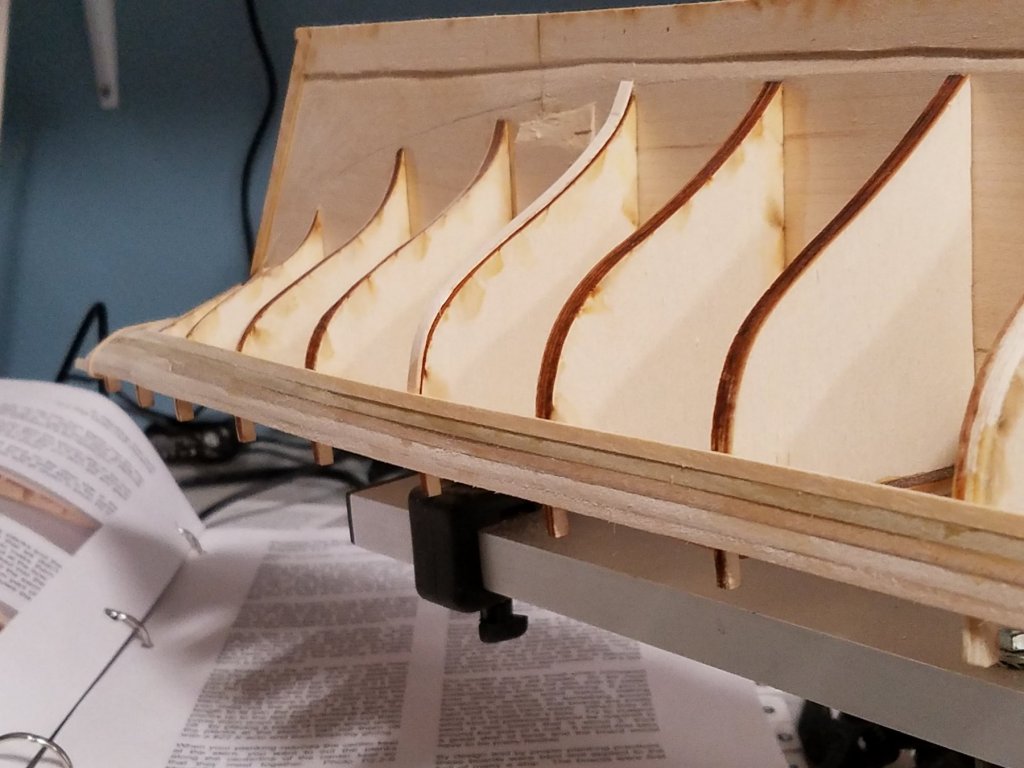
Now I have reached a critical point when it comes to planking of the stern. It's more important to get the planks even. So doing two planks at the same time and making sure they are tapered properly. This is just the beginning, some trimming is necessary for a clean connection and glueing.
-
I truly enjoy planking this lady, using the combination of titebond II and CA works great. Both glues has a short setting time, specially the CA welding the plank to the bulkhead while the Titebond seals up. So far I don't think I haven't made any building error. Planking will continue. I will provide an overall all in focus picture in the next day or two.
-
Had time this morning for another plank to be attached. Current score, which puts Port in lead is 5 to 4 (referring the number of planks attached.)

-
Planking is on the way. The provided material is not long enough, which is stated in practicum and instruction manual. There-fore we have to use another strip to create the remaining length of the strake. Instead of using a straight cut of the plank where the bulkhead is located I chamfered the connecting planks for more contact surface. After sanding it's hard to tell where the joint is located.
-
Popeye, The instructions and plans are referring to use two strakes 3/32" x 3/32", so when I looked at the real Bluenose (II) they only had one plank but wide, so that is what I went with. Further pictures will show the difference. The single plank has the measurement 6/32" x 3/32". I understand this can be confusing of what I am trying to show and explain.
-
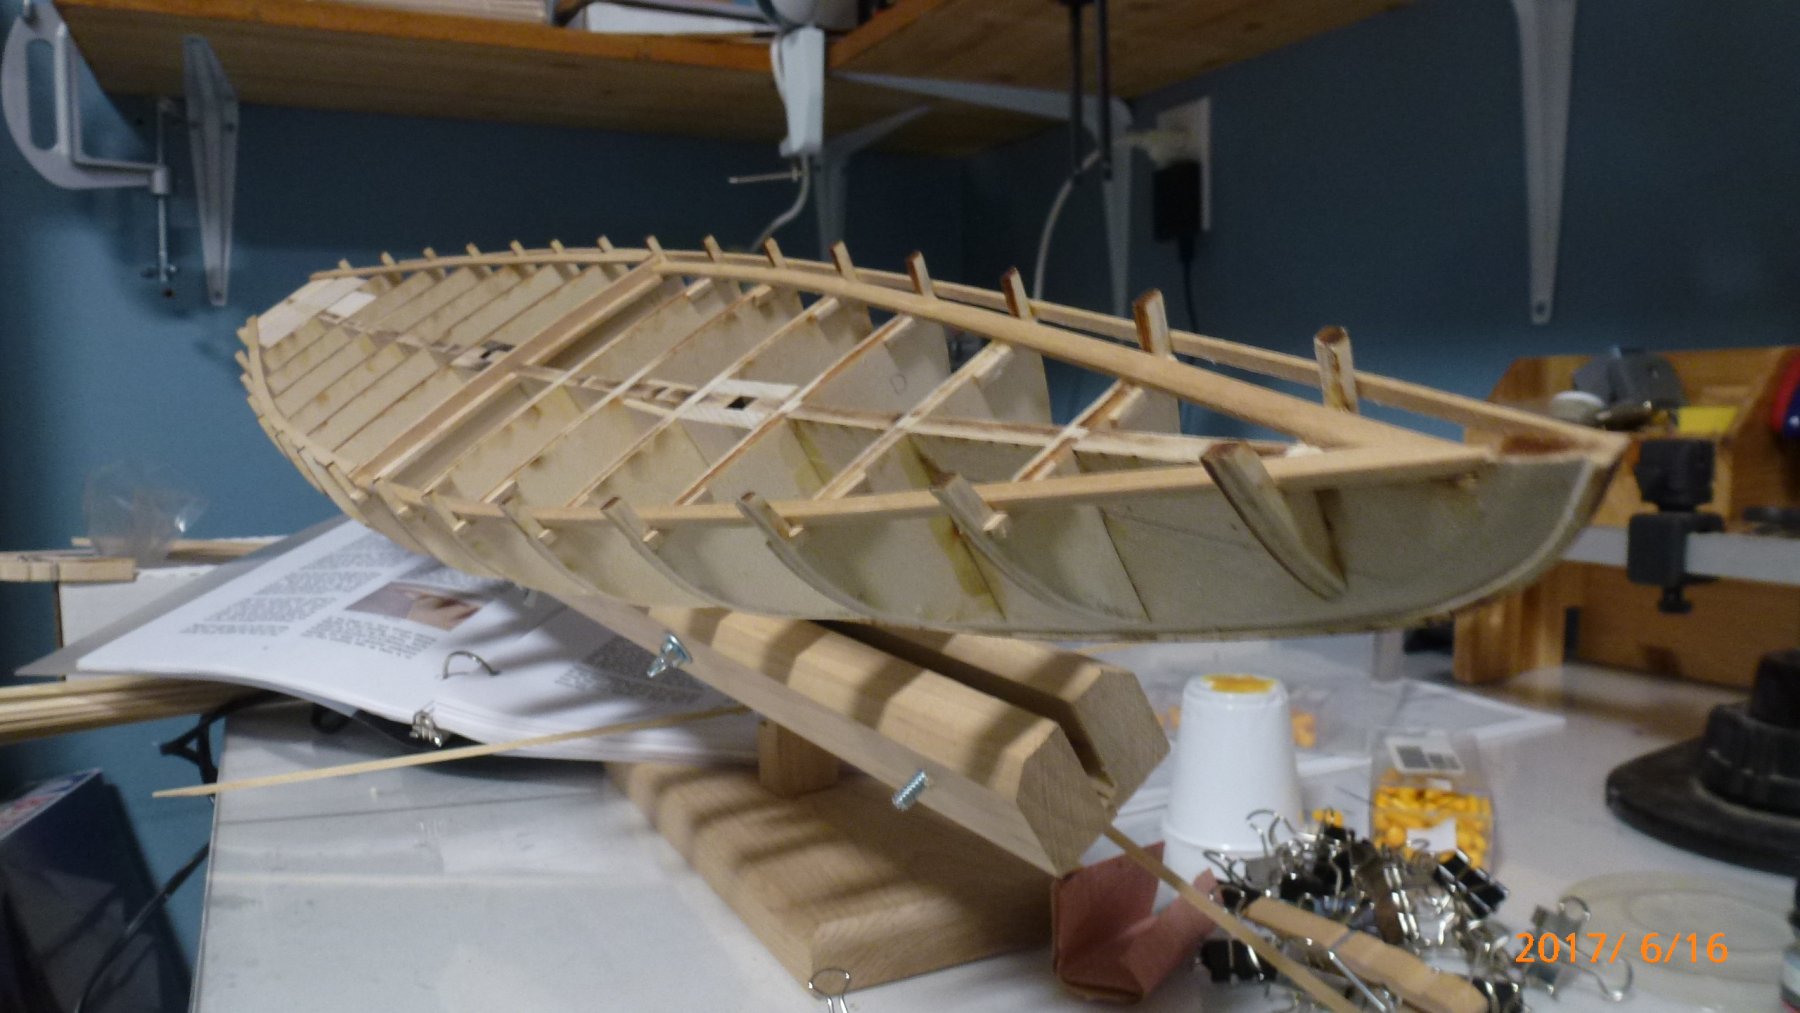
Waterways installed, this time they are wider single plank just like the original. It took some effort to get it right but I am pleased with the outcome.

-
Greetings, from Seattle Washington
Nirvana replied to Estoy_Listo's topic in New member Introductions
Mark, Now I truly can say , I am also part of a modelclub in Seattle, well put it Northern Seattle but still. We are meeting once a month, I am more than happy to help you connect with our president. As for the sloup, I don't think you would have any issues with that kit. We all beginners is various stages, and no question will be left unanswered. A song popped into my mind, an old disco song "We are family" Text has been altered. We are family I got all my siblings with me ( I had to change the text here, from sisters to siblings as we are a group both of women and men) We are family Get up everybody and build We are family I got all my siblings with me We are family Get up everybody and build Everyone can see we're together As we build our ships (And!) and we glue the stick together I won't tell no lie (All!) all of the people around us they say They are building ships -
Kenny, I put sandpaper on top of the deck where the gratings were to be placed. Once the gratings was made, I sanded them on the area of sandpaper and had perfect deck matched gratings. I also made the Constructo version. Looking forward seeing more of this build.
-
Chuck, The models they made back in that time are amazing. Go to any naval or maritime museum and look at models built in early 1800's, the detailing is just so exquisite. I am glad you had a good time, you certainly needed some down time.
- 269 replies
-
- 5
-

-
- Queen Anne Barge
- Syren Ship Model Company
- (and 1 more)
-
Fokker Dr.I by Torbogdan - FINISHED - Model Airways
Nirvana replied to Torbogdan's topic in Non-ship/categorised builds
Ha en trevlig semester! Have a nice vacation, we will all be here once you are back. -
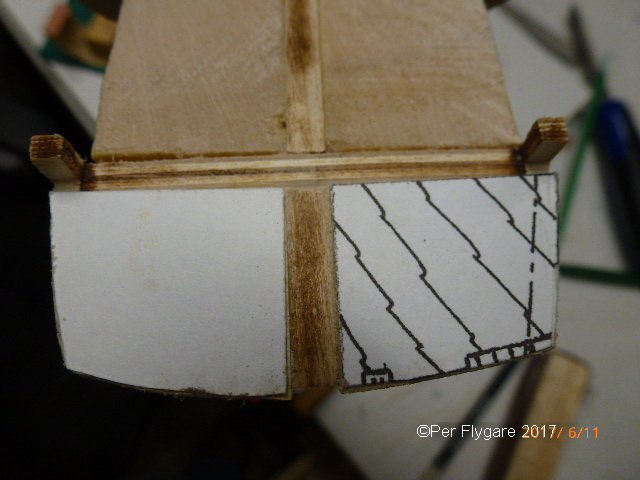
On the top of the blocks I used scanned part from the plans to get the port and starboard shape.
-
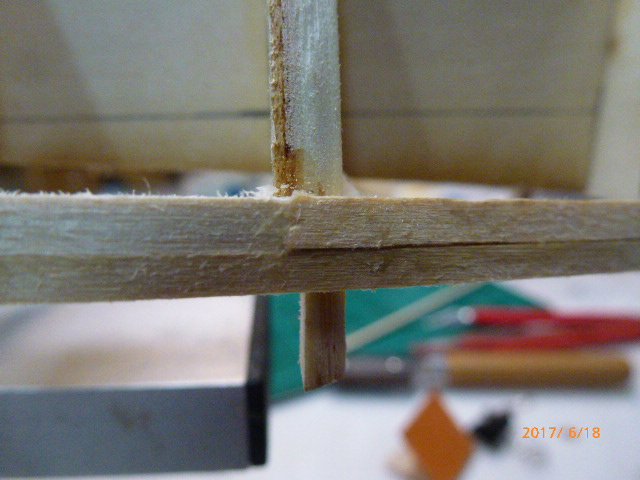
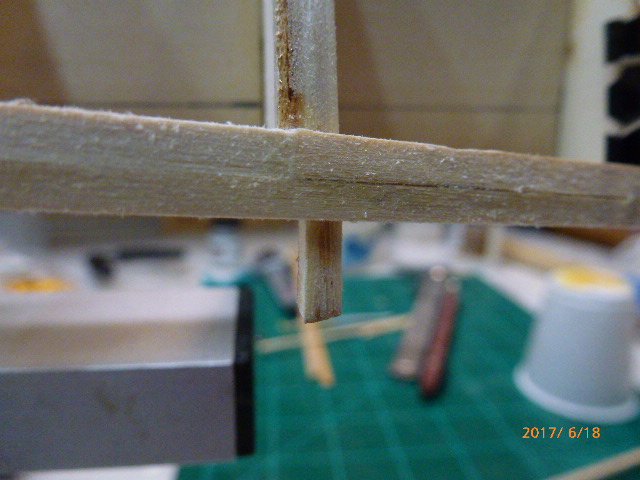
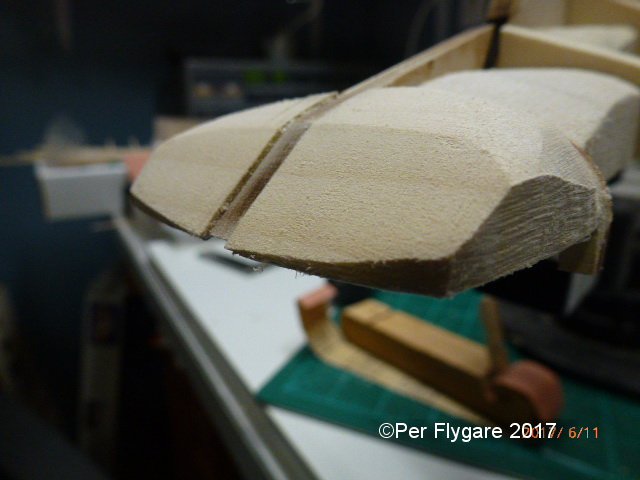
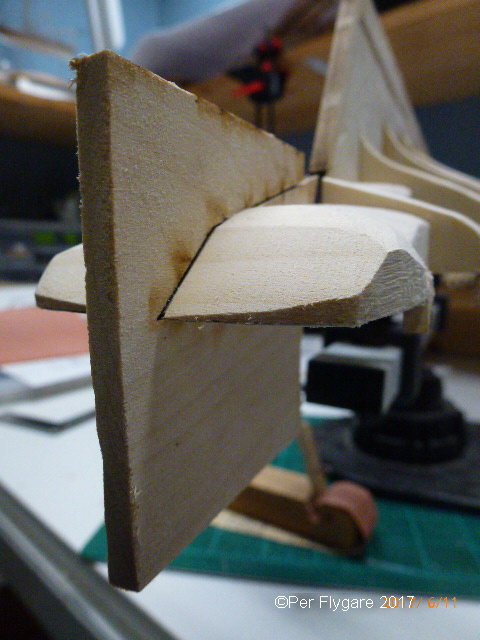
So in order to get the right shape (hopefully) of the stern blocks, I cut out the piece from the plywood sheet that held the false keel part and using it for the shaping. This way I will have some of the axis correct for final shaping.
-
Bob, It has been a long time, did you do any changes to the rigging? I ordered the blocks and rigging lines from Chuck already from the start.
-
My financial adviser wouldn't appreciate the investments over and over again. Besides it was an easy fix with material I already had in stash.
-
Dave, Thanks for the comment. Could it be that the second or third we have thought through the process properly. Instead doing it the way we think it should be like according to the instructions. Once I have the blocks at the stern shaped, the waterways for the aft deck will be attached. I will do it the same way as with the fore deck. As I now have thought this through.
-
New member from North Sydney Australia
Nirvana replied to Fernando E's topic in New member Introductions
Well, since I see another person with very few points whom I like to welcome too. Mark a warm welcome to you too. And start your build log whenever "you are ready"