Nirvana
-
Posts
5,457 -
Joined
-
Last visited
Content Type
Profiles
Forums
Gallery
Events
Everything posted by Nirvana
-
 Mike, I think wooden ratlines is more accurate for this type of vessel. Looks better that way.
 -
Keith, very nice winches. How do make several of them looking the same? Are you using a transferring jig?
-
Stupid question, and I hope there is an answer. But sending a DVD instead of plans, how do you get a correct measurement when needed?
-
Puckotred, Very nice re-thinking of the instructions. The combo of "wood - water - drying " which equal shrink and gaps is something we all can relate to. Like the recovery you did.
- 305 replies
-
- 1
-

-
- deagostini
- vasa
- (and 1 more)
-
SS Mariefred by captainbob - 1:96
Nirvana replied to captainbob's topic in - Build logs for subjects built 1901 - Present Day
Skeppsholmen is an amazing place to wander around. Small cafe's and specially in the spring this area is like an ant stack. There is activities every where. One can spend a whole day and then realizing you have seen just a small part of it all. -
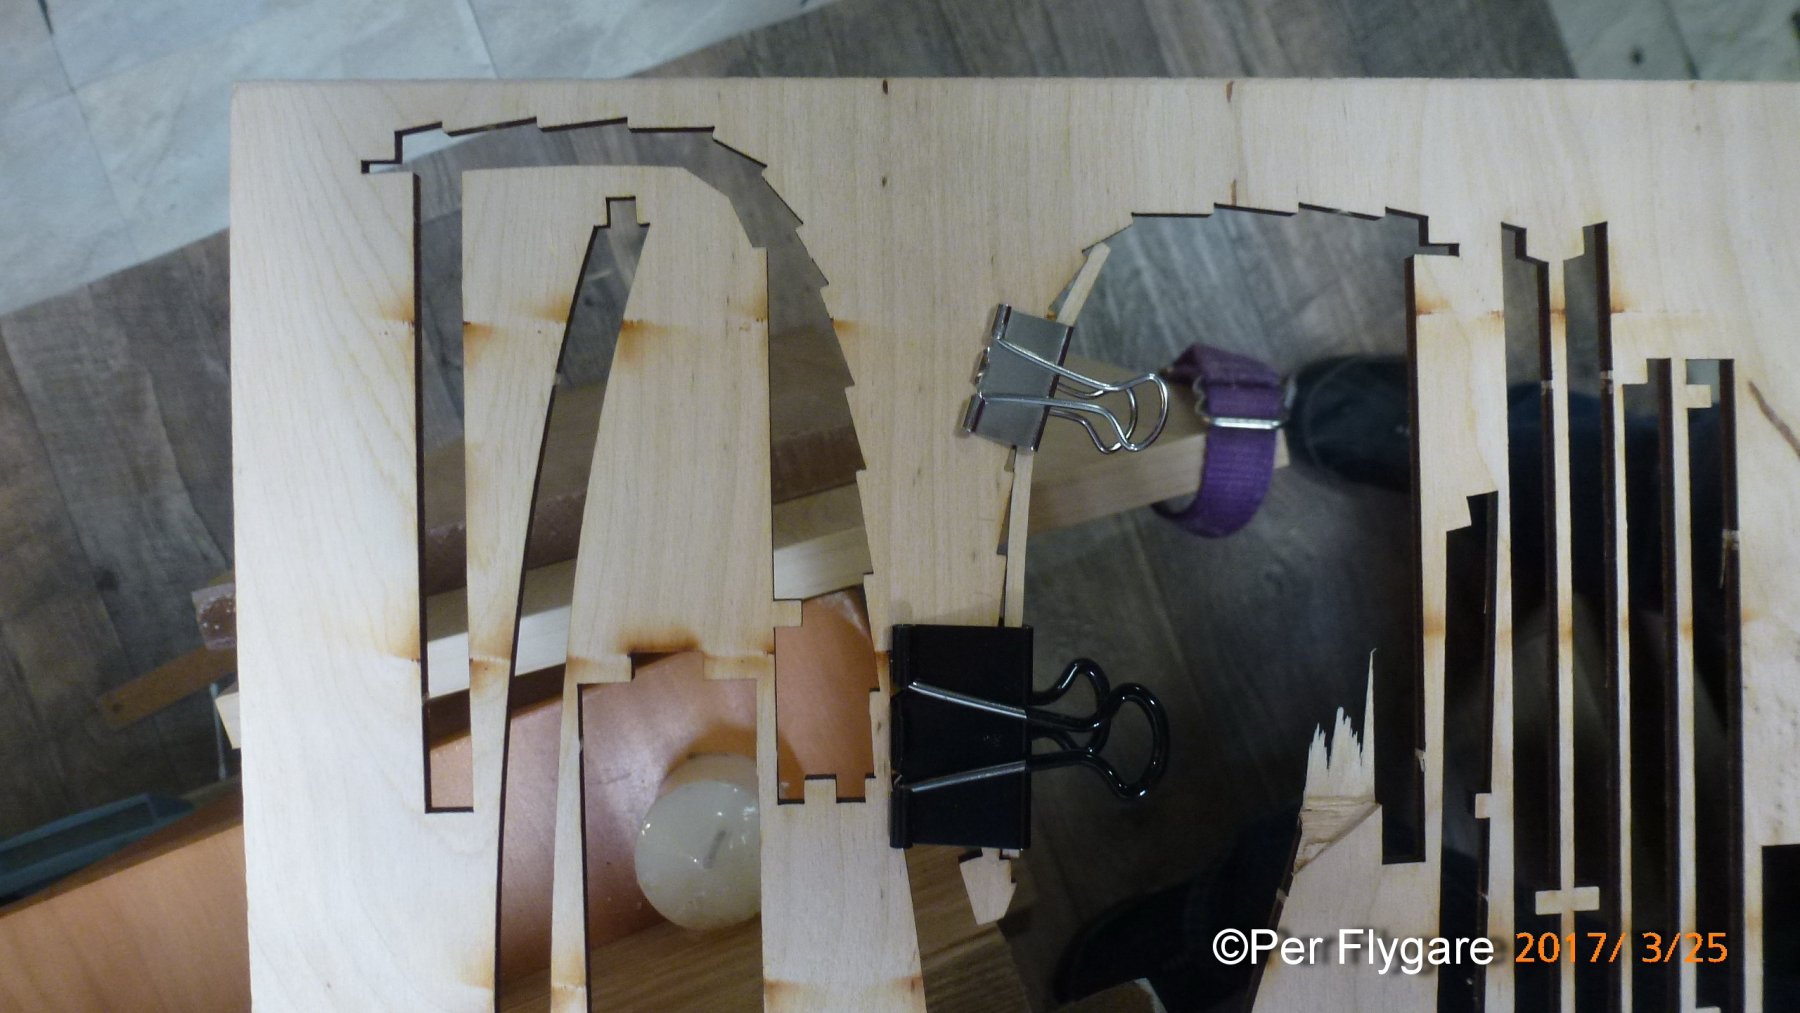
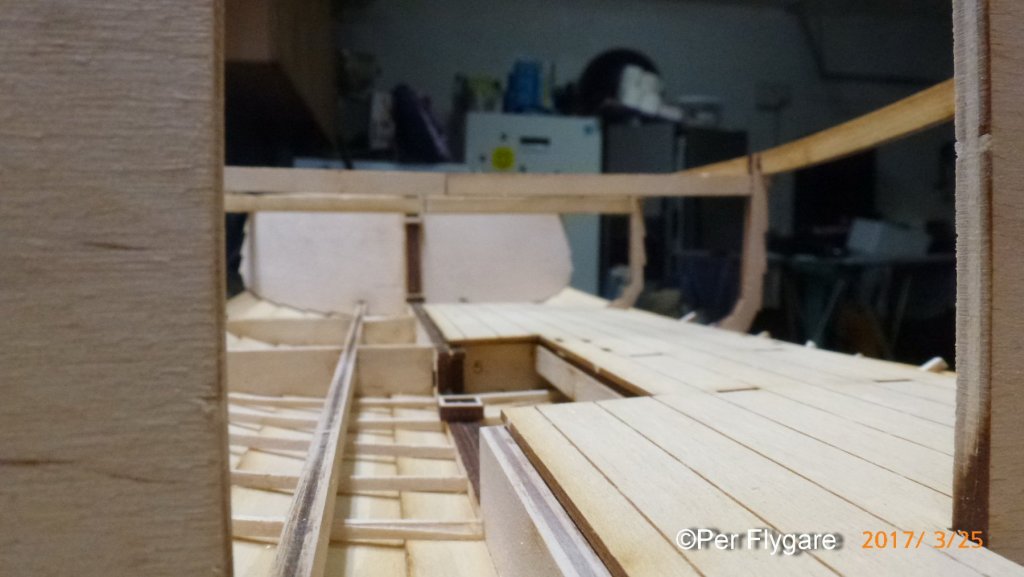
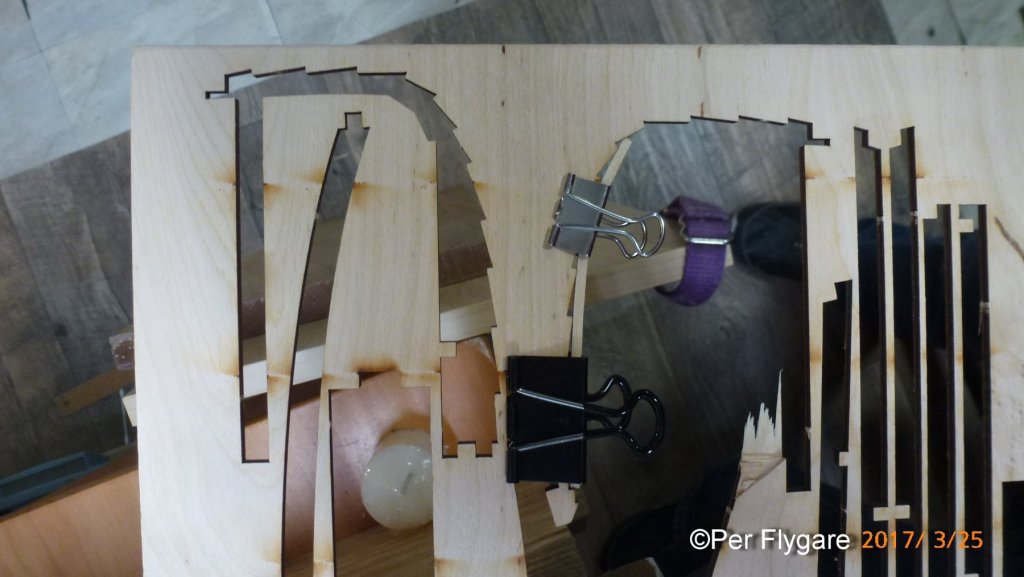
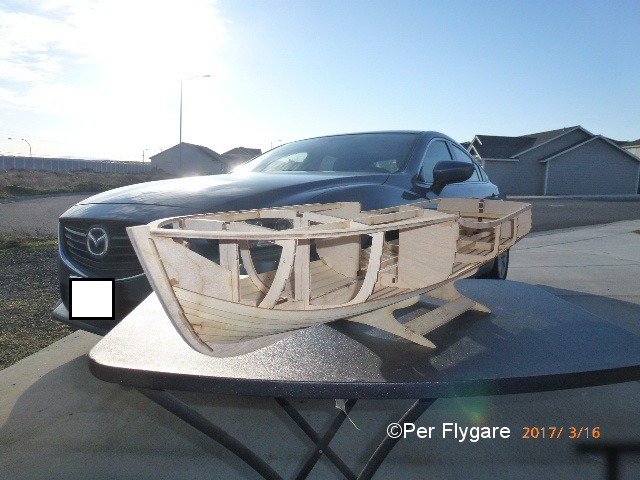
Mike, the planks are pre-beveled. Continuation, I haven't been able to do any building in the beginning of the week. One of the "wire wheels" lost it all and the garage door got stuck in a very bad angle. But my good friend Joe did a fantastic job to do a recovery and getting things back into place. So yesterday evening I got an opportunity to get back to the boat. I have installed more of the simulated frames. Maybe an overkill going all the way down to the keel as it all will be covered by the floor. Could probably have done only the three last planks. But I feel it makes it more accurate and also another nice part of if is the stability this provides to the planking. Yesterday I figured out I could have used the empty frame laser cut outs for forming the strips. Kind of late but I still have some strips to do. Unfortunate when they did the laser cutting, the cutting was done from the wrong side making the visible surface filled with burn marks. The other side doesn't have them. Soft sanding with fine grade paper should do it.
-
Mike, Very nice, but one serious question; Isn't that trailer little to big for your tug? Or are you to haul both of the Ts' on it?
- 96 replies
-
- 3
-
-
- tugboat
- Tippecanoe Boats
- (and 2 more)
-
Sorry for the late chime, Something I would like to see is 1920-1950 Motor Yacht POF 1:20-1:30 scale (not to small or not to large) Maybe removable superstructure to emphasize detailing. This is just an idea I like and found on the internet.
-
The double sided for small parts is working for me very well, even for brush painting.
-
Well, I just pulled up a comfy chair, Sjors please pass the popcorn, all we need now is the beverage from Mark. I am getting a little tired of my coffee.........
-
UK Supplies of good blocks and rigging line
Nirvana replied to JRB9019's topic in Masting, rigging and sails
There is a company in Sweden making blocks. I have bought from them and the quality is high. The company name is Eskader located in Stockholm. Click the link and you have the blocks. -
Check this link out, might be helpful.
-
They are cut perfectly. You will see once I get the top plank installed. I could just imagine all the bevelling I would had to do otherwise.
-
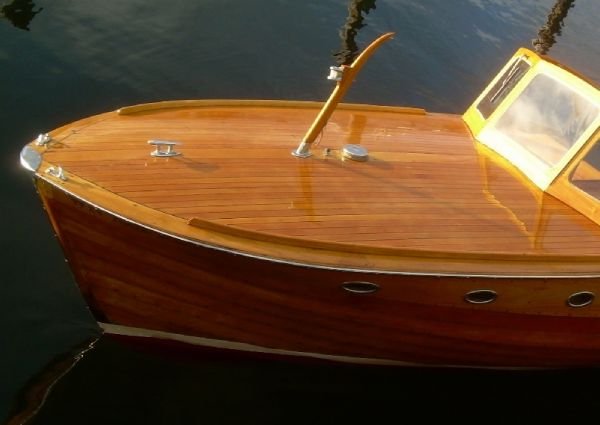
This little boat has a fairly sharp bow, Take a look at the real thing, and a lot of work is needed for the model.
-
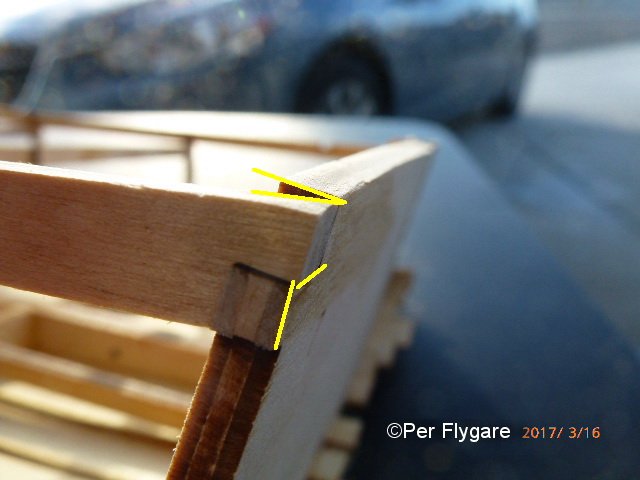
Mike, The planks at the stem are all to be leveled. The boat is clinker built so there is a lot of sanding once all the planks are in place. I was wondering about it myself, but I have dry-fitted the remaining five planks. The planks are all laser cut! Which is amazing. And oh my, there will be shaping and sanding! Thank you for the observation, though!
-
Fokker Dr.I by Torbogdan - FINISHED - Model Airways
Nirvana replied to Torbogdan's topic in Non-ship/categorised builds
Totally agree with that statement too..... -
Mike, Yes, there is a squeeze mark from one of the clamps. I used wrong one at that time which was stronger than I expected. Will never use that clamp again.
-
Fokker Dr.I by Torbogdan - FINISHED - Model Airways
Nirvana replied to Torbogdan's topic in Non-ship/categorised builds
Hej Torbogdan or could it be Tor, I have been following your build log of the Fokker. Amazing job! That video clip with Mikael Carlsons flying was great as well. I found another link you may like. Click here to get there. -
A method for making panelled sails using paper
Nirvana replied to Cathead's topic in Masting, rigging and sails
Weflack, That picture with some editing can be taken for a painting. I like it very much.- 49 replies
-
- 4
-
-
- sails
- sail panels
- (and 1 more)
-
Kenny, I know it's not mentioned, it should. I think the majority of us that build the longboat used the stiffeners.
- 50 replies
-
- 3
-
-
- 18th century longboat
- model shipways
- (and 1 more)
-
Kenny, Those stiffeners are necessary for the fairing of the bulkheads, they can break away easily otherwise.
- 50 replies
-
- 2
-
-
- 18th century longboat
- model shipways
- (and 1 more)
-
All I say wow. The angles involved and is need to be trimmed for nice contact! Was sitting in the garage out from the breeze enjoying the sun and did some sanding.
-
Beautiful job Steve! I used white glue instead of CA, I did it just as a personal preference.
-
Bjørnar, Do you speak Swedish or Norwegian? Just wondering due to the location and closeness to Sweden. Looks like 5-8 km to Swedish boarder.