


Ulises Victoria
-
Posts
1,790 -
Joined
-
Last visited
Content Type
Profiles
Forums
Gallery
Events
Posts posted by Ulises Victoria
-
-
John ( Neptune ) send me a PM about they stay's......
Why I did them first instead of the shrouds.
Normally I'm not out of words but this time.......
Stupid me !!!!!!!!!!
First the shrouds and then the stay's !!!!!!!!
Beginner !!!!!!!!!!

I hope I can put the shrouds under the stay's or I have a BIG problem !!!!!!!!!!!!
John, thanks you so much that you let me know what I do wrong !!!!!!!!!!!
Sjors
Hello Sjors. I hope this is not too late and that is helpful. The way I do it is place the shrouds around the mast tops but let them hanging freely. Then the stays go over the shrouds. I tie the stays where they belong and THEN go to finish deadeyes and lanyards on the shrouds. This way you don't have the shrouds in the way when tying the end of the stays.
Hope this helps.
-
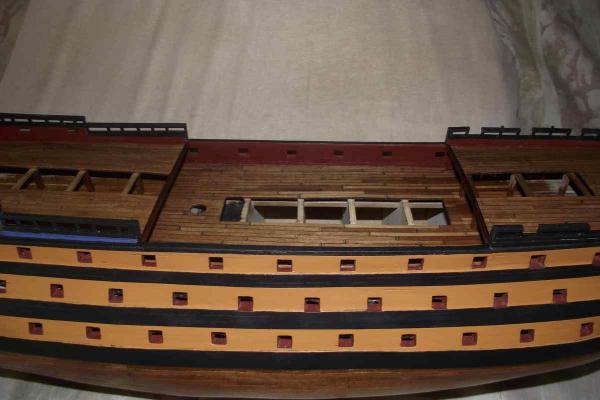
Another update. Told ya' they are coming more often

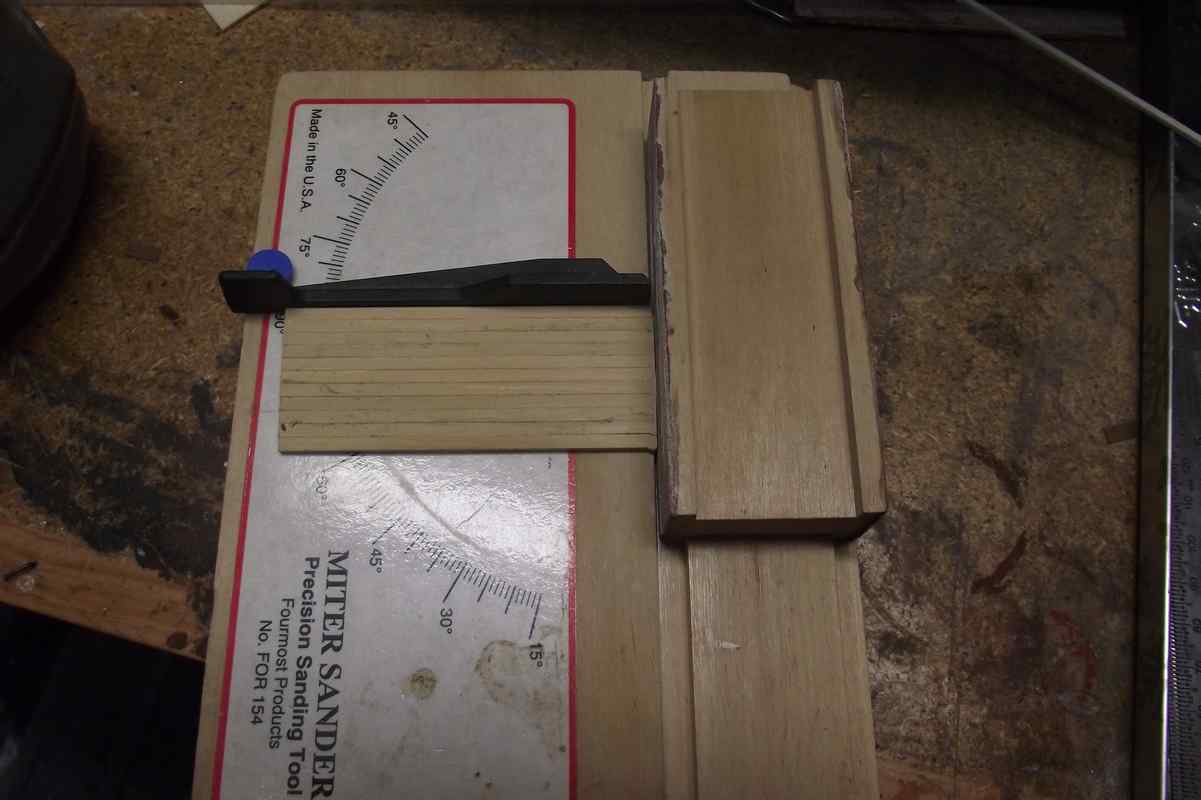
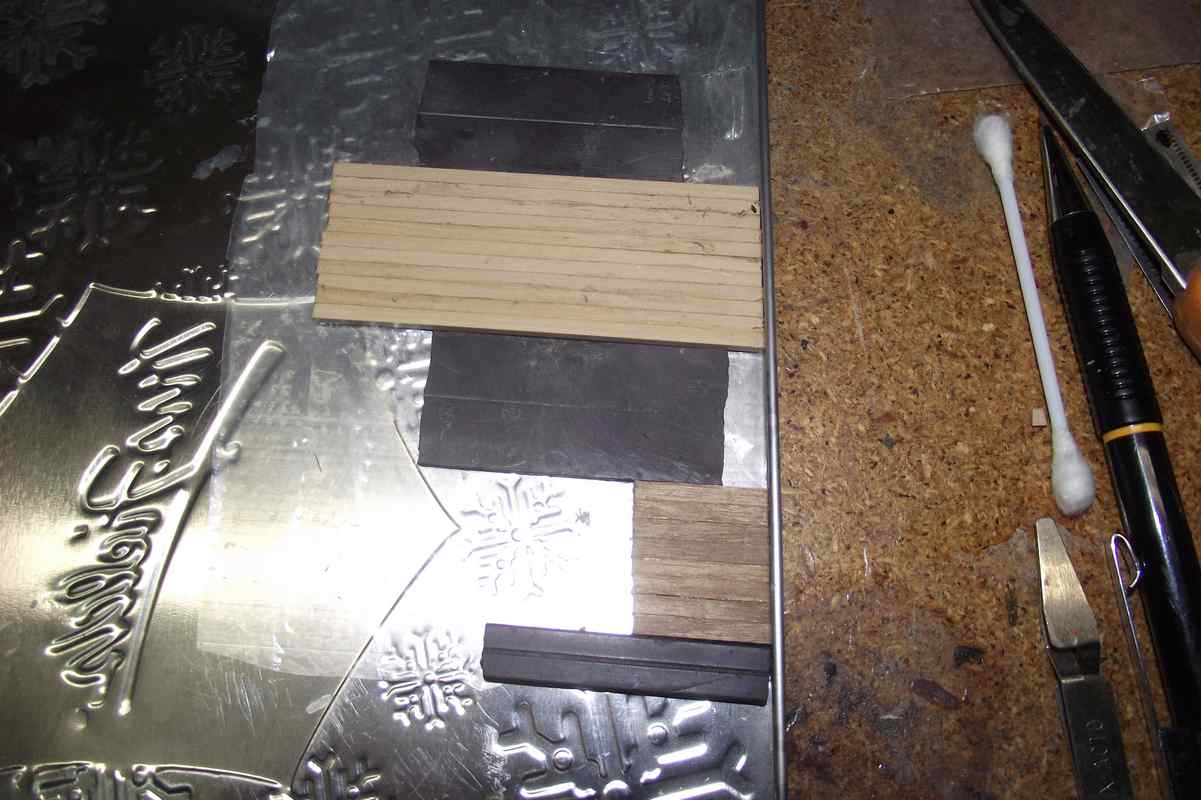
I'm working on two platforms that support the capstan and two chimneys.
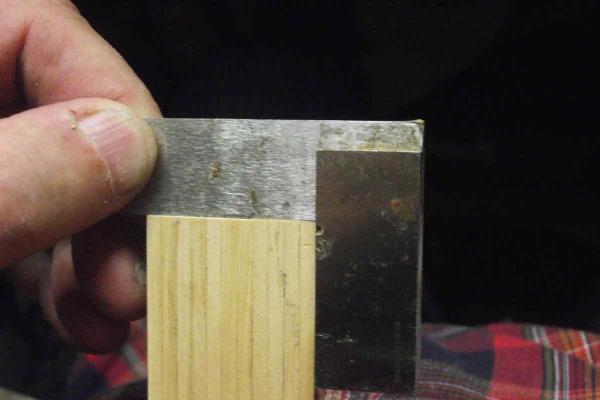
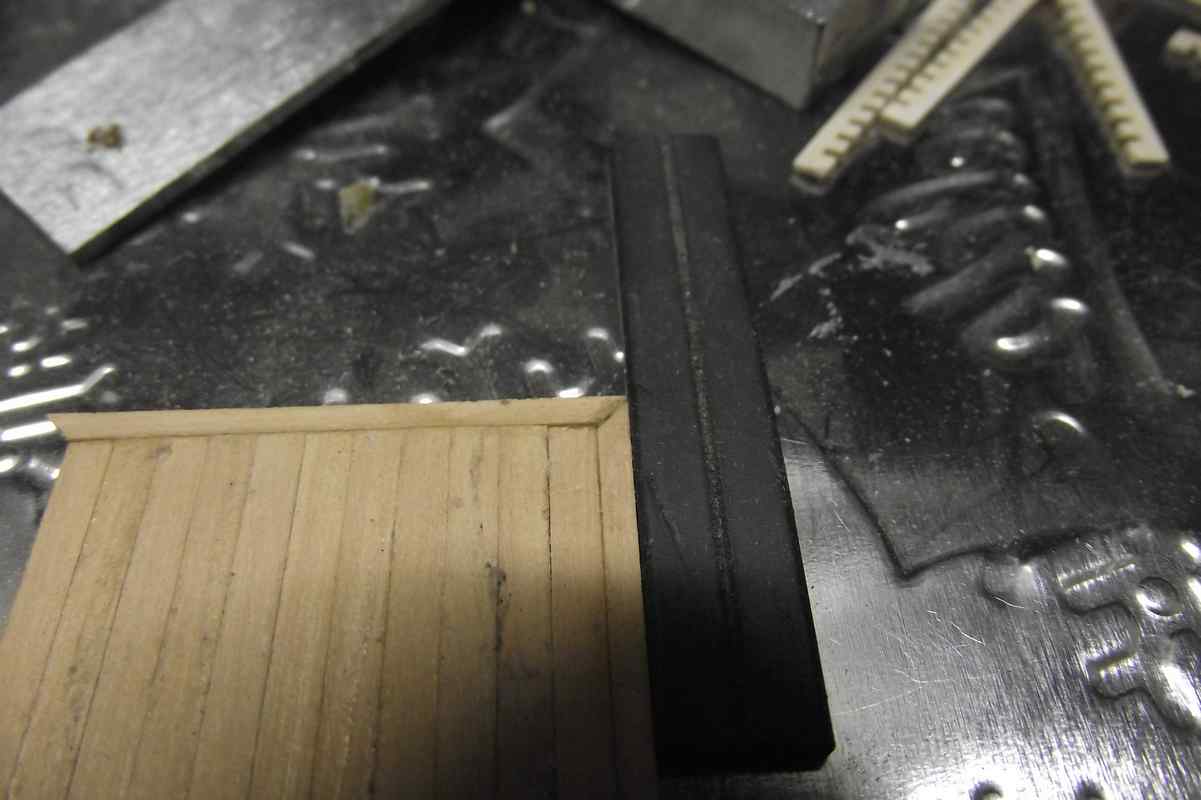
After gluing the planks side by side I want to square the sides to a 90º. angle.
This tool helps a lot with that. Only drawback is that the sandpaper wears off at the same spot all the time, so it looses it's 'bite' quite soon.

This is close enough for me.
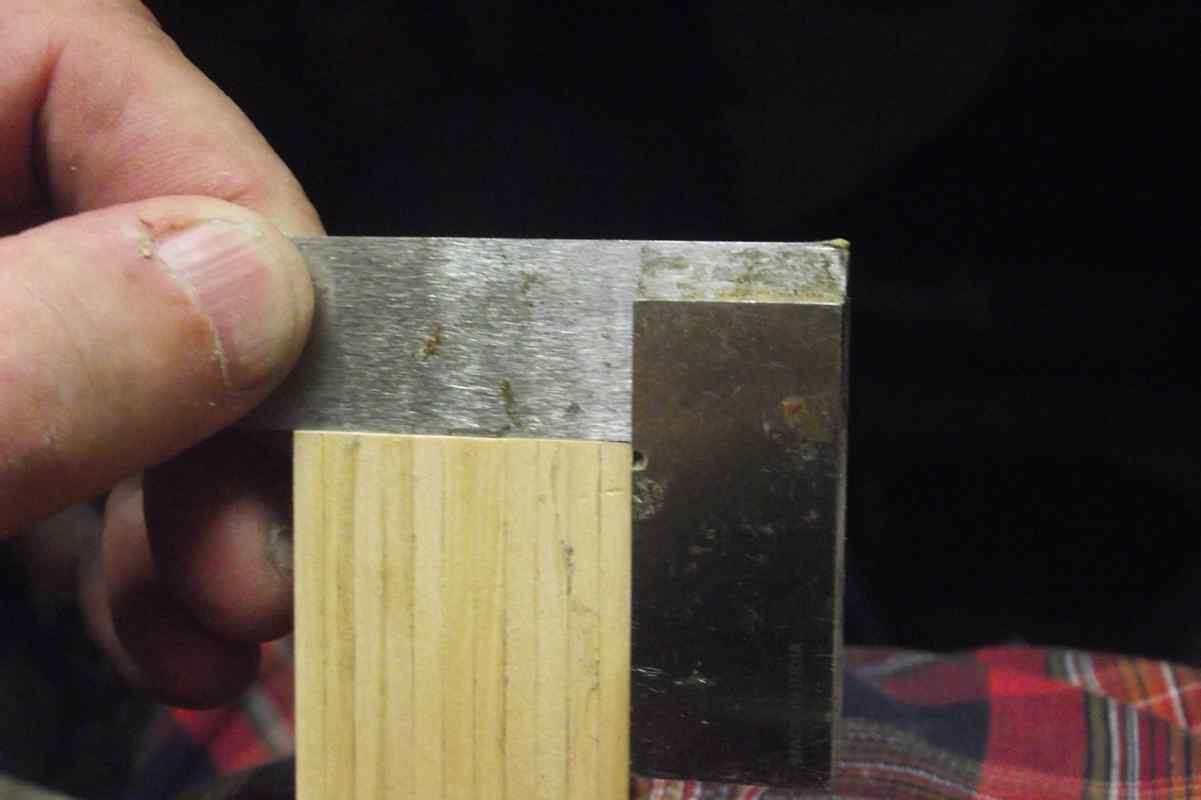
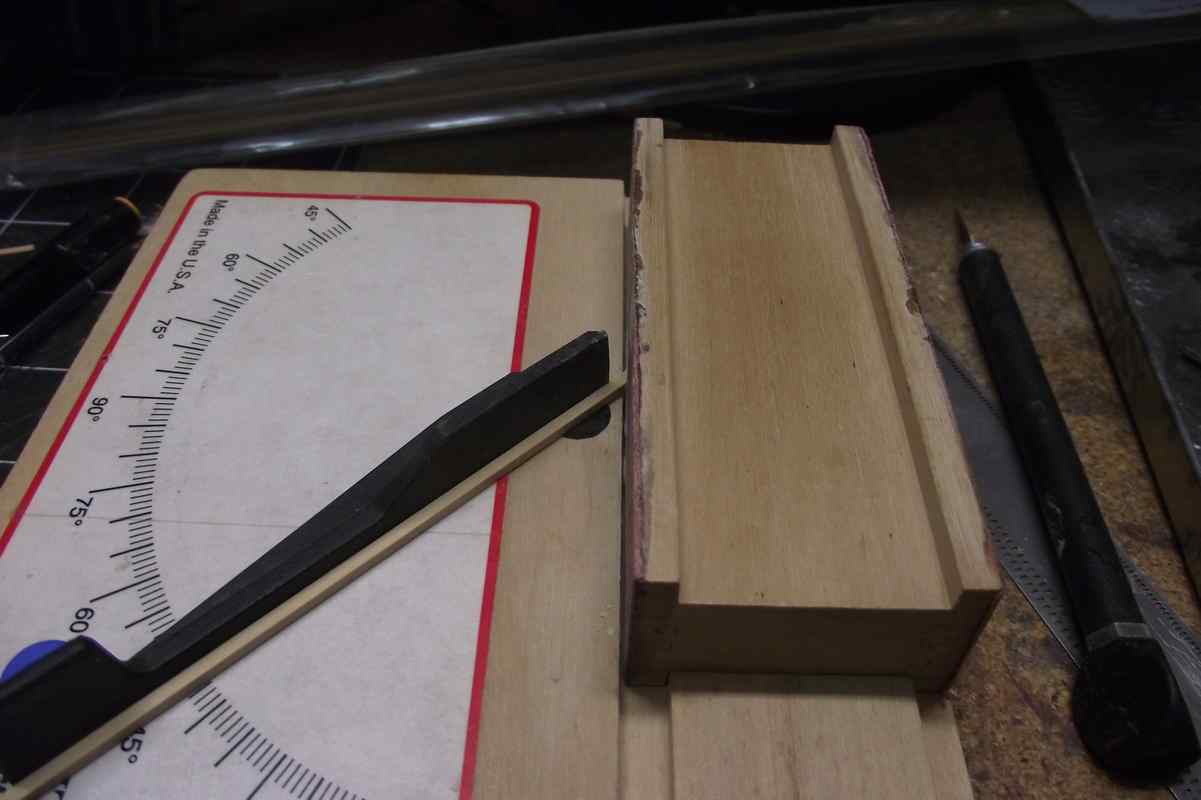
I was hesitant about making those corner joints at 45º angle, as it supposed more work that just plain 90º, but I took the plunge. They were a bit more difficult than initially thought.

This tool again proved an excellent choice for getting those 45º angles right.
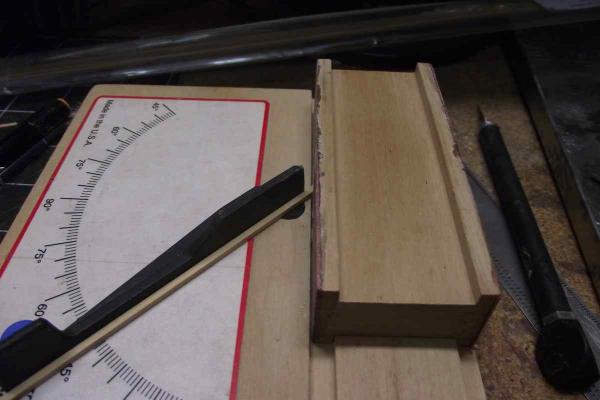
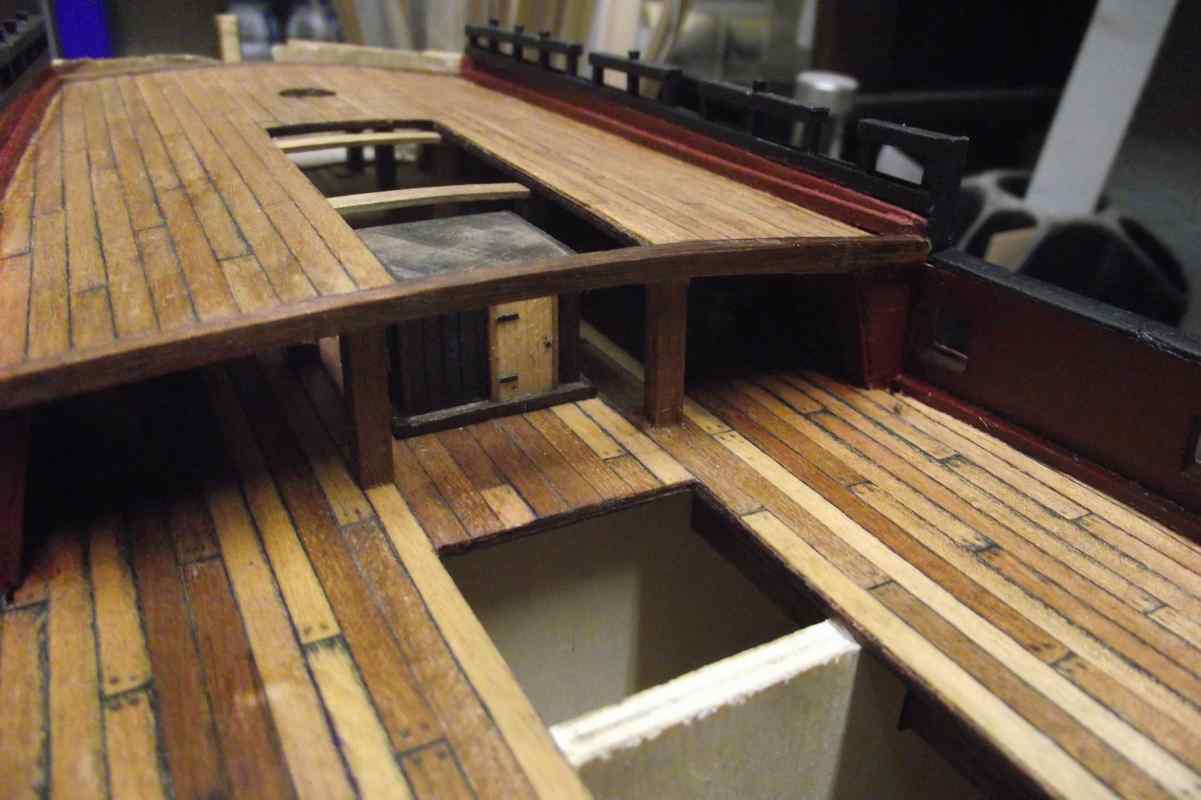
The 2 platforms already assembled. A bit of cleaning still to do but I will leave that for tomorrow once the glue is totally cured.
I'm happy with the outcome.

- BANYAN, Elijah, CaptainSteve and 10 others
-
 13
13
-
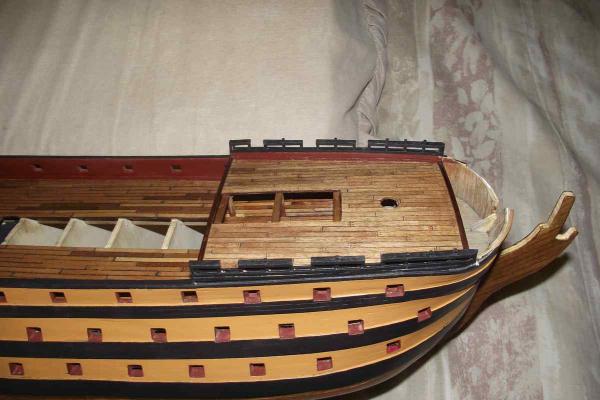
Small update. From now on, once the hull is fully planked and work on deck furniture is in progress, I may do updates more often.
Here I am making a wooden door, to substitute the plastic one supplied in the kit.
Wooden door placed on cabin, and cabin glued to deck.

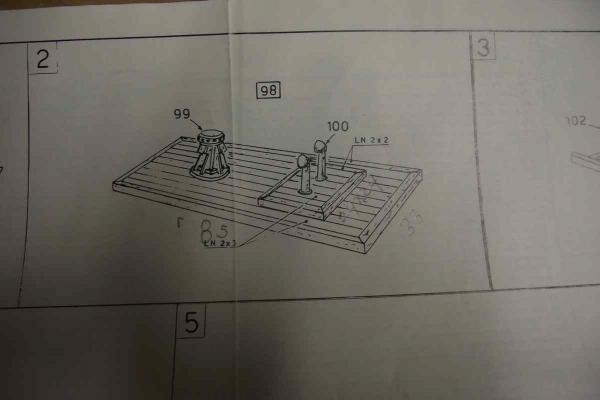
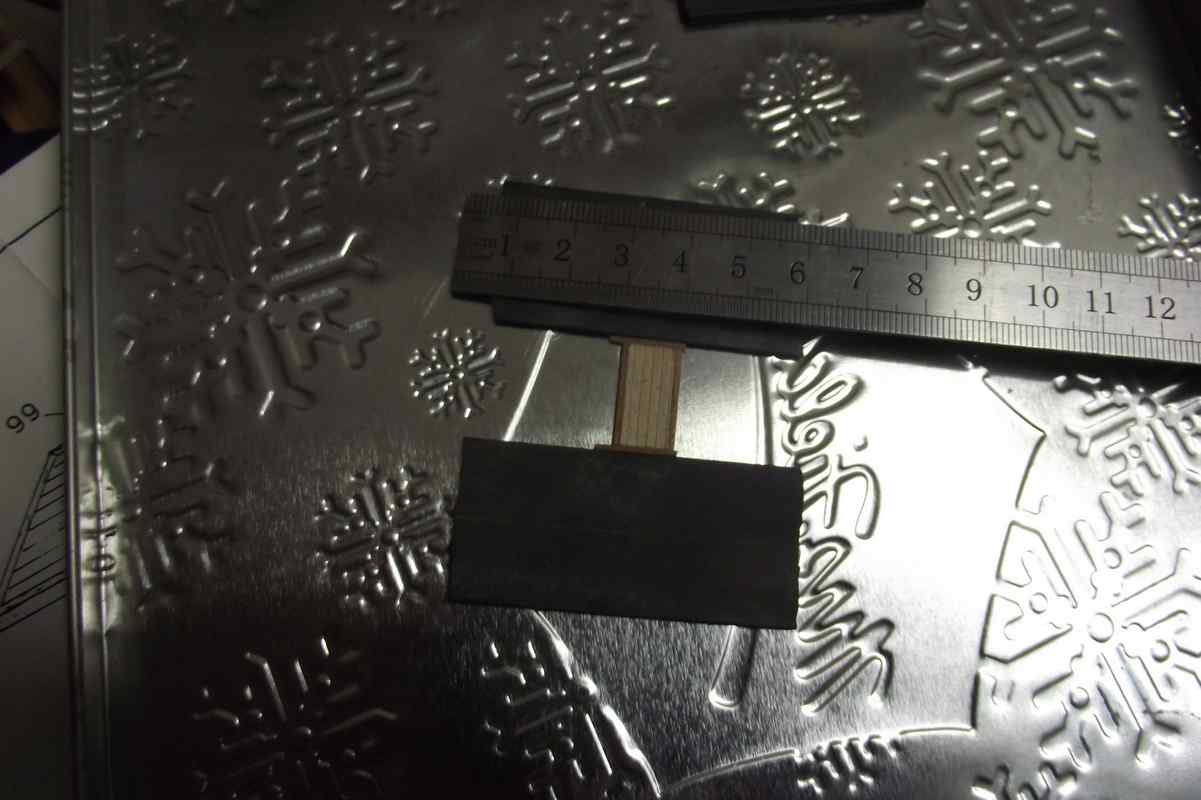
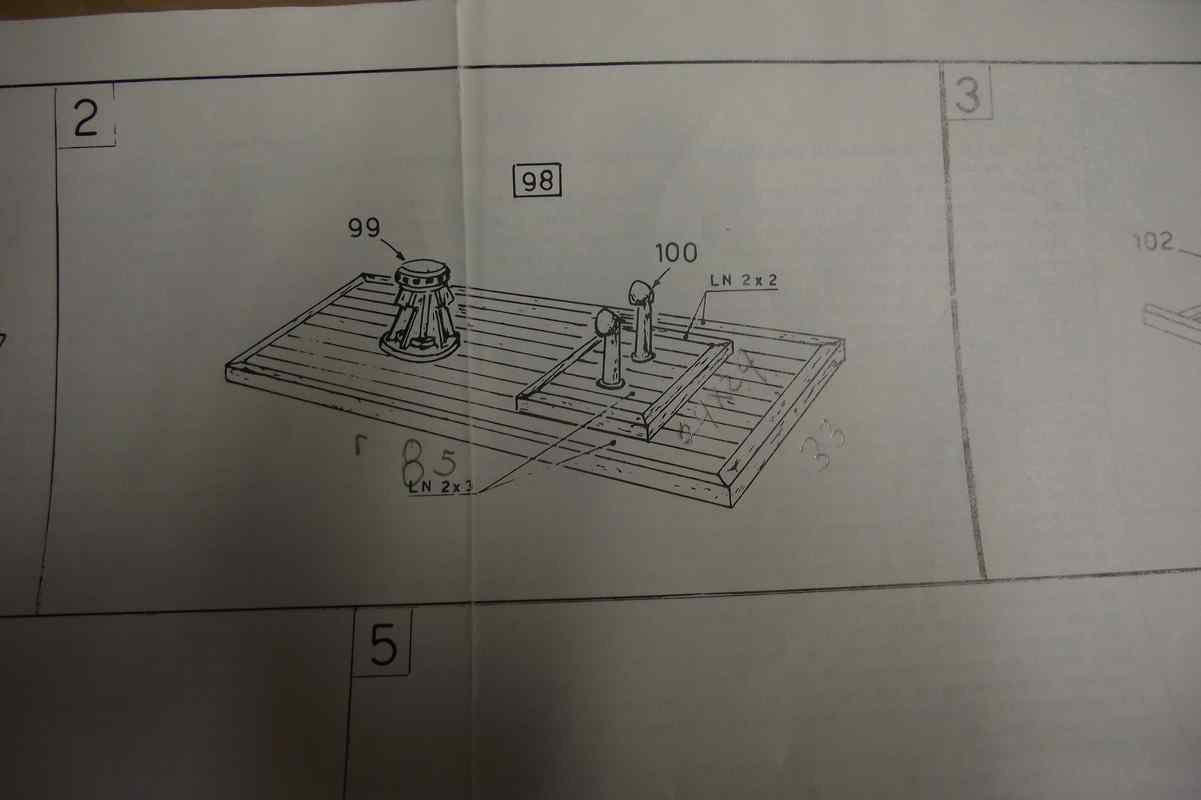
Here I am gluing some planks side by side, to make the part where the capstan is, according to the drawing below.
The metal chimneys (part No. 100) in the kit are awful. Still don't know what to do with them, or how to make them myself.
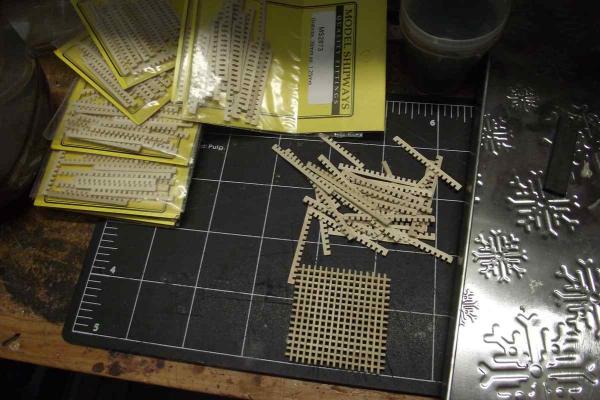
Don't know what's more fun: tying ratlines or assembling these gratings.

Thanks for watching!!!
-
-
Thank cwboland I went thru this thread before i posted my question but as far I could understand they all speak mostly about air brushing and dry brushing. Well the latter i dont know what it is and a air brush system i dont have.
p.s. your link worked perfect.
Post No. 12 in this thread explains what dry brushing is.
http://modelshipworld.com/index.php/topic/3962-how-to-make-plastic-look-like-wood
-
She looks fantastic, Ulises! Your wife allows you to put your model on your bed? Mine would scream at me to get that dusty thing off the bed!
I am single!!!

My mom is 92. She lives with me. Part of the family issues I mentioned before were because of her health. And that is HER bed.
- GLakie, BANYAN, Seventynet and 3 others
-
6
-
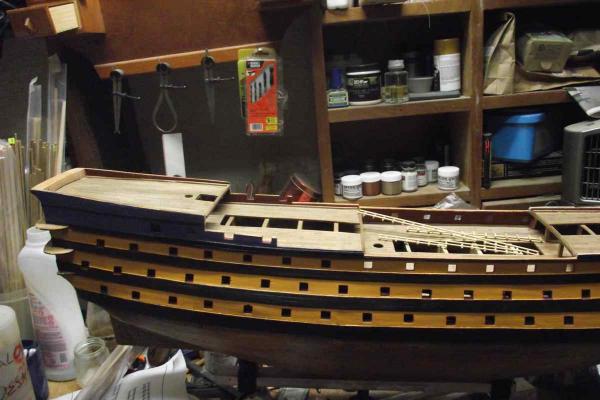
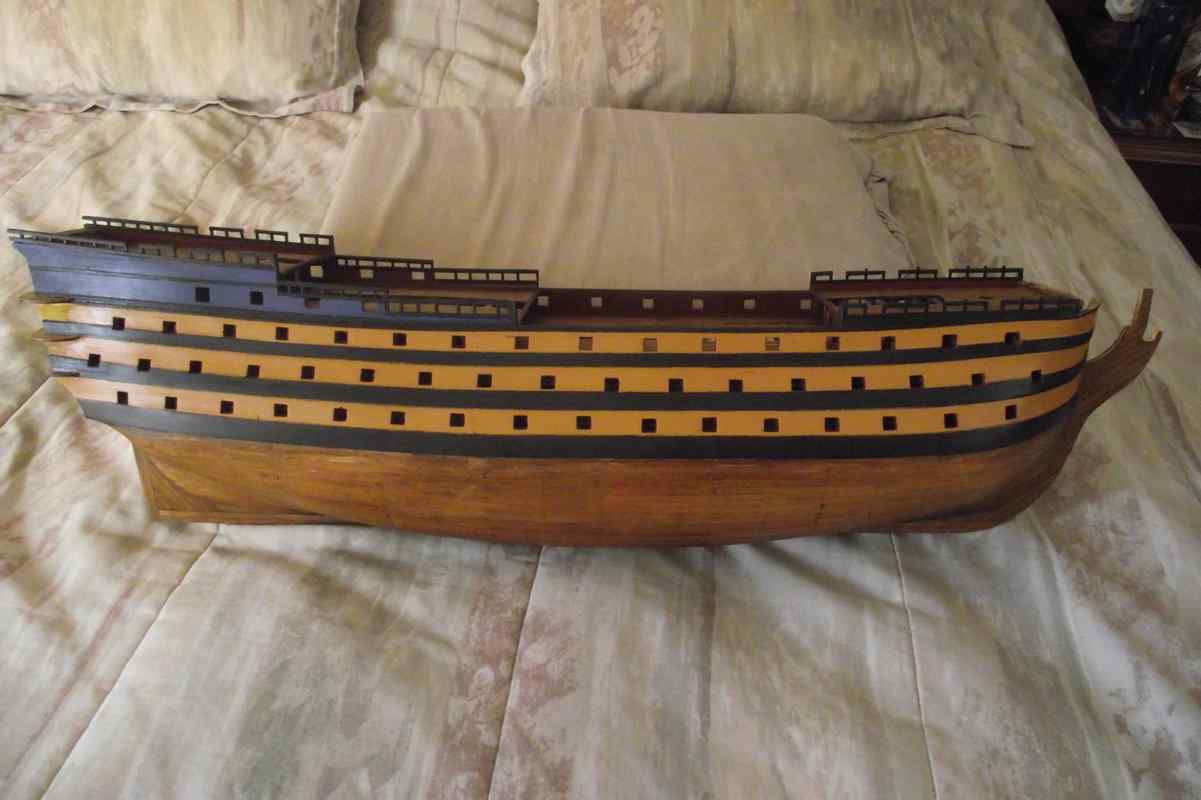
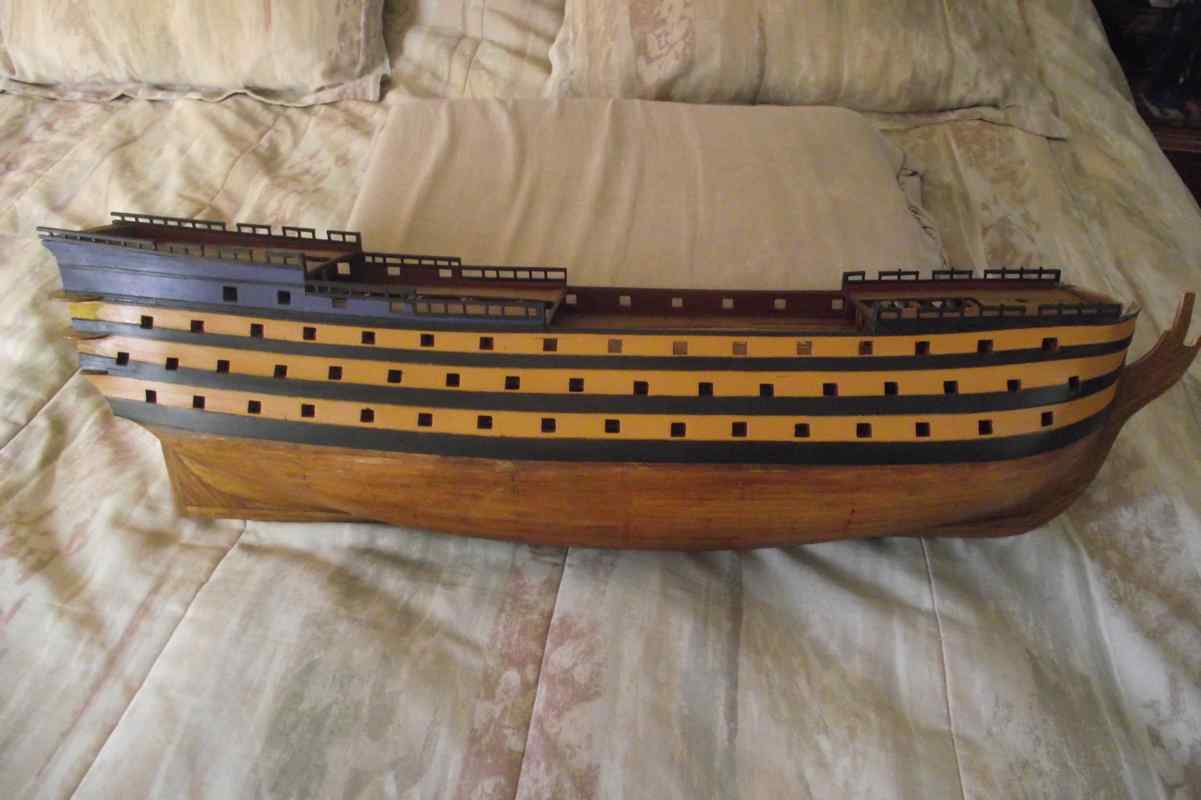
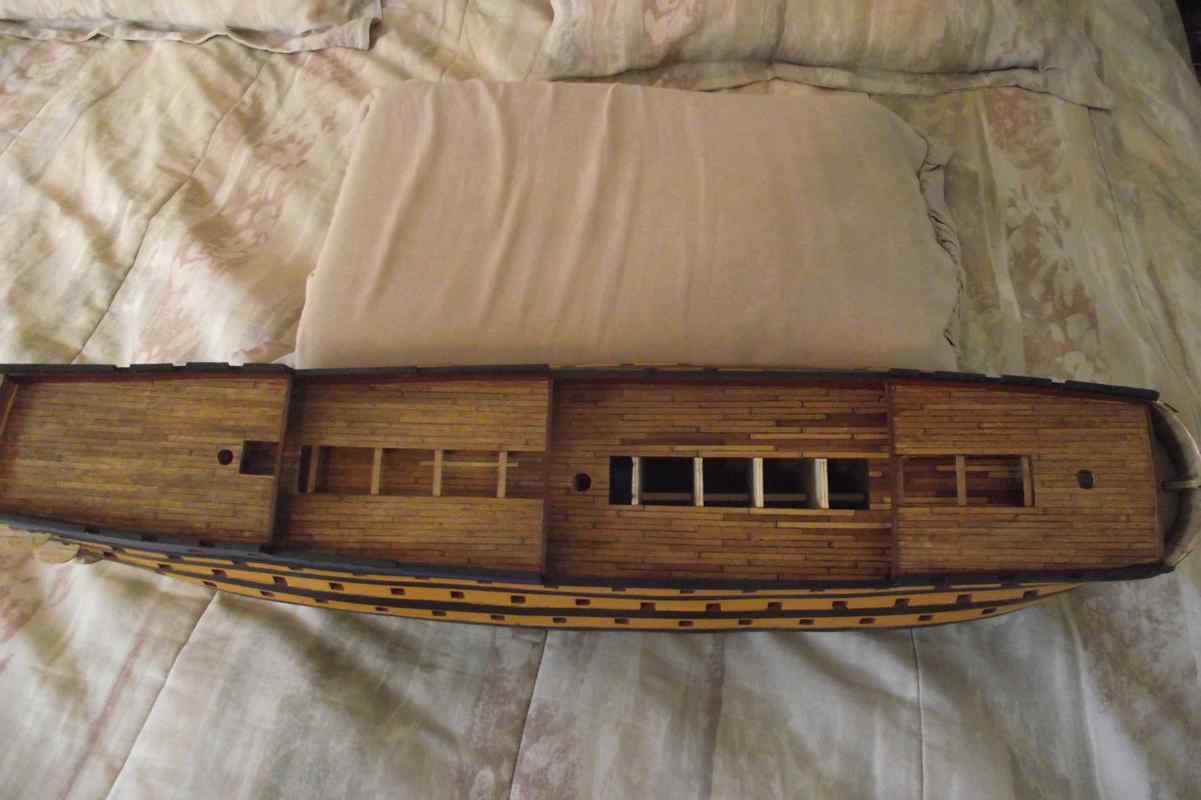
Finally an update!!!
I am finished with the hand rails. It was a long process. Building, adjusting, and painting them took longer than I thought, plus some family matters that made this update a long one. About a month and a half to complete.
I also applied a coat of Boiled Linseed Oil to the decks.
I am now done with Sheet 1, pages 1 and 2 of the instructions. I will move now to deck furniture, ladders, capstans etc, as well as the golden metal adornments.
I love this ship. I like it so very much. It remained in my wish list for so many years until thanks to a drastic discount at Model Expo, I could afford it.
I have made a few mistakes and some things are not 100% of my liking, but I am learning so much I am very happy.
Thank you for watching!!!
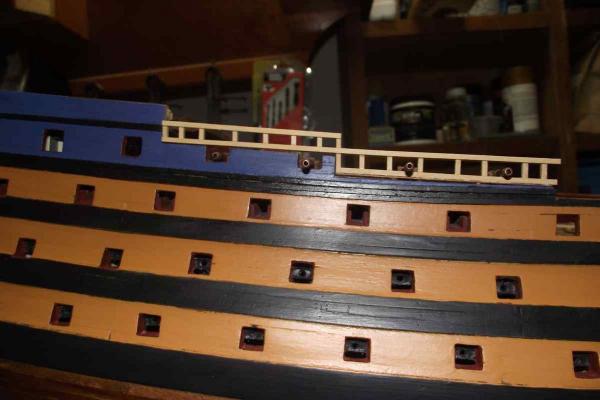
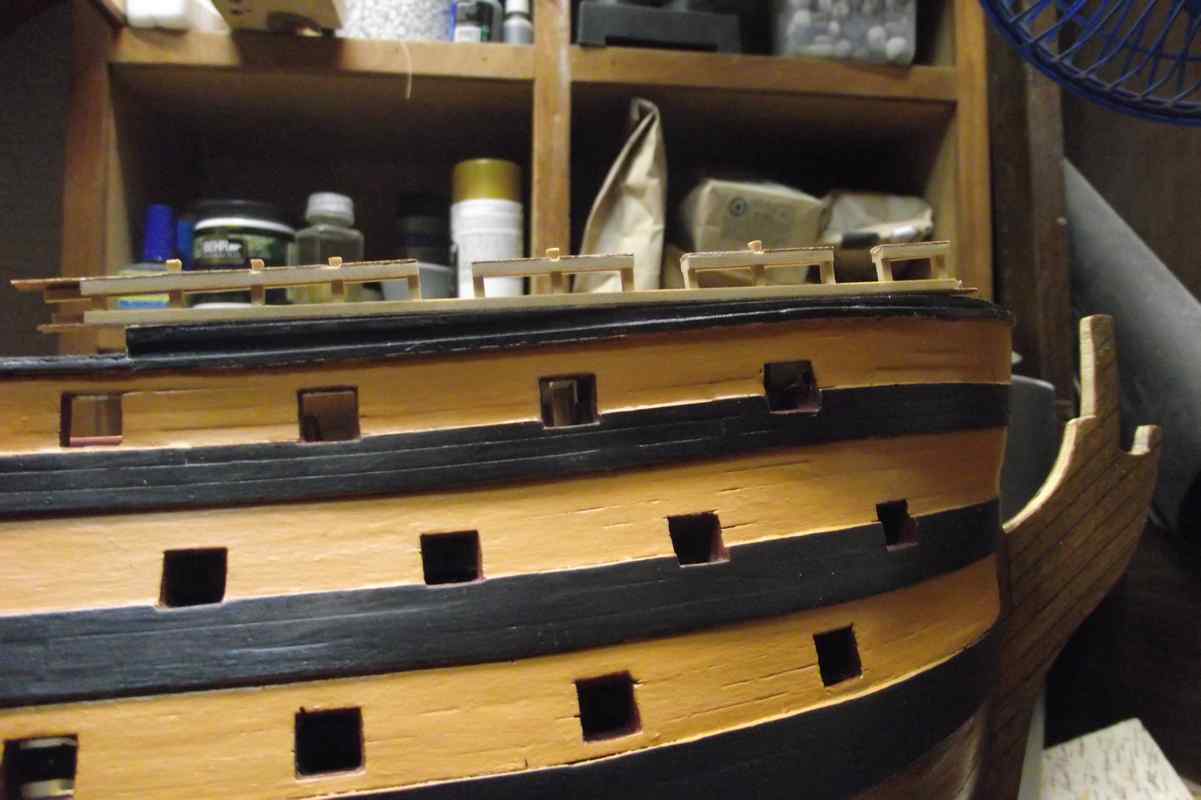
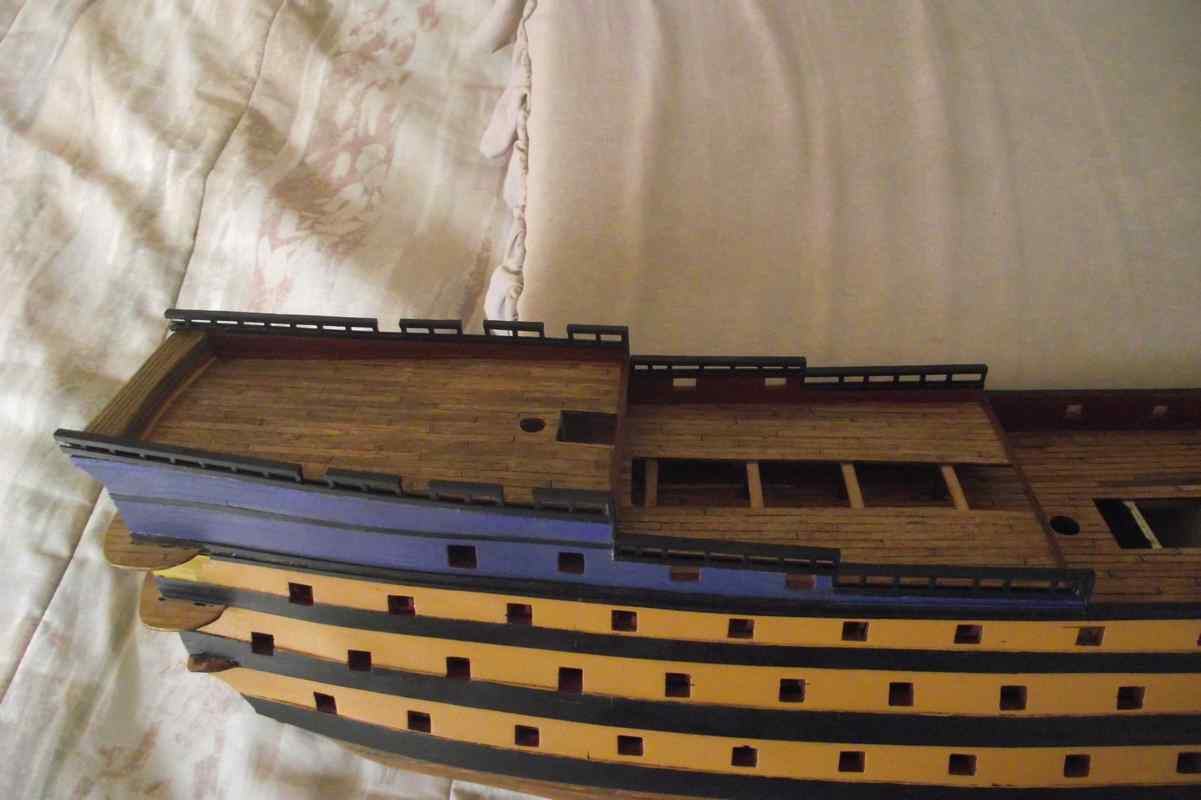
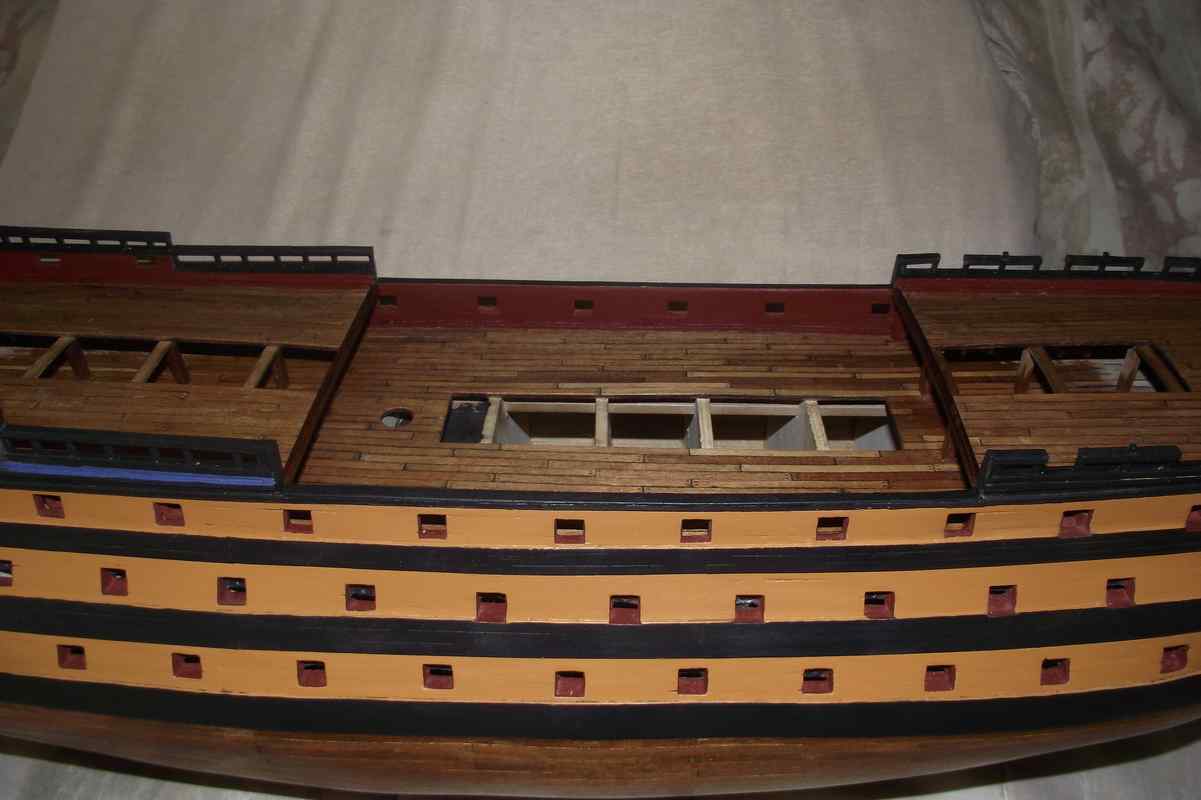
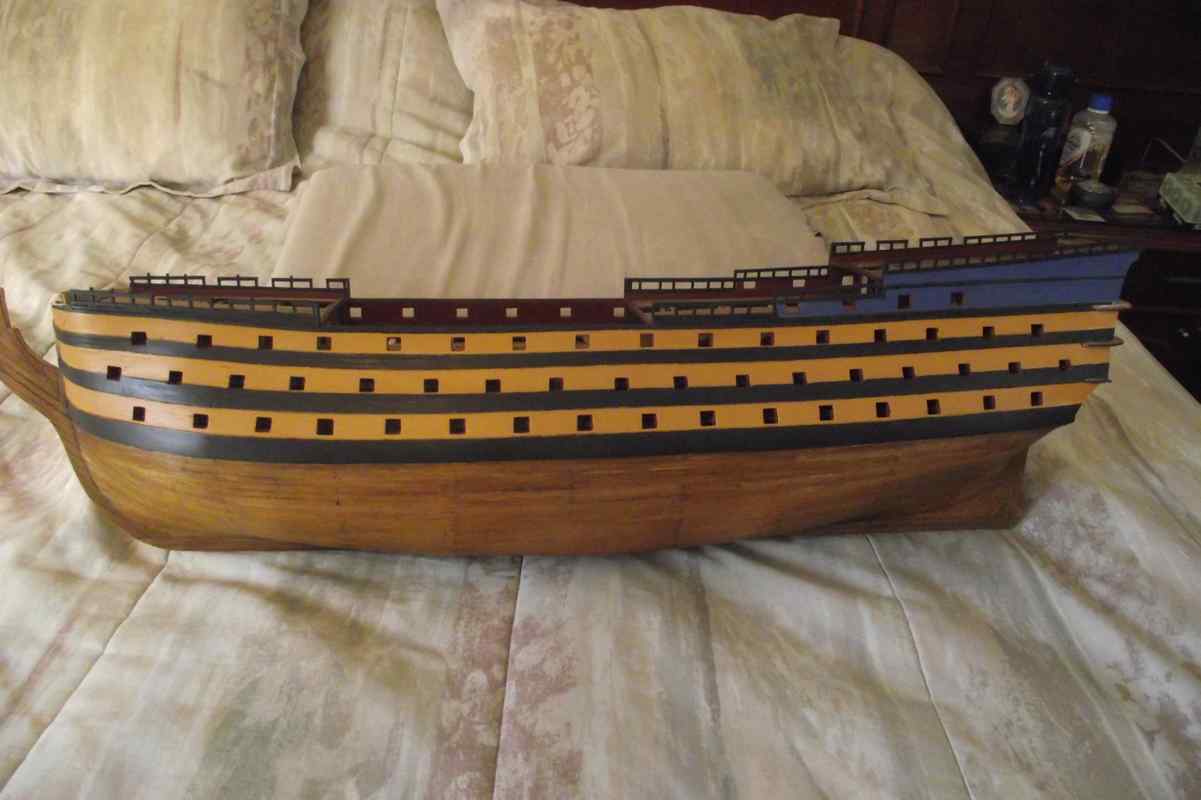
Dry fitting a hand rail


Testing the hand rail with the cannons to check for correct height and placement.
Hardest part was to adjust the hand rail in a way that no light could be seen between the rail and the bulwark.
Finally done!


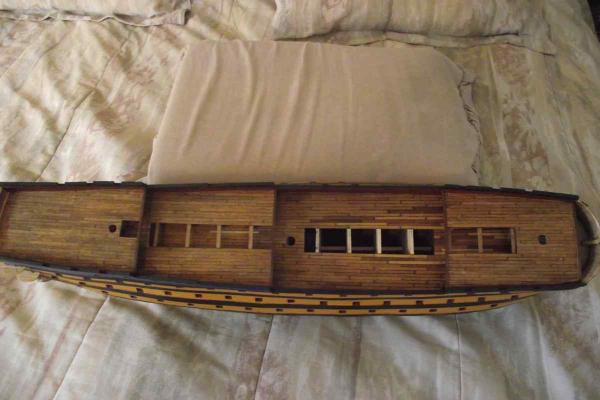

A few minor details still to do, mostly on paint touch up. No big deal!
- Elijah, marktiedens, NMBROOK and 13 others
-
16
-
Sjors... why not serve them by hand? I would never buy a serving machine when I can do that job by hand very easily. I place two alligator clips at a certain distance, put the line taut between them, and with a spool of thread in my hand start serving. It really is very simple.
-
Sjors, what a nice rope. Like the others said, stays were served just to a point a bit further where the mouse is.


- tadheus, robert1965, mtaylor and 7 others
-
10
-
-
-
Beautiful. I have this kit in my "will-I-ever-build-this-kit" stash, and always had the idea of doing it and making it look like it was a wooden kit. You beat me to it.
I wouldn't use a too elaborate stand for this ship which might detract the attention to the stand rather than the ship. My suggestion is use the kit's stand, and give it the same treatment you did on the hull. Just my 2 cents.
-
If I remember correctly, they are shown curved just to avoid confusion with the rest of the drawings.
-
-
When I started building sailing ships, I always took the following approach when in the rigging stages. I reached a point in which I thought: "Oh, I wish there was a tool to do this or that in this or that way"... and then went to making it. Usually needles in various sizes and old paint brush handles was all that was required to do the job.
Hope this helps
-
-
-
-
-
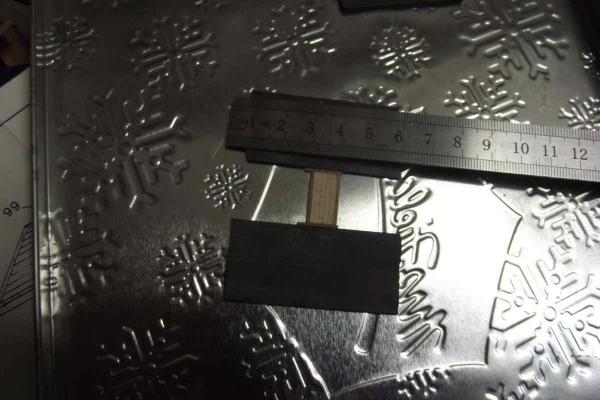
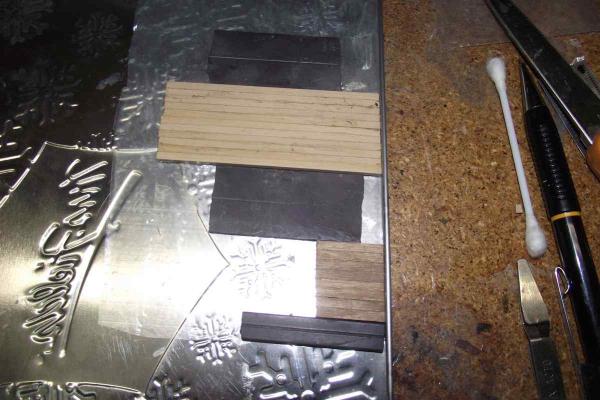
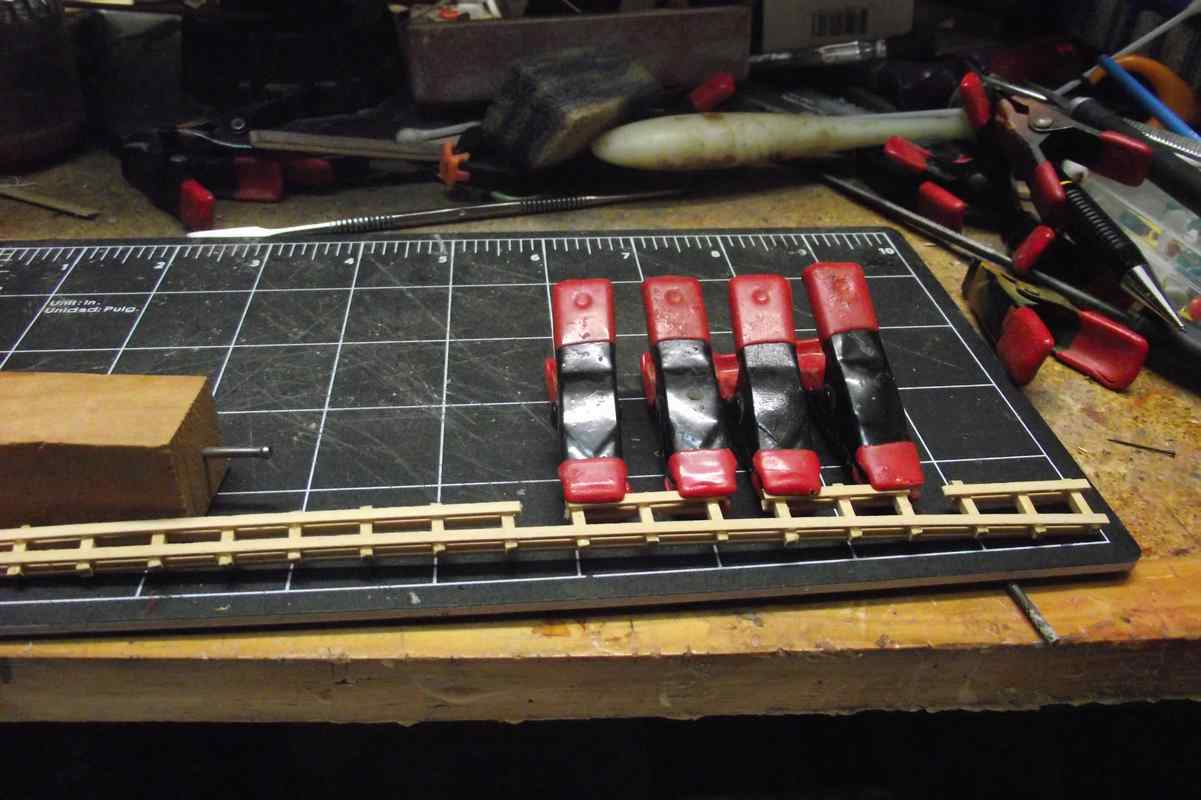
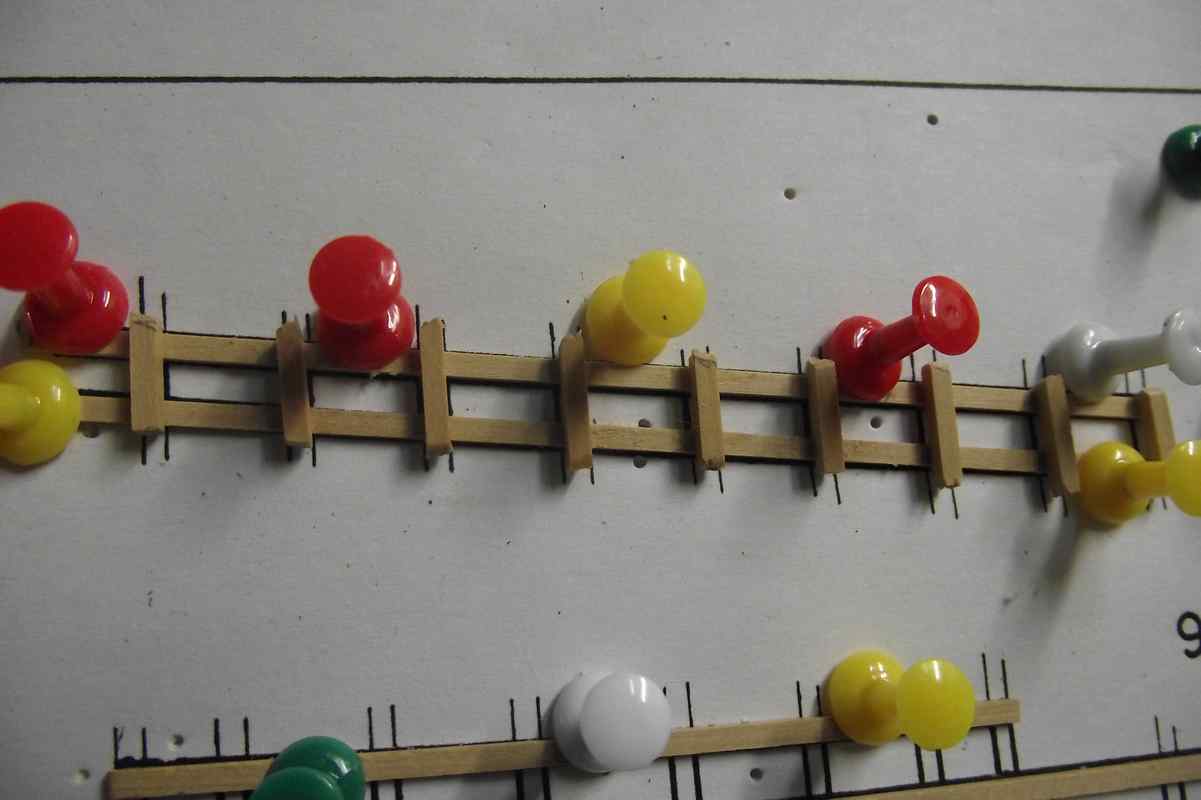
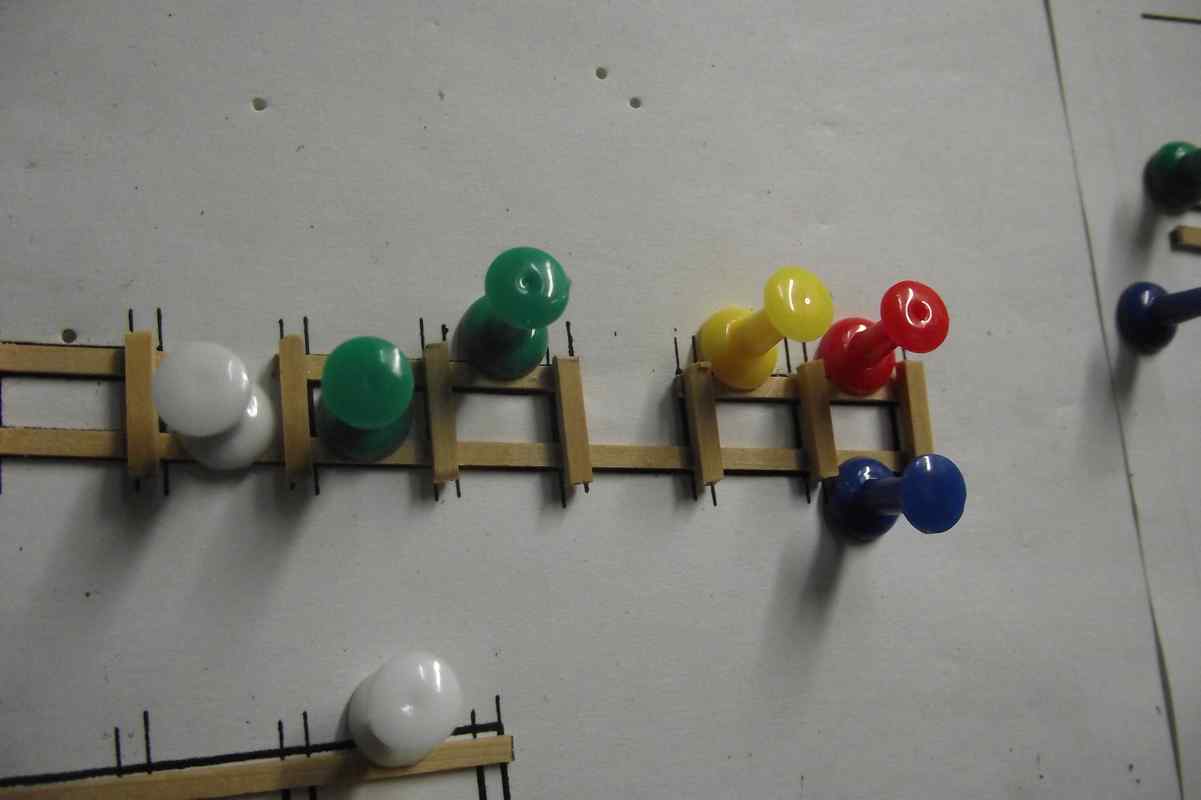
Colorful jig.
This is to make the handrails. Instructions say to place indicated pieces of wood over the drawings, glue and when dry lift off.
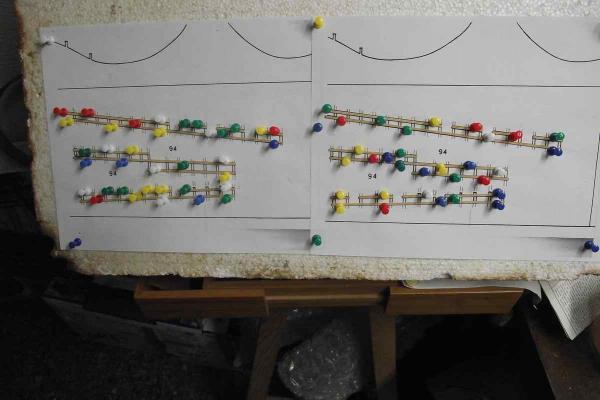
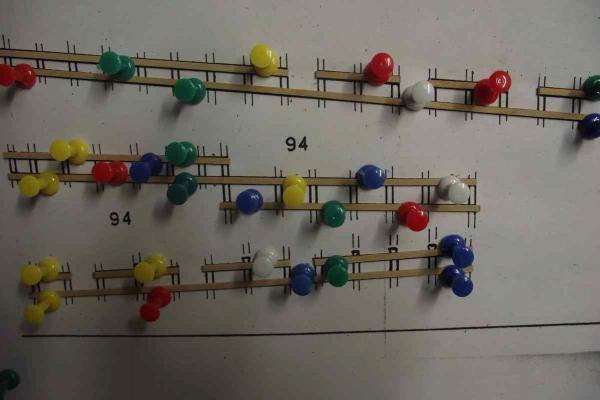
Hm... everything seems to be so easy in the instructions LOL.
Like...
...step # 29: Now plank the hull.
...step # 30........
I'll let you know how this goes. This looks like a very delicate job. I am building the hand rails now, but will see later when during the build will install them on the ship.
Best regards to all and thanks for watching.
Ulises
- GLakie, CaptainSteve, Barbossa and 7 others
-
10
-
-
Very nice work there jonge man!
 I have no clue as to what you are talking about with them mice and snakes. That nautical talk is like Swahili to me, remember that I am an airplane man
 Can you point out what they are and where, please?
Cheer,
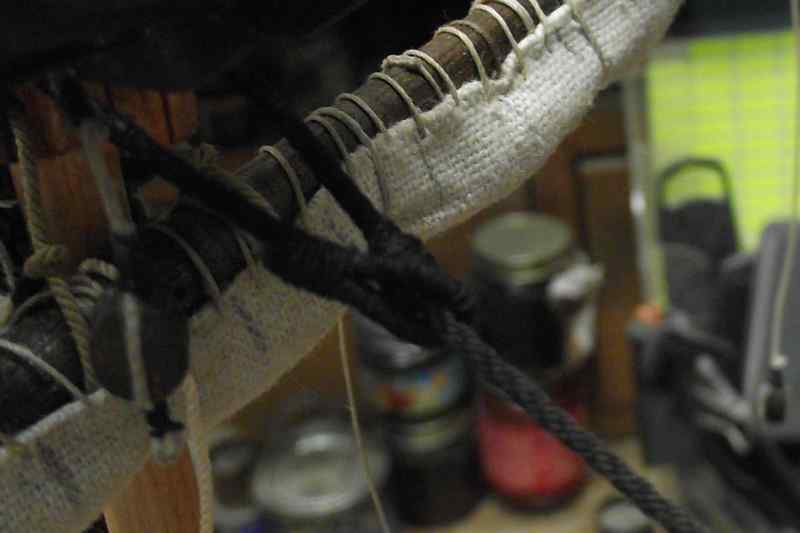
Mouse(s) are a small pearlike shaped things that go on the stays near the masts, and that prevent the stay from choking.
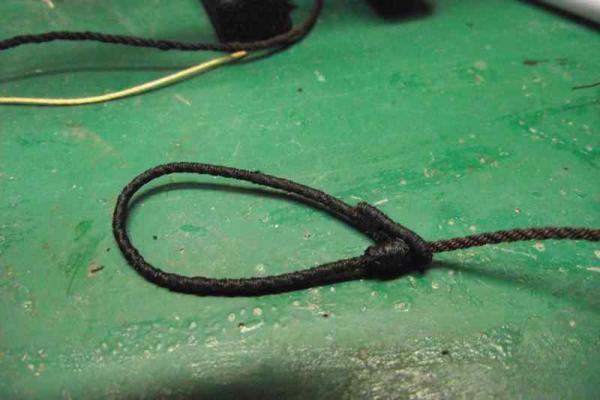
Snakes are thin threads that go zigzag between the upper and lower stays.
(I wish I had some photos of this, but they can be seen in Sjor's last photo above)
-
-
Nice organized work space mate. So many others would kill for a space like that.
Keep up the good work.
Dave
Hello and thanks, Dave.
Are you sure you are talking about my workshop???
 I build in a converted blanket closet. There is barely room for a single build. Forget about electric tools.
 I wish I had a real room as workshop.

- CaptainSteve, mtaylor, GLakie and 1 other
-
4


Royal Louis 1780 by Ulises Victoria - FINISHED - Mamoli - Scale 1/90 - French 126-gun ship
in - Kit build logs for subjects built from 1751 - 1800
Posted
Excellent idea, Pat. Thank you!