fnkershner
-
Posts
1,595 -
Joined
-
Last visited
Content Type
Profiles
Forums
Gallery
Events
Everything posted by fnkershner
-
In My opinion Mamoli isn't one of the best brands. their instructions are incomplete and limited English skills. their wood quality is poor. If you want to do the Constitution Model shipways has the best kit.
-
I took a look at Chuck's Gudgeon kit. It looks like it is made of wood. In this case I want copper. So that won't work.
-
John - I see Per beat me to it. I am the unmentioned member he refers to. Like you I felt that $80+ postage was a high price especially since I would still have to modify them. So Per & I are currently working on an experiment. With his drafting skills! Music Man, drafter, Modeler! wow! and my limited 3D skills I will be printing a prototype this weekend. Depending on the results. and permission from Chuck. I will hopeful make a mold and be able to create resin sets that are accurate to the plans and the right color. I am not interested in making money here. This site has done so much for me already. I should have something to report next week.
- 90 replies
-
- 4
-

-
- syren
- model shipways
- (and 1 more)
-
In my kit there is a plastic tube. Inside is a Copper strip and a length of copper pipe. I am guessing the strip is for the Gudgeons and Pintles. But what is the pipe for? It looks too large for the drains in the water way. Help?
-
At the time she was launched (1921) There was no standard National flag. For shipping of that time it was customary to fly either the Blue Ensign or Red Ensign. And most ships had the flag of the province. I am at work so I can't share it with you. But I had the link for a site that would create any flag for any size. I found these to be very nice flags.
- 245 replies
-
- 2
-
-
- bluenose
- model shipways
- (and 1 more)
-
Beautiful work! One more note for accuracy. The Canadian Maple Leaf flag is not correct. It did not exist when she sailed.
- 245 replies
-
- 2
-
-
- bluenose
- model shipways
- (and 1 more)
-
Jim I know even less about CNC than I do about 3D printing. Great Idea. I guess maybe I will have quarter Badges
-
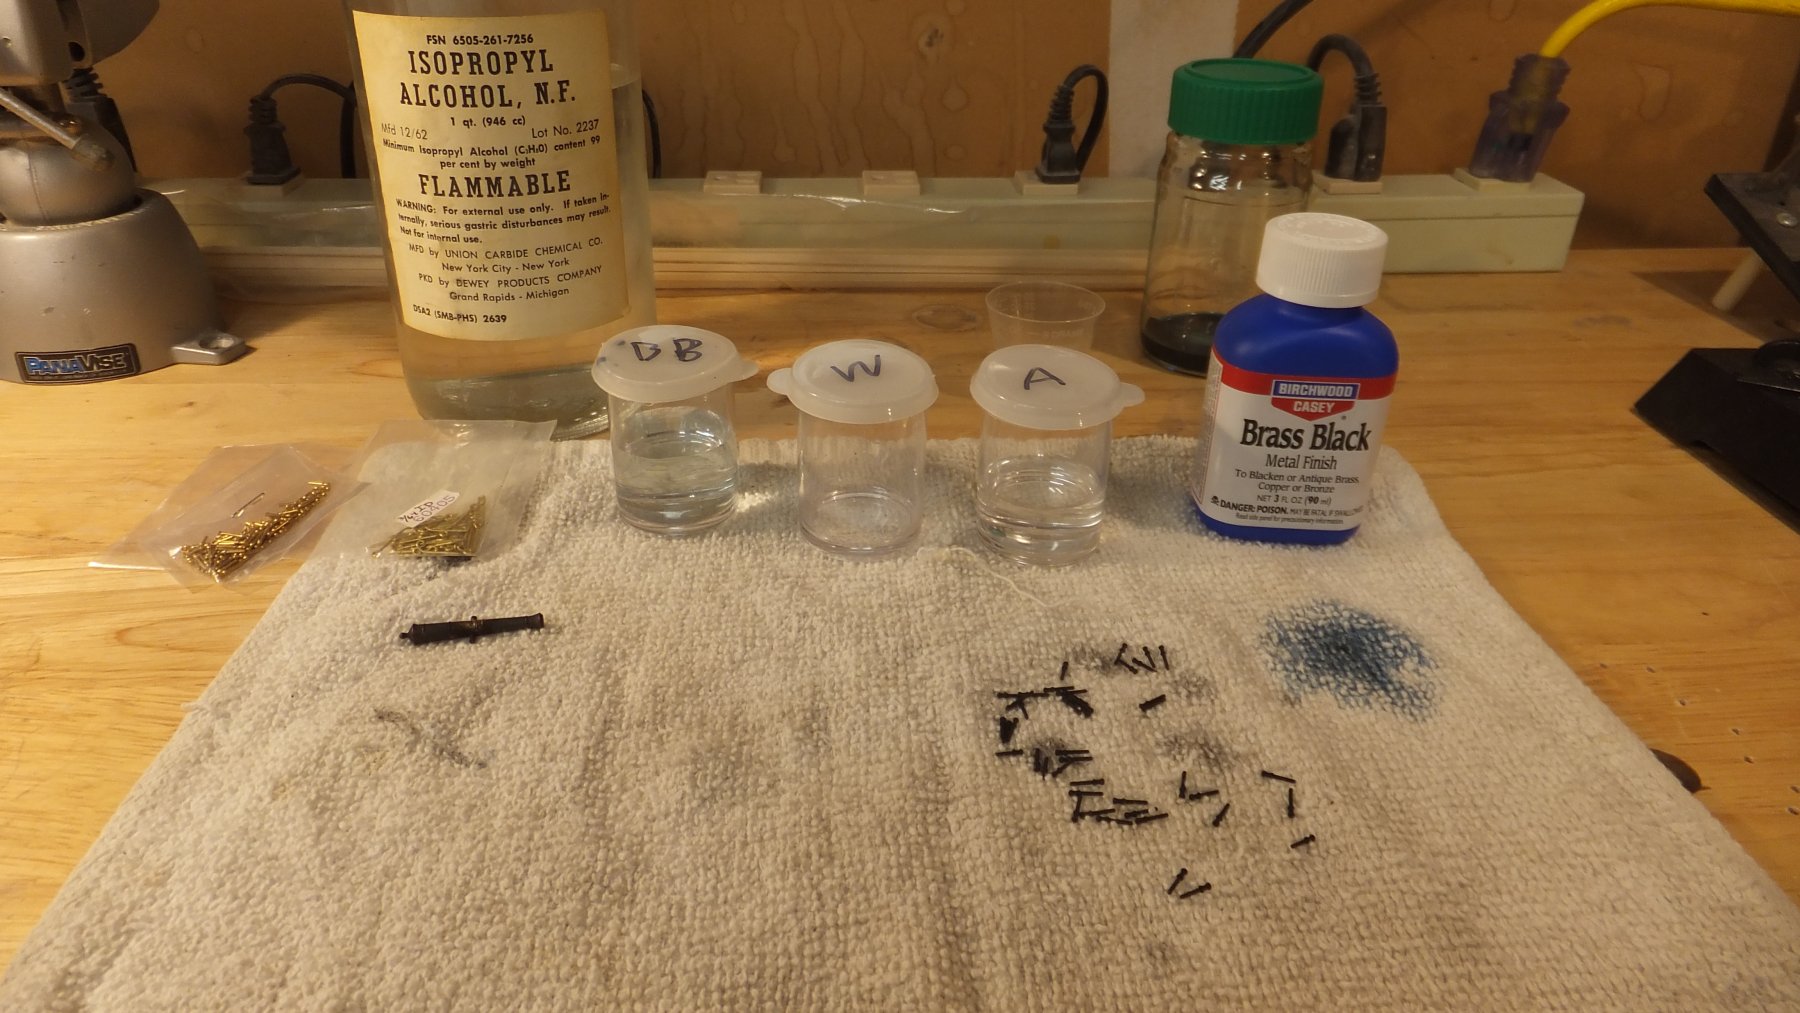
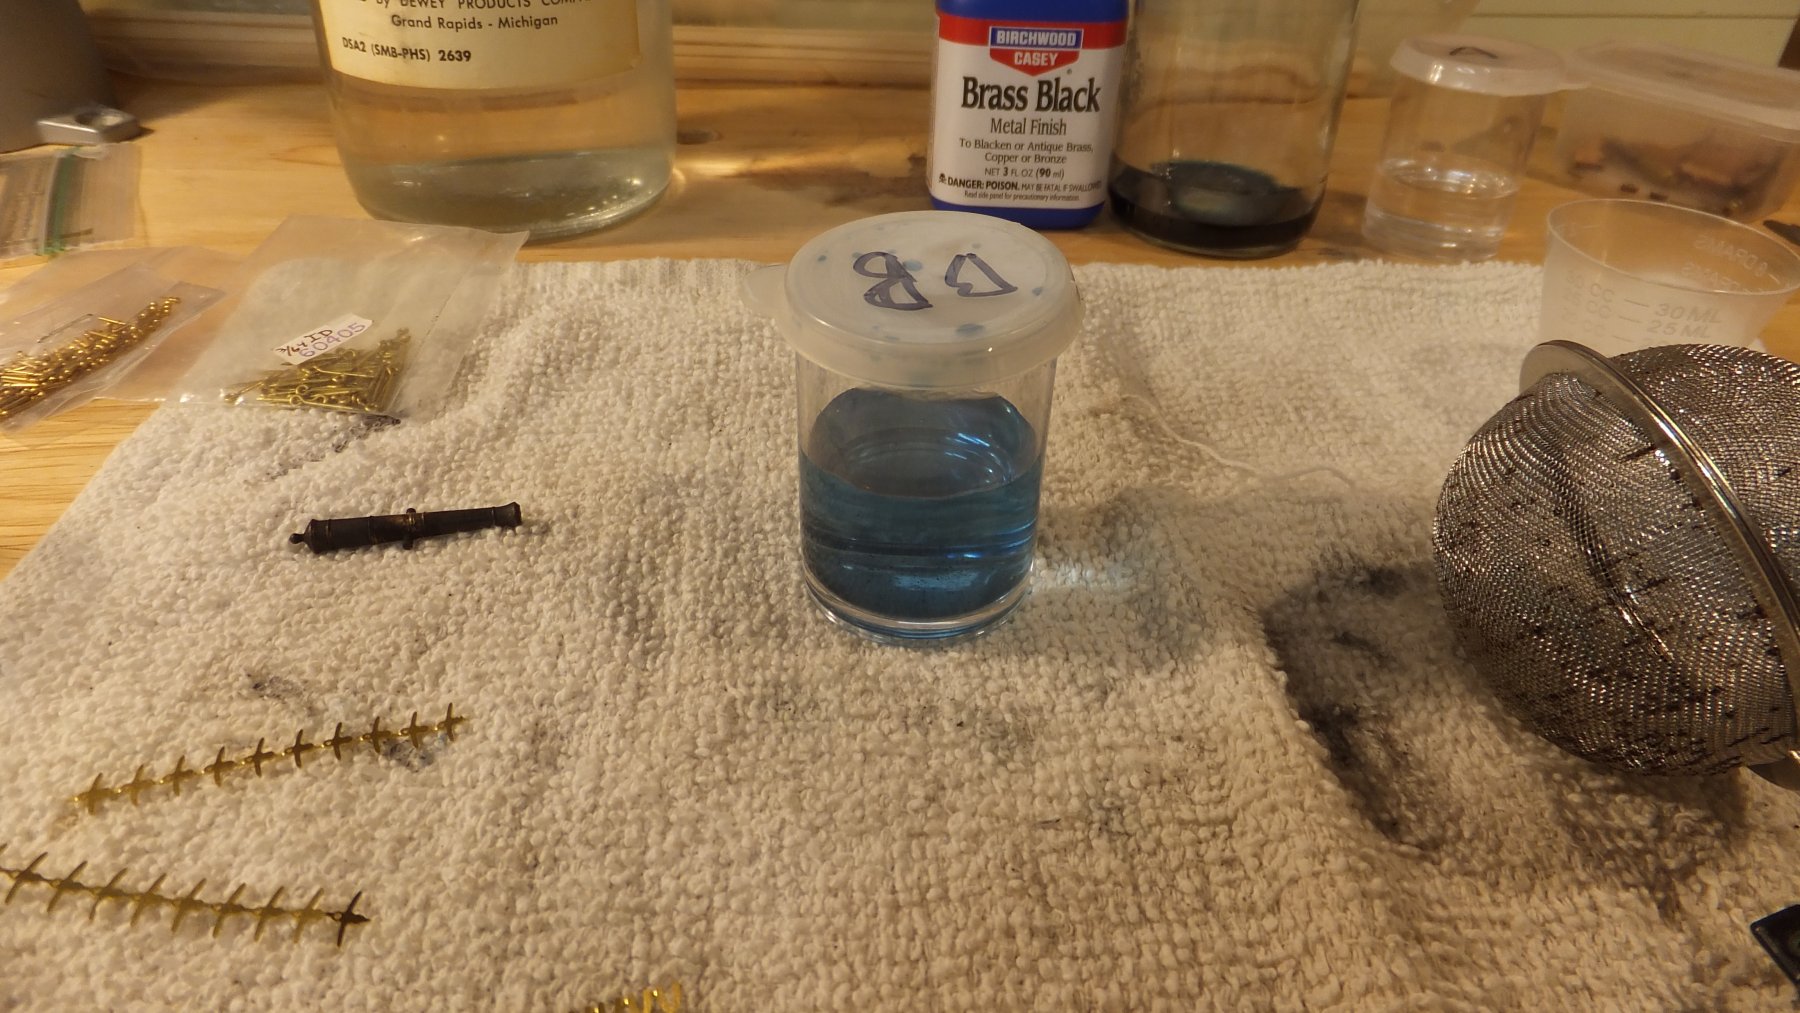
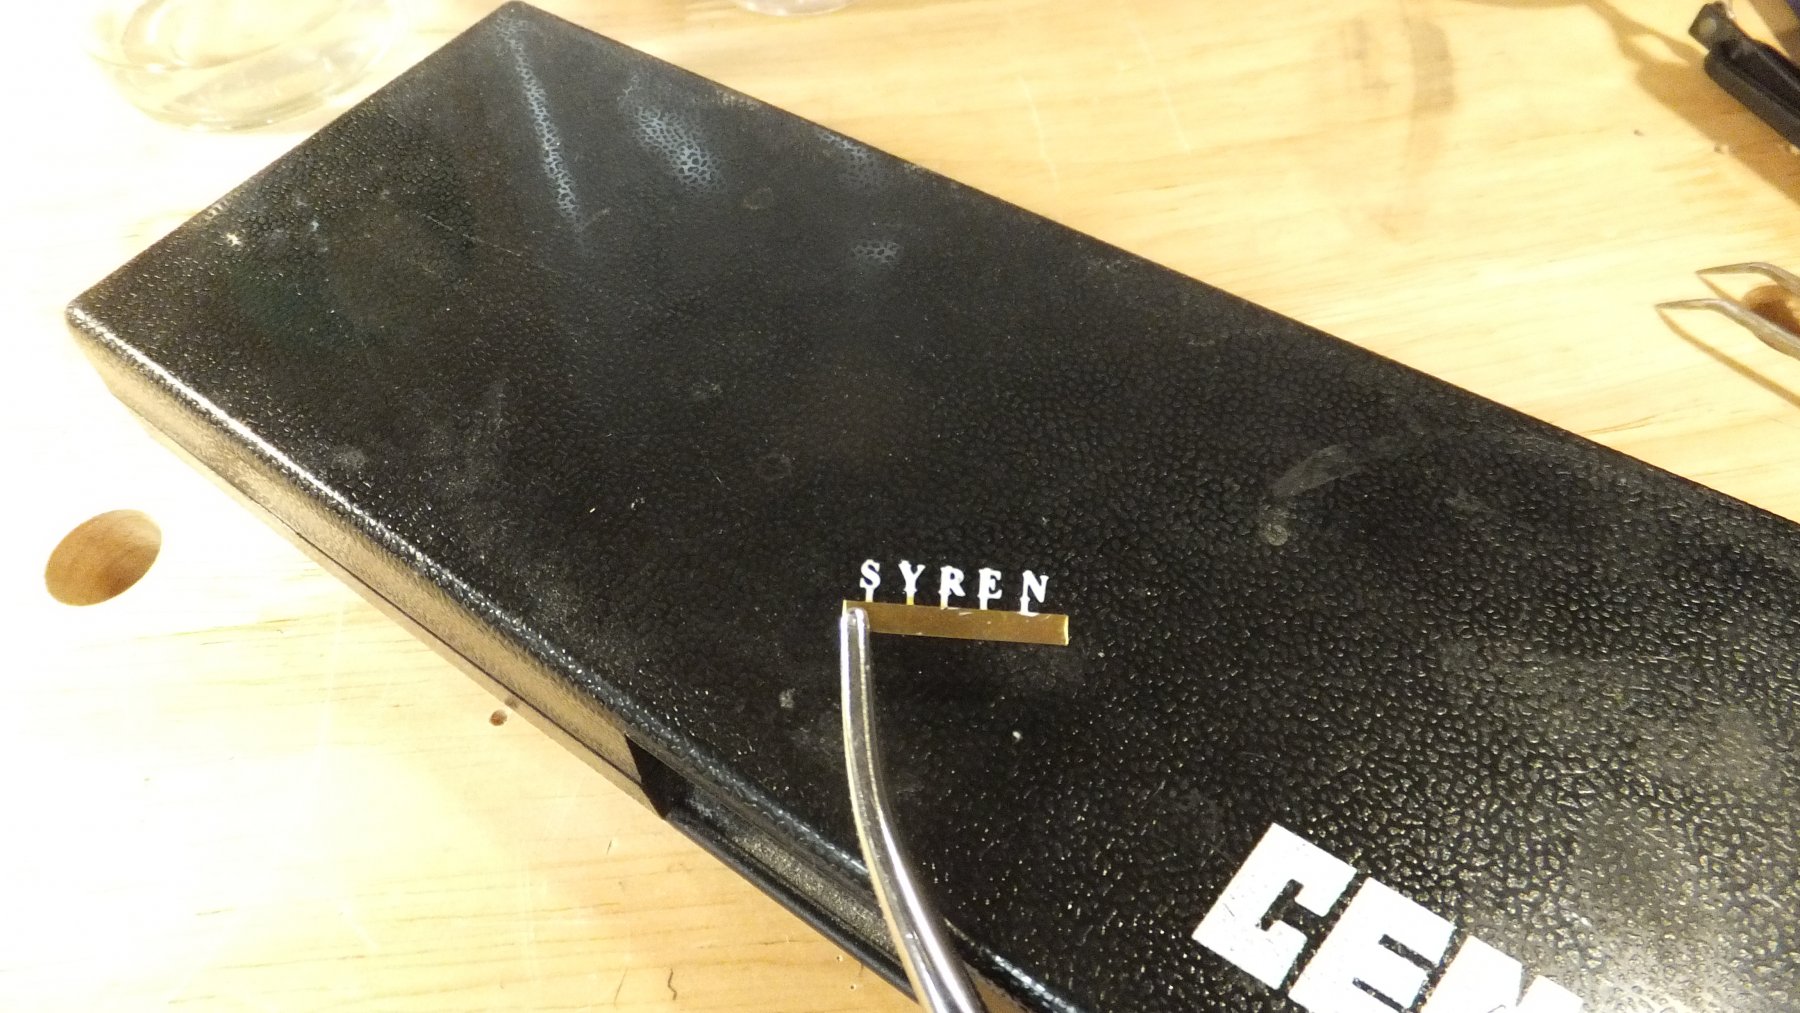
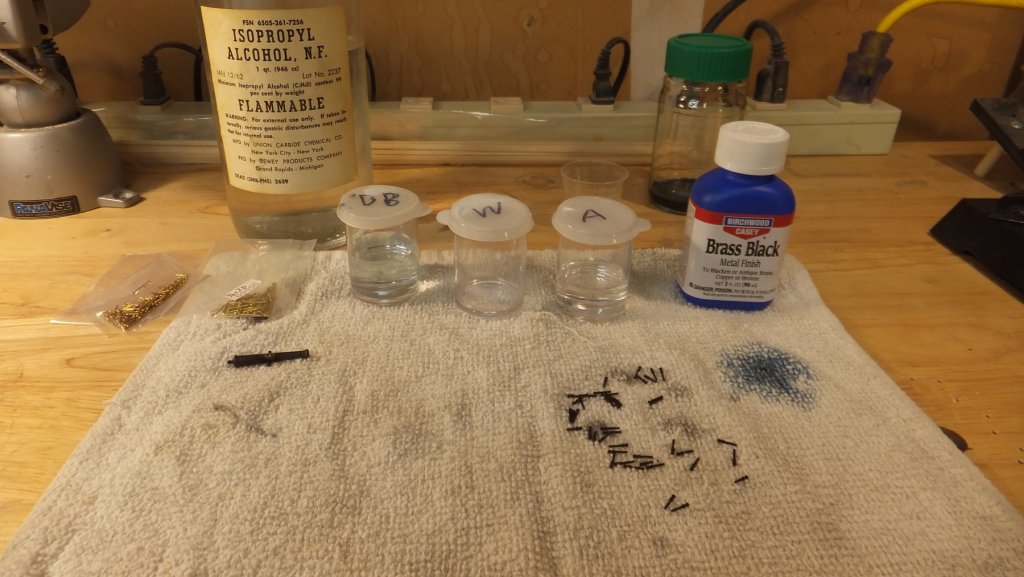
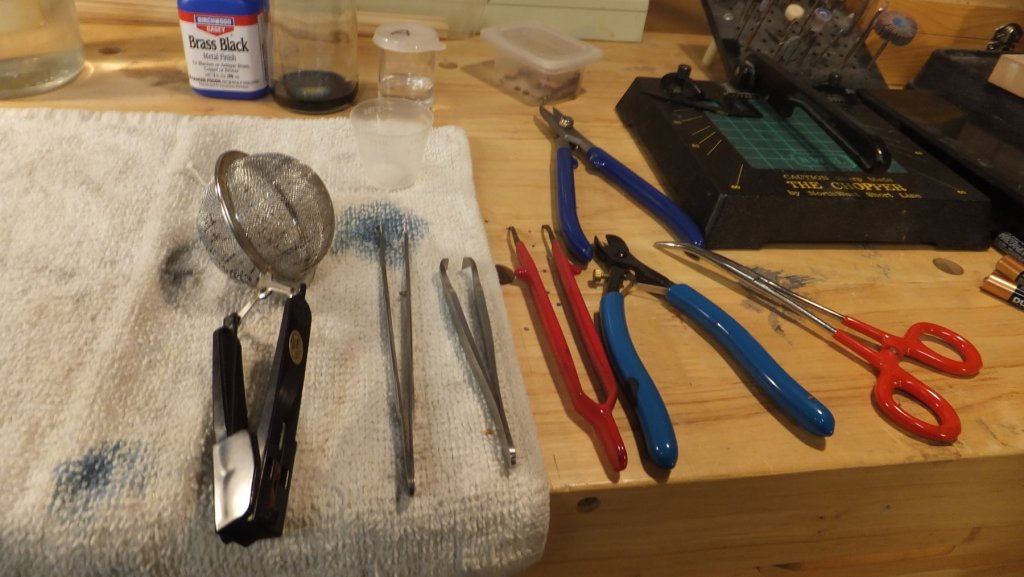
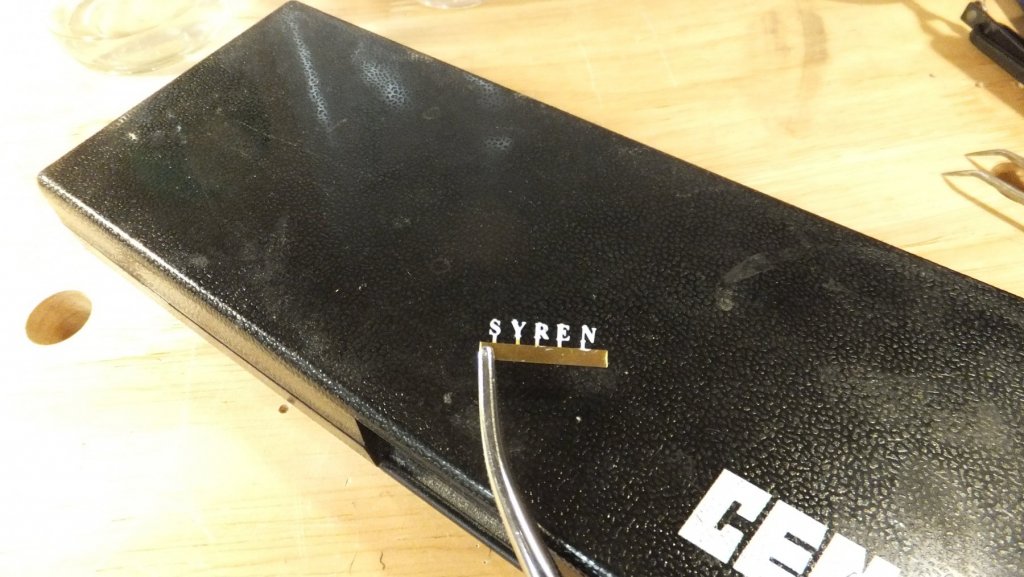
Now that the site is back up. I can see I have a lot to catchup on. (Thank you to all the admins) By the way while on the subject of thanks. I have so many people on this site to thank, I don't know where to begin. I am sure I would not be modeling today if it were not for the wonderful people here and in my local club. So let me focus on the assistance and support I have received for this build and also bring you up to date on my progress. I am sorry I will not be able to mention the names of all the people who contributed to the great Ideas I have incorporated in my build. But let me try. First, all of us in the Syren Club have been discussing the terrible condition of the Carronades supplied with the kit. There have been several suggestions on alternatives. Some very compelling. I have decided to go a slightly different direction. Let me list the alternative I am aware of and why I decided not to go that way. Caldercraft supplied - These are the best available. But I did not like the idea of spending $80 and then having to make significant alterations. Blue Jacket supplied - Not a good as Caldercraft & cheaper, but still better than MS. But still the same reasons apply. Mold out of pewter - Very interesting. But I have no experience and I would still need to make the mold. Also there is the color to deal with. Make with wood - Again I would need to tools or skills to carve or a lathe. But this is my mostly likely 2nd choice. So I have decided with the help of my good friend Per to 3D print the prototype using Sketch-Up. I have recently found a workshop which will give me access to 3 printers, 2 CNC machines, & 2 Laser cutters for a very low price. I am excited to give it a try. And I will likely create a prototype with the printer. and from that create a mold. Stay tuned. by the way you will see further detail on this subject in the CAD forum. So the next area of help is in the Copper plating. Like most of us at this stage I have been working to build my stamps and jig. Jim Rogers has kindly offered to loan me his jig and stamps. And he will even help me get started. So in a couple weeks I will be taking the ferry to see Jim! So while waiting on coppering with Jim I was thinking about what else to work on in the mean time. I decided to set up my blackening lab again because of suggestions I found here. I purchased from Amazon a small bottle of Brass Black for $8.50. The instructions on the bottle say to clean first with Alcohol, rinse with water, then blacken for 1 min. then rinse again with water. I would add to this make sure everything is completely dry between steps. In the pictures below you will see my Chemistry lab. For the sharp eyed who look at the pictures you will notice that my bottle of Alcohol is dated 1962! And it came from a Civil Defense shelter. That is another story for the future. I also have a question for anyone familiar with this process. How do I dispose of the leftovers? This is a strong chemical and I don't want to just pour it down the drain. I have had lots of fun blackening stuff for the Syren. I have found that I need about 1 min 20 seconds. But it works very well. Another great Idea from MSW. Another comment I found in a build log was the observation that the copper tape is very thin and so you need a very smooth surface before you place the plates. I am not going to post a picture. But I have been filling and sanding several coats until it is so nice. Another suggestion I found was to use an X-Y table to drill the holes for the eye in the wooden parts of the Carronade sled. So I have first sanded off the laser char and painted these parts. Soon I will be drilling and inserting eye bolts. By the way this was the reason I decided to do my blackening. I needed blackened eye bolts. My ultimate goal was to get a carronade ready for the 3D printed prototype. Since i am not installing the waterway. I also need to know if I need to modify the height of the wheels at the back. I will post a picture of this as soon as I have it setup. Lastly I read a suggestion on how to paint and install the lettering for the stern. You will see a picture below as I have begun this process. Let me give you the steps here. First cut the lettering from the photo etched plate leaving the letters attached to the bottom. Then paint (I chose to use white). The attach to a scrap of wood that will fit between the stern molding using double sided tape. now cut the letters away from the sprue. They should now be face down on double sided tape attached to the scrap of wood. And they will be properly lined up with the correct spacing. Now apply a small amount of CA to each letter and press them into place on the stern. That is it! I can't wait to finish this step. And finally if you are not bored yet. Here are the pictures. I was having some trouble with the macro on my camera so the lettering may be a bit blurred

-
I have this same Kit. The instructions are terrible. Thank you for your log. It will be a great help. PS I have sailed on the replica and sat in that round cockpit. In fact I was on board during her first fresh water Sail! (Lake Washington, Seattle)
-
Ron - I have an update on my journey. As I mentioned I was trying to find a way to 3D print my Carronades on my Syren. I started by scanning the plans into Turbo CAD 64 bit. I would have used Sketchup but it did not have a tracing function. In the process of learning how to do this. I learned that first Turbo CAD did not have a tracing function. And 2nd as you mention, the tracing function is not very good anyway. But as part of my Research I joined a Forum on Turbo CAD to ask questions. One respondent asked me to post my JPG so he could see what I was trying to do. Yesterday I went back to the forum to see if there was any more suggestions. And I found that some one had taken my scan and created the 3d picture. Now all I need is his file and I can do my 3D print. It will also be a good chance to learn what he did.
-
You have a Date my friend! I will send you an email. I am currently building my copper plate stamp. 3 of my pins just broke off inside the wood. I have to start over. I might just take a look at yours to see how I can do better.
-
Jim - Wow nice job. You are just ahead of me. perfect you can help answer some questions. first how much of the roll of copper tape did you use? I Chuck's practicum he mentions that you may need part of a 2nd roll. @nd question - How did you cover the Keel? Fold the plate over and let it be covered by the false keel? Since we live so close to each other I should send you the cost of the ferry. come join us pleas at our next meeting. You would be a huge boost to me.
-
So I have a question for the syren club. I am getting very close to beginning the Copper hull. For the first row along the keel do you fold the edge of the plate over so that it is under the false keel?
-
Thanks now if only my planking skill was as good. One more gotcha I have discovered. If like me your gun ports are not high enough for both the water way and the swivel bracket. you may have to modify the wheels so that they are the right height.
-
Well I can't believe it has been this long since I posted an update. Below you will find a picture of my finished Deck. I must say I like the combo of Danish Oil and Holly. The color came out just perfect. And the Danish oil did a good job hiding the difference in color from the margin planks and the holly. Now time to confess some of the reason I have been slow at posting. I am not at all pleased with my skills at planking the deck. I had decided to skip the nibbing to make things easier and now I can see it would have been better off if I had done the nibbing. anyway here is to hoping most of these mistakes will be covered up with deck furniture. And it is on to Treenailing. Then Coppering! I hope I don't screw that up. One last comment and I hope this helps someone else. If you read the directions carefully you will find that you are supposed to have a triangular piece that is 1/16" as a water way. and they you will have a 1/16" thick bracket that has the pin to mount the carronades. Therefore you should have 1/8" gap from the deck to the gun port sills. I have 1/16" not 1/8". So the waterway will have to go. I suggest you check this before it is too late.

-
Rats, Ron you are correct. I have been playing with TurboCAD. I started with the 64 bit version. but I am told there is no tracing function in this version. So I began a wider search. My results agree with your comments. So given my goal of 3D printing what S/W would you recommend? I guess I will start over. no need to learn TC. It is a powerful program but it will not do what I need. Thanks for saving me $150.
-
Rusty - It isn't often we get to do this much rework on a finished model. Is there anything you would do differently now? Also what type of wood did you use for your deck furniture? Is that Pear?
-
Just a quick comment on the scuppers. This was an idea from another builder many years ago. I agree it is hard but the result was impressive. Look at some of the other logs on this site. PS I skipped it too. This was my first completed Build.
-
Hello from Klamath Falls Oregon
fnkershner replied to OldBritAbroad's topic in New member Introductions
One year we took the Grandkids there in August. There was still snow in the shadows. They were amazed! And even though they had shorts and t-shirts they had no problem running, slipping and sliding on the snow drifts. -
Hello from Klamath Falls Oregon
fnkershner replied to OldBritAbroad's topic in New member Introductions
K Falls is a wonderful place. I hope you get to see Crater lake with its winter blanket. Always my favorite scene. I am a grad from Eugene living in Seattle. Love the Northwest, won't live anywhere else. -
Ron - Per is hiding his brilliance. He and I worked together yesterday. We installed TurboCad and we scanned the plans to a JPG and successfully imported to TC. Now I am told there is a Tracing function in TC. Now all I need to do is find it. Thanks for all your help.
-
You got it! the fisherman is also known as the Staysail you describe. and Yes the rigging is unique. I spent lots of time in other references trying to learn about the rigging for this sail. The only thing I see is that you did not rig the Topsails to the sail rings on the topmast. I would introduce you to our own Dr. Per (elsewhere on this site) But I would suggest that you have now reached the 4th stage of MSW disease and there is no Hope for you. LOL PS it is a life long Malady and You will enjoy.
- 245 replies
-
- 5
-
-
- bluenose
- model shipways
- (and 1 more)
-
Where is the Fisher man Sail? this is the big sail between the topmasts. It is a unique sail that is only found on schooners. The rigging of the Halyard is very different. Also you have mast hoops on the topmasts but no sail attached? Very nice build!
- 245 replies
-
- 4
-
-
- bluenose
- model shipways
- (and 1 more)
-
Art - I have been quietly following your log with great interest. To me the most important part is the exploration of blackening solutions. Did I miss something? I don't see any discussion that explains where the Brass Black came from? Where can I pick some up?
- 82 replies
-
- 4
-
-
- naval smoothbore
- model shipways
- (and 1 more)