HOLIDAY DONATION DRIVE - SUPPORT MSW - DO YOUR PART TO KEEP THIS GREAT FORUM GOING! (83 donations so far out of 49,000 members - C'mon guys!)
×


jwvolz
-
Posts
979 -
Joined
-
Last visited
Content Type
Profiles
Forums
Gallery
Events
Everything posted by jwvolz
-
 Nice start on the planking Jason. Looks like you have a great base there to work from.
 -
Nicely done with the combination of materials, and using the basswood boat effectively Bob. Looking good.
-
Varnish over painted hull
jwvolz replied to TonyUK's topic in Painting, finishing and weathering products and techniques
Oil based stains are potentially incompatible with acrylic paint. Not always, but it's quite possible. I would use an acrylic based varnish or hobby type acrylic satin coat. Vallejo makes a good satin. The satin varnish should even everything out Ok on it's own. No need for the wire wool or sanding. Use a few thin coats rather than one heavy one. -
Deck looks terrific Jason !
-
Looking great Timmo. VERY nicely done on the serving machine. Alistair, I need to slow down so I stay behind him, so I can continue to "borrow" ideas! Although I guess I owe a few now...
-
Search for cataract scissors on eBay. Very fine points and they cut with little effort. I think Micromark may also have some variation. Fly tying scissors also work very well, but I find the cataract type easier to handle in tight spaces.

-
Thanks guys, I appreciate the feedback. Yes, I am gaining on you rapidly there Wayne...
-
Thanks Wayne. As a fellow Granando builder, any thoughts on my tiller decision to go with the wood instead of brass?
-
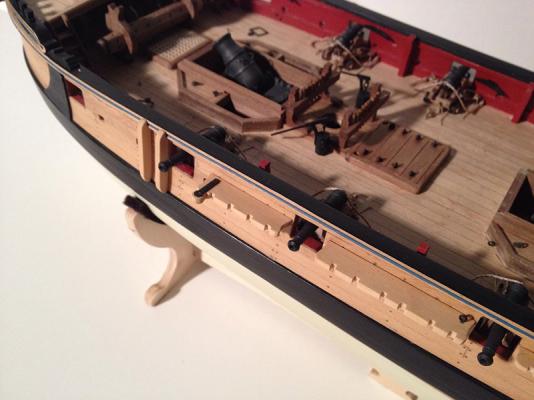
Thank you Grant, I'm glad you enjoyed the read. The channels were built from boxwood, to replace the kit walnut version, and glued and pinned to the hull. I still need to fabricate and install the support knees. I also installed the pumps, which were completed awhile ago, as well as the quarterdeck barricade. I don't think I took any photos of when I installed the entry steps and fenders not long ago, which are also boxwood replacements of the kit walnut. Finally, I've installed the rudder and tiller and housing. I added the trim along the bottom of the housing on my own to give it a ore finished look. Caldercraft would have you make the tiller from a bent piece of brass. I didn't really think it would have been a metal part on the real Granado, and the AOTS book is unclear, so I carved one up from boxwood. Even if I'm wrong, I think it looks better...
- 302 replies
-
- 15
-

-
- granado
- caldercraft
- (and 1 more)
-
Thanks Tim. Much appreciated.
-
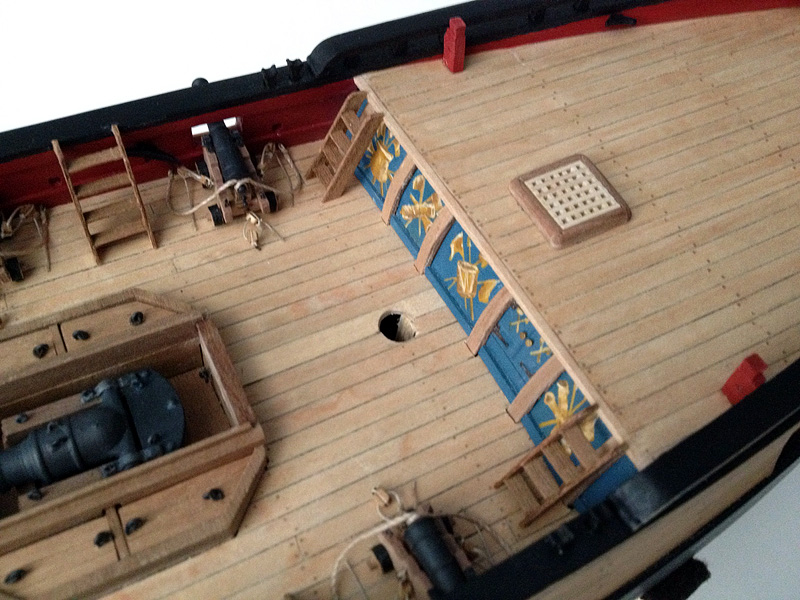
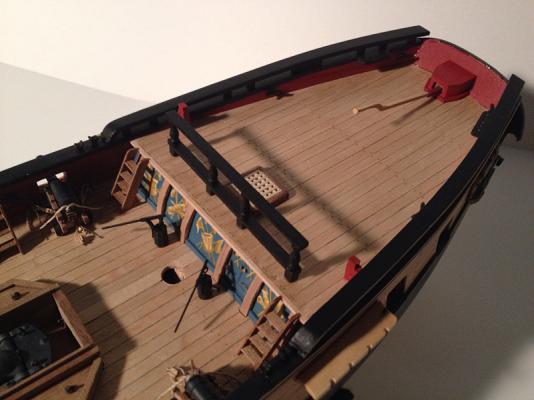
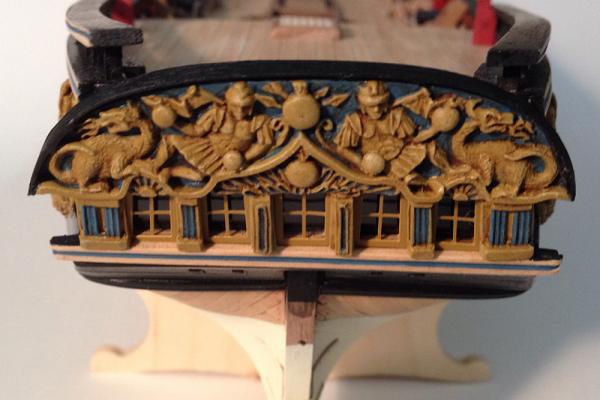
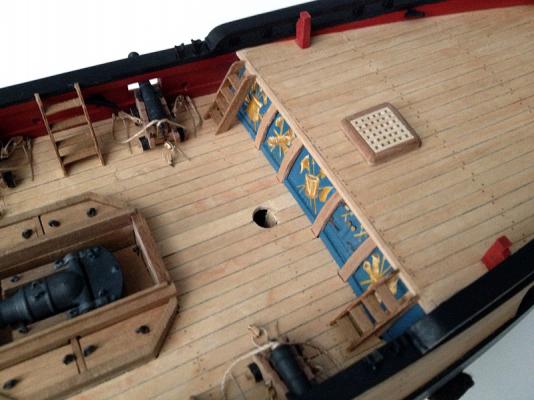
Thanks Mike and Mobbsie. Mike: The blue treatment on the rails is right off the cover of the AOTS book. Looked good there so I used that for guidance rather than Caldercraft's instructions.
- 302 replies
-
- 3
-
-
- granado
- caldercraft
- (and 1 more)
-
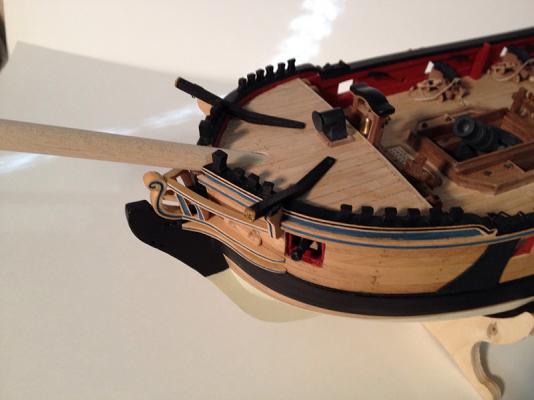
Thanks guys. I did get the catheads fitted last night after the other photos were already up. Fit is good and bowsprit test looks good too.
- 302 replies
-
- 13
-
-
- granado
- caldercraft
- (and 1 more)
-
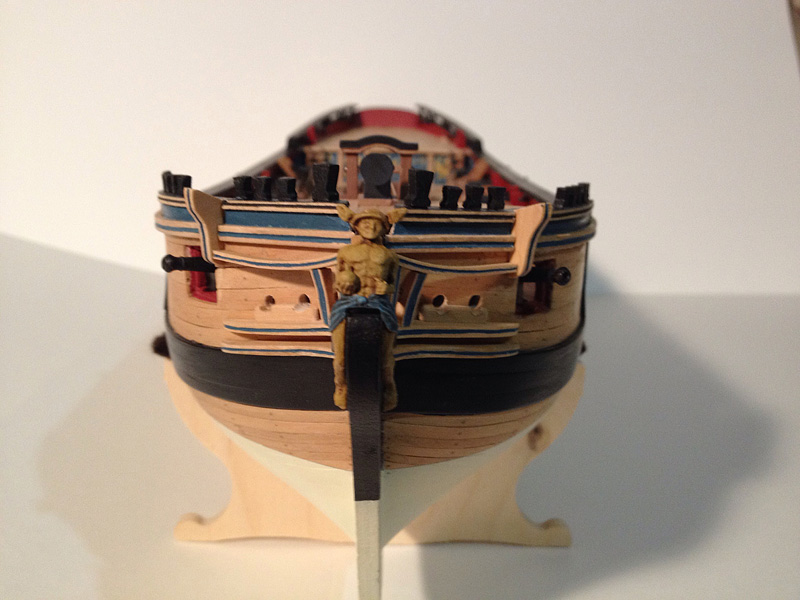
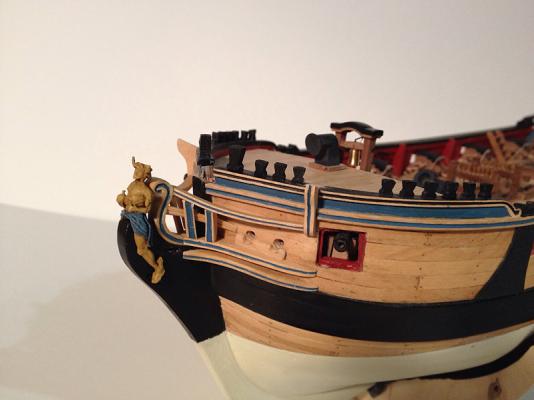
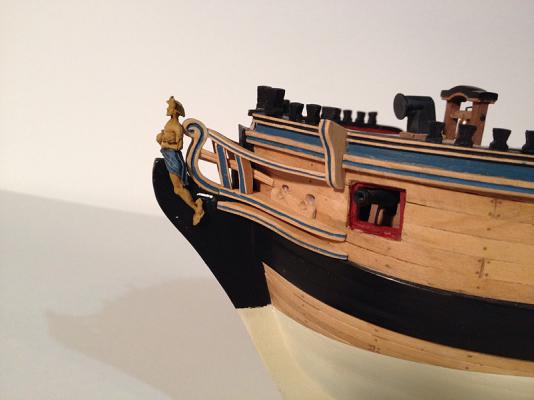
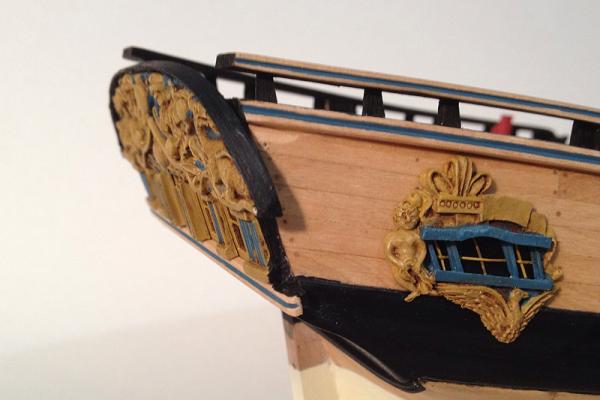
After a solid week of work (and re-work more than a few times), the head is complete. The top rail is not really accurate to the AOTS book, but I was a bit restricted by my boxwood supply, size wise. At any rate, the rest is pretty darn close to the book, and I think a vast improvement over the kit options. It was some seriously fiddly work and although rewarding to get done, I'm glad it is behind me...
- 302 replies
-
- 13
-
-
- granado
- caldercraft
- (and 1 more)
-
Looks real nice Mike. Maple is real nice to work with.
-
Thanks Mike. All the experience from those plastic airplanes I've built and weathered over the years has come in handy!
- 302 replies
-
- 1
-
-
- granado
- caldercraft
- (and 1 more)
-
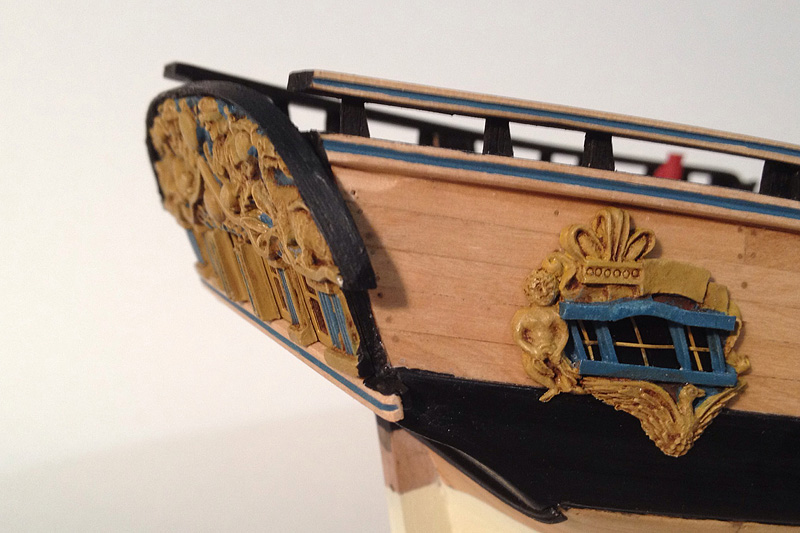
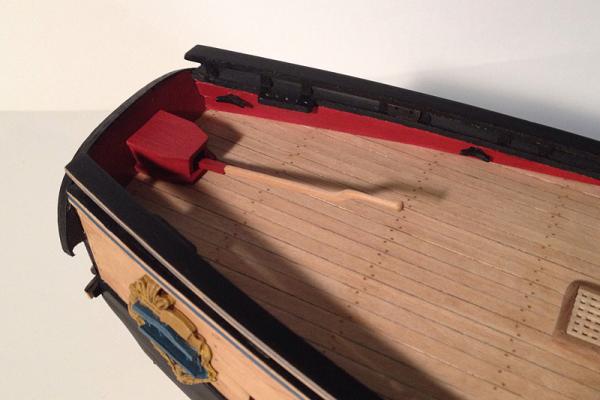
Thanks Jason, Julian, Fred and the "likes". Julian: Yes, the quarter badges get filed to fit, as per Caldercraft's instruction so they lay across the wale properly. I used epoxy on both the stern gallery and the quarter badges, as CA would have likely fogged the clear parts. Fred: Have you posted a build log? I'm sure everyone would be happy to help with any specific advise you need. Although I'm far from a master craftsman in this art, I do have four builds under my belt, so experience does play a part. Also, as I've noted a few times in the log, I'm willing to take the time to re-make parts (and it has been a few...) I'm unhappy with. So not everything you see here is the first effort! My windlass is a good example. Continued best of luck on your build.
- 302 replies
-
- 1
-
-
- granado
- caldercraft
- (and 1 more)
-
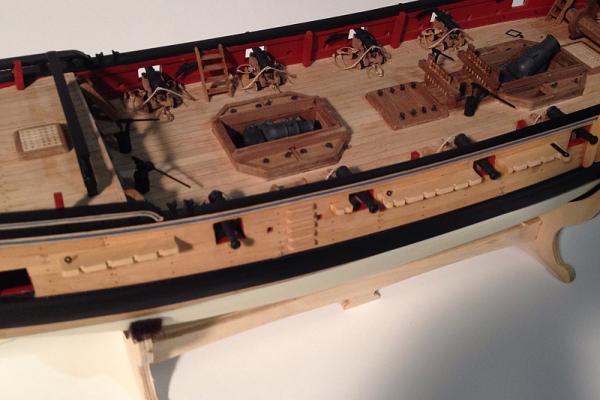
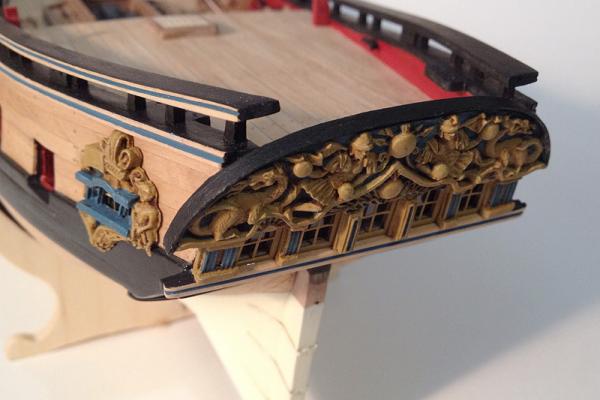
The stern and quarter gallery decorations are now installed, as well as the capping piece. No real issues here. The trim was made from boxwood strip, similar to the sheer rail. I guess I have to venture around to the bow now. I've been putting it off...

- 302 replies
-
- 18
-
-
- granado
- caldercraft
- (and 1 more)
-
Wonderful job. Congratulations on a truly great build Mobbsie.
- 1,279 replies
-
- 1
-
-
- agamemnon
- caldercraft
- (and 1 more)
-
Ah, thanks Mobbsie. I knew there were the cross section plans out there.
- 255 replies
-
- 1
-
-
- granado
- bomb ketch
- (and 2 more)
-
Jumping right into the front row on this one, since I'm building the Caldercraft kit of the Granado at the moment. Great start. Did you loft the frames yourself and what source did you use for the plans! Really looking forward tot he build Mobbsie!
- 255 replies
-
- 1
-
-
- granado
- bomb ketch
- (and 2 more)
-
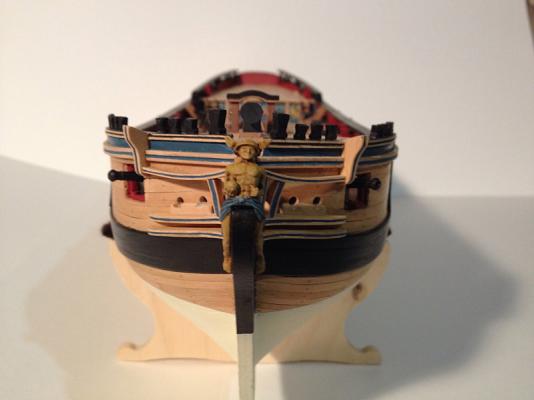
Thanks everyone for the nice comments and "likes". I'm glad my painting information was helpful. Timmo: Thanks for the heads up on those quarter figures. I do recall seeing that in your log, and it seems that they are least a bit flexible to bend them a bit. I'll do some test fitting shortly, but I think I'm going to leave them off for now as they look like they might be a little vulnerable to being bumped sticking out like that. Your take on the thinners is interesting, since my experimentation over the years on plastic models as shown turpentine to be the least aggressive, and to keep the pigments in suspension better. It could well be formula differences among the various products in the US vs. NZ. I also find that the Future (other names elsewhere in the world) provides the best barrier coat I've found of all the acrylic gloss options.
- 302 replies
-
- 1
-
-
- granado
- caldercraft
- (and 1 more)
-
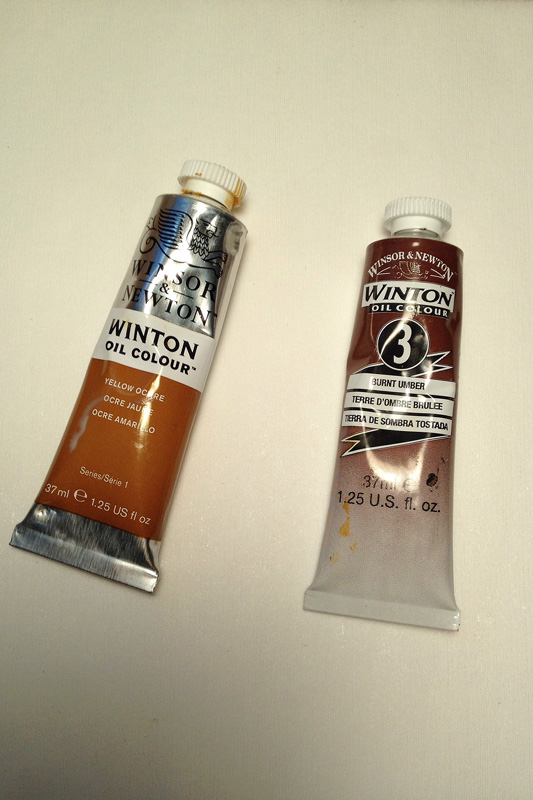
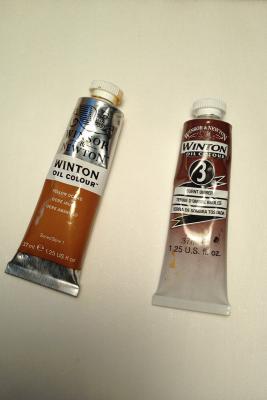
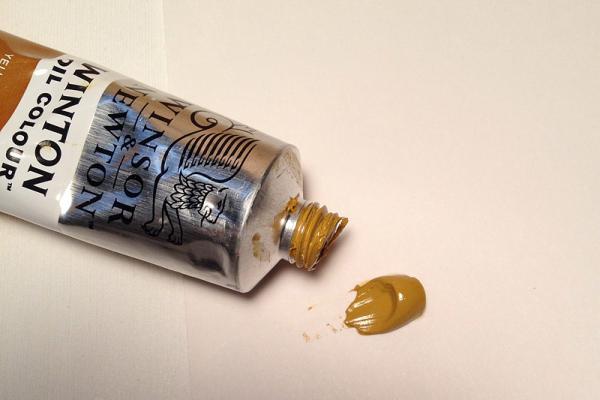
Jason, Artist's oils are simply the oil based tube paints artist's use on canvas. Art stores, Michael's A.C. Moore etc... all have them. Washes are simply made by mixing the oil paints with turpentine until you get a thin mixture with just a bit of color to it. You generally want to go darker than your base color paint as it will gather in recessed areas, imparting a depth/shadow effect. They work best over a gloss finish otherwise they soak into the underlying paint and stain everything darker; not what you want in this case. The oil paints flow much better than the acrylic artist's paints. Also, it is best to use an acrylic gloss coat and paints, as the turpentine won't attack it and the paint below. I've experimented over the years with a lot of different thinners and turpentine is by far the best. Flow the mixture over the whole piece and it will pool int he recesses. Any excess wash on highlight areas can easily be removed with a cloth or q-tip, as the oils dry very slowly. When dry, alighlty mositend cloth with turpentine will work. This is where having that acrylic gloss coat, and preferrably acrylic paint under it helps.
- 302 replies
-
- 8
-
-
- granado
- caldercraft
- (and 1 more)
-
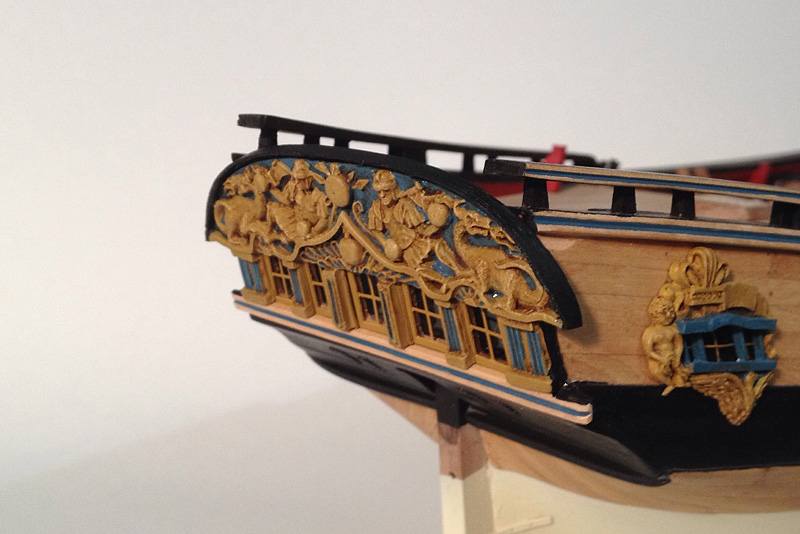
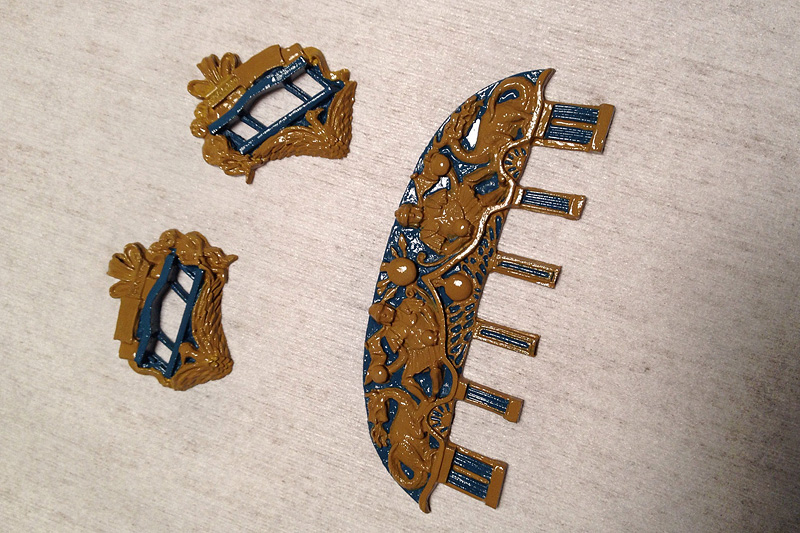
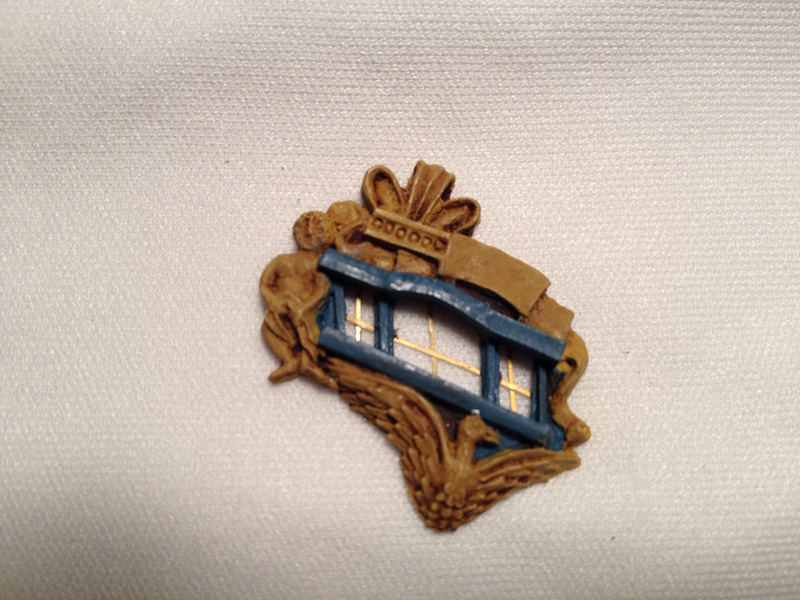
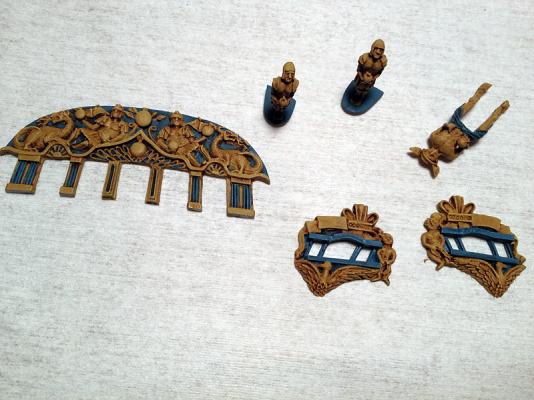
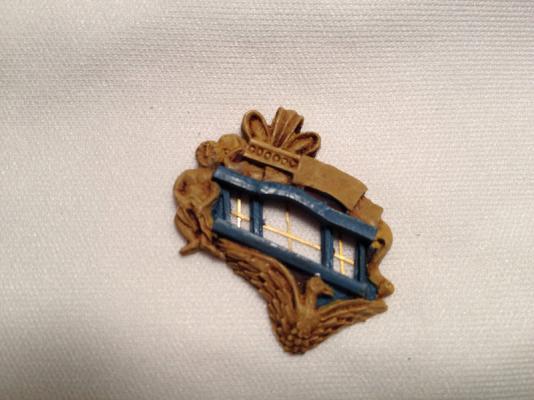
For a change of pace I went to work on the stern and quarter gallery decorations. I really liked Timmo's idea of the ochre/wood look with the blue, rather than the unlikely garish scheme Caldercraft shows. I did mine a little differently than Timmo. First, I prime all the parts followed by base painting with the Polly Scale colors I've been suing elsewhere on the build. Next I gloss coated with the airbrush, using Future floor polish, which is an acrylic polymer. Those of us who also build plastic models know how useful a product this is for gloss coating prior to decaling or weathering. Next, I applied a thin wash of burnt umber artist's oils which gave the very nice Caldercraft castings some depth. Next came a flat coat, again with the airbrush followed by drybrushing with lightened versions of the base colors to bring out the highlights. Finally, spare photo-etch runners were used to make window frames in the quarter galleries, another brilliant Timmo idea...

- 302 replies
-
- 18
-
-
- granado
- caldercraft
- (and 1 more)
-
All six ladders are complete and installed. Fiddly to build, but definitely worth it.
- 302 replies
-
- 8
-
-
- granado
- caldercraft
- (and 1 more)