HOLIDAY DONATION DRIVE - SUPPORT MSW - DO YOUR PART TO KEEP THIS GREAT FORUM GOING! (Only 72 donations so far out of 49,000 members - Can we at least get 100? C'mon guys!)
×


jwvolz
-
Posts
979 -
Joined
-
Last visited
Content Type
Profiles
Forums
Gallery
Events
Everything posted by jwvolz
-
 Thanks guys. much appreciated. Just kidding Bob, I don't feel a day over 35. :-)
- 302 replies
-
- 1
-

-
- granado
- caldercraft
- (and 1 more)
-
RIGGING IS COMPLETE! Finished today as I became an old guy, 50th birthday... Really coming down the home stretch now. Only the swivel guns and anchors remain, and a few odds and ends here and there. I'm likely going to do some flags as well.

- 302 replies
-
- 19
-
-
- granado
- caldercraft
- (and 1 more)
-
Looking very good Bob.
-
Minor setback. I've removed the main yard braces and sheets since they totally blocked access to the deck and it became very difficult to fit rope coils on the pinrails and bulwark cleats. In the end not too big a deal, and I can actually maneuver around in there now... Thanks for the "likes" everyone.
- 302 replies
-
- 3
-
-
- granado
- caldercraft
- (and 1 more)
-
That could very well be the case OC, and that would also end up giving you some trouble.
-
Thanks to all for the nice words. All of the slings, halyards, and lifts are now complete as well as a few of the clew lines, and I have started work on the braces. Things are getting a little tight in there and I think I'm going to stop and add all of the rope coils I can before the deck becomes completely inaccessible
- 302 replies
-
- 19
-
-
- granado
- caldercraft
- (and 1 more)
-
Use isopropyl to clean the hull. Various liquid soaps can leave surfactant residue behind the actually prevents adhesion.
-
Very nice clean work Bruce. I hope to start my own Morgan in a few months when I wrap up my current build.
- 245 replies
-
- 1
-
-
- model shipways
- Finished
- (and 1 more)
-
Brig Eagle by robnbill - 1:48
jwvolz replied to robnbill's topic in - Build logs for subjects built 1801 - 1850
Very, very nice Bill. I love your approach to this build. -
Looking great Ian. Your metal work continues to amaze me.
-
Wow, I'd wondered what you'd been up to... This is going to be fantastic to watch develop Wayne, best of luck on this, she looks great so far. The Cruizer class is one of my favorites as I've mentioned and was a consideration for my next build, and now I can steal great ideas from you again when I get to it!! Give your Granado a little visit now an then too though...
-
Stergios, The futtock stave should be the same distance below the top as the mast cap is above the top. I normally tack the stave to the shrouds with dots of super glue, then properly hitch them. They don't move around that way. Looking good.
- 1,144 replies
-
- 2
-
-
- snake
- caldercraft
- (and 1 more)
-
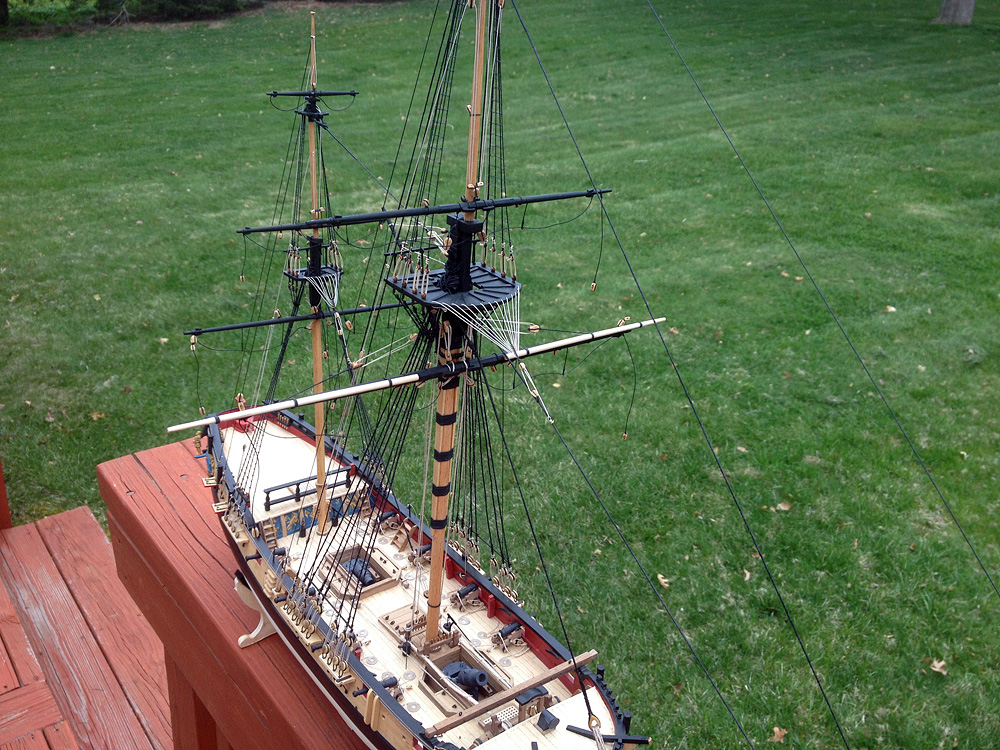
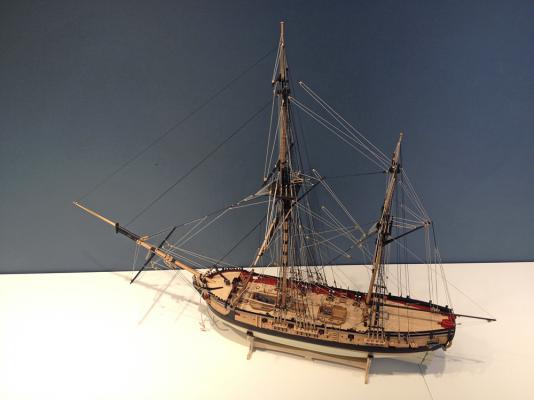
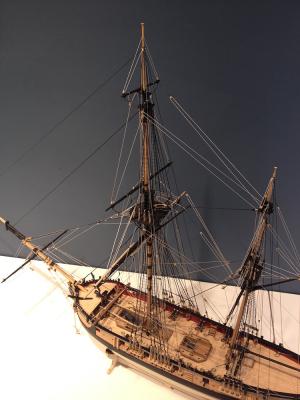
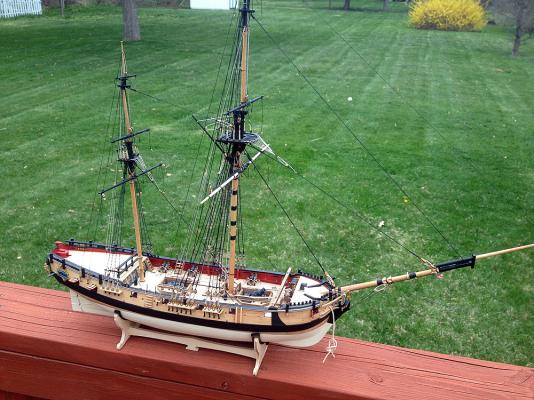
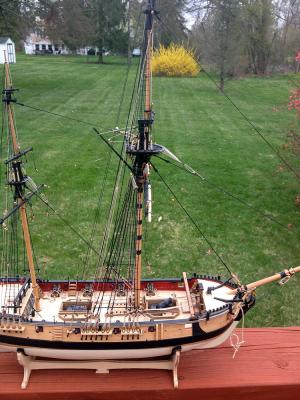
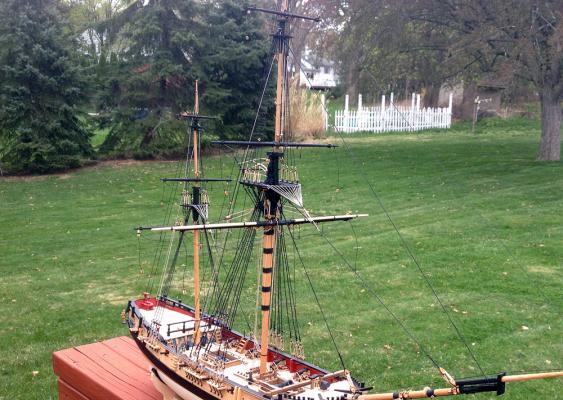
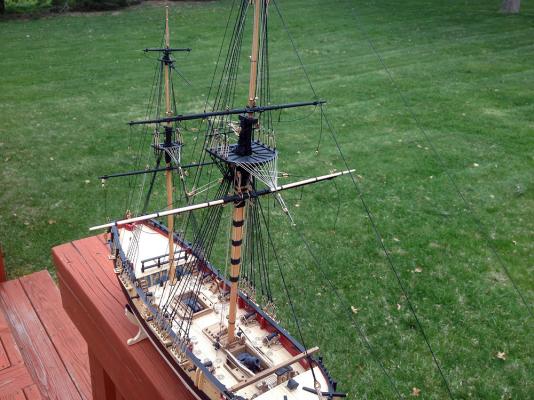
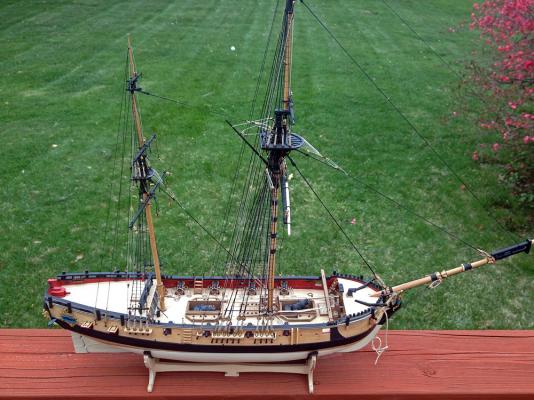
As promised a few outdoor photos in good natural light. All of the yards other than the spritsail are hung, and ties, halyards, parrels, slings etc... are complete for all. She really looks like a ship now!
- 302 replies
-
- 20
-
-
- granado
- caldercraft
- (and 1 more)
-
I agree on the Tamiya tape, as that's what I use exclusively on plastic models. It holds an edge very well a does not lift hobby paints. As far as the camo, in reality it would likely be a soft edge but in such a reduced scale masking it would be appropriate and much neater. You'd never be able to see a feathered edge in such a small scale.
-
Sounds like a good plan OC. The Vallejo brush paints nicely. I don't have any experience with Lifecolor, but they have a good reputation as a quality product. See what they recommend as a thinner for their paints.
-
I agree with Jack's statement. I can't imagine trying to thin them enough to get them through and airbursh, and as he said, even hand brushing they are too thick out of the bottle to not leave brush marks and hide fine detail.
-
Paints ain't just paints...
jwvolz replied to Izzy Madd's topic in Painting, finishing and weathering products and techniques
I am also a big fan of Vallejo, but for wood Model Master acrylics work well also (they adhere horribly to styrene, but that's another story). If you can still find them anywhere Polly Scale (discontinued) were some of the best, and I still have a nice little stockpile. In terms of prep, I only use a primer if I am painting a light color.For black and such I just paint as is over the raw wood, in several thinned coats. This applies over the hardwoods such as pear walnut and boxwood. An application of sanding sealer is a good idea over basswood to seal first, as the water in acrylics tends to raise the grain on raw basswood making it fuzzy. -
OC, Large areas can be done by applying several thin coats, rather than attempting to cover with one thick one. Slightly thinned acrylics will dry without brush strokes. Wait 24 hours and re-coat for complete coverage. Some acrylics hand brush much better than others. What brand are you using, and what thinner?
-
I always glue them and it has never been a problem. I carefully check to make sure they are straight and use a jig to hold in place if necessary.I find things are much more secure and stronger that way, and have less chance of uneven rigging tension pulling them out of alignment. I use 5 minute epoxy to give myself time to get everything aligned properly.
-
Thanks Wayne. I have a fair amount of room, but every time I turn her around I'm pretty careful. The jib boom has hit the wall once or twice. Congrats on the build anniversary. You're in the home stretch too though.
-
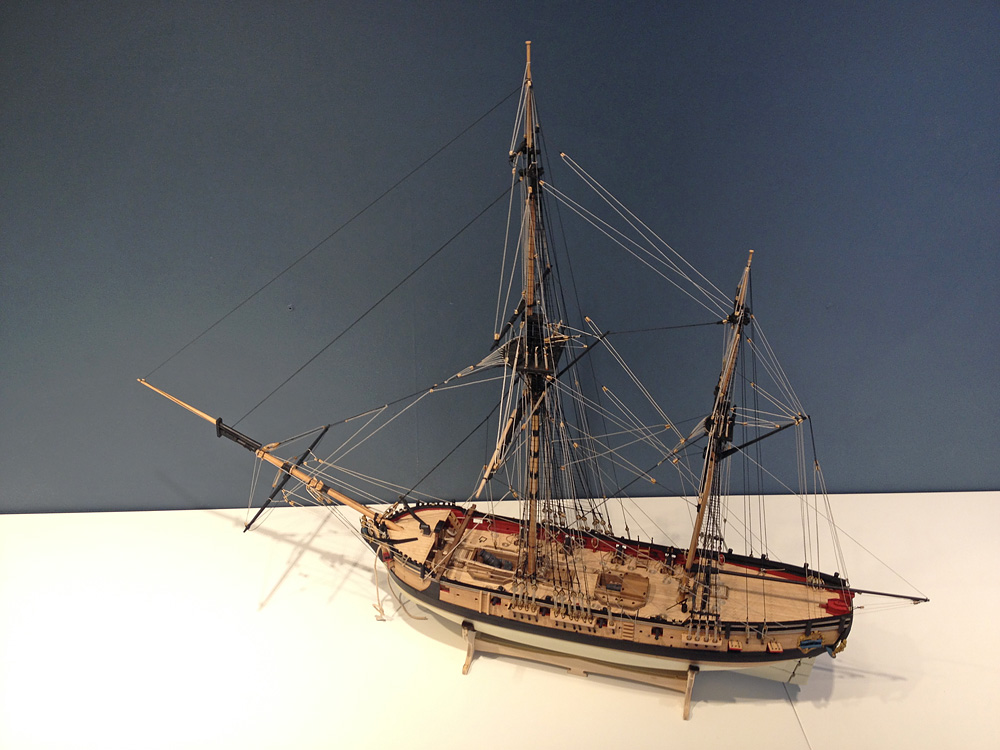
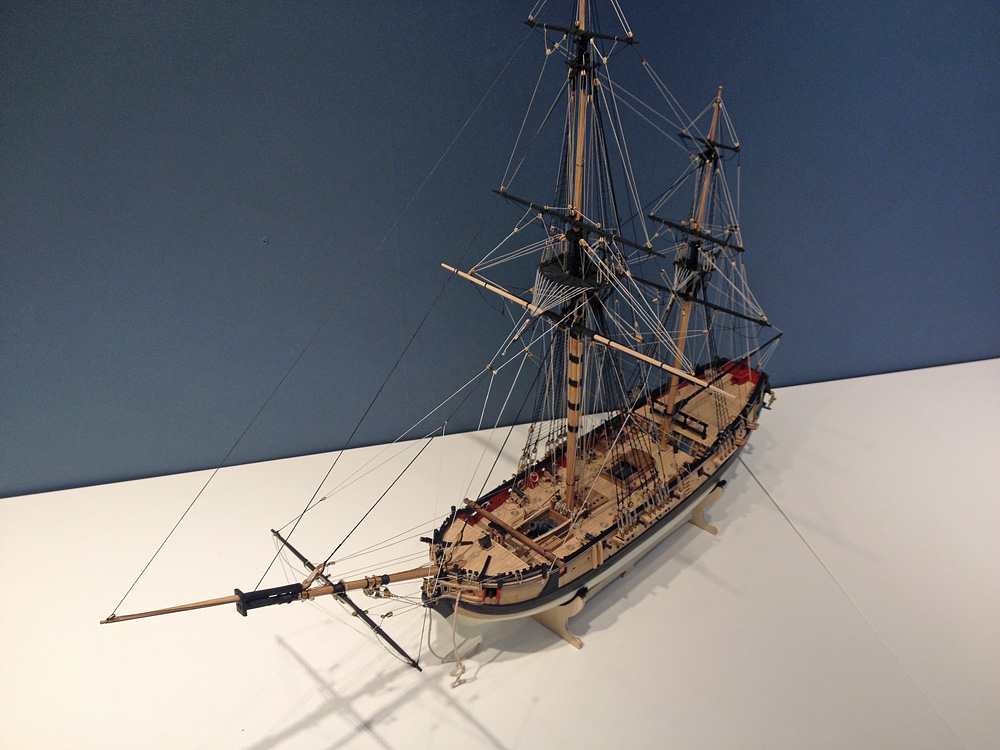
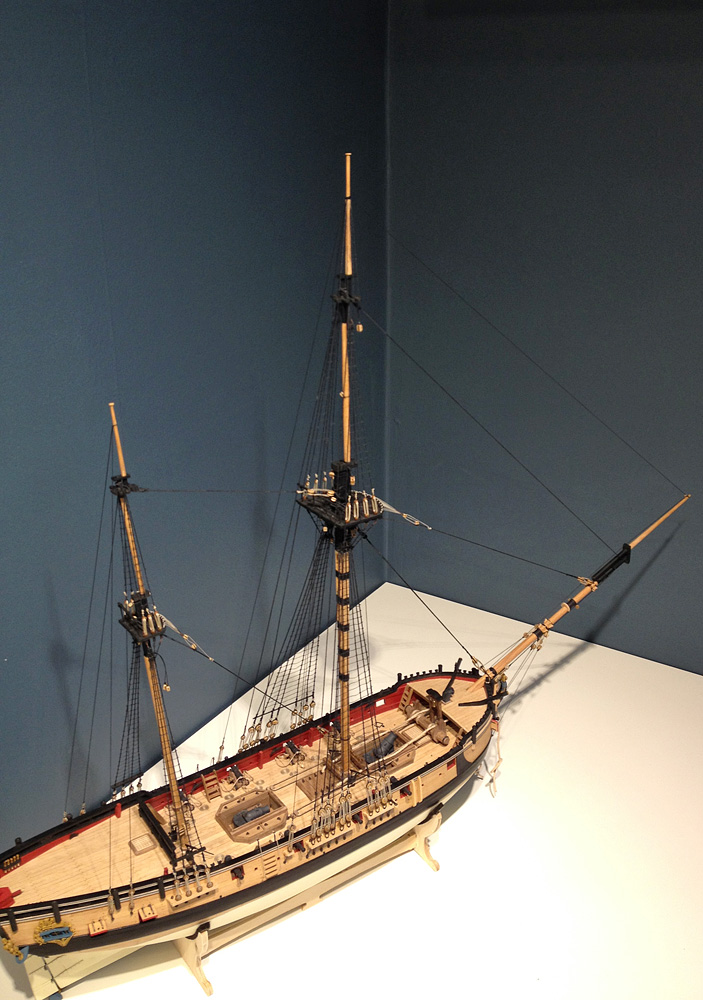
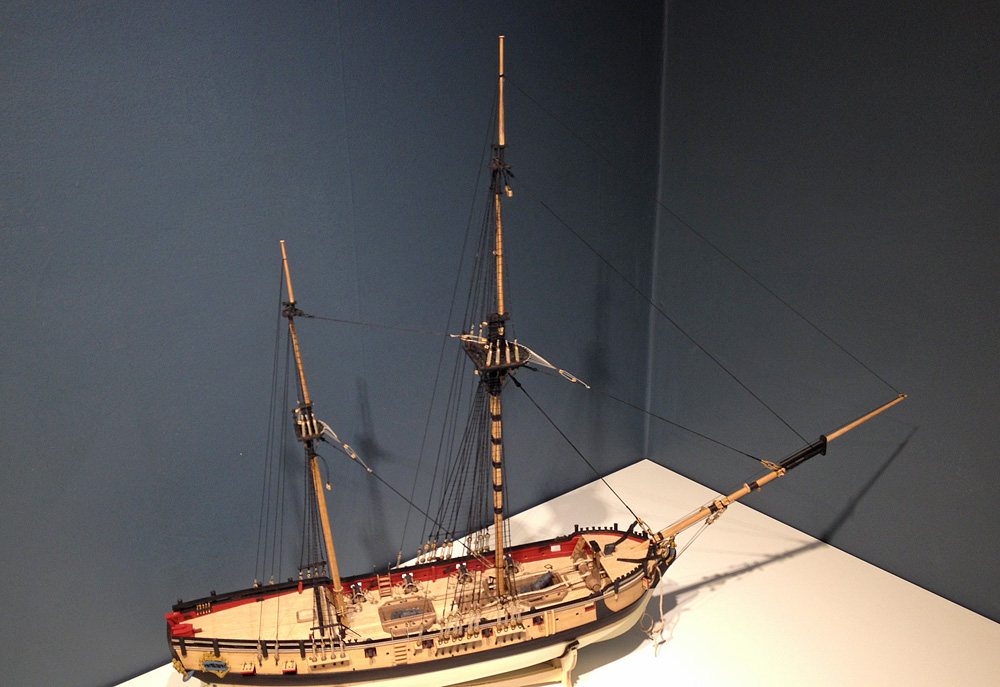
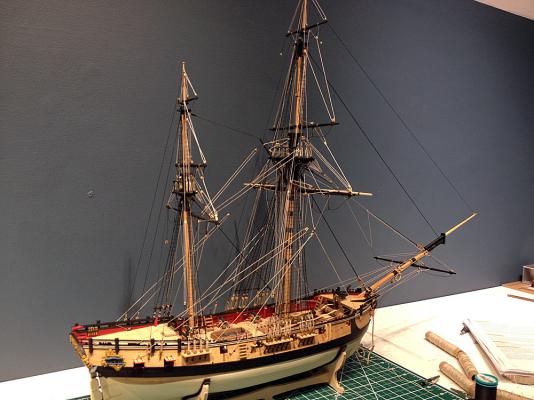
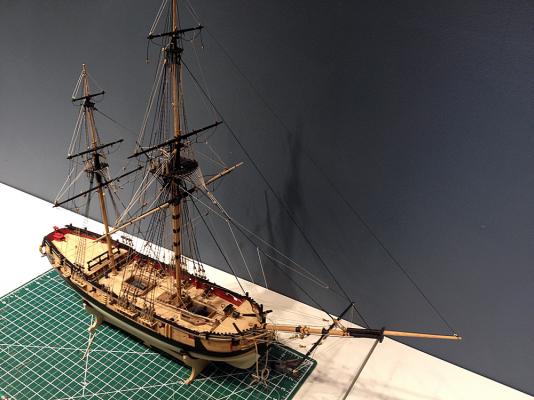
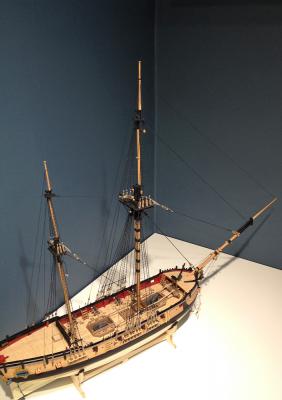
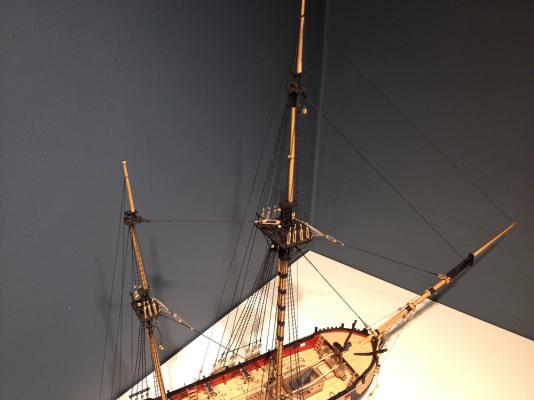
After being sick for about two weeks, which coincided with a long work trip, (awful) I finally got a little work done on the ship. The standing rigging is now complete. These pictures aren't showing it off real well with my blue walls; I think I'll have to drag her outside now that the weather has improved for some better shots. On to the yards! Oh, and I'm feeling old today, it's my older son's 20th birthday. Where did the time go...

- 302 replies
-
- 13
-
-
- granado
- caldercraft
- (and 1 more)
-
Alan, In terms of color I used Polly Scale "Aged White" for the area below the waterline. It is slightly dirtier and yellower than regular white. If you can't get that a drop of yellow and gray in a regular white would do the trick. Experiment a bit to see what looks right, but I agree plain white may be a bit stark.
-
Planking looks very nice Alan. I'm glad you got some better walnut than I did, mine was unusable.
-
Thanks Jason, Tim and the likes. No more progress for a few weeks, I have an extended business trip coming up. Unfortunate timing as she's really coming together at this point.
- 302 replies
-
- 1
-
-
- granado
- caldercraft
- (and 1 more)