Landlubber Mike
-
Posts
4,547 -
Joined
-
Last visited
Content Type
Profiles
Forums
Gallery
Events
Everything posted by Landlubber Mike
-
 Another interesting subject Craig - looking forward to following!
 -
Great job Glen! Looks fantastic! Reading about the epoxy application, did you add it to one of the halves in the video before inserting into the bottle? I saw you were worried about the lines getting in it, but were you worried about getting it on the bottle or the sea? Or did you insert it into the holes for the two halves to join? Just curious about how that process works. Watching you work the two halves together, did you consider epoxying one of the hull halves into the sea, waiting for it to set, and then pushing the second half against the first? Thinking out loud here, in a way that might be easier to join the two halves together where one is fixed in position. On the other hand, you'd have to make sure that the first half was in the proper position otherwise if too far over one way or the other, you could have a problem. So it's probably safer in the end the way you did it, but I would be nervous running against the clock with the epoxy setting time trying to join the two halves. Just glad it worked out!
-
Wow Glen, I felt the suspense building when you were trying to get that second half of the hull inside of the bottle, wow! Really nice job! Thanks for posting videos of the process. I've seen people prepare SIBs with multi-piece hulls, but I always thought it was harder than (1) insert pieces, and (2) then glue pieces inside the bottle. Your video shows it's not a cake walk! I would have been really nervous busting an oar off. Can I ask what those prongs are that you are using? They look very sturdy and proper size to move things around in the bottle. I read of some people suggesting using umbrella parts, but those always struck me as too lightweight and possibly prone to bend.
-
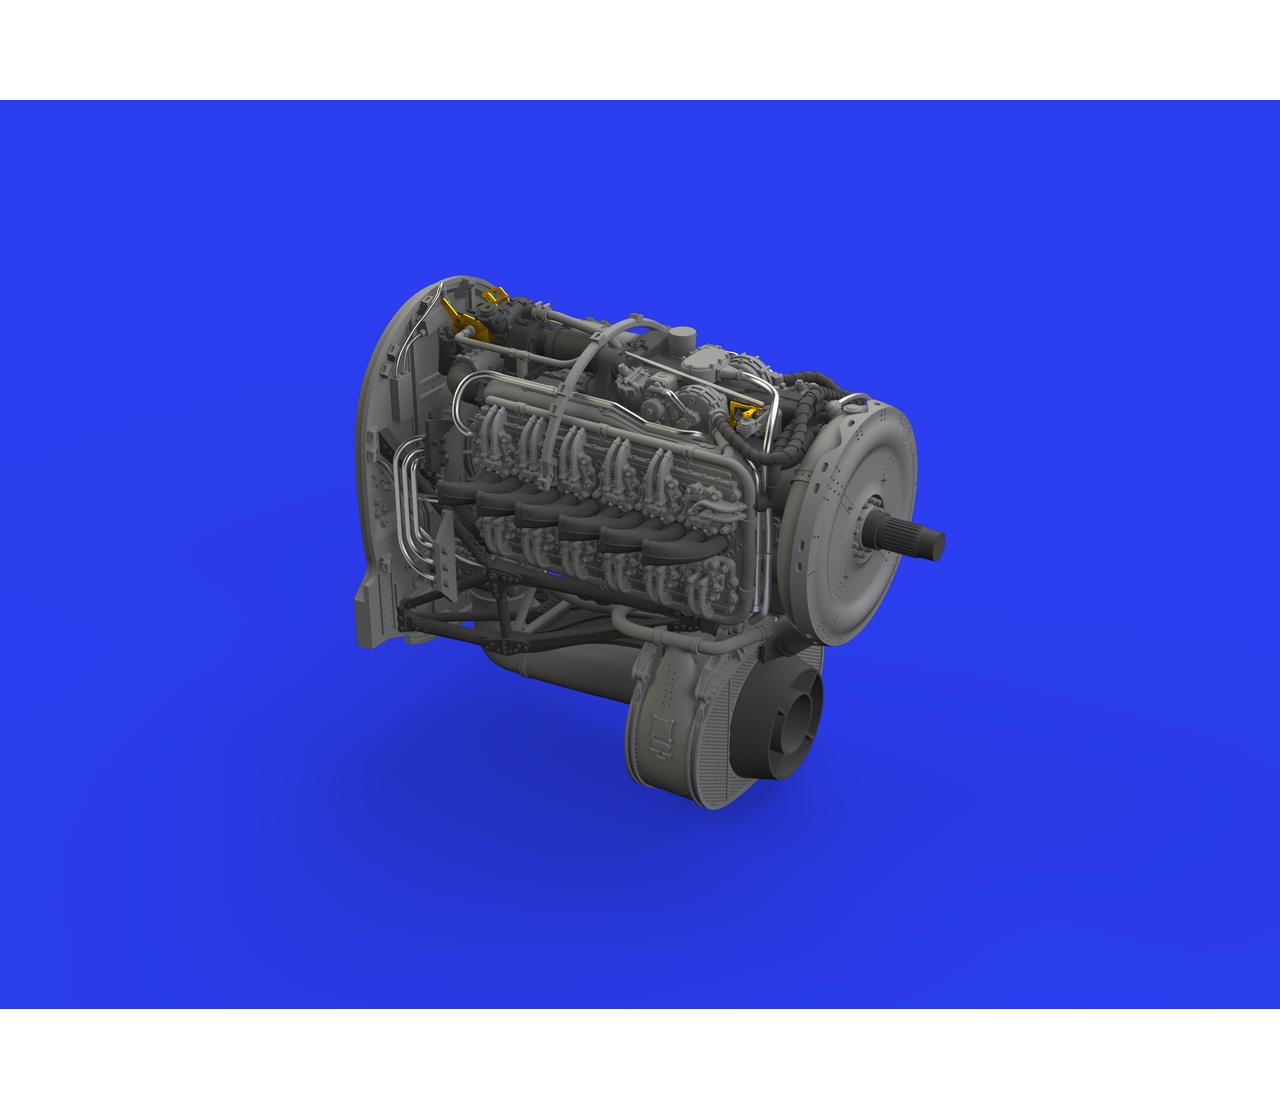
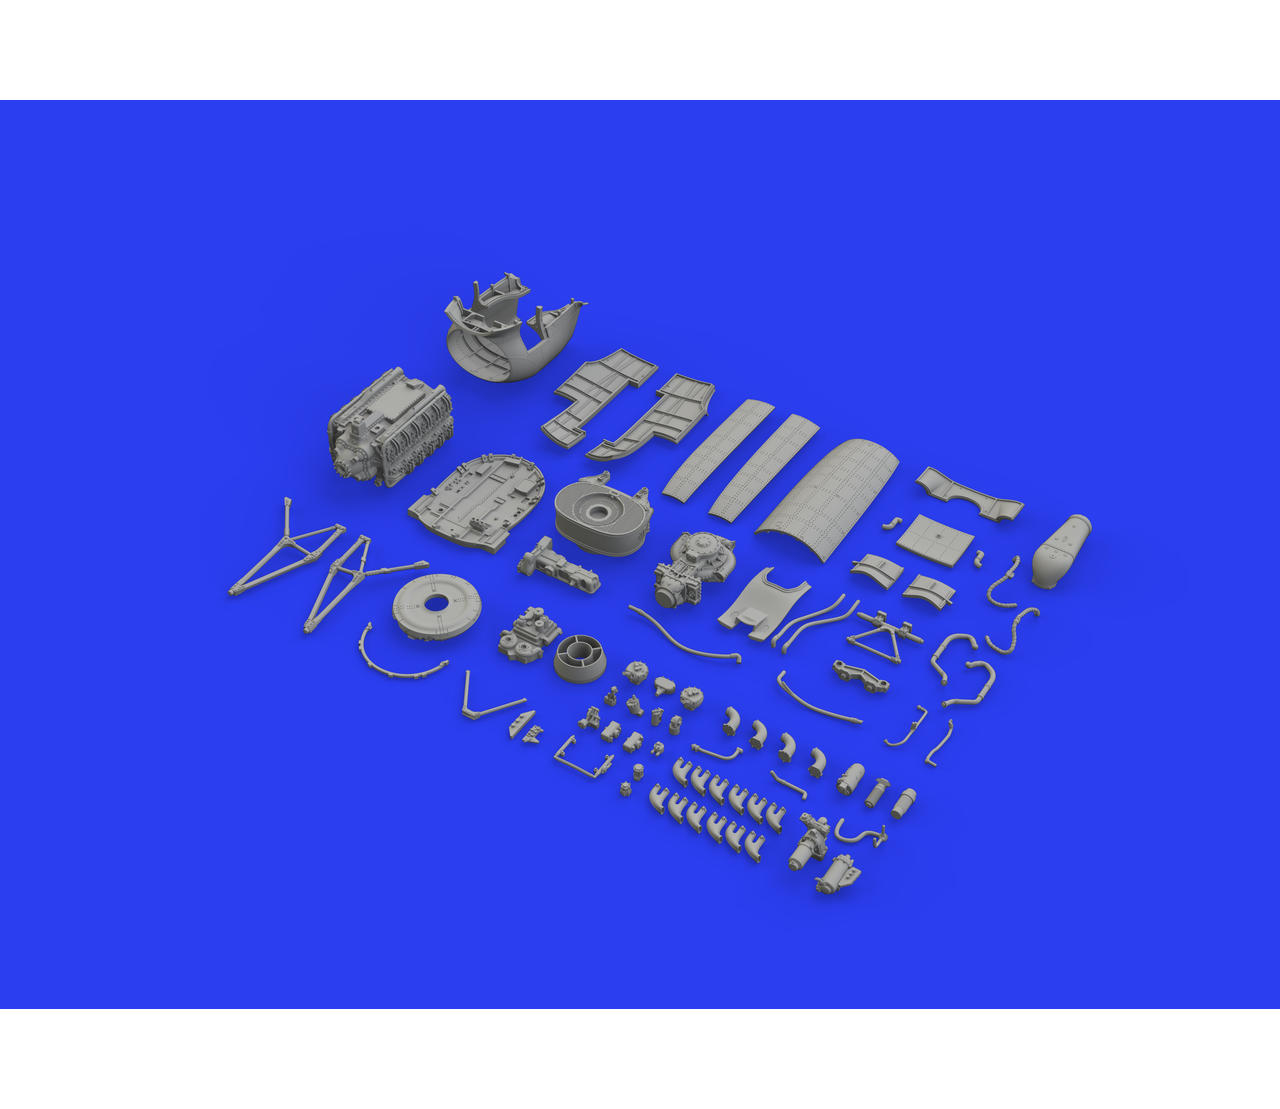
I'm in for this one. I have the Royal Class two-box version - looks like a great kit by Eduard. If you're into that sort of thing, there is a lot of good aftermarket out there. Eduard makes an incredible engine as well as some other items. Barracuda and Vector have some correction sets too for this plane. Some pictures of the Eduard engine (Eduard 648417) - 81 resin parts, plus there is some PE! Was a big driver for me to pick up the kit.
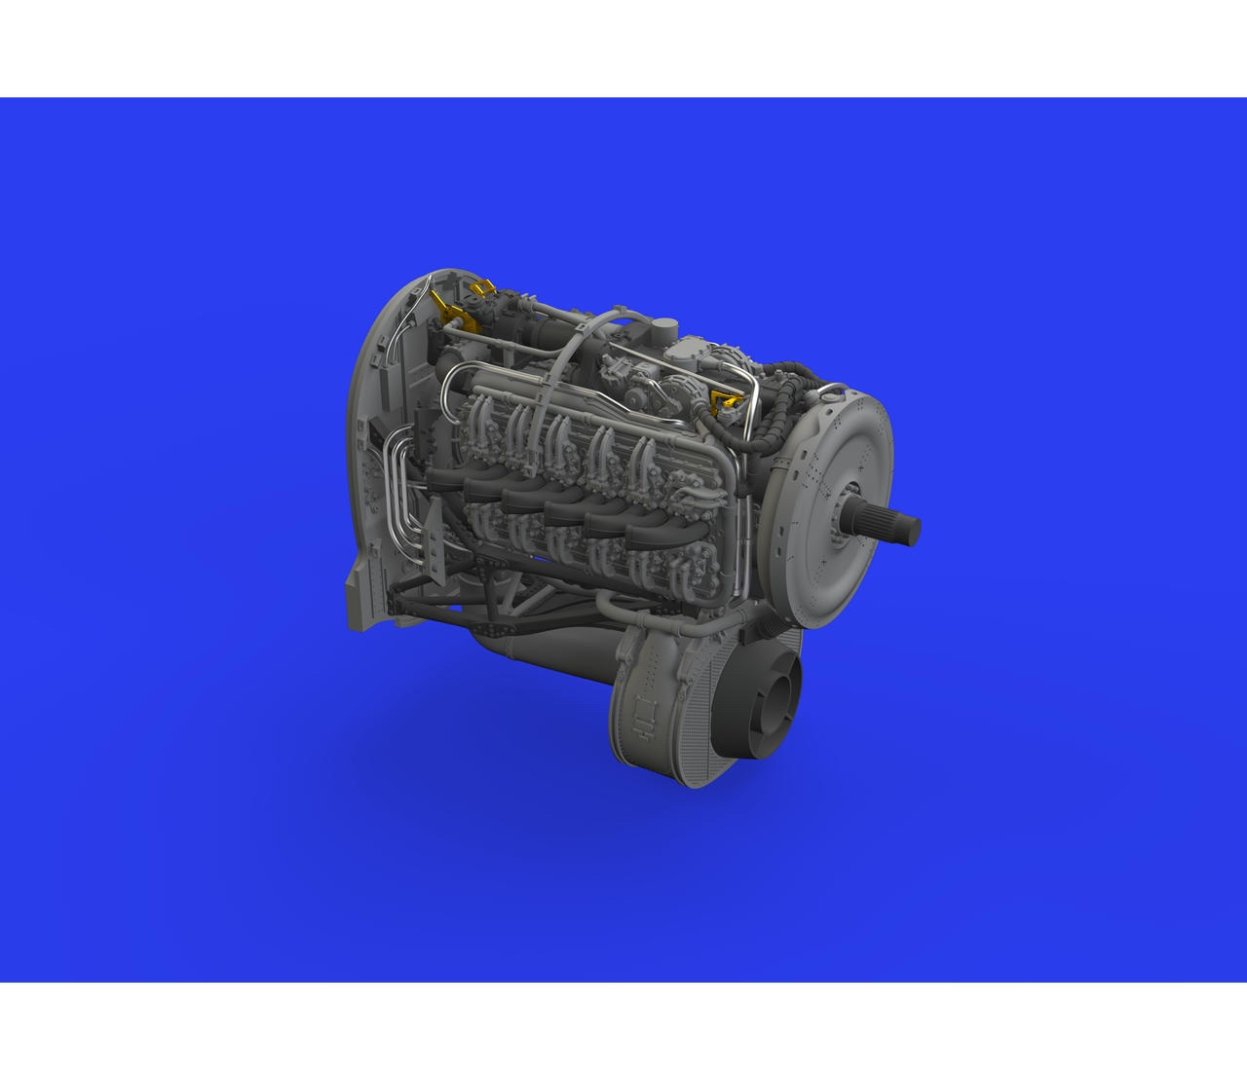

- 115 replies
-
- 14
-

-

-
Great start BE. Does that building board come with the kit? What a nice feature! I've gone through bulkhead anxiety myself trying to keep everything square.
- 131 replies
-
- 1
-
-
- Medway Longboat
- Syren Ship Model Company
- (and 1 more)
-
Wow, nice work Dennis!!! Looks fantastic!
-
Looks really great Glen! Congrats on getting the water in the bottle, color looks fantastic!
-
Really great work Alan - fantastic diorama! Feels like you're there. Can I ask how/where you got the case materials?
-
How many kits do you have on the go at the moment?
Landlubber Mike replied to CaptnBirdseye's topic in Wood ship model kits
Go for it! The Pegasus is an absolutely fantastic kit! Speaking of which, I need to get back to mine! -
You're a brave man for sure for trying it. Can result in disaster if you're not careful. I saw one guy's diorama almost get ruined because he poured more than recommended, and things just got messy. Looking forward to seeing your next attempt!
-
Alan, that came out really well! I've always wondered how to do the resin pour approach like you did, so thank you for posting the process. I have a couple of models in mind for a similar approach. I forget exactly, but from others online, I think the bubbles might be caused by too fast a pour, or it might be from the heat as the resin dries. In any case, adding a little color to the resin might minimize their appearance, if not look more natural. Great job!
-
Fantastic work! Sorry you had to re-do them, but second try was definitely the charm! They look great! In the future, if you are ever looking for something like the boss centers, you can get pre-made rivets in plastic and resin. Armor and other modelers use them to add rivet details to their tanks, etc. Outfits like Archer and Meng make them. Snip them off the sprue/plug and glue them on and you're good to go. Don't have to worry about drilling, inserting pins, etc.
-
Are you using the nails for decorative purposes or to pin the first planking? If the latter, I wouldn't bother drilling holes. Get yourself one of these pin insertion pliers (from Micromark or other places). Put a pin in the tool and press into the plank. It should hold the plank while the glue dries. I don't push the pin all the way in, but leave the pin head partially up so I can pull the pin out with the same tool after the glue has dried. Allows you to keep reusing the pins until they dull, bend, etc. Much much easier than pre-drilling holes and hammering pins into the plank. They also have spring-loaded pin-pushers. I've had mixed results with them. One I had from Amati worked great for my first build, but then broke. A bought a couple of others and they all had an issue or two. The pliers above make life so much simpler.

-
Gary, your miniature work is incredible. So realistic looking, very very impressive!
-
Looks really cool Craig. In case you are interested, there is a Google Translate app you can get where you use your phone camera to view the text, and the translation will pop up. Google Translate is really good with the European languages translations, a little less so with Asian languages but still pretty good. I used it to translate some old Maru WWII ship reference books for some of the IJN ships I've been working on and it worked ok to at least give me an idea of what was being conveyed. I used it also for some Gunze kit instructions as well and it was helpful.
-
Looking great Bob, you’re moving quickly! One tip - be careful with the bowsprit and masts. They can only take so many bends before they snap. I had a rough time trying to glue my bowsprit back into the hull. I recall it being a tight fit through the neck, but I don’t remember it being impossible and needing to carve things down. I did have an issue with the main mast being probably 1mm too tall the for the inside of the bottle, so it’s bent down a touch to make it fit. That could be because my hull was sitting higher with the sea. Good luck! Looking great!
-
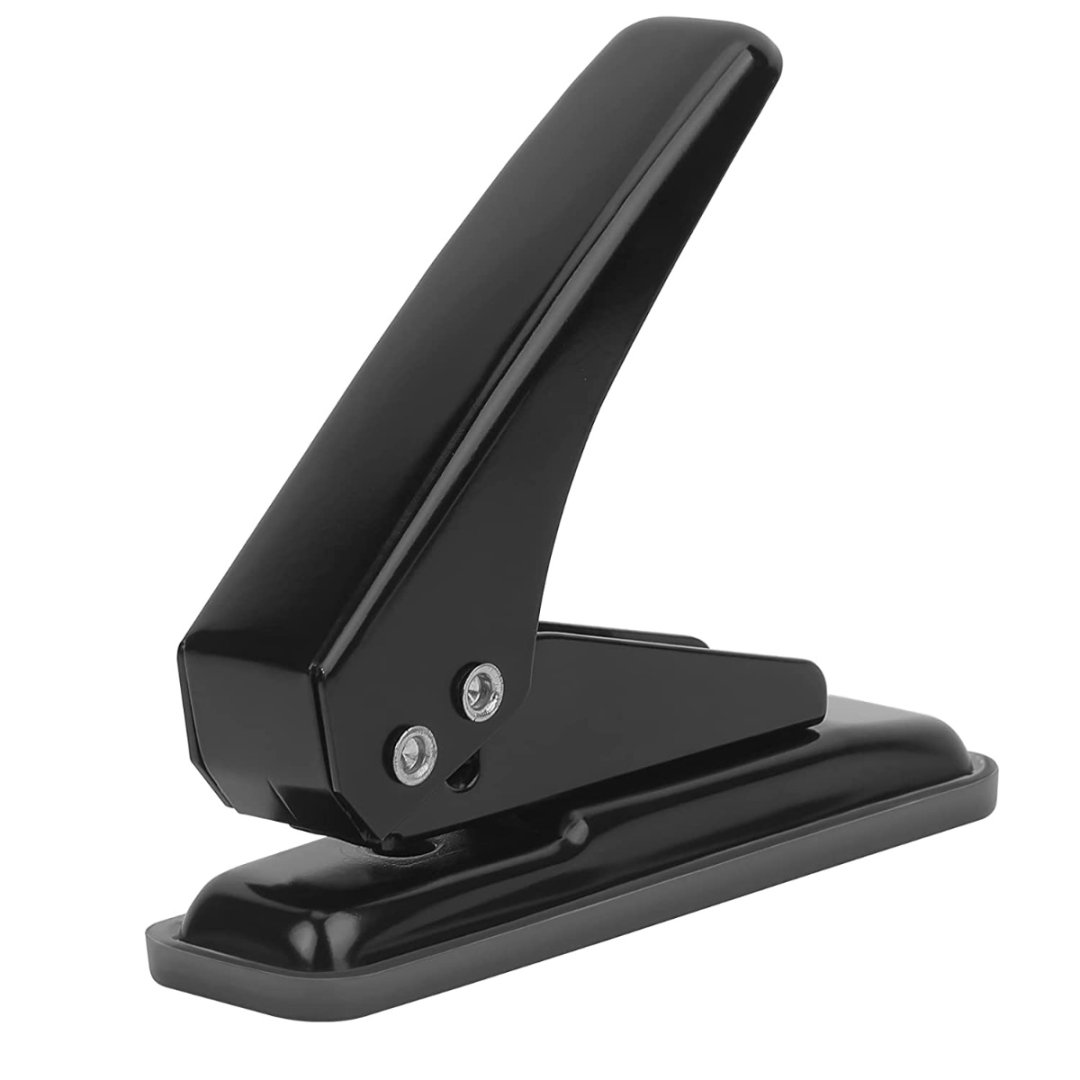
Clever way to come up with the nails and how to paint them Glen! Good luck removing the heads from the nails. Looks like you've gotten it figured out, but if it doesn't work, maybe consider using a hole punch and plastic card? There are the fancy ones for modeling where you use a mallet to punch the circle, but depending on the size of your shields, you could probably get away with something like this. You can get them in different sizes, like 1/8", 1/4", etc. They are designed for paper, but my guess is that you can do thin sheets of plastic (or even wood so that you have the wood grain already there on the back side) given that these have the capacity of punching amounts up to 20 sheets of paper. To paint them, you could always put a touch of CA on the end of a toothpick and you have a good holder. I'm not exactly sure of the diameter and thickness of your shields, but this could be an option if the nails approach fails (which I'm hoping it doesn't given all that beautiful work you put in!). Good luck! It's looking really good!
-
Cute dog Chris! My sister-in-law has one. Let's hope yours doesn't pee and poop in the house at age 2 like hers still does 😬
-
Looks like a fun subject and kit. I've seen things like this on HLJ and always thought that these look like a lot of fun. Hope it breaks you out of your funk!
-
Glad you're not a wimp like me! Feel free to ask any questions - good luck with the build!
-
Great work Patrick!!
-
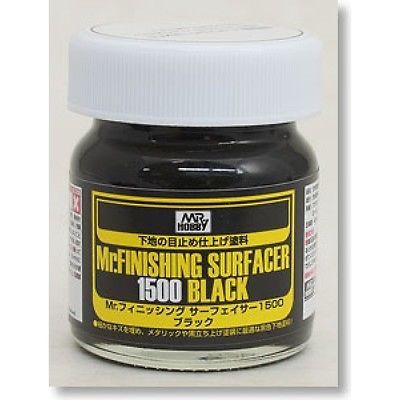
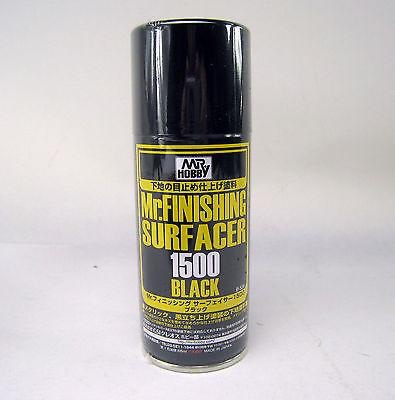
Alan, if you're going to go with Mr. Color, try their primer if you haven't already. They make the standard gray, but also black and other colors. I have used Vallejo primer in the past, but I find Mr. Surfacer much better. They come in both rattle can and jars to be thinned like their paints. If you go with the latter, thin it with Mr. Color Leveling Thinner (as opposed to Mr. Color Thinner, which is also good, but I don't think it has the leveling properties of the former). People aren't far enough when they refer to it as "unicorn tears" for thinning. I do use Vallejo's Gloss Black as an undercoat for their Metal Color range. It works really nicely. But, I find Vallejo primers can be prone to lifting when taped, so I only use it when I'm not looking to tape (as with aircraft interiors, chrome parts on cars, etc.). I also have some All-Clad black for undercoating their metal line, but so far I've only used it once (and liked it).