MORE HANDBOOKS ARE ON THEIR WAY! We will let you know when they get here.
×


MEDDO
-
Posts
1,871 -
Joined
-
Last visited
Content Type
Profiles
Forums
Gallery
Events
Everything posted by MEDDO
-
 Awesome!
 -
I like the "Fleet". I know not everyone like the cats but I always had fun sailing the small ones (12-22ft) so I have a soft spot for them.
-
What I have done is to glue a piece of planking or other scrap wood onto the side of the piece then sand it down a bit. This is easy enough to do especially if the area is going to be planked over/covered. Usually I will leave it oversized until the "fairing" step when you can bring it down to the proper shape.
-
Thanks Nils. Seeing all the open and partially planked builds here are an inspiration. Thank you Pete.
-
Thanks B.E.
-
Definitely taking it slow. No time pressure here. I hope I have another 30-40 years left to get things done Even though this kit is very well designed I have been stopping every step and thinking about it, planning looking ahead, shaping, dry fitting etc. I have had to make quite a few modifications along the way.
-
Thank you very much Grant. It's really starting to look like I can make it to the finish line... Although, upcoming problems are soldering the rudder attachments, carvings (not sure I am happy with the supplied castings), headrails, channels, swivel guns etc... Ok, maybe not quite so close to the finish line.
-
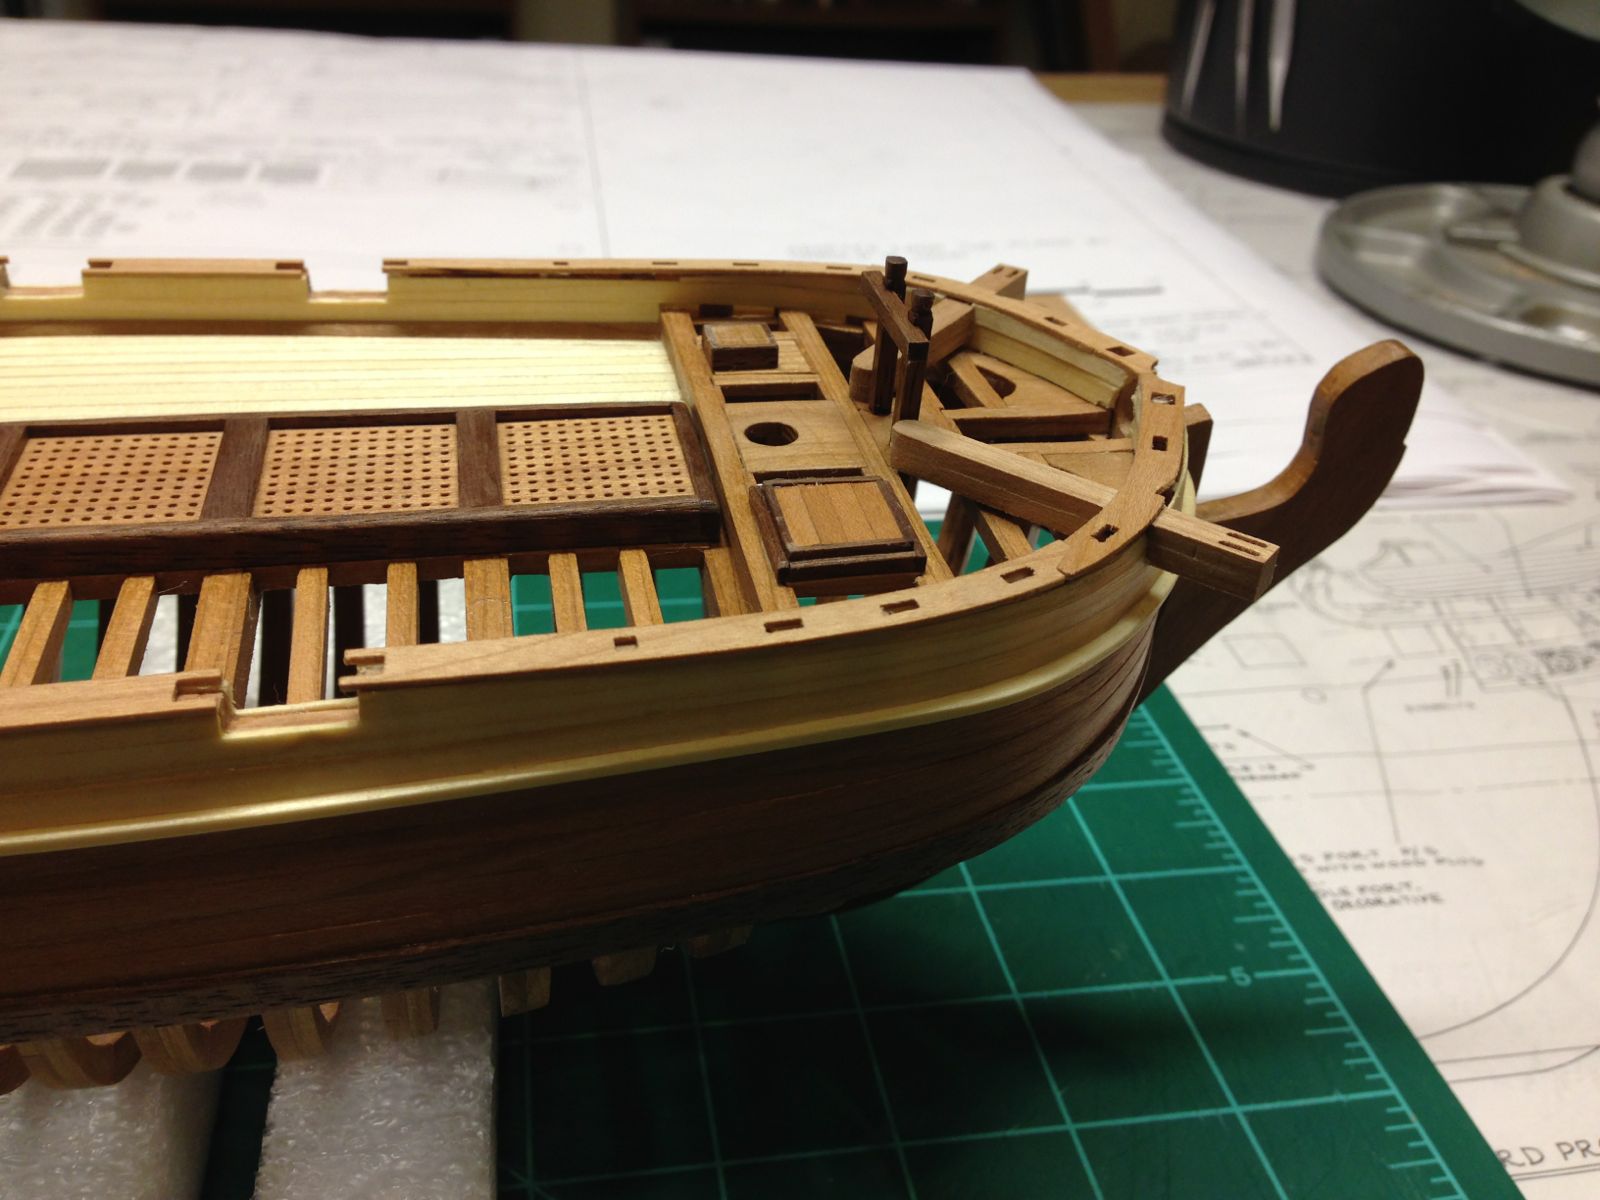
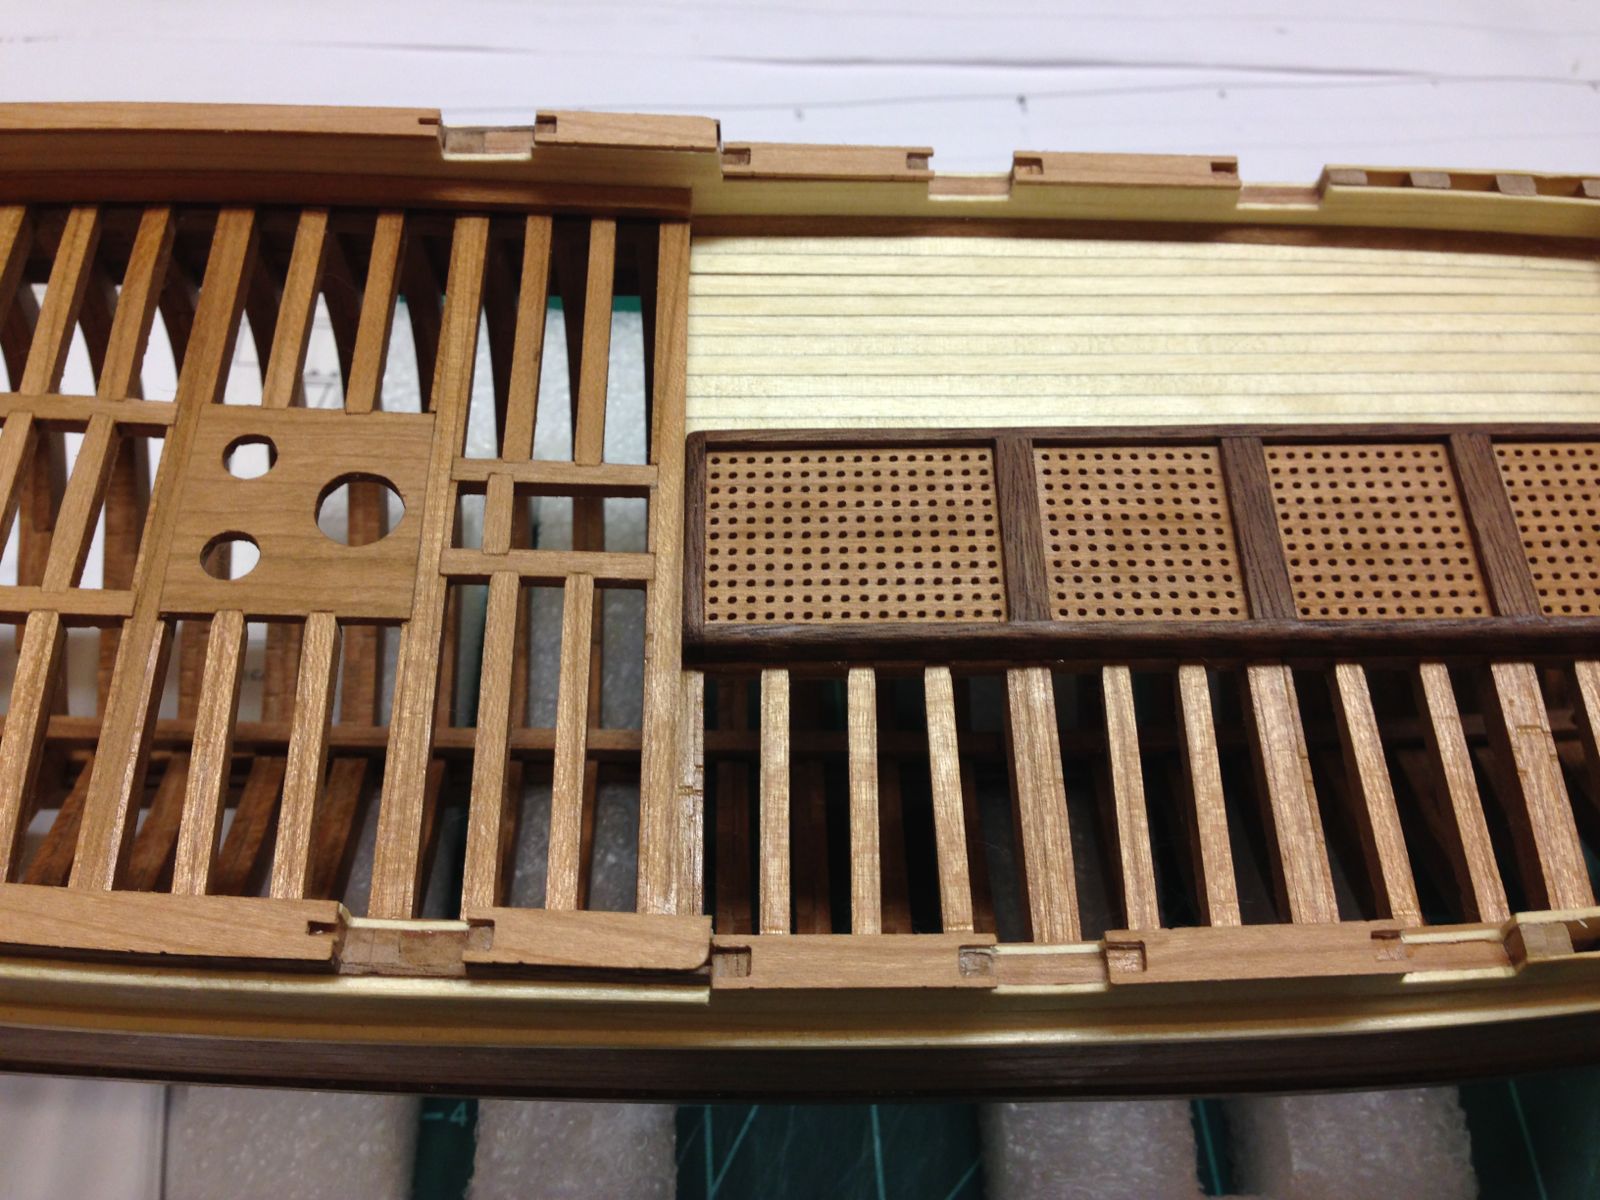
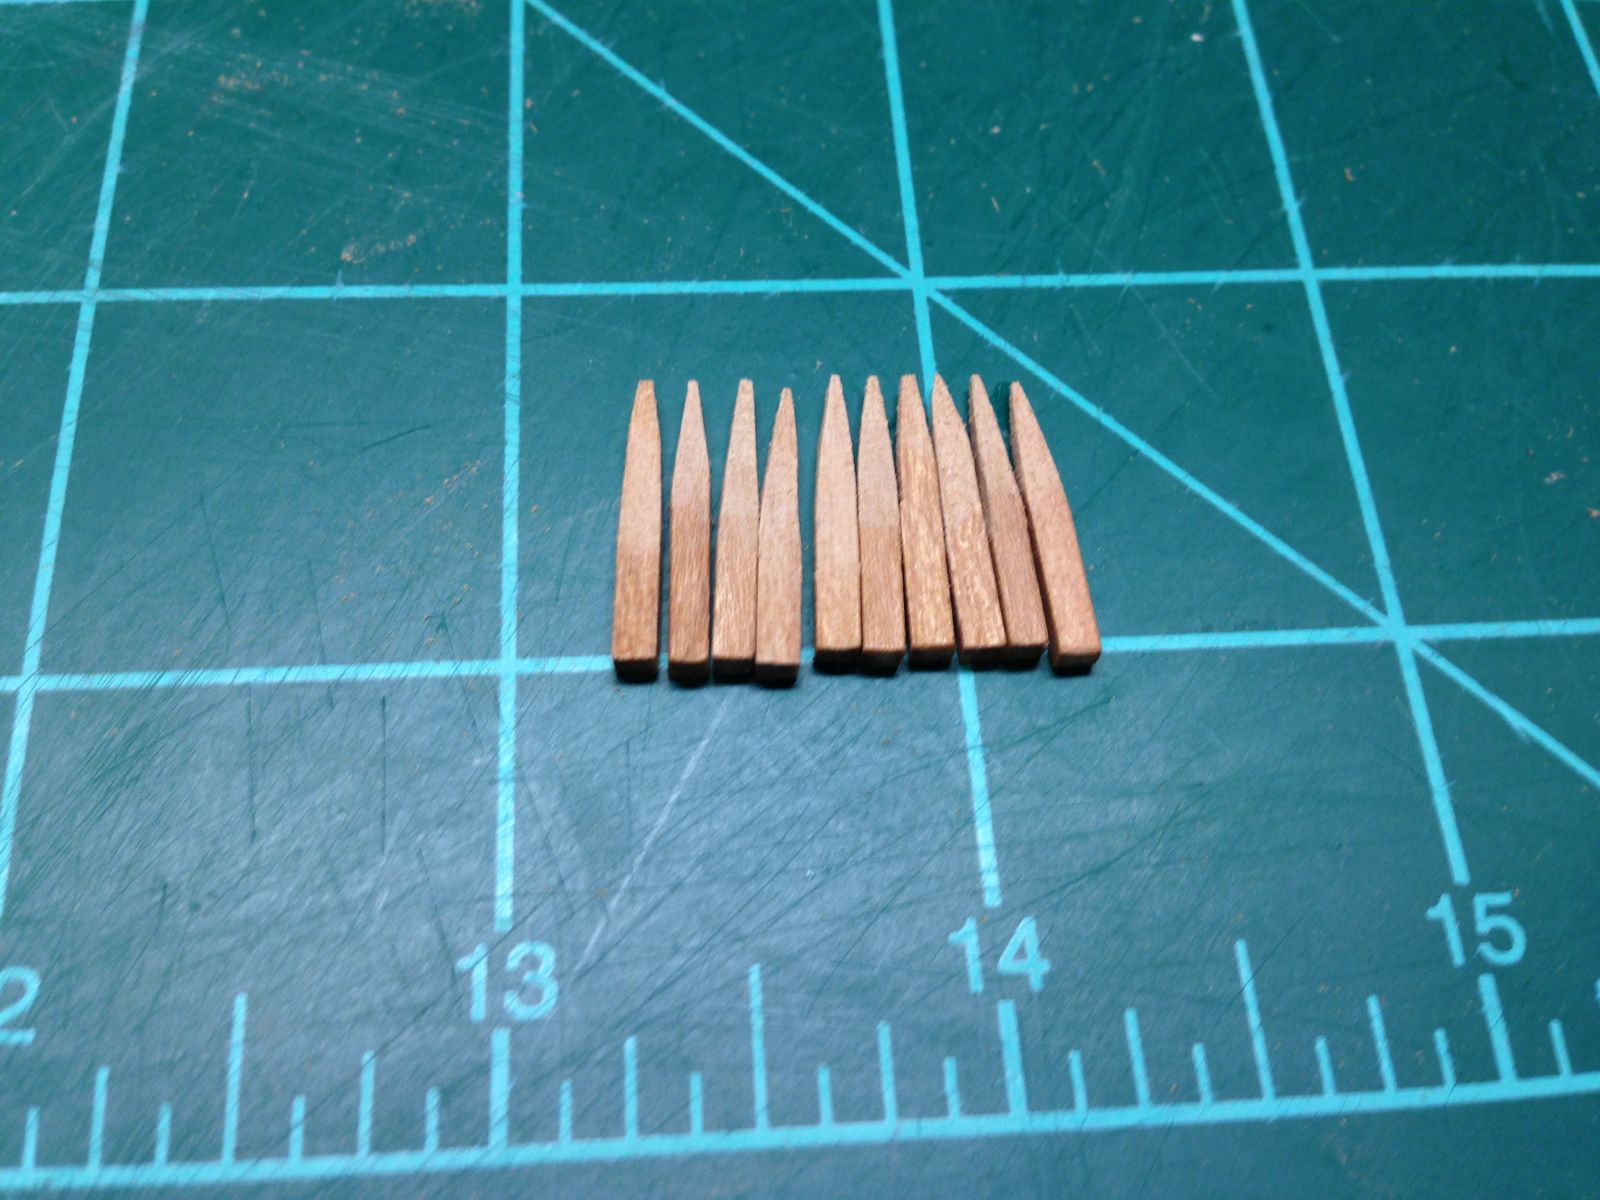
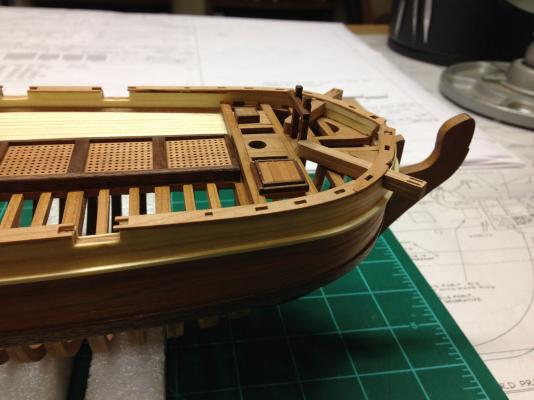
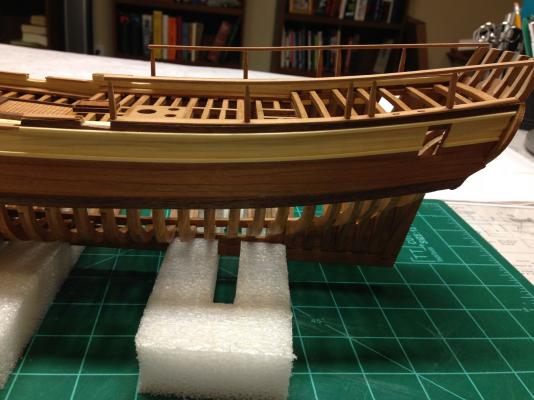
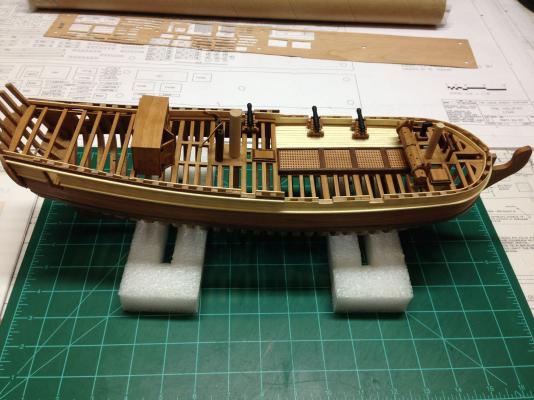
I been able to get a few more steps done. Catheads. Weird the instructions only had a single layer for the catheads. Every picture and the plans had these double thick so I had to freehand cut out 2 more then drill the sheave holes in them. They seem to have come out fairly well. Caprails to cover the frame ends. Railing supports. These were pretty hard to fit as the pre-drilled/milled holes they fit into in the cap rail were way too small. I didn't notice this until the cap rails were already installed. This made opening them up very difficult. After a bunch of micro scalpel work they sit in pretty well. Railings. These were 2 layers. The first layer had holes in it to attach to the posts. A top finish layer was then glued on top of it to make a smooth run down the rail. Here is the state of the build with a few pieces of deck furniture dry fitted on.


- 372 replies
-
- 17
-

-
I always kind of liked the "not standard" transoms of these types of boats. Interested in seeing you finish that step.
-
Glad to see you back in the shipyard. That certainly is a good excuse and it's good to hear your doing better.
-
Yey!!! Another Halifax! I will be interested in seeing this build progress.
-
Thank you for visiting Dave. As my second kit I hope I am doing it justice. I am learning so much as I go along.
-
Anchor Question
MEDDO replied to _SalD_'s topic in Discussion for a Ship's Deck Furniture, Guns, boats and other Fittings
I agree with Kurt. It is the stock as shown in the picture. It needs to be lifted up and slid across to form the anchor. -
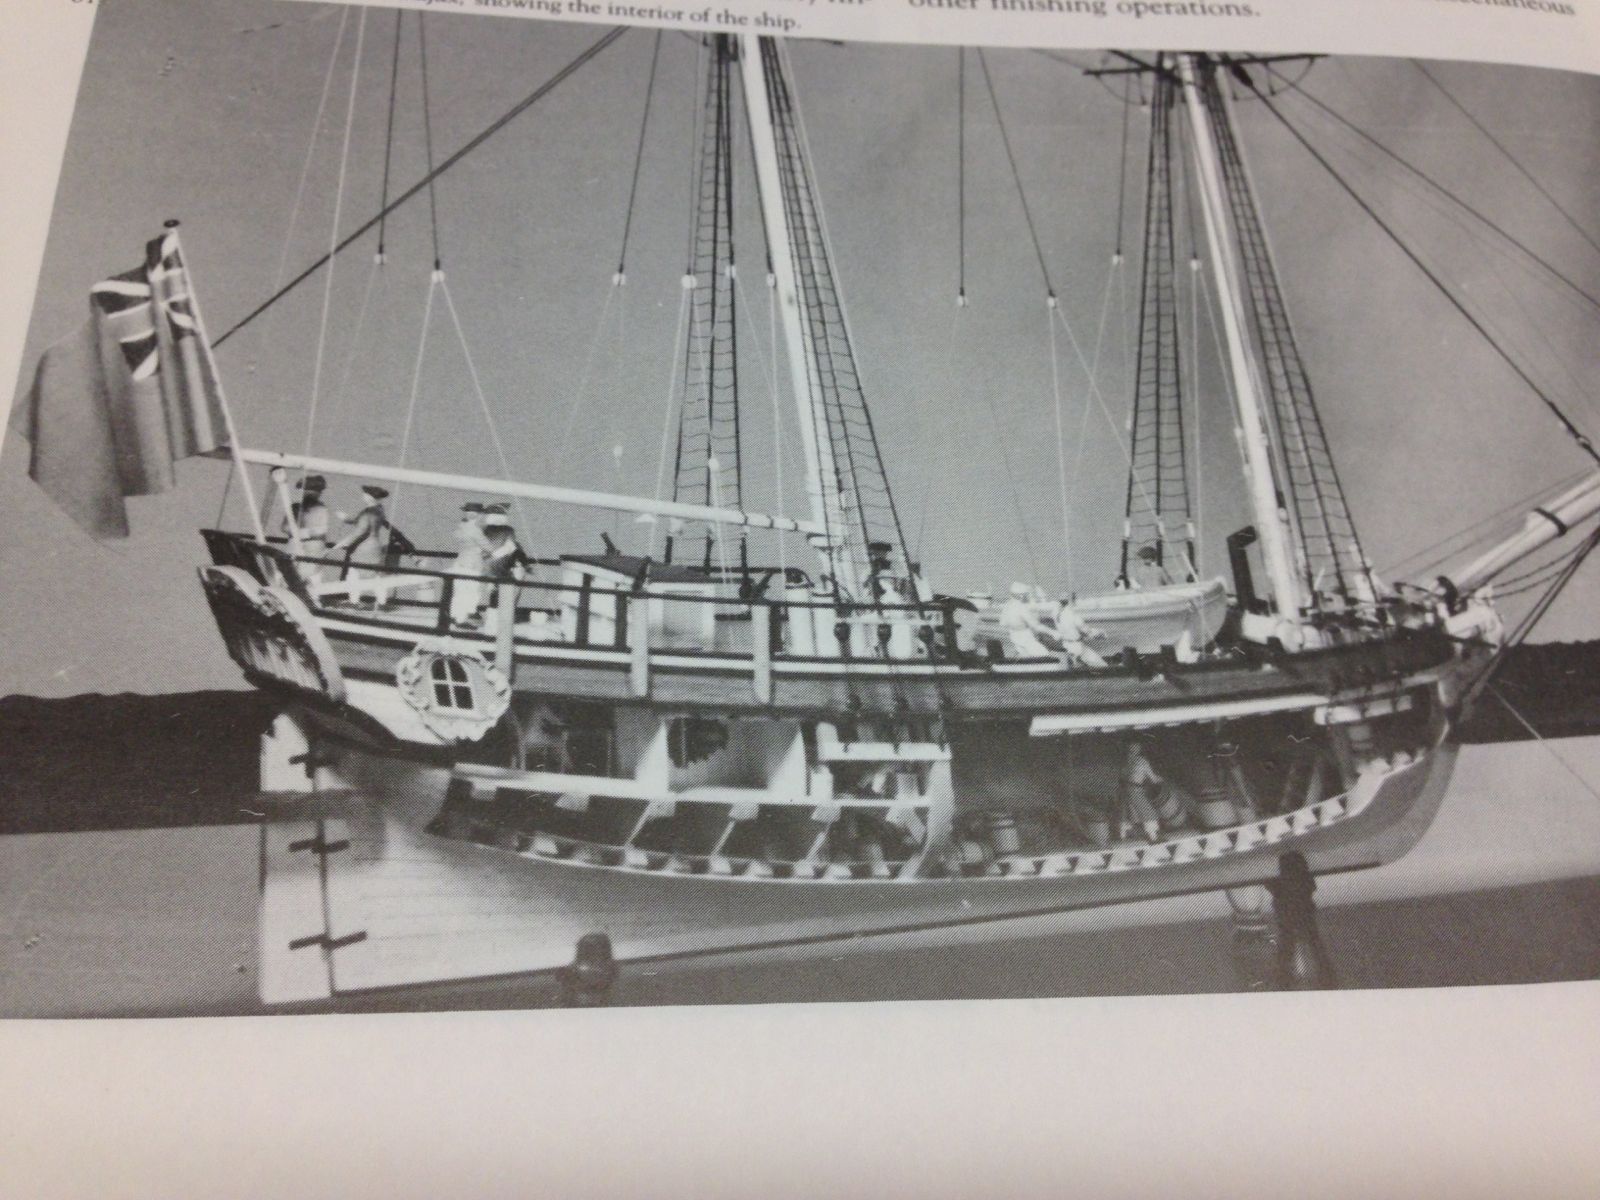
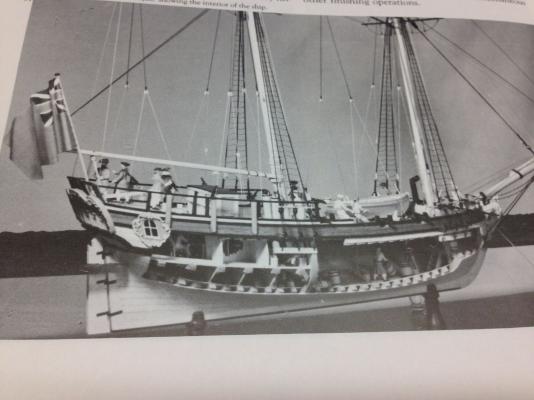
Here is a picture from The Colonial Schooner 1763-1775 by H. Hahn. (this is the copy I have been using to supplement this build) Once the rails are in the scale seems to be a bit better.
-
Yeah I'm not so sure about the easier part. I thought the binnacle/compaionway was large as well but I guess it is the passageway to below deck. Hahn has a picture of the completed model and it has scale figures on it and it does look better there. I will try to get a picture of it when I get home. The Dark Side is calling but I think a few more kits and kit bash's are in order first.
-
I love the schooners. Small builds between the bigger ones seems like a great idea. With the job, kids, spouse etc a smaller build may be a great idea to keep your hand in it while still keeping obligations etc. Family first, hobbies second.
- 290 replies
-
- 1
-
-
- confederacy
- frigate
- (and 1 more)
-
I think the hammocks are coming out nicely.
-
I has recently finish the Aubrey novels and am about 16 into the Ramage ones. My favorite has always been the Hornblower ones though. The original royal navy/sea adventures written by Marryat written about 175ish years ago are still interesting and a fun "Easy" read.
-
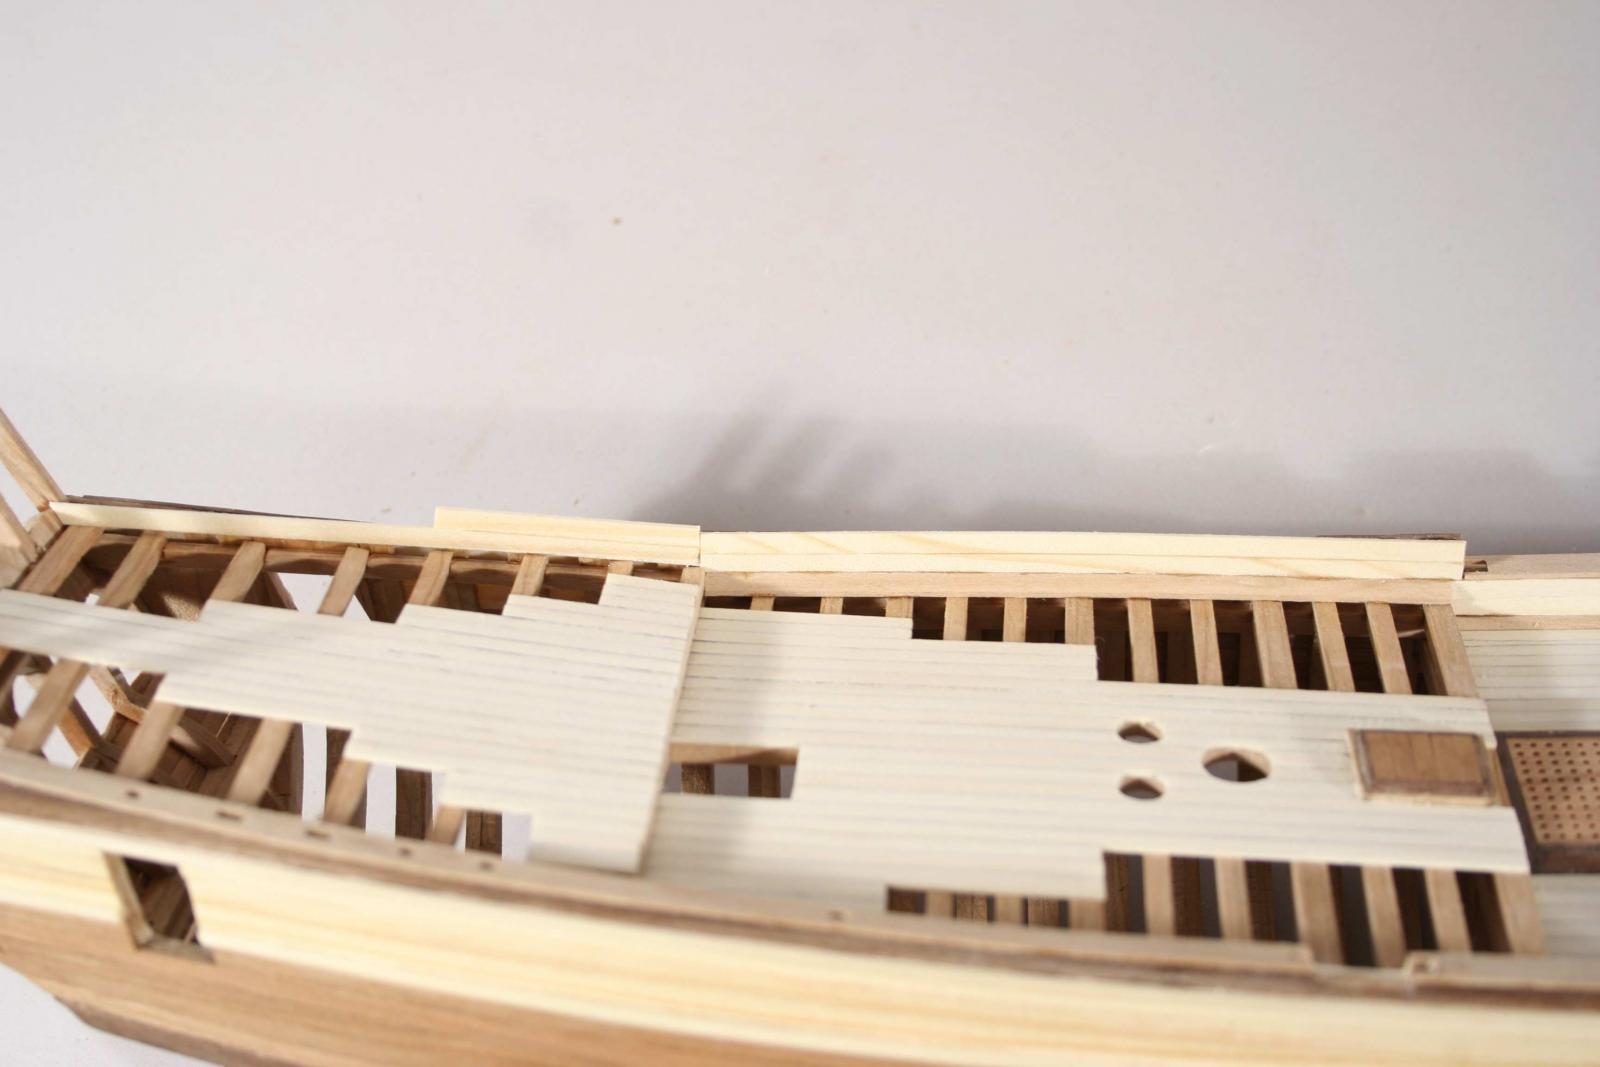
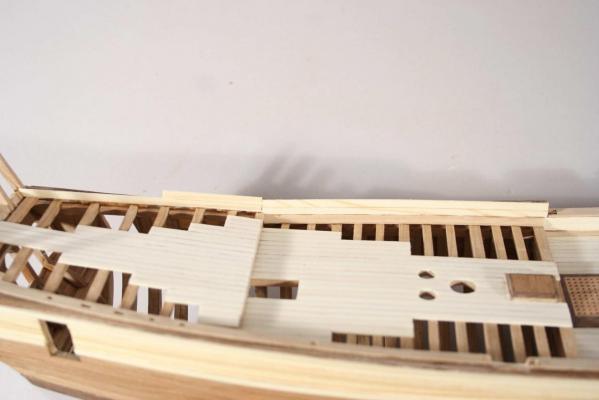
Thanks Carl. I am not sure I really like the planking on this ship. Here is a picture form the kits picture disk. (This is not mine) This is how the instructions have you plank it. And I just don't like that look too much. Personal preference I guess. For the last month I have been thinking of this problem. Bob's (username rafine) Essex looks awesome and also has a partially planked deck over frames. I have considered planking entire port side, just center strip, leaving as is, etc. Haha just don't know. Eventually I will have to make a decision.
-
Thank you. I have never used styrene before and since I don't have any "wood colored paint" I thought it would just be easier to make it out of wood. Your Essex is an inspiration and is the answer to the next question that Carl had. A partially planked deck can look very nice.
-
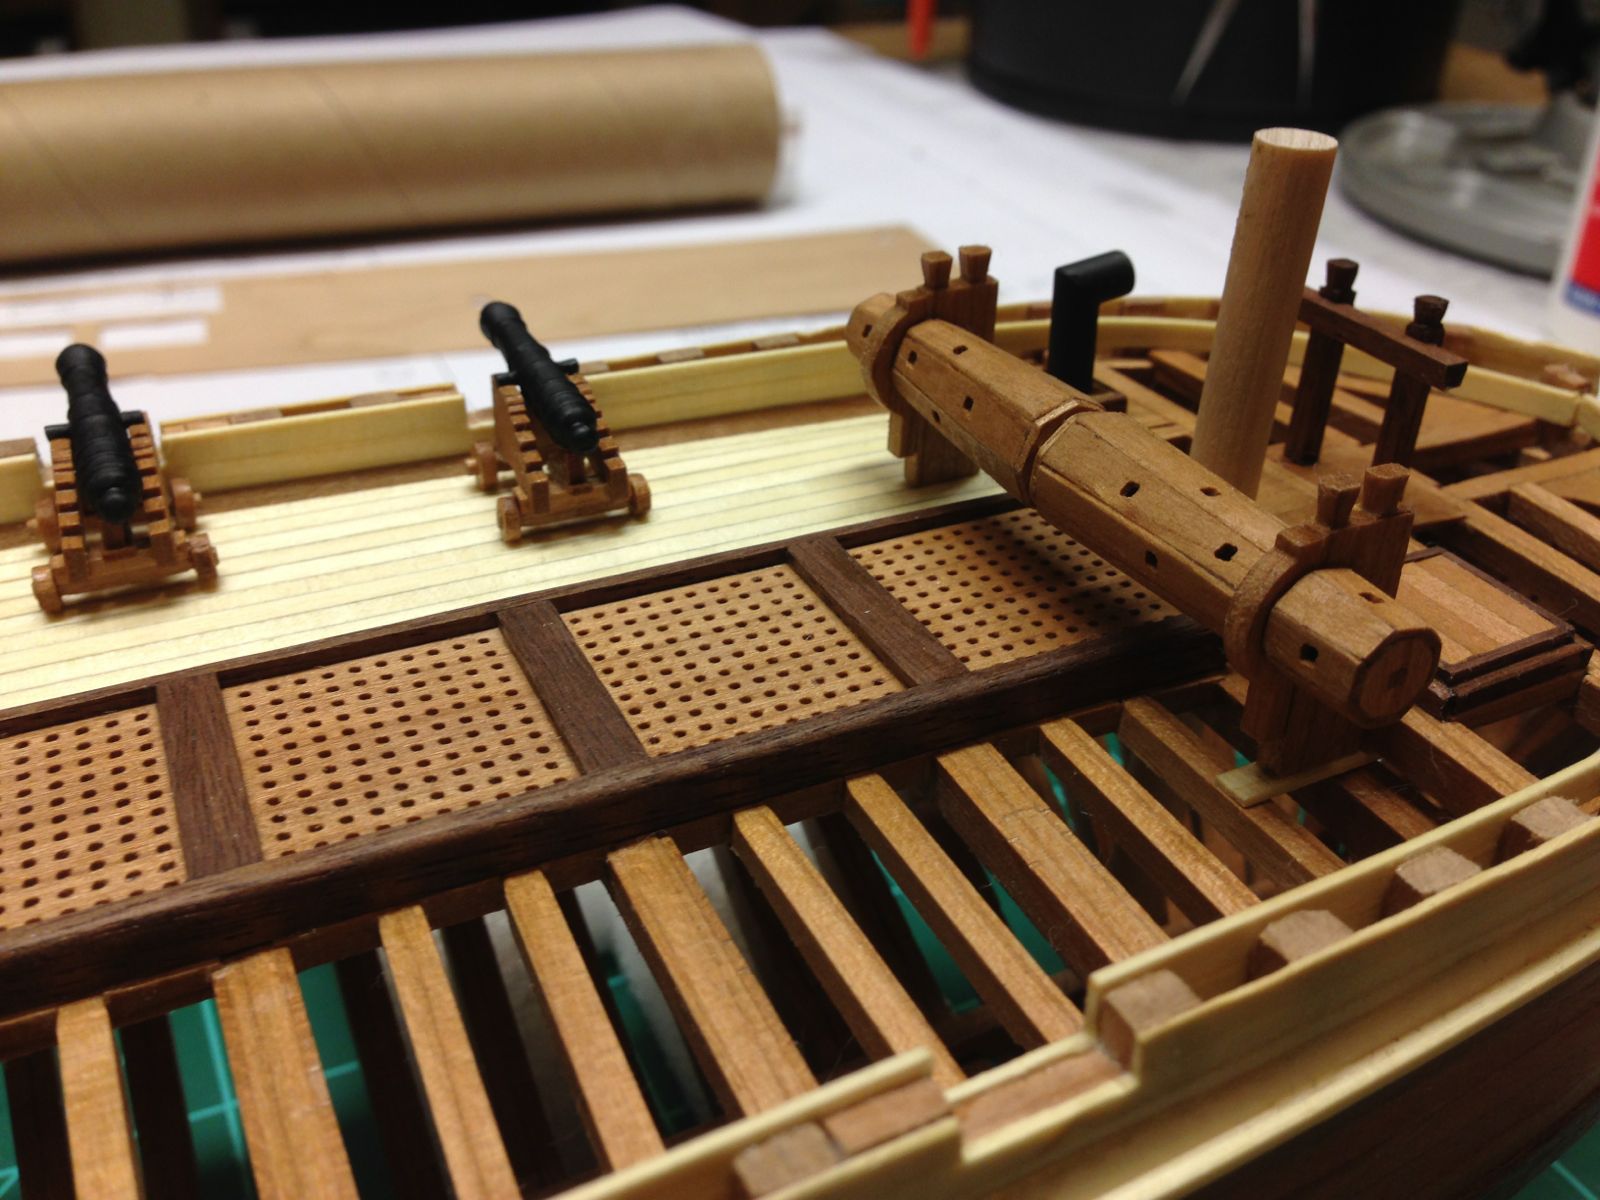
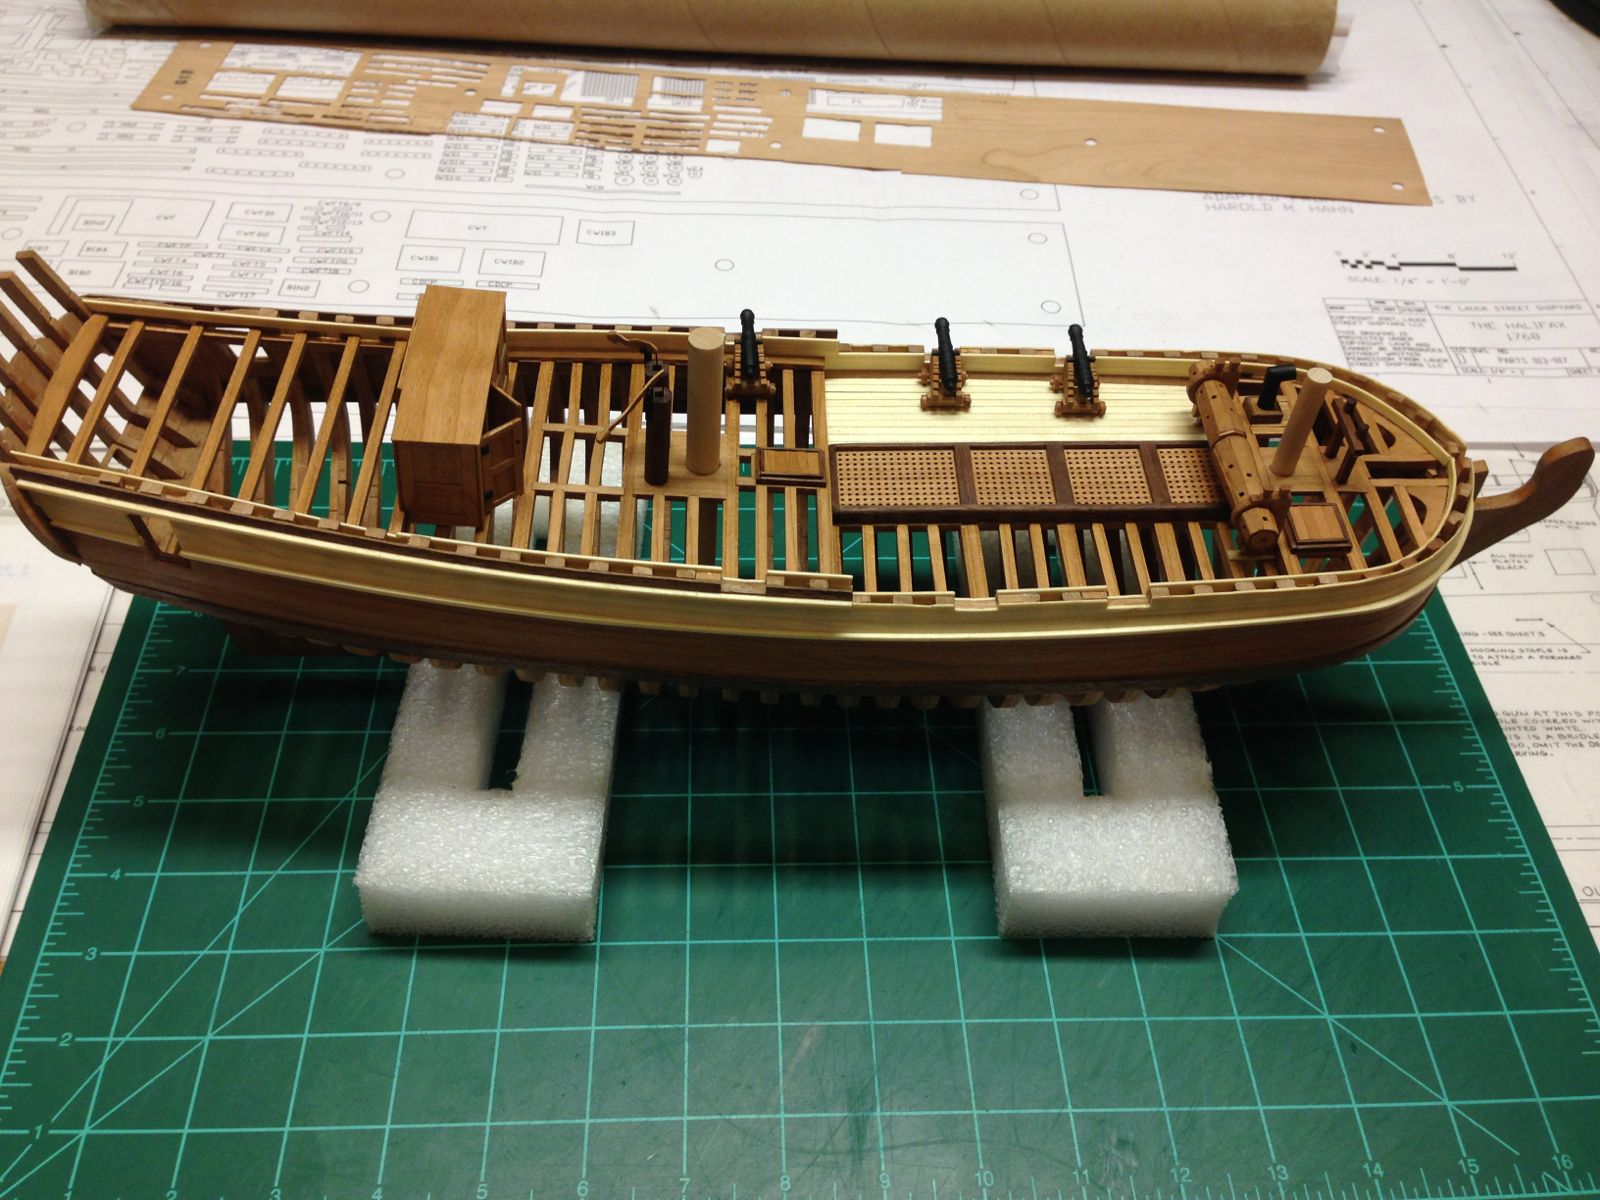
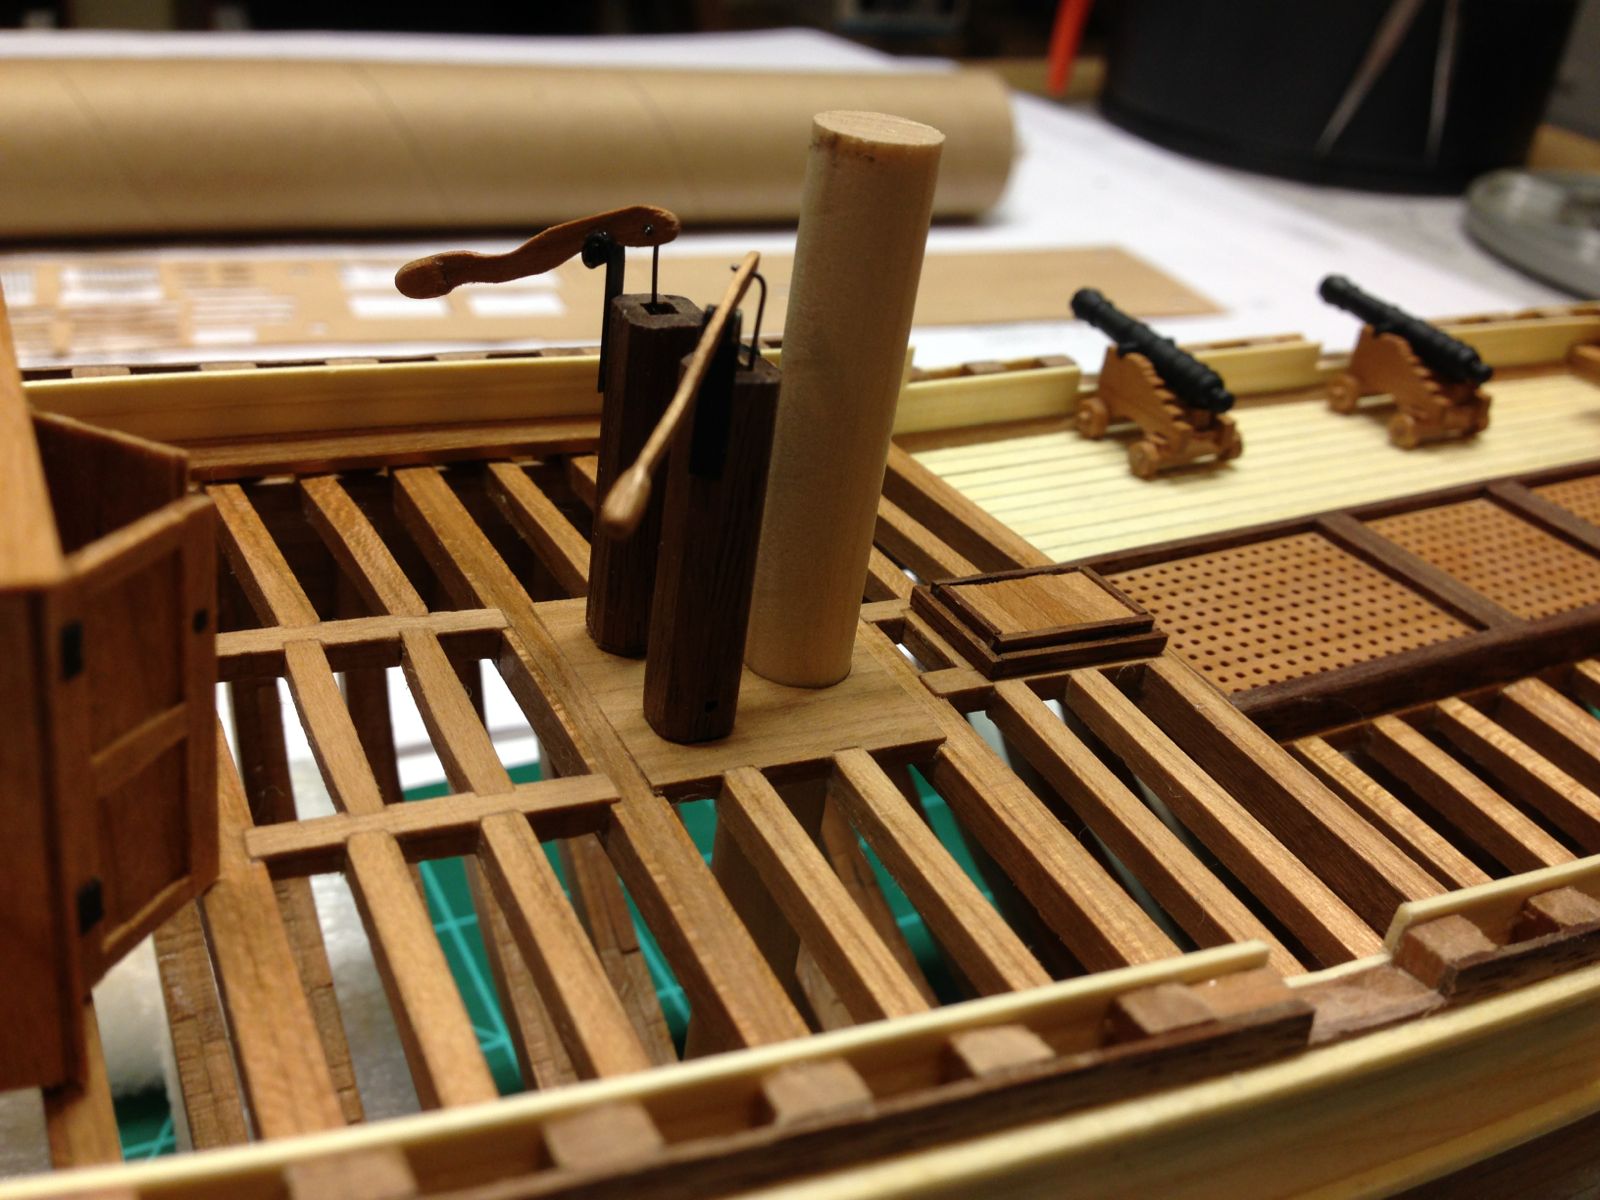
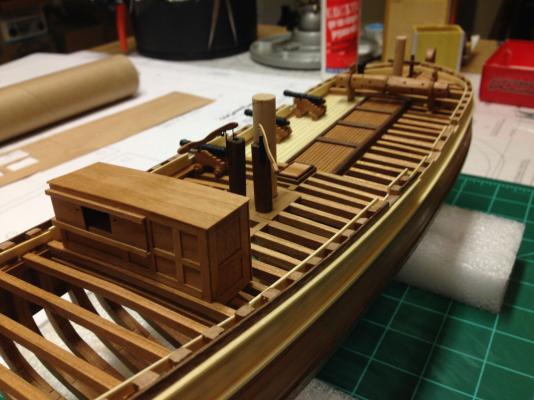
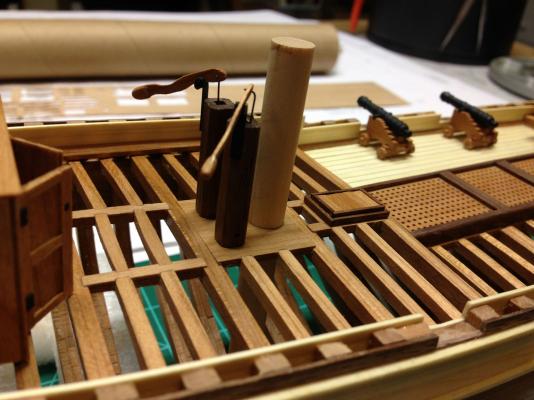
Thanks Wacko. Both the plans and the Hahn book The Colonial Schooner show the pump handles angles forward about 45deg off midline.
-
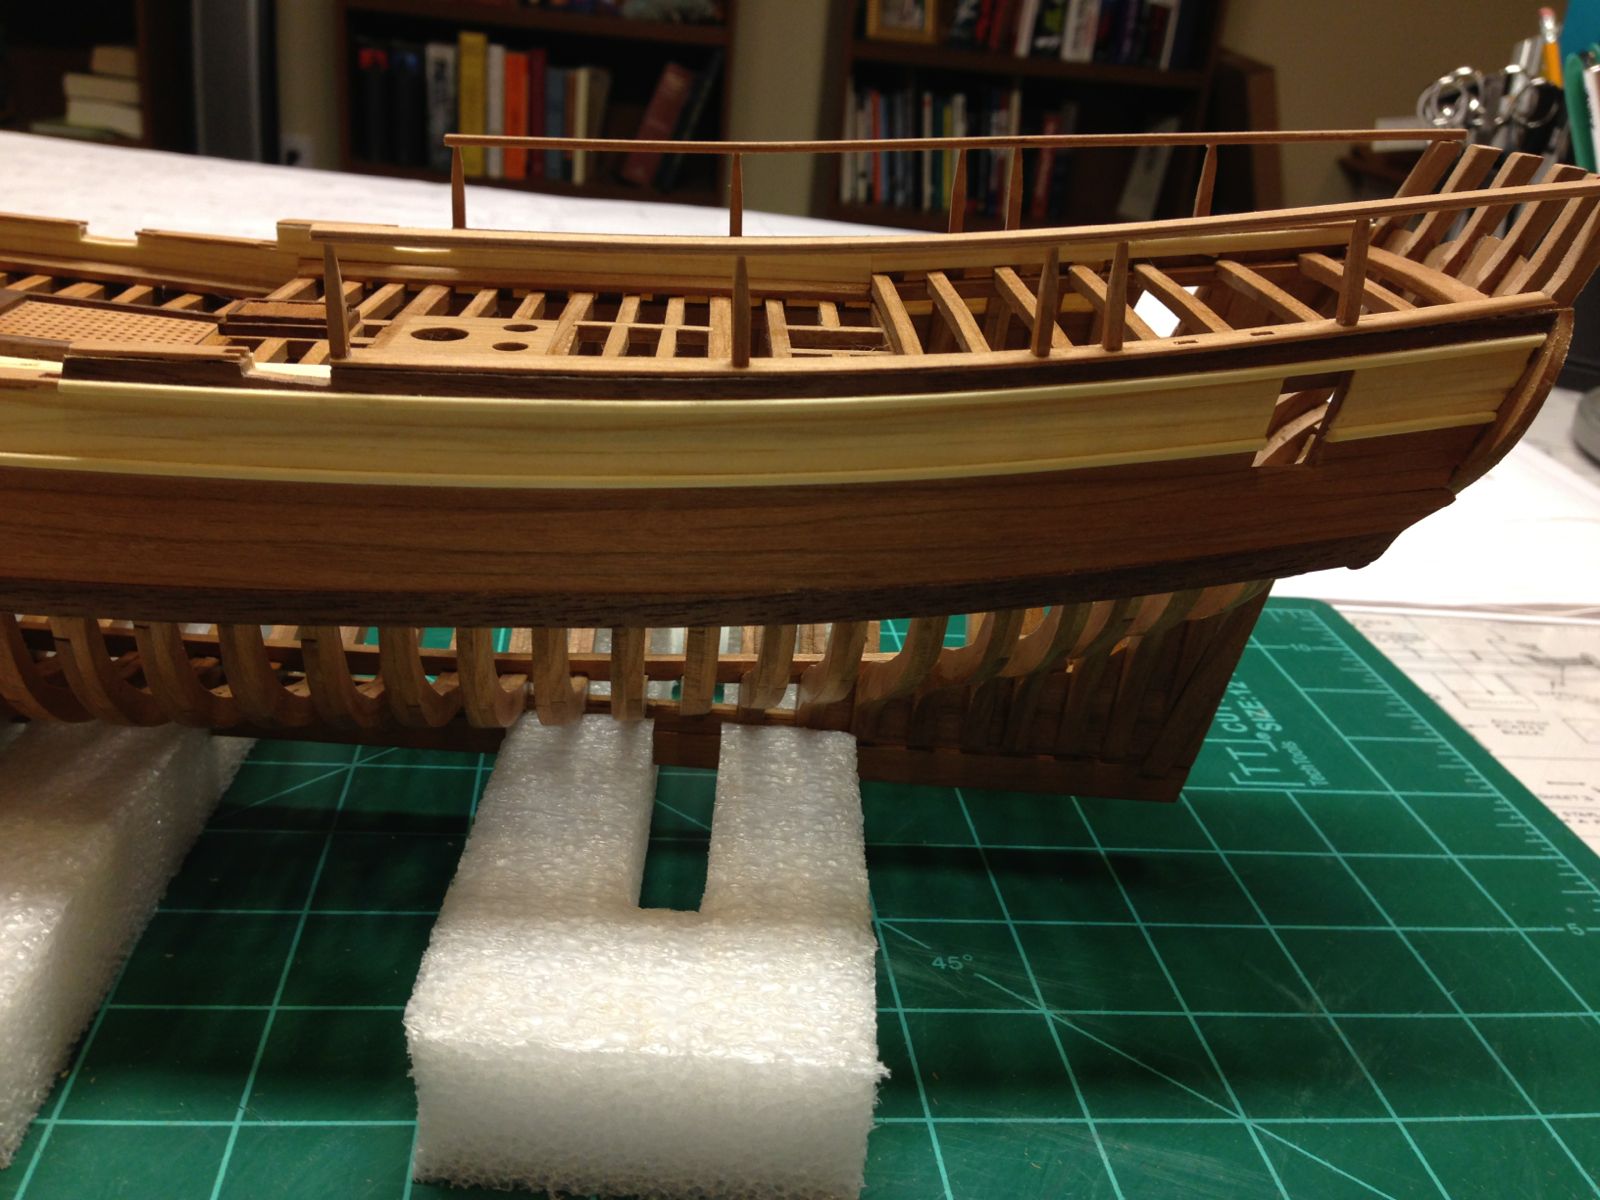
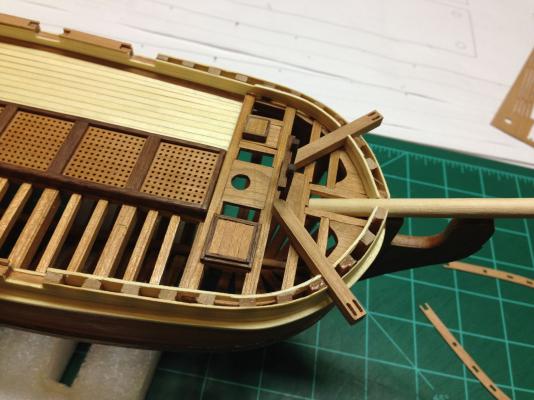
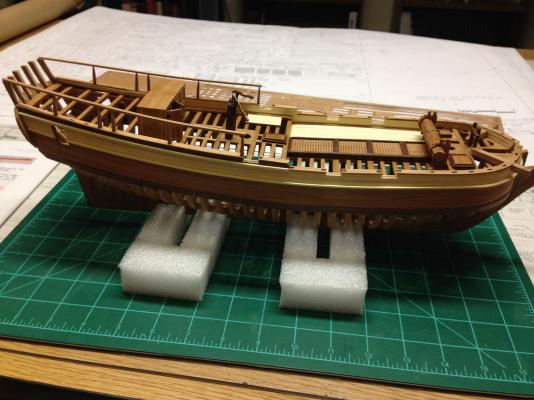
Here are some full pictures with the deck furniture in place (dry fitted only). edit: oops I think the pump handles need to angle forward


- 372 replies
-
- 15
-