clearway
-
Posts
2,238 -
Joined
-
Last visited
Content Type
Profiles
Forums
Gallery
Events
Everything posted by clearway
-
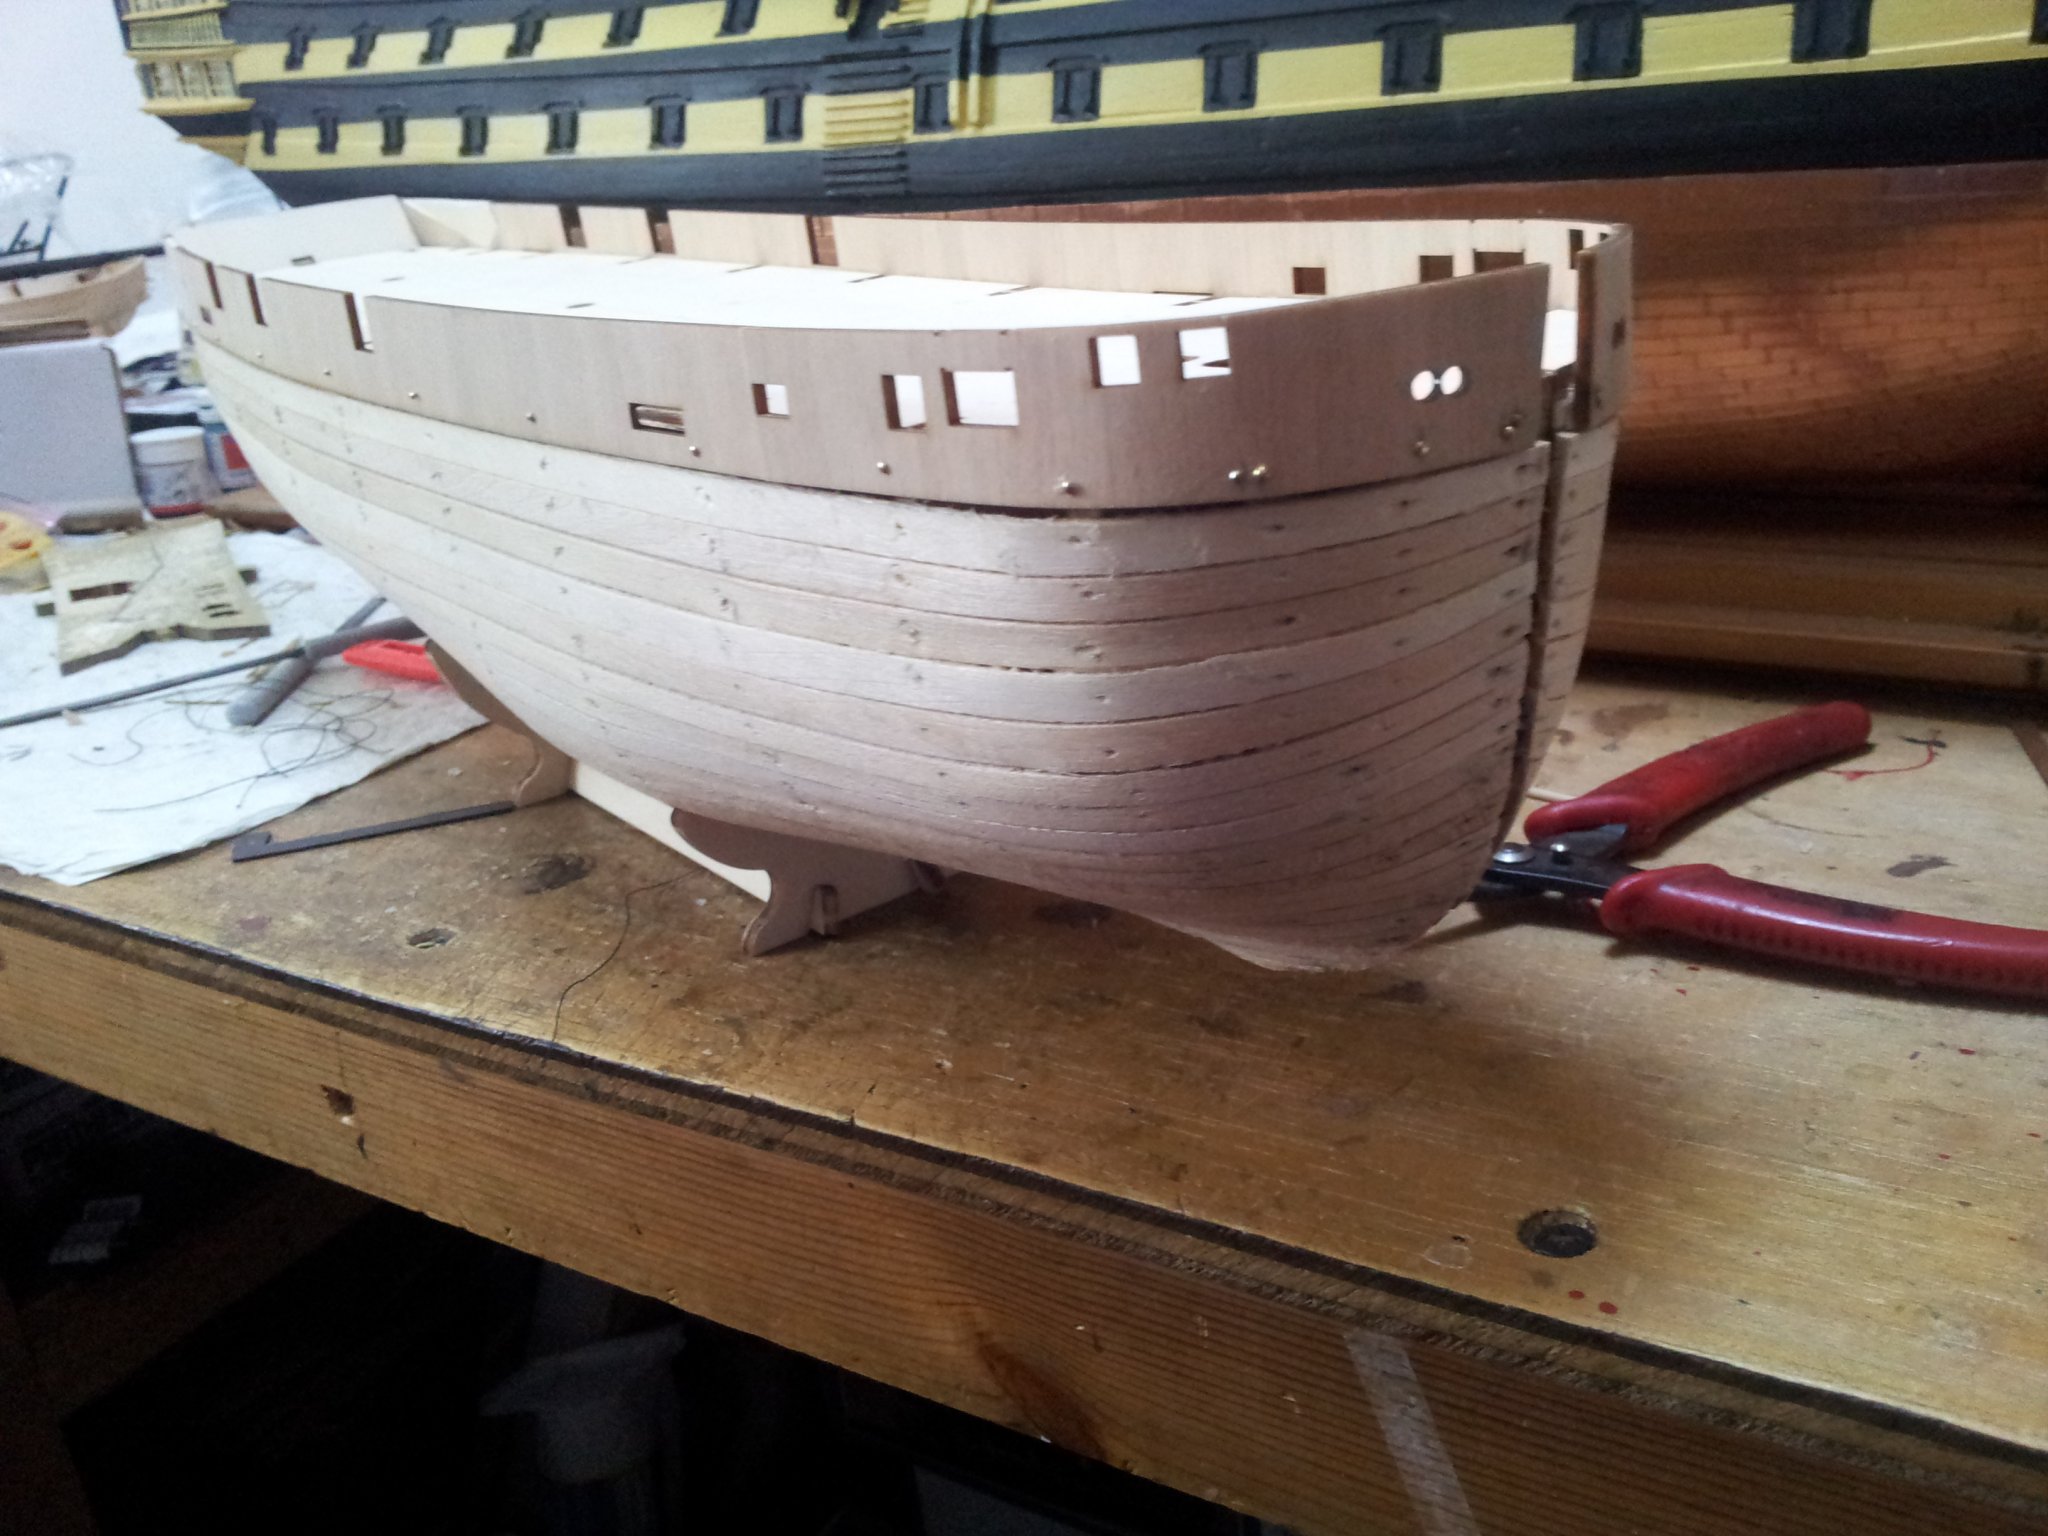
 thanks for looking in everyone- been plodding away with the shroud protection / rubbing strake planking (5 planks thick at the top). instructions say to do this after applying 2nd planking, but even if i do go down the 2nd planking route i would rather have these applied to the proper hull planking. as an aside i have come across a load of 1mm x 4mm walnut strip in my workshop which is nice and dark so might end up with a natural wood finish yet🤔. keep up the good work everyone Keith
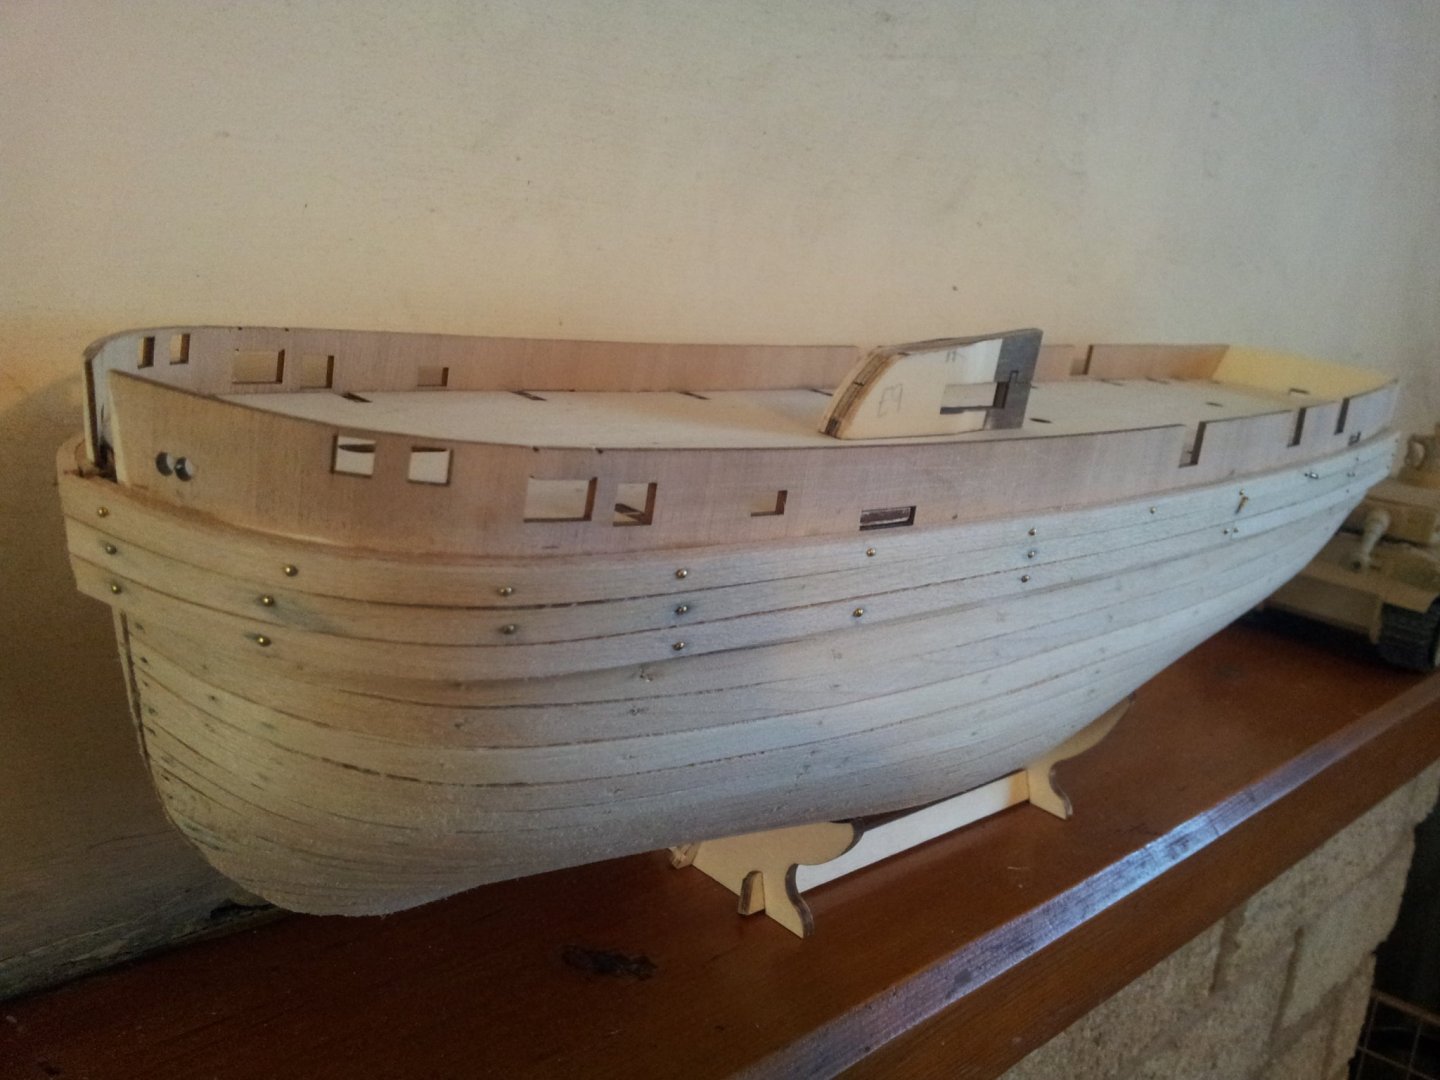
-
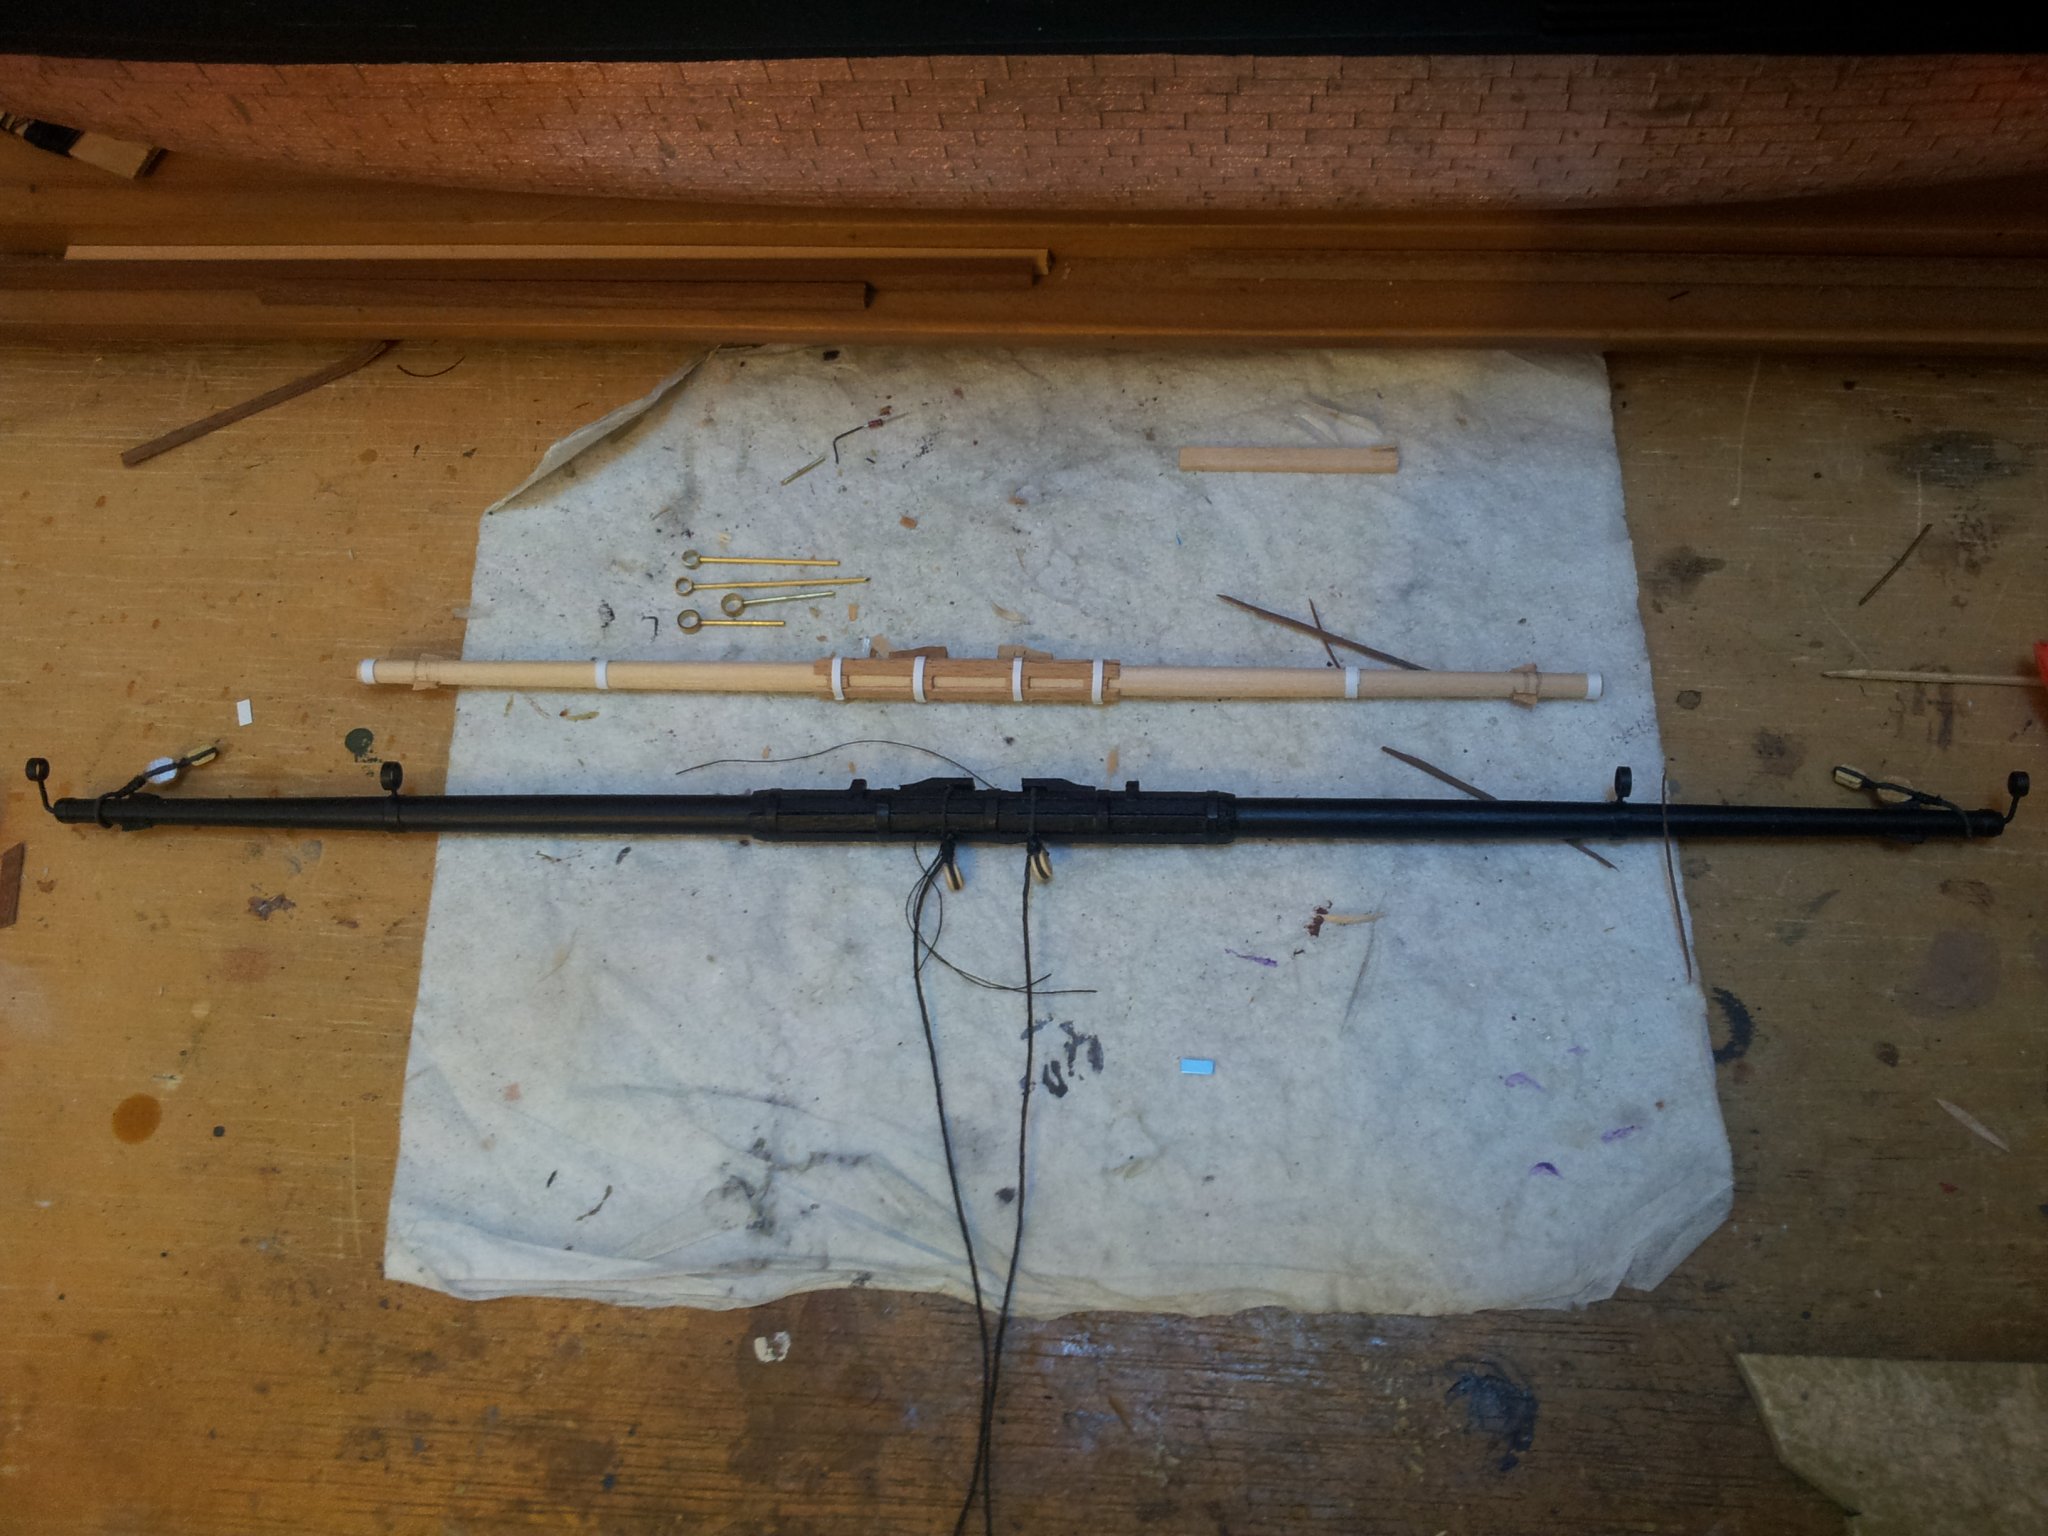
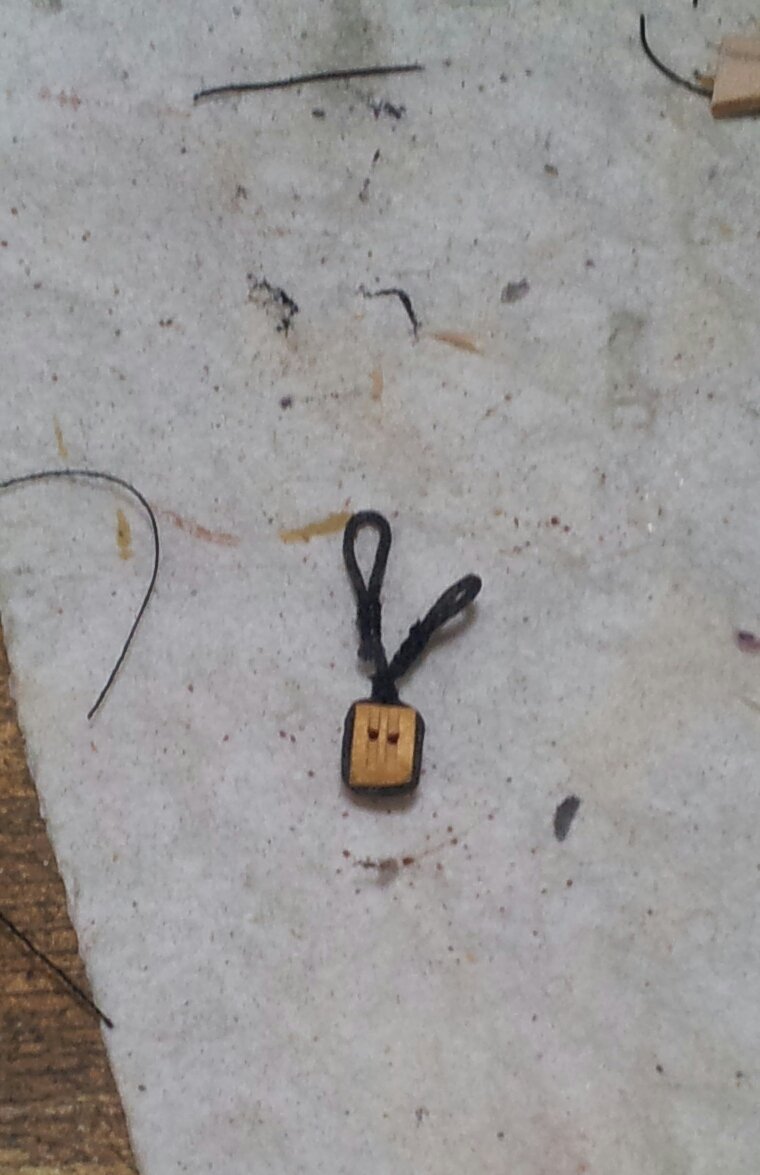
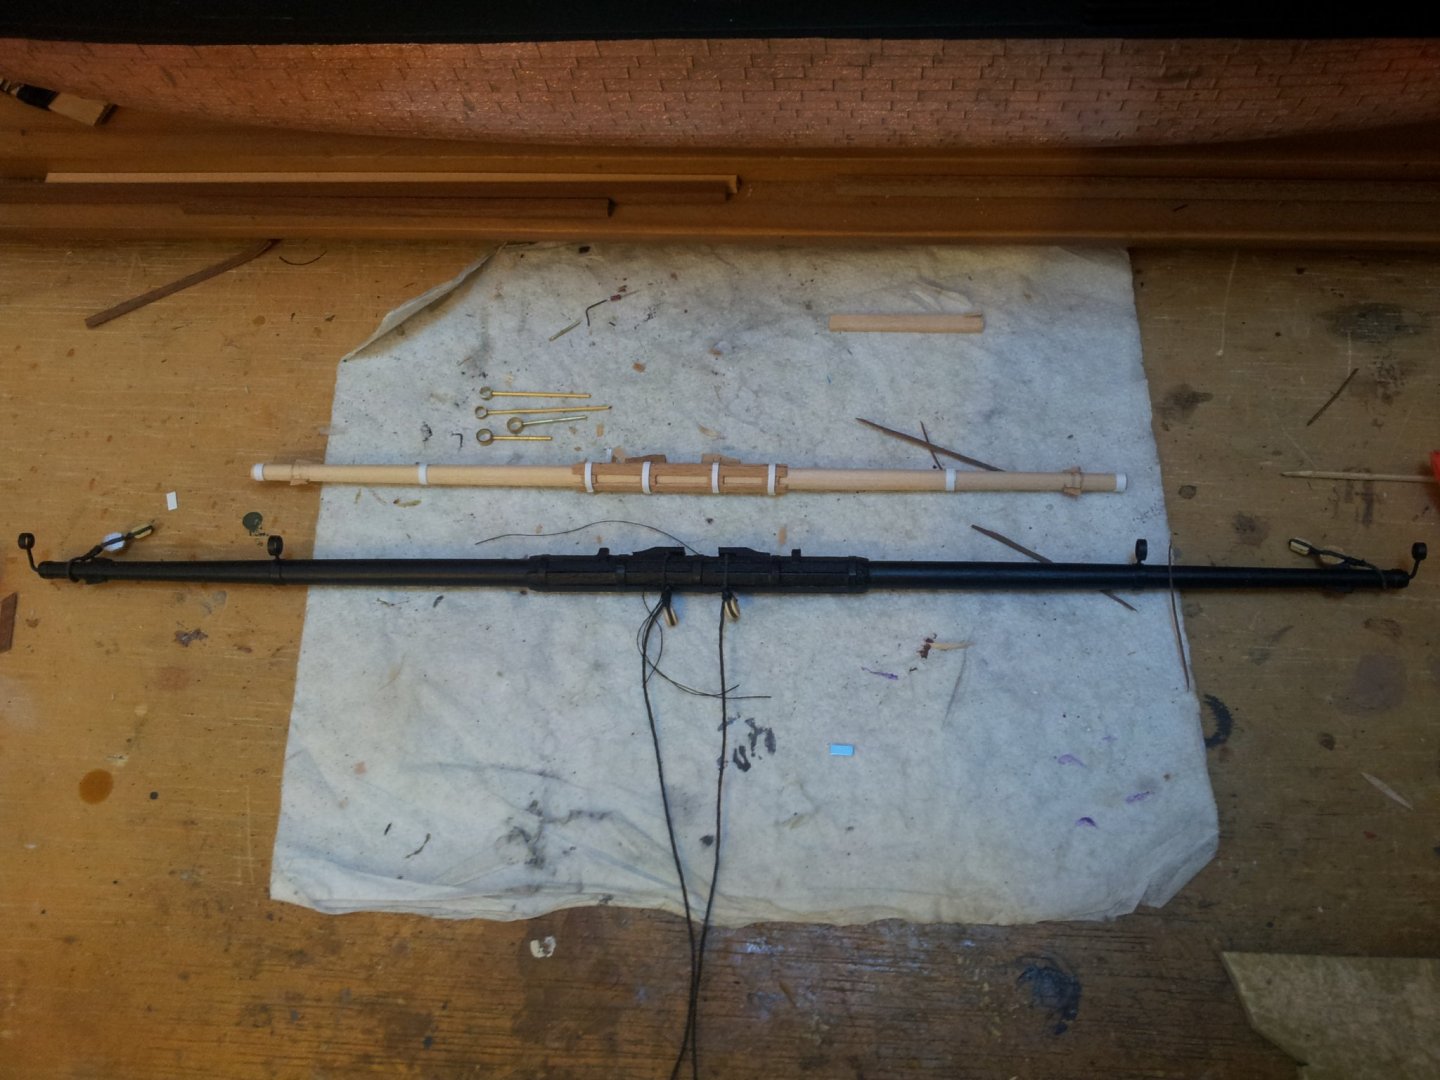
thanks for looking in everyone- back in the shipyard with victory and it's deja vu time-got the long tackles for the topping lift and tops'l sheet on the foreyard and the trusses in place - next job the jeer blocks on the foreyard and the stuns'l boom irons on the topyard. take care all Keith
-
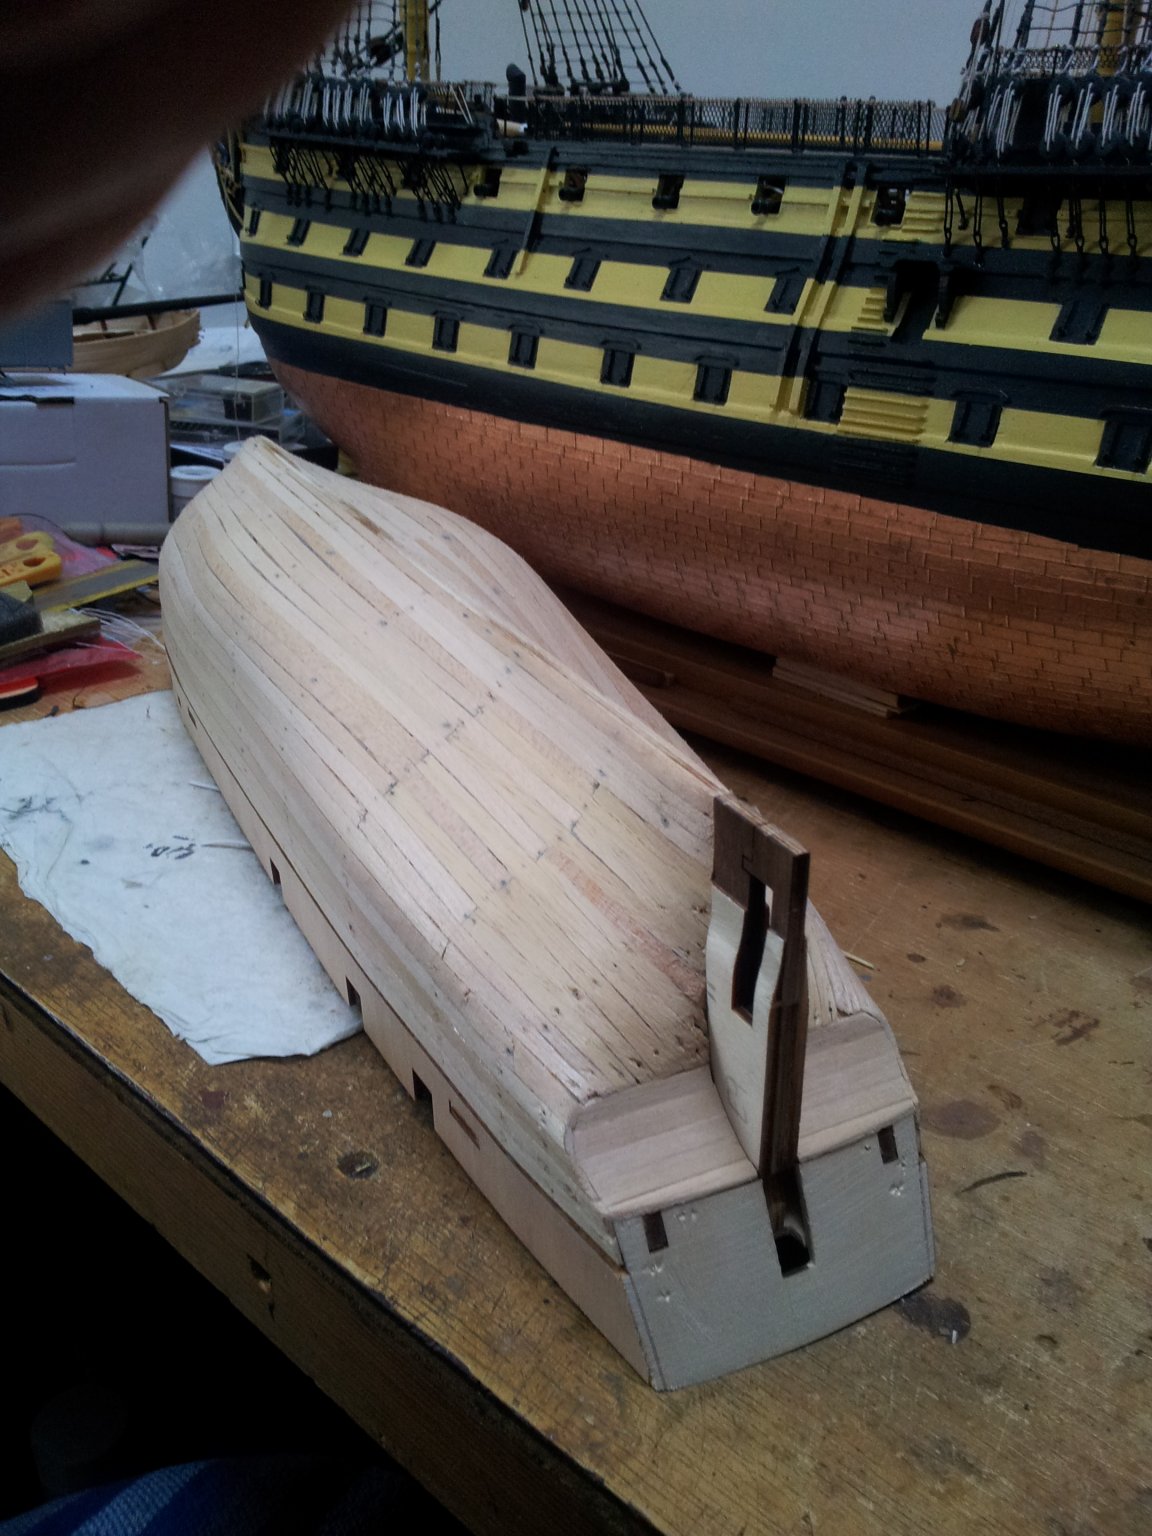
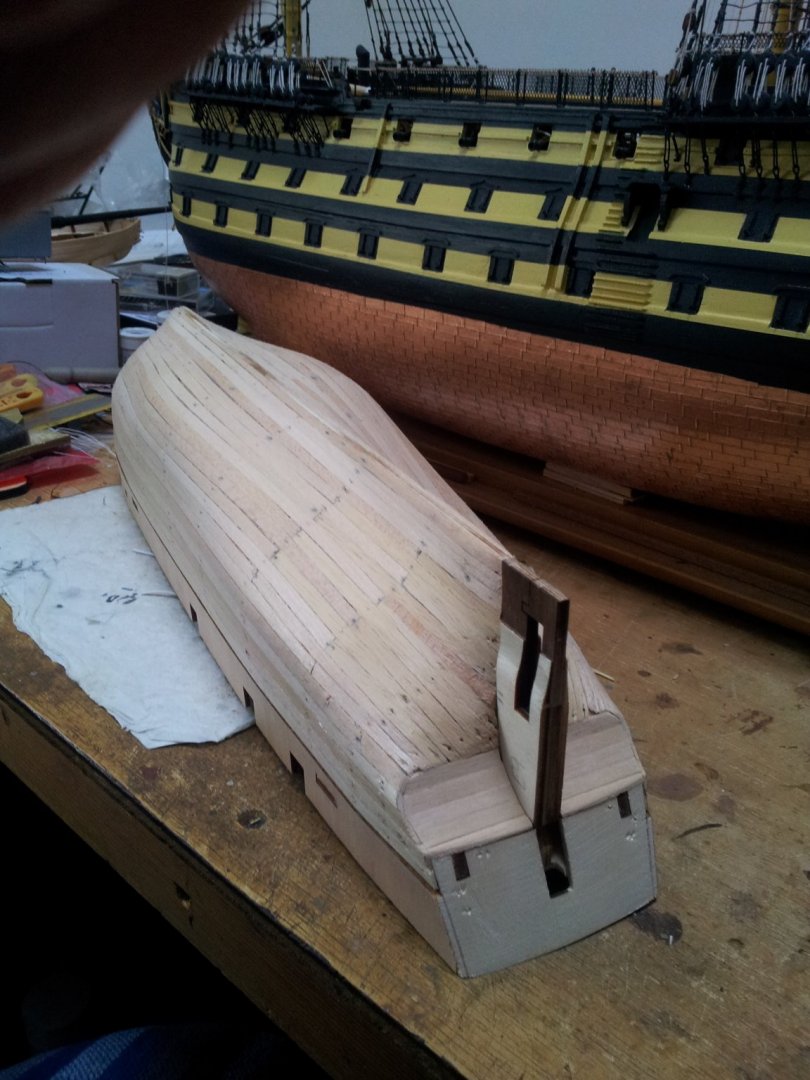
wierdddddd- i imagine the flat will be where the rudder head will be- these kits along with billings either dont bother with the rabbet or have a thin play overlay- the filler pieces at the stern will need a lot more fairing for the planking to swing up into the "tuck "- i waited until i got the timbers in for the bottom of the counter and laid a strip from there to a couple of frames further in till i got a smooth transition tweaking as i went. Keith
-
i think before i got my dedicated modelling room the admiral was seriously considering full scale blitzkrieg🤪 Keith
-
you are welcome Jo it all comes with practice, and i think we have all thought about taking an axe to a build a couple of times and lighting the fire with it😁 Keith
-
Ty Jeff- i will still add a layer of veneer planking over the counter and transom if not adding 2nd planking along with the bulwarks- its hard to tell but i did plank the transom on my victory even though i was painting the hull (infact it looked really nice and was a shame to paint over it)! Keith
-
looking good Jeff- would dry fit the deck as well to see if everything nice and plumb and in alignment. Keith
-
makes an interesting comparison to how the kit would have had the transom Jeff. Keith
-
i tapered them so they lay easier and "teased them between fingers and thumb gently working bends and twists into them- the tapering at the ends is crucial though - by the time they meet the bow should be about half the width. Keith
-
HMS Terror by Mish - OcCre - 1:65
clearway replied to Mish's topic in - Kit build logs for subjects built from 1801 - 1850
the joys in learning planking- nearly there though🙂. keith -
no problem- some veneer i have come across just splits and cracks every which way except for the way you want it! if i decide to go with 2nd planking will find out😉 Keith
-
Thanks Robert i didn't want to go to the expense of ordering a load of stripwood if the kit supplied veneer strip will be o.k. Keith
-
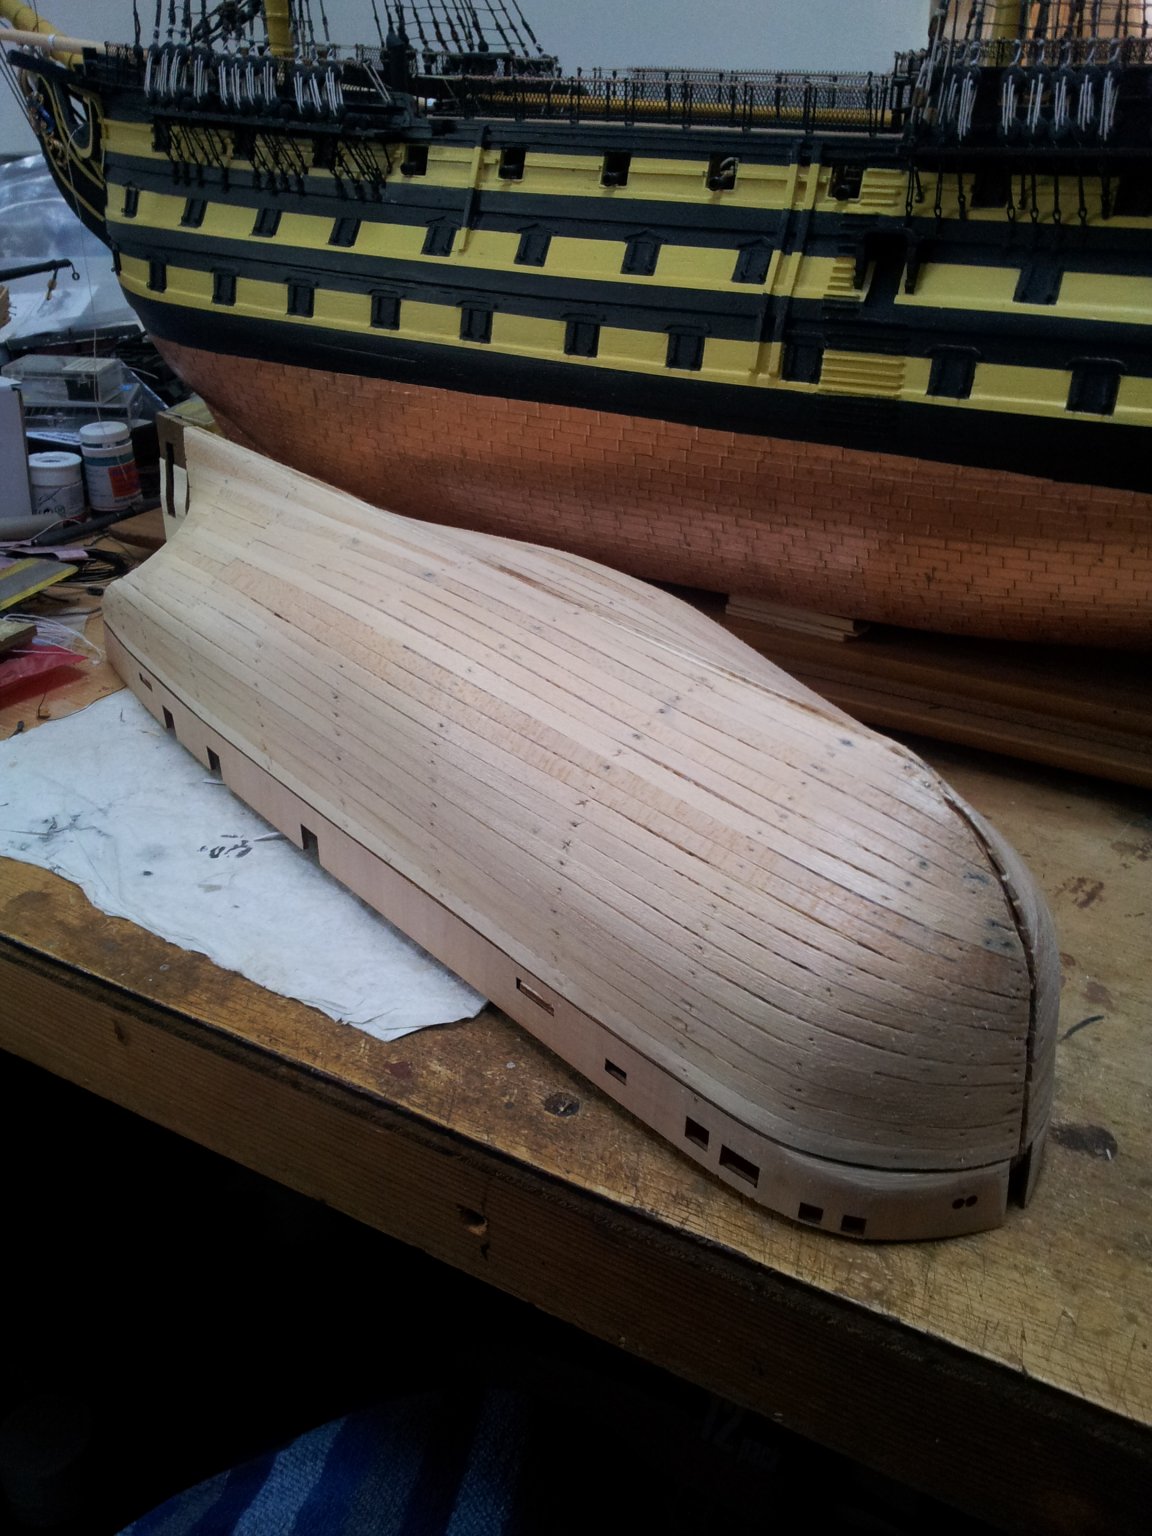
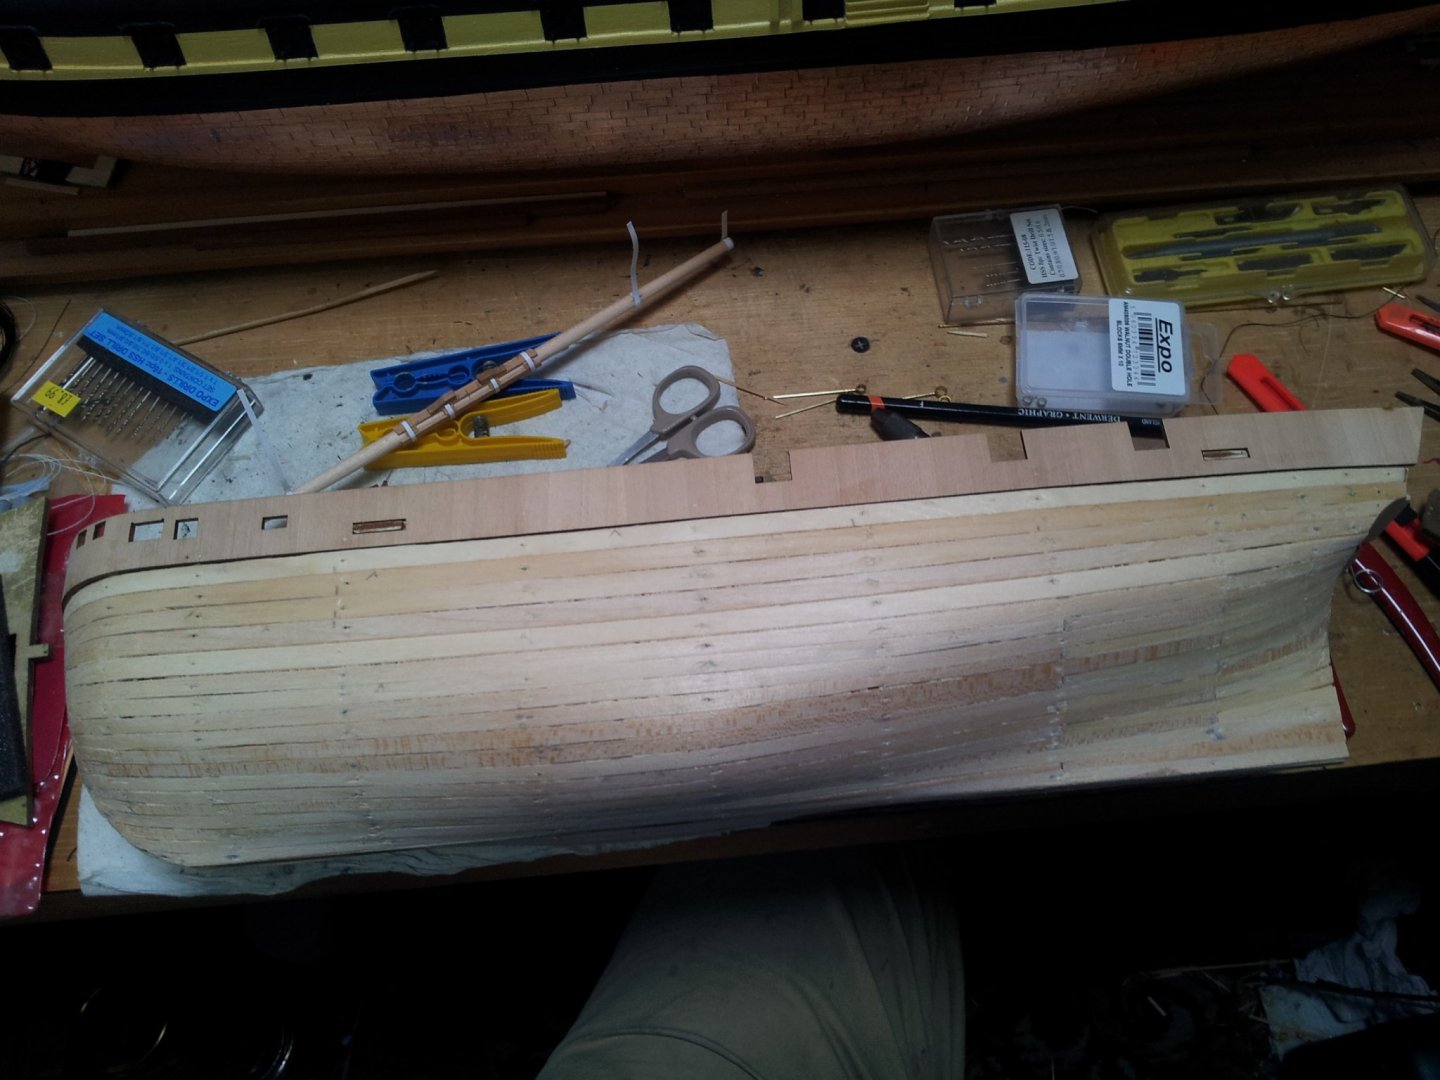
thanks for visiting everyone -gave the hull its final sanding with the coarse sandpaper- if not bothering with 2nd planking this will be where using filler over nail holes and pva between planks and sanding with medium/ fine sandpapering would begin- still havn't decided plank or not to plank with 2nd skin, whats the planking on the kit like for cutting? also started to form the sternpost assembley (not actually fastened in place yet) take care all and keep up the good work everyone. Keith

-
i have just had a thought Keith- what if the forward boats were actually mounted on that heavy sled you see in Matthew betts log? Keith
-
After the elation of the lovely fitting together of the frames happy moment gone- when the transom was fitted the hole for the rudder was out of alignment and the bulwarks are a couple of millimetres short of the stem🤨- got ye old craft knife out and cut the rudder aperture wider (also had to trim a little off the deck). On the bulwarks once the glue had dried i pulled the brass pins and drilled the holes out to 1mm and inserted ye olde cocktail stick trennels trimmed to size. take care all Keith

-
the problem with aluminium is it forms an oxidised layer in contact with air- this is what makes it hard to glue/ weld. before gluing or painting give it a rub down with either an abrasive rubber or very fine sandpaper/ emery cloth and paint straight away. Keith
-
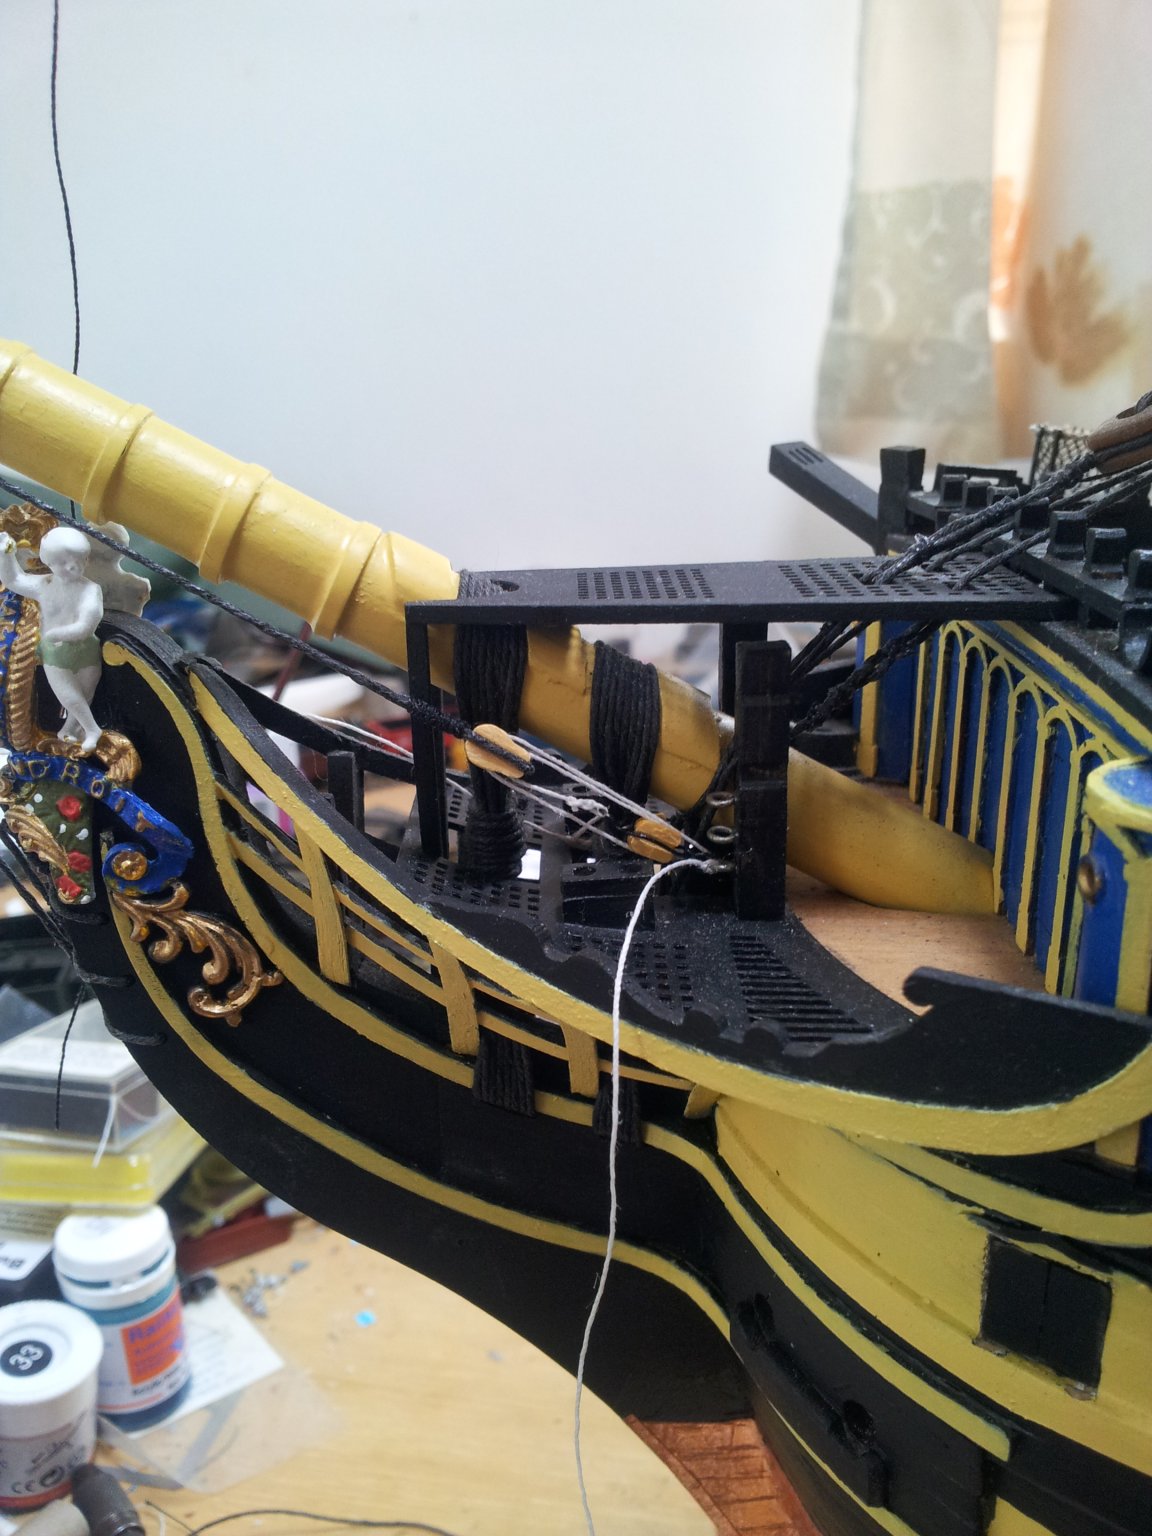
Ty Jeff- yep as already mentioned and shown earlier in log the billings supplied one was humungous! Pssst Emmet the seats of ease are there just below and infront of the block on the knighthead😉- hope they didn't hit a big wave when mid job😱🤢 Keith
-
looks alright from here Keith😁- besides when people are viewing her they will be drawn to the deck fittings and rigging. Keith
-
TY and Yes Emmet the jeers on the yard are towards the middle and rig to the three way blocks stropped to the masthead- they along with the sling take the weight of the yard - see earlier posts for rigging main yard- and are near the trusses, Keith
-
looking good emmet- i do all my sanding outside for the same reasons (means no hull construction in winter months though i am looking into fitting a woodstove in one of the outbuildings for messy sanding/spraypainting jobs during bad weather). For tapering my planks i use a small surfoam, but did use coarse sandpaper wrapped around a piece of wood for years. Keith
-
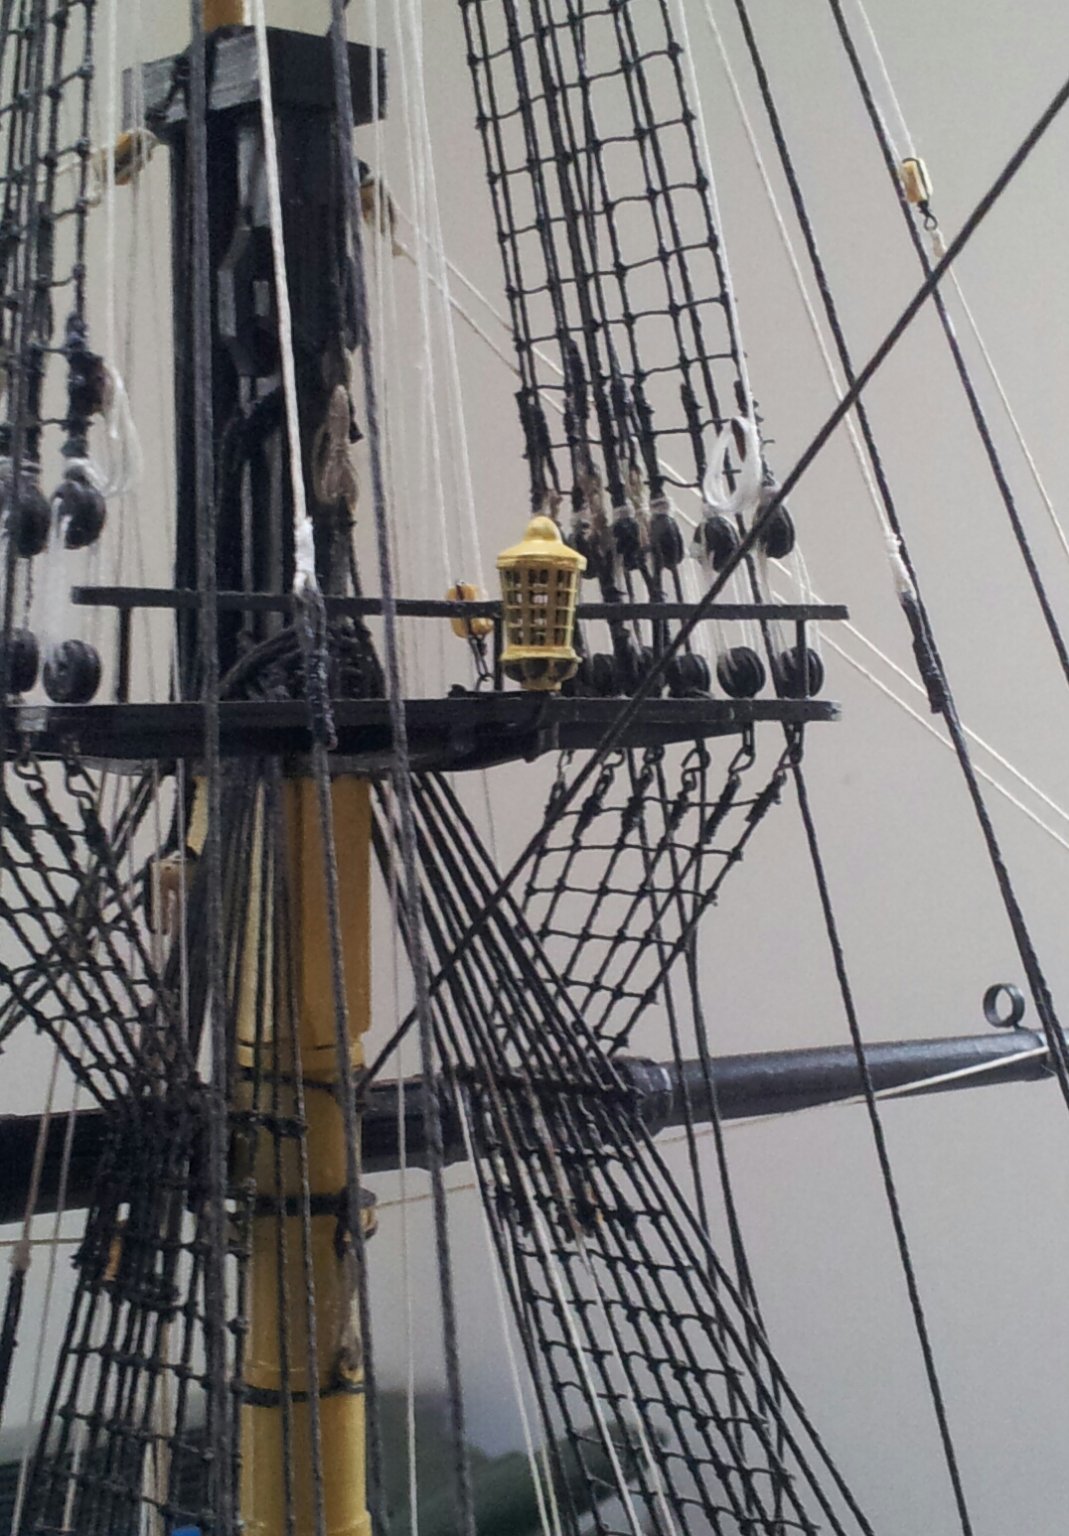
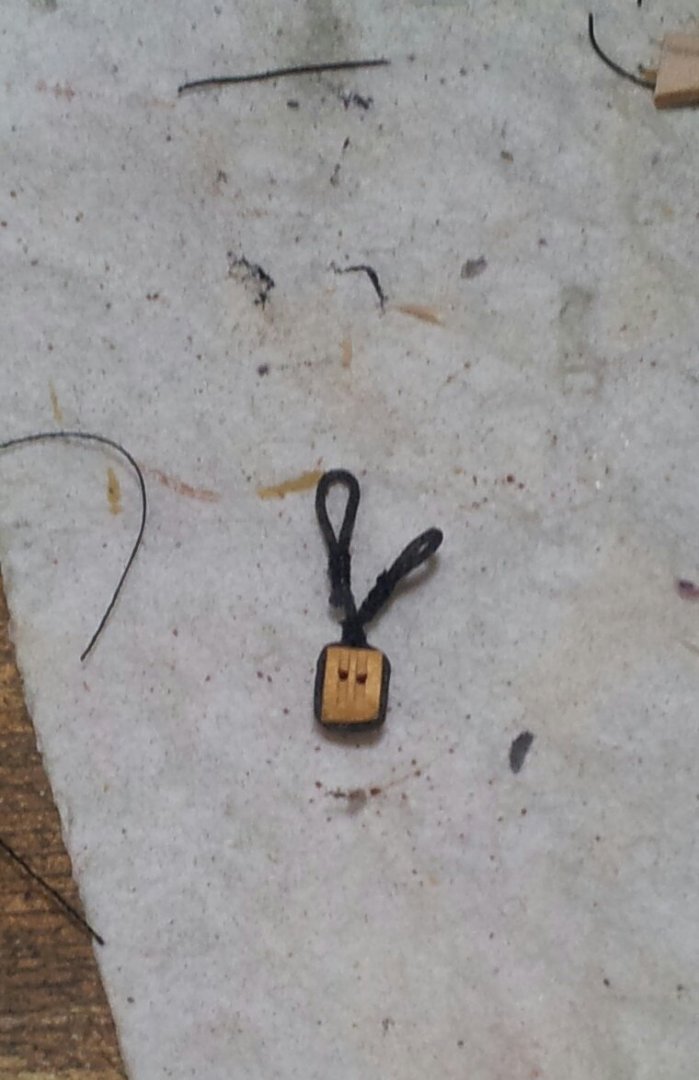
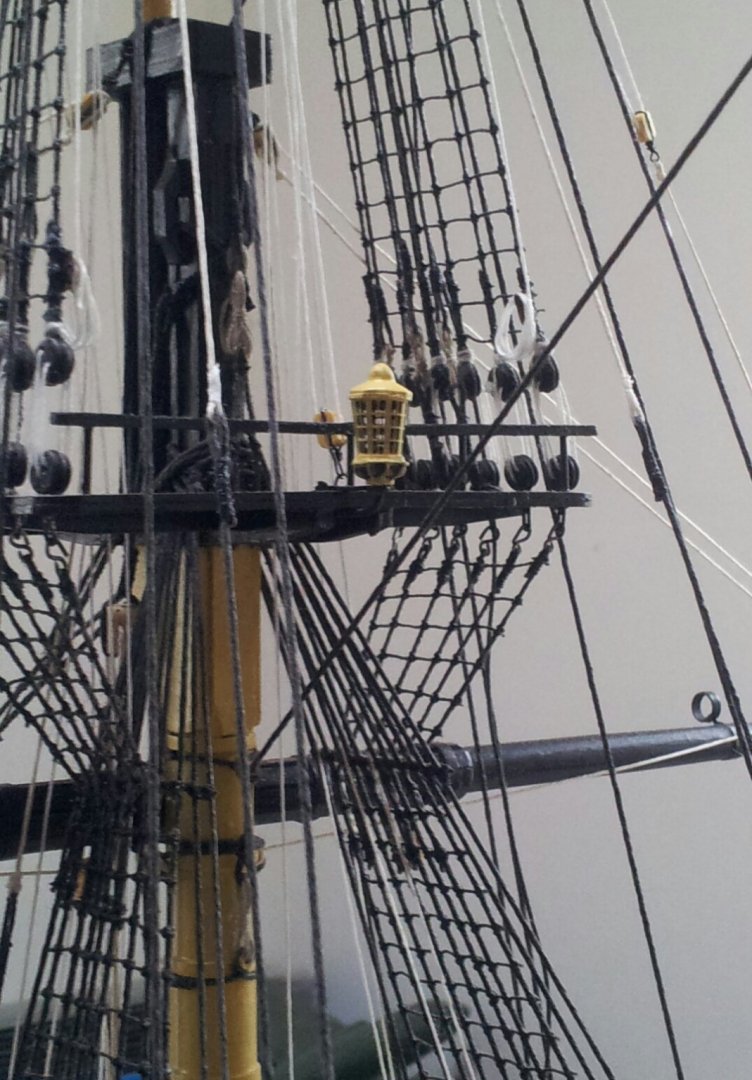
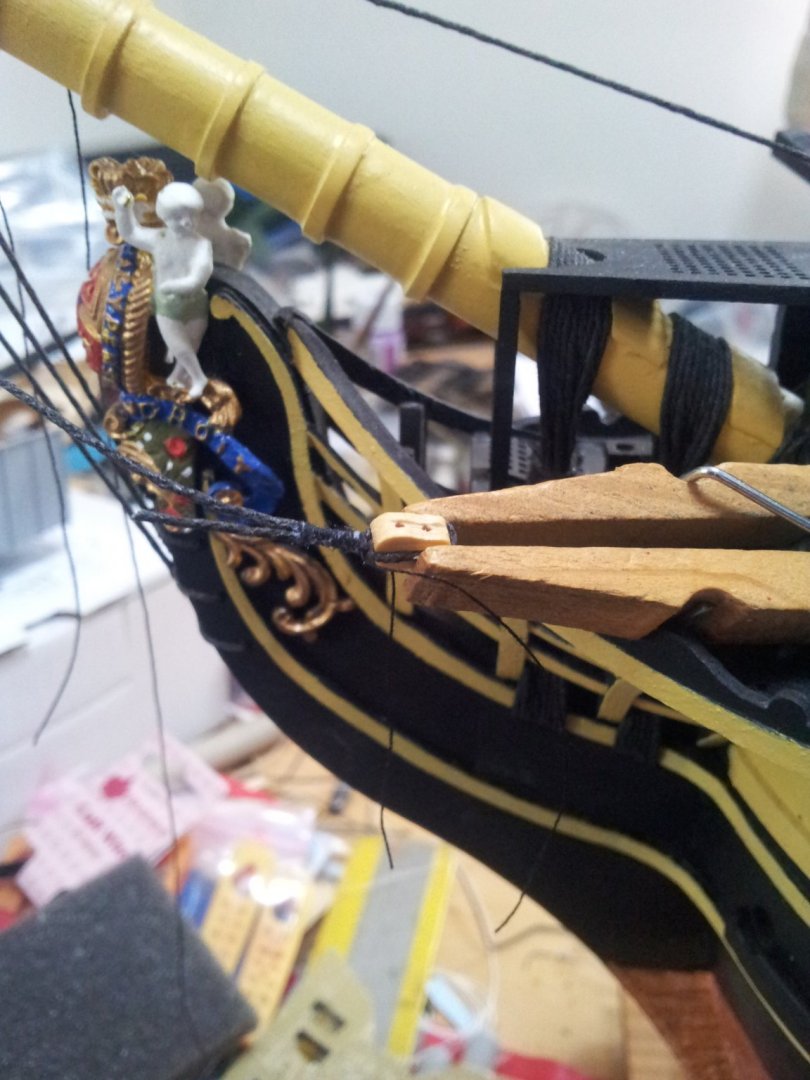
thanks for views likes and comments everyone- back in the shipyard and work progressing slowly on the foreyard, got the strops on the jeer blocks finished also got the Admirals lantern in place behind the main top while looking at the bow area realised i hadn't properly rigged the fore t'gallant stays- long tackle block seized and rigged to hooked block on knighthead - tail end not permanently glued yet. take care all Keith

-
Thanks for looking in everyone- removed the pins and gave hull a slight sanding but not too much until transom and bulwarks have dried- still not sure about adding 2nd planking if i am most likely going to go with a painted finish. take care all Keith


-
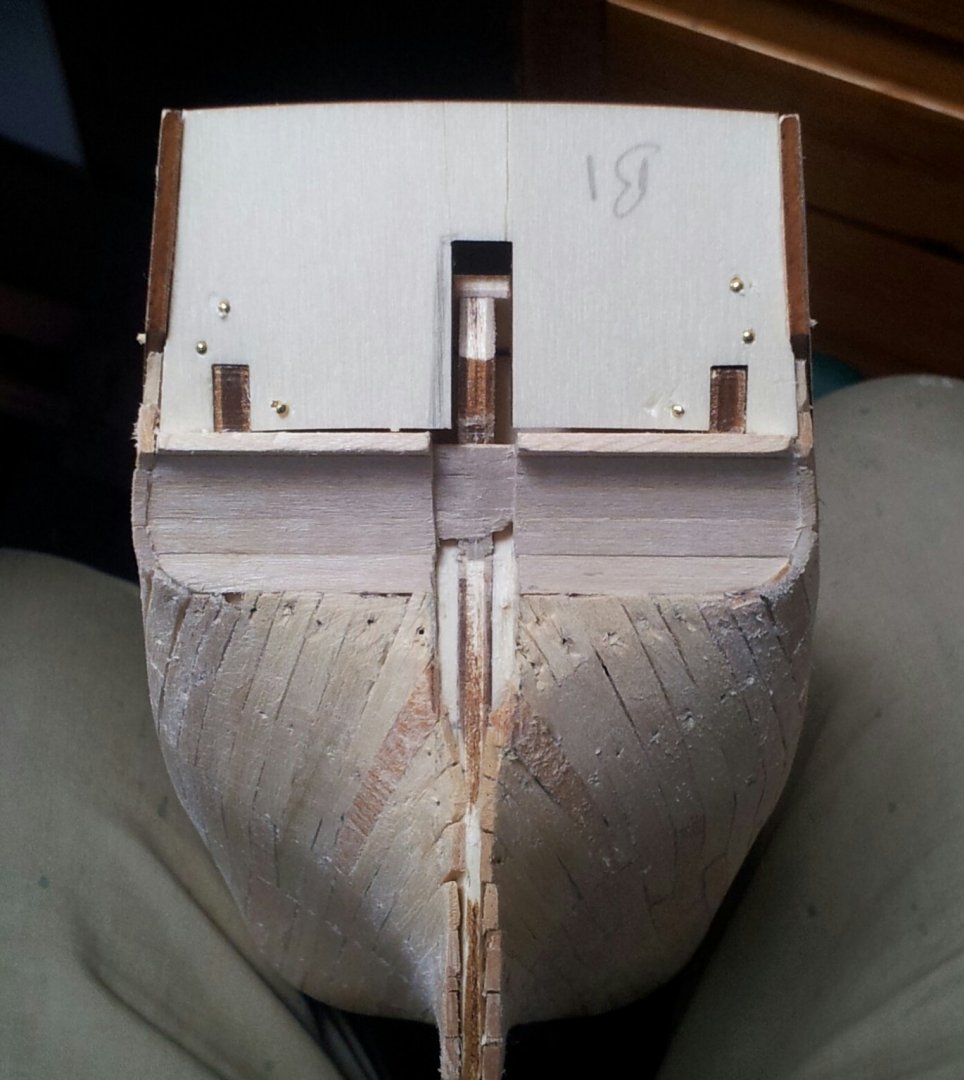
Hi Emmet- the seats of ease are a polite way of saying toilets- long drop non flushing open air type- the quarter galleries on the stern are for the ranking officers toilets and the midshipmans toilet is in the semi circular bulkhead in the bow. the gammoning for the bowsprit goes through an elongated hole you see in the bolster marked B in the diagram, and the sails tie of to the timberheads on the f'cstle. Keith
-
thanks Jo, you have done a great job with the deck- i worked from the top down using brass pins which were then removed after the glue had hardened then added filler in any gaps and sanded down.i start tapering from where the frames start to narrow- on this one i started tapering from 4th frame in from the bow and terminated the top most plank around where the mizzen mast is with the sternwards taper starting just after the fullest middle frame - this allowed the next plank to start sweeping up the counter i also soak the strips for a few hours in water to stop them cracking when bent and use wood adhesive as opposed to cyano- hope this makes sense! Keith
-
hmmm not good times for anyone Emmeti have heard similar stories from people im u.k. om the victory bow i see no stepped cut outs in the beak which is nice of them! the gratings actually curve upwards as they leave the bow deck- the pieces for forming the supports should be upright and at 90 degrees ton the keel there should be a side elevation in the plans but i have never built a kit from them guys so not sure which way they go around it. found this pic in an old modelling book. take care and hope things get better for you soon. Keith