clearway
-
Posts
2,238 -
Joined
-
Last visited
Content Type
Profiles
Forums
Gallery
Events
Everything posted by clearway
-
 niceeeeeeeeeeeee😁- on the fishing vessels i have been on they led from the wires going from yard to yard to a couple of insulators to either the wheelhouse roof or radiocabin depending on size. Keith
- 337 replies
-
- 3
-

-
- finished
- mountfleet models
- (and 1 more)
-
i know how you feel- always the same when leaving the instructions well behind- do i go this way or that way🤔- and terror would most likely have had a jackstay on top of the yards for the square sails with the sail attached to it- not hanging from the bottom of the yards which was earlier practice🤨. Keith
-
the link on matthews victory log is for a demo on this site but looks cool either way- on the MSW link he actually reduces the sail area to make life easier- mines going to be full sail methinks after watching that😁 Keith
-
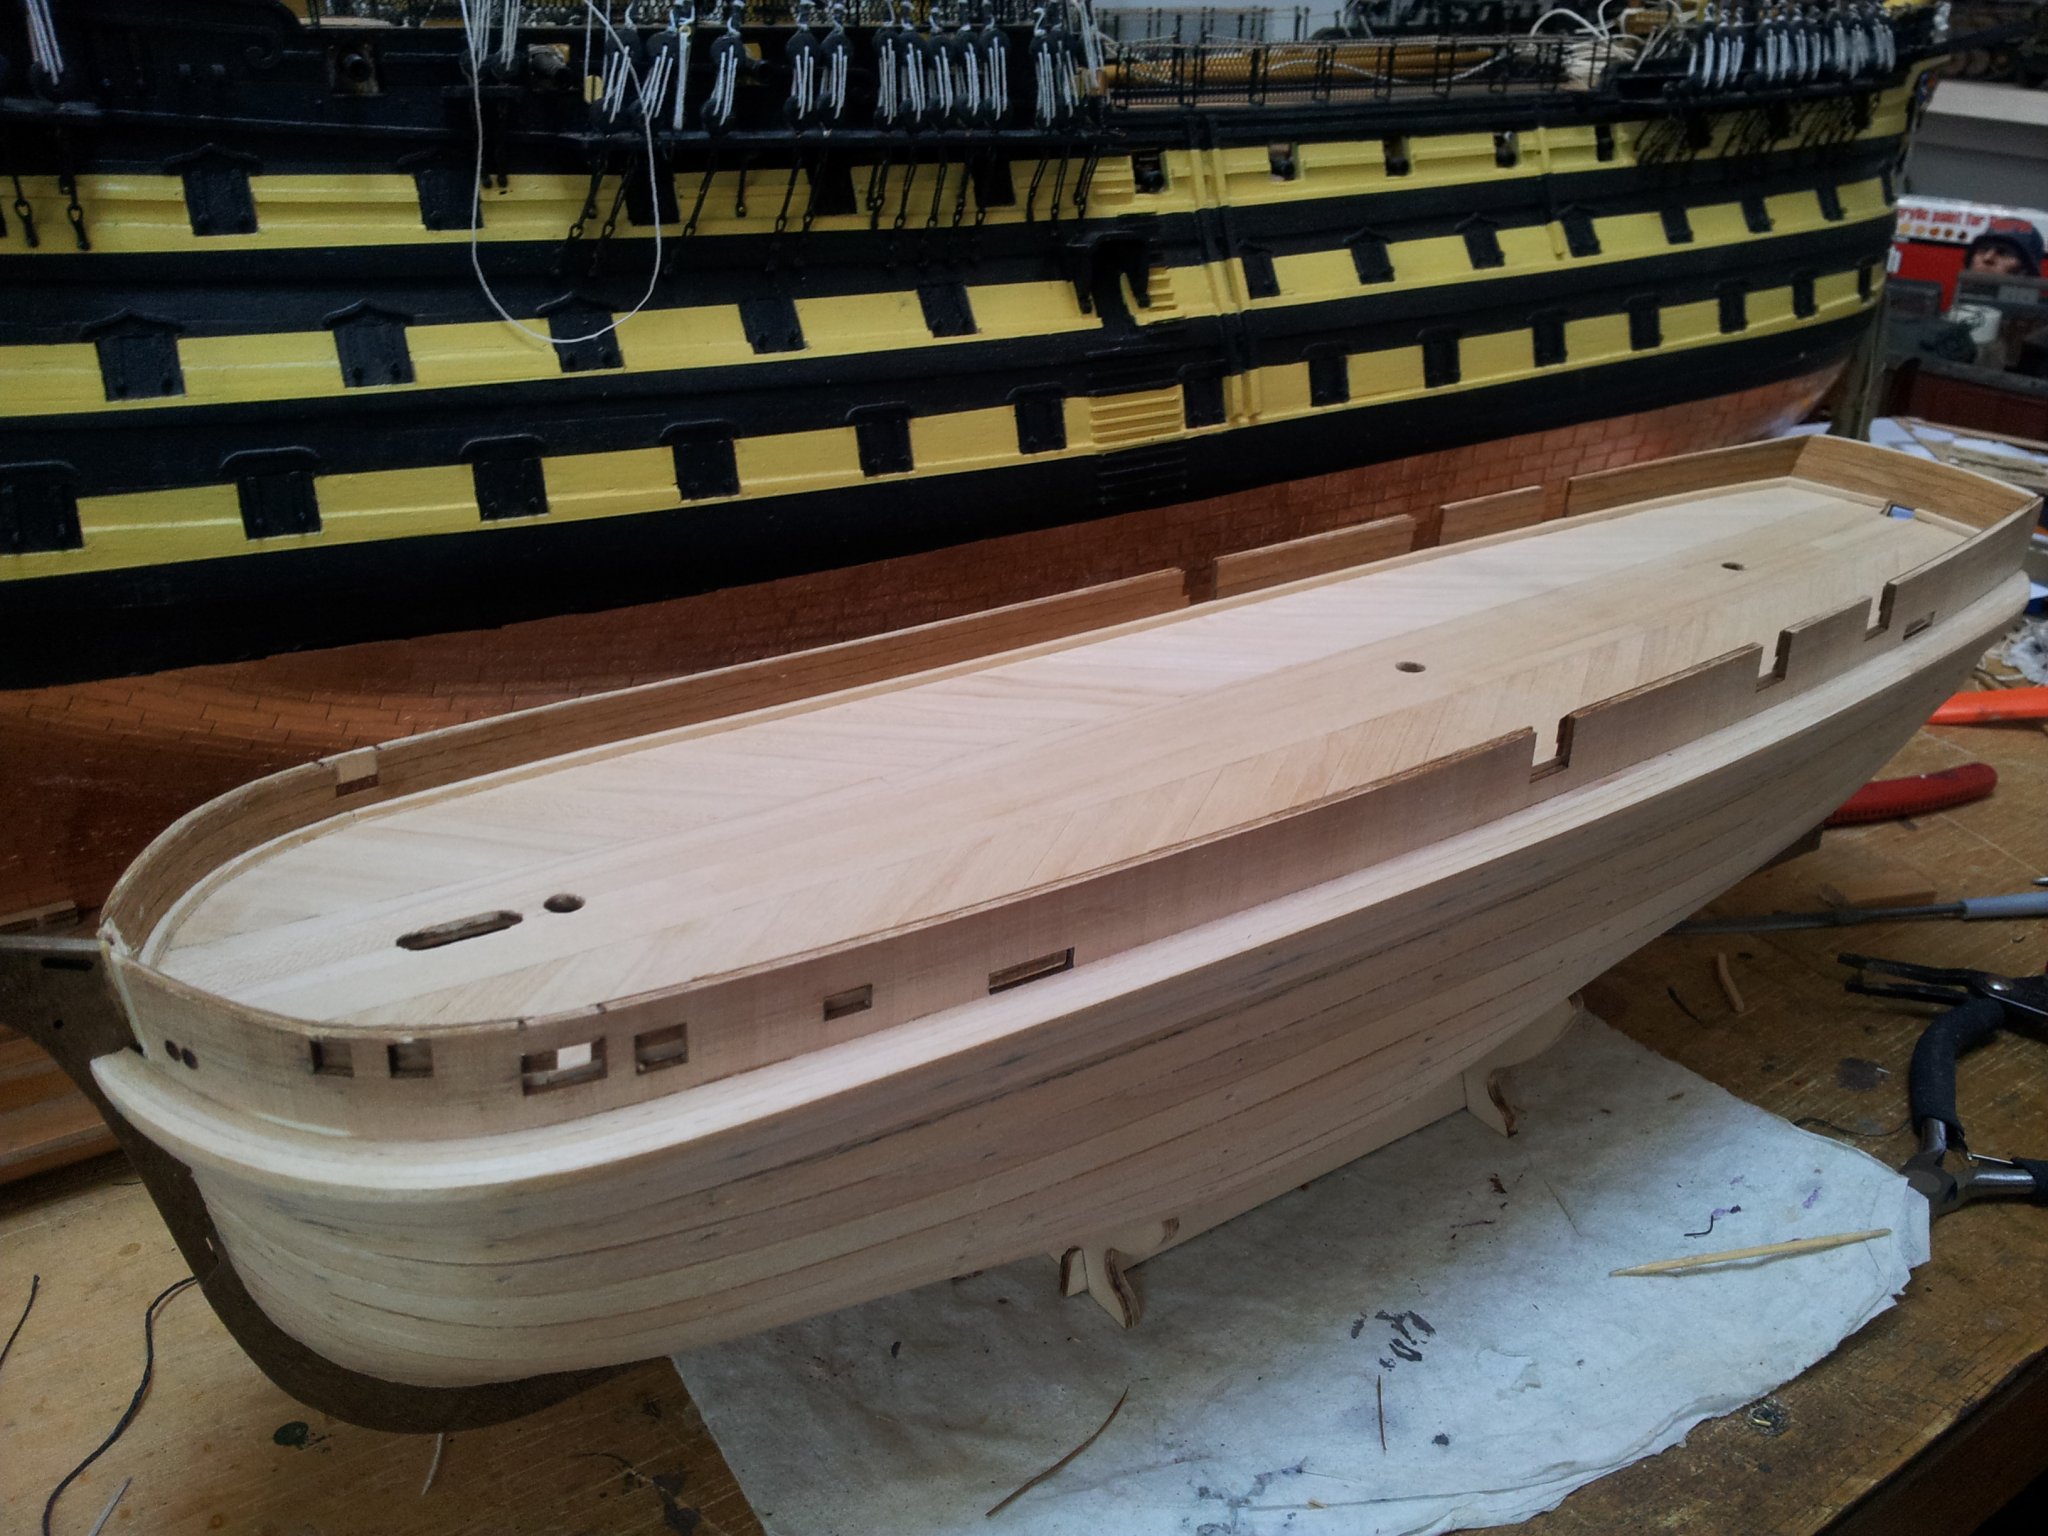
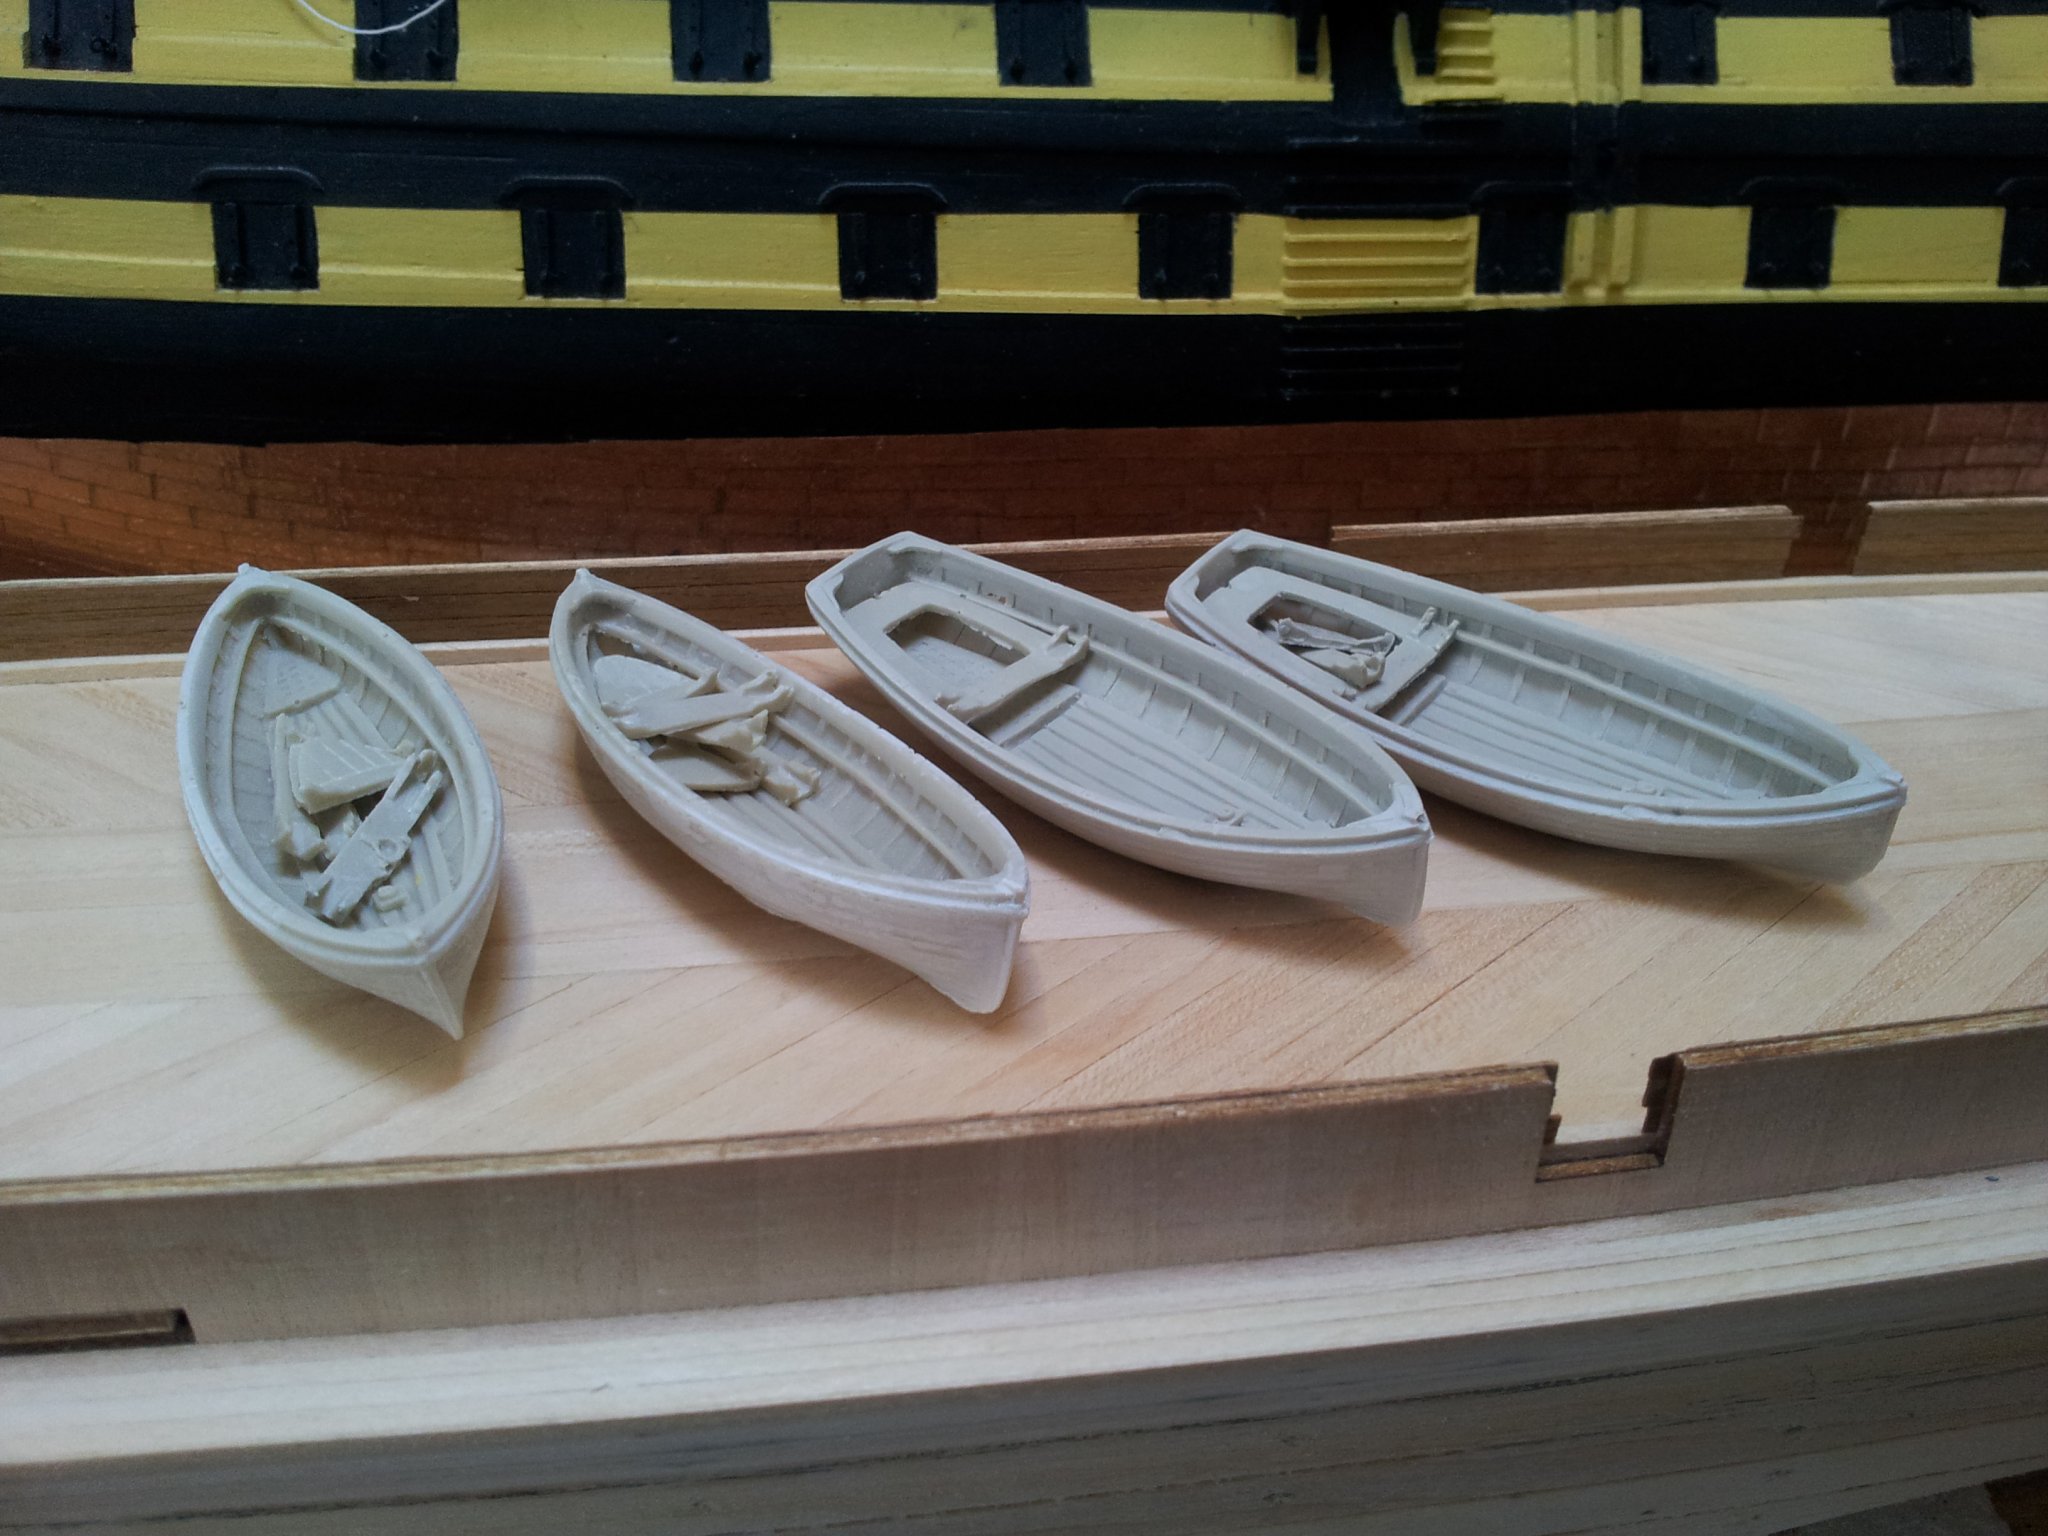
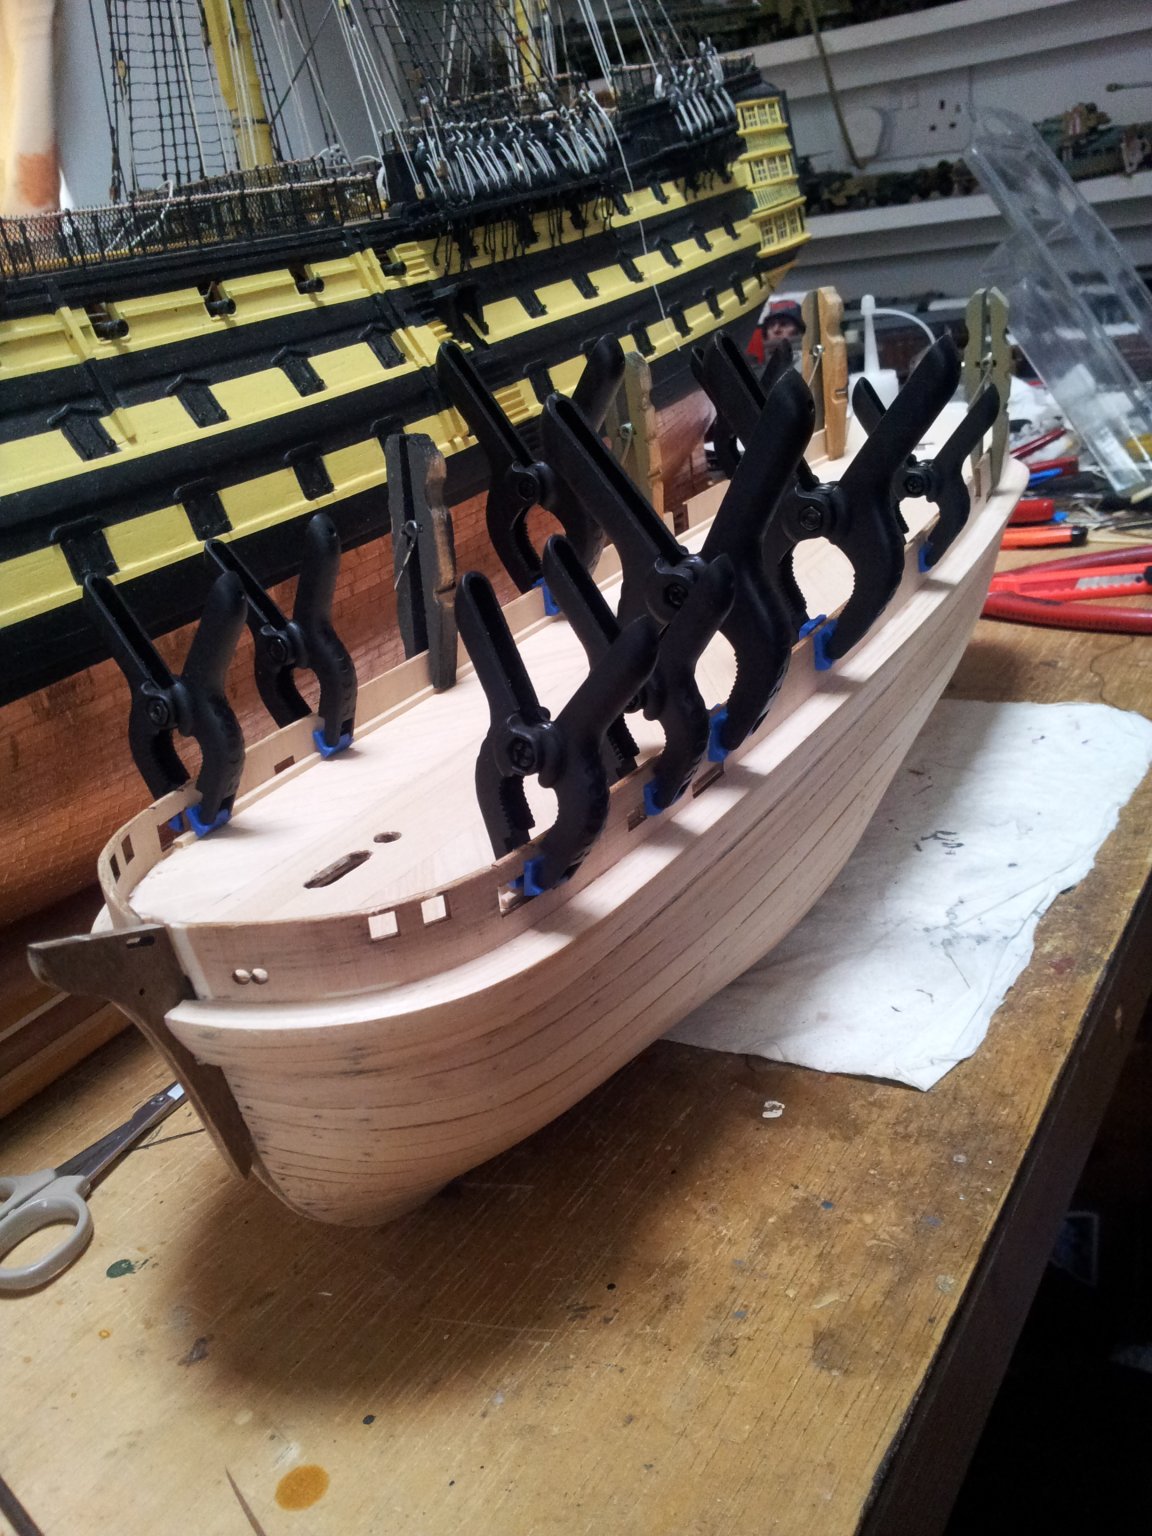
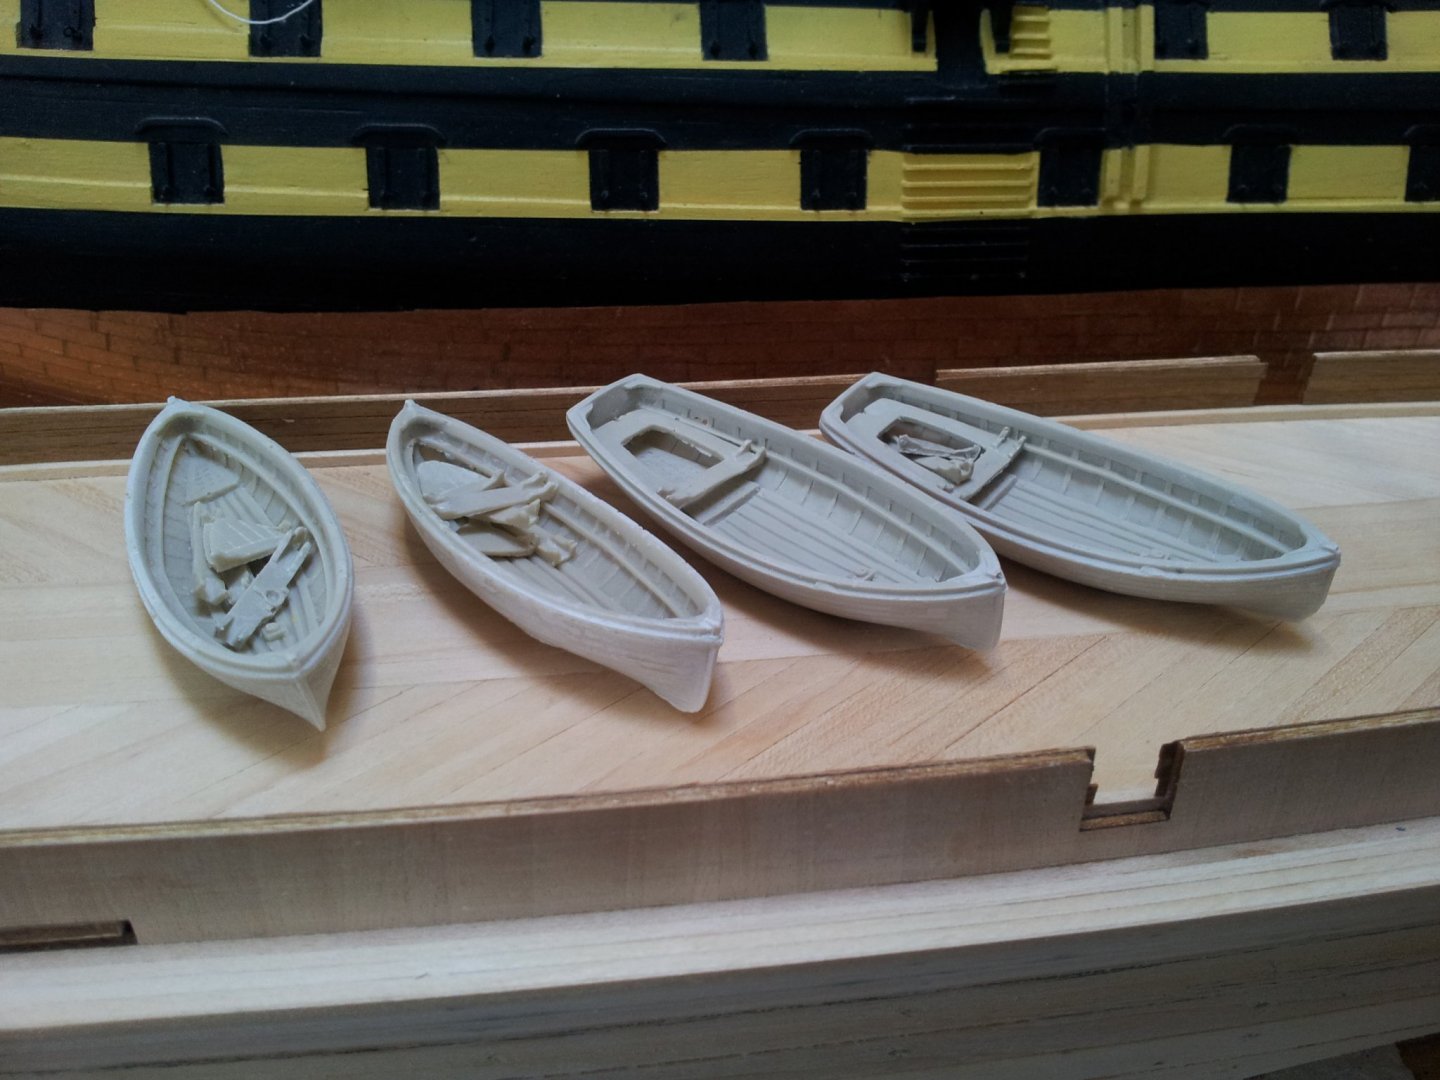
thanks for the views and comments everyone- back in the shipyard and we have the rest of the keels, the sternpost assembly and the bulwarks planked- still need trimmed around openings though😁. also bought these 1/72 ships boats from quaycraft which are 85mm long- i have a 100mm boat and some stud link anchor chain on order with cornwall model boats- by the time i have finished will have spent more on upgrades than cost of kit 🤪 take care all Keith


-
nope don't think so he is using a different technique which looks better. Keith
-
hello keith if you go to matthew kassebaum's hms victory log there is a link posted by mtaylor regarding making furled sails.😉 Keith
-
looks like hms revenge i built years ago by airfix
-
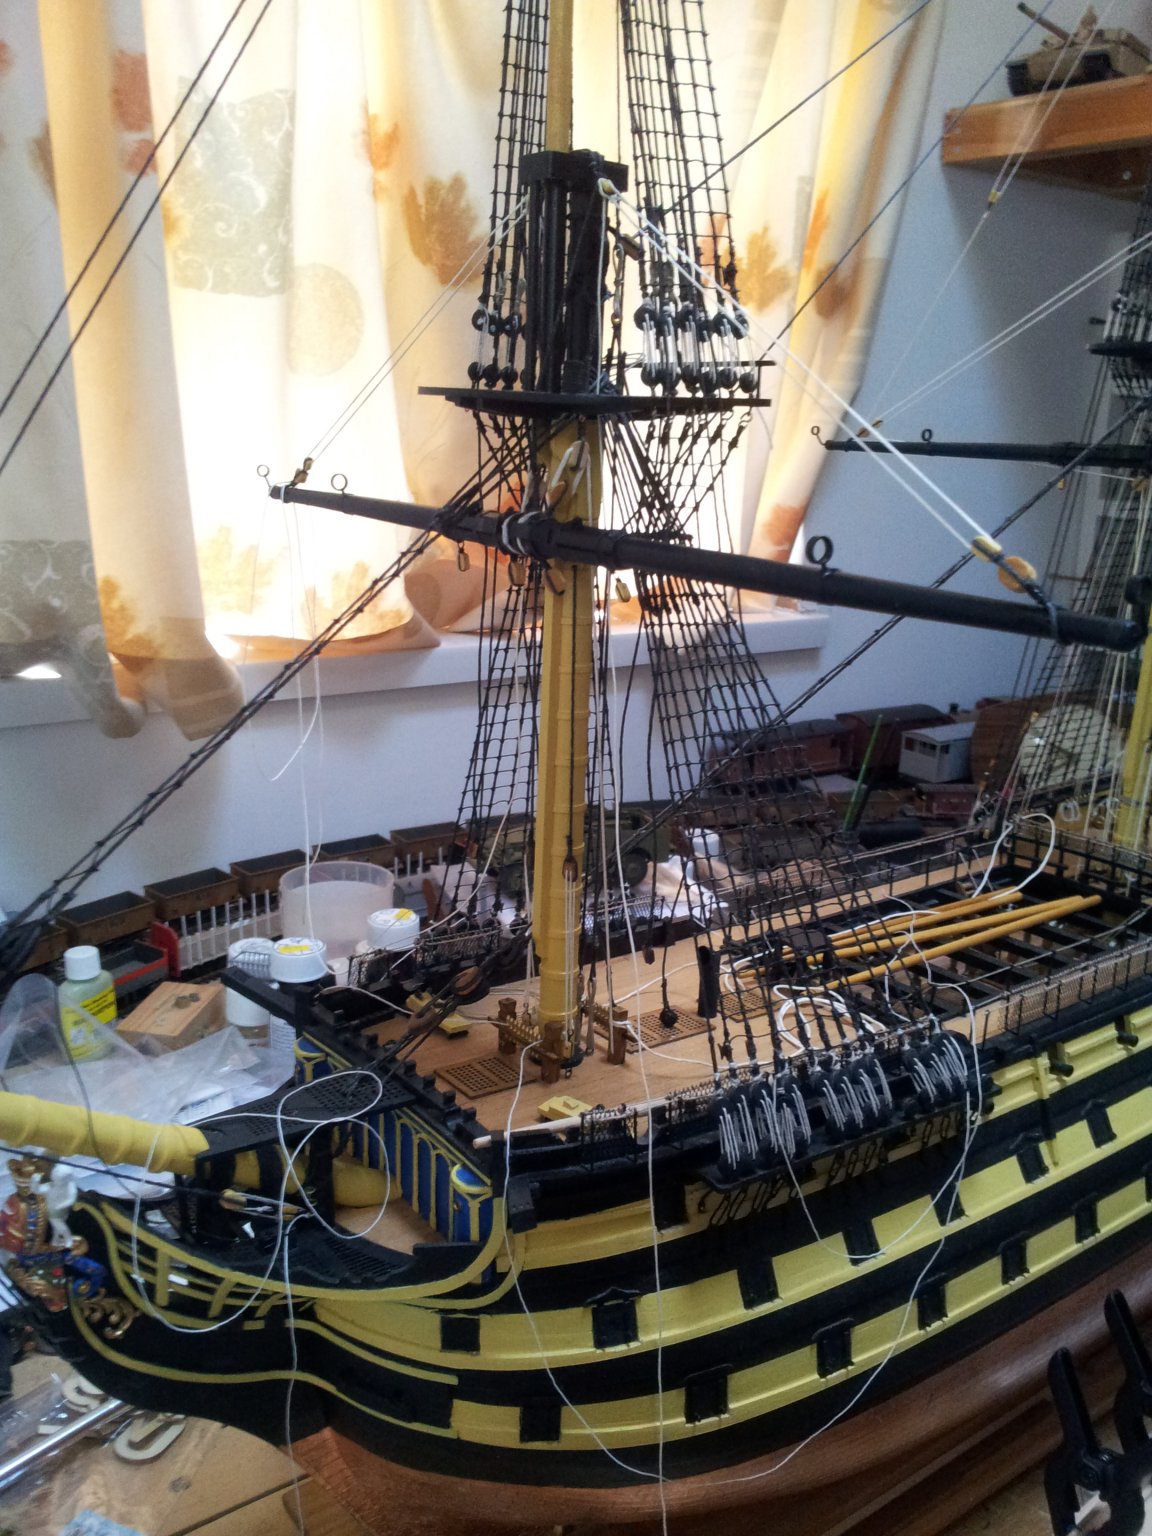
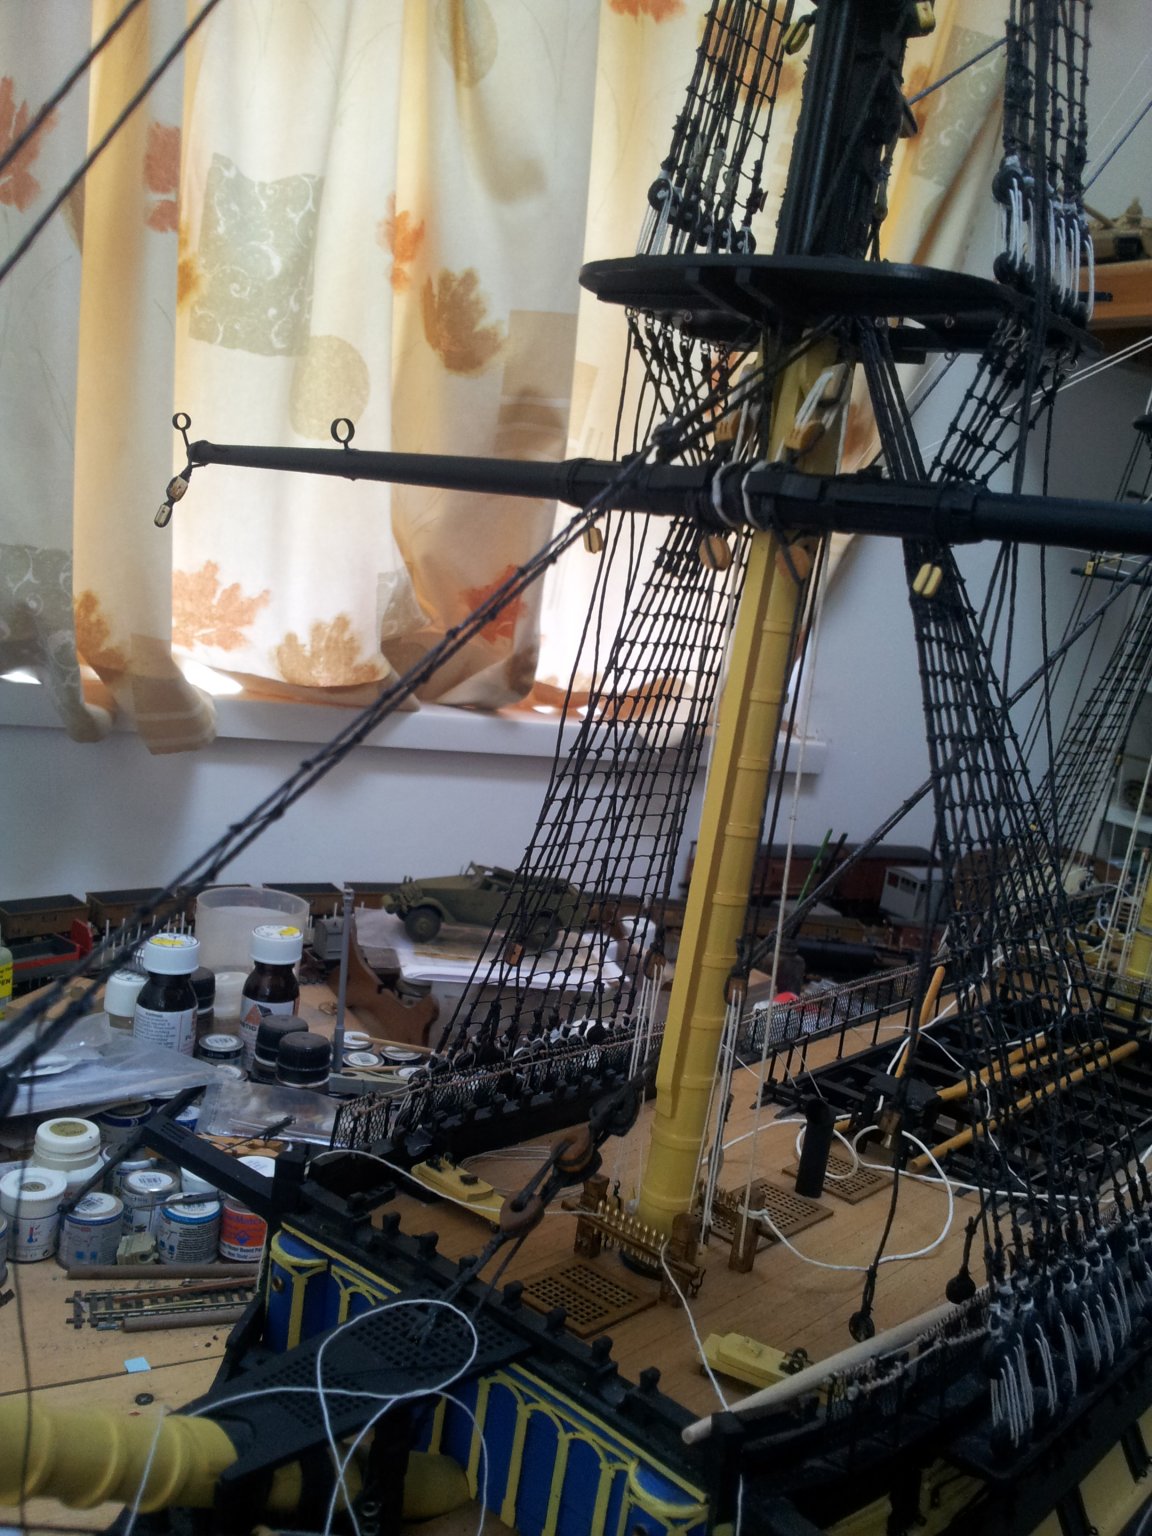
nice deck shot keith- note the sheaves in the bits on the fife rails at the base of the mast- the rope you see leading through one of them then tied off is for the jeers holding the lower yard up. i am going to plank them as i will most likely go for a varnished hull with just the "ice bumper" and lower masts bowsprit , mast doubling , tops and crosstrees painted white. Keith
-
slow and steady wins the race guys
-
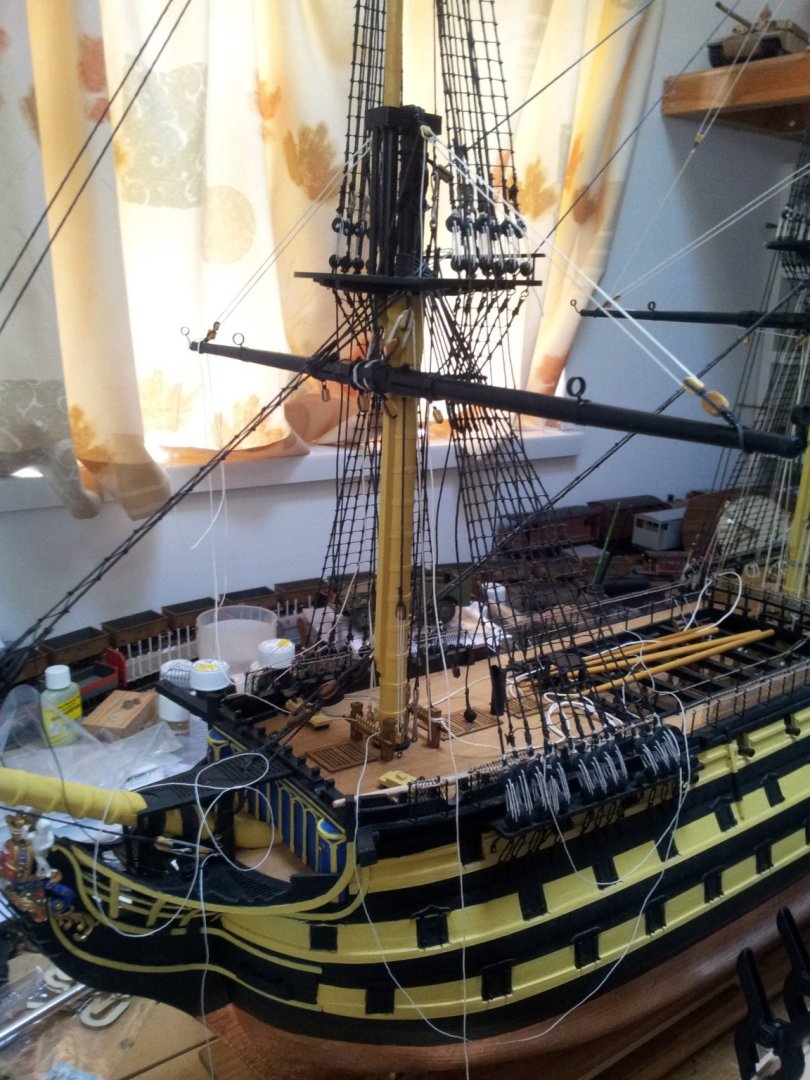
and we move on with the fore yard lifts rigged- not sure whether to run the rope straight to the kevel or rig a block and tackle on the channel then to the kevel🤔 take care all Keith
-
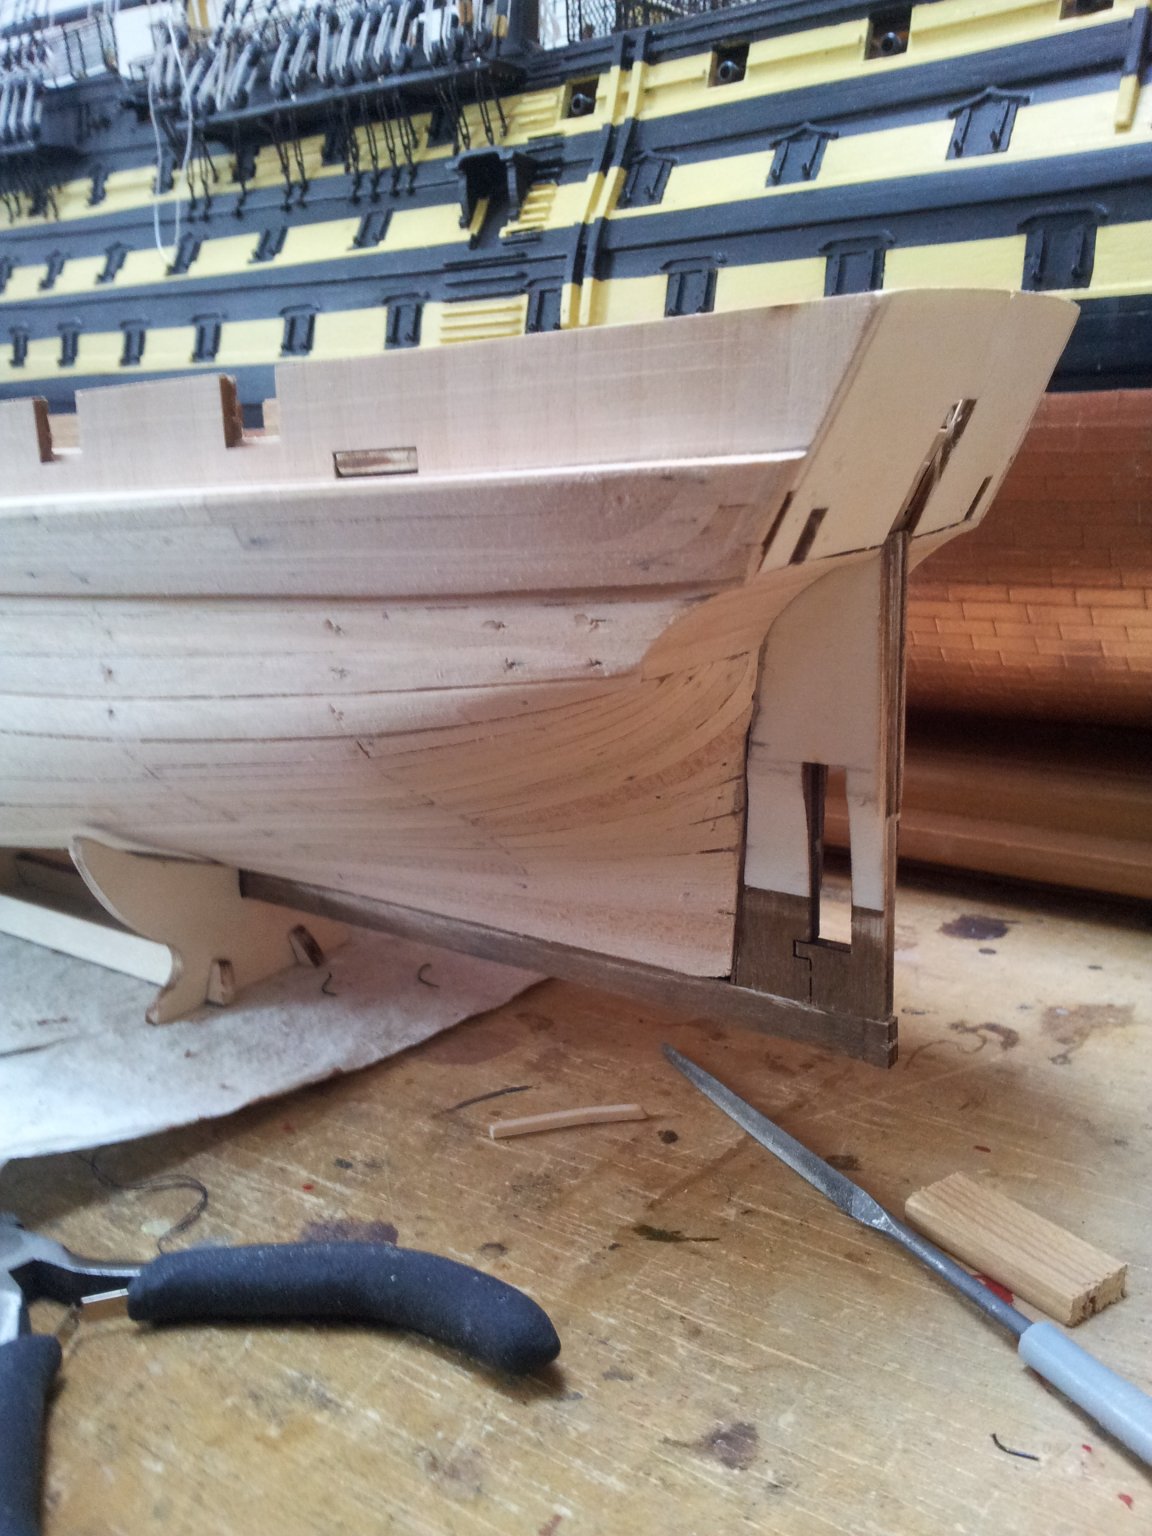
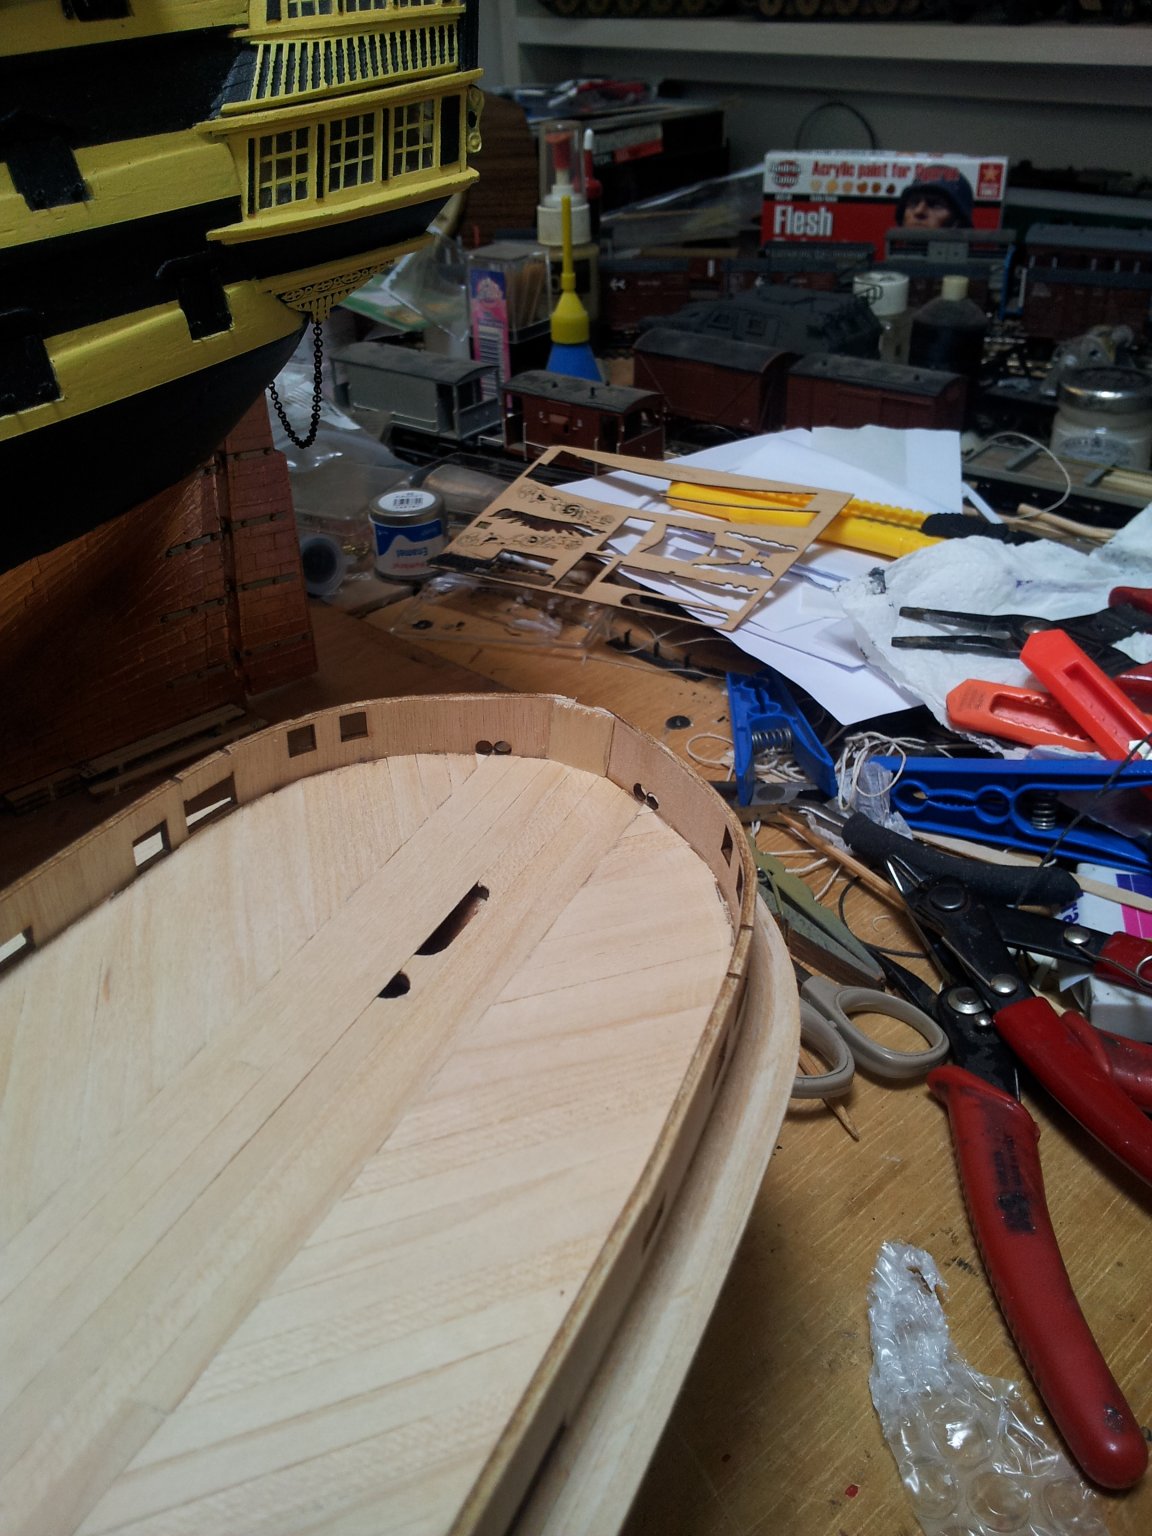
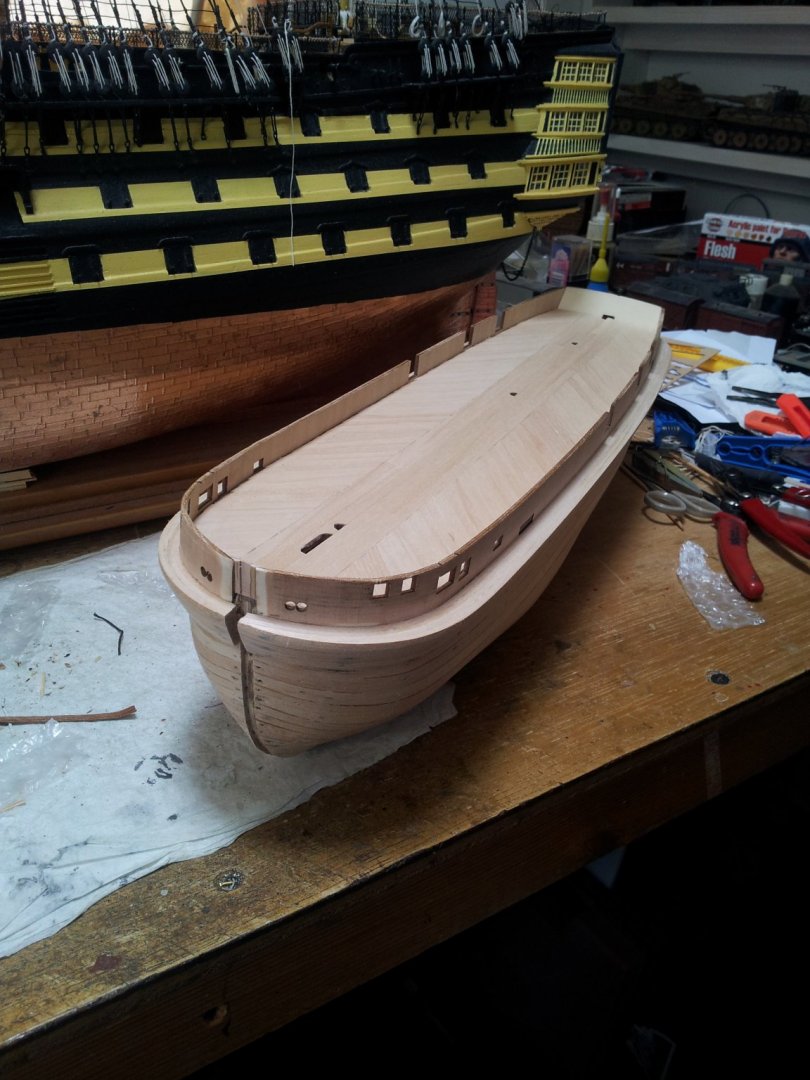
cheers Jeff and thanks for likes and views as always everyone. giving the prow plenty of time to dry before fitting forefoot and keel /sternpost so started fitting the waterway. next up will line the bulwarks with the ceiling planks- dont know why occre didn't bother with any? Keith

-
holy sh**b*lls thats thin wire🤪 nice buckets though Keith
-
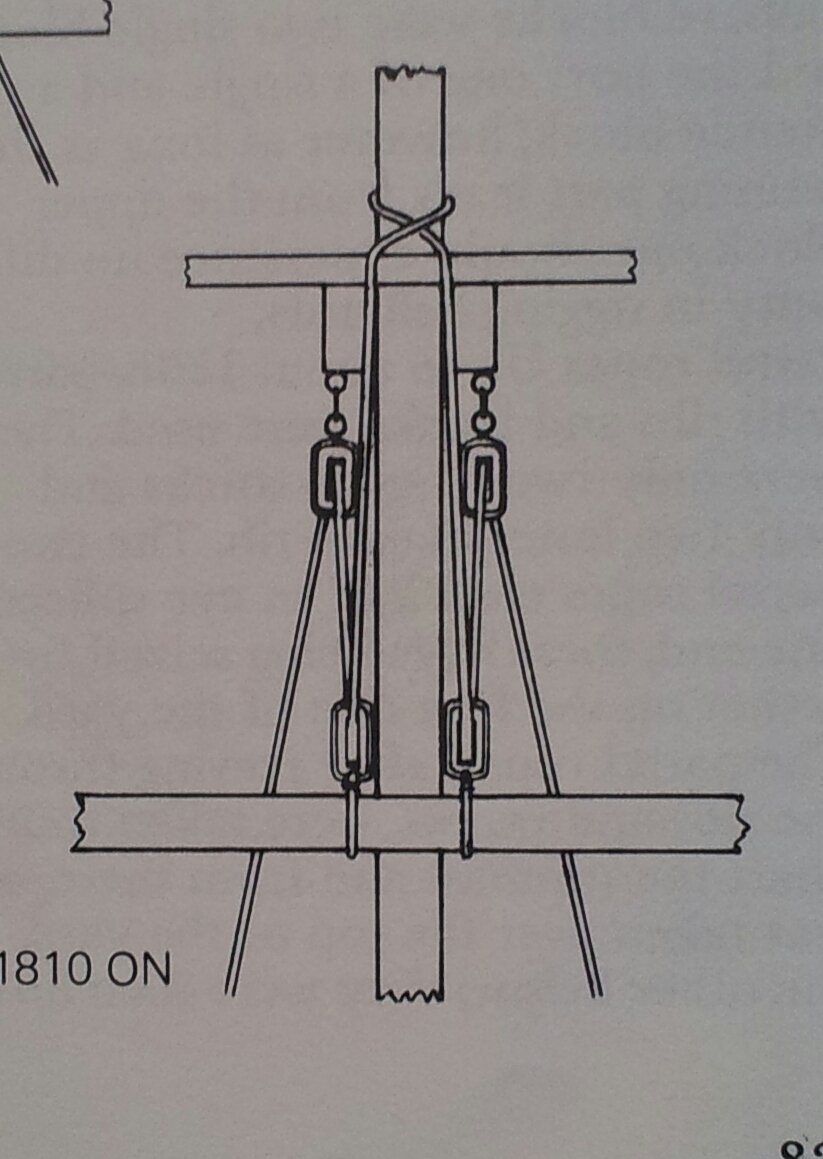
pic below shows set up for topsail yard halliard post 1810 -the topgallant yard halliard goes through a sheave in the topgallant mast.

-
don't say i didn't warn you guys 😁😉😇🤨🤨😉
-
the rigging will hold the masts in place- occre do include a block in the middle of the yard for the jeers so this will hold the yard up then the lifts from the end of the yards to the masts will keep them trim- i have never glued a yard to a mast- you need the play because you will catch them by accident (wish i had a fiver for everytime i have knocked victory's yards so far! Keith
-
lol keith we best not take over this guys log lol but yes you are right with the furled sails. Keith
-
that is correct keith- unless modelling as a museum ship (victory and constitution to name two where they are "hoisted " but without sails like my victory build. Keith
-
in reality it was a lot more complicated than what occre have shown! the truss which holds the yard to the mast is in two interlocking runs which lead to blocks at base of mast- the yard being held aloft by the jeer blocks and sling.- see my hms victory log which shows earlier style but terror would have had later style which run the trusses slightly differently😁- hope i havn't scared you too much😱 Keith
-
thanks for the views likes and comments everyone- the deck planking is now in and shaped and filed a filler piece for the bulwark at the bows using a piece of scrap ply from another build, and glued the stem piece in place. take care all Keith


-
maybe add little strips in the middle to simulate the teeth for the ratchet to bite into Jeff😁- looking good though. Keith
-
hmmm if in doubt just model them as in the pic- no one can say they didn't look like that you have photo proof😉- it is intriguing though. Keith
-
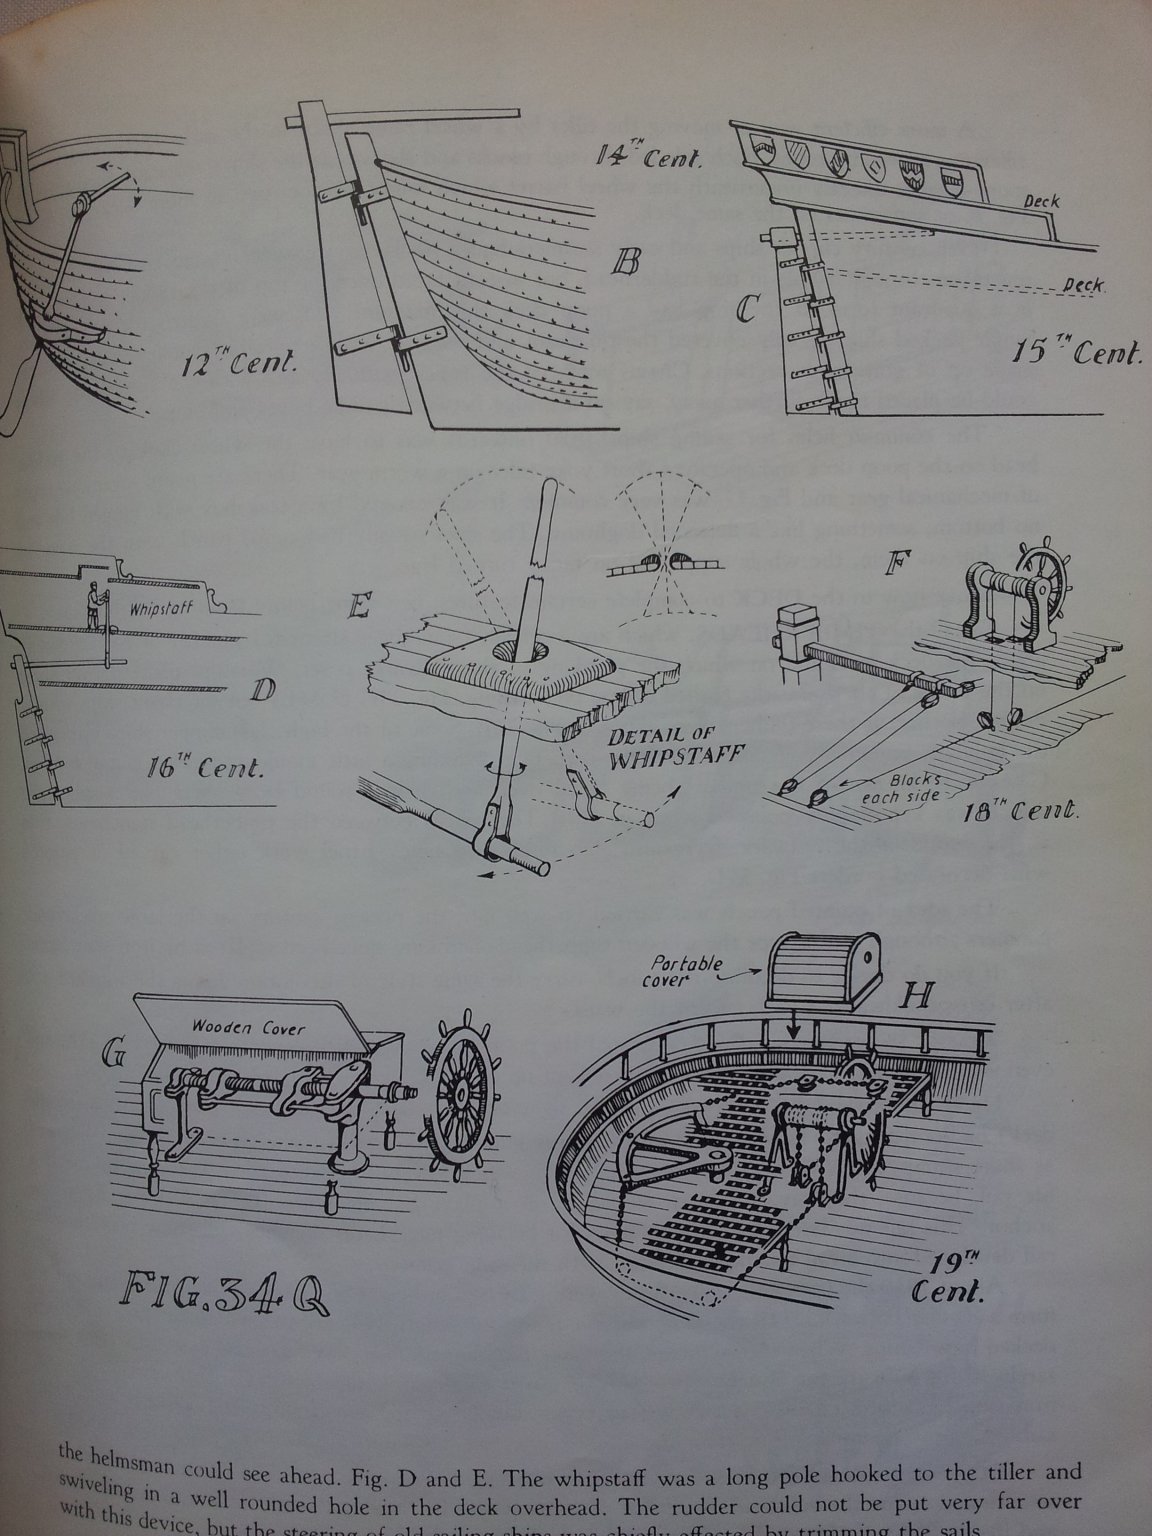
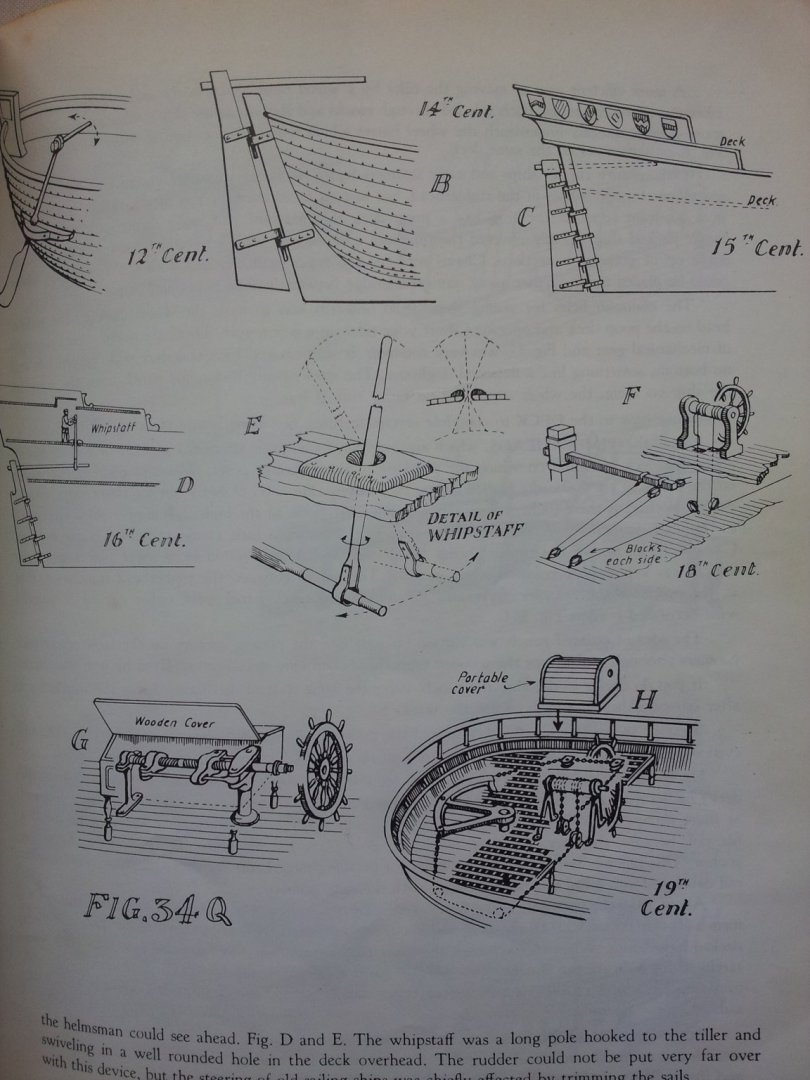
looks about right Keith as people had to get past them- below is a shot from an old book on ship modelling showing various steering set ups across the ages:- ships at the time of terror were sort of a cross between diagram F and H Keith
-
ty for looking in - as always it is appreciated. little more progress with the jeers now rigged on the fore yard (more salty talk for keith s😉)! take care everyone Keith
-
i think the davits would have been on bearings at the bottom which would allow them to be lowered hence the winch in the centre Keith