clearway
-
Posts
2,238 -
Joined
-
Last visited
Content Type
Profiles
Forums
Gallery
Events
Everything posted by clearway
-
 you will find planking will straighten some slight wiggles out- are you going gunports open or closed? Keith
- 60 replies
-
- 1
-

-
- victory
- billing boats
- (and 1 more)
-
accents in the u.k are tricky to people over the pond- everyone thinks we talk like the queen or eastenders cast! cumbrian accent is kind of unique along with liverpudlian, lancashire, north east and yorkshire accents- watch open all hours, and james herriott series if available to get an idea of northern accents- along with ant and deck for north eastern accent😁
-
you will need to sand the paint off the ply siding as this will need planked over to allow a better key for glue. Keith
- 60 replies
-
- 1
-
-
- victory
- billing boats
- (and 1 more)
-
i hear you keith, i am thinking of alternatives to the aluminium as well- you need to polish it before gluing and painting though it is soft compared to brass or nickel silver sheet- bit to go before i need to think about that part though😁 Keith
-
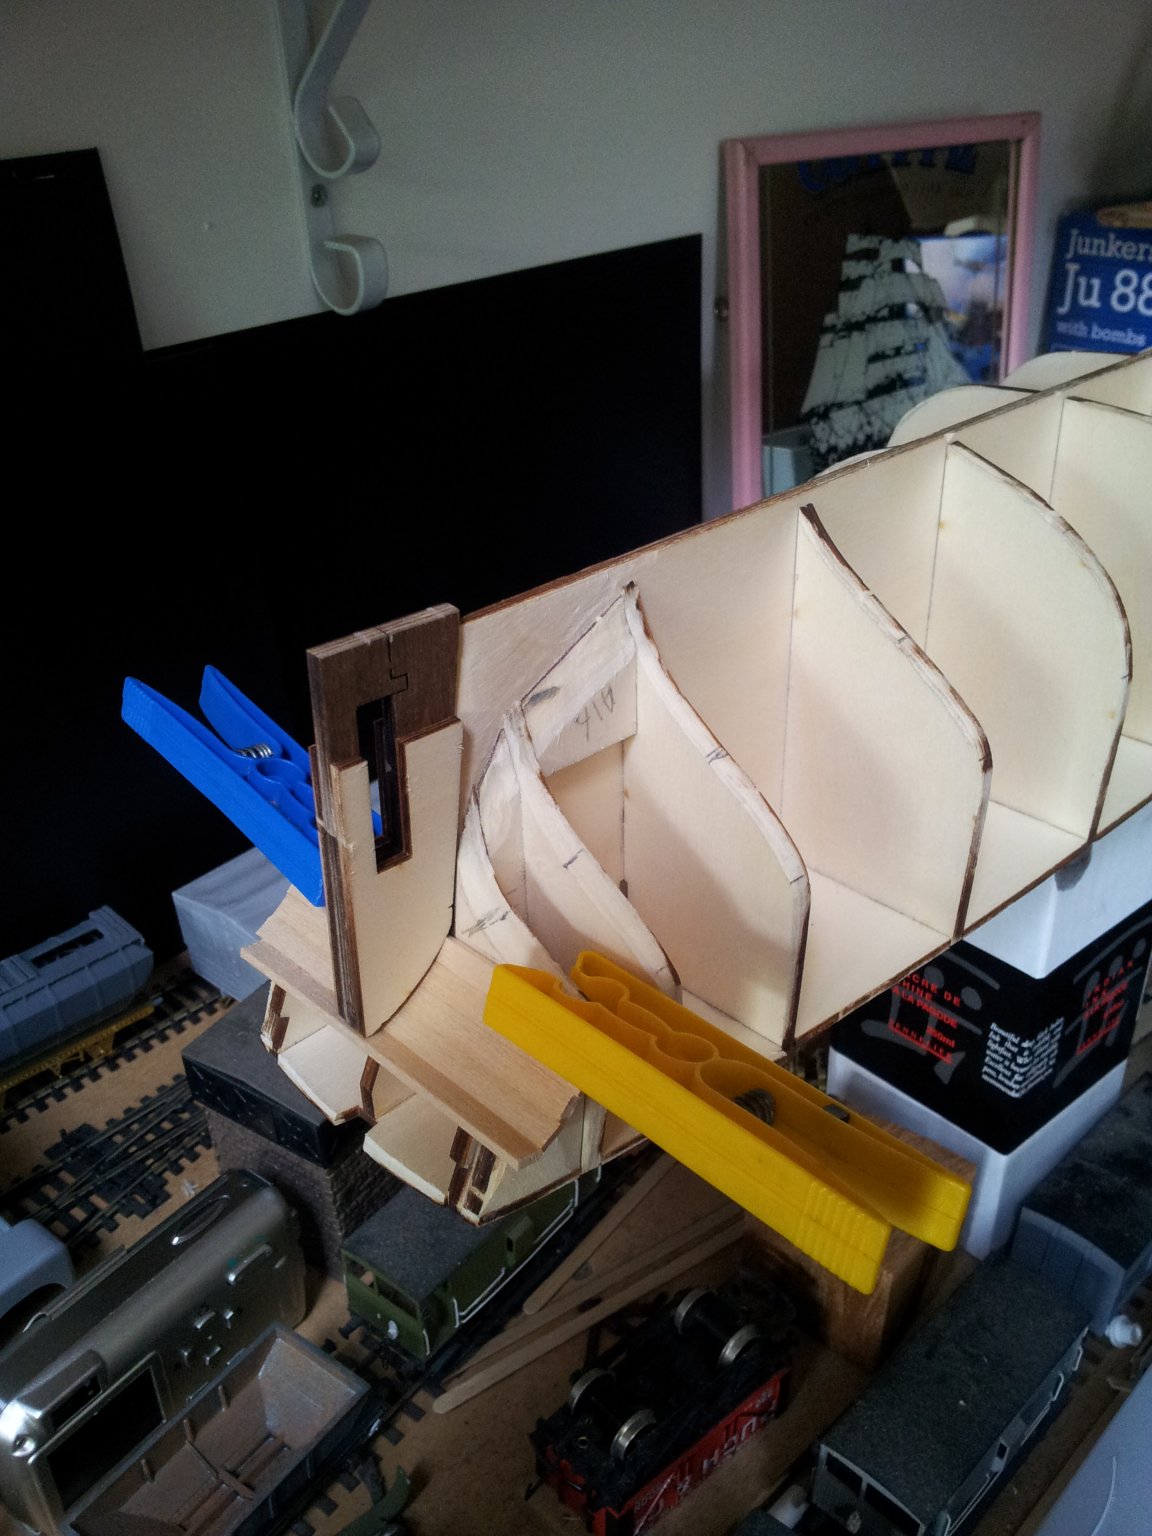
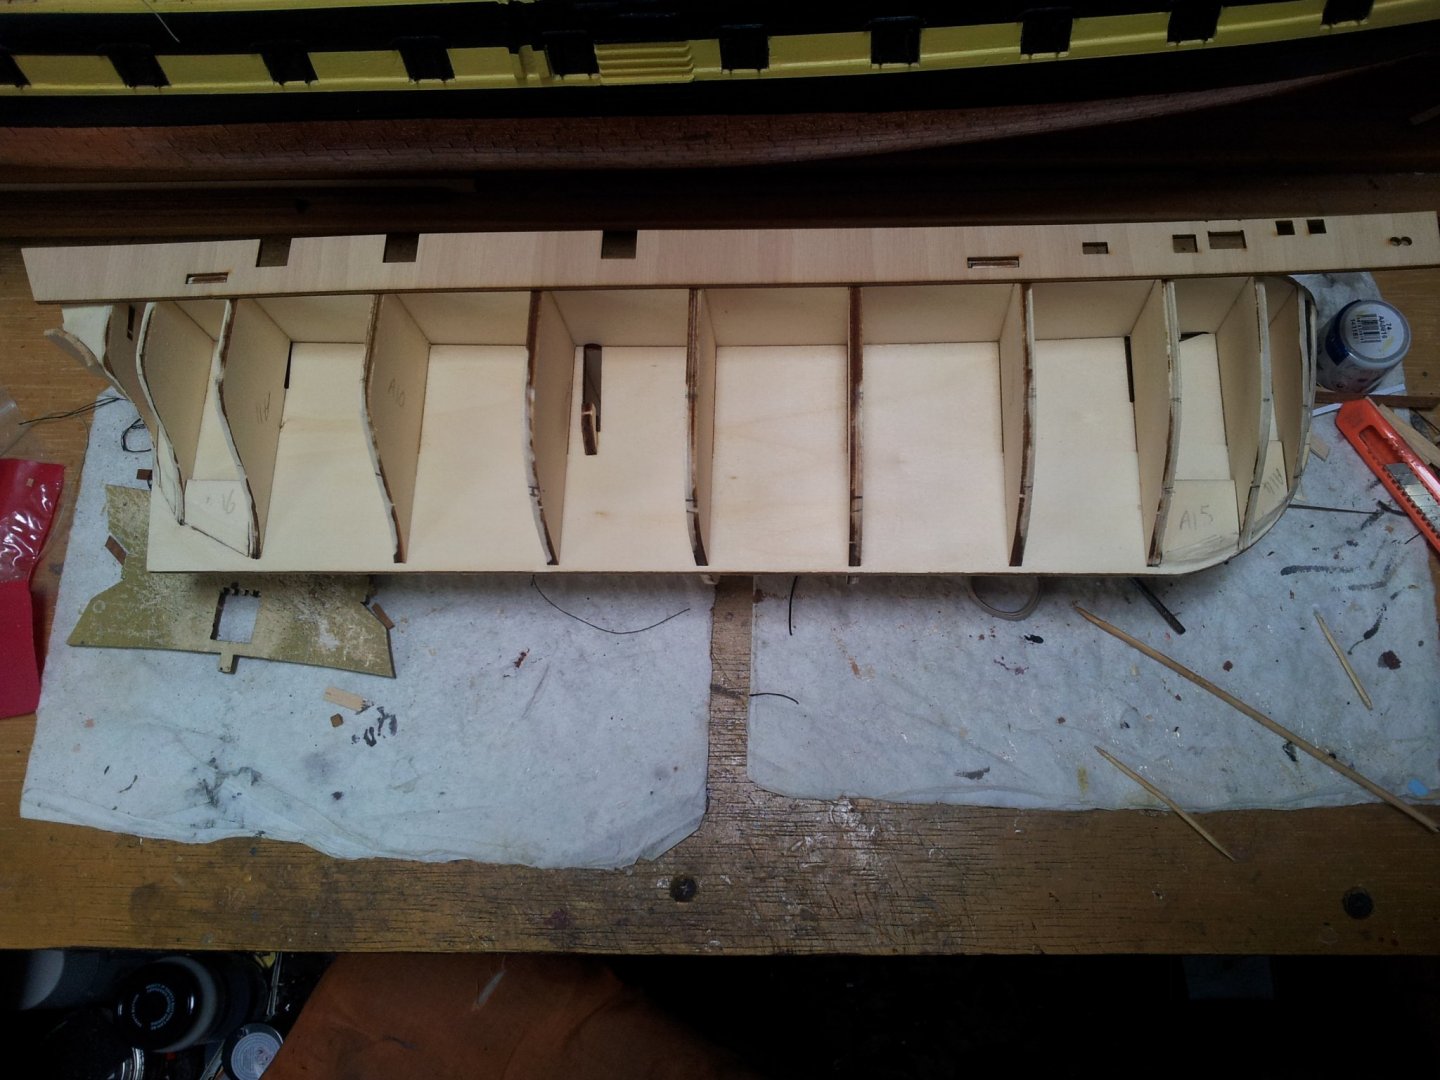
i had to do the same with the ply formers- as mentiond in blog cut and shut them till they sat with less wavy effect- when it comes to actual planking check a few different logs and images of real victory and mark out where the lower whale goes- you will have to start tapering the planking from there down - you can see the run on the stern on my victory- no blocks were used on mine but its up to you. Keith
-
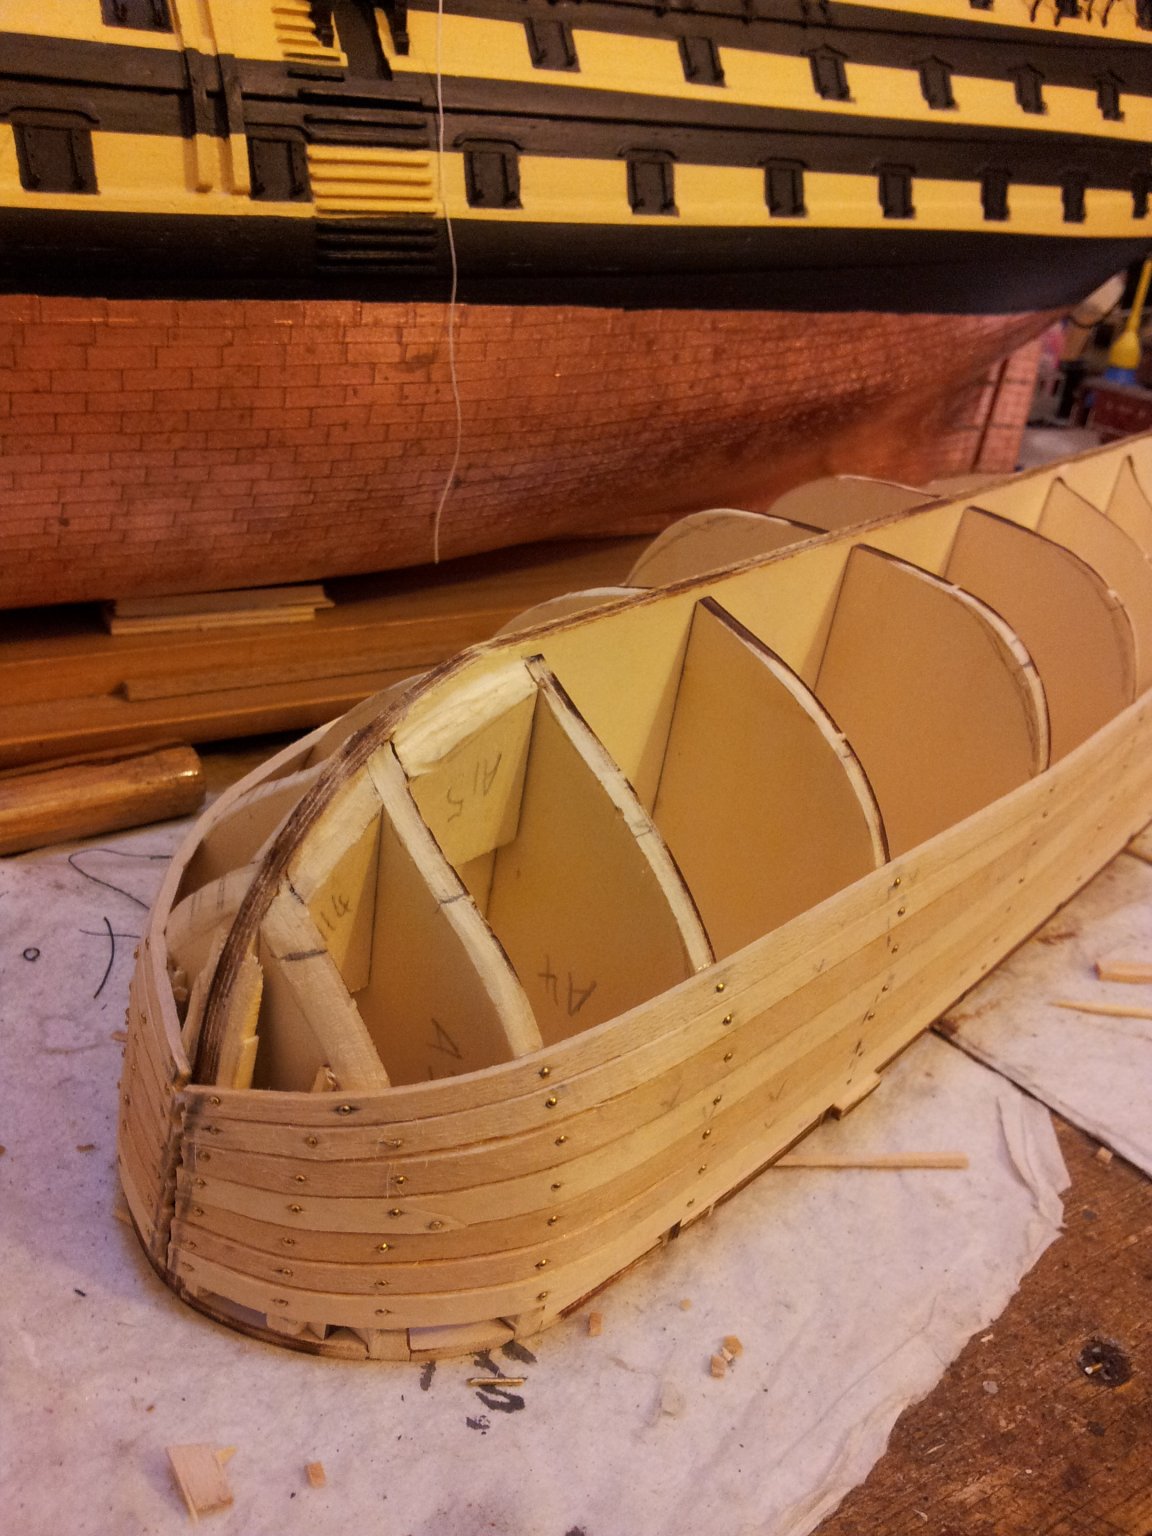
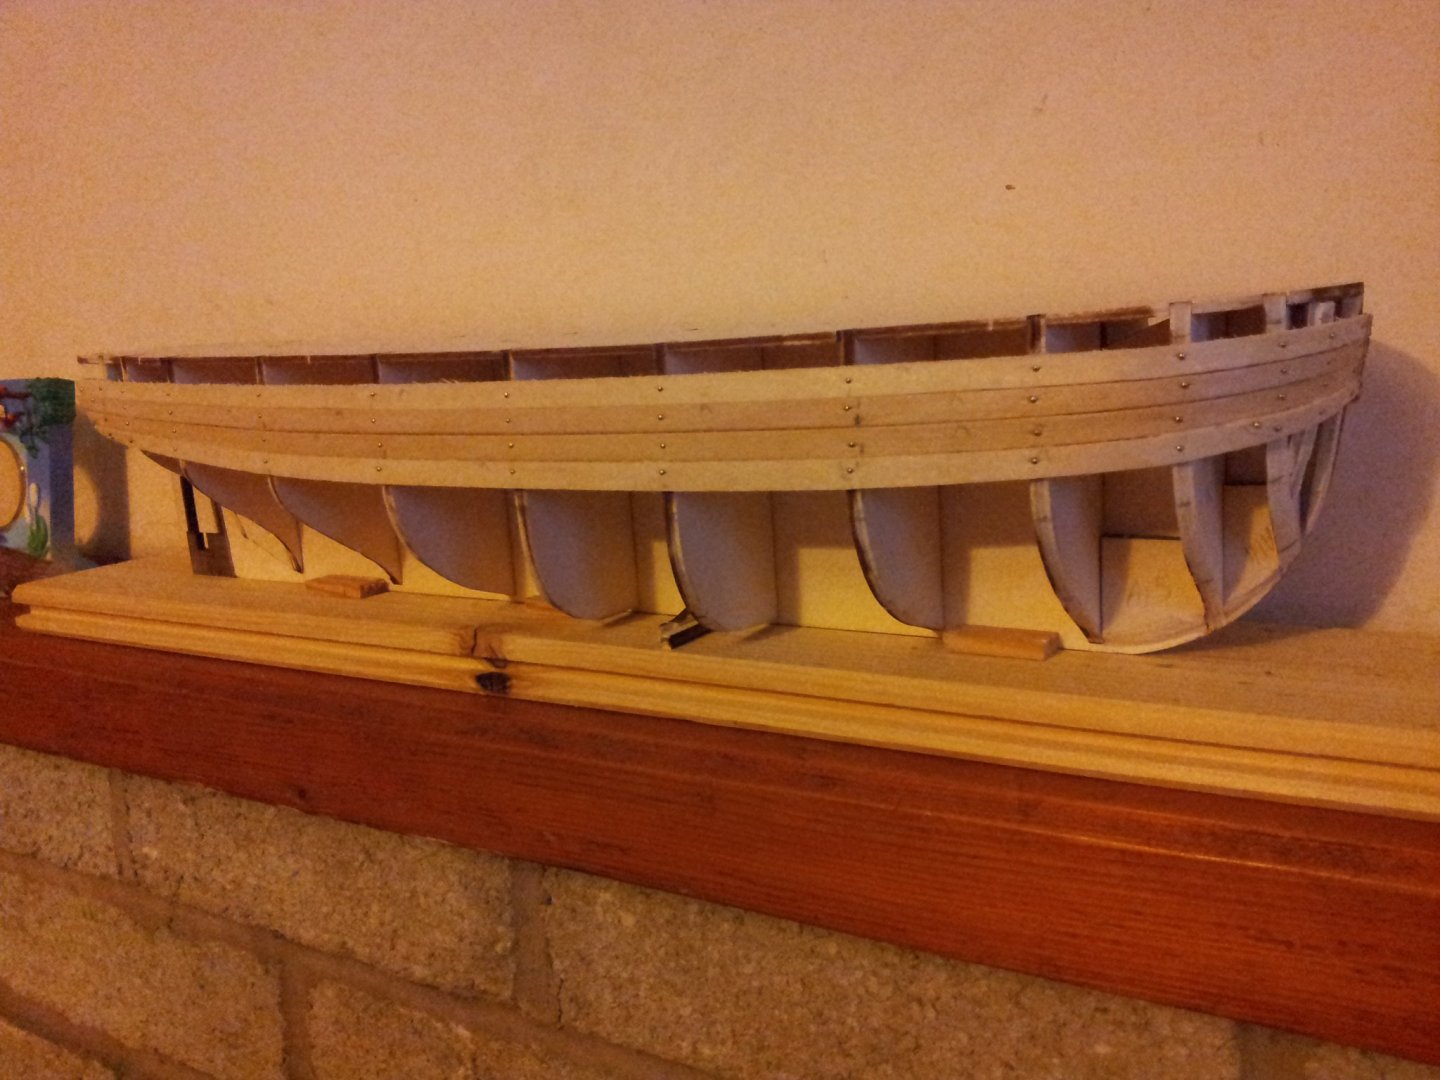
thanks for views and comments -used the last of the full length planks and got a couple of runs with kit supplied planks staggering the joins where it doesn't reach the stern- at 2mm thick it isn't very yeilding! looks a bit messy but should sand up o.k.🤨. take care all Keith


-
ahhhhhhhhhhhhh the memories😉- hope my log helps Matthew- any questions just ask Keith
-
Hi Jeff- on my terror i am going to paint the ply black on the transom then use acetate behind the frames for the panes- you could put 1mm packing strips to lift new transom away from original a little🤔. Keith
-
You got there in the end with the frames Emmet i see- give the deck a sanding and let it oxidise for a few days- colour sometimes alters- for example walnut comes out of the box an ugly chocolate brown and mellows to a lovely honey colour- on the real ships though they were painted red to hide the blood! keith
-
Thanks for views likes and comments everyone- because the planking strips supplied with the kit arn't long enough i dug out some left over from previous billings builds- although a bit on the rough side i did want to have full length planks for the first few runs. First i pencilled off the line where the ply bulwarks will reach too. take care all Keith
-
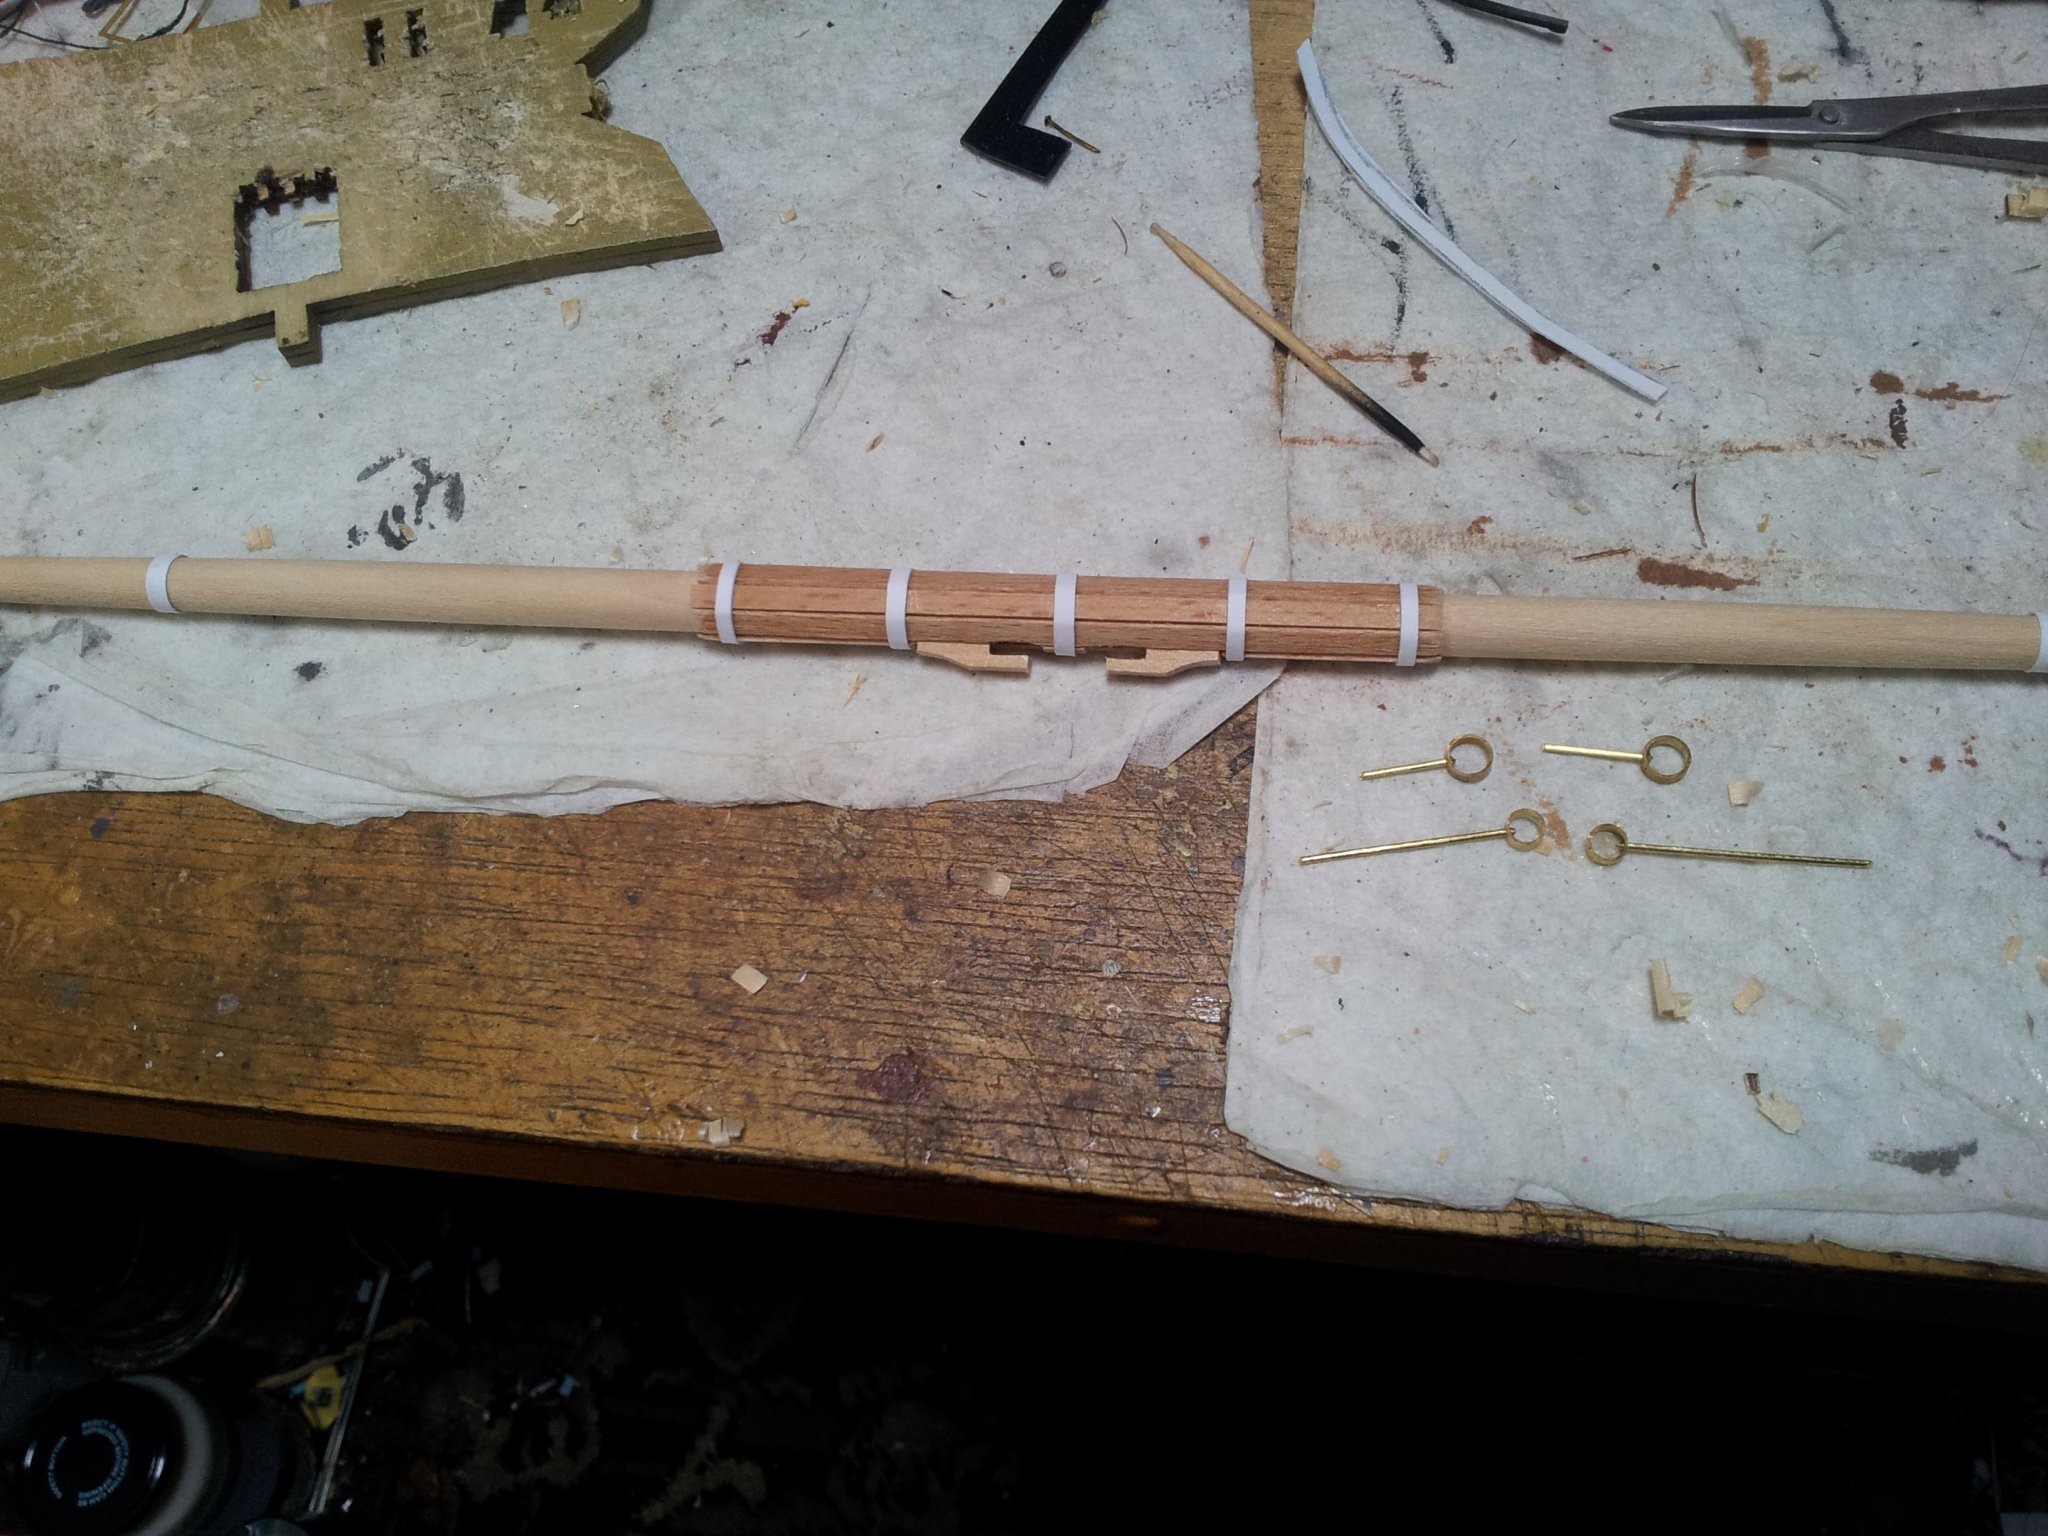
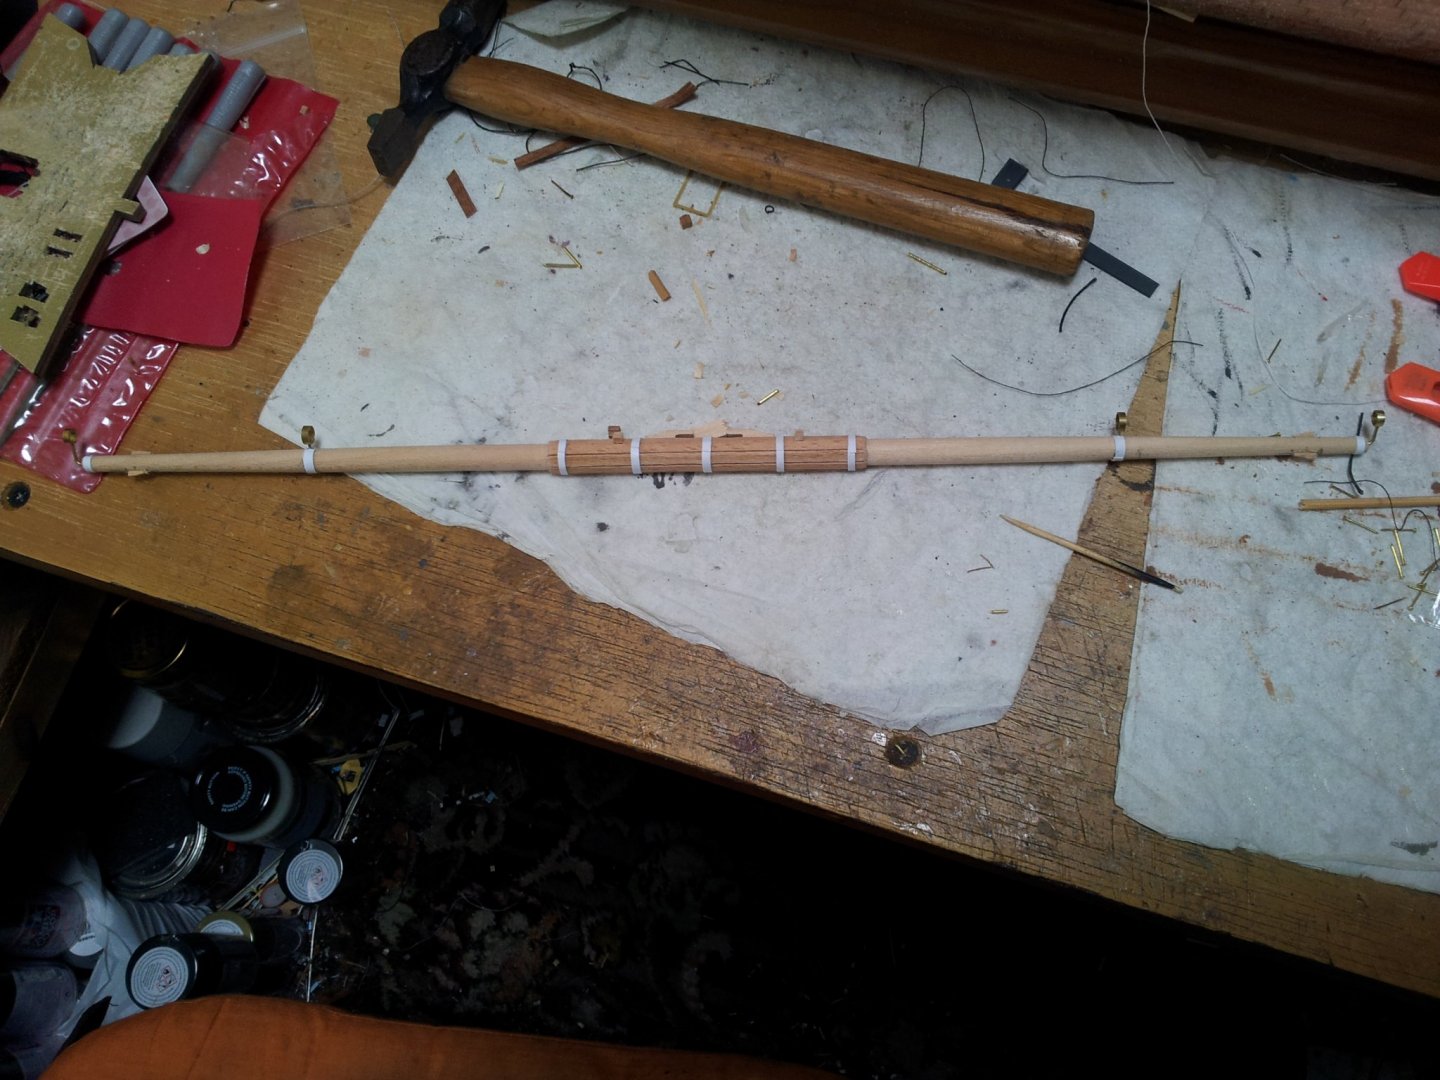
thanks for likes views and comments folks- yes Emmet always makes for a sturdier fastening- not much happened today but did finish the foreyard and it will be painted when glue dried. take care all Keith
-
looks good in situ as an alternative for construction i have read somewhere (might be harold underhill) about taking a thin wood shaving using a plane and wrapping and glueing it into a cylinder around some pipe and cutting slices off for making rim on a ships wheel. Keith
-
cheers jeff - still a bit jittery about how it will turn out as i am making this up as i go along 🤔
-
Thank you Keith- it will explain a few things- they might have done things with the rig on exploration ships slightly different, but i imagine the rigging for controlling the yards and sails would have followed standard naval practice- will explain them sheaves set into the bulwarks abaft the masts for example. The kevels just before the steps to the poop deck are for the topyard tyes which lowered the yard and raised it, and the two on the entry way inline with the mainmast are for the mainyard lifts. Keith
-
😁well done jeff- nice job and love the stand. gets the lads on my victory to roll off a 21 gun salute Keith
- 86 replies
-
- 1
-
-
- pickle
- caldercraft
- (and 1 more)
-
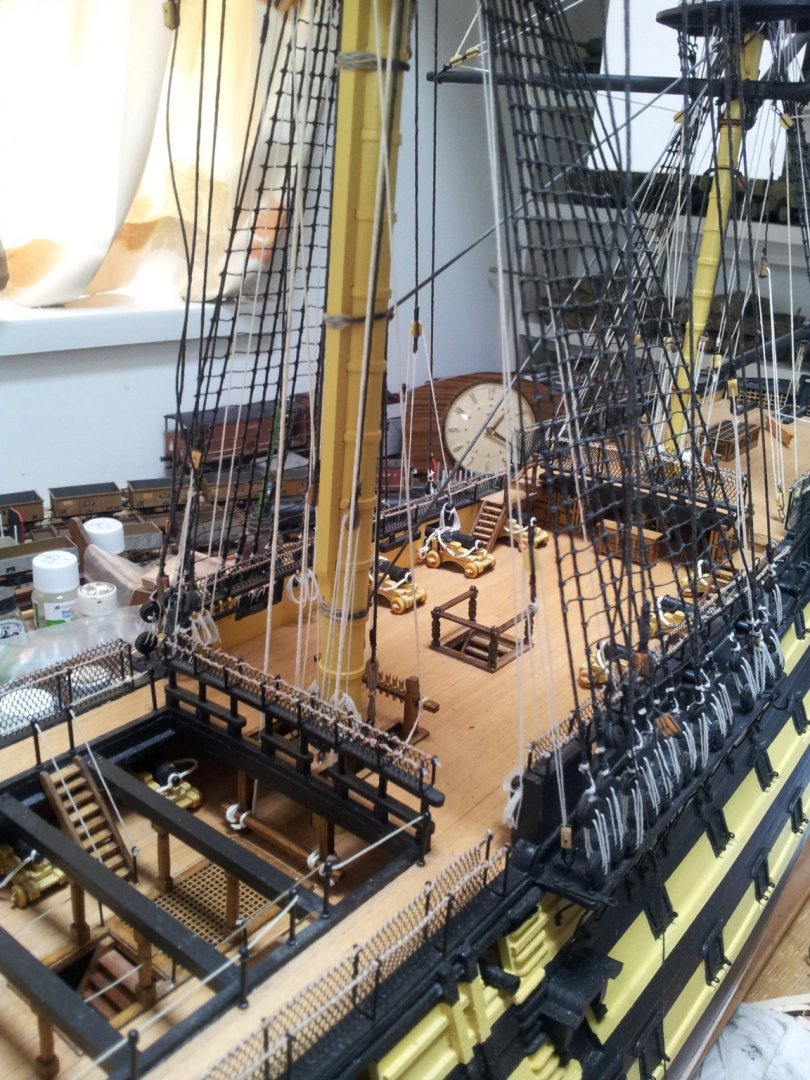
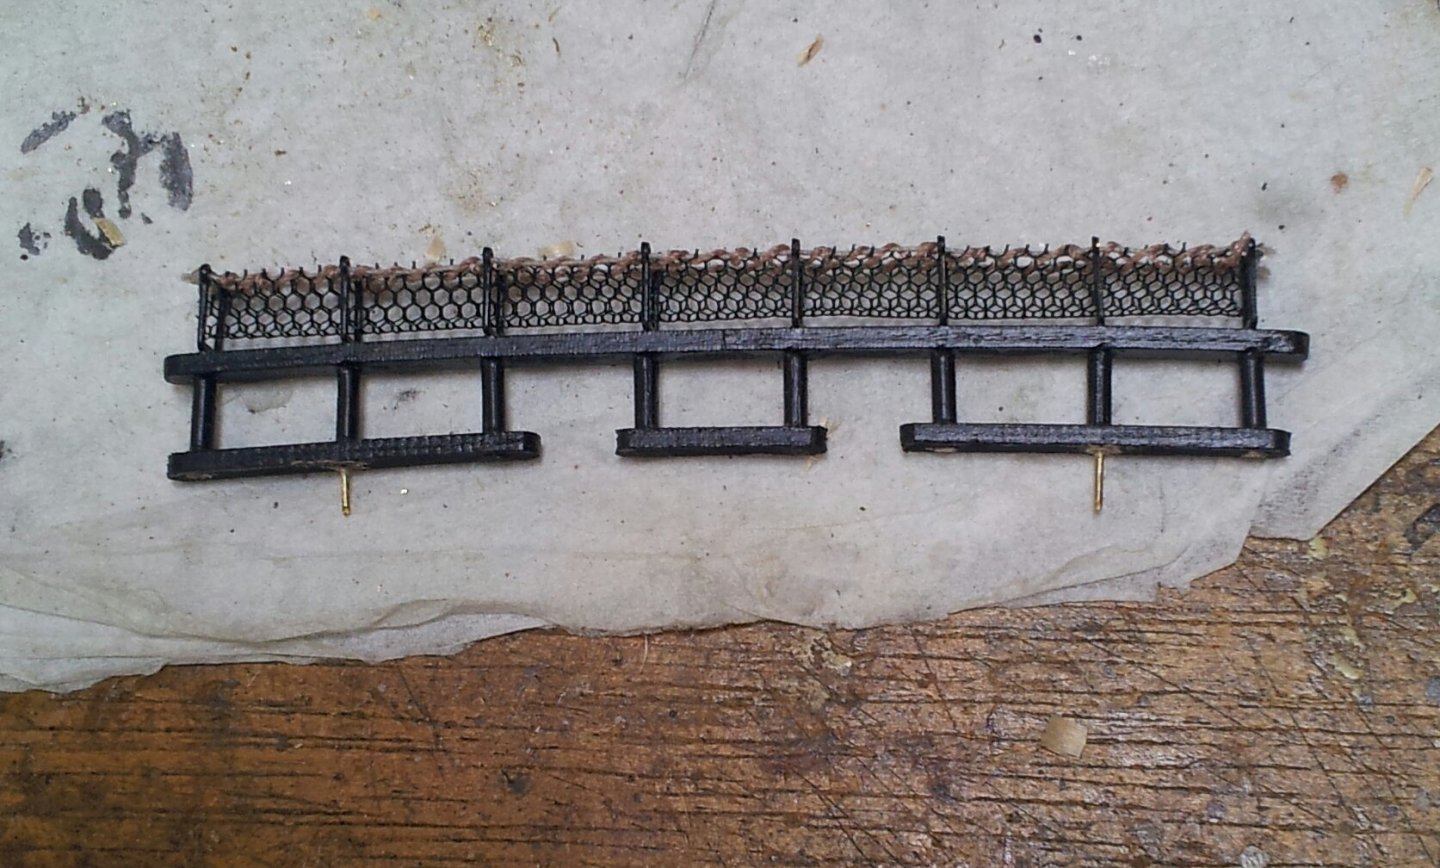
Thanks as always for views likes and comments everyone. Got all the rigging on the quarter deck stored away on the belaying pins and made progress on the foreyard- omg foreyard at last! Nearly glued the railing in place before the mainmast, but realised i will have to rig the mizzen crossjack braces so will need access still. enclosed this shot of the rail to show the brass pins that will hold it in place. take care all Keith

-
and so it begins Emmet😉 Keith
-
Thanks for views and likes everyone-if i hadn't built a few already i wouldn't have tried either Keith and yours looks o.k. - to be honest we will have to see how it turns out in't end🤨. While waiting for some glue to dry on my Victory i fettled the planking on the counter to take the sternpost. take care all Keith
-
looks o.k. so far-i was going to use styrene rod on my victory but due to the sheer amount of windows used self adhesive address labels cut into thin strips for the window frames. Keith
-
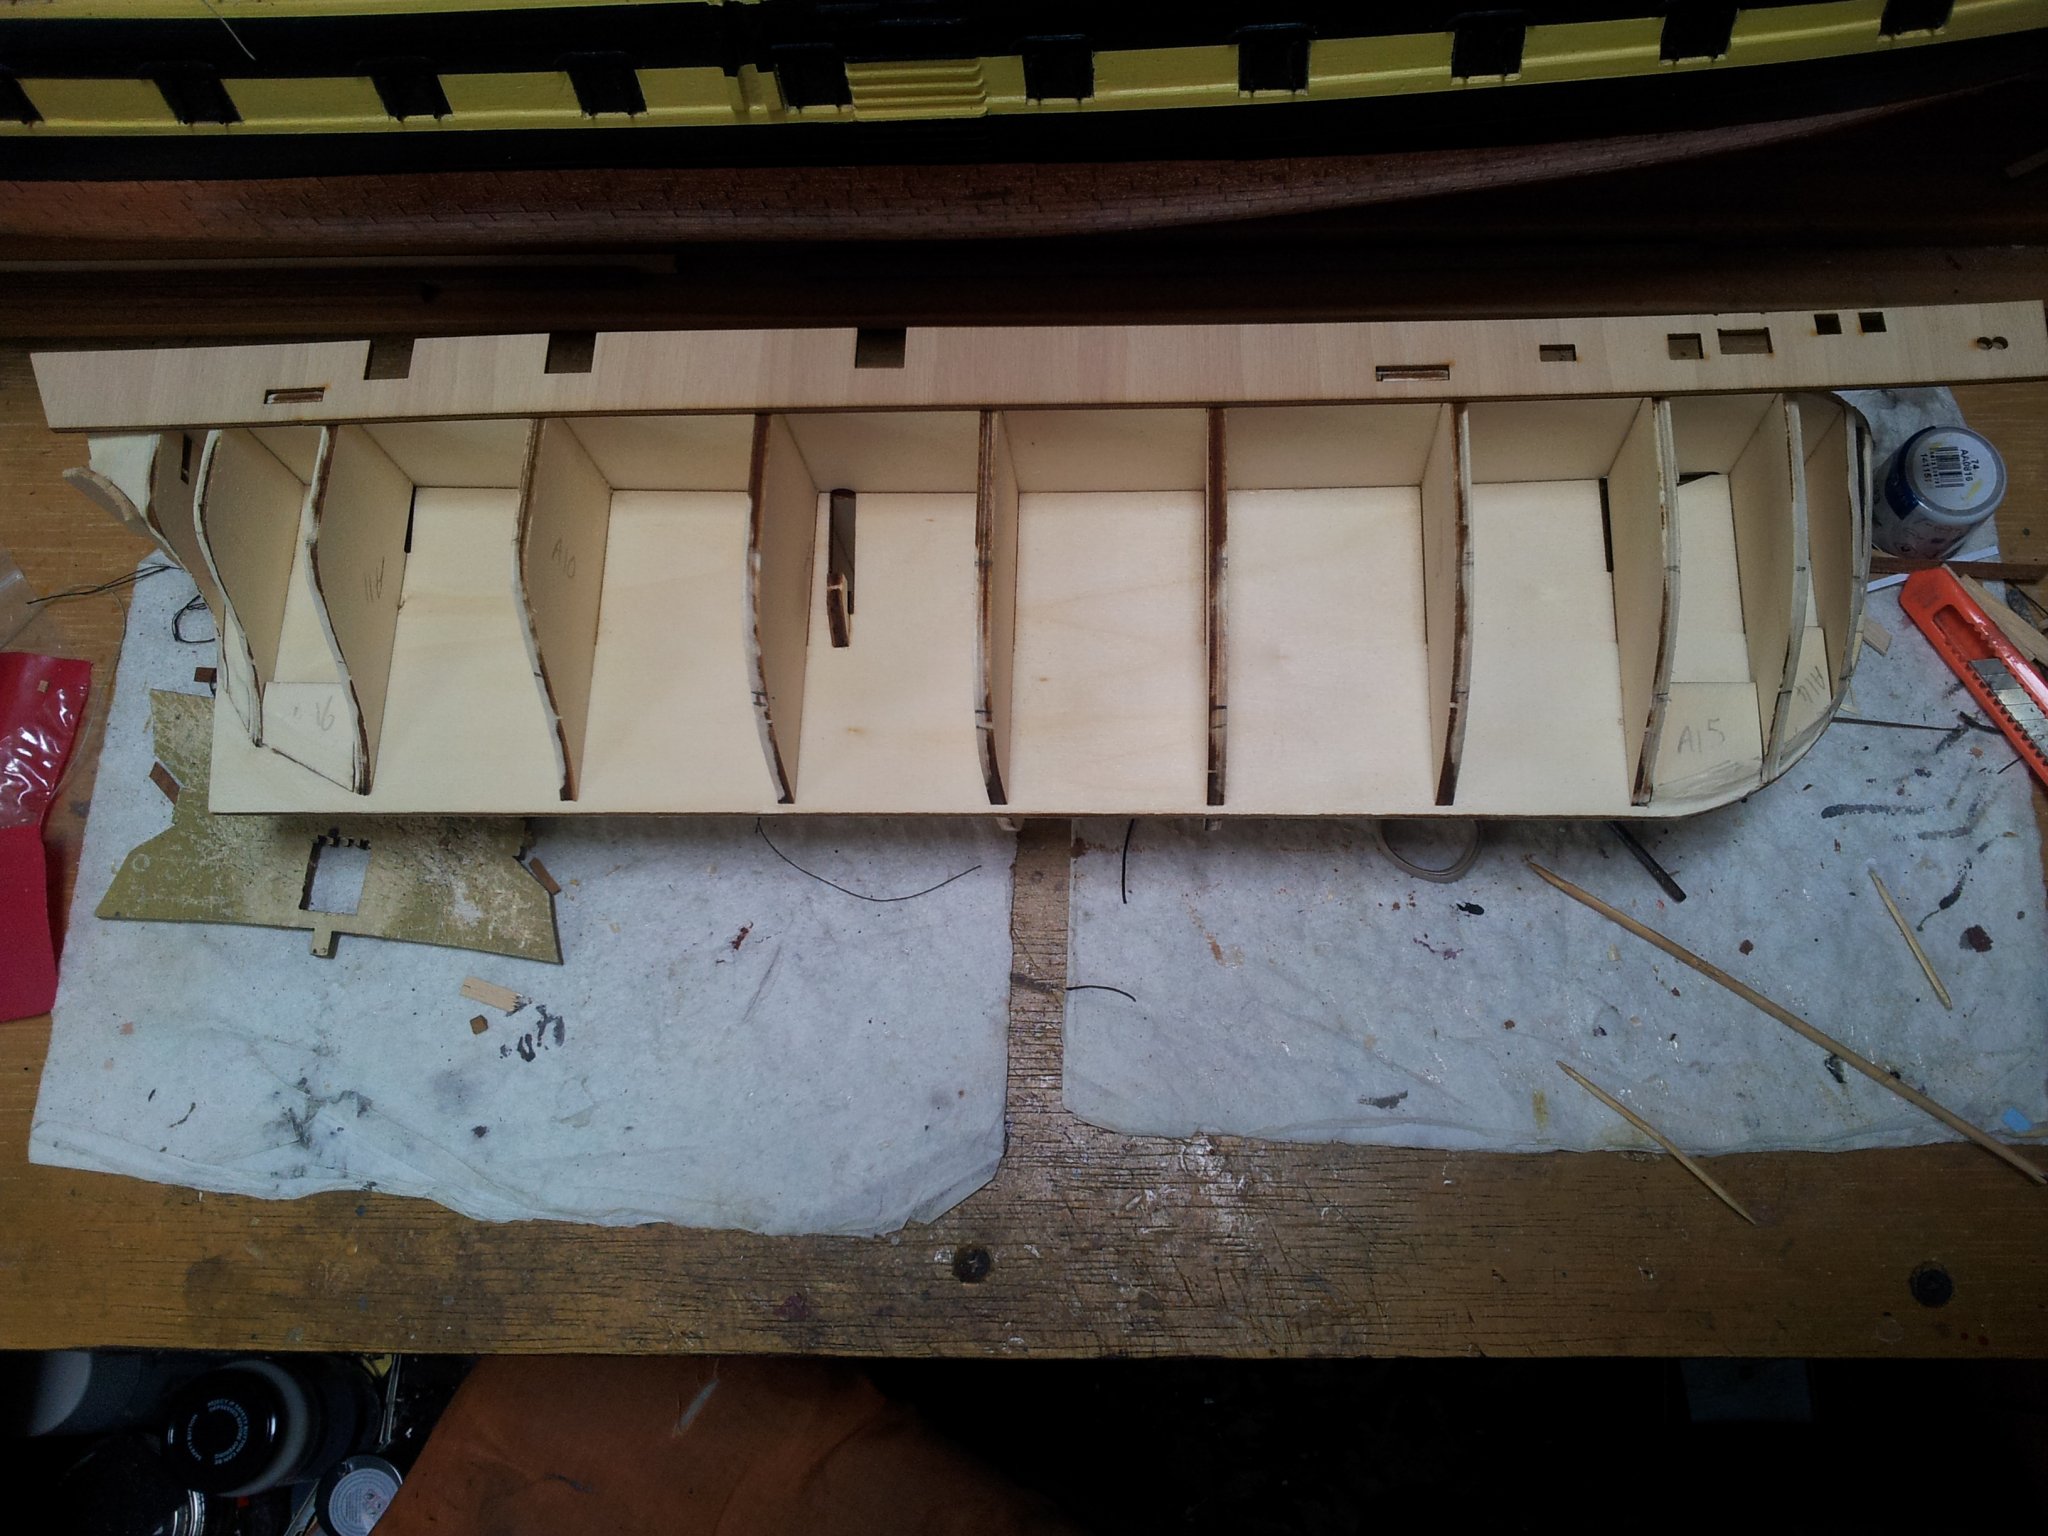
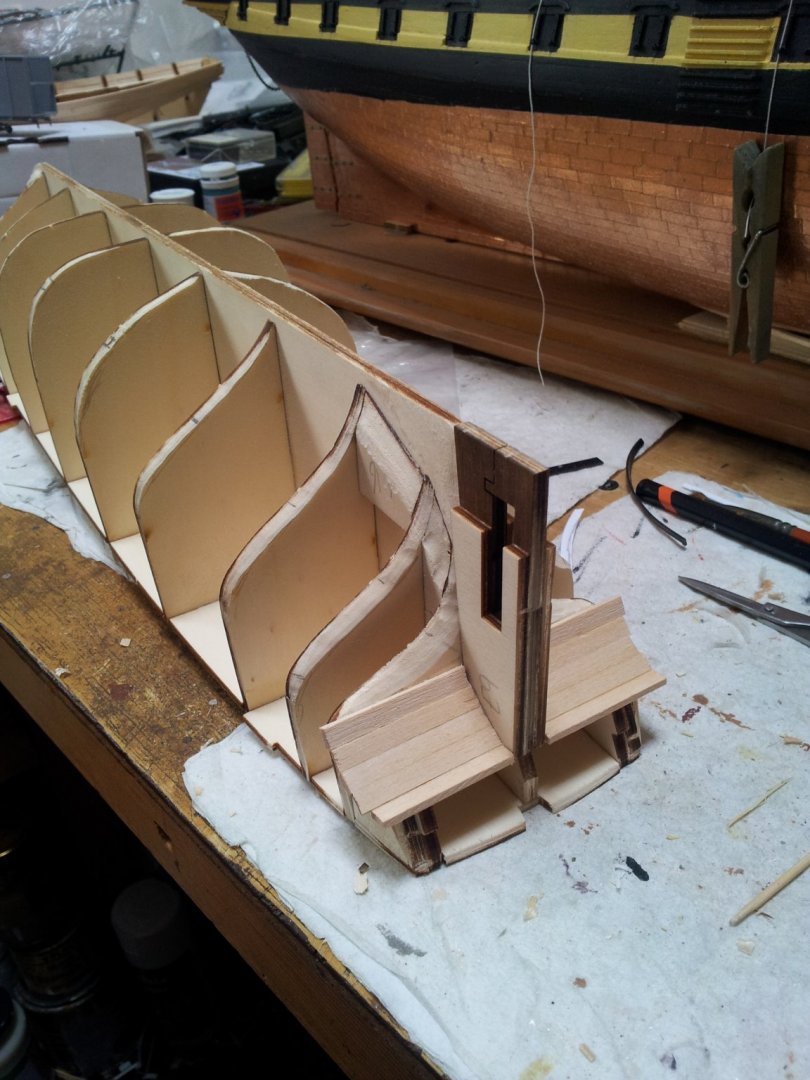
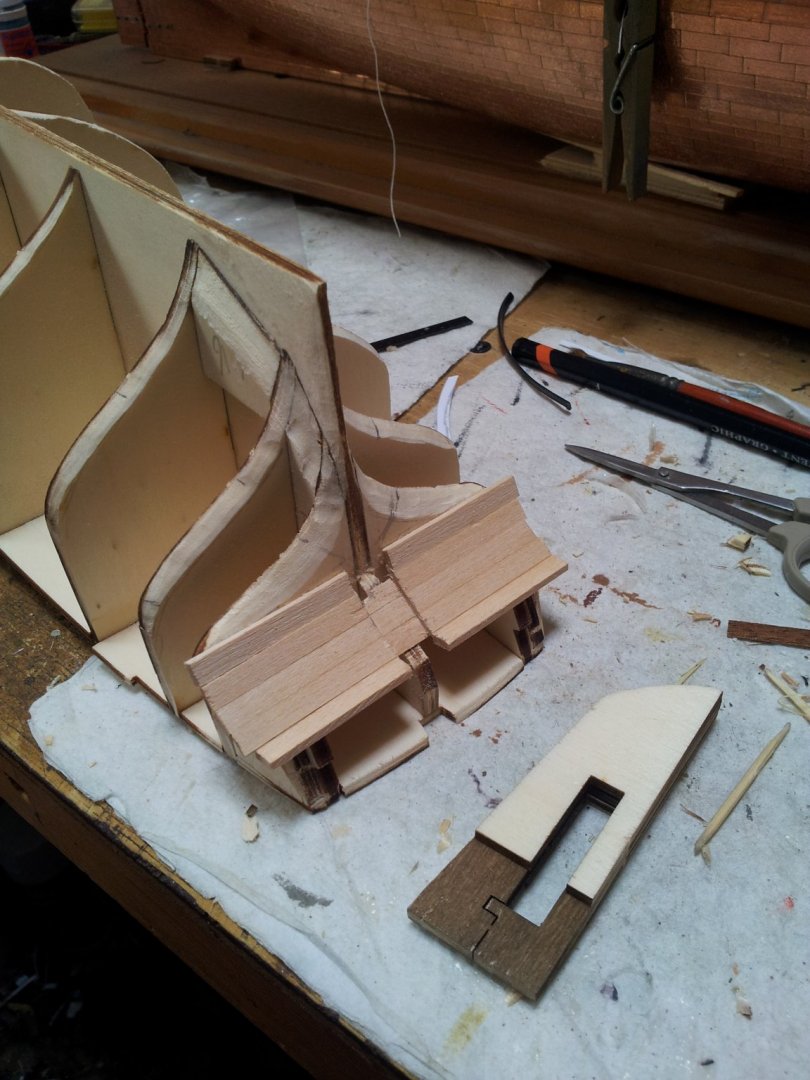
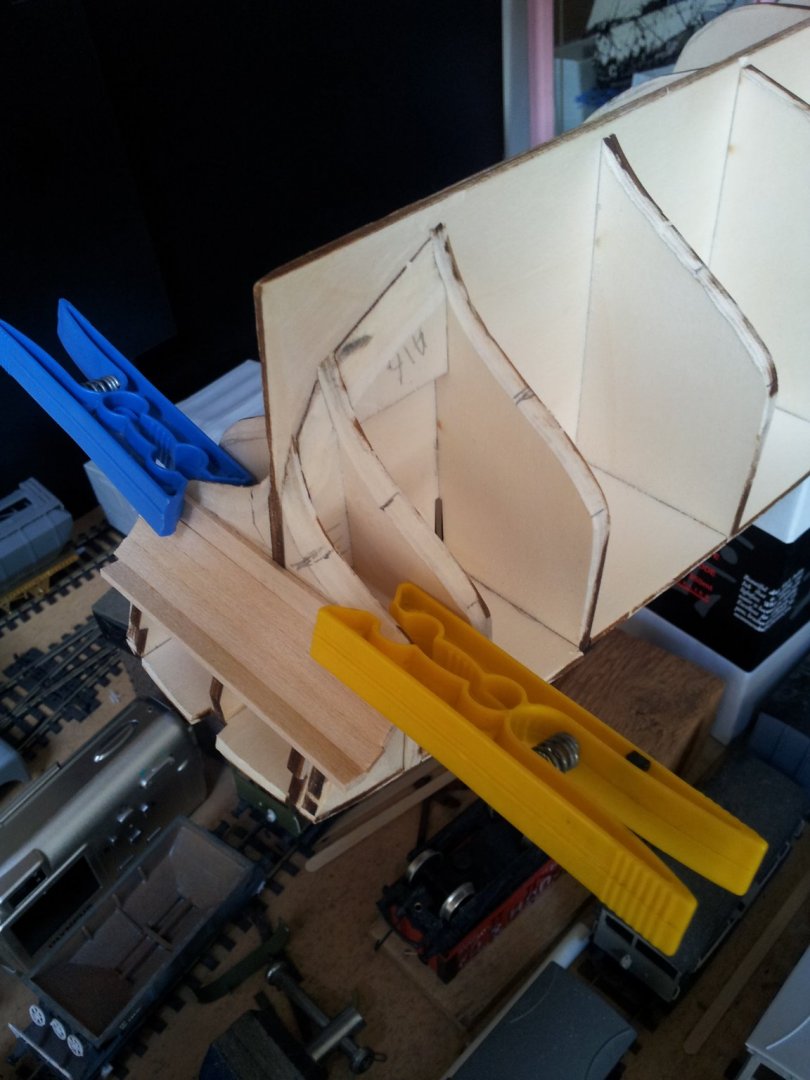
Thanks for views ,likes and comments everyone- got the replacement frames in the bow faired and the planking on the transom- always makes me nervous altering the way a kit is built- go too far and one ruined kit🤢. glued the three parts for the sternpost assembly (still need sanded to final shape) and trial fitted to stern- need to rebate into top and bottom planks to get it sitting right' the first planking will finish at the frame the will be rounded off to do the tuck with the second planking. after the planks on transom have been sanded to shape can start planking- yeyyyyyyyyy. take care all Keith

-
bit unusual for a ship from this period not to have them jeff🤨 Keith
-
tea or coffee always helpsEmmet- just make sure you maybe havn't got any stern and bow frames mixed up, as with her being bluff bowed they can look very similar bar the height, Keith
-
Ty Emmet- you have all this to come a year or so from now😉 Keith
-
wow you were up early martin! hope you got it as nice as we have in cumbria this morning- yep model shipbuilding is a pleasure/ pain thing along the lines of sado/masochism😏. also google cutty sark and click on images- nothing like real thing for info🙂
-
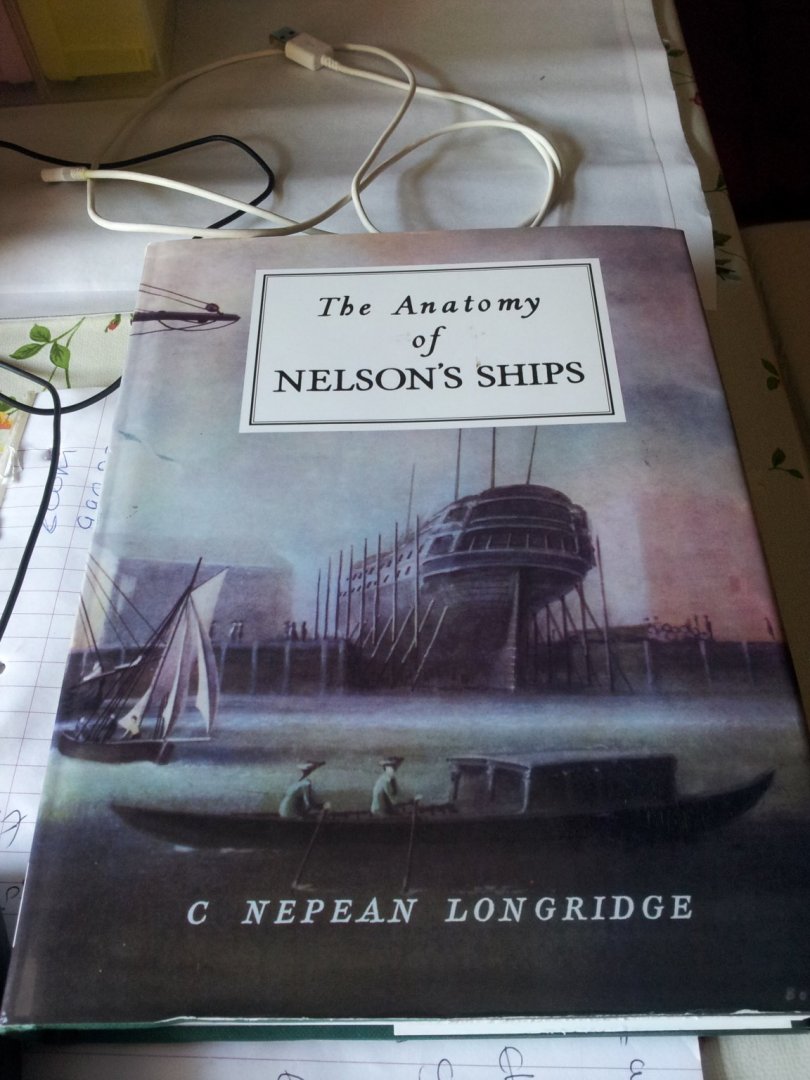
hi matthew my longridge anatomy of nelsons ships is in a smaller thicker format but an essential must have for victory modellers😉 just take your time and double check everything Keith
- 60 replies
-
- 2
-
-
- victory
- billing boats
- (and 1 more)