clearway
-
Posts
2,238 -
Joined
-
Last visited
Content Type
Profiles
Forums
Gallery
Events
Everything posted by clearway
-
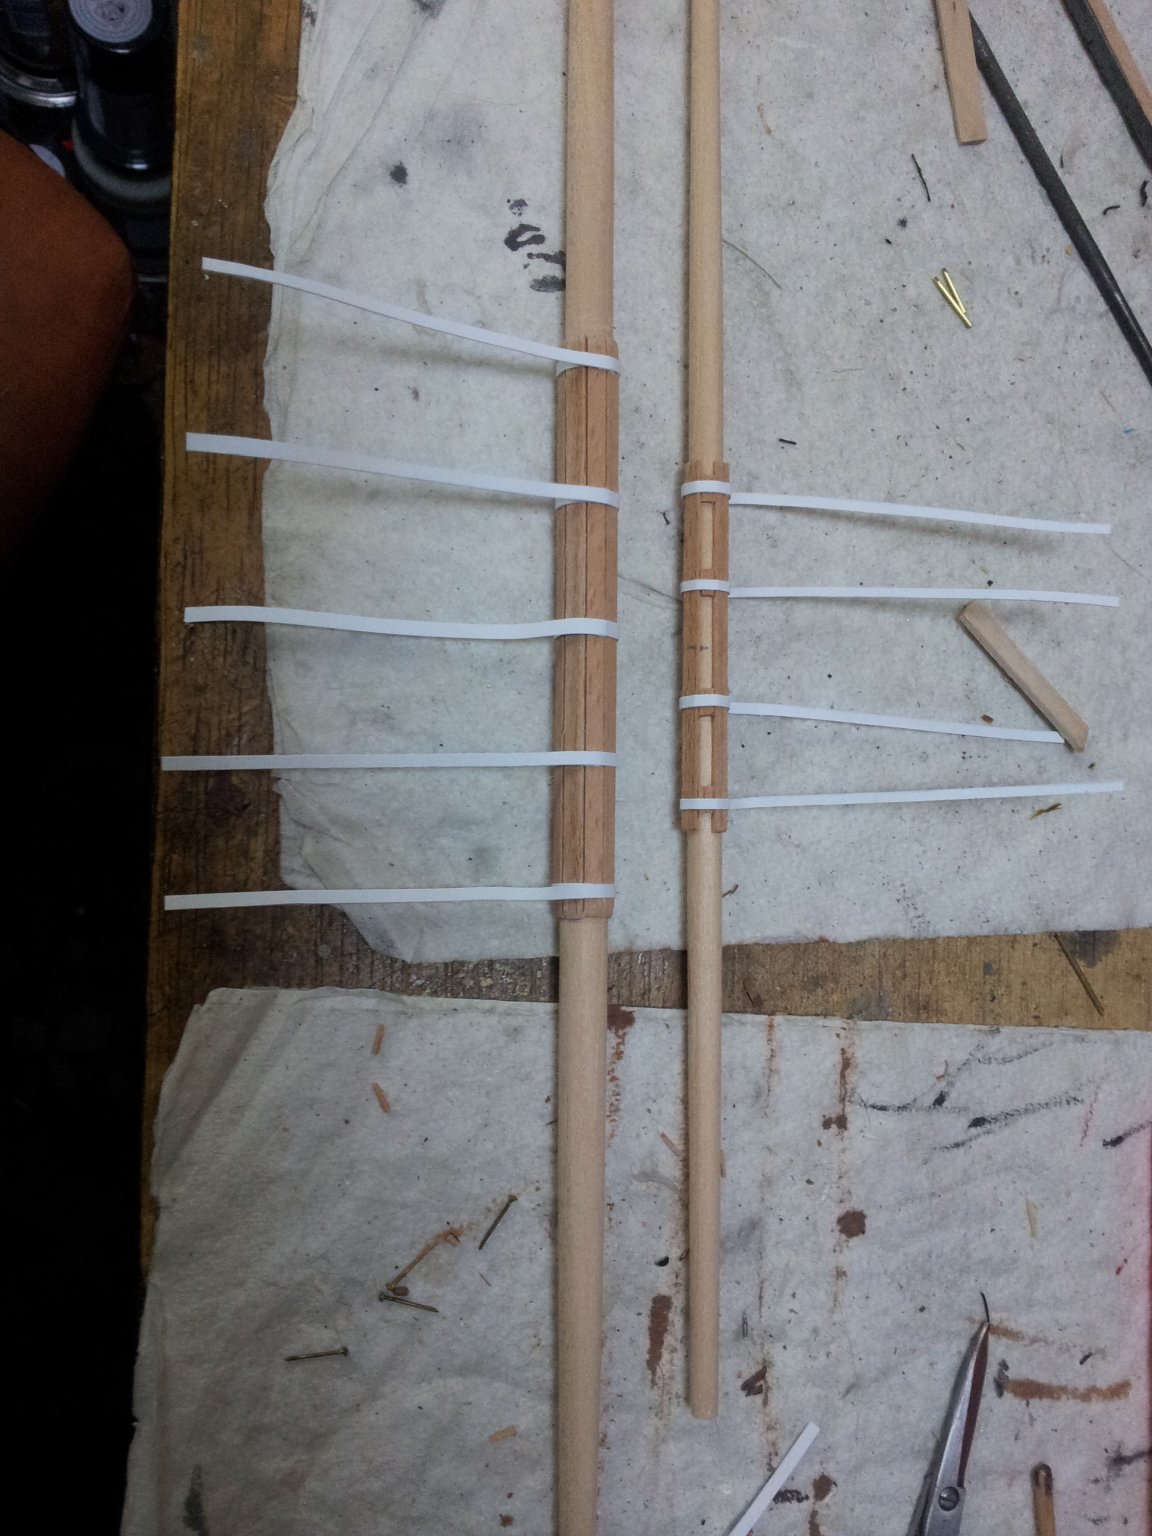
 thanks as always for looking in everyone. work still progressing on main topgallant yard, but in the meantime gave the mainyard stuns'l booms a coat of light oak stain/ varnish - cant decide if they look o.k. or if i should sand back and paint them black like the yard? take care all Keith
-
that is a sound idea about dry fitting till happy with the beastie Emmet
-
yep that is the one i meant- i dont think it will be noticable as most people will view her from the side but it is your build at the end of the day- i just gave mine a coat of dark oak stain internally. Keith
-
hi Emmet- didn't notice new info added- best to put any new update pics in the reply to topic as opposed to editing existing entries as people wont realise there is anything new- looking good and well done with the fix- the poop deck will need held down as it curves in 2 planes (mine did). i usually use masking tape wrapped round the deck and frames 3-4 times then leave for a few days till the wood glue cures. Keith
-
Like what your doing to 3D the stern up a bit- how about painting the stern facing edge of the middle frame black to tone it down? Keith
-
Hi emmet- i would use packing like you are considering - use strip inserted into the slot that goes either side of keel and sand back a little then marry up in stages till it is a snug fit if that makes sense. Keith
-
sometimes the research is more interesting than the build- i have the same problems with having to add more detail to my billings HMS Victory as they simplified a lot including the yards and rigging. Keith
-
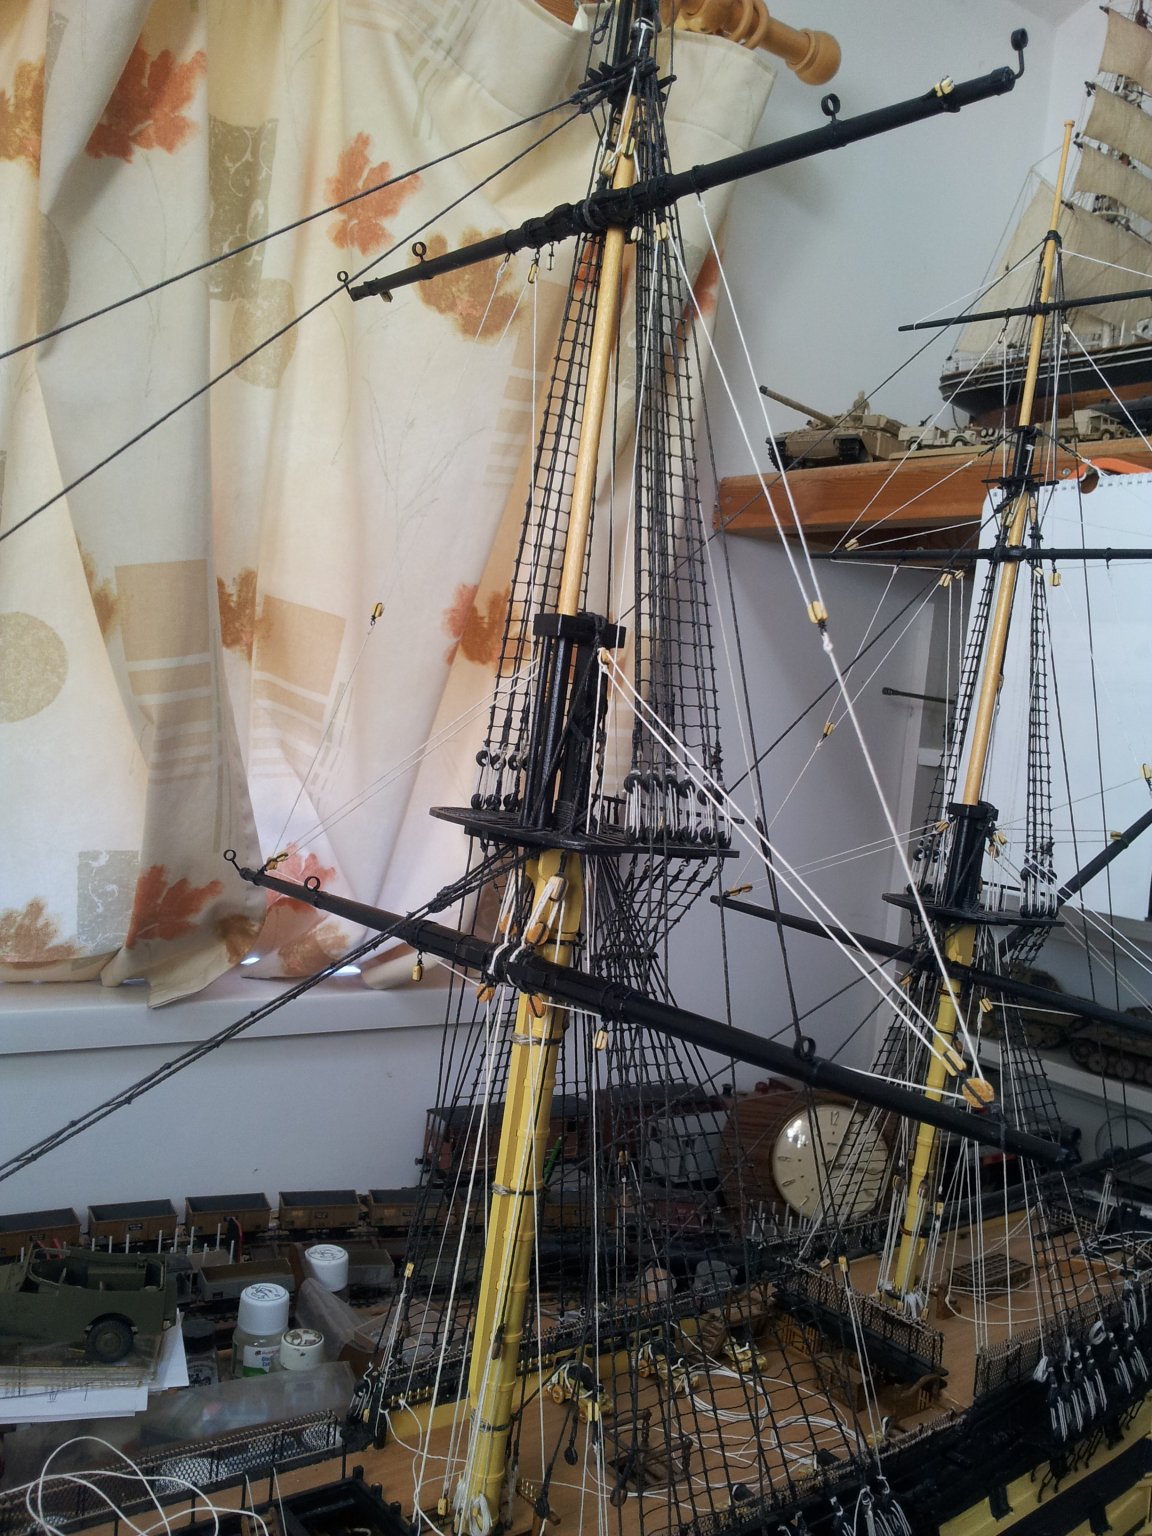
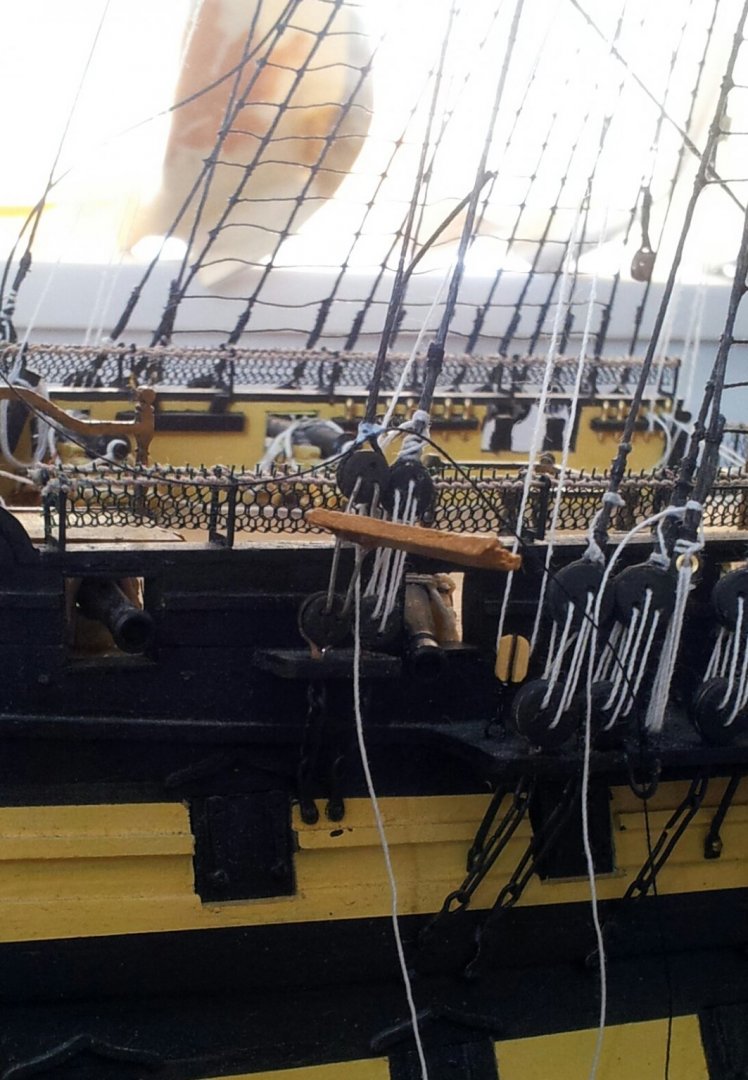
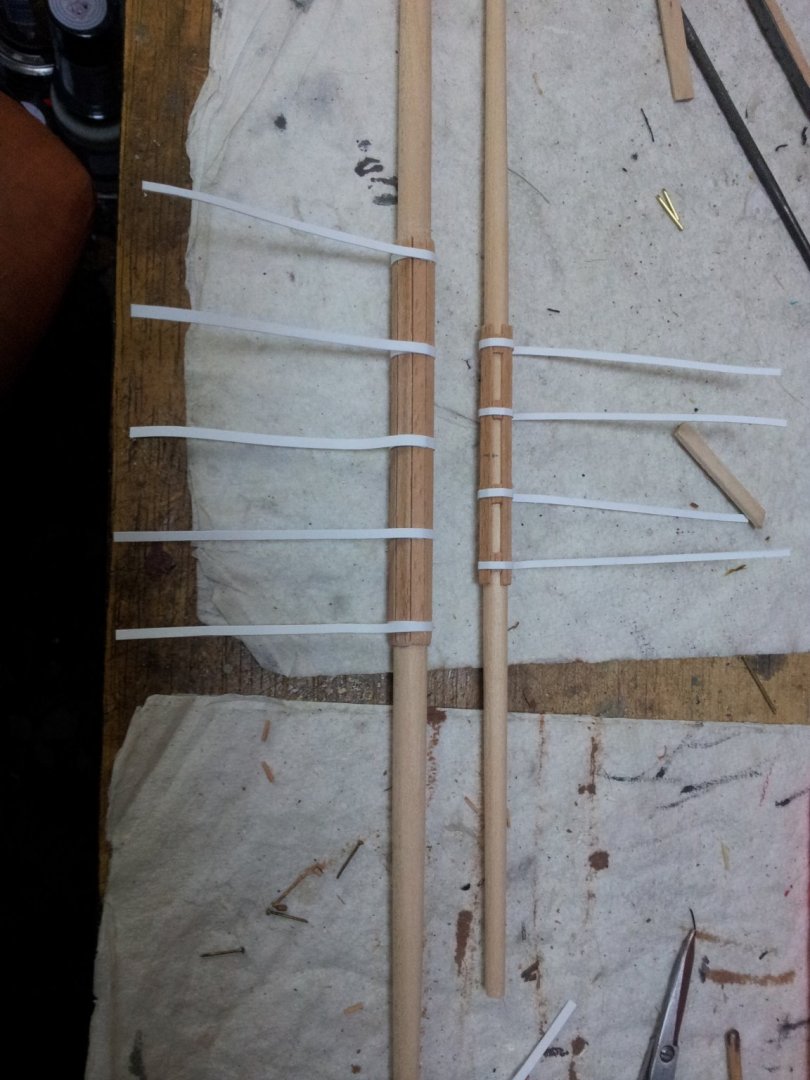
thanks for the comments, likes and views everyone- hope the piccies are helping gieb8688. bit more progress with the deadeyes for the main t'gallant mast attached to backstays using ye old mark 3 deadeye spacer (high tech precision engineering🤣) mk1 and 2 got lost years ago!, also got the card bands on the fore yard and fore topyard. take care all and keep up the good work everyone. Keith
-
one of the reasons why i read destruction manuals till my brains dribble out of my ears before touching any wood🤪😁
-
you are welcome Emmet- a problem shared is a problem halved. i do the same with any models i am building. Keith
-
TY Emmet- hope it is helping inspire you with yours even though yours is different make and scale. Keith
-
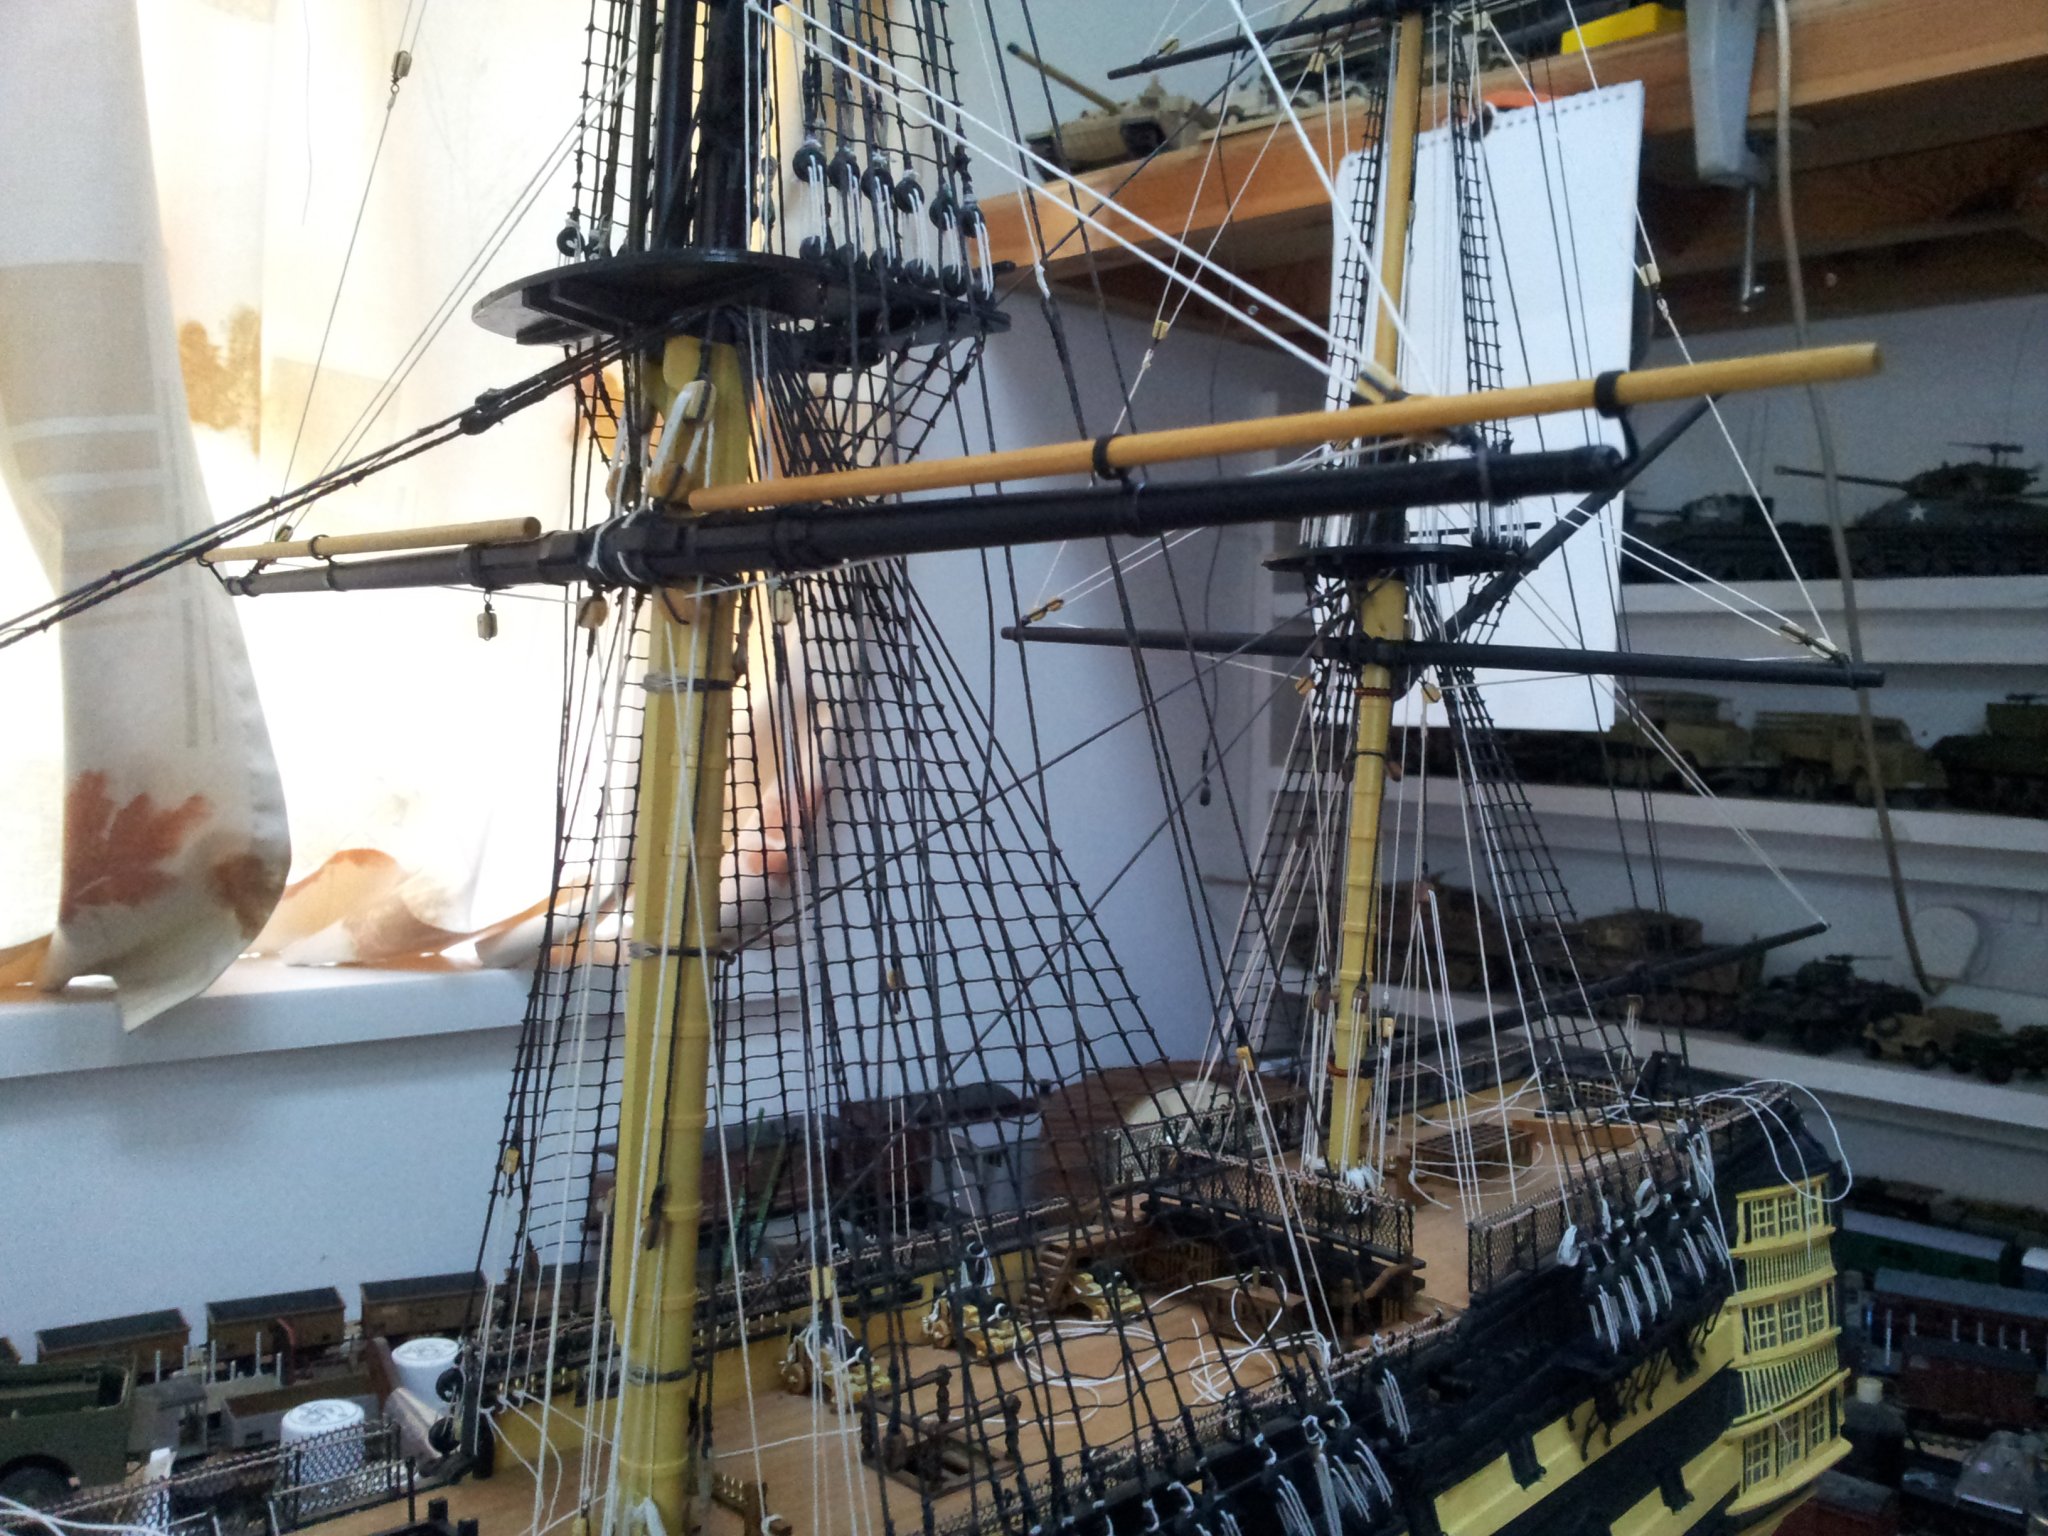
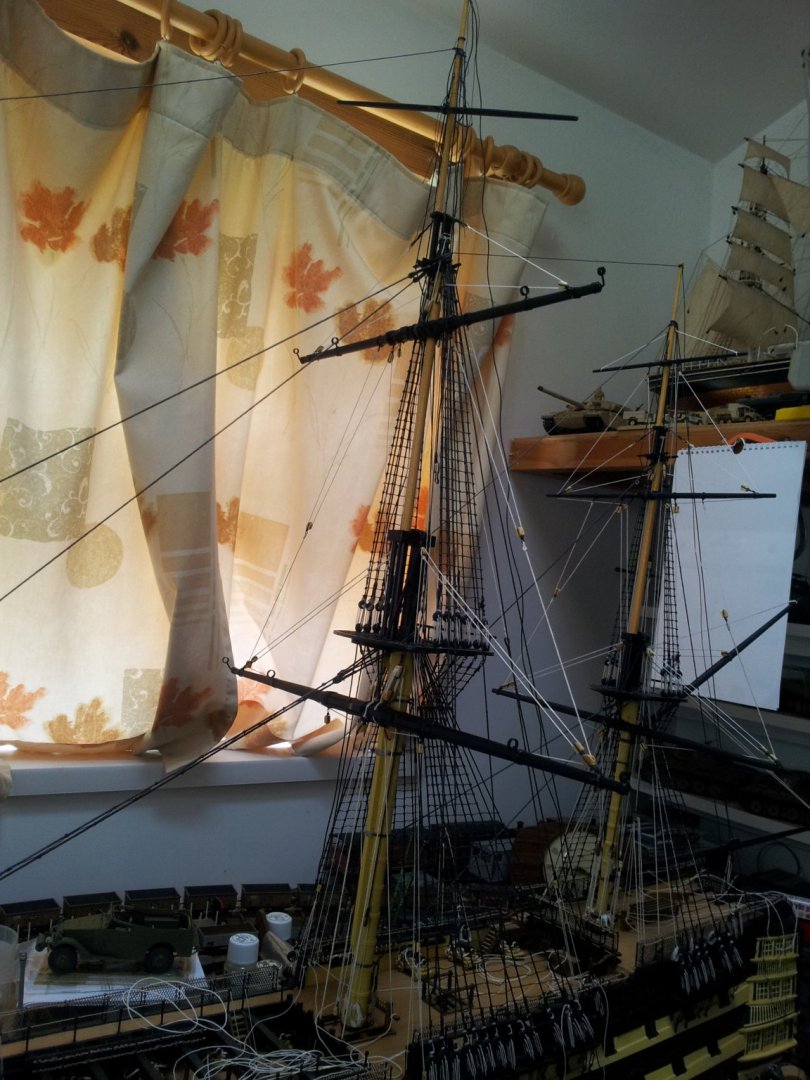
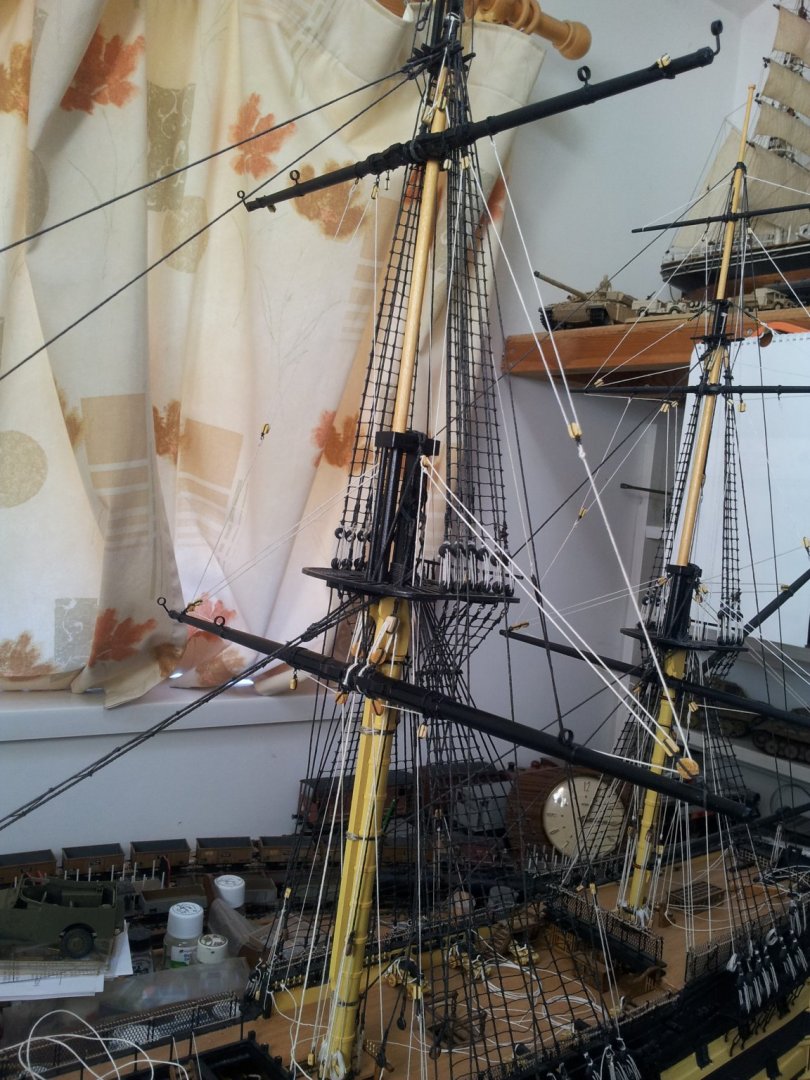
work continues on the mainmast with the tops'l yard lifts rigged and belayed- when bending the topgallant yard realized i hadn't rigged the mizzen royal stays! the mass of straggly ends at the top of the mast are the t'gallant backstays waiting for glue on knots to dry and be trimmed. take care all Keith
-
Hi keith- i have this one in my to do stash and after a quick check to make sure the contents were o.k. before storage came up with the same thoughts regarding accuracy as you- well done on taking her to the next level🧐. I would leave the ships boat in the natural wood finish and just varnish it- looks toooooo nice to spoil by painting. Have you read "Erebus" by Michael Palin- jeez them guys had a set!!!!! also advise James Lees "masting and rigging of english ships of war" when it comes to building the masts and yards. Keep up the excellent work. Keith
-
the end is in sight Jeff! outside shots do add an air of realism- unfortunately my Vicky is now to cumbersome and "sticky outy" for alfresco shots😆 Keith
- 86 replies
-
- 1
-

-
- pickle
- caldercraft
- (and 1 more)
-
i do what popeye suggested and just use a small amount of thin superglue on my stantions- when dry you can lift the entire railing off to paint it- keep up the good work. Keith
- 207 replies
-
- 1
-
-
- billing boats
- cutty sark
- (and 1 more)
-
ty jeff and ohhhh yes- any Victory builders will vouch for the wish for 300mm long fingers 6mm thick!
-
looks good jeff- knot on anchor looks fine to me and don't forget you are the admiral so what you see fit goes😁 Keith
- 86 replies
-
- 1
-
-
- pickle
- caldercraft
- (and 1 more)
-
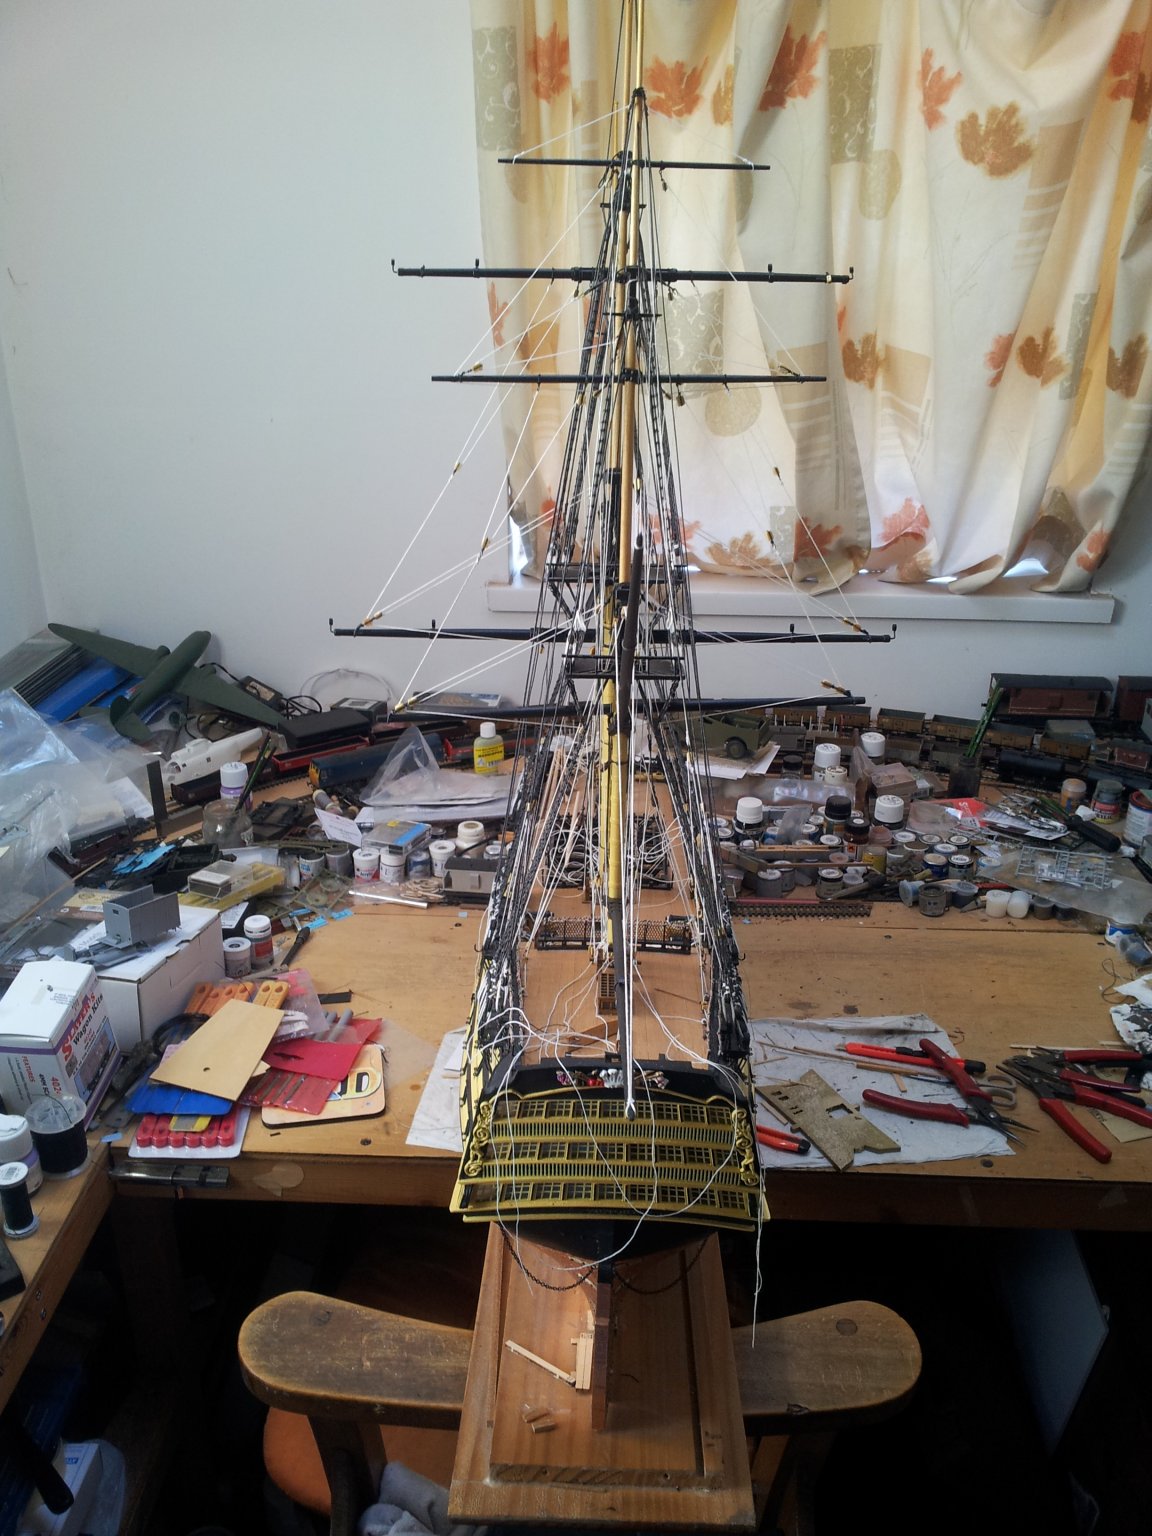
Ty for comments and views all- still recommend doing a small build to get the hang of model shipbuilding before doing Victory though matthew. Work continues on the tops'l yard with sheets and clewlines rigged. Next job will be the topyard lifts and the halliards on the final maintopmast backstay (leave backstays as late as possible to allow easier access) Take care all Keith

-
shame but if your heart isn't in it mark it wont get finished- you can always go back to her (my cutty sark stayed 3/4 finished for 14 years)! Keith
-
Ty jeff and kevin- hope she ends up looking as good as yours Kevin!- i did think about getting the caldercraft Victory but the price tag kind of scared me😮
-
welcome to the victory club Emmet- best suggestion is to read the instructions 20 times then some more before you touch any wood🧐. building Victory will definitely take your brain to a new dimension- enjoy. Keith
-
gotta love billings- however they do lend themselves to upgrading better than some other manufacturers and are generally true to shape regarding hull profile. always read instructions about a dozen times before touching anything- then read em again😵🧐 Keith
-
nice to see card is still being used by some modellers