clearway
-
Posts
2,241 -
Joined
-
Last visited
Content Type
Profiles
Forums
Gallery
Events
Everything posted by clearway
-
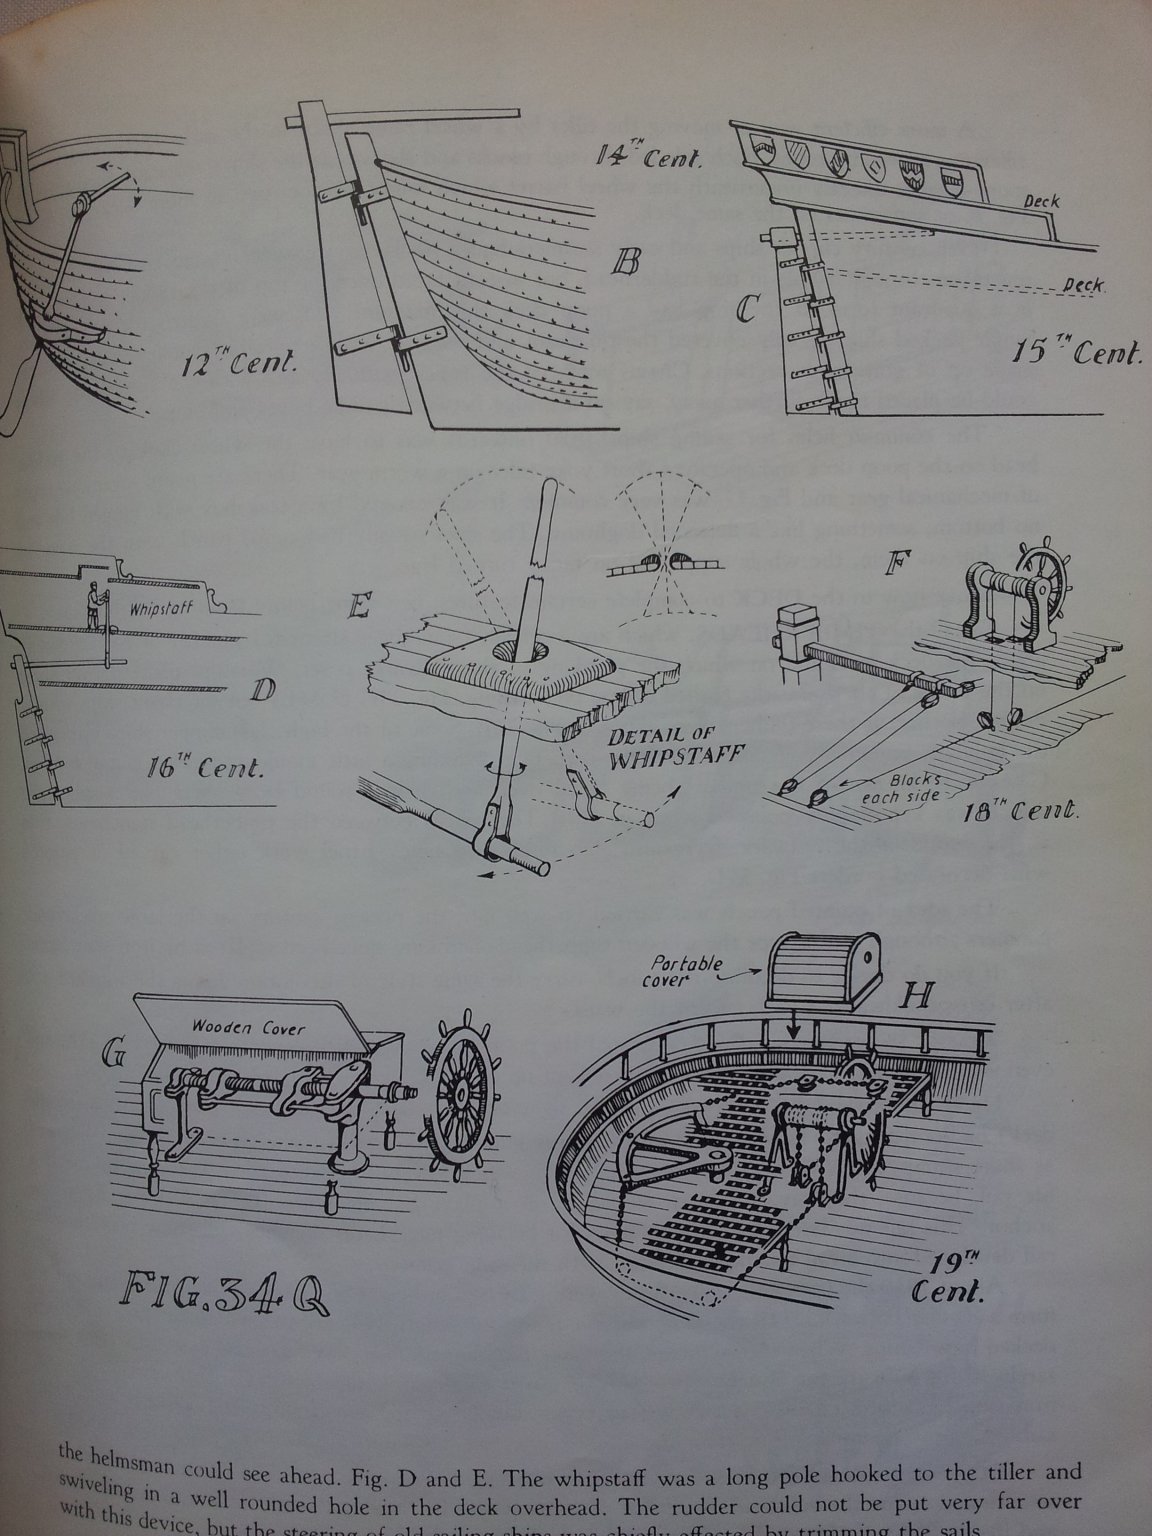
 looks about right Keith as people had to get past them- below is a shot from an old book on ship modelling showing various steering set ups across the ages:- ships at the time of terror were sort of a cross between diagram F and H Keith
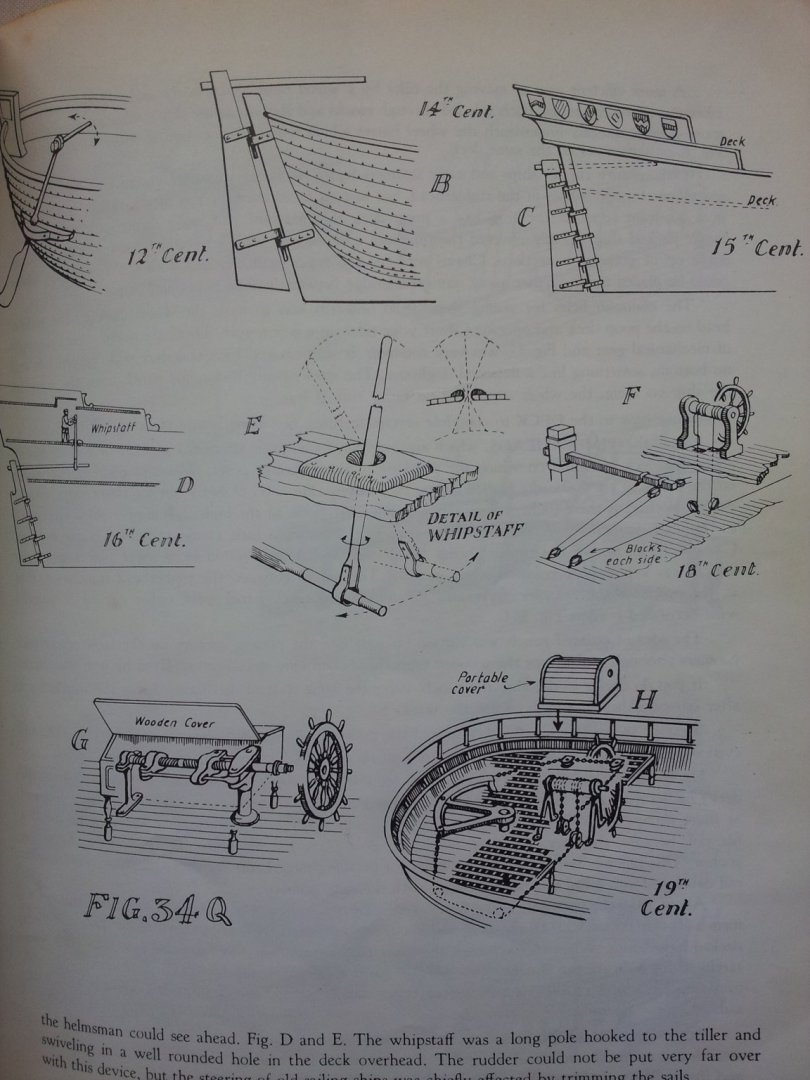
-
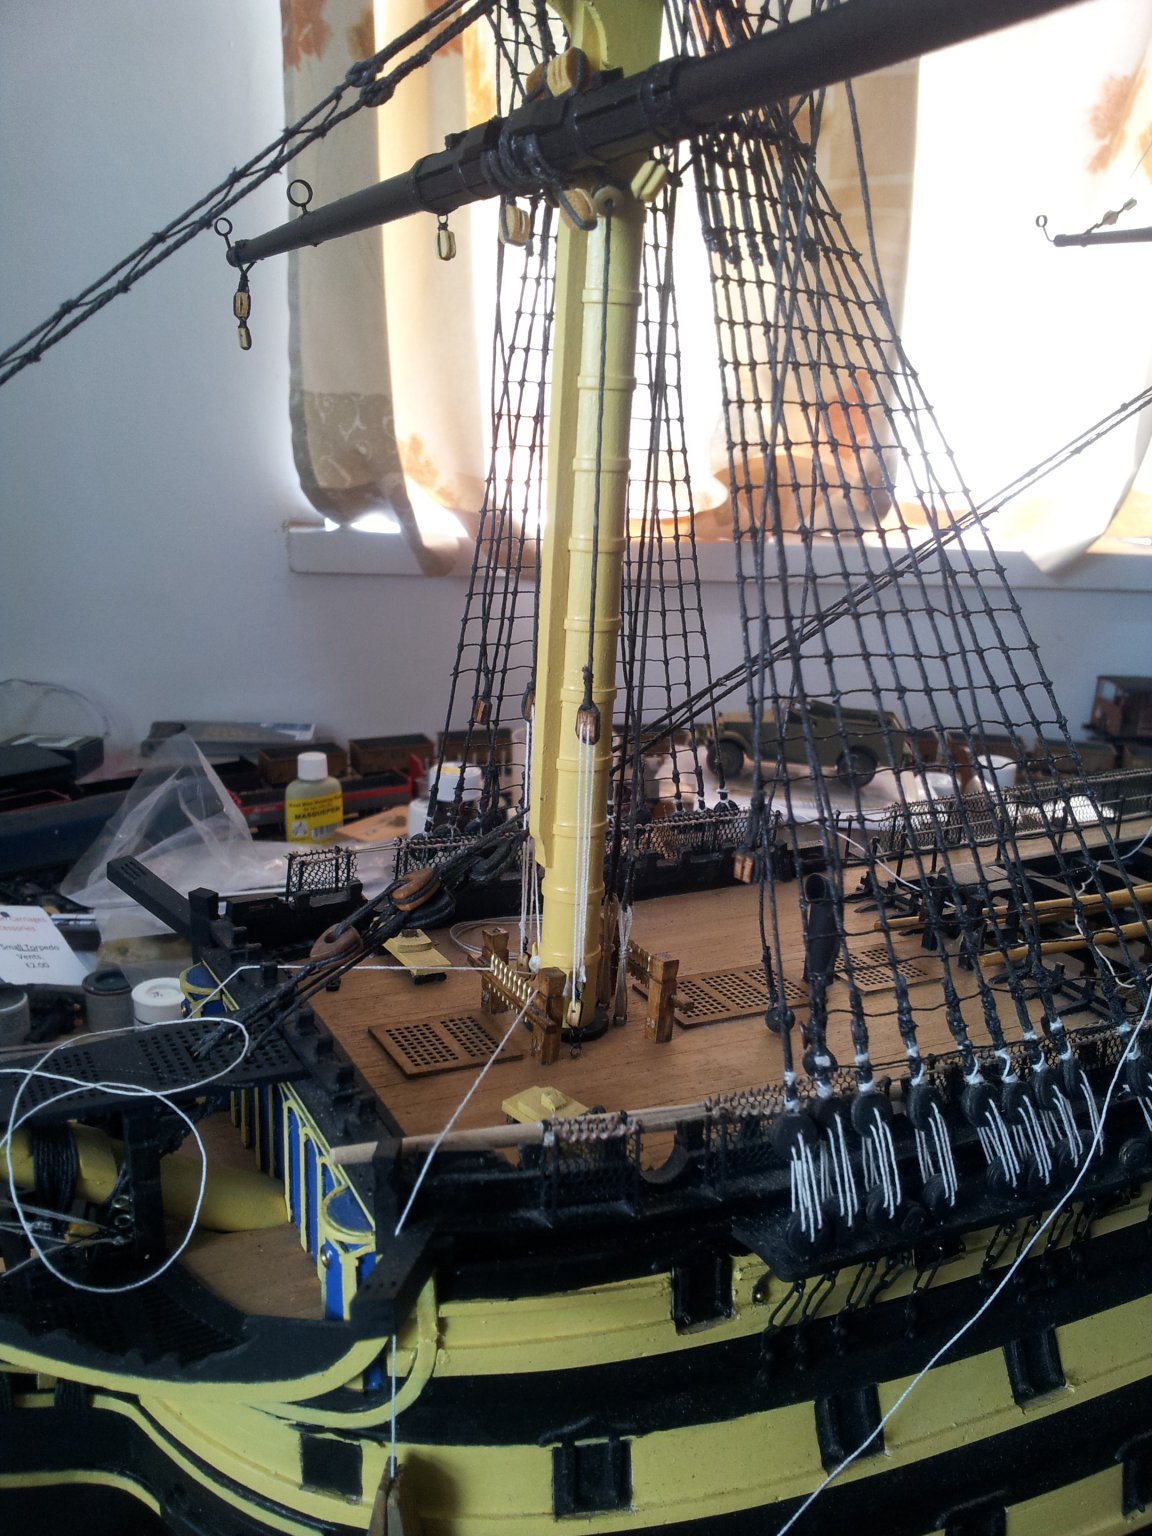
ty for looking in - as always it is appreciated. little more progress with the jeers now rigged on the fore yard (more salty talk for keith s😉)! take care everyone Keith
-
i think the davits would have been on bearings at the bottom which would allow them to be lowered hence the winch in the centre Keith
-
it would make life easier if we lived closer keith i agree lol- the masting and rigging book will explain a lot and if in doubt ask and i will advise as best i can- occre did get some parts kind of right but with this billings victory the trusses wern't actually in the instructions and they put jeers on the mizzen which she didn't have so it's a common problem- don't know if i'm breaking copyright but found a still from the terror series showing the boat skids and one of those davits- note square davit post with round derrick coming off it- think some sort of gooseneck fitting would have been used. i will post it on my terror build if you are interested Keith
-
Hi keith- love the "little terror" name myself- i admit planking the deck would have been a lot easier the way occre did it, but if was just going to fill, prime and paint the first planking layer and inside the bulwarks it would have been a lot easier not worrying about getting paint on the wooden deck- also stops so much dust and fingerprints when handling her while the heavy sanding goes on- don't berate your little terror- for a first time build it looks great and with your mods it is already a cut above the rest. as regards the book it is more about the search and only photo is of one of the metal pintles that hold the davit posts to the deck some lovely shots of the arctic though- i am also waiting for another book about the loss and discovery of erebus and terror so will see if any juicy shots in that- i agree with you i am not bothered about plates, and goggles- i want to see structural details on the deck fittings and like you the engine room. Keith
-
lol Keith- the trusses are what hold the yard to the mast and the pendants are the block assemblies that hold it to the deck and allow adjustment. The jeers are the blocks on top of the yard and take the weight along with the sling- you will have to do a slightly altered version of this on your terror as occre cut corners surprise surprise😉 Keith
-
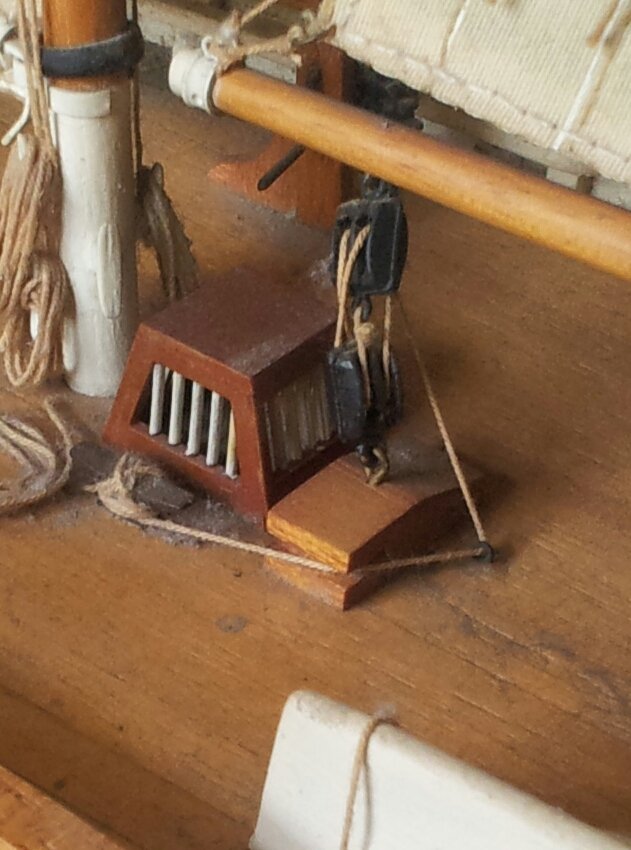
Hi Jo - my kit was the old style one from before they were laser cutting everything- in my kit it was a solid piece of wood you cut the groove into- but i think they go side by side to form this :- hope this helps- i need to give her a real good dusting😱 keith
-
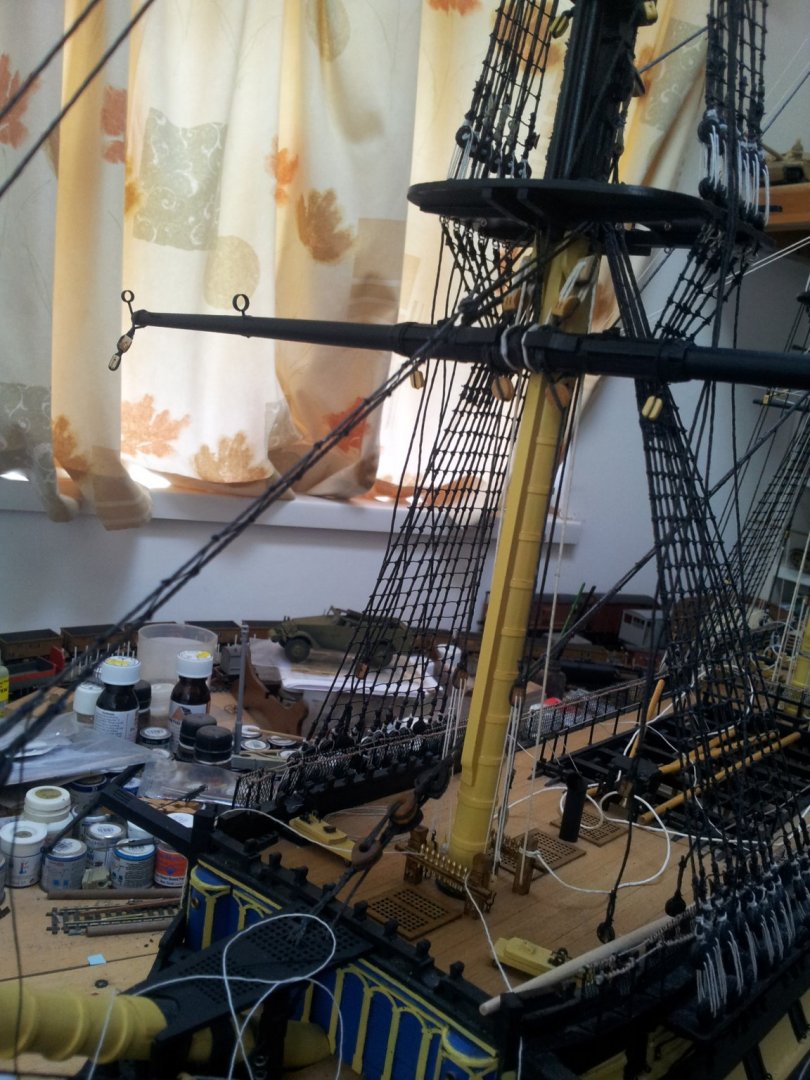
managed to get the shroud protector sanded down to size outside before our long spell of good weather is about to end-was raining earlier with cold fronts and more rain to follow love Cumbrian weather🤪. using a craft knife fettled the planking on the bows and trial fitted the prow piece. also made a start on planking the deck. think i have the shroud protector the right shape and size- any corrections needed feel free to advise😁. also took delivery of this today take care all Keith

-
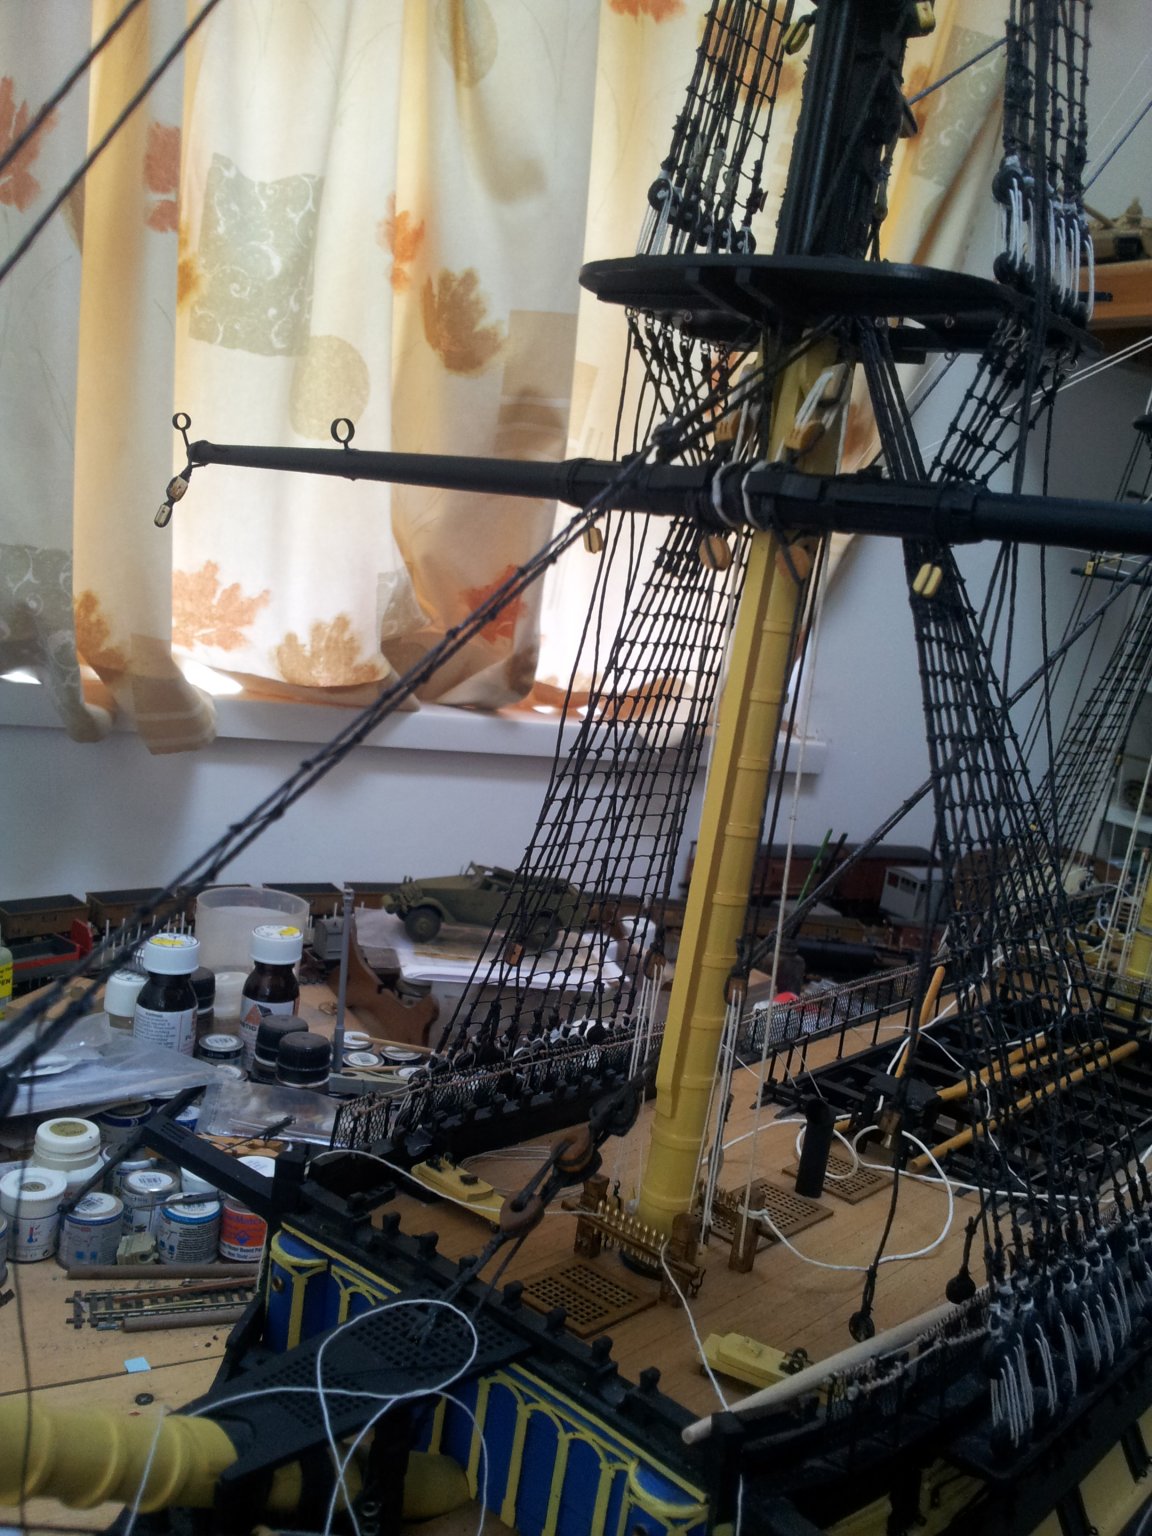
thanks for looking in and comments everyone- the foreyard truss pendants have been rigged and the jeers will follow soon- can't believe this is nearly the end of the yards to rig on the masts! take care all Keith

-
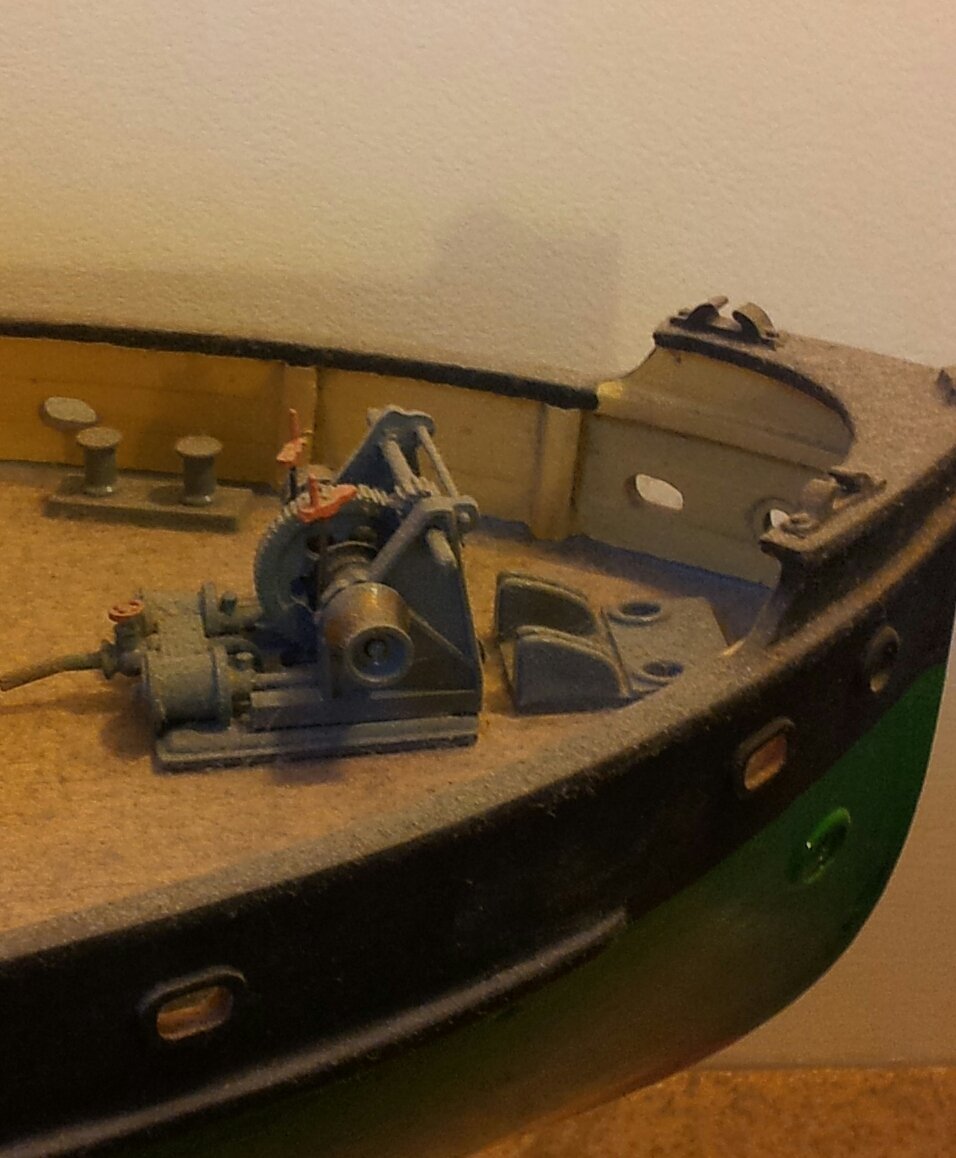
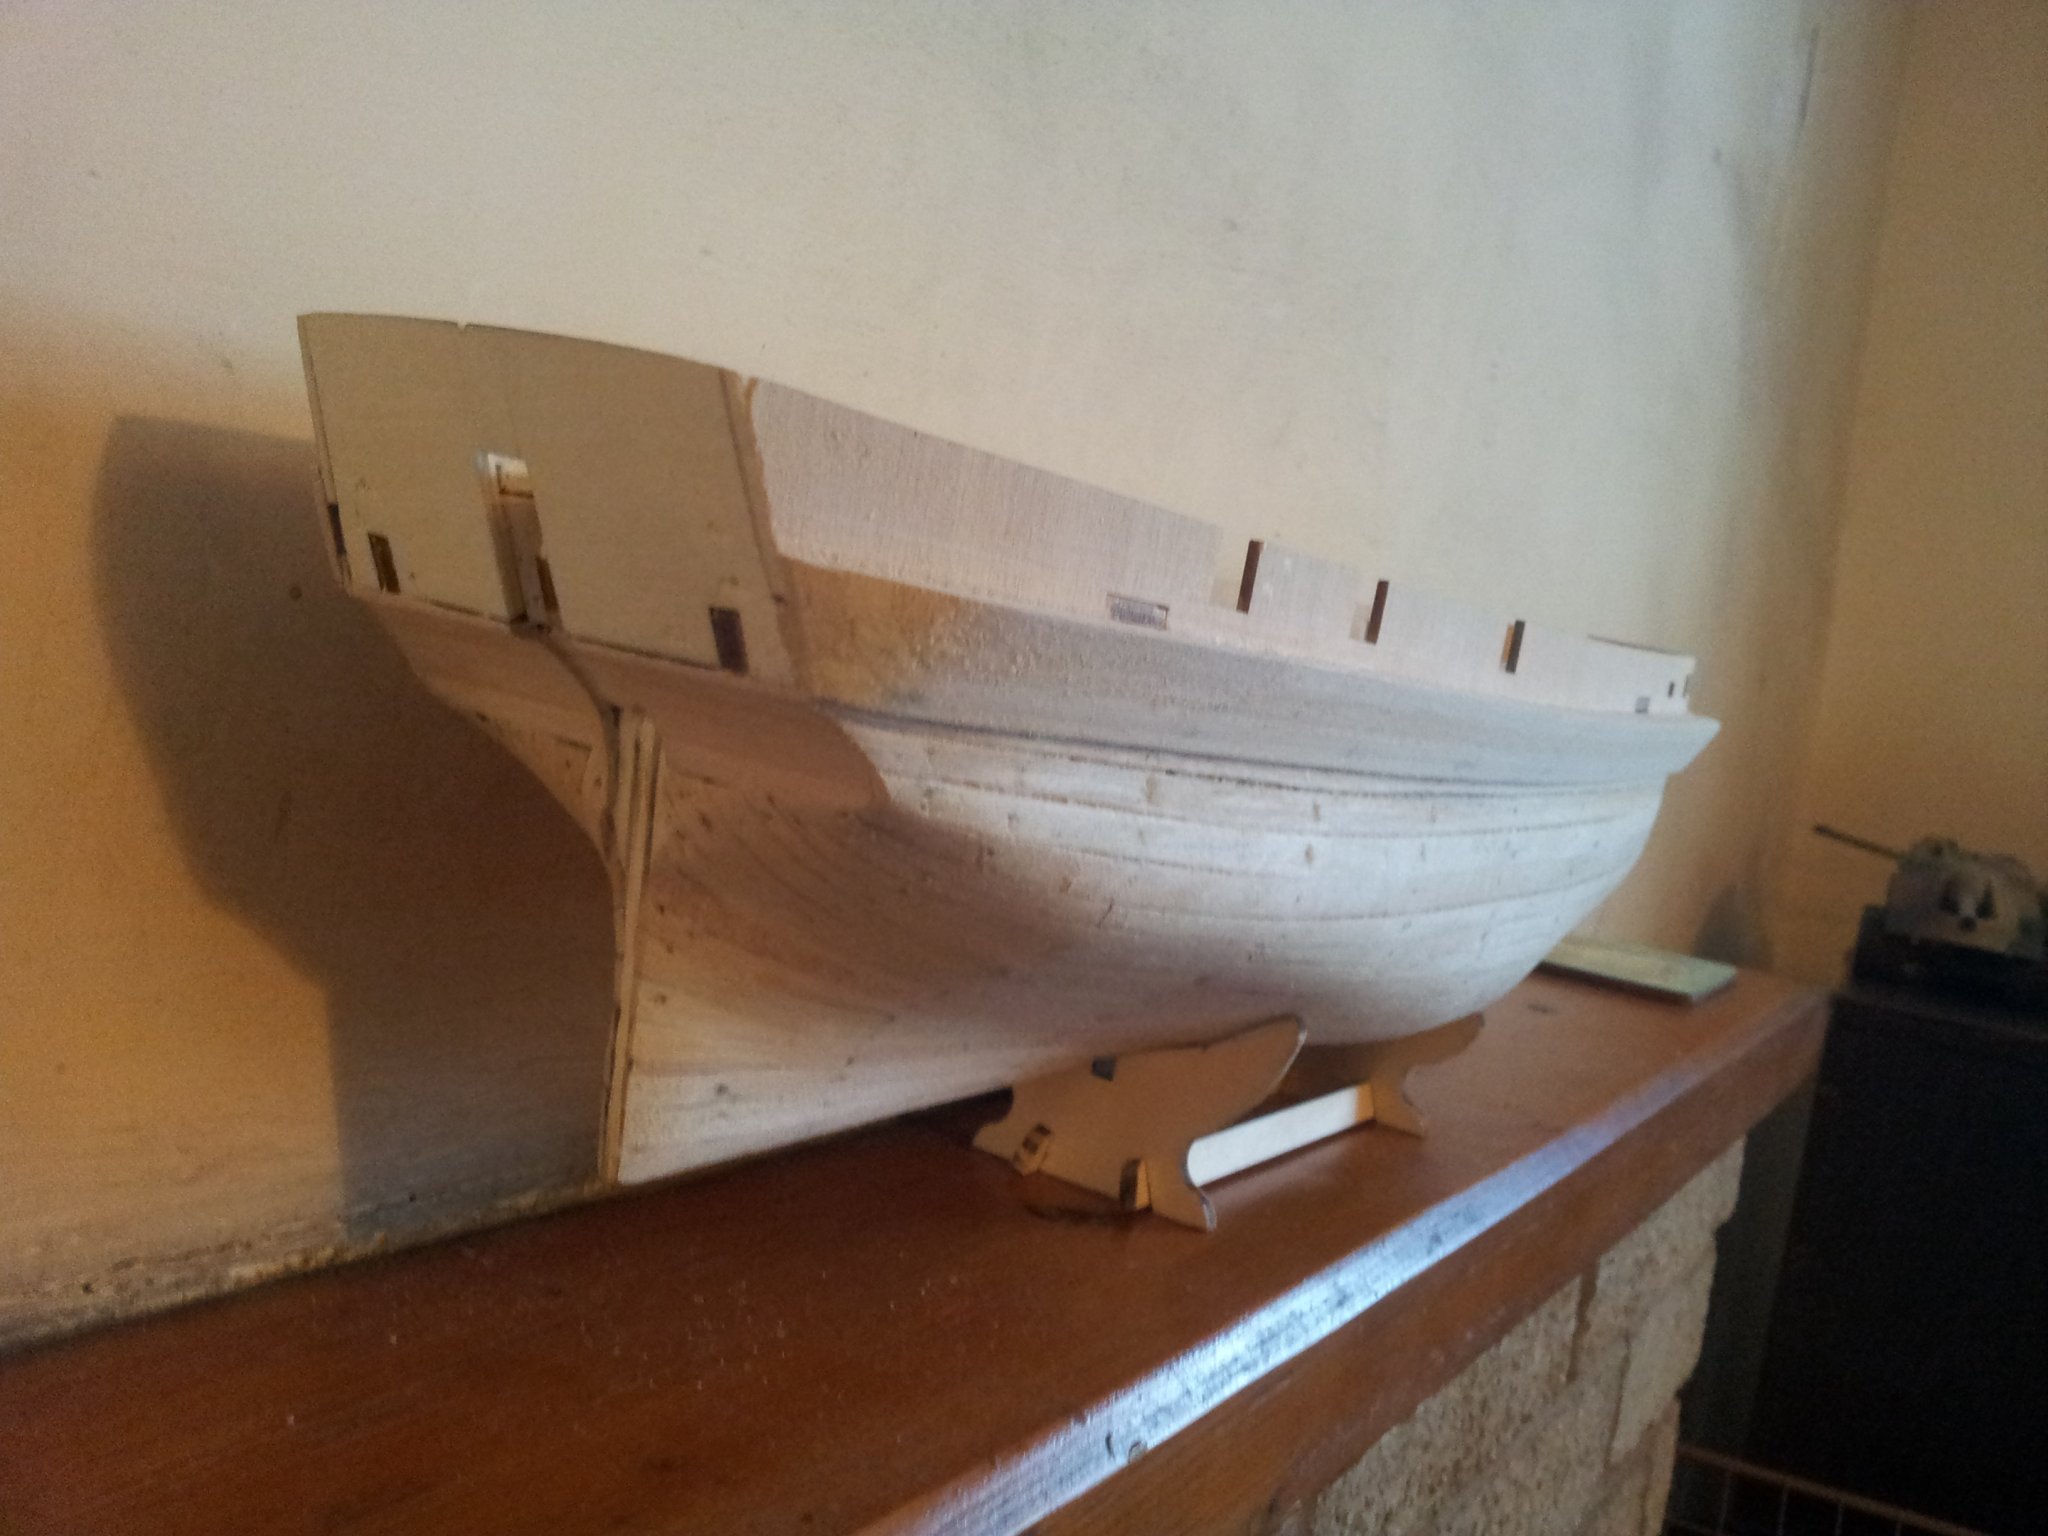
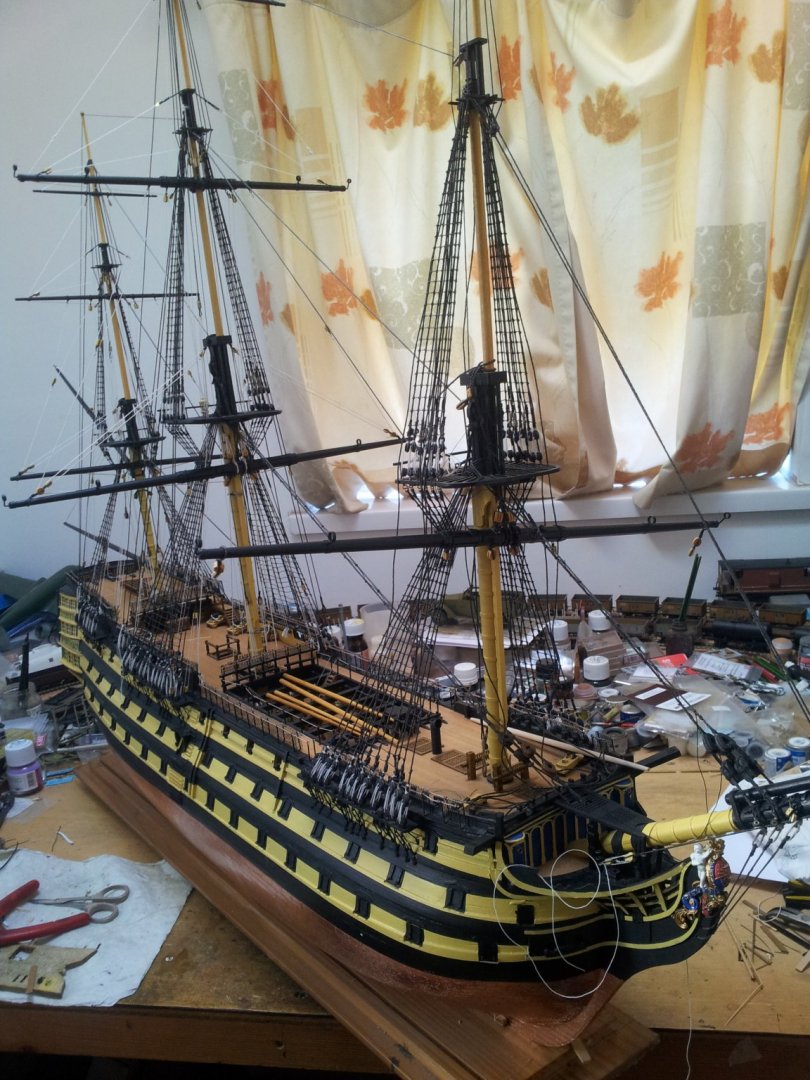
nice seeing this one being built again - have been building this one off and on for 20 years now! i replaced the anchor winch with a 1/48th steam anchor windlass from caldercraft but used the billings sideframes - made a big difference though not sure if still available as a spare? been sat there a while- she needs a good dusting! Keith

-
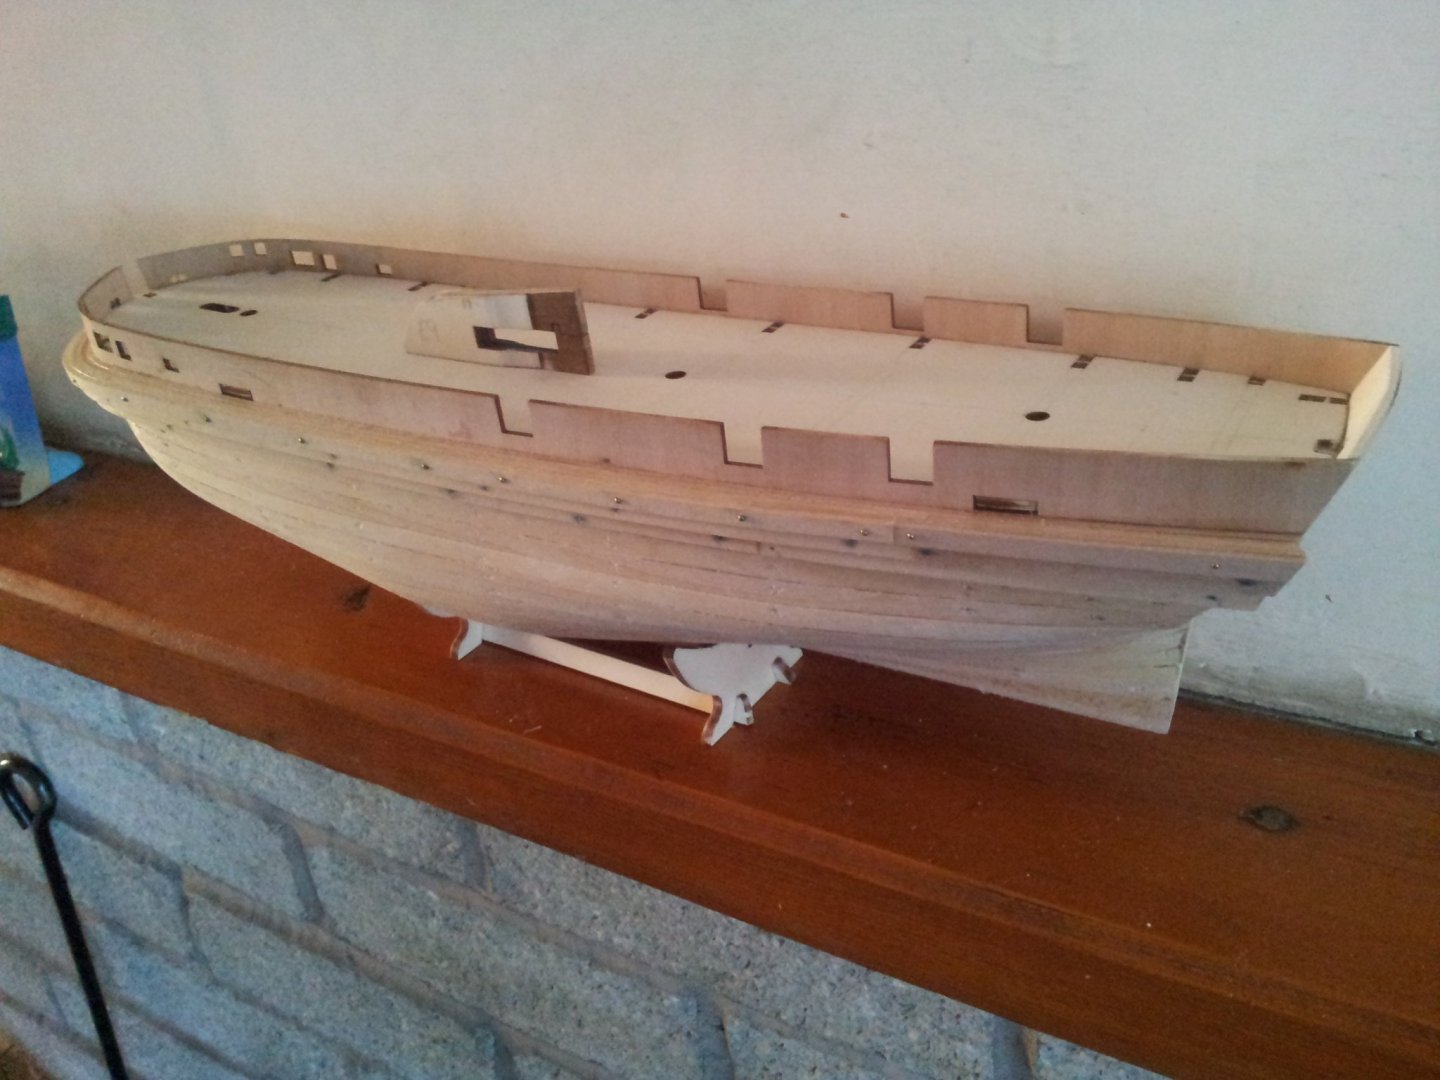
good here thanks Emmet- hope you and yours are getting this nice weather we are seeing in Cumbria at the moment ( supposed to turn crap by wednesday though) it's tricky to describe how the planking behaves- i can only recommend looking at stern shots of planked builds- the planks on the tuck at the counter do taper slightly until they meet the sternpost then fan out- they turn for the tuck just below the mainwale. Keith
-
Hello Emmet, i think the slot in the sternpost above the clamp will be for the piece that forms the counter and planking should run to that- the planking on mine tucked under the lowermost ply former with the hole for the rudder in it- the small horizontal flat on your sternpost will most likely be where the rudder head goes if i have it figured right. Keith
-
Ty Keith- there are some weird shaped planks if you follow he runs from bow to stern- you tend to get bit of an hourglass effect where the bilges form towards the transom- don't forget i have been doing this for about 35 years and believe me my first planking job was a disaster😱. I must admit i wasn't sure i was going to be able to pull it off with occre having the last frame station right up against the stern- i will most likely second plank using the walnut and might go with the original with the bow planking (followed same run as plating). your hull does look o.k. though and i see why occre chose that way to do the stern as the original set up is a bit difficult if no previous experience. Keith
-
sanding the shroud protectors today - still a bit to go though! if doubting about going with the 5 planks at the top occre state go with it even though it sounds a bit much. take care all- think i am going to be sweeping sawdust off our shed veranda for 6 months🤪 Keith
-
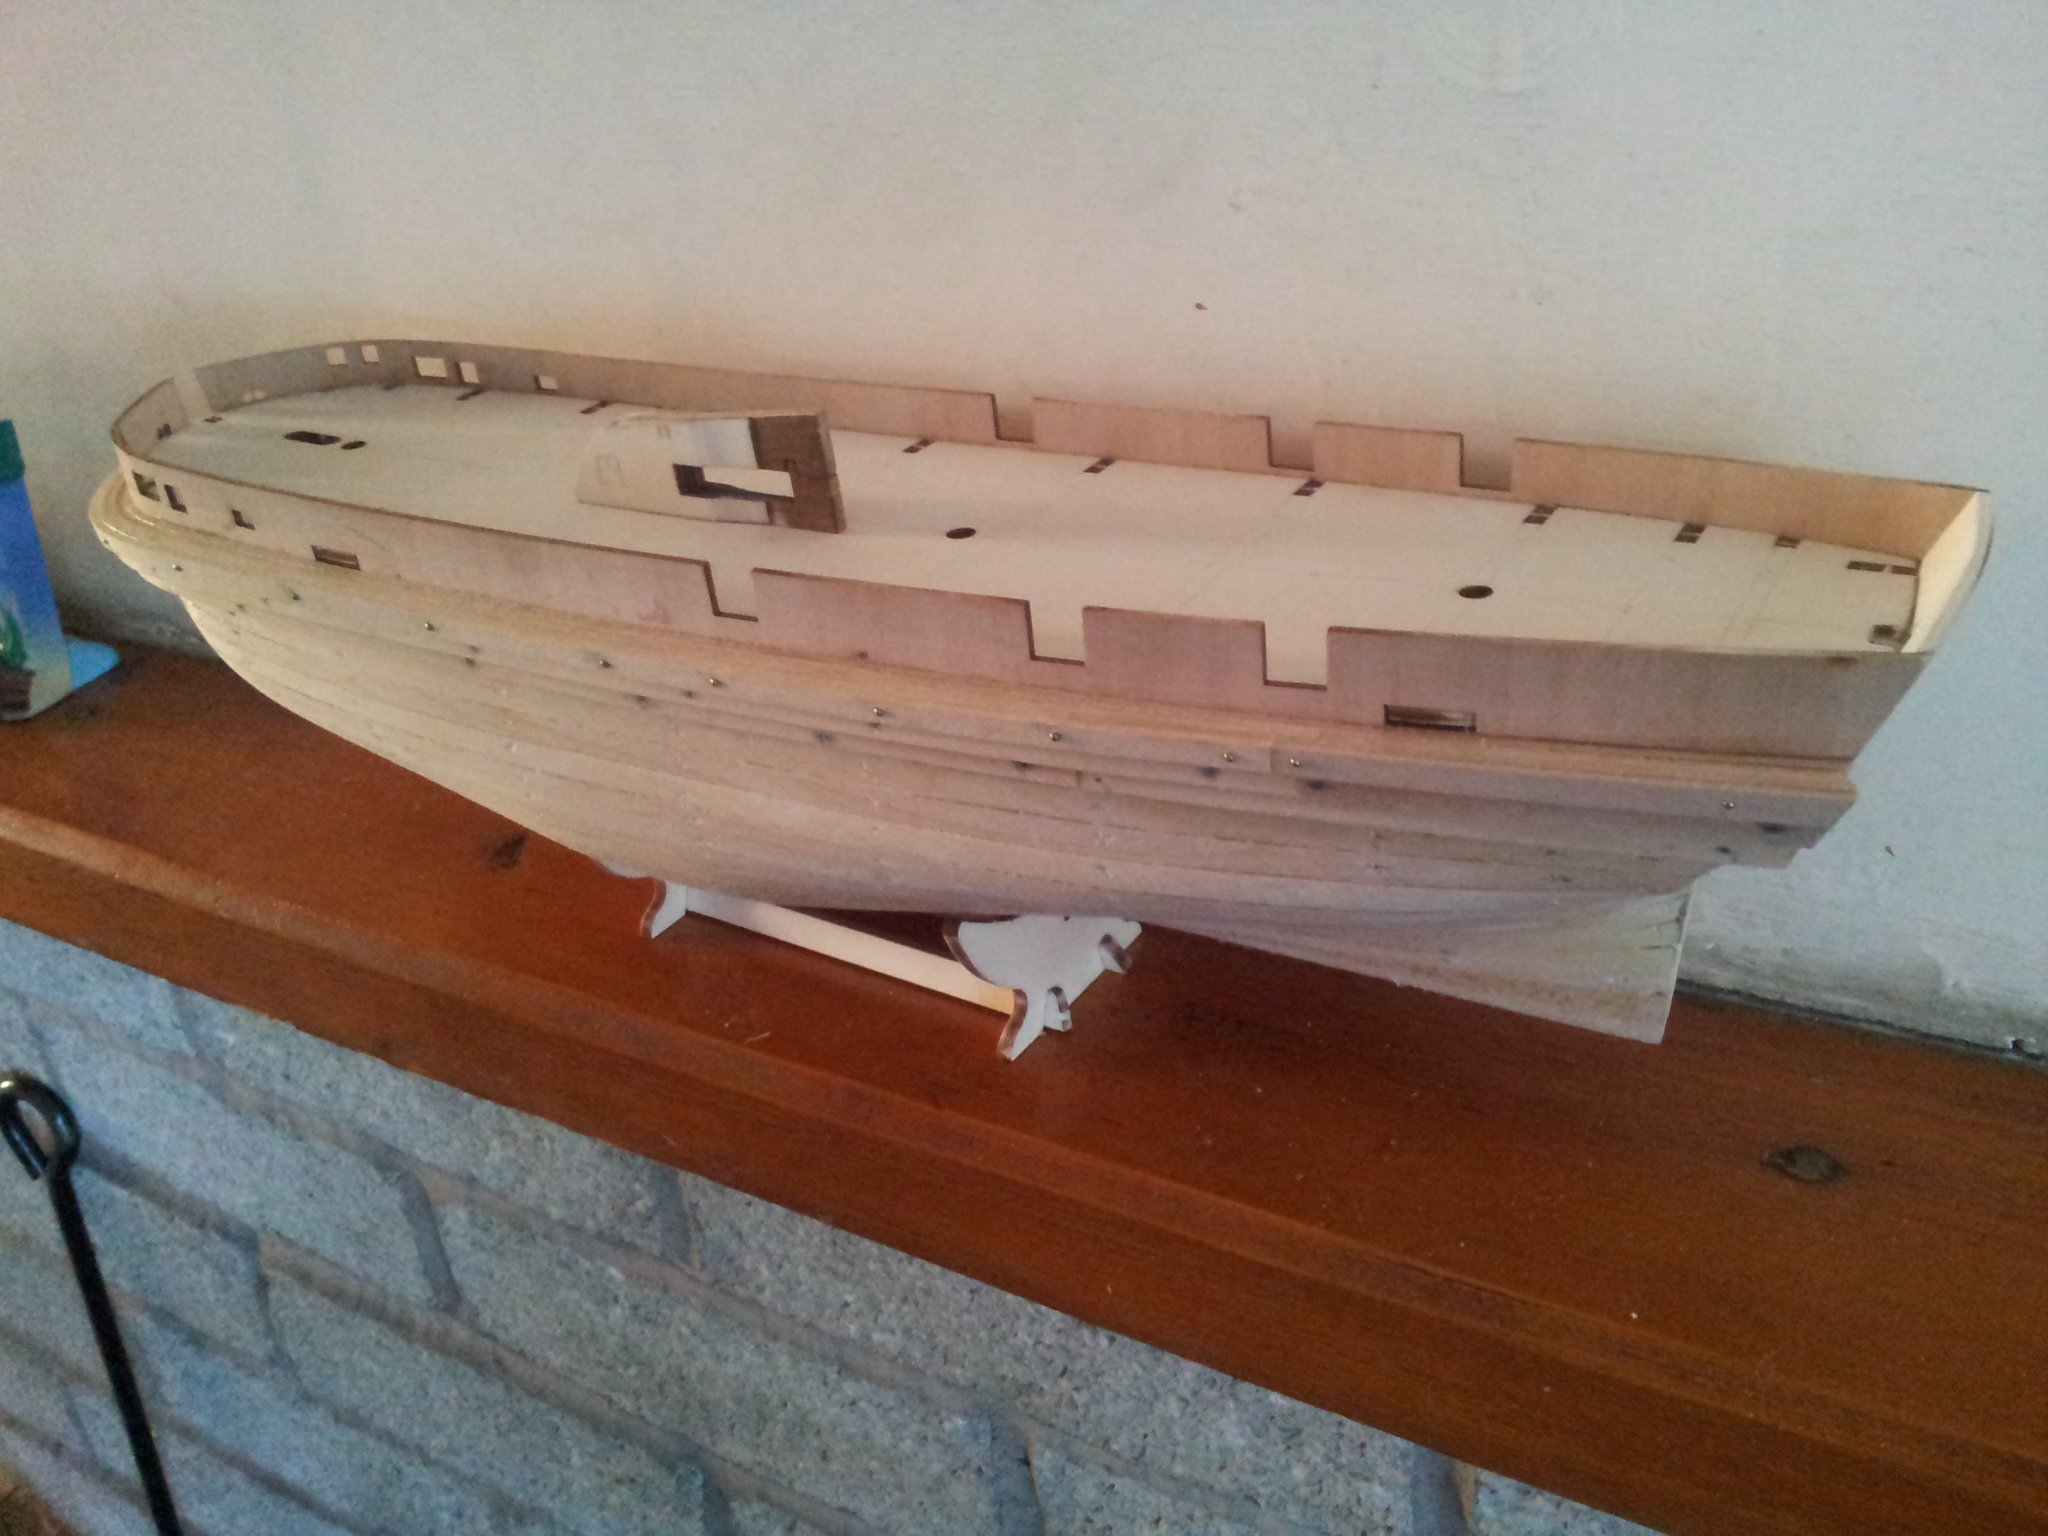
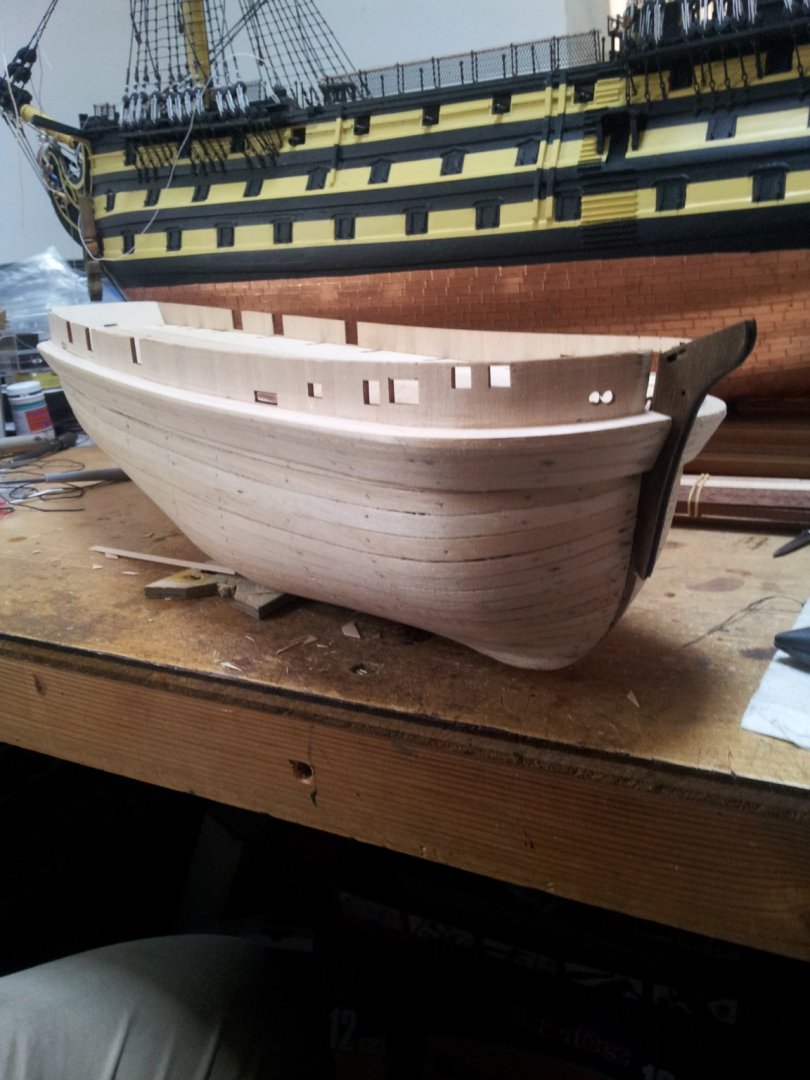
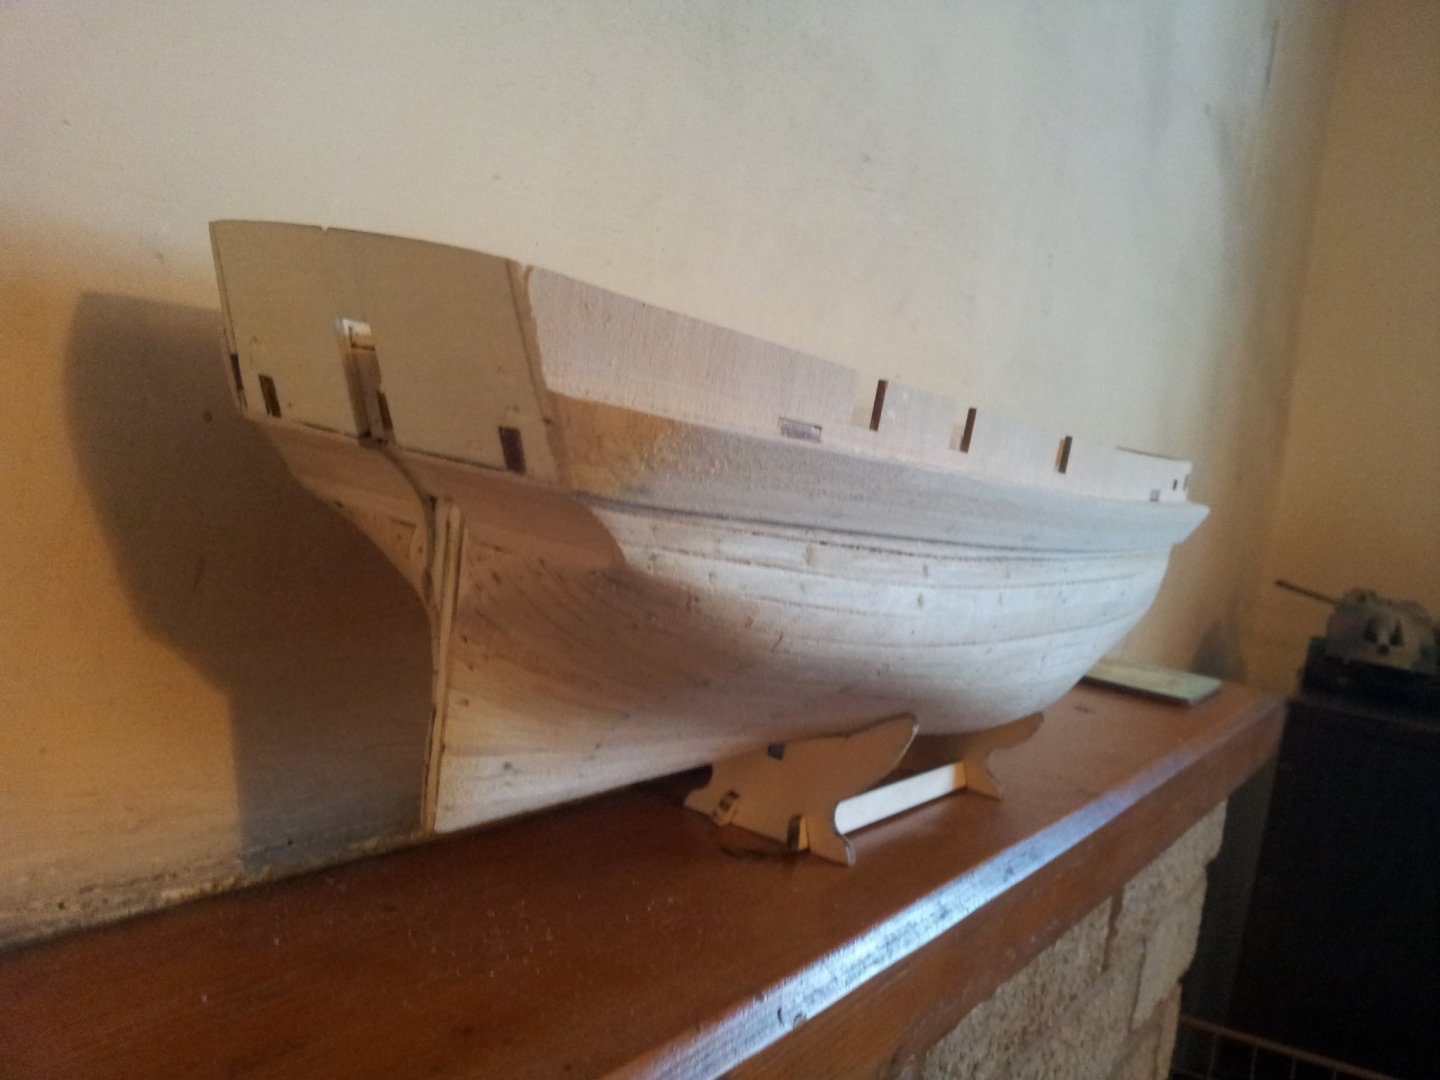
that is correct emmet for where the taper starts-however the planks did sweep up towards the stern- on terror started planking from where the ply former ended- to get the form of the sweep in the tuck lay a plank half way along the counter and let it rest naturally on the frames in a downward direction- will end up about half way round the bilge. the below pic shows the first planking going on after the ply formers had been added to the sides- the 3 strips away from the rest are the planking battens to show me where to run planks to and were removed when the planking got that far. Keith
-
ouchhhhh- save the top part as it forms part of the transom on the poop Keith
- 60 replies
-
- 1
-

-
- victory
- billing boats
- (and 1 more)
-
Ty Matthew- i nearly had a catastrophic fail a few months ago - still don't know how she didn't dismasted- hope she didn't get too bashed.😱 Keith
-
no problem- she did have one when she carried a square sail on the mizzen but it has been bugging me since i first looked through the destructions- just give me a shout when you are ready for that bit🙂. Keith
-
slow and steady progress- finally got the planking done for the shroud protector - wish i had been astute as keith s and realised about occre's little 15mm boo boo! ah well 🤨 next job attack it with ye olde sandpaper wrapped round a block of wood take care all. keith
-
Thanks for the views and likes everyone- fore yard completed (bar the stuns'l booms)and bent to the yard - though only held by the sling at the moment. Also got the fore topyard painted and varnished. take care all. Keith
-
wish i had clicked with that before gluing mine on Keith- nevermind🤪 just work round it! For future reference i was checking the masting and when doing the mizzen mast dont use the top - barque rigged vessels only had the cross and trestle trees with no platform. Keith
-
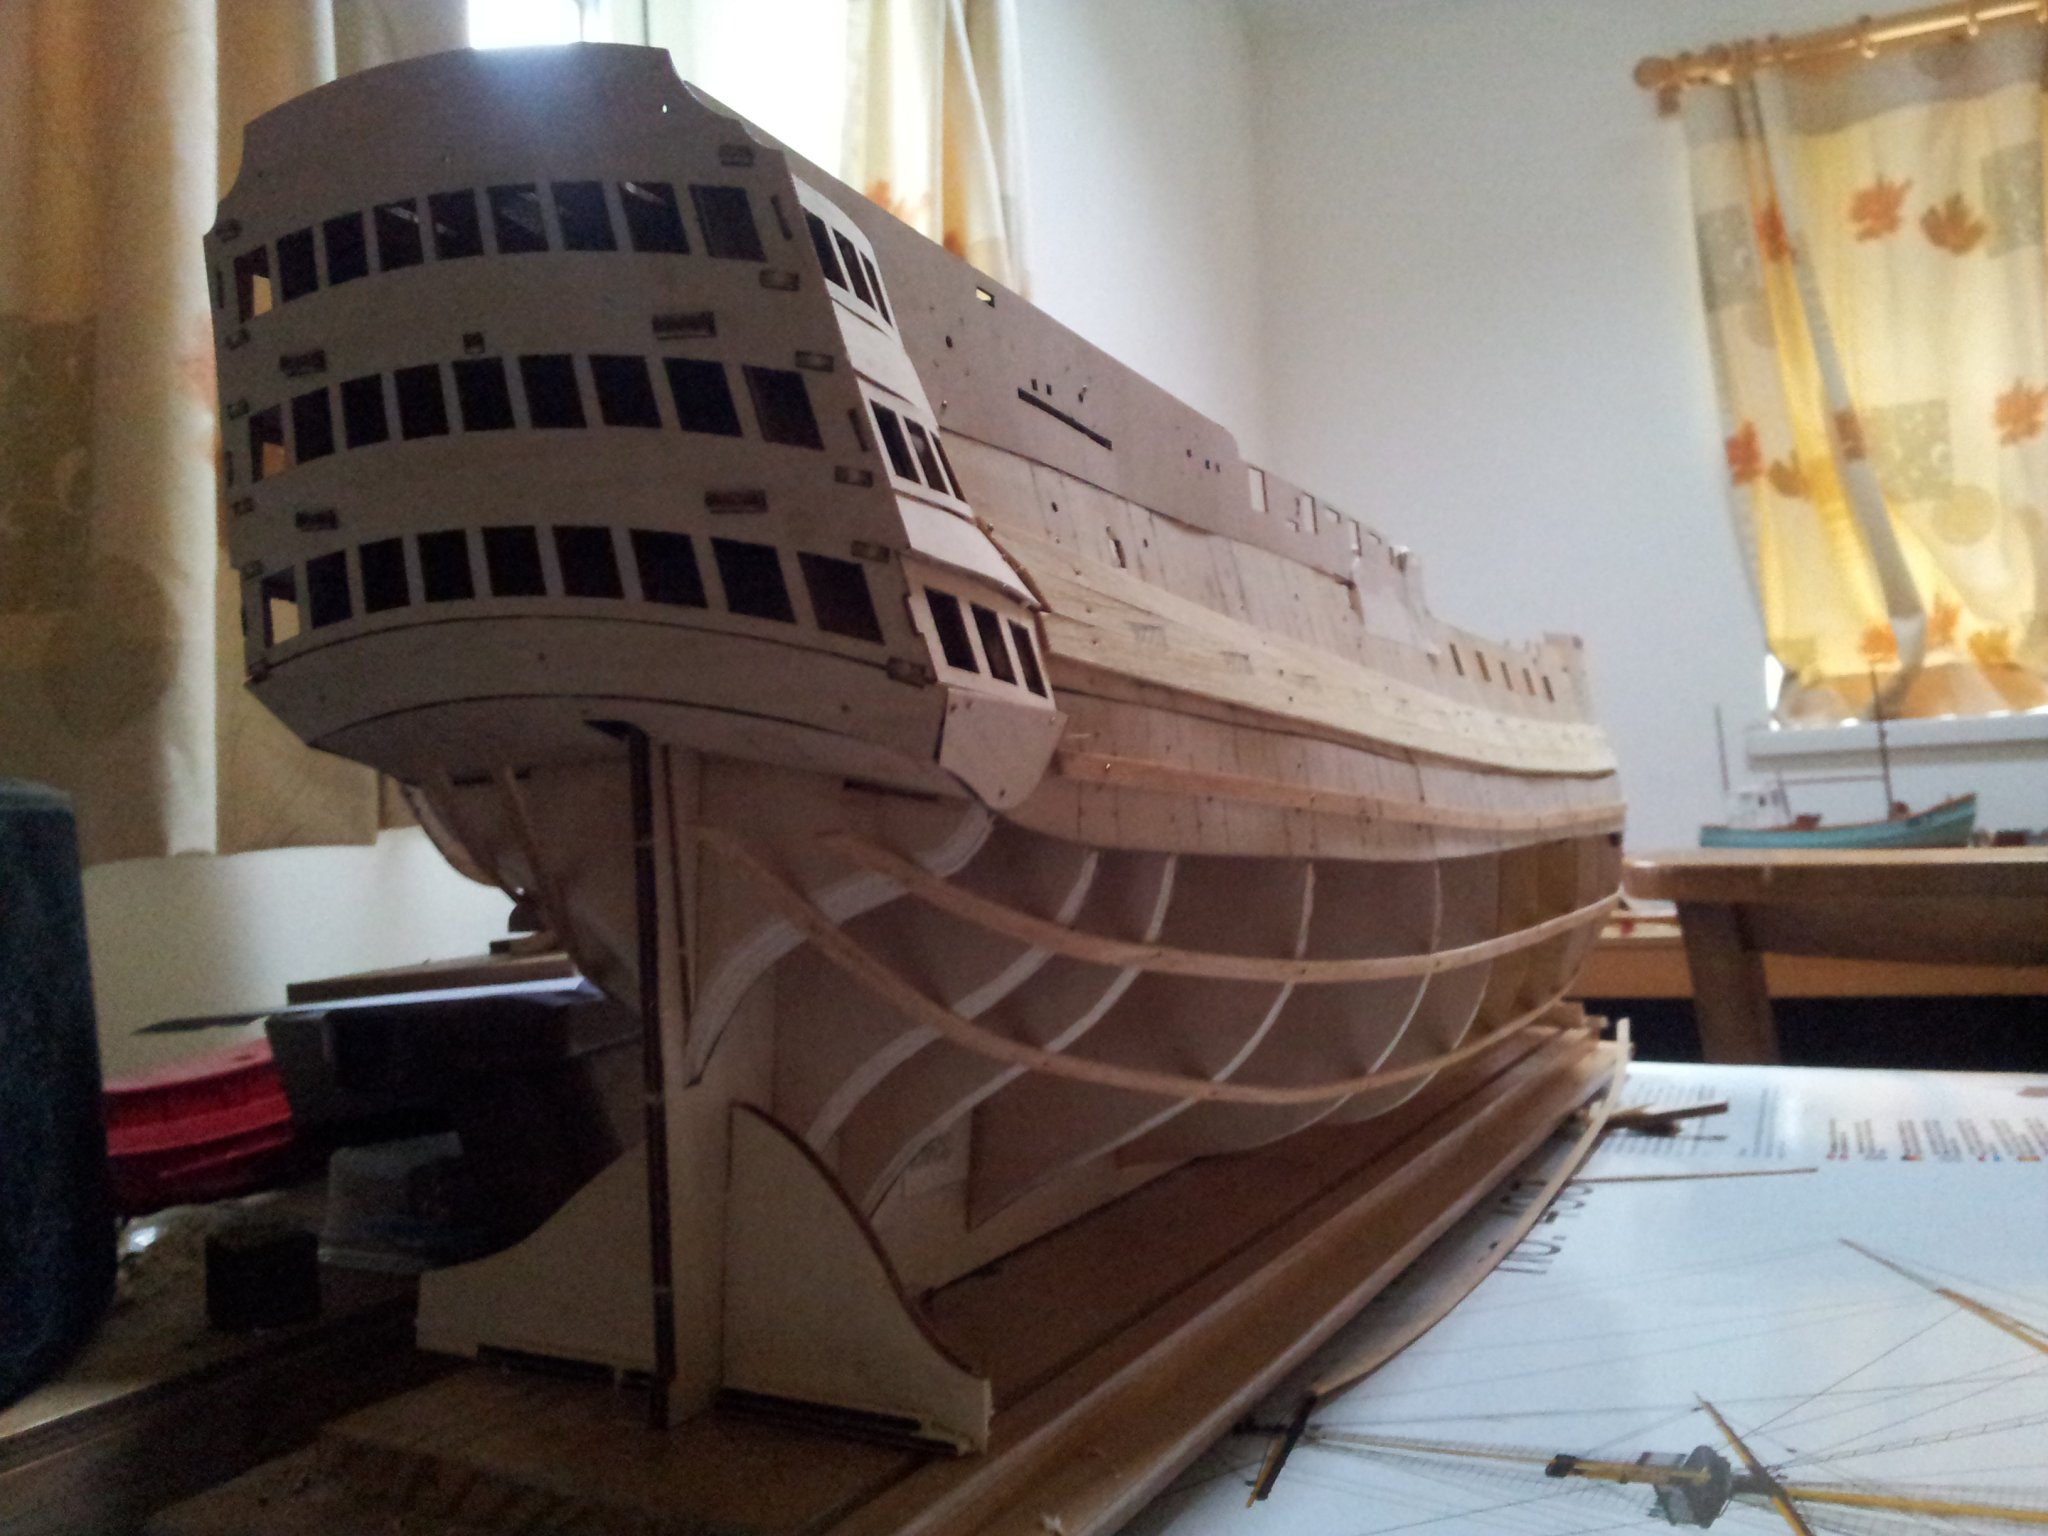
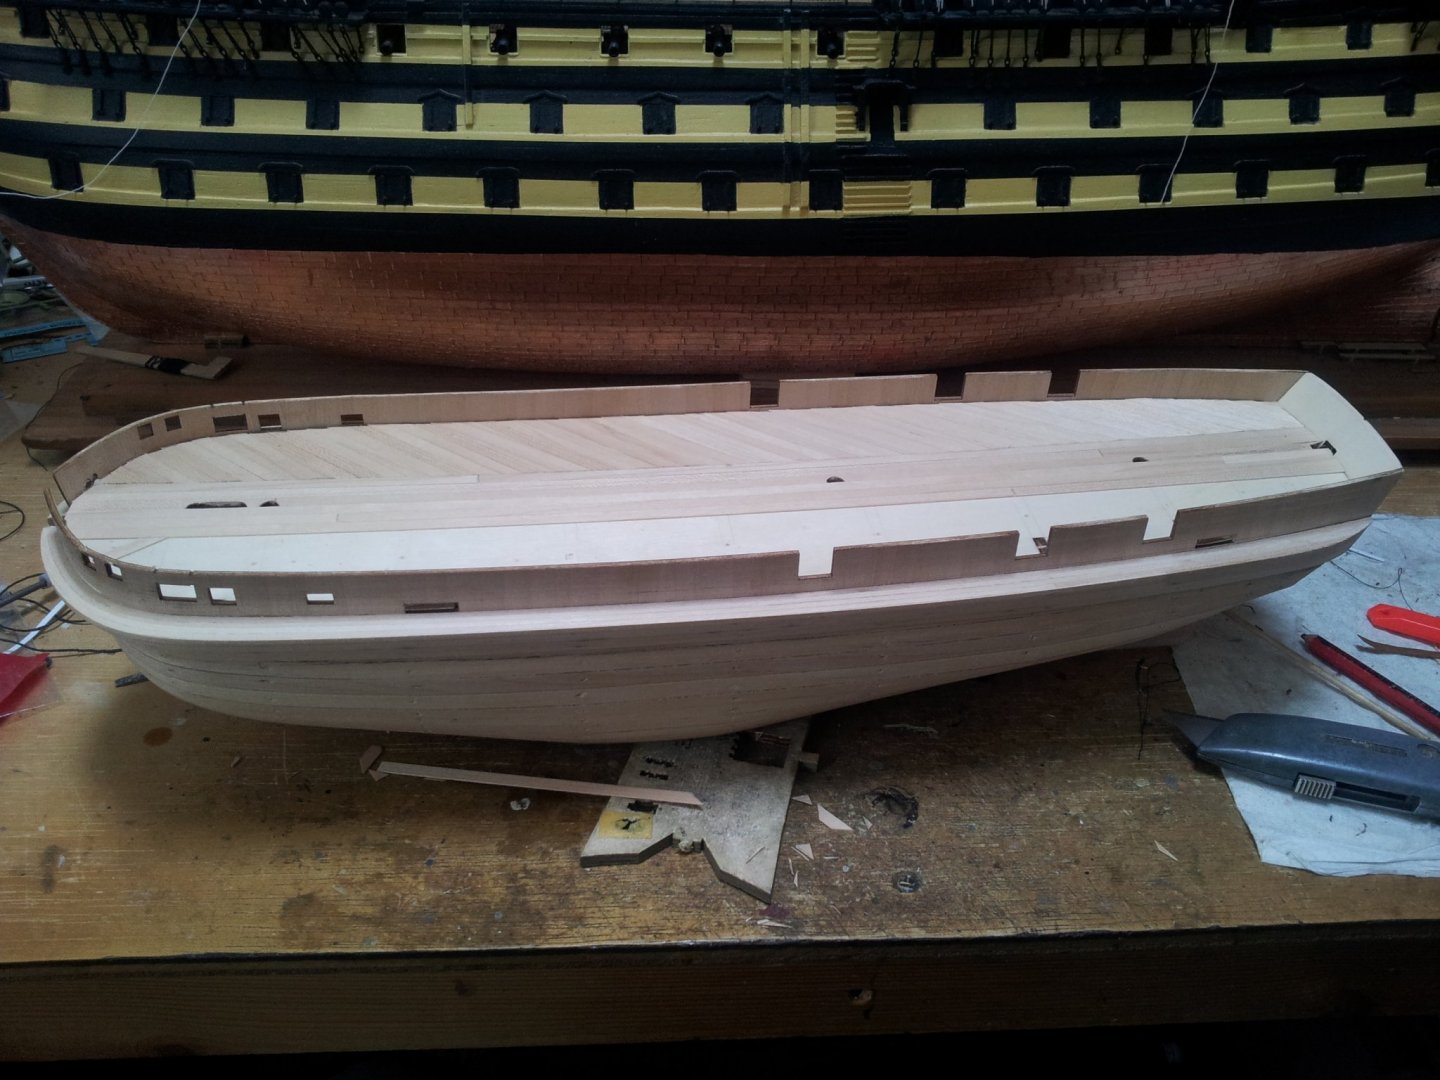
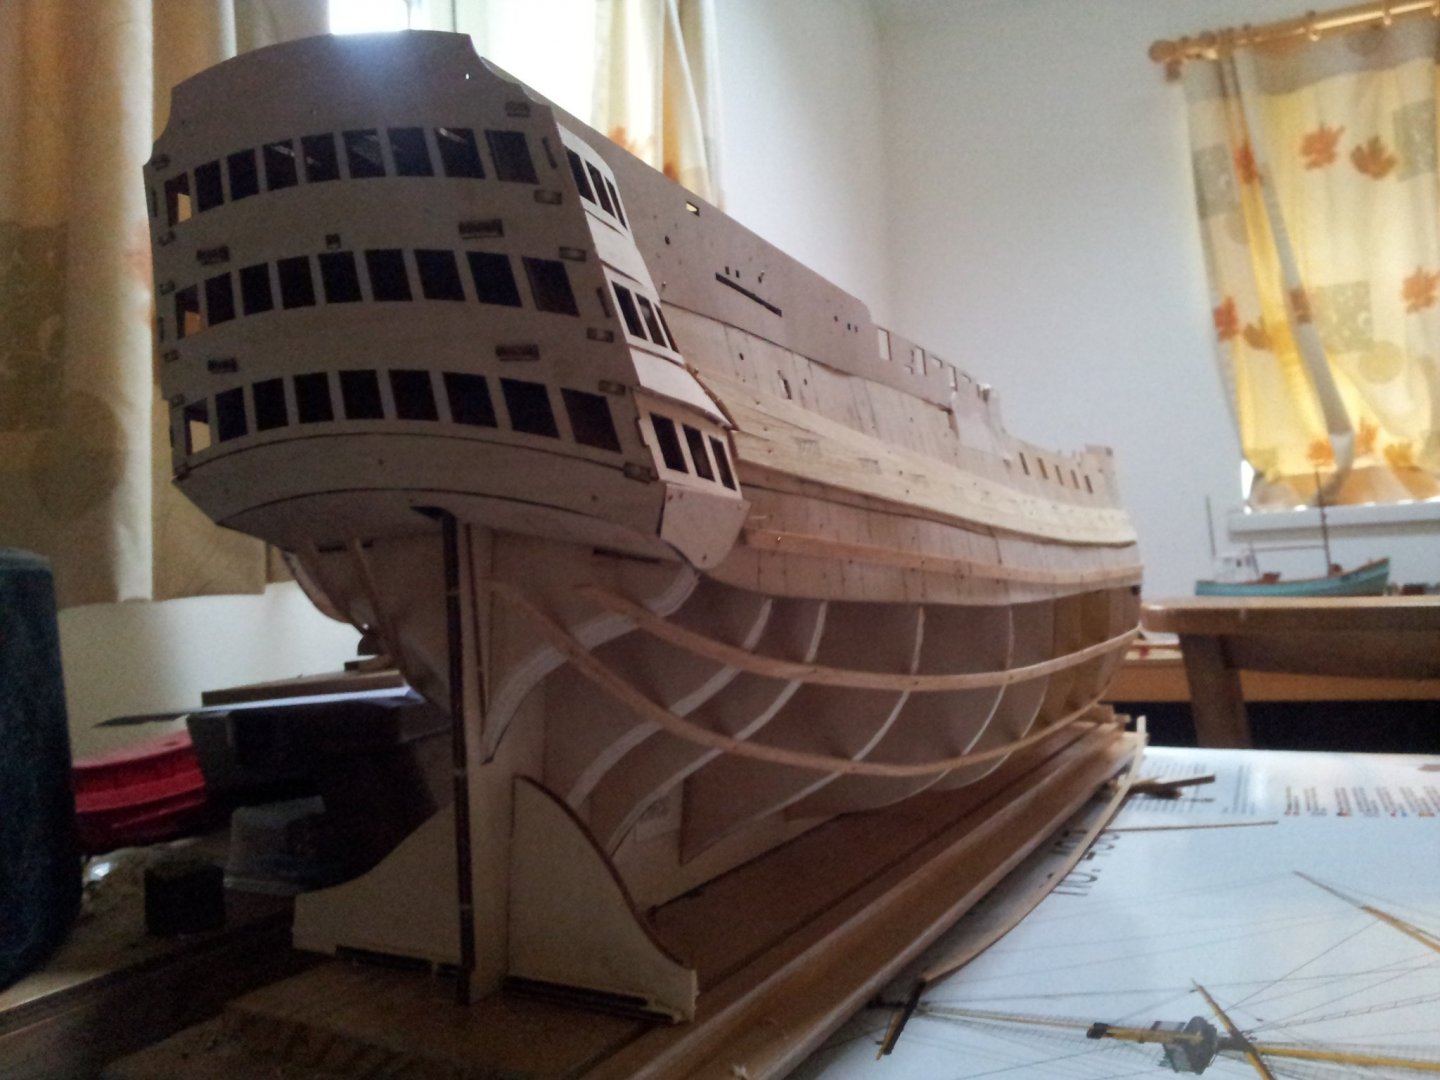
the beast evolves more -i have a few good pics of the counter on my billings victory emmet and the counter on my hms terror though smaller is similar. dont forget follow the lead of the mainwale for planking run and taper the timbers to get the flow. Keith
-
nice work on the flywheel- model railway companies sell some nice goodies like handrail wire and knobs that are finer than most model ship fittings you can get Keith
-
welcome to the terror party. Keith
-
looking good Jeff- when my decks have dried i pull the pins, drill the holes wider and insert trennals made from cocktail sticks with a dab of P.V.A. Keith