clearway
-
Posts
2,238 -
Joined
-
Last visited
Content Type
Profiles
Forums
Gallery
Events
Everything posted by clearway
-
 you could cut the head off a panel pin and glue it with the point sticking out the bottom of the mast- when aligned right you can use a little pressure to drive it home- luckily with the book there are loads of diagrams explaining- also if you go to the hms trimcolee website there are some good pics including a nice one of under the top with the blocks for the yard truss. Unfortunately there is no quick way of learning the jargon though there are plenty of dictionaries for sea terminology so wouldn't be surprised if one for free on google somewhere. Keith
 -
even if coppering her bottom i would add the second planking layer still as you will get a ridge which you shouldn't have- there should be a waterline marked on the plans somewhere- if not it will be a few mm beneath lowest part of mainwhale- i used self adhesive copper tape on my victory (luckily H.M.S. Terror had hers removed due to lack of shipworm in the arctic). Keith
-
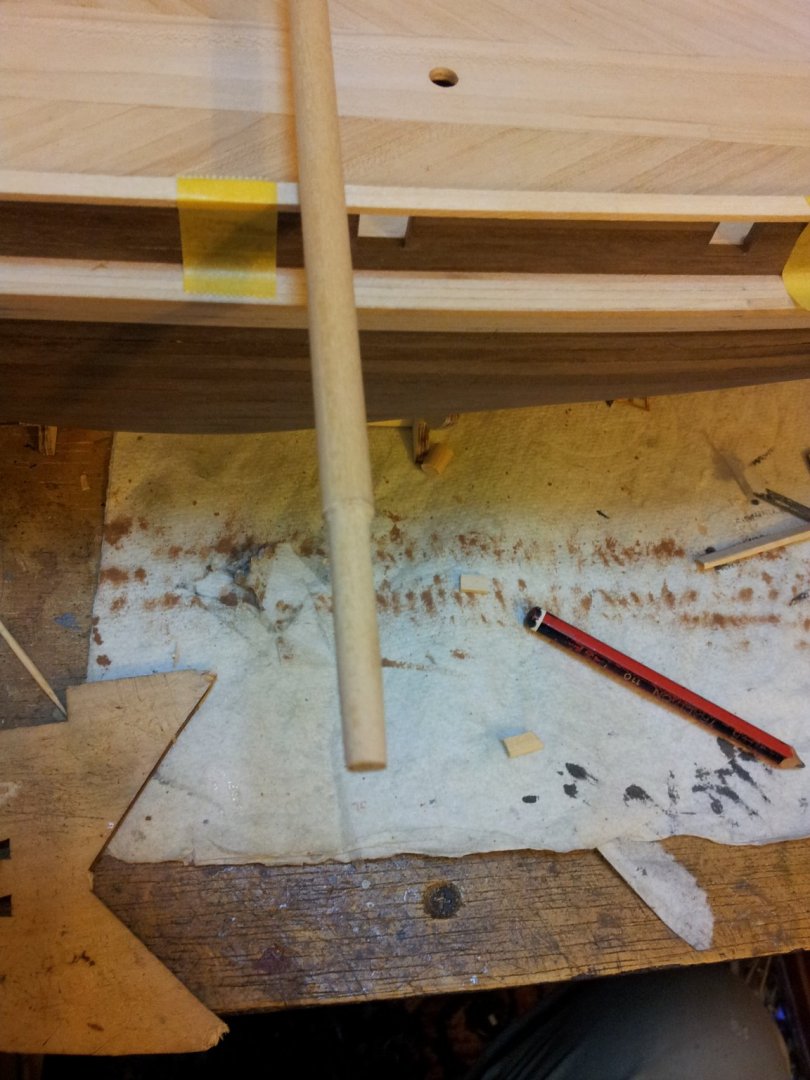
i have been there in the past myself Keith where i went a bit too far opening holes for masts out- i glued battens down the length of the mast below decks on the model in question to pick up the slack (why i went about it this way on terror 😁). Keith
-
if using a 2nd planking layer, just so long as 1st planking is smooth no filler will be needed Emmet Keith
-
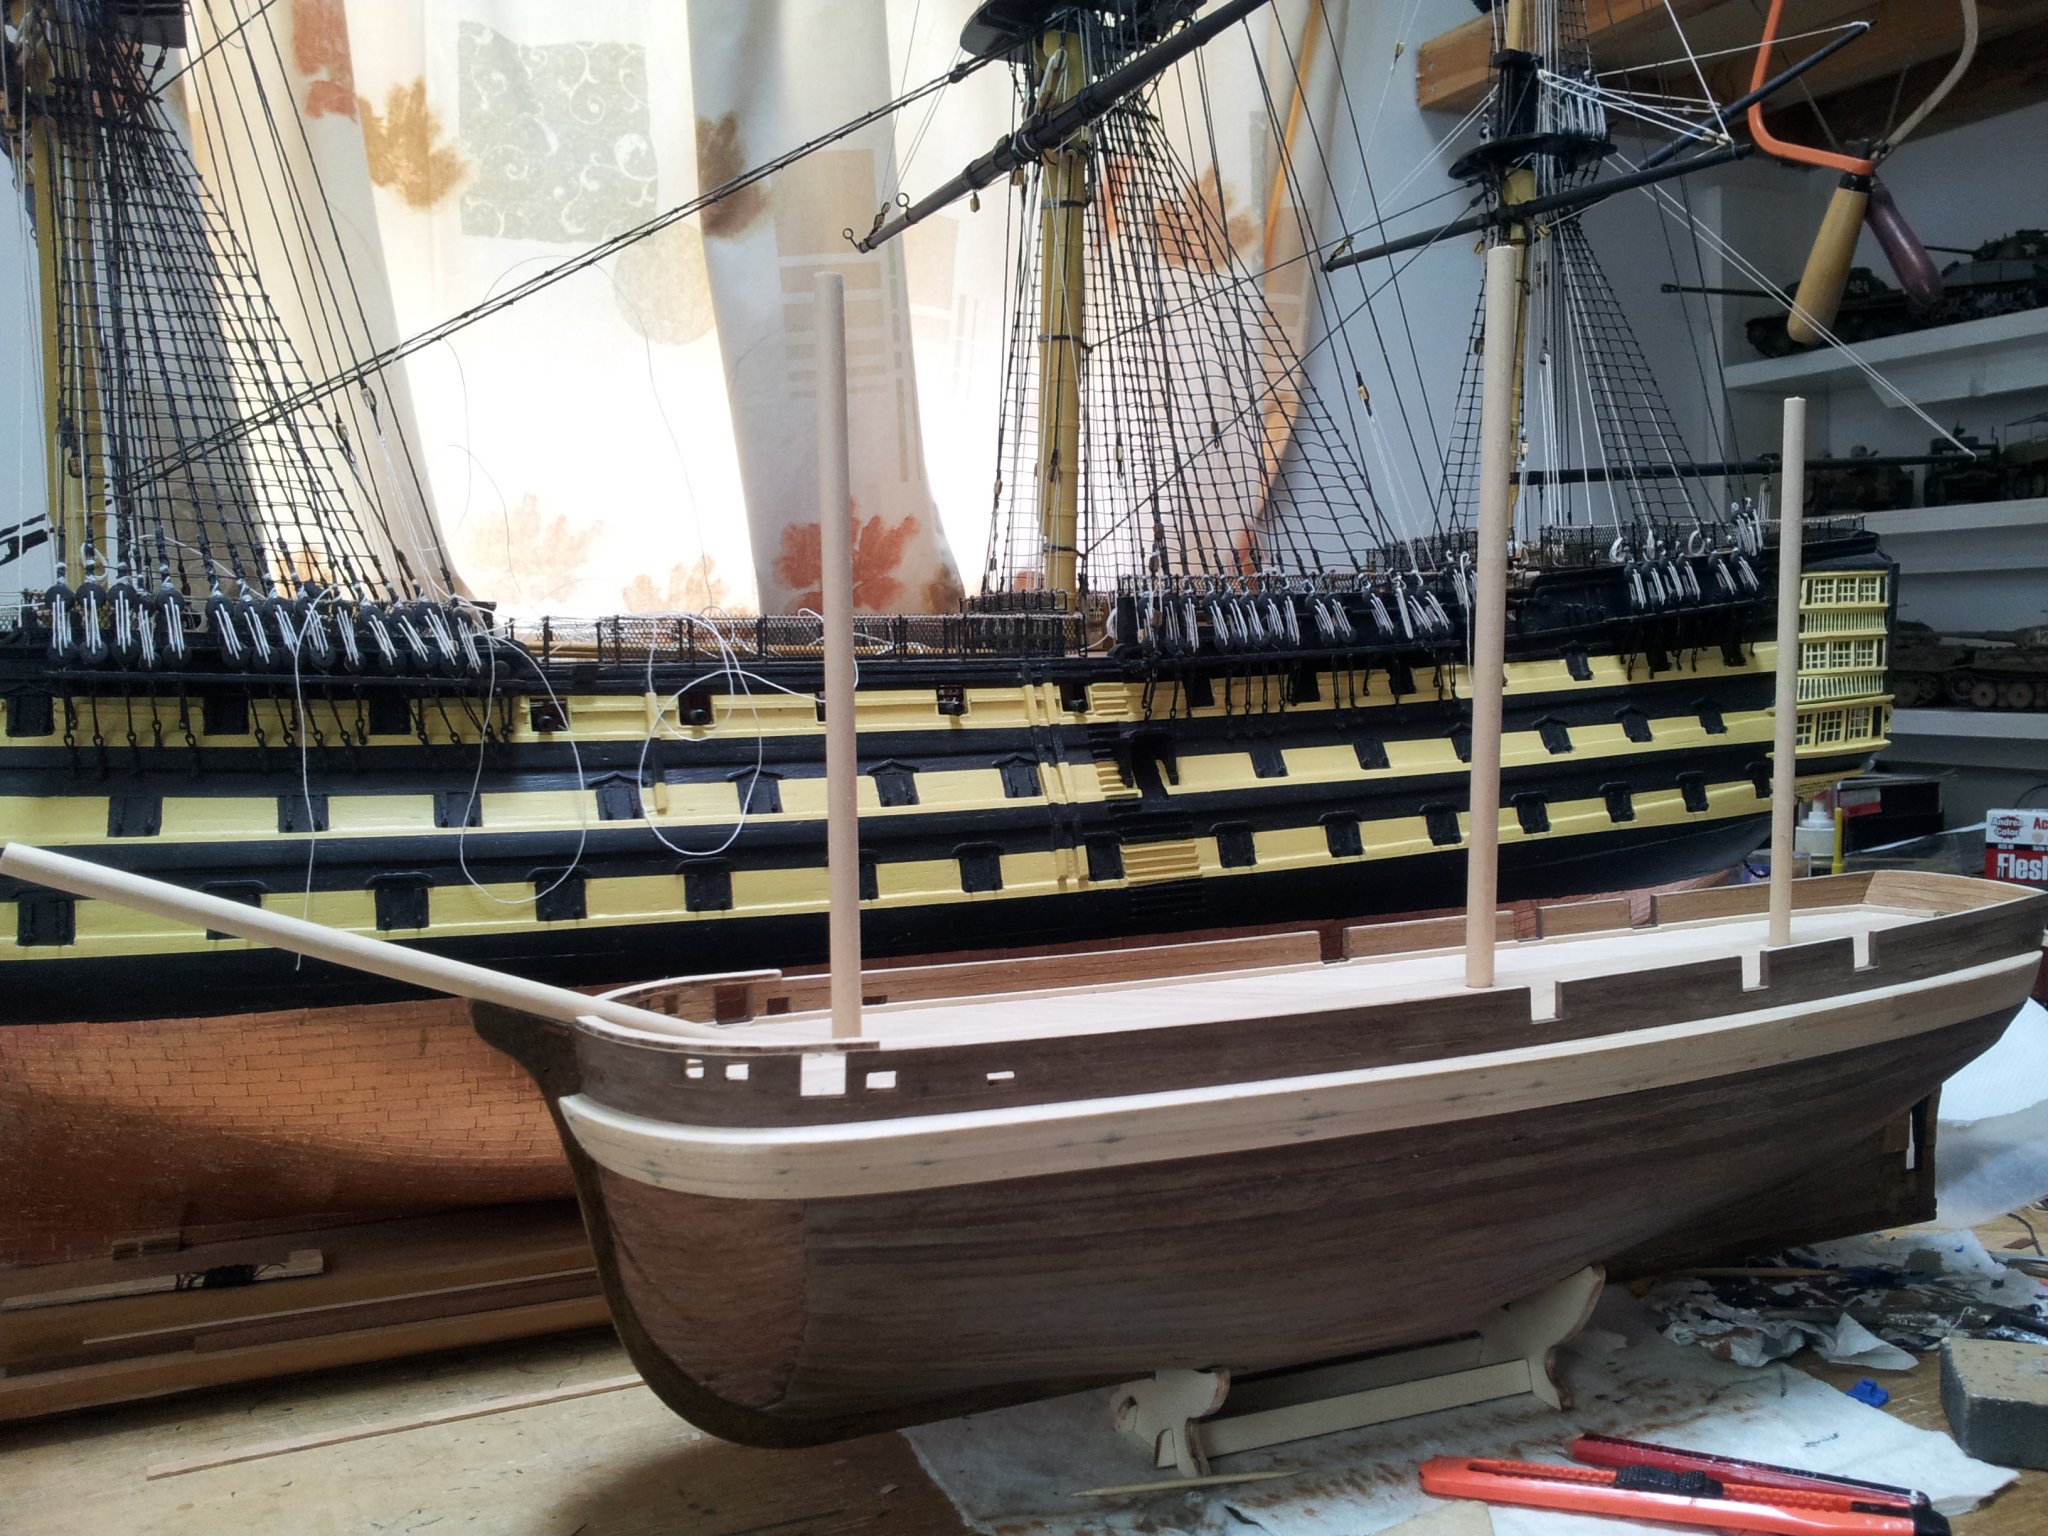
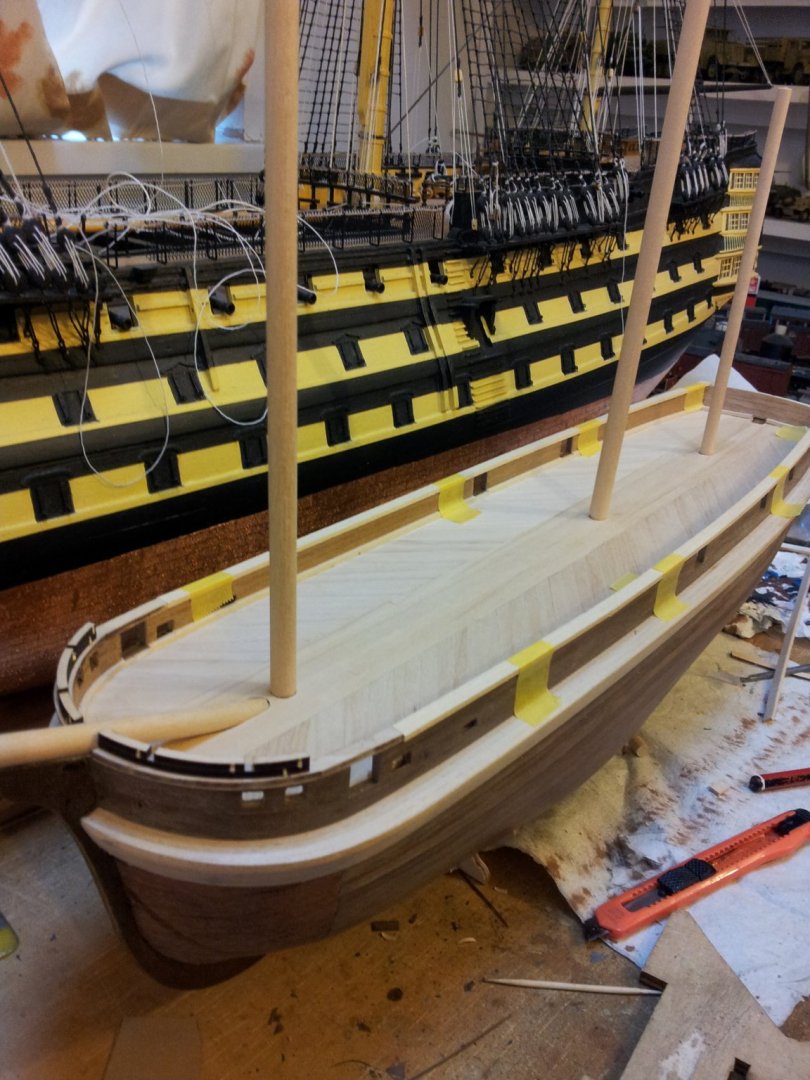
Thanks for looking in everyone, sorted out the masts using the admiralty dimensions and they look about right- also got the capping rails on the bulwarks ( used the 5x2 mm as opposed to the 6x2 mm they instructed). because i upped the diameter of the fore and main masts i had to step them from deck level down to where they slot into the frames as these were meant for the 6 mm dowel not the 7mm and 8mm now used. take care all Keith

-
thanks for looking in and comments everyone- just a little session in shipyard, and got the entryways on the bulwarks lined with walnut and planked some of the stern. have fun all. Keith
-
that is correct keith yes- i cut a piece of scrap dowel to size indicated and when put in situ it just didn't look right so out came mr lees book! the wierd thing is the dimensions for the topmasts and topgallant masts were about equal to the admiralty order (in the case of the topmasts bang on). Keith
-
been doing some research using lees masting and rigging and the closest match regarding mast dimensions on the admiralty order for 1839 are from a 10th class frigate (keith s kindly gave me the mast diameters from his plans) according to lees the dimensions are= foremast (from deck level) = 48' 6" diameter 22" mainmast= 53' 6" diameter 24" Mizen mast= 43' 6" diameter 18" so 7mm dowel for the bowsprit and foremast, 8mm dowel for the main and will use the 6mm for the mizzen. compared to occre plans they got it about right for the mast lengths , but you need to add on the measurement for the mast below decks where they run into the frames. Keith
-
another one down the ways well done and great job Keith
- 109 replies
-
- 1
-

-
- Vanguard Models
- Flirt
- (and 1 more)
-
Hi keith- was wondering where you had got to, it's the same in Cumbria you cram all the outdoor work in when it actually stops raining so been working on my garden/ winter messy modelling / spraypainting mancave😁. Over the last week it has only stopped raining for two days😐. Keith
-
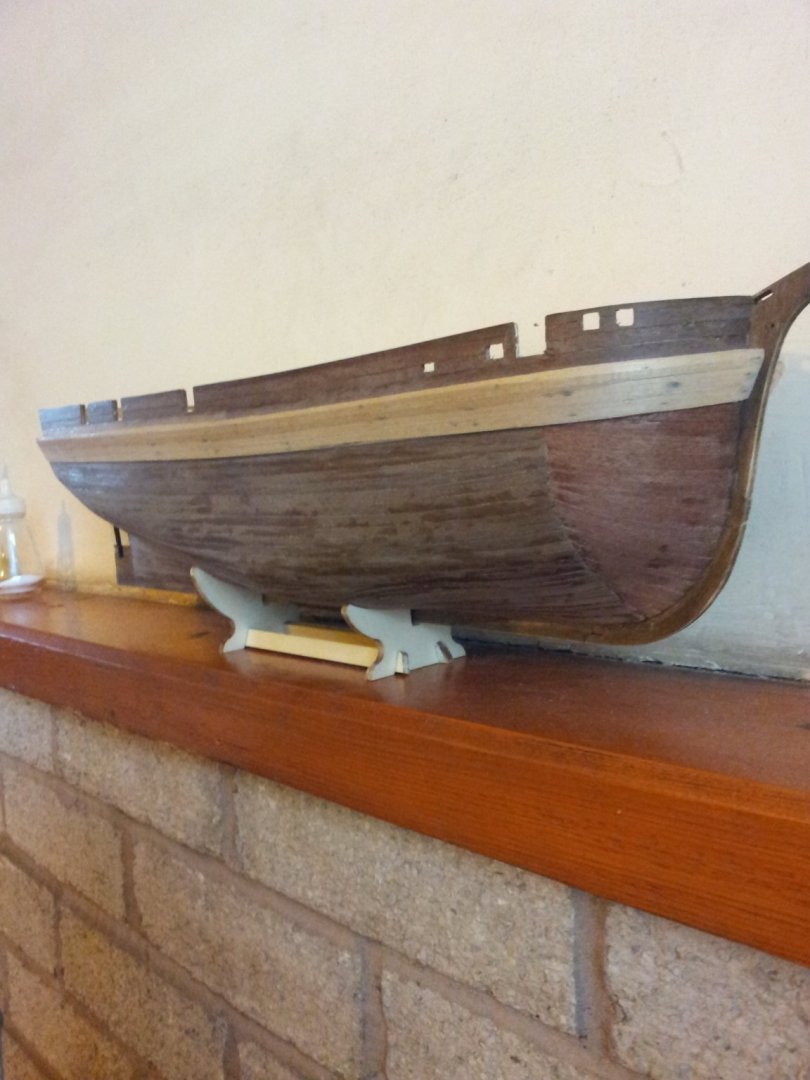
Ty geowolf and lol @ terrified of terror😄 . I will be using metal plating on the bows as well, though i do have some 10mm wide self adhesive copper strip so might use that instead of the aluminium provided, i planked the bows like i did to act as a guide for the plating. Keith
-
Ty Jo-you will find the planking will get better with practice- but normally i go with a painted finish on my ships- this will only be the third one i have built that will be varnished wood finish. Keith
-
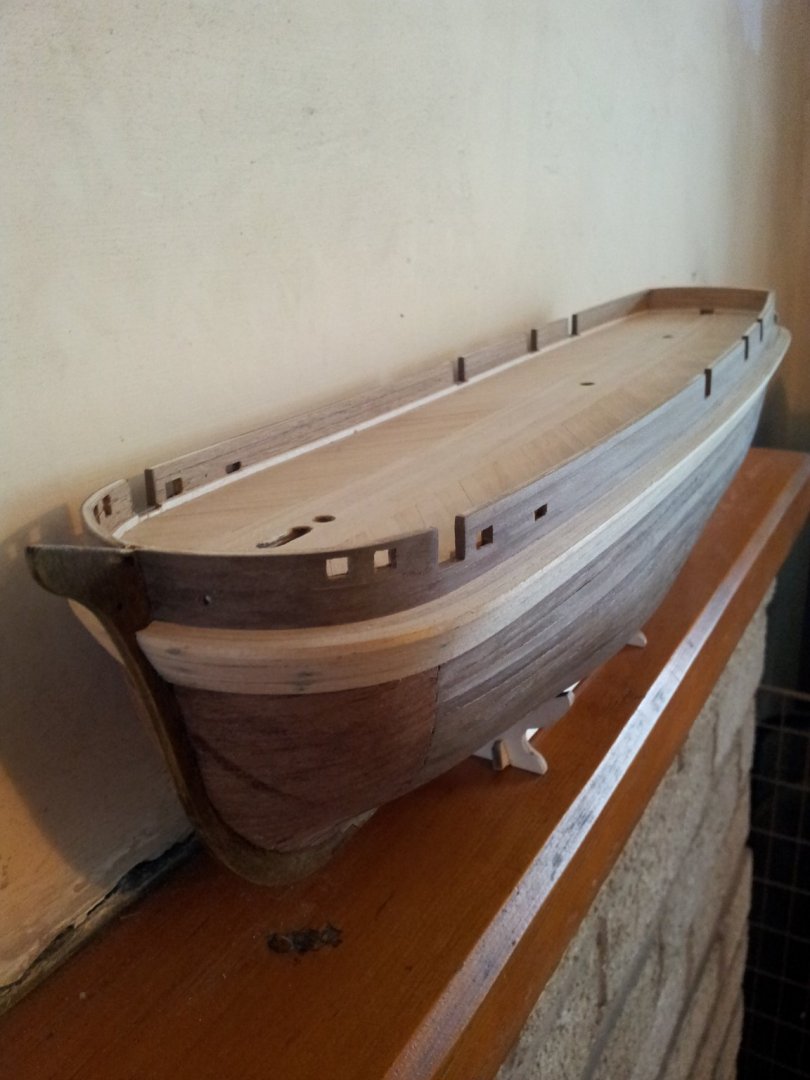
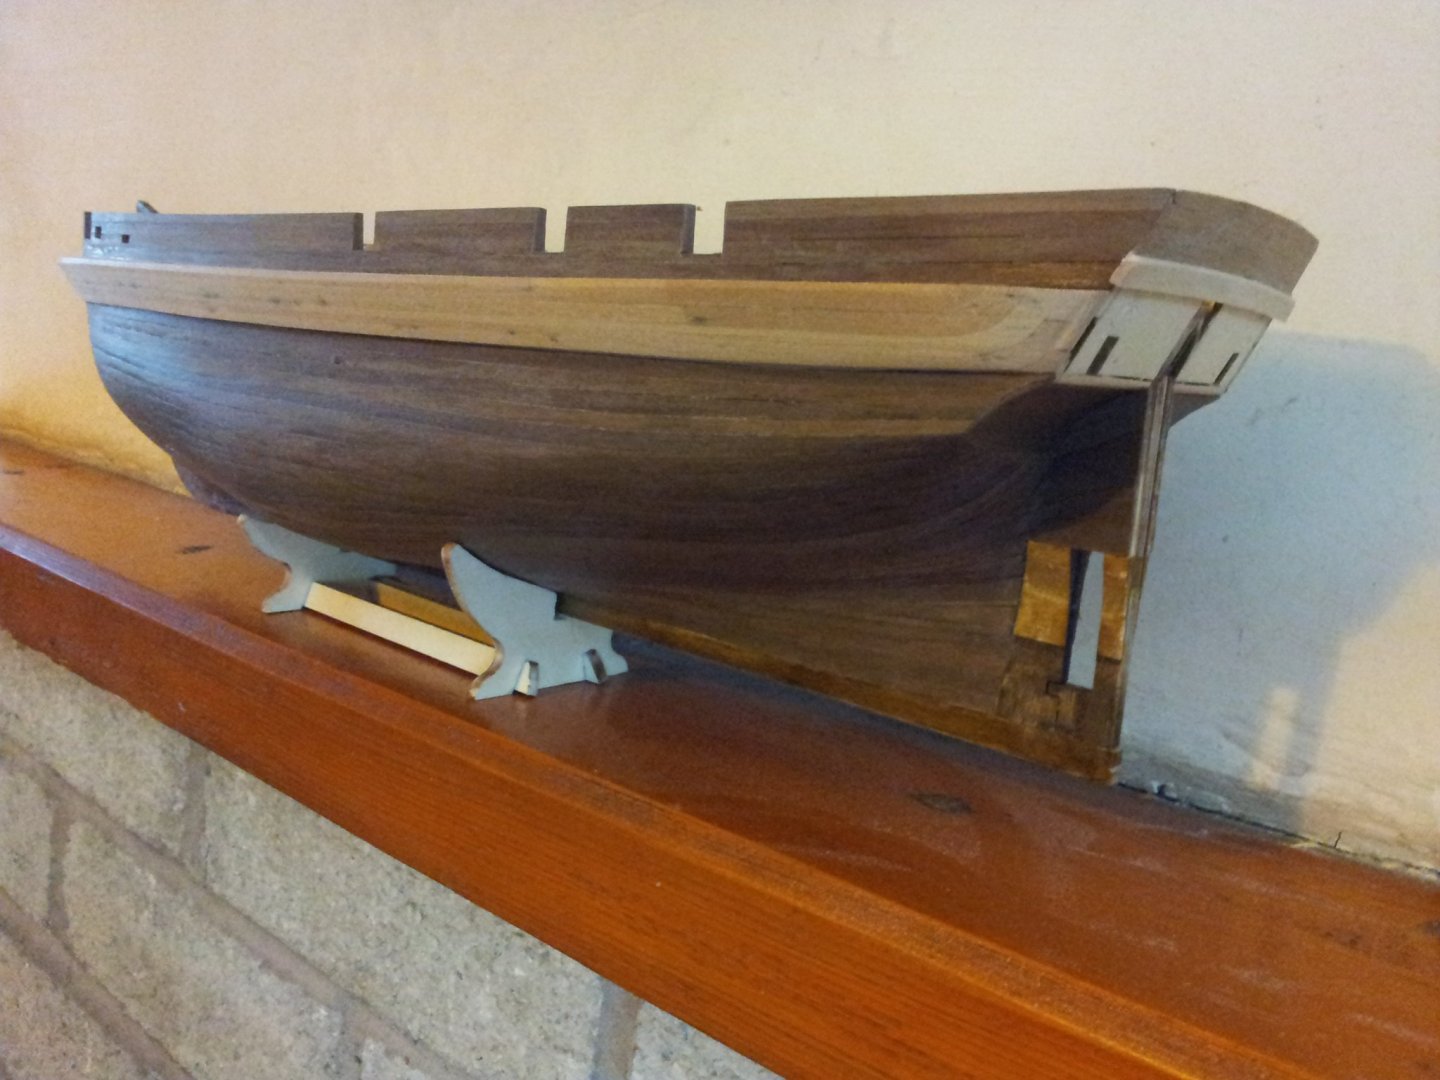
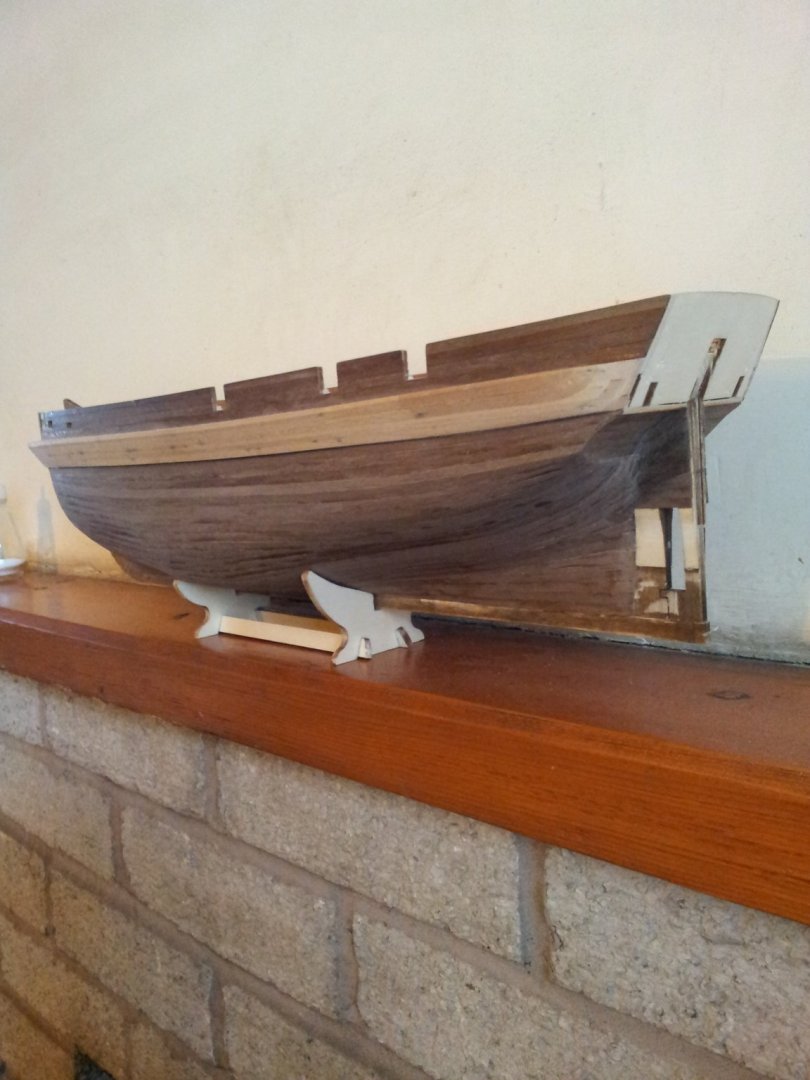
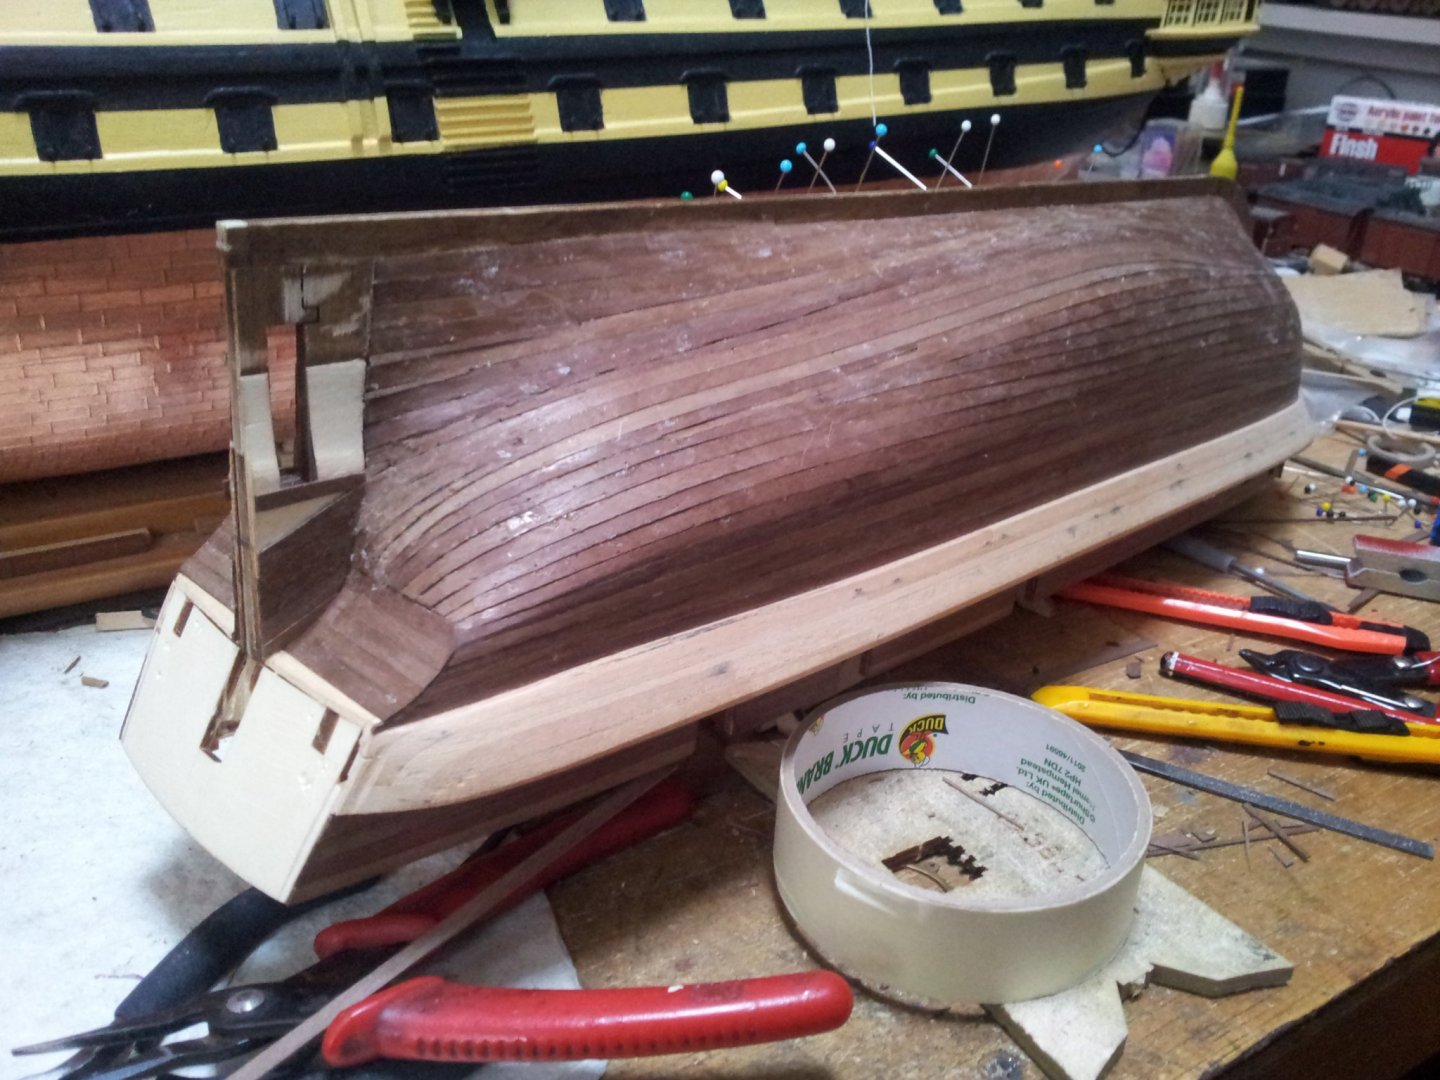
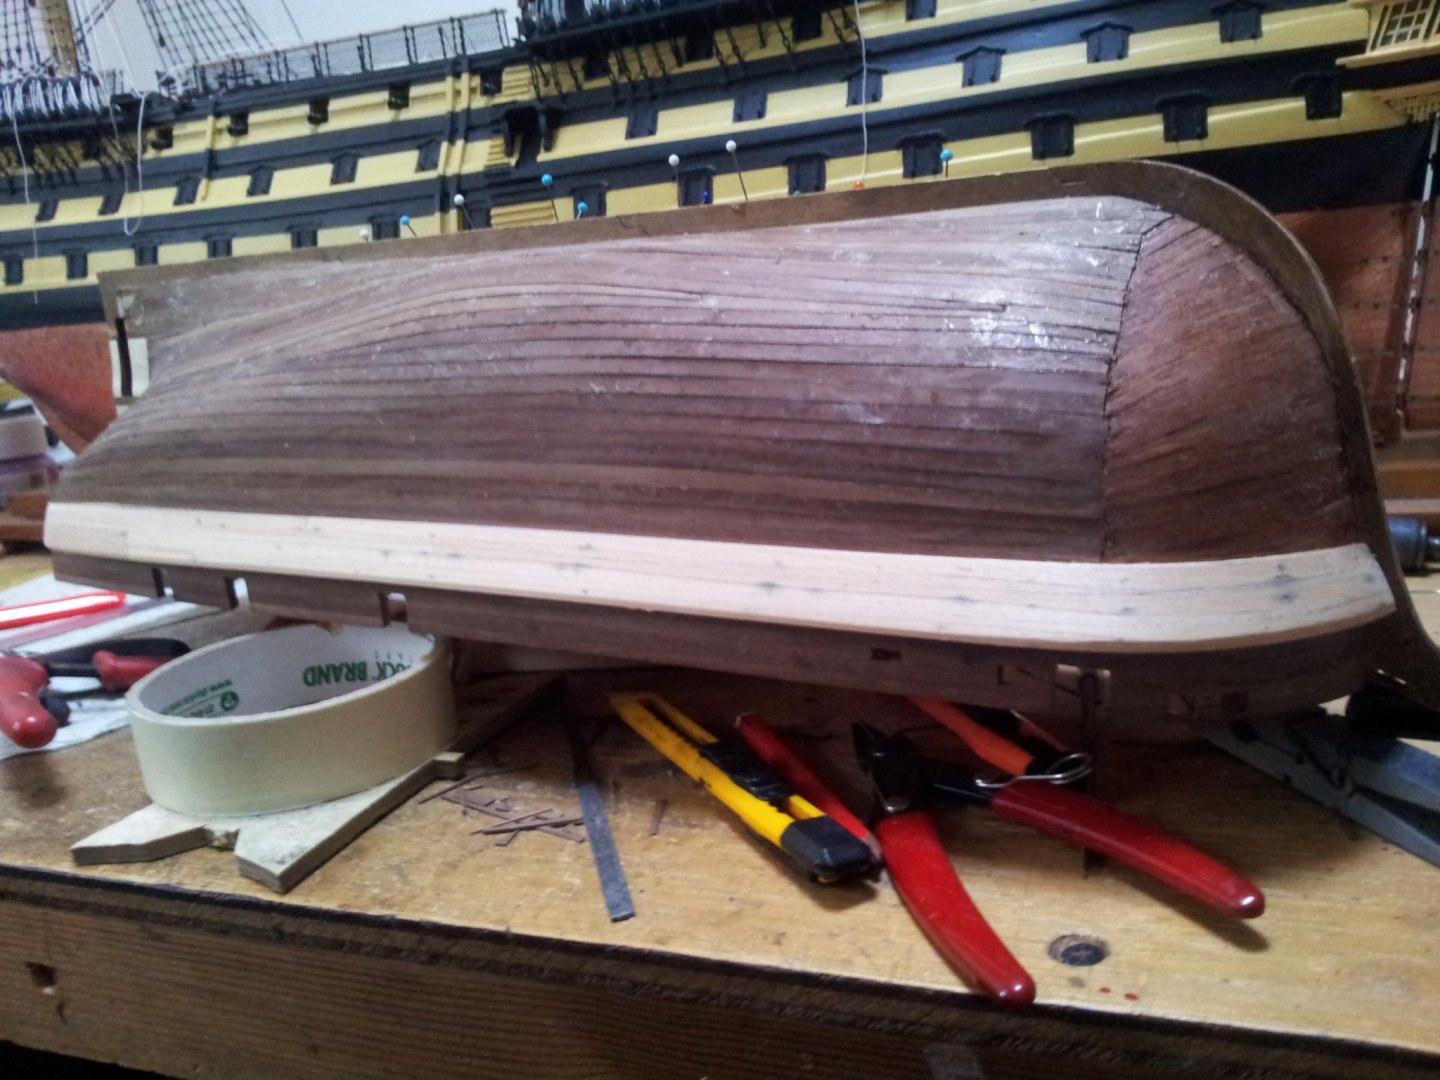
Ty Rob and ty for the likes and looking in as always everyone- got all the planking finished and gave a bit of a sanding to see how she looks especially around the stern🤔 i don't normally do 2nd planking- after this i can see why🤪. Take care all Keith
-
Thanks for looking in everyone- not much happening with D.I.Y. and gardening but nearly done with walnut planking- added more planks to other side and gotthe timber above the propeller opening in place. take care all Keith
-
can't agree more- a little patience fairing the frames will save pain later- lay a planking strip along a couple of frames and it will give an idea about how much to sand off- it's a case of sand and check- also the amount of bevel will differ along the frame from top to bottom. Keith
-
you will get there Emmet- if looking for the terror build its in the 1801-1850 section😁 Keith
-
welcome to the terror club, dont forget to sand back to bare wood when adding fittings to decks. Keith
-
for the second planking Emmet you will get an idea of forming the tuck from my terror walnut 2nd layer as it contrasts with the 1st planking. Keith
-
HI Emmet it was because the planking was rough cut and full of knots just felted and battened it (you guys might call it tar paper) as it isn't seen from the house garden on that wall and all good. Sod's law but during lockdown we had one of the warmest driest spring / early summers for years, now the hotels and bars are allowed to open it's never stopped raining! Glad to hear you are getting the hang of the planking😁. Keith
-
i have the occre beagle as well in my stash- my advice is get a copies of books on modelling ships (plenty of 2nd hand ones around) which will give you a better idea than occre videos- also there are a gazillion build logs on here for tips🤓- i learnt by building a couple of the easier billings boats kits and reading books on the subject. Keith
-
Thanks for likes views and comments everyone- work continues with the walnut planking including the sternpost- this side nearly done bar a few stealers and planks right above propeller well and about half dozen planks to go on the other. Take care all Keith

-
i loop the shroud around the mast then tie them using black sewing thread thread and glue the knot with P.V.A and trim when dried alternate starboard then port then starboard again etc etc. then when all done i use a homemade spacer and tie the deadeyes in place starting in same order i rigged shrouds. there is a pic of the deadeye spacer on my victory log. hope this makes sense😁. Keith
-
Ty David and Emmet - we have had pretty good weather here til now for a change but it's now making up for it! found my winter messy workshop wall on the weather side needs either a 2nd skin or something because it gets damp on the inside of the planks when heavy rain and wind. Keith
-
ty for the comments and likes everyone- blue ensign- yes i like the research side of things and the other keith (keiths) has been a great help along with matthew betts build log- long live the little terrors😁. Geowolf- that is why i have replaced the kit supplied very thin splintery veneer with 0.5 mm x 4mm walnut strip which will allow a bit of sanding back. Keith