clearway
-
Posts
2,240 -
Joined
-
Last visited
Content Type
Profiles
Forums
Gallery
Events
Everything posted by clearway
-
 ah good ole Norden- buit this one three times- one as a trawler with a scratchbuilt winch and wheelhouse, and one with just a modified wheelhouse- the third was just out of the box- keep up the good work. Keith
- 378 replies
-
- 5
-

-
- t78 norden
- billing boats
- (and 1 more)
-
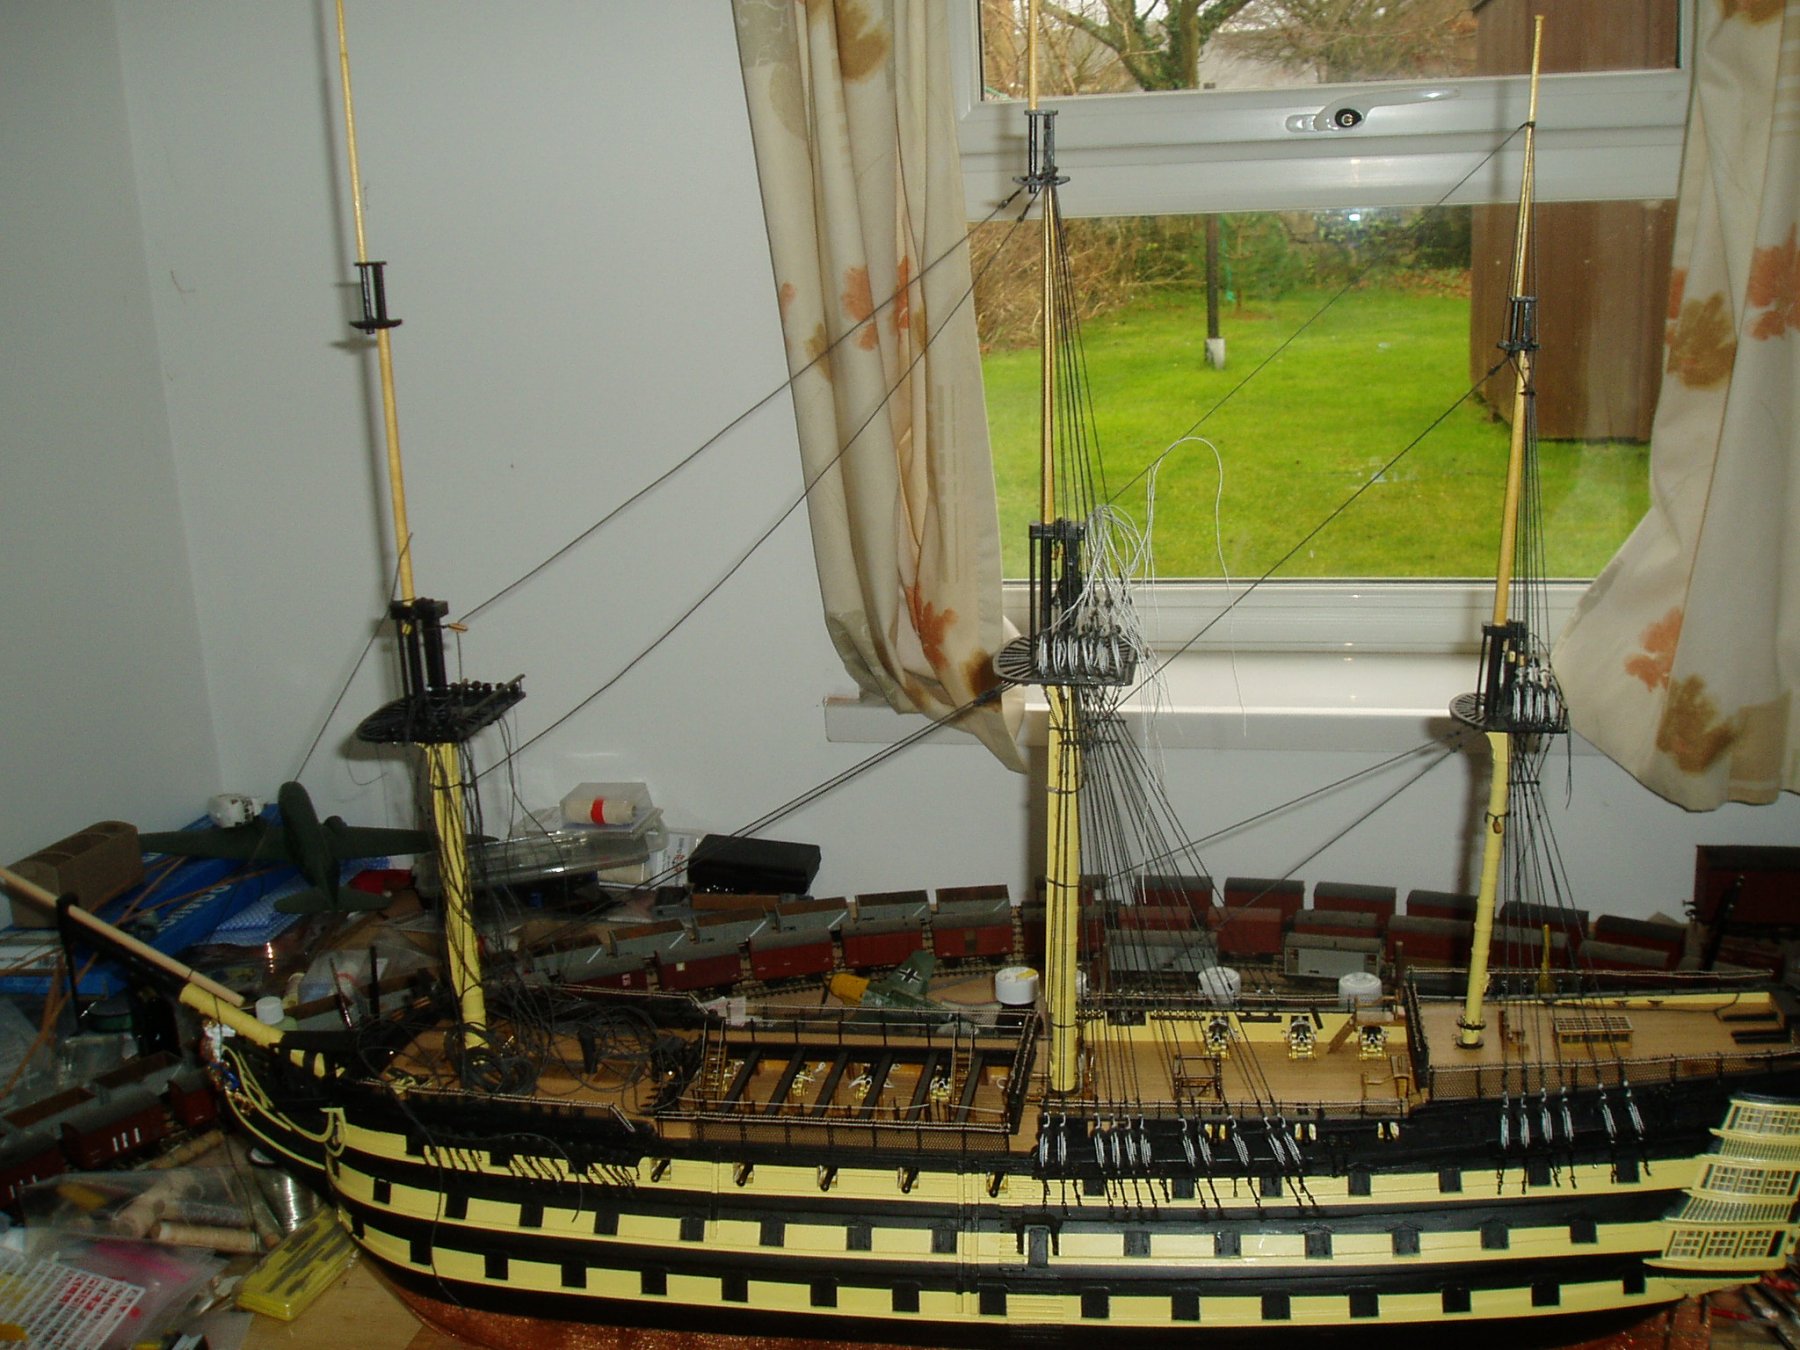
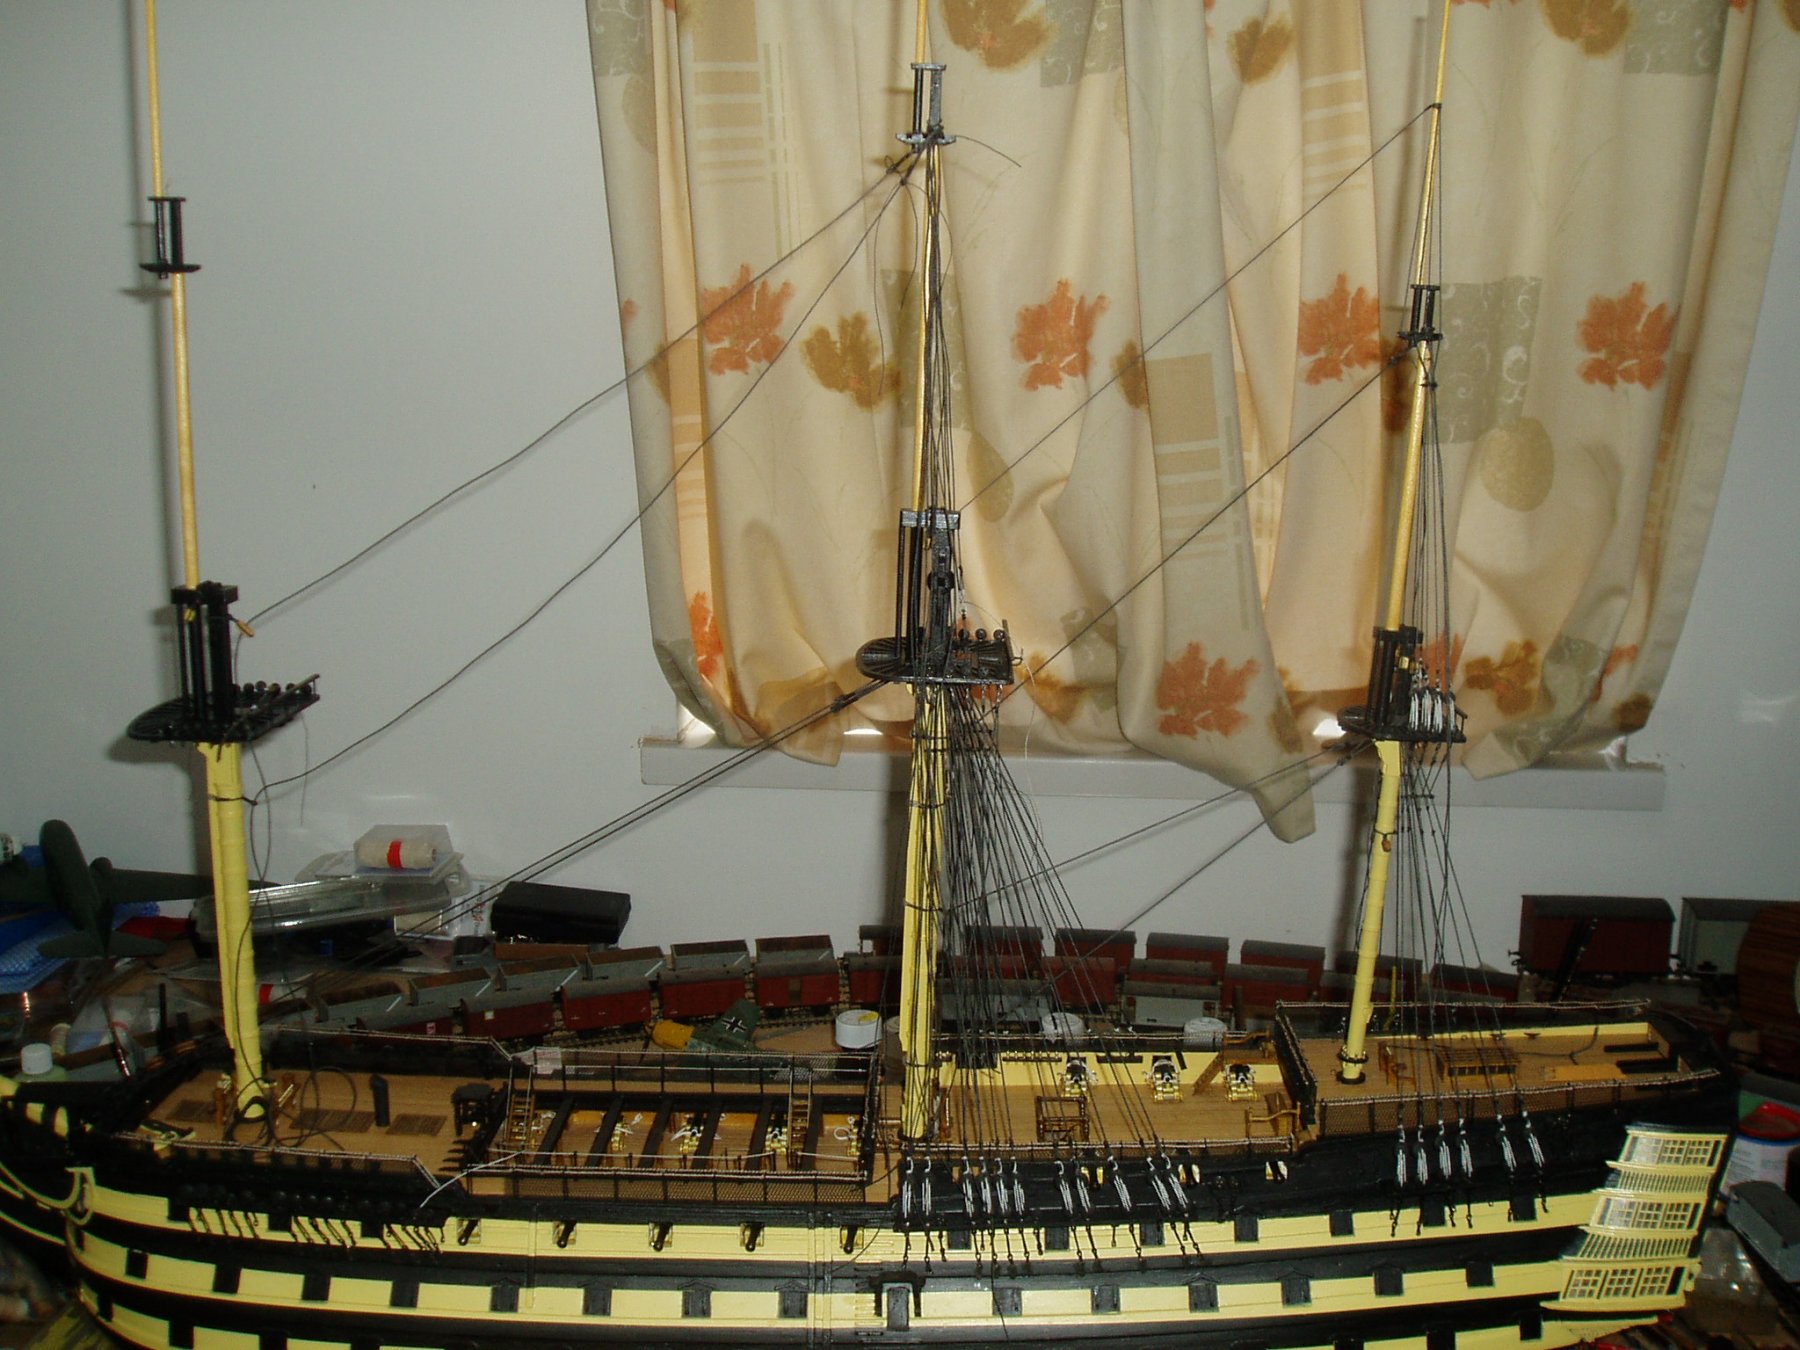
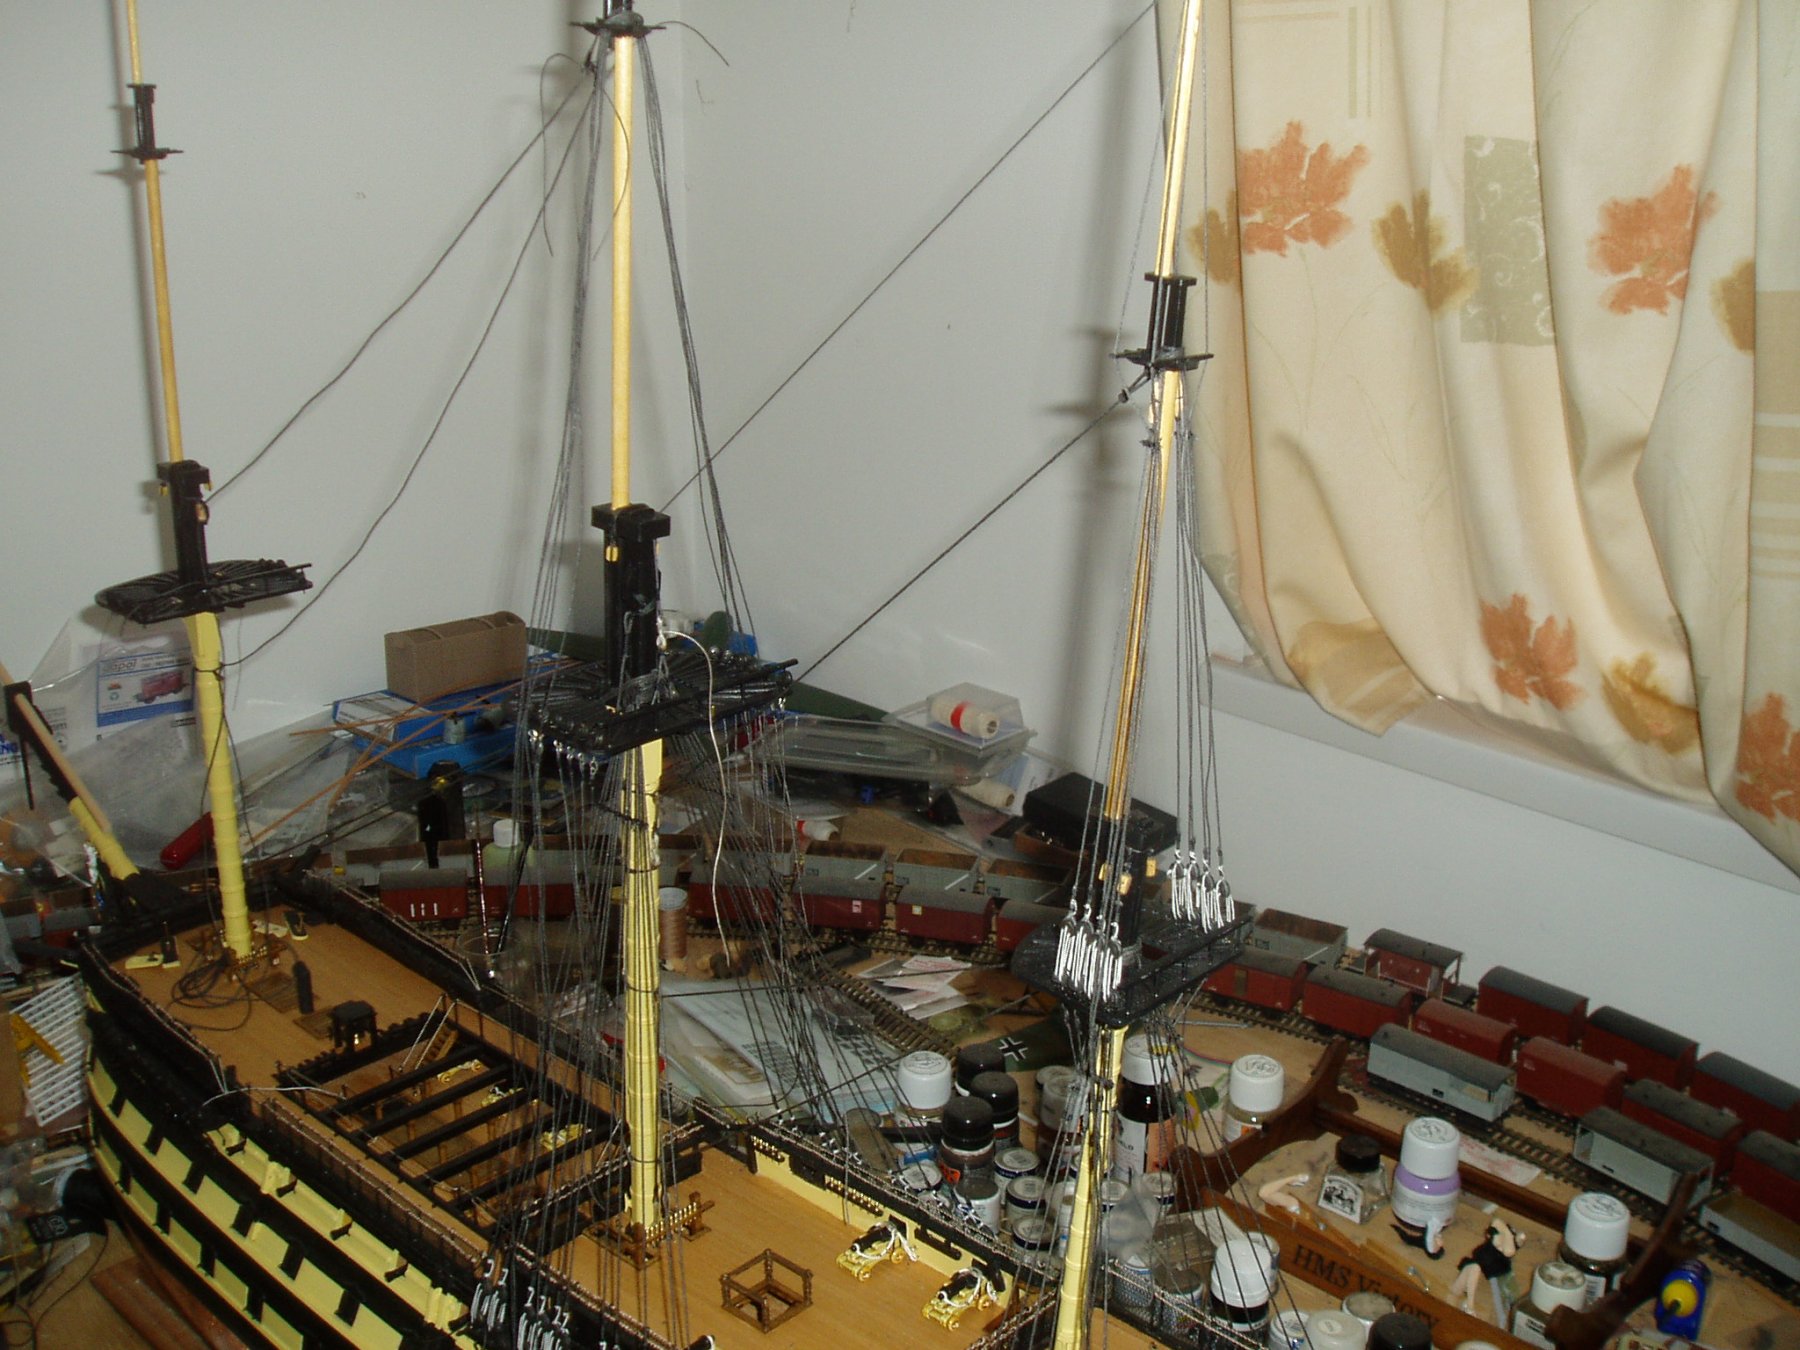
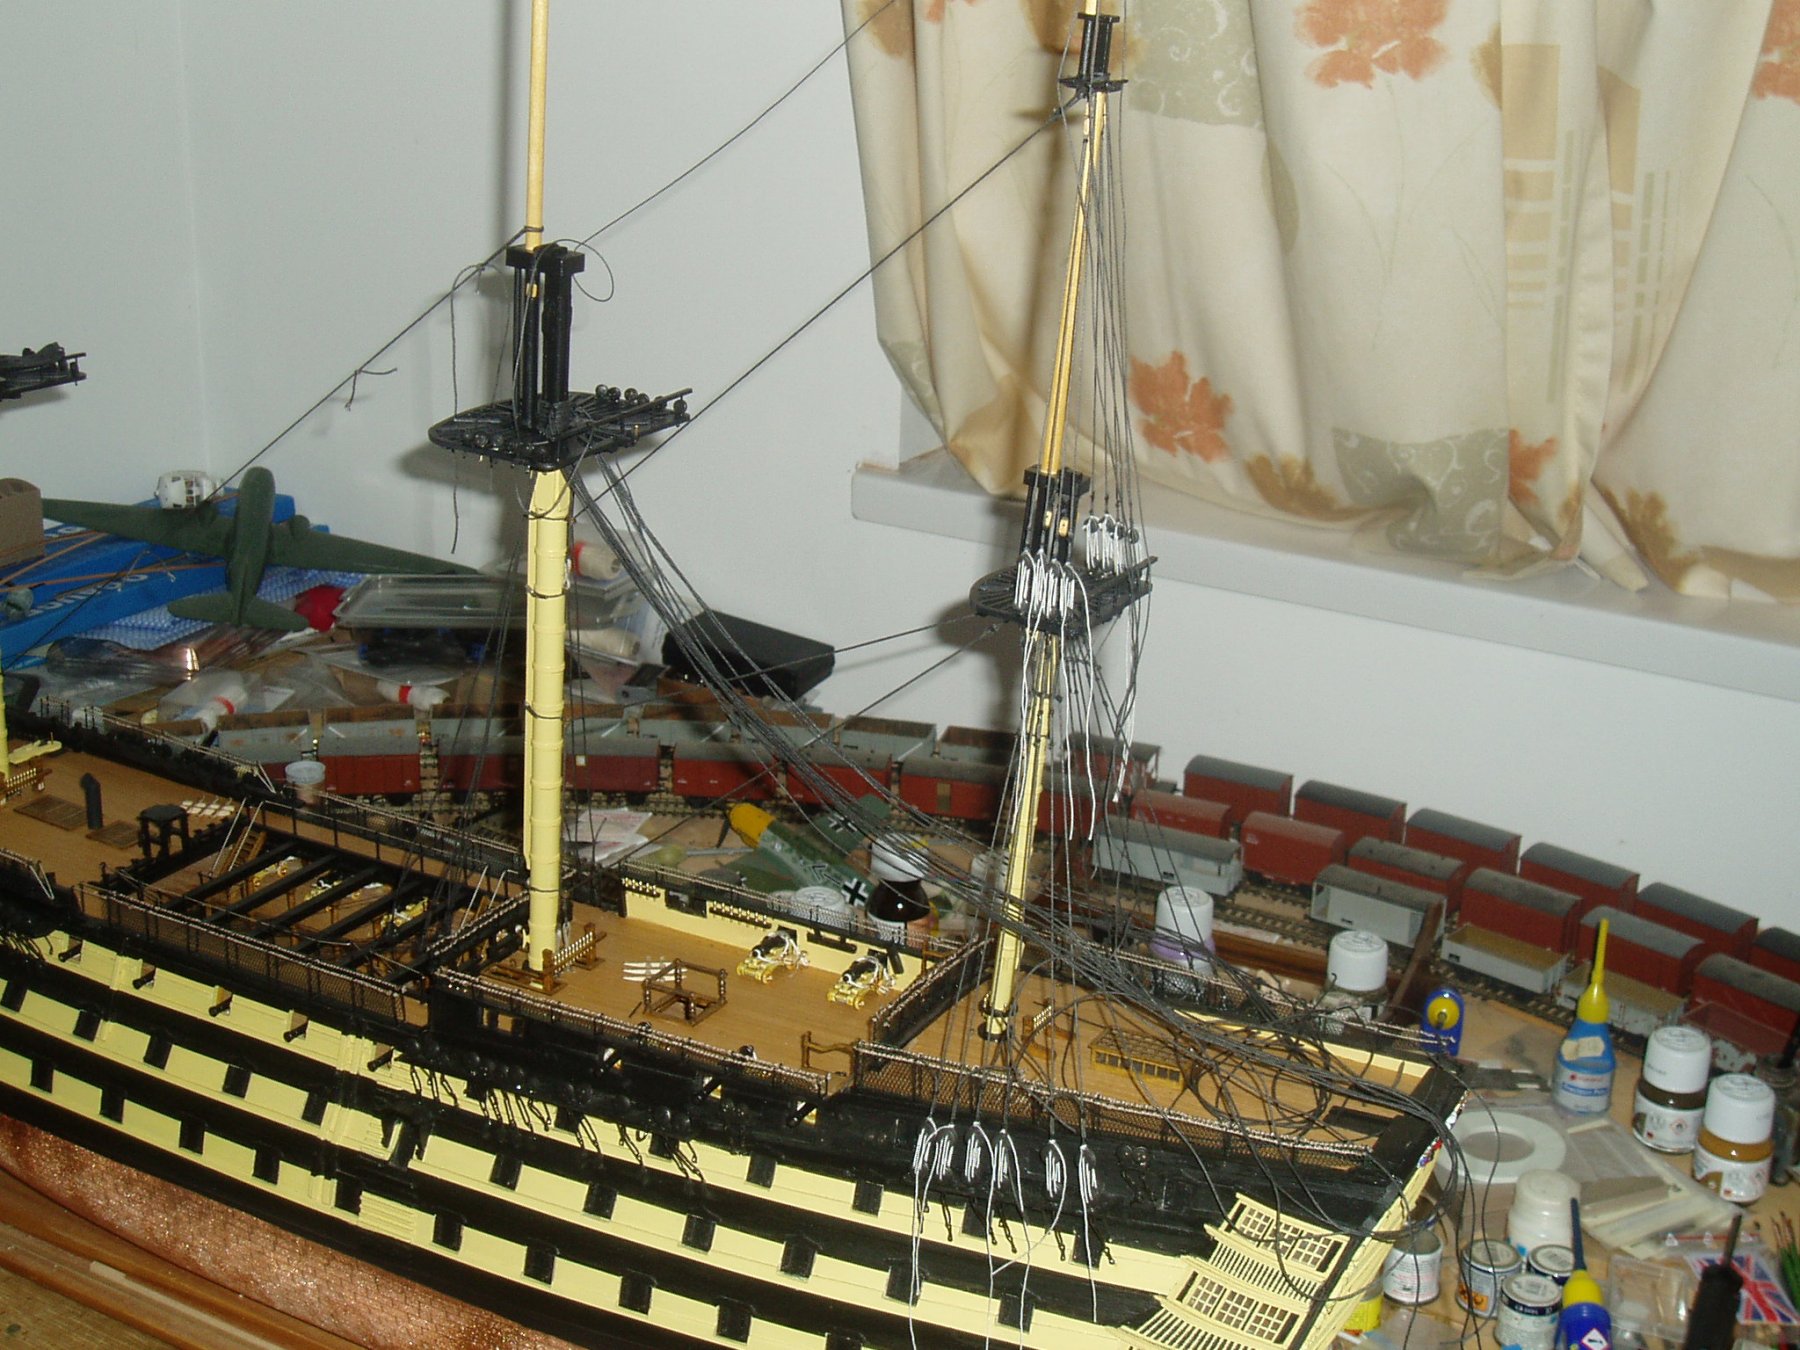
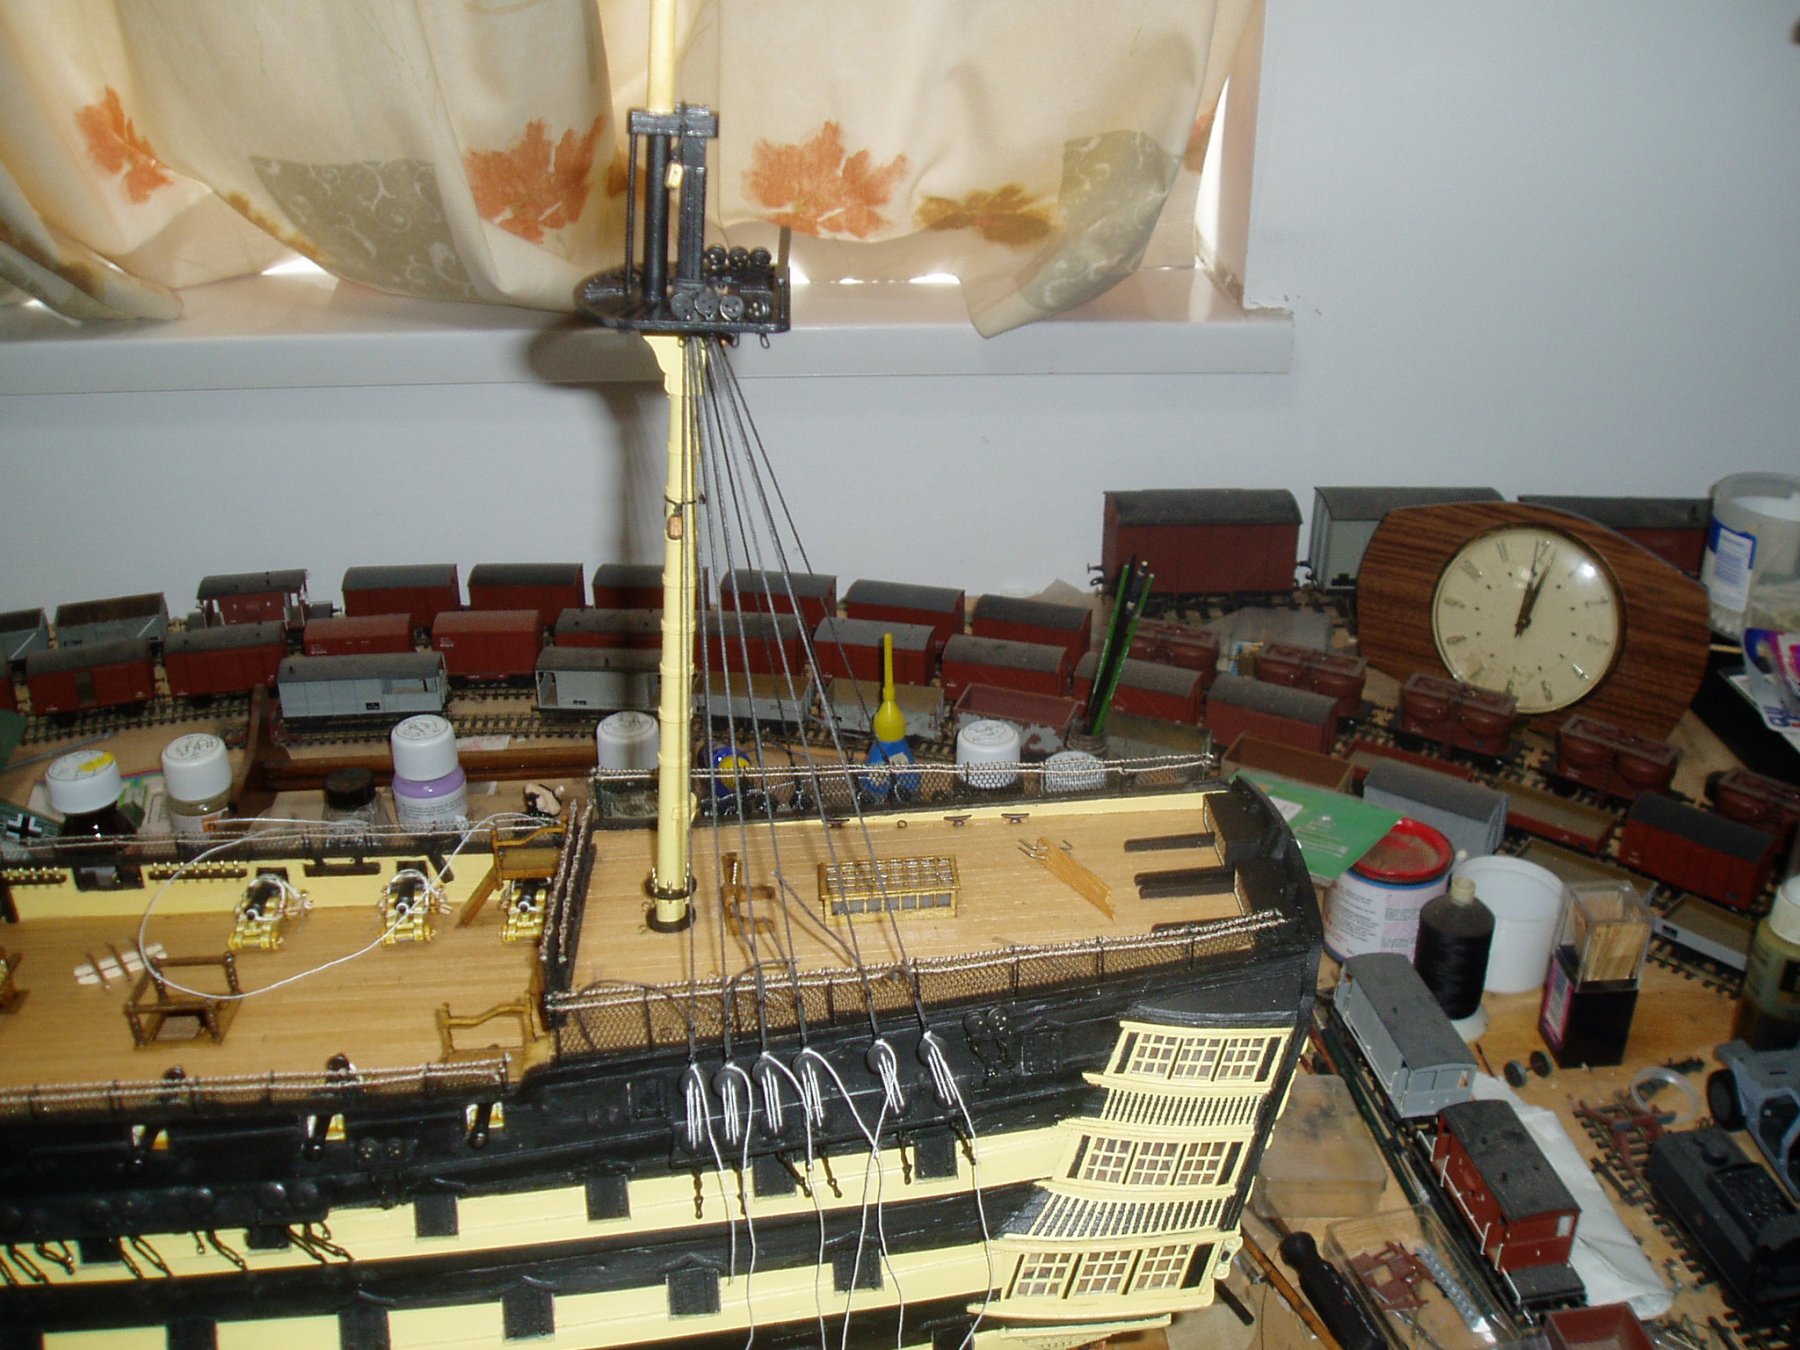
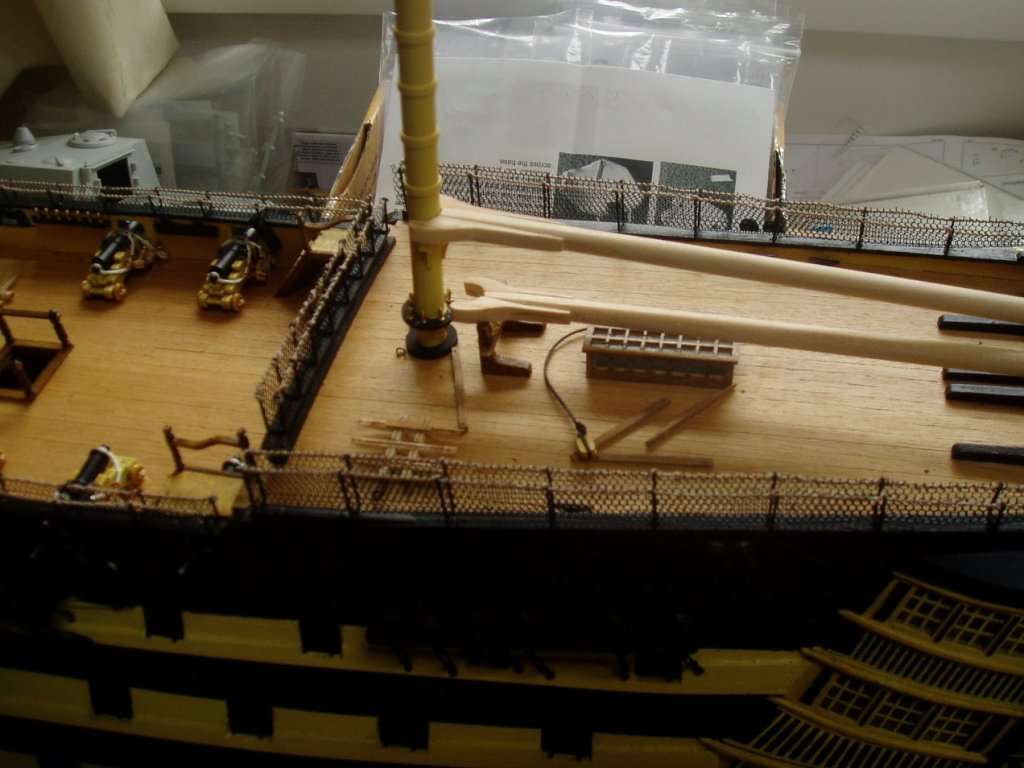
Thanks for the views all-the joy continues! started on the ratlines then i can start on breast/ backstays on the main mast. Only two more mondays left til the big day!! Keith
-
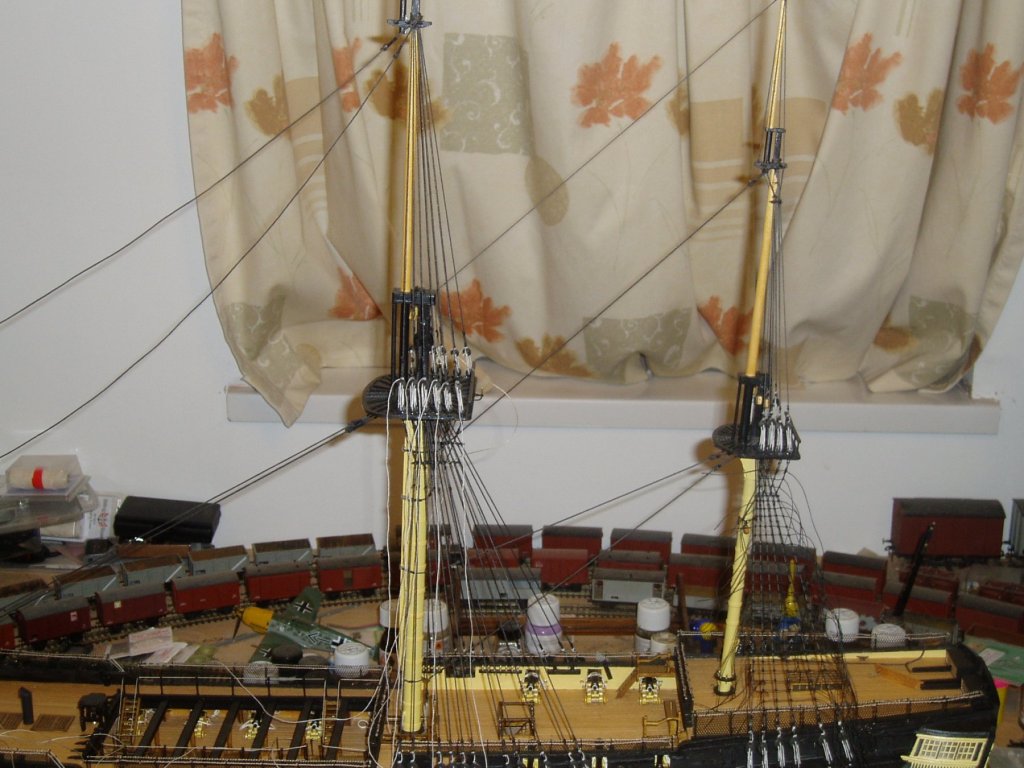
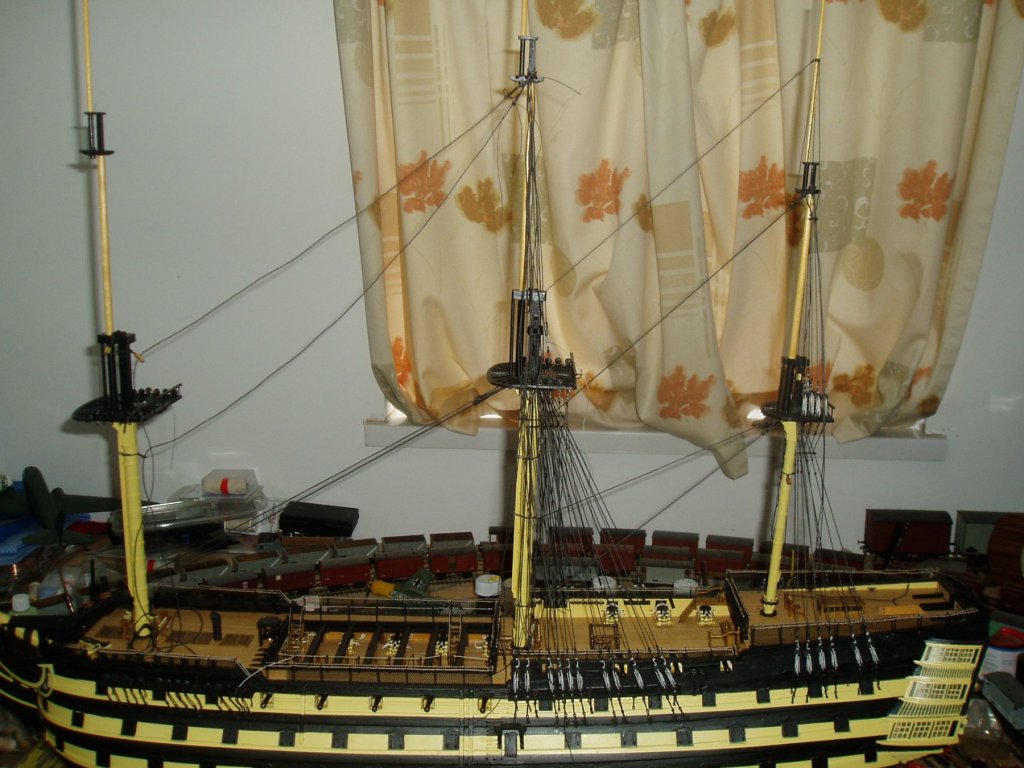
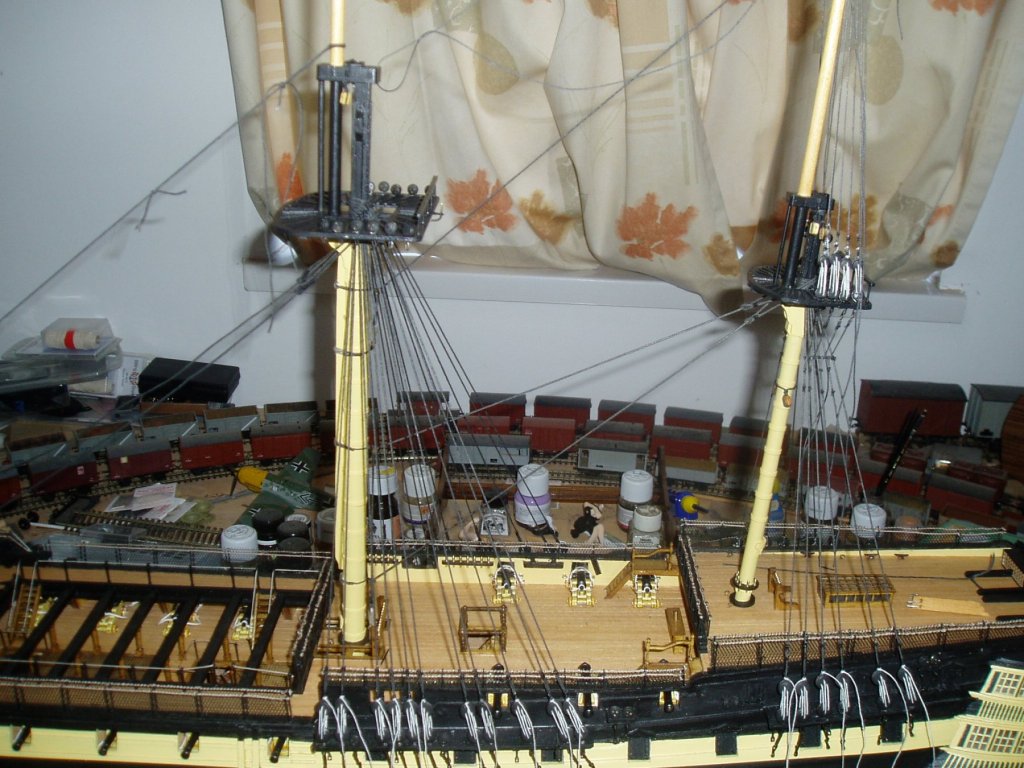
thanks for the views lies and comments everyone Rigging moving onwards and forwards. the main futtocks rigged and the main top shrouds now needing adjusted and tied off along with the main topstay and preventer stay. fore shrouds started along with temp forestay- really need to think about rigging bobstays and shrouds on bowsprit and finishing the jibstay. take care all. Keith
-
ty michael- you too Keith
-
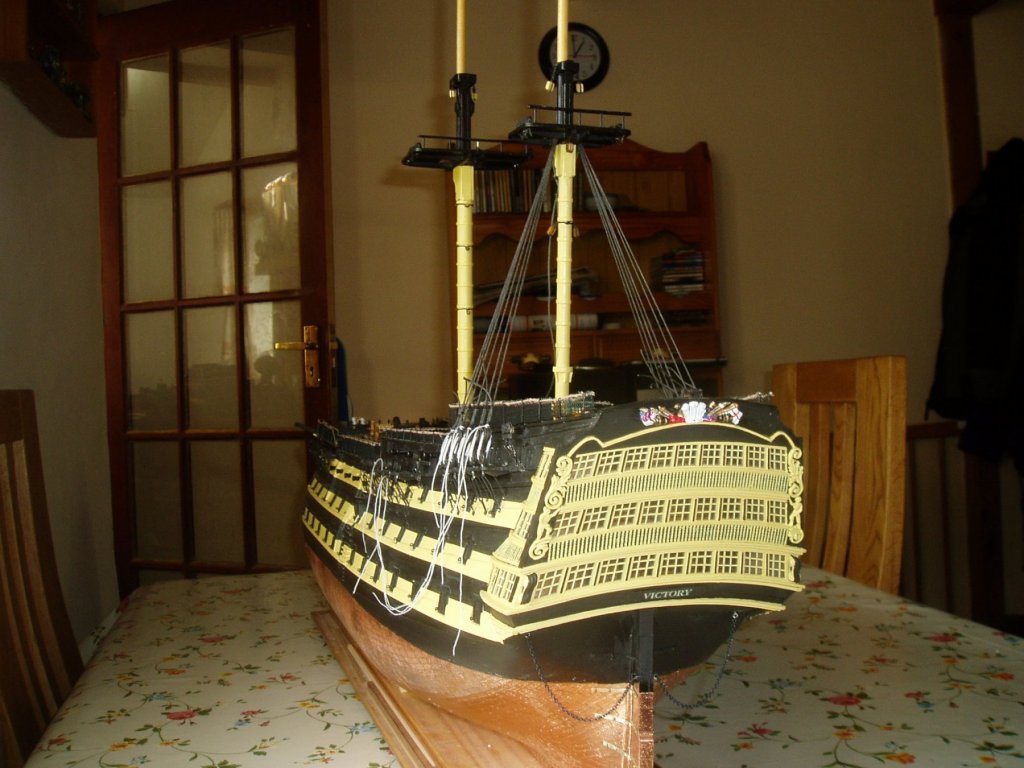
Hi all and thanks as always for the views and likes everyone. Now have the main stay and preventer stay rigged and the ropes for the main futtock shrouds and topmast shrouds in place along with the topmast stay and preventer stay. have fun as always folks (yikes only 5 mondays till you now what!) Keith


-
wb michael- ahh the joys of coppering Keith
-
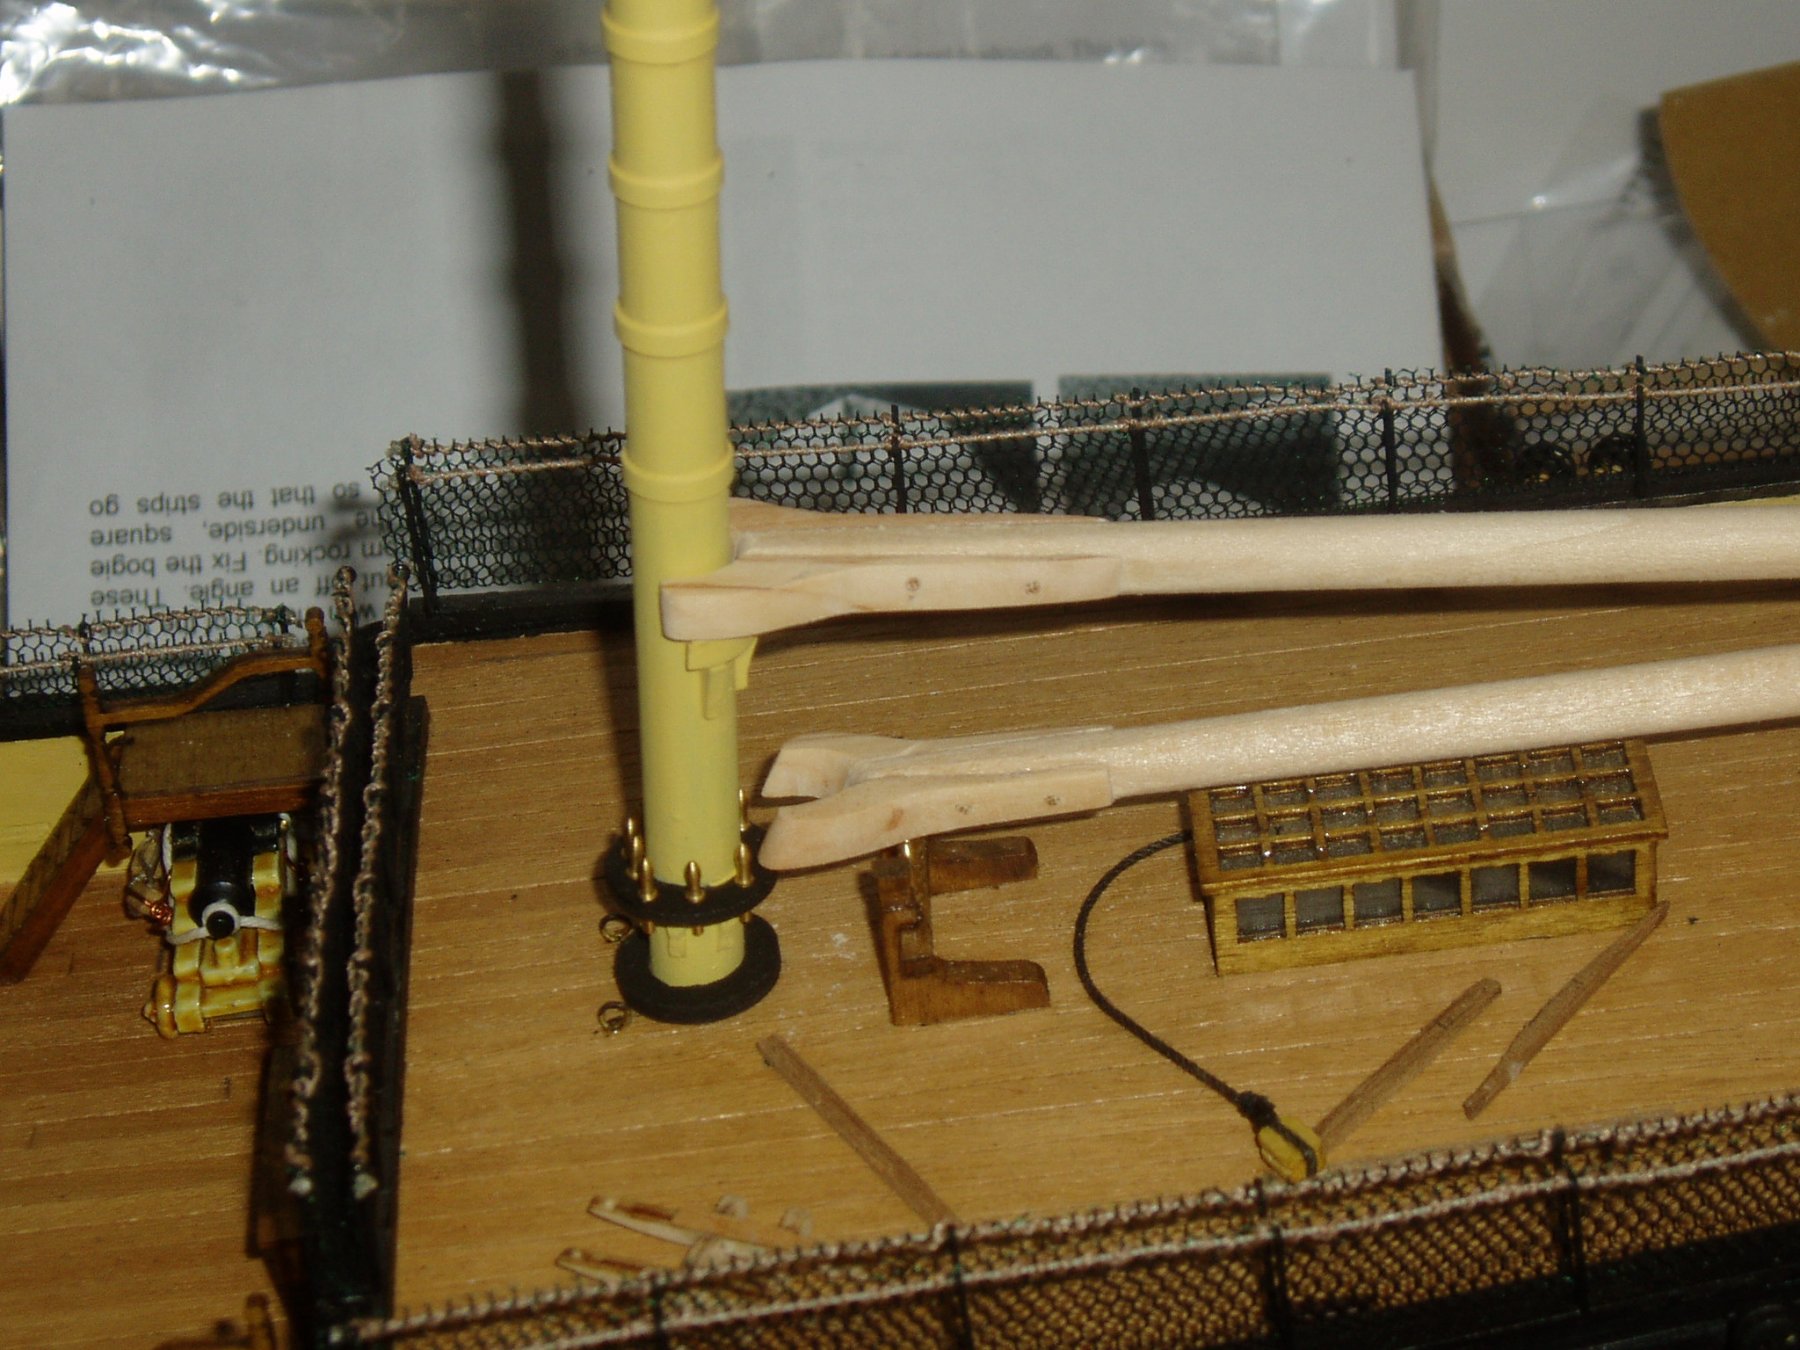
Thanks for the comments, likes and views as always everyone. Main shrouds rigged and start made on main stay and preventer stay. Bowsprit gammoning in place as well as the rope for the main stay heart. The foremast and marines catwalk still to be permanently attached (need to fasten the blocks under the foretop for the sprits'l yard and topyard. take care all. Keith
-
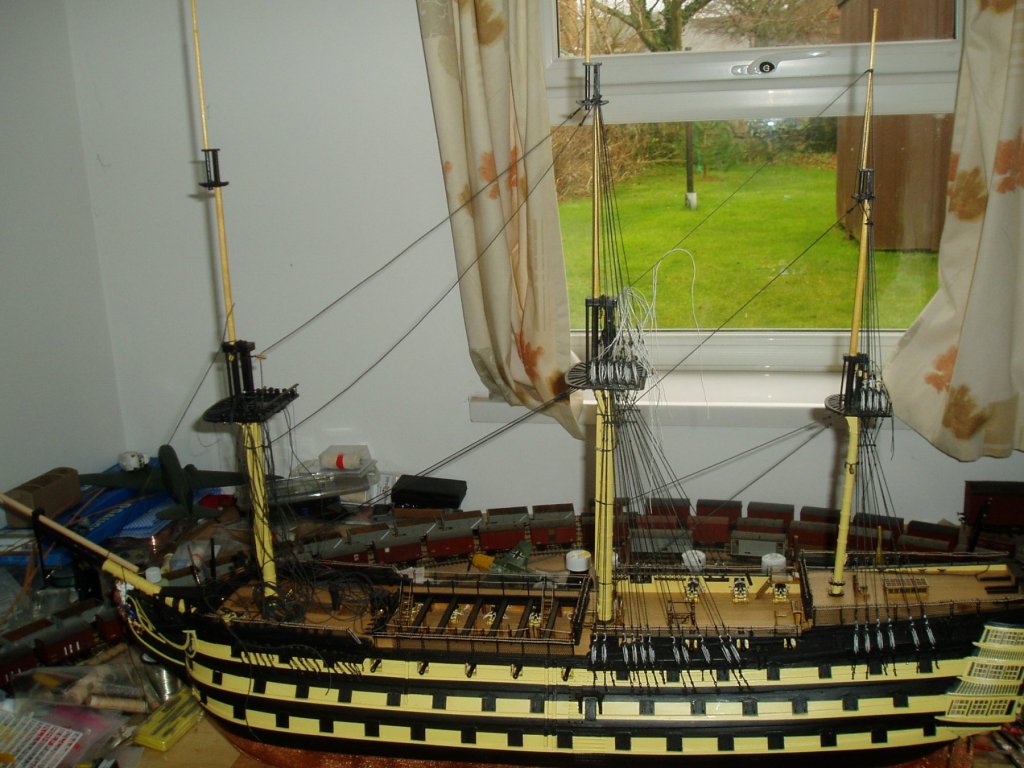
thanks for popping in to have a look all. Ah the glorious controlled chaos of rigging (at least when i do it). only the mizzen stay, preventer stay, topmast stay, and futtock shrouds are permanently glued in place the other mizzen shrouds still need gluing. Once the main shrouds are rigged i will need to think about fixing the foremast and bowsprit in place ready for rigging the mainstay (the stay rigged to the main at the moment just being temporary. til later- have fun all. Keith

-
havn't looked in for a while- wow really coming along nicely Jesse. Keith
- 1,306 replies
-
- 7
-
-
- syren
- model shipways
- (and 1 more)
-
Ty Zappto- the varnish is matt acrylic varnish- i think the flash from the camera "glossed" it up a bit. Keith
-
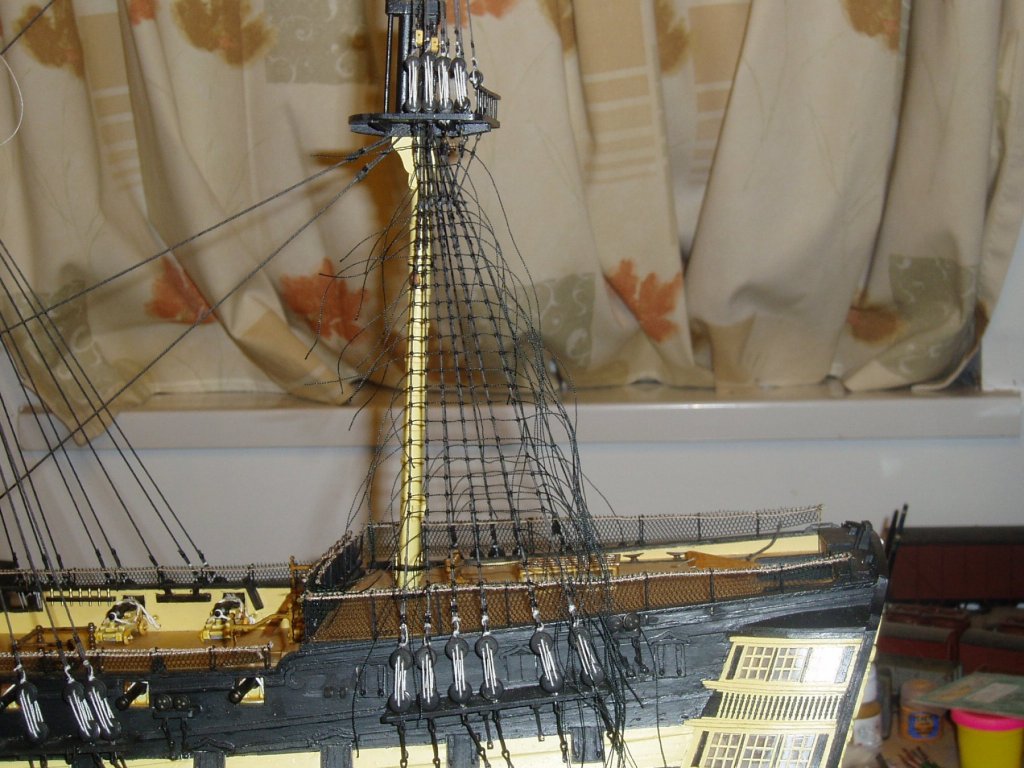
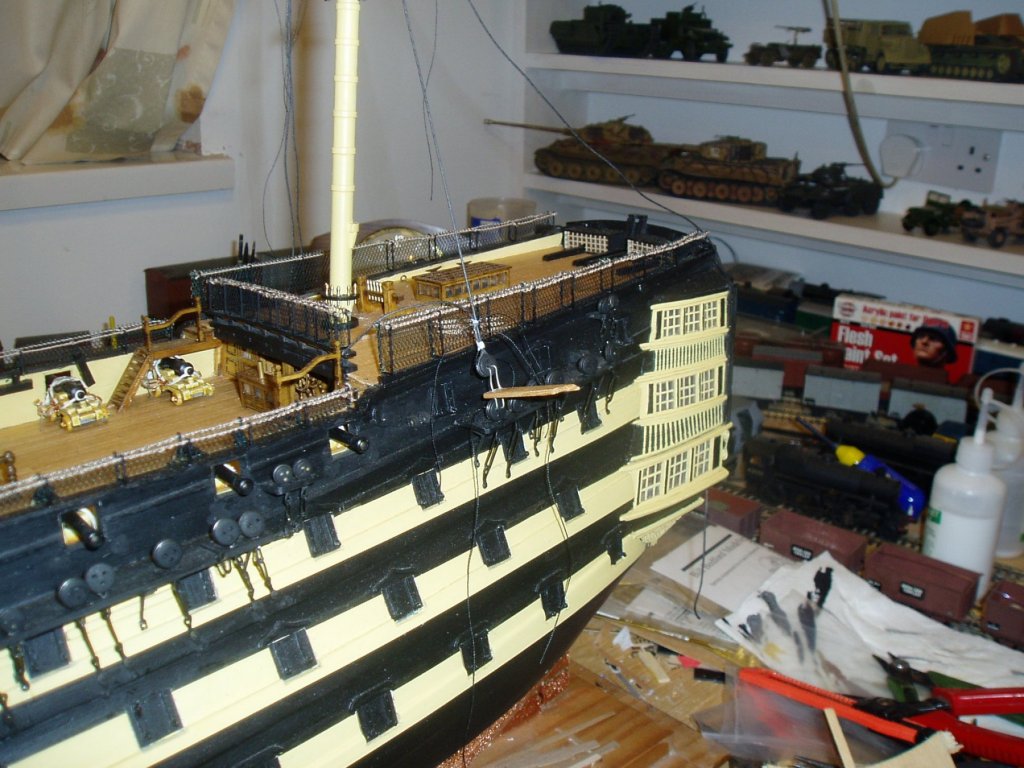
Hi all- and so the rigging finally begins! Also fastened the rudder chain in place. Havn't permanently fastened the halliards for the deadeyes in place yet to allow for any adjustment needed. I am using James lees and Longridge for reference as the billings rigging instructions are shall we say a bit vague! Thanks for popping in and take care all. Keith

-
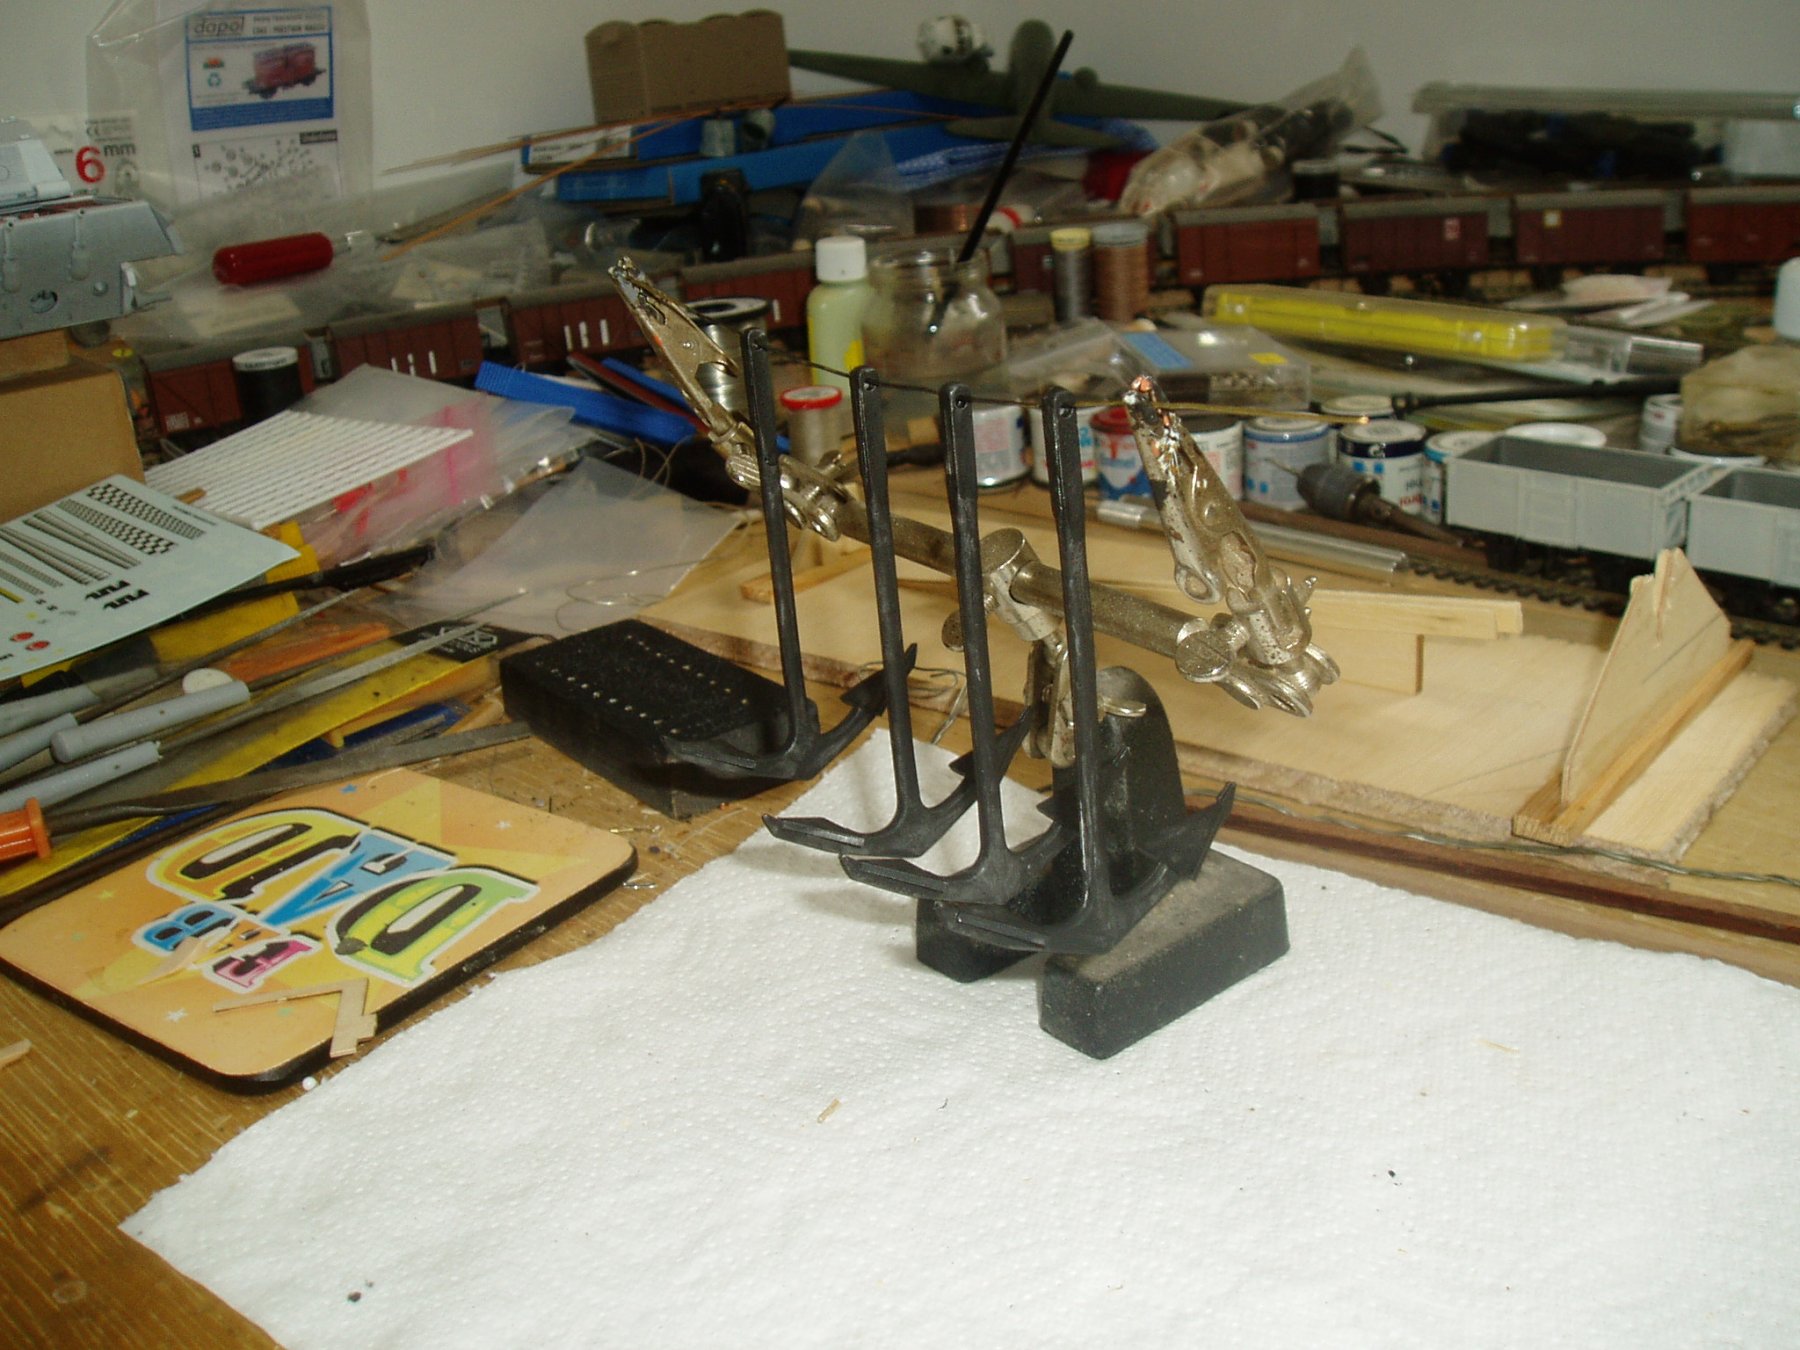
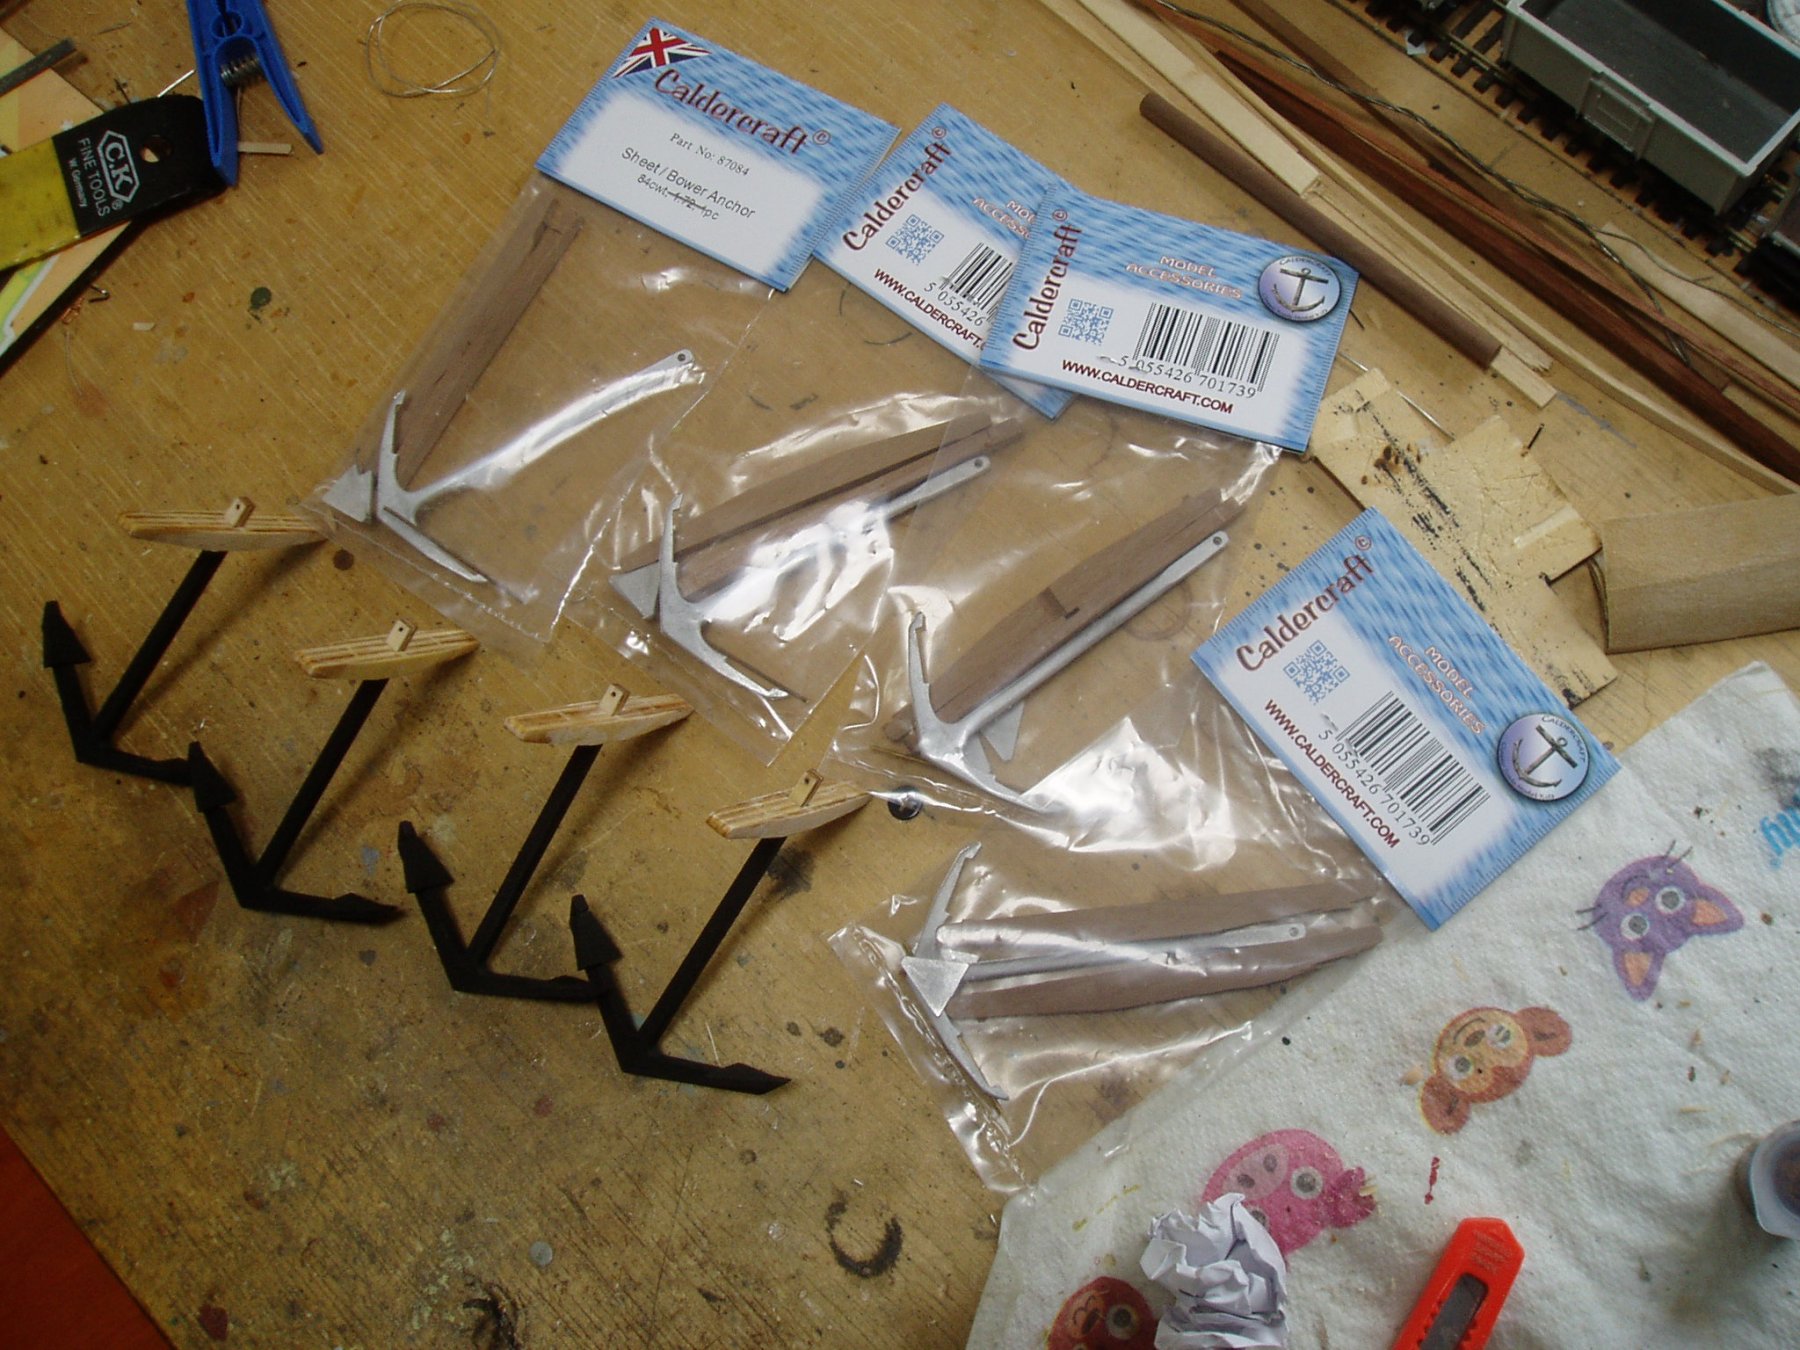
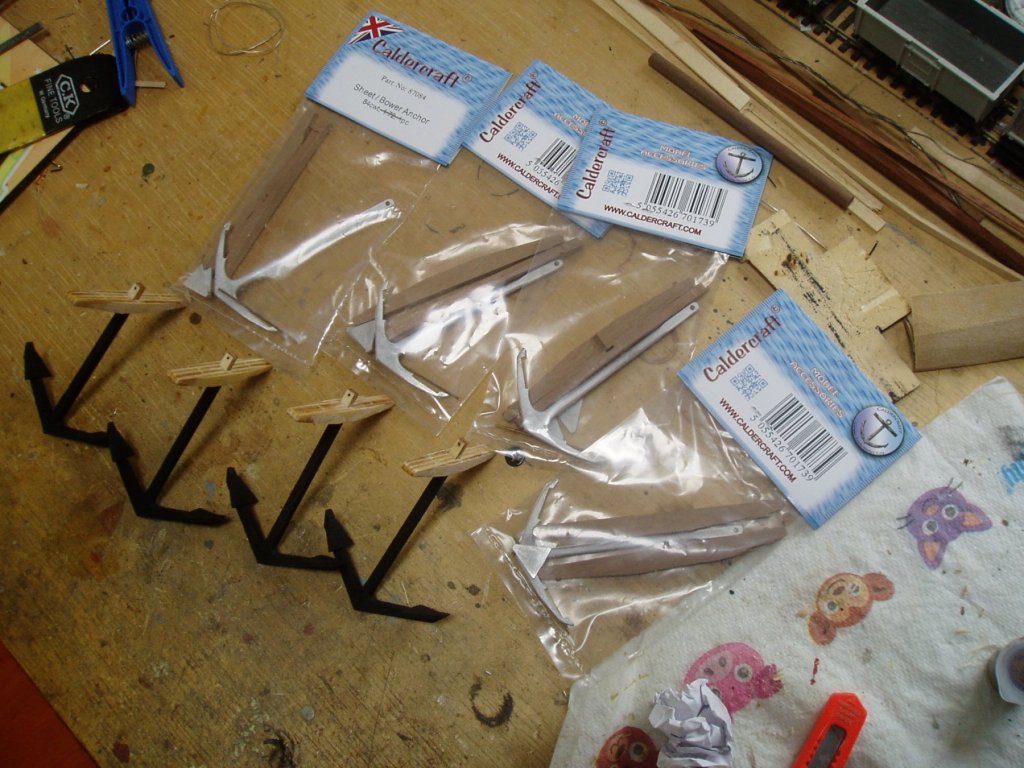
Hi again all, not been upto much this week though i did finish painting and varnishing the masts, also applied the first coat of black to the replacement anchors. take care all, and thanks for looking in. Keith


-
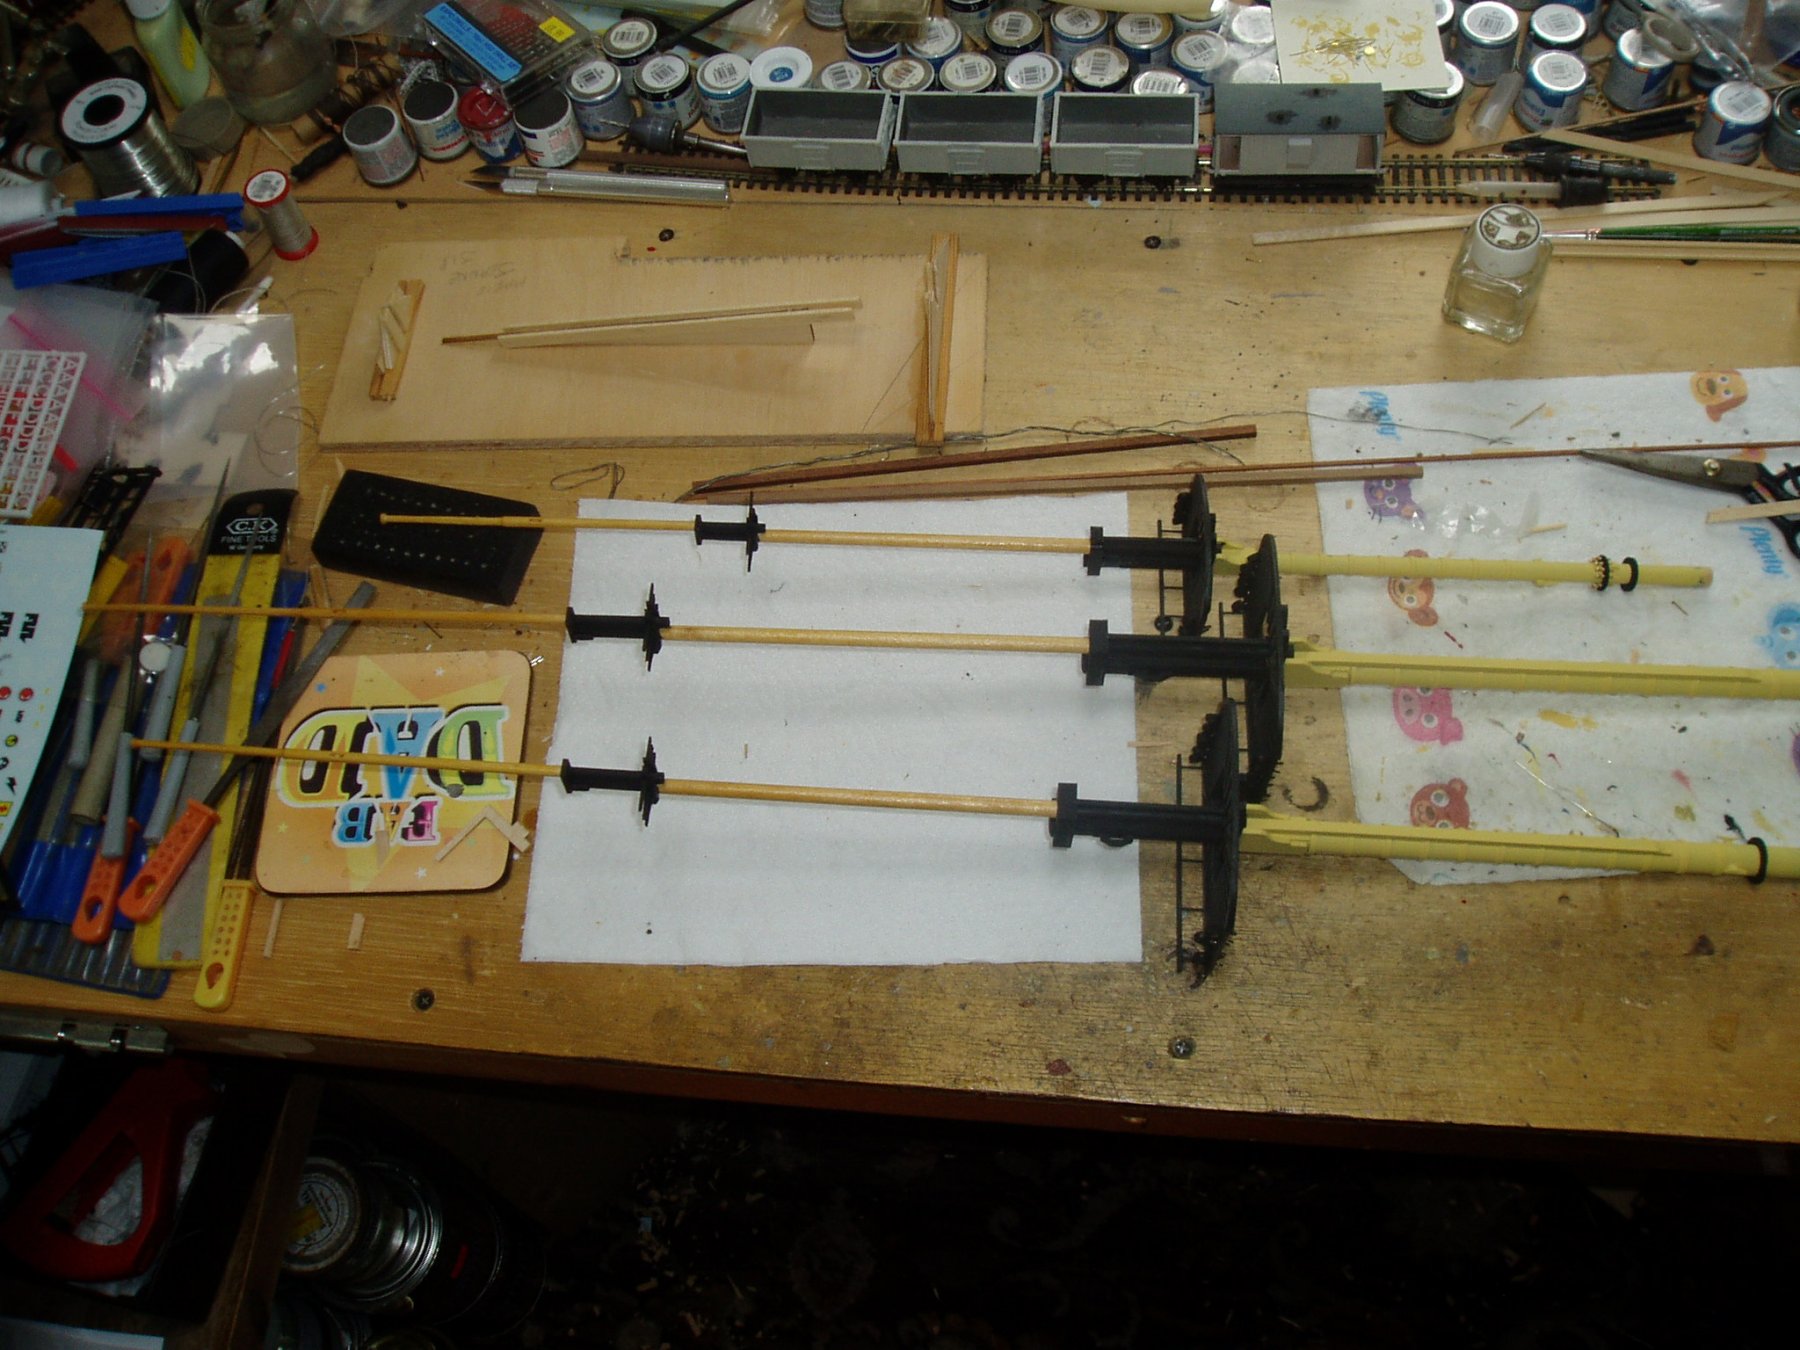
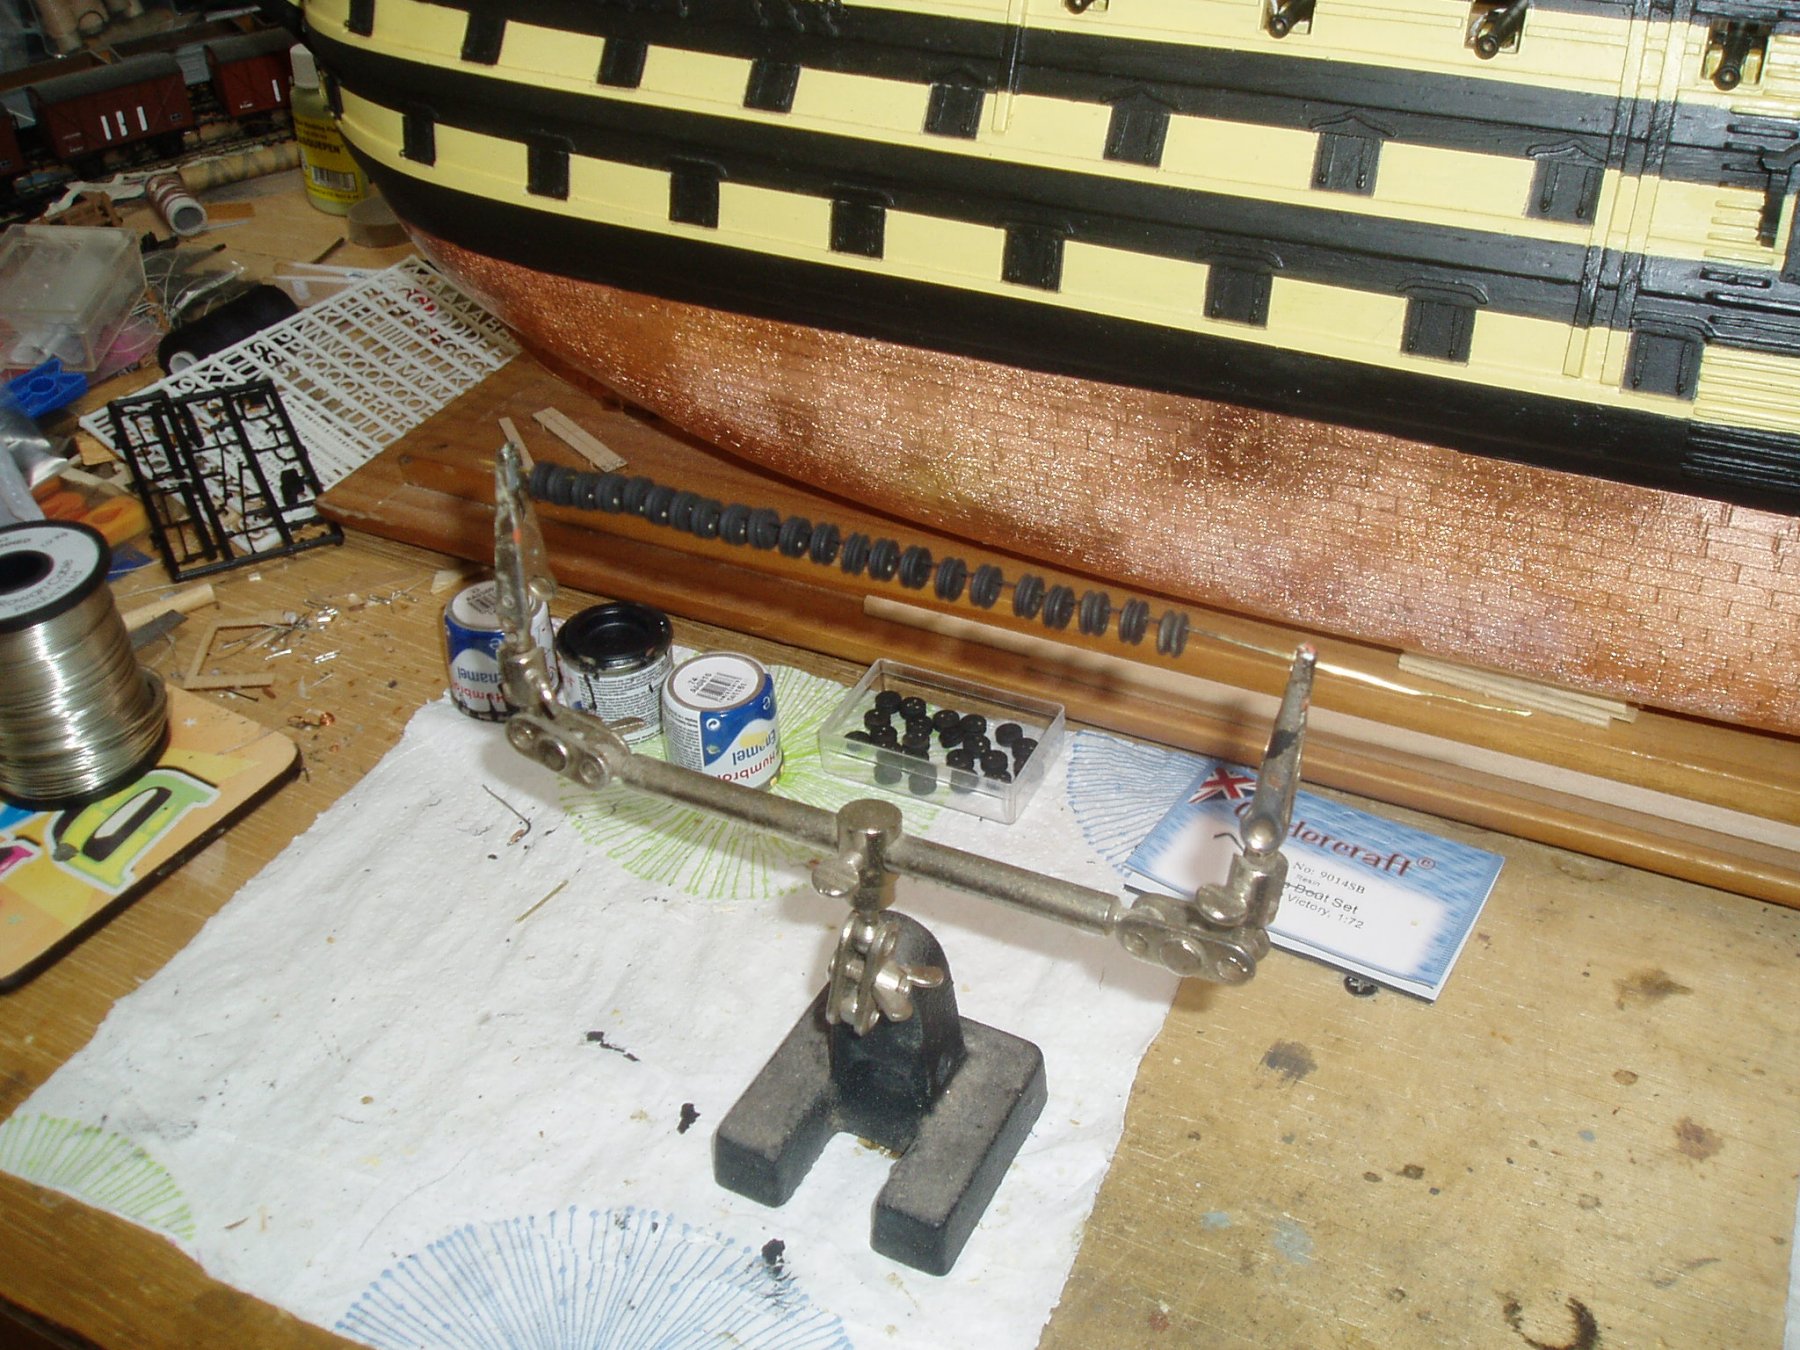
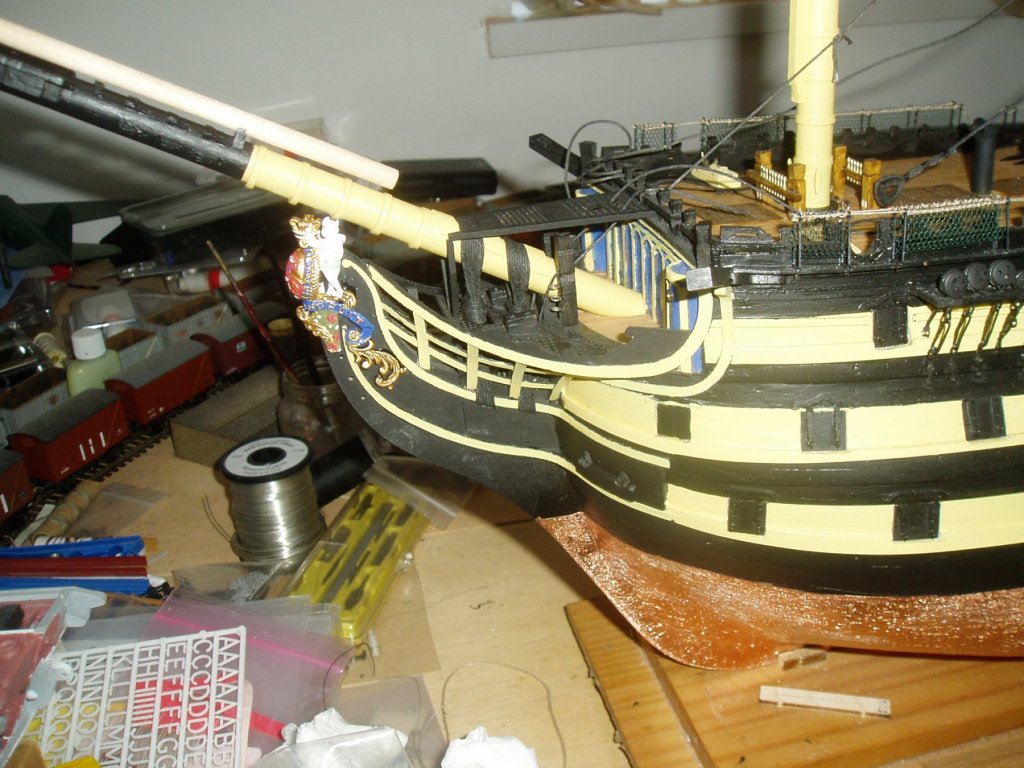
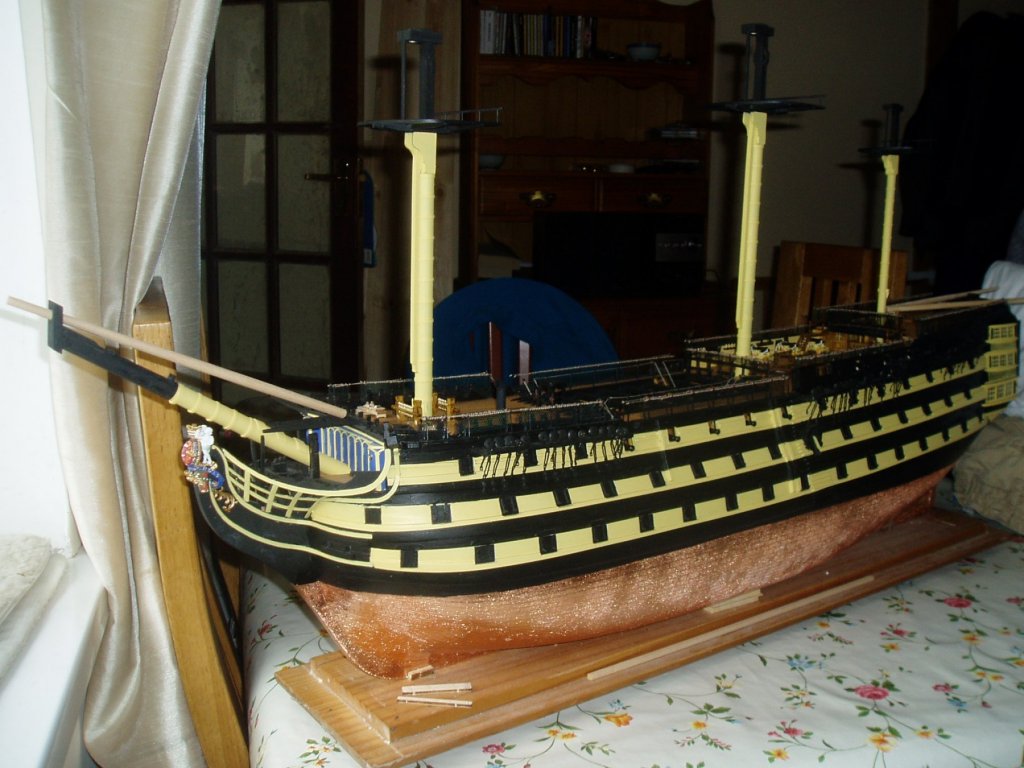
Hi all- thanks again for dropping in and the views/ likes. Work continues on the masts. Had started to paint the doubling on the topmasts when i realised i hadn't attached the sheaves for the forestays so sanded back and sorted them using the kit supplied laser cut ones (luckily the masts are only held together using fids so easy to dismantle). Also used an off cut of walnut dowel for the dolphin striker and secured it with three brass u shaped staples- while i had some epoxy mixed i also glued the bills onto the caldercraft anchors. I sanded the jaws on the gaff and driver booms to final shape after drilling and gluing a couple of treenails into each one. take care all Keith


-
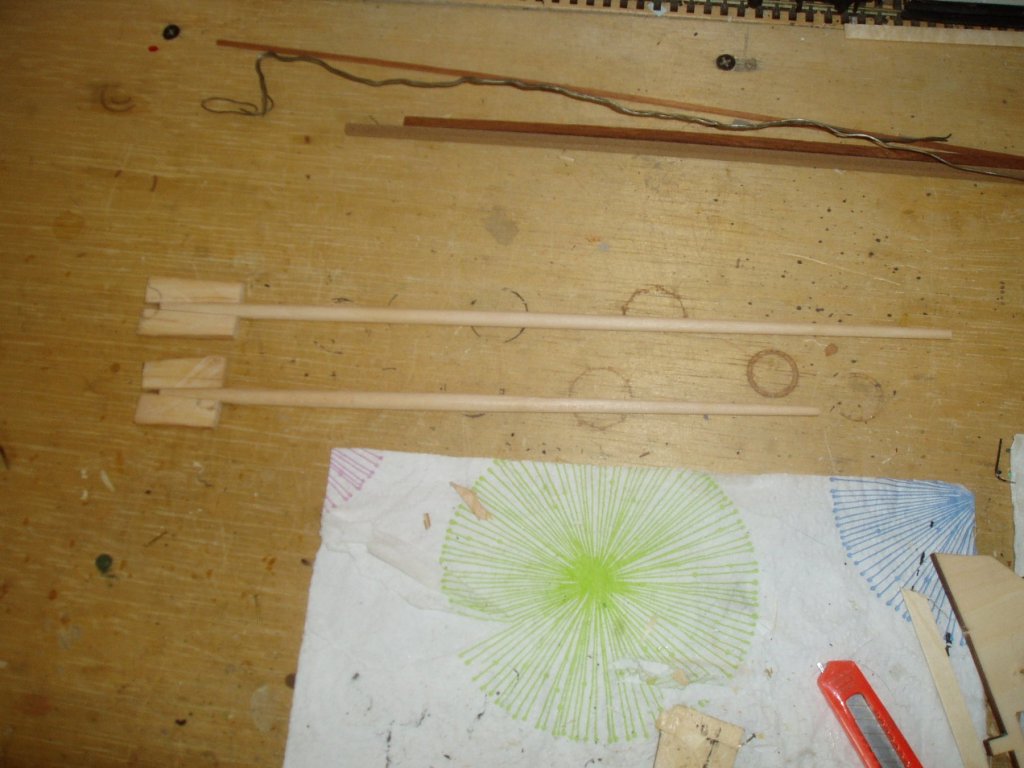
Hi again all, after a couple of weekends D.I.Y. refurbing the bedroom walk in cupboard (feel like harry potter now)! its back to my Vicky. Finished soldering up the strops on the futtock deadeyes, and used a couple of pieces of hawthorn to make the jaws on the driver boom and gaff boom (billings just had a couple of laser cut semicircles of ply). Also after starting to make up the plywood anchors i decided to replace them with caldercraft whitemetal anchors with walnut stocks. till later- take care all and thanks for viewing. Keith

-
i agree with dave- 5 minute epoxy will be best- you can guarantee if using long drying something will move when you leave it! Keith
-
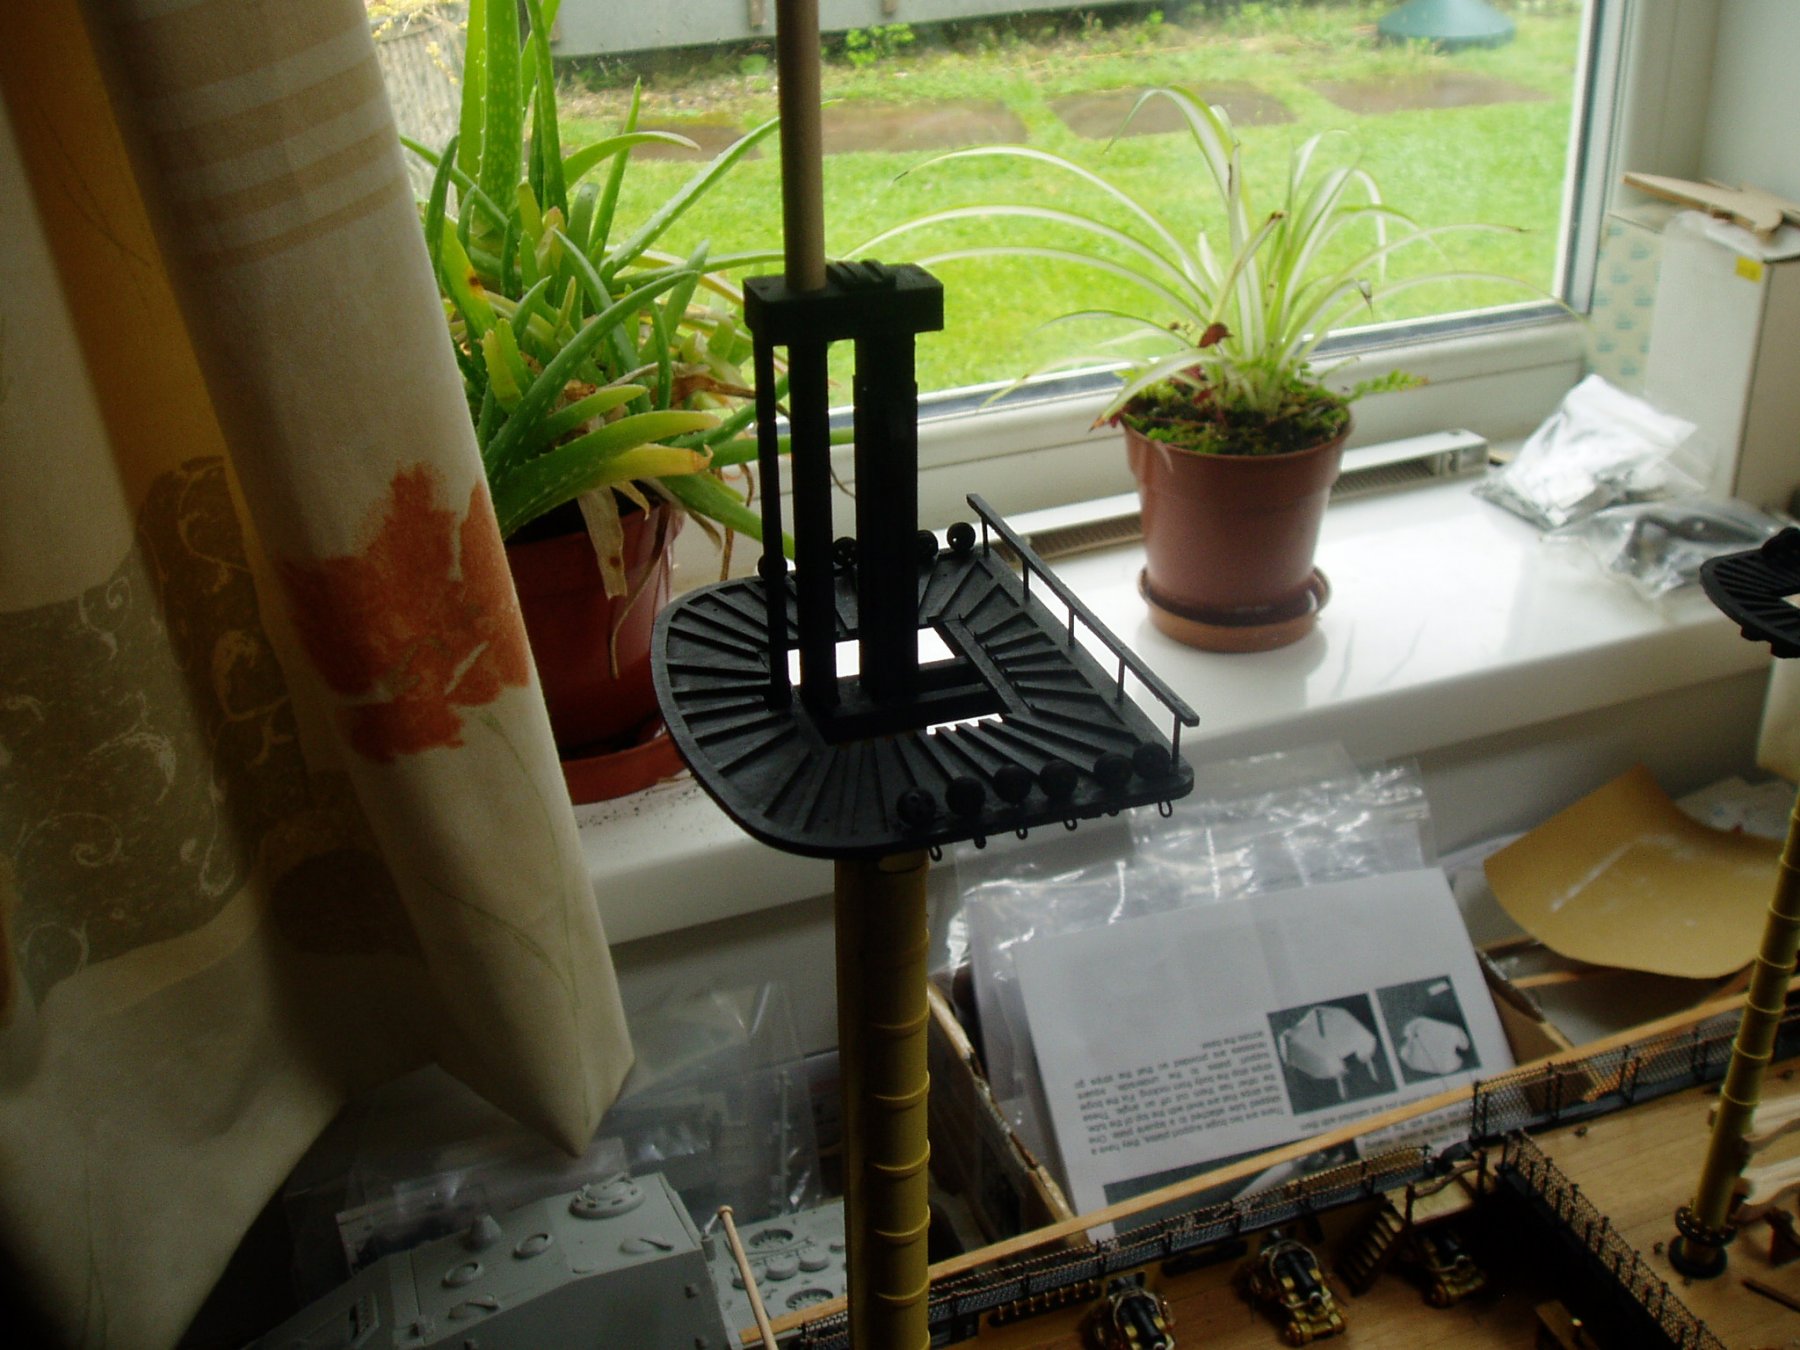
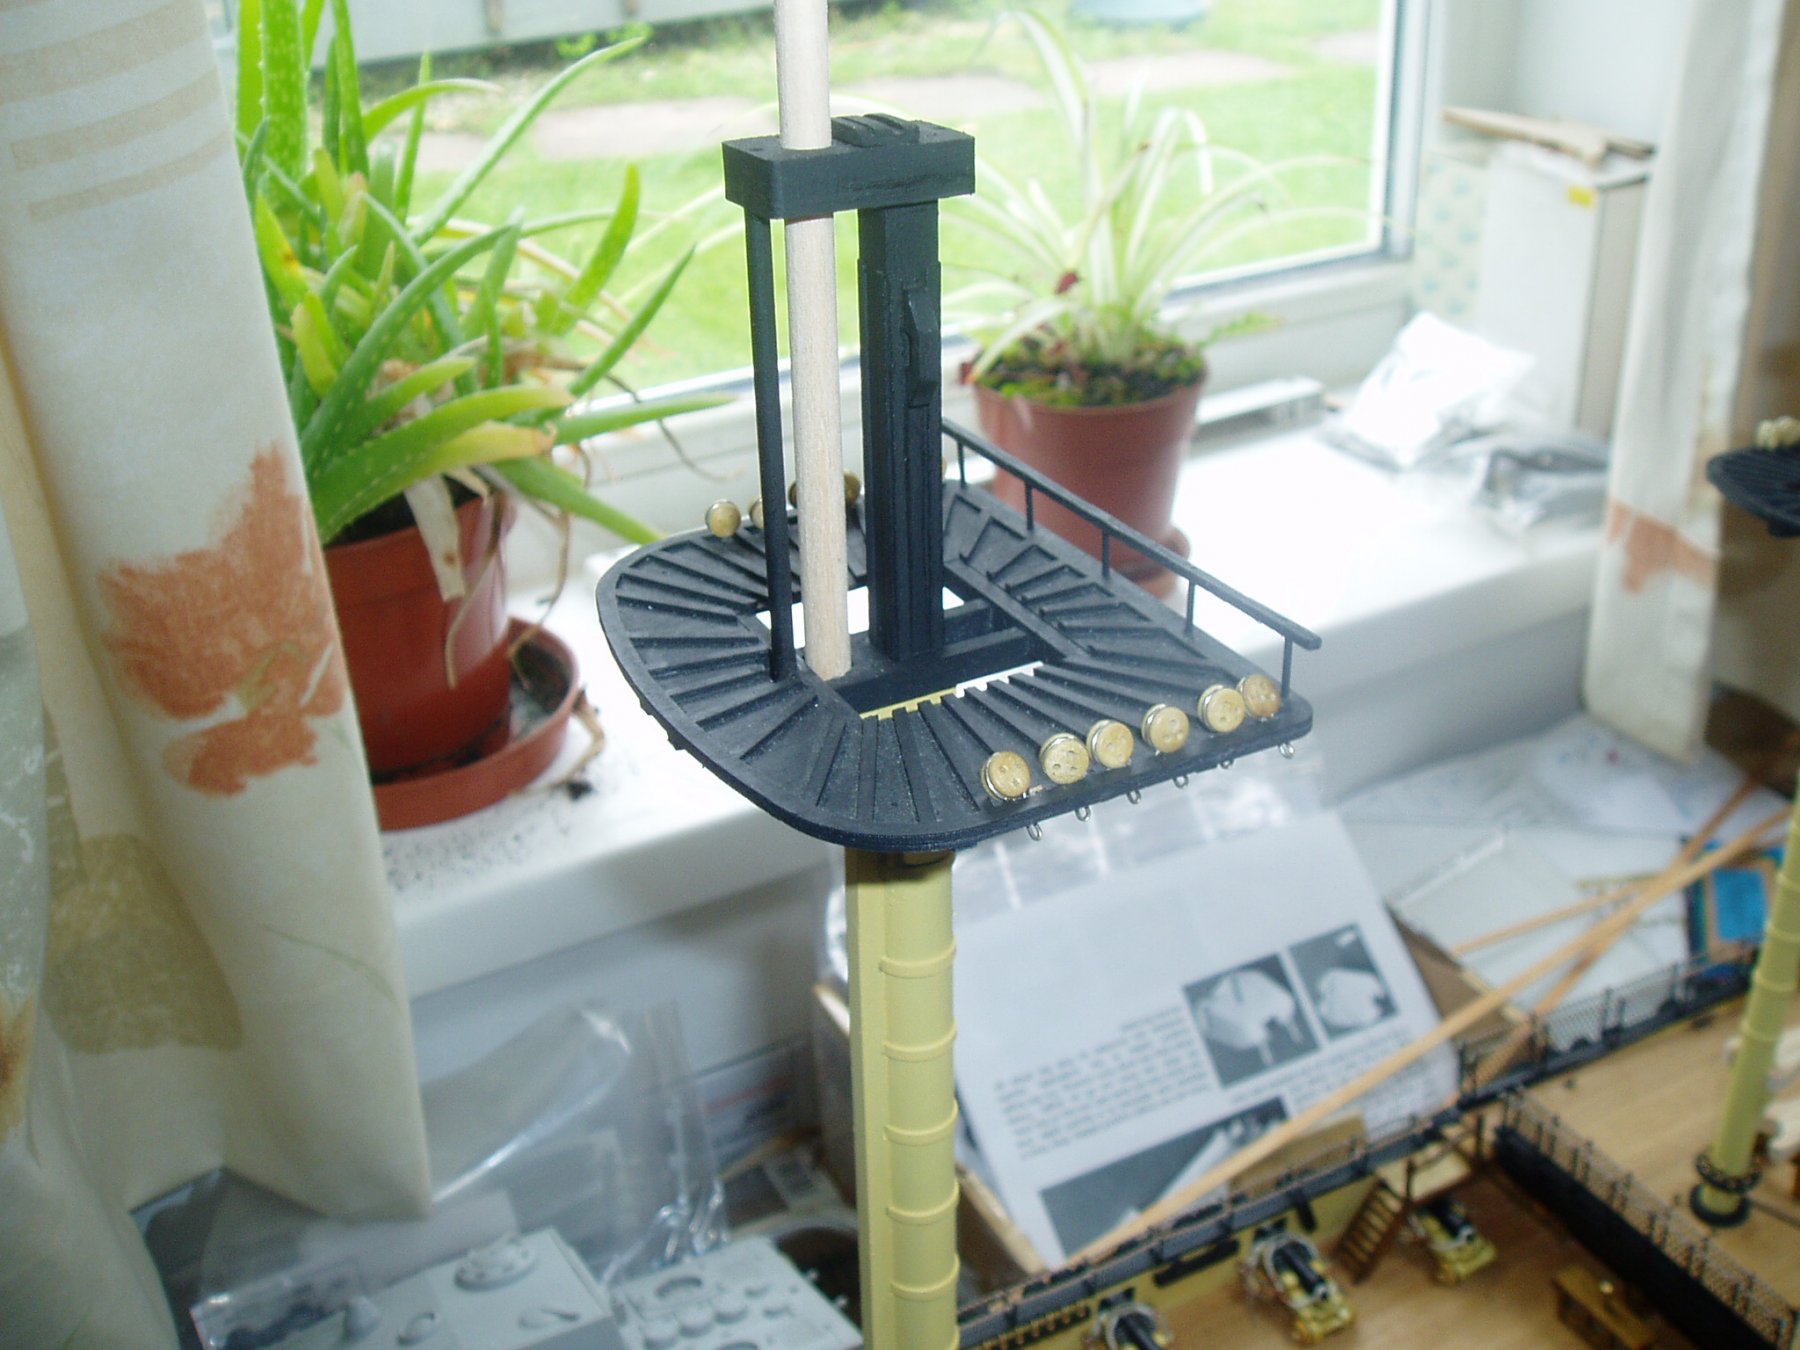
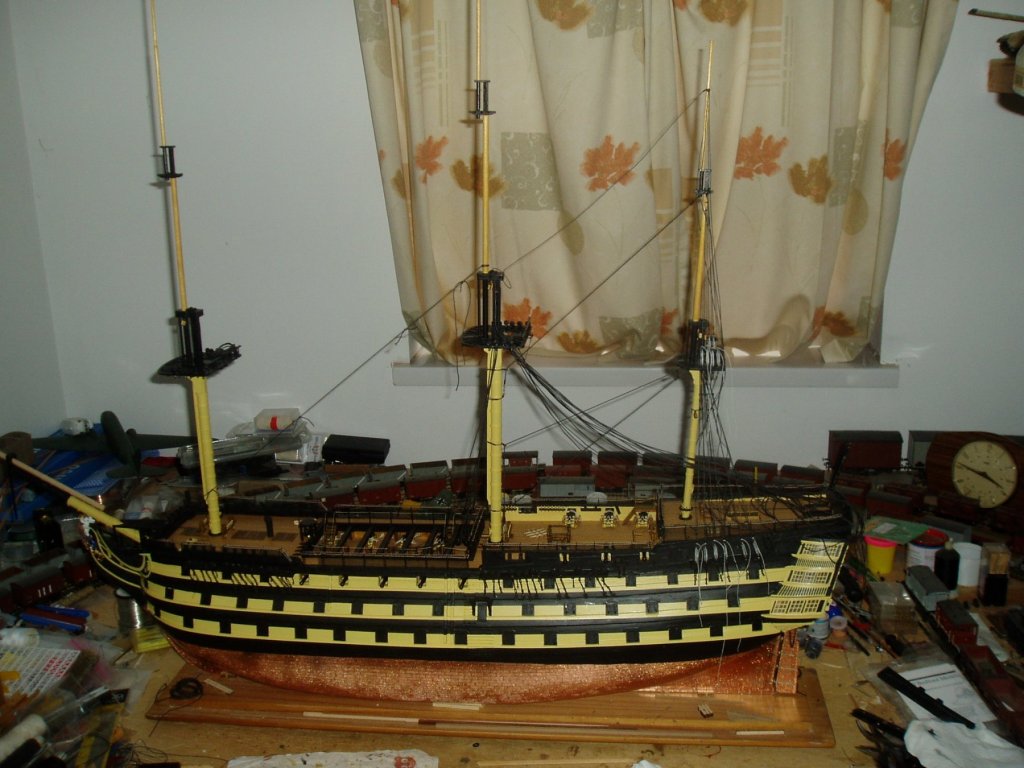
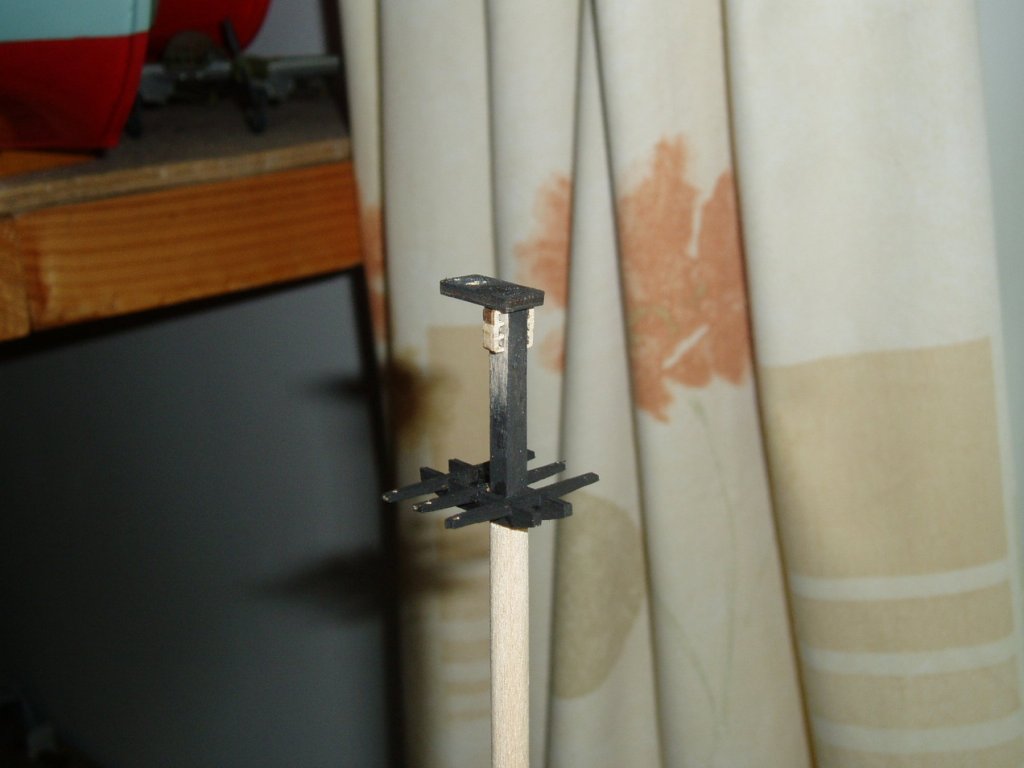
thanks for looking in everyone- been a nawty boy and bought the caldercraft HM bark Endeavour and billings marie jeanne- my bucket list o ships is nearly complete- just gotta build em . not much to report this week- got the deadeyes in place on the mizzen top for the futtock shrouds (not exactly as per real practice but once painted should pass muster) and got the trestle trees and mast caps glued in place on the topmasts. take care all and have fun. Keith
-
I let the rigging slings and jeers do their job then the braces i fit last to hold them in place- you can guarantee you will "twang" the yards at some point. I also use P.V.A. glue for the thread as CA glue makes thread hard and brittle. Love the au natural wood look as well. Keith
-
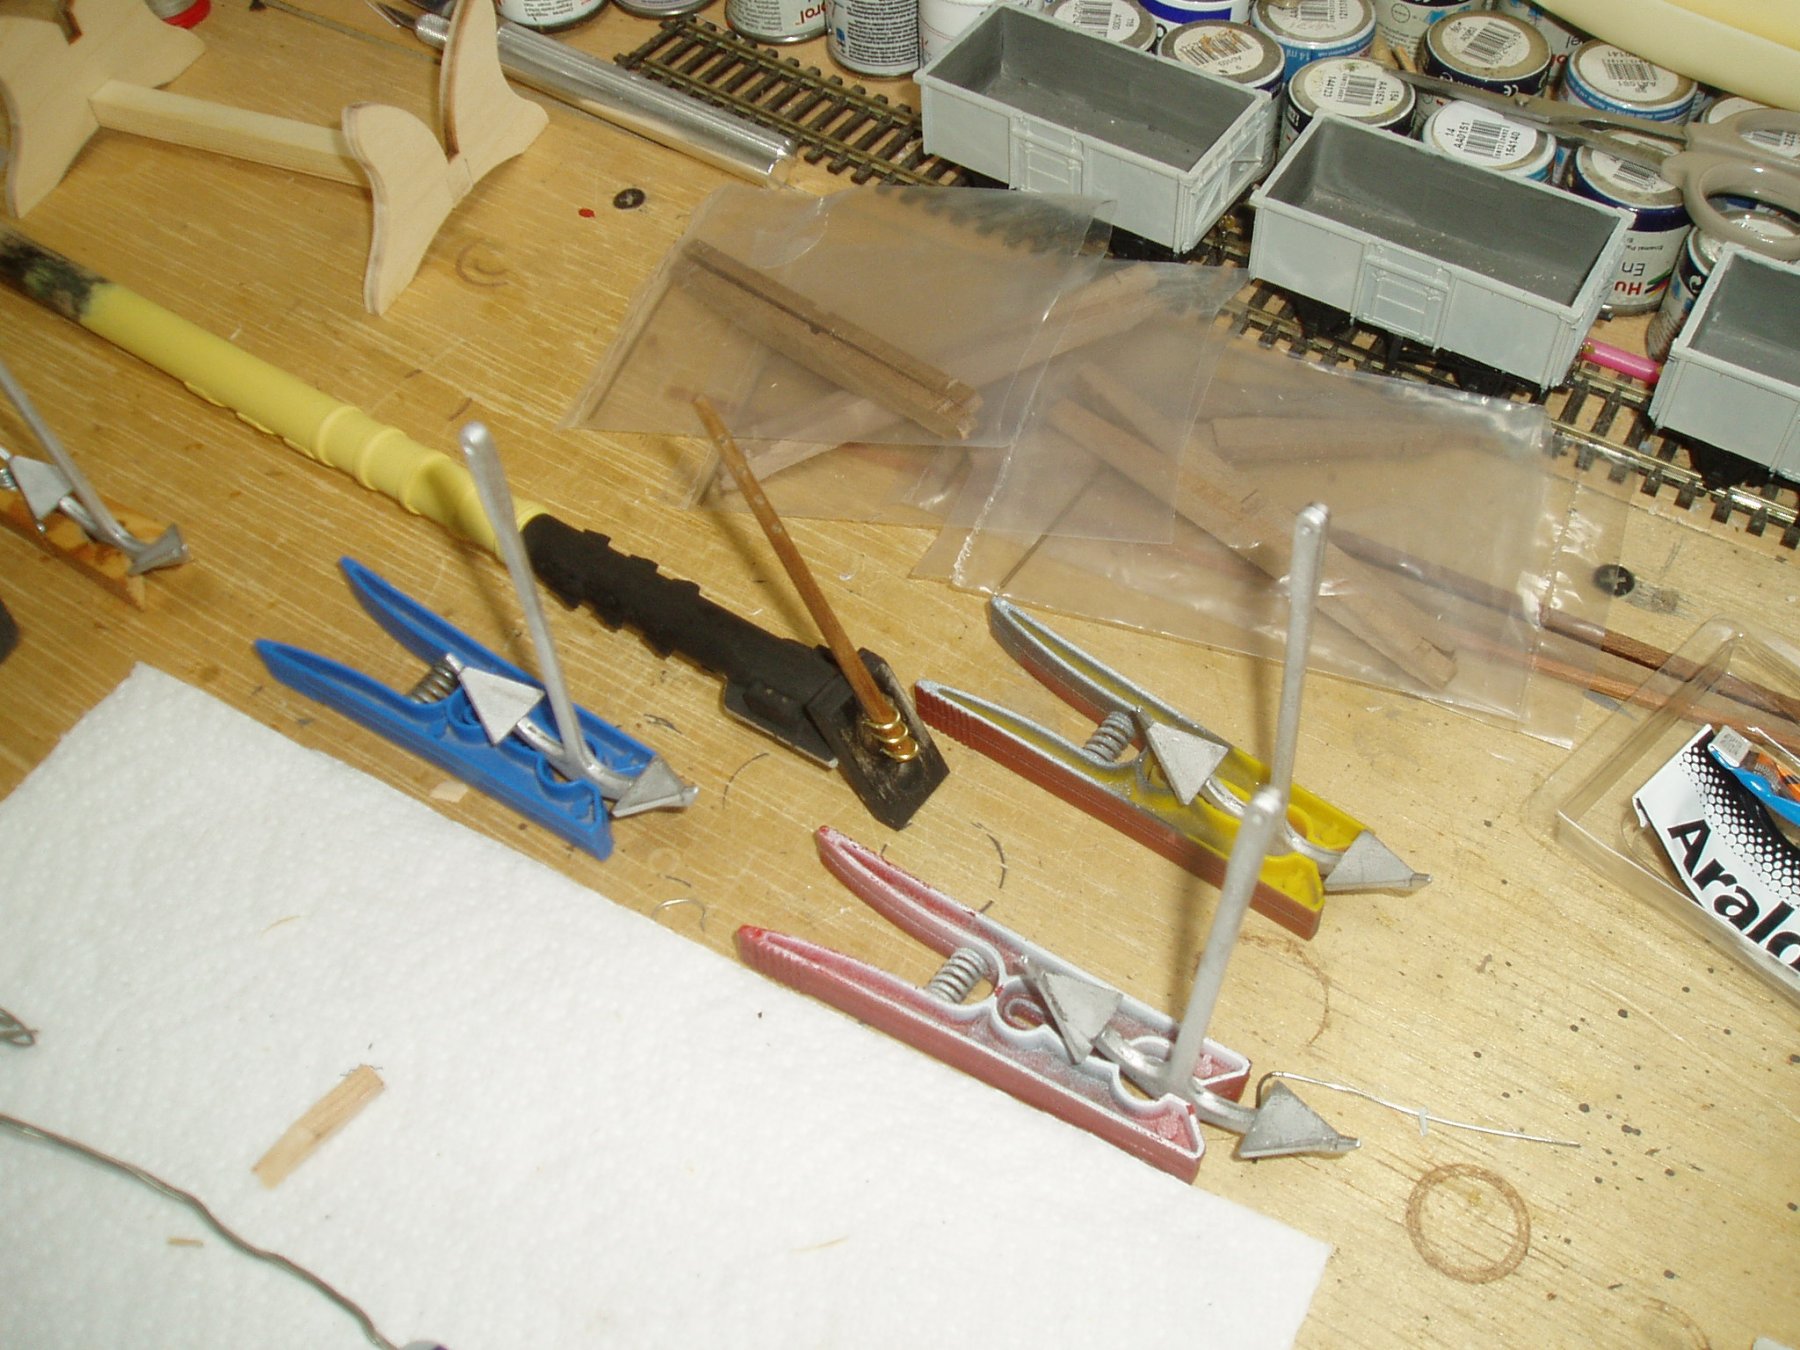
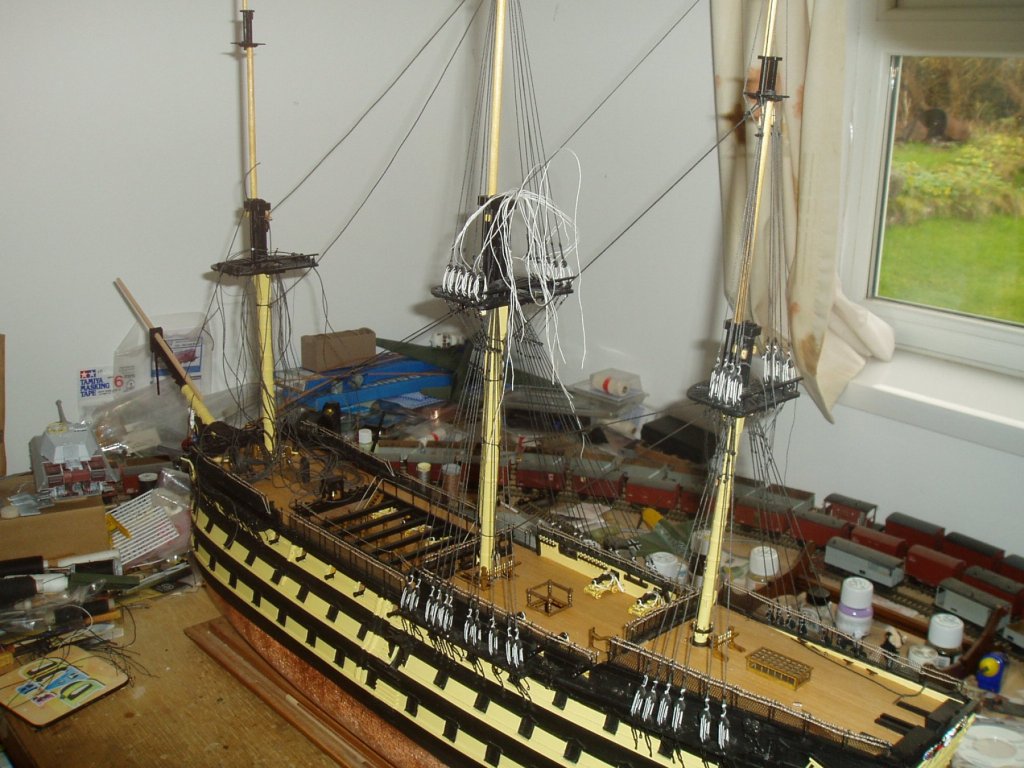
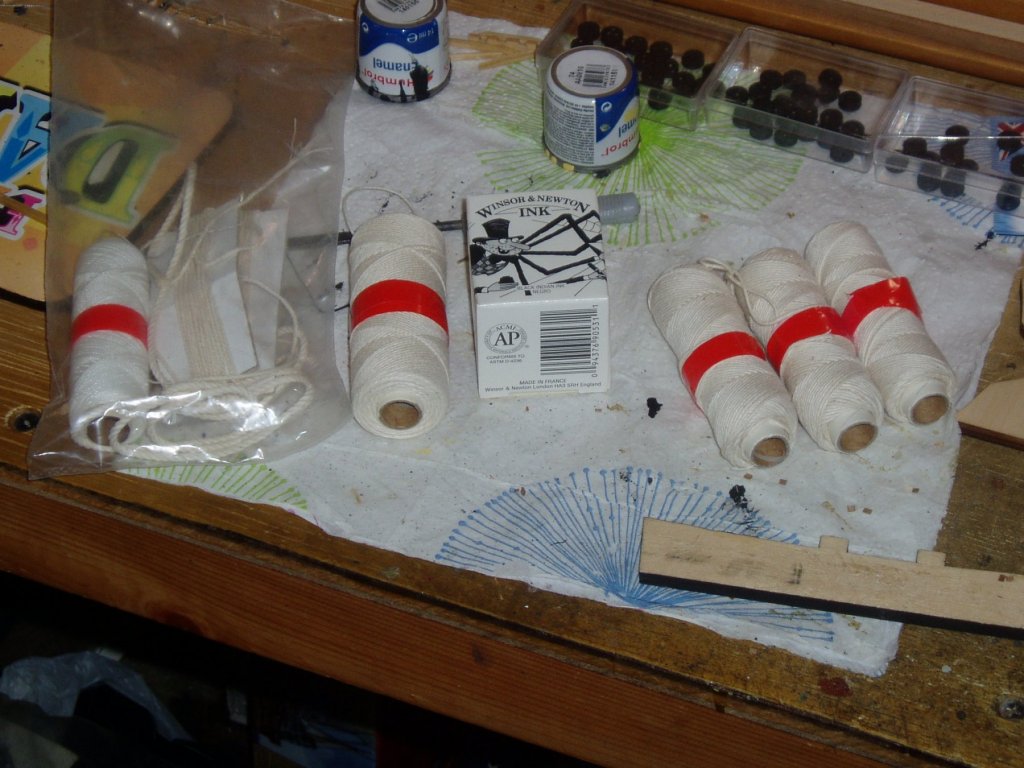
Hi again all, thank for the views and likes everyone, painted the deadeyes with the help of magic hands and a length of brass wire. Also couldn't get away with the replacement bamboo cross trees so delved back into my pile of walnut offcuts. then time to get messy and break out the india ink to start dying the thread for the shrouds- great fun with oodles of mess- like being back in art class at school!!. Take care and happy modelling all. Keith


-
wb phil- looking even more impressive. Keith
-
Nice work steve. good luck with the airborn beastie Keith
- 291 replies
-
- 4
-
-
- bounty
- billing boats
- (and 1 more)
-
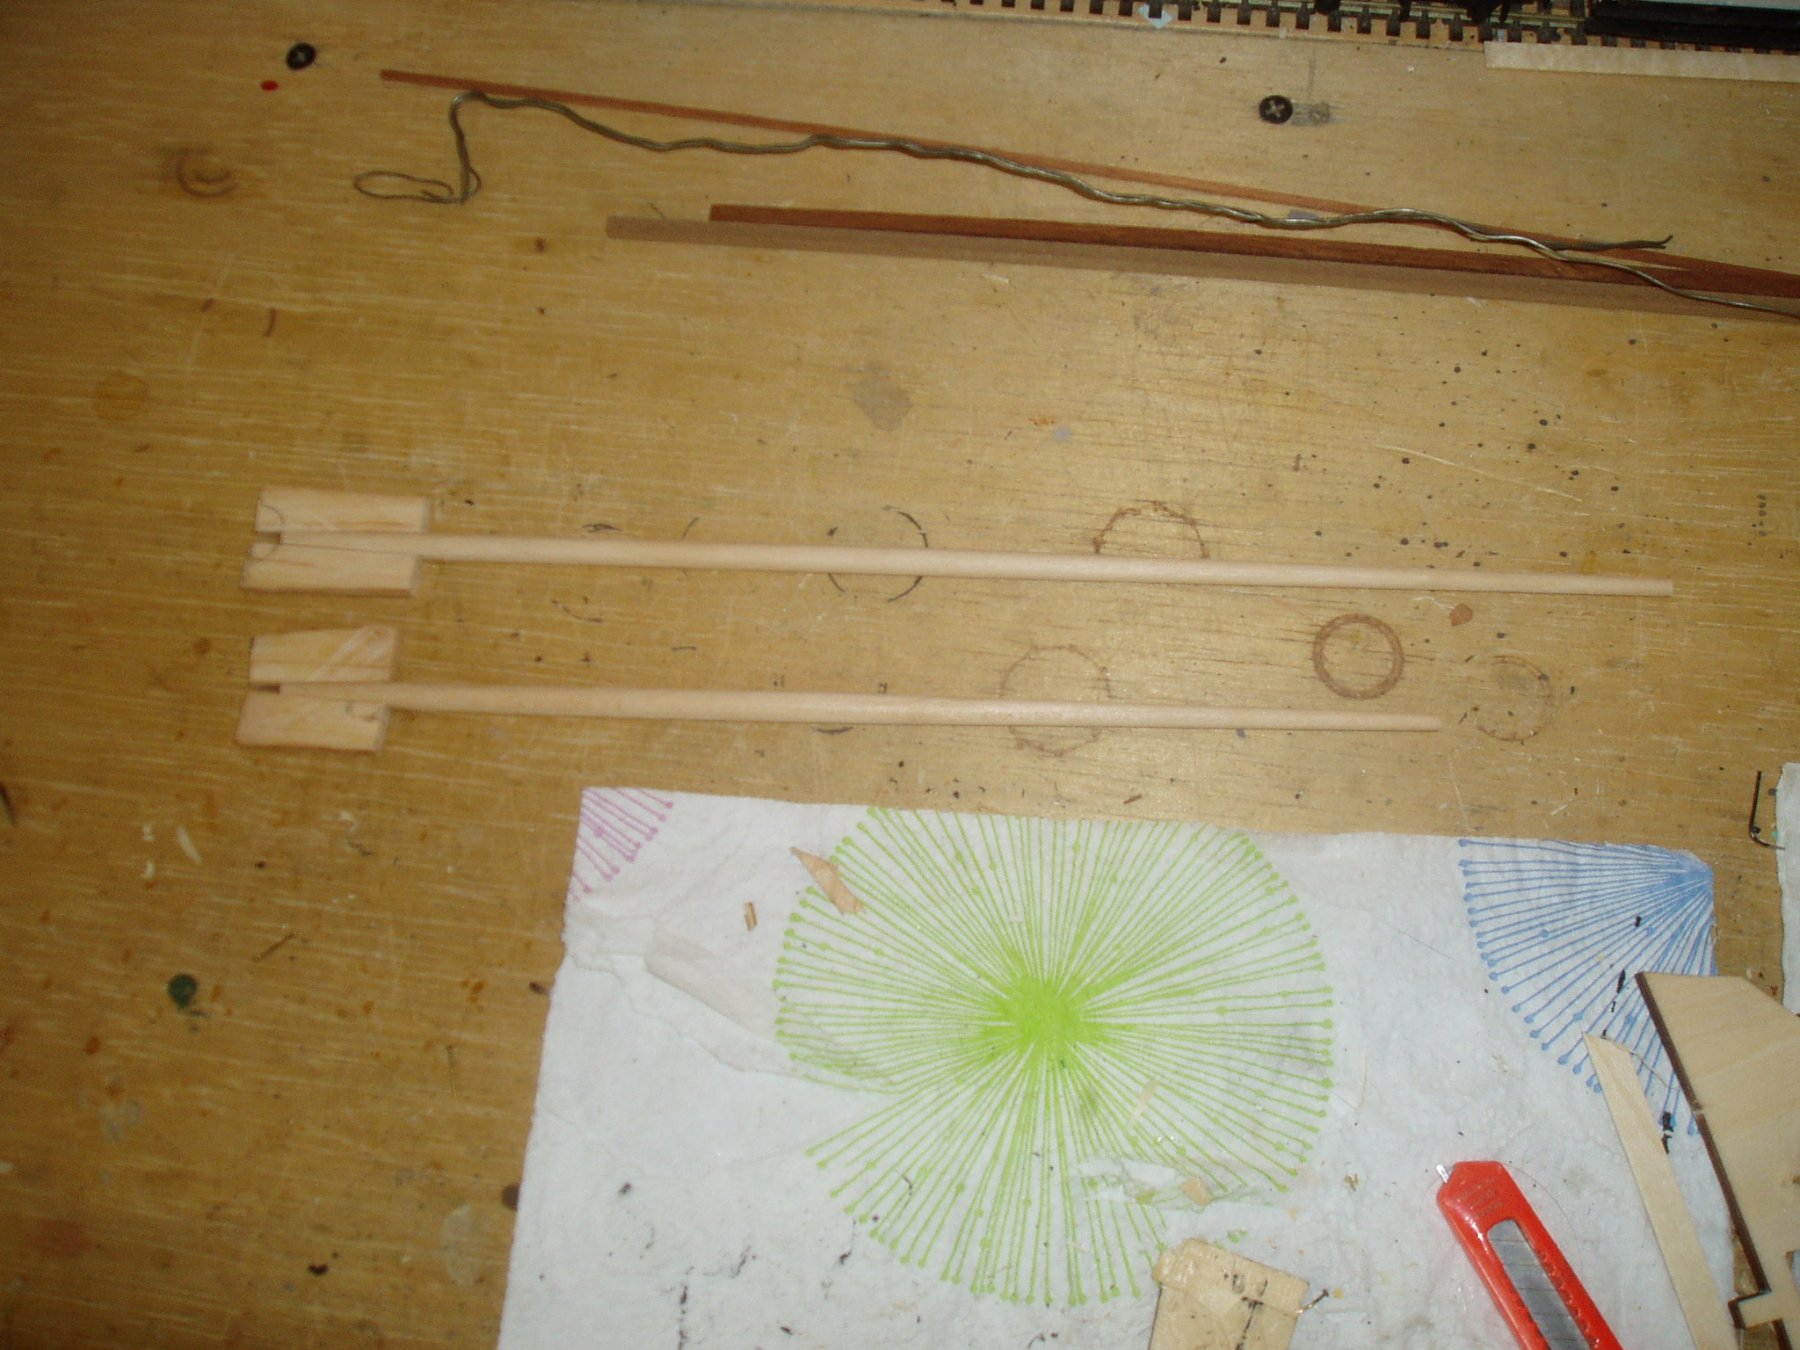
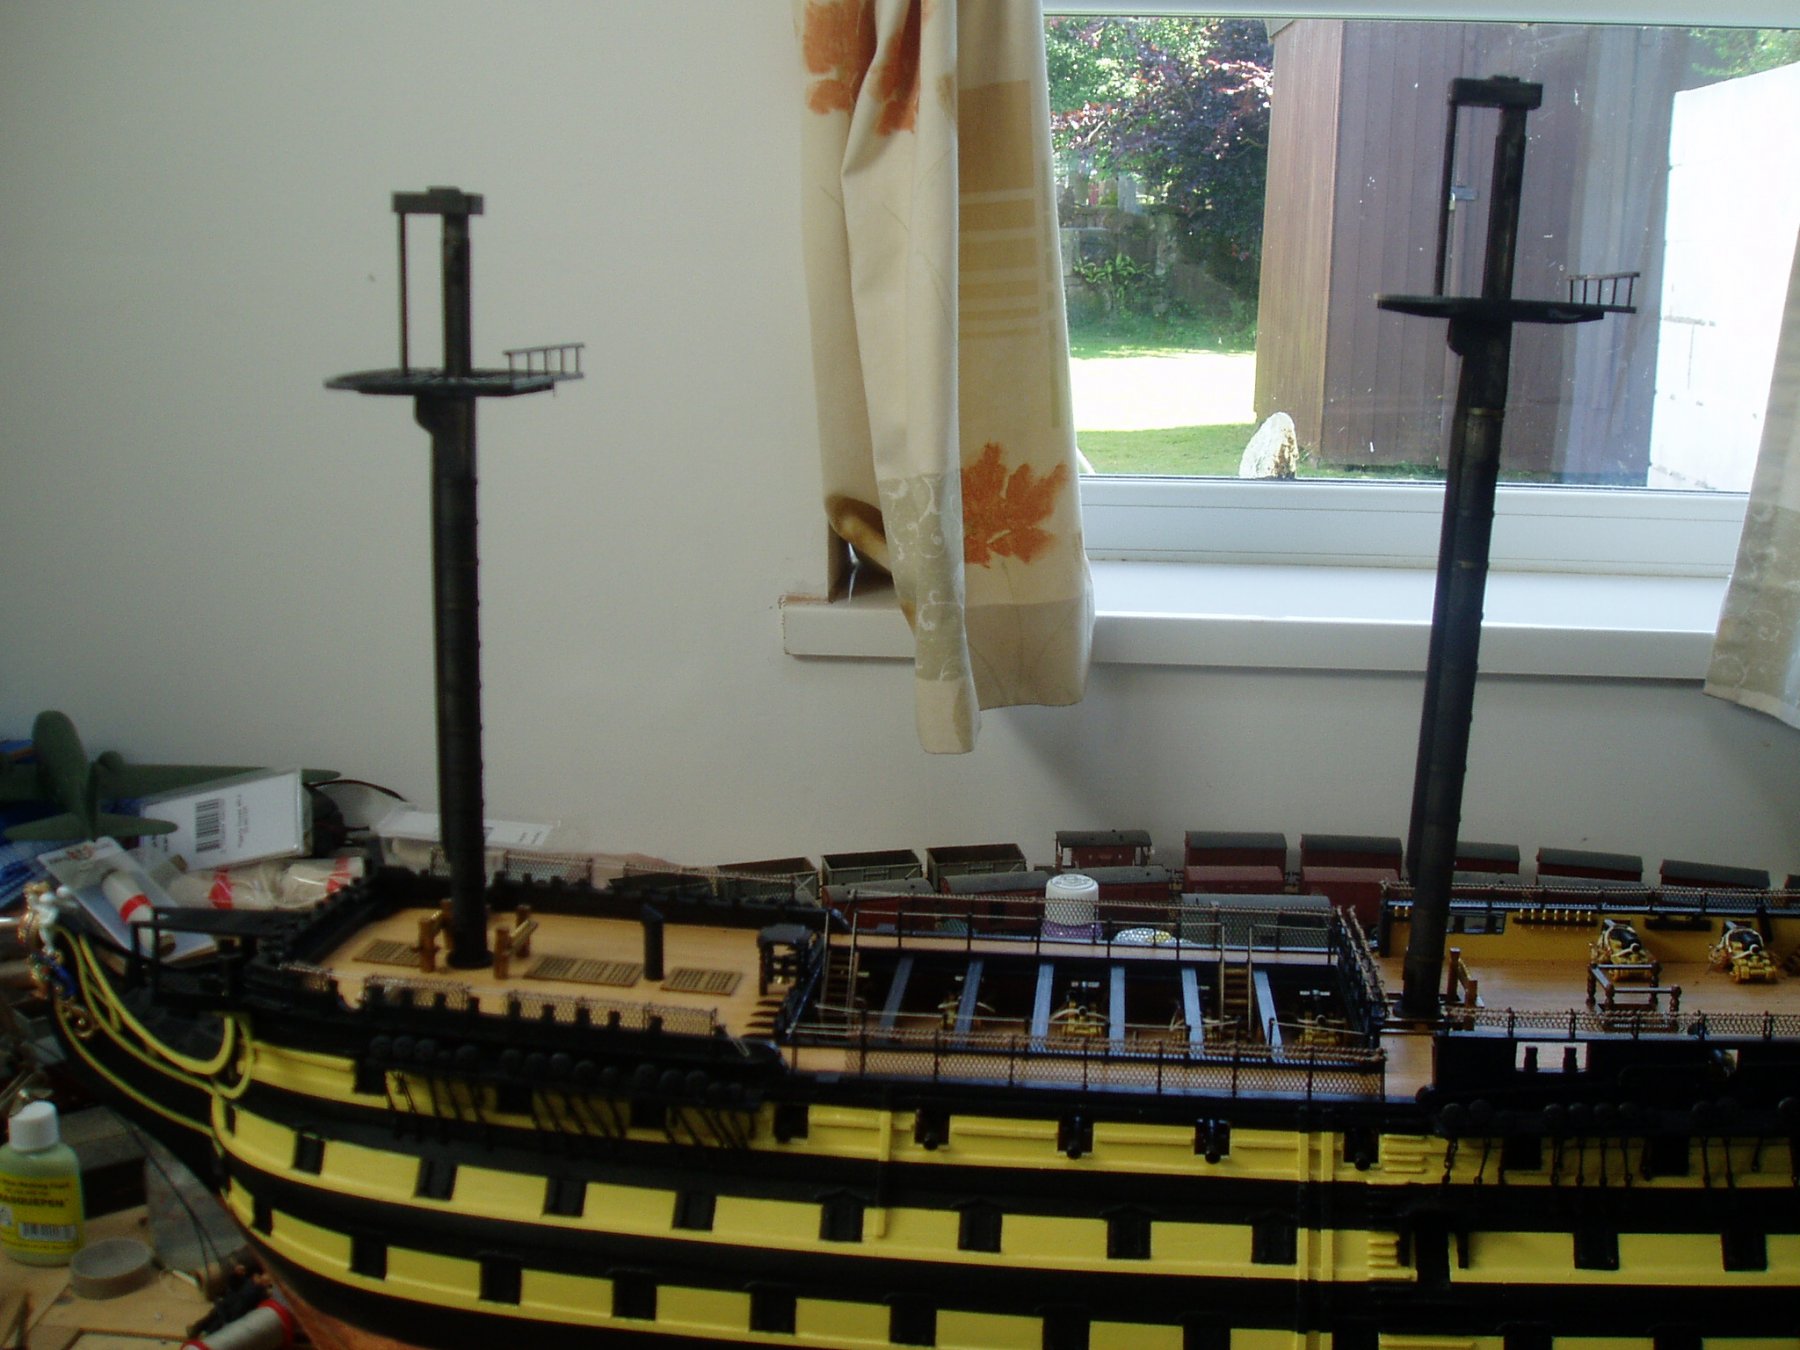
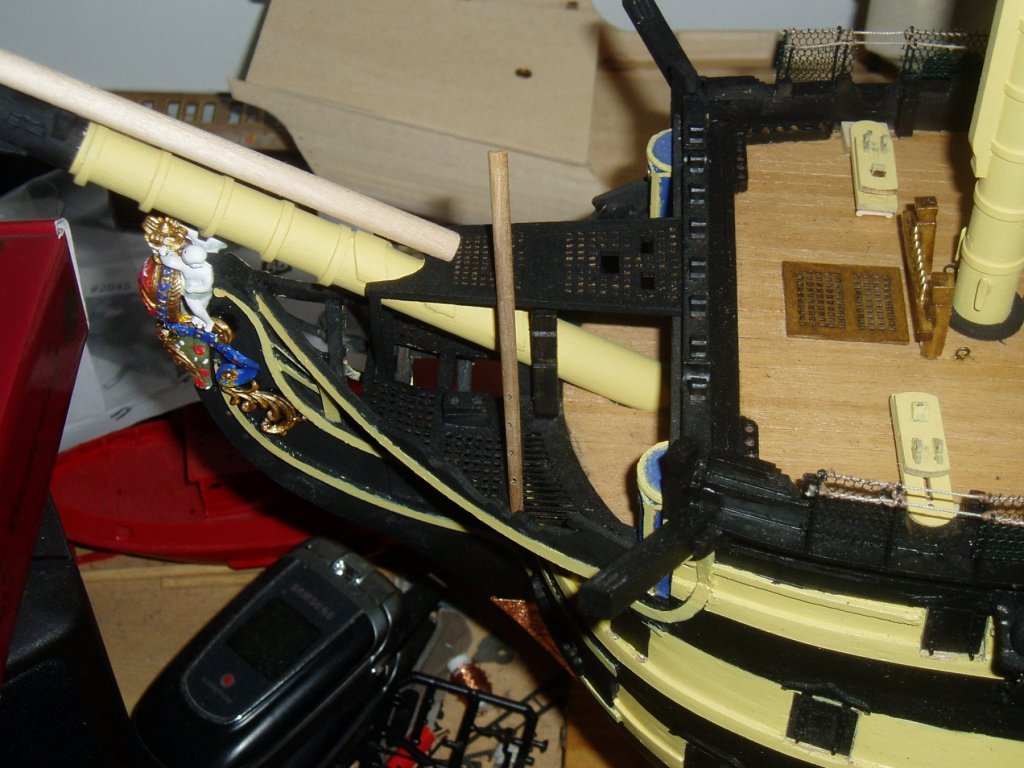
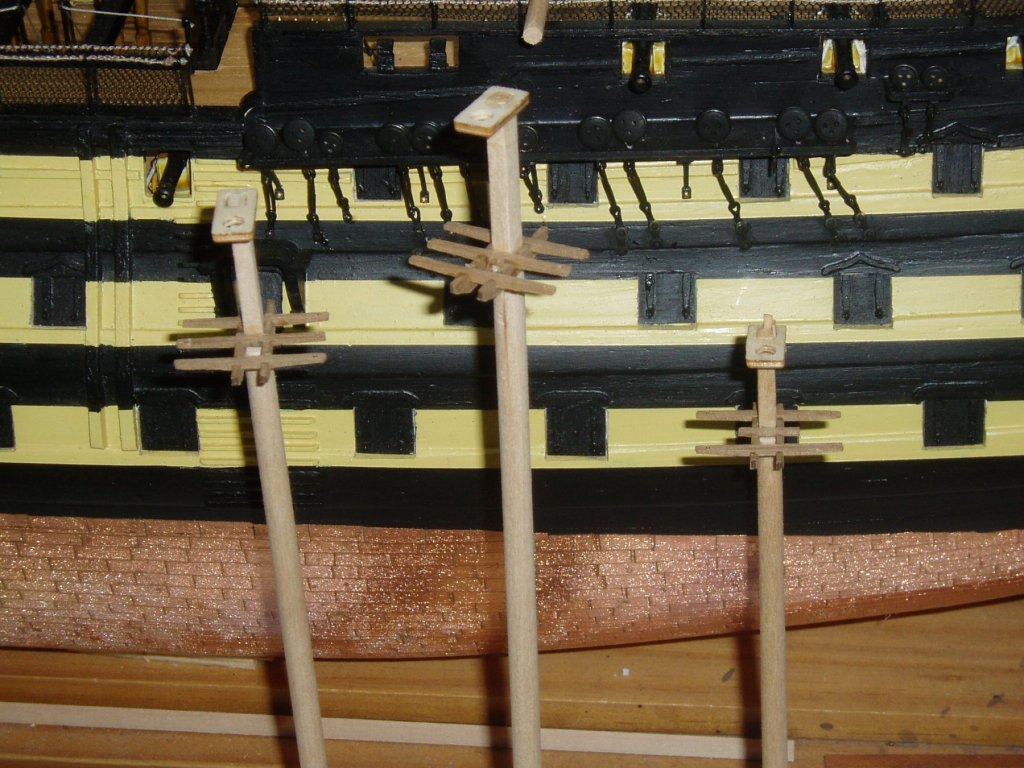
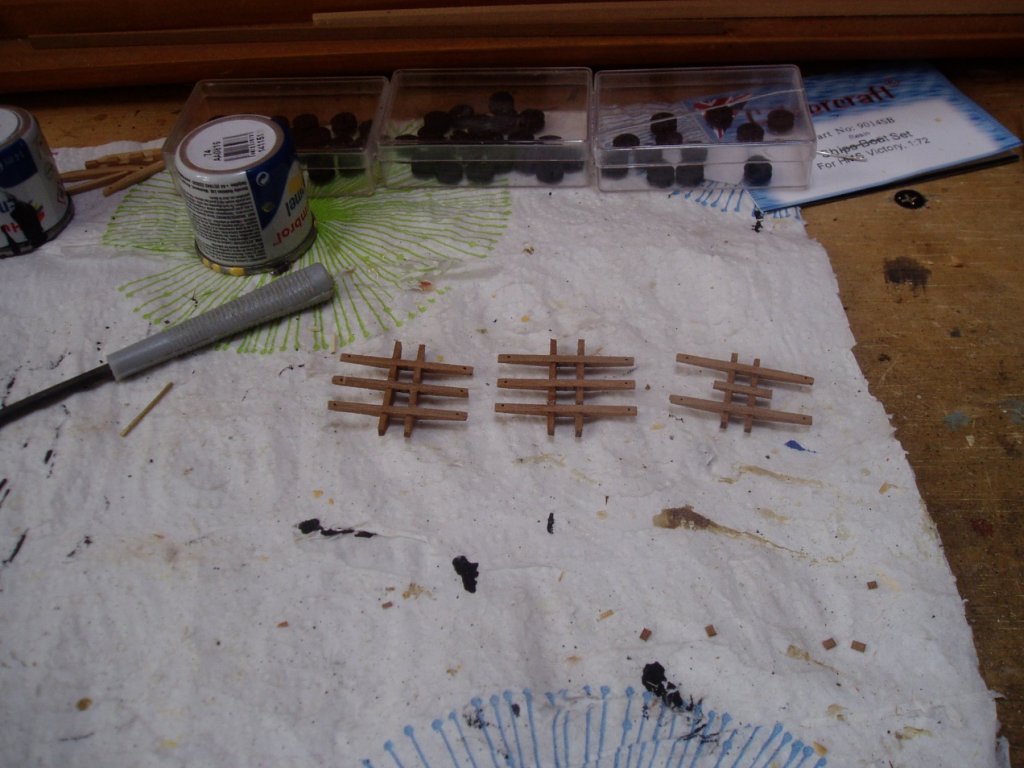
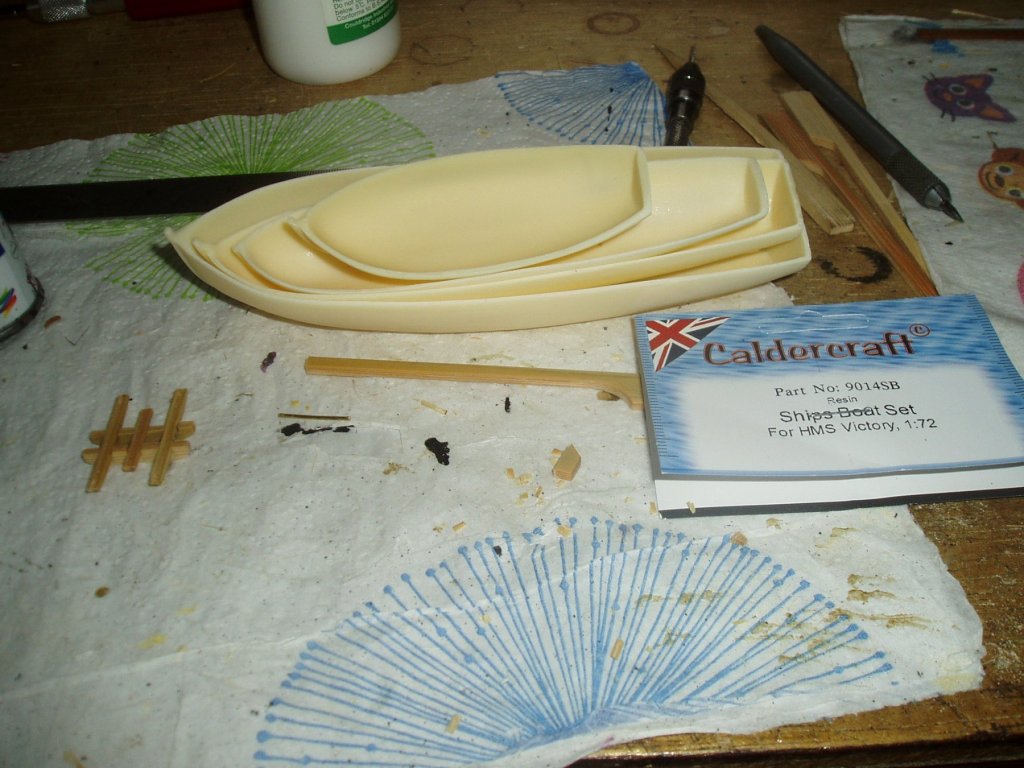
Thanks again for the visits to my log and the kind comments. Not had much time in ye olde ship yard due to visitors. The main and fore masts need one more coat of yellow and that will be the lower masts painted up. Obtained the caldercraft victory boats set, but being at 1/72 scale they are a bit of a squeeze on the skids so not sure if i will use them all. The tretletrees in the pic with the boats are made from bamboo obtained from them beefburger skewers which will replace the kit ply ones which are a bit fragile- not sure if bamboo is right wood to use? as always take care and have fun all. Keith
-
nice and compact model there Jerry- i started this kit myself but got waylaid with my Victory. Seeing your log is making me think about restarting it. Keith
-
Thanks for the views, likes and comments all- it does help. Billings just used an eyebolt to hold the jeers in place, so fashioned some cleats from some walnut left over from another kit (never throw anything away) and pinned them using bamboo dowel fashioned from a cocktail stick. also added cleats to the bases of the fore and main masts for the trusses- these are old billing ones from the spares box. Started painting the yellow on the mizzen and gave the fore and main the first of two black priming coats a well as tapering the mizzen gaff and boom. Have fun all and keep up the good work everyone. Keith


-
coming along nicely michael- i use india ink for dying my rigging thread and know how messy it can be! I think the red looks o.k. but photographs can alter colouring/ perception. Keith