-
Posts
2,235 -
Joined
-
Last visited
Content Type
Profiles
Forums
Gallery
Events
Everything posted by clearway
-
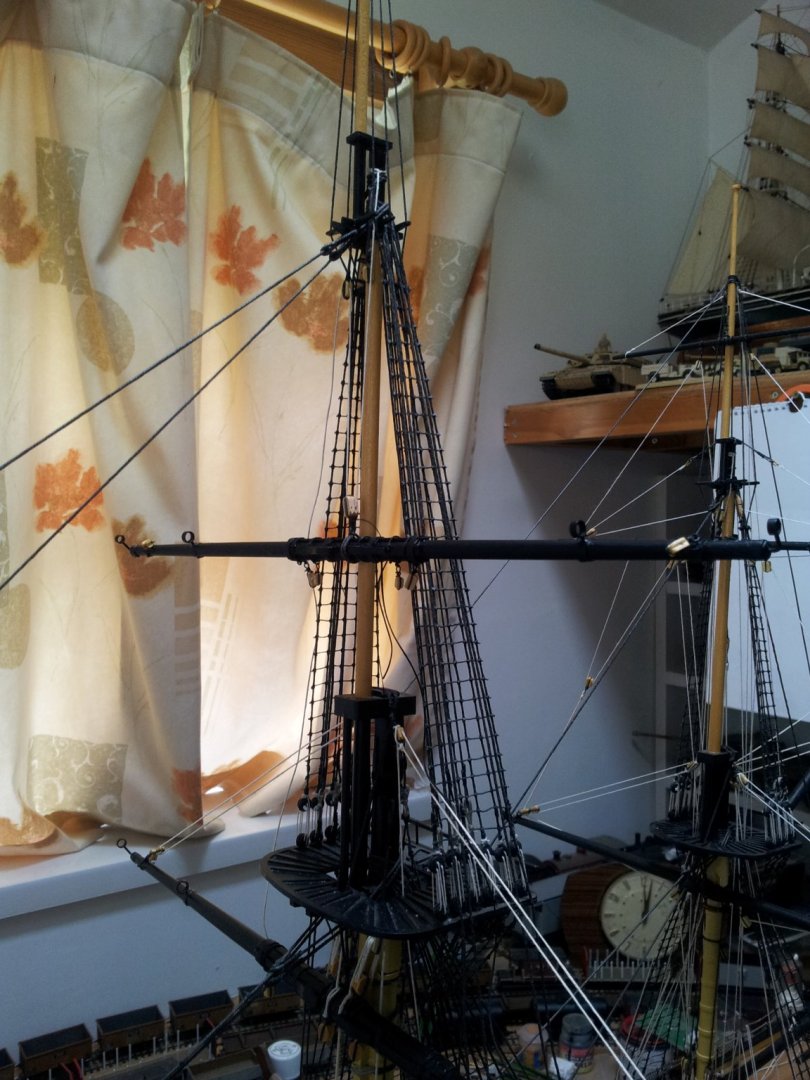
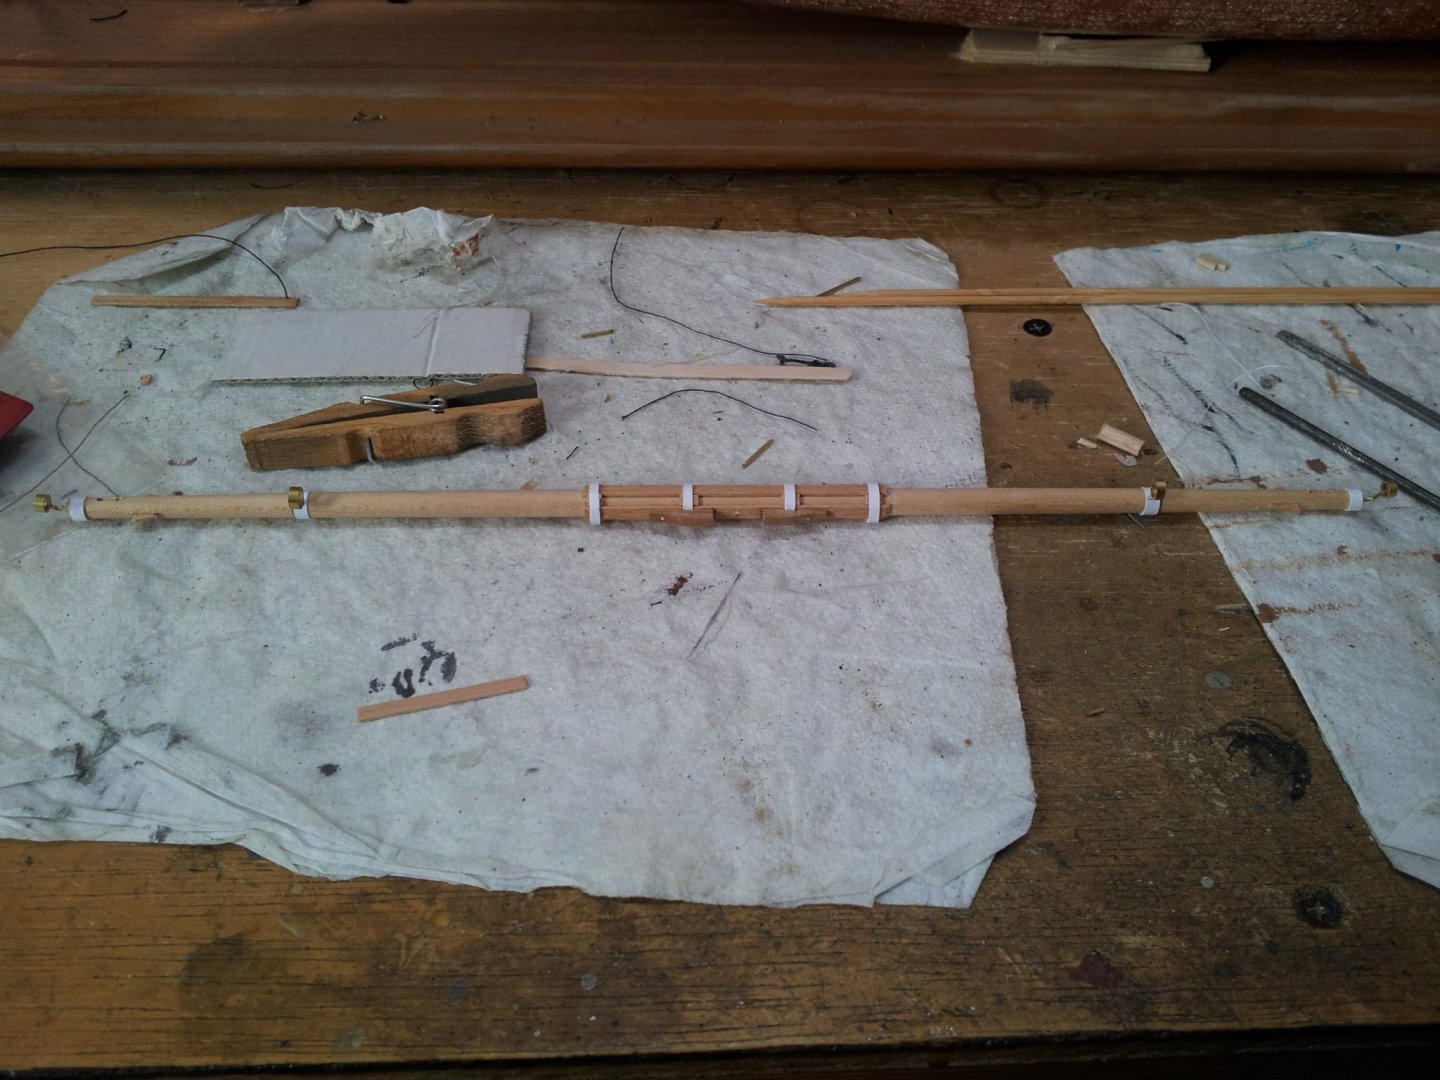
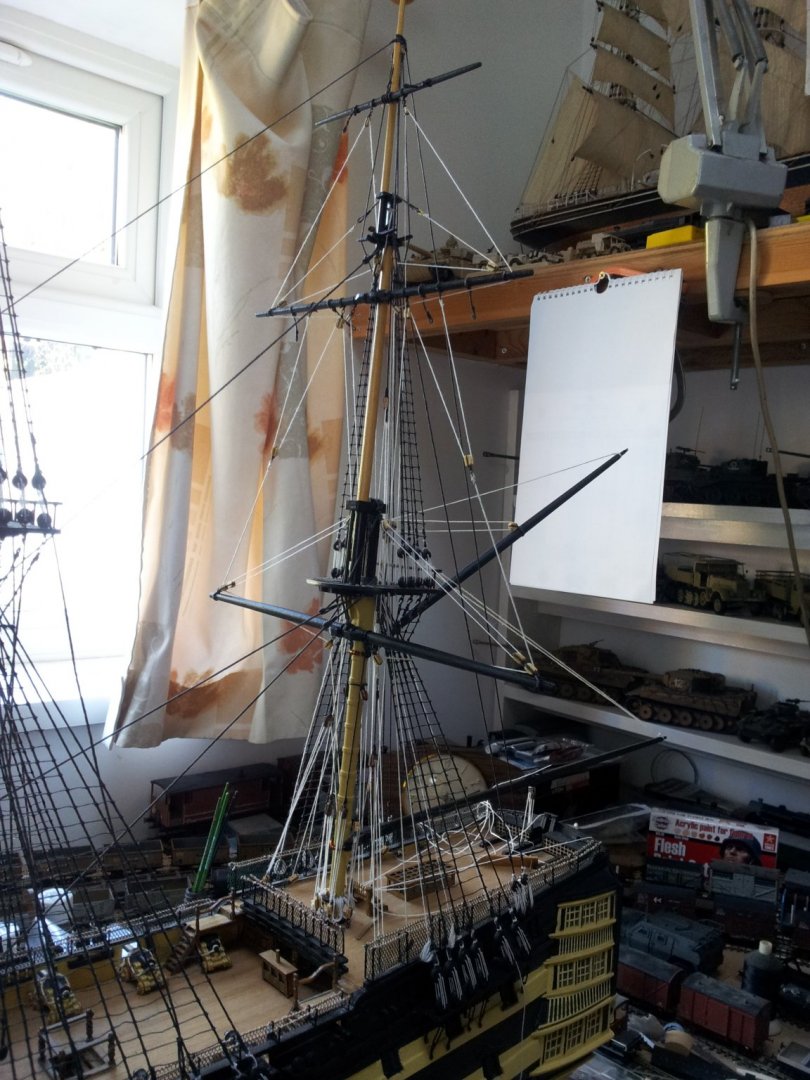
thanks as always to anyone who has commented, liked or popped in for a look around. just looking at the start date for the log and thought ouch where the six years go- woooooshhhhhhhhh!😵. got the main topyard in place today- slowly but surely getting there. still need to properly rig the tyes (just held in place by the blocks at the mo) take care all Keith
-
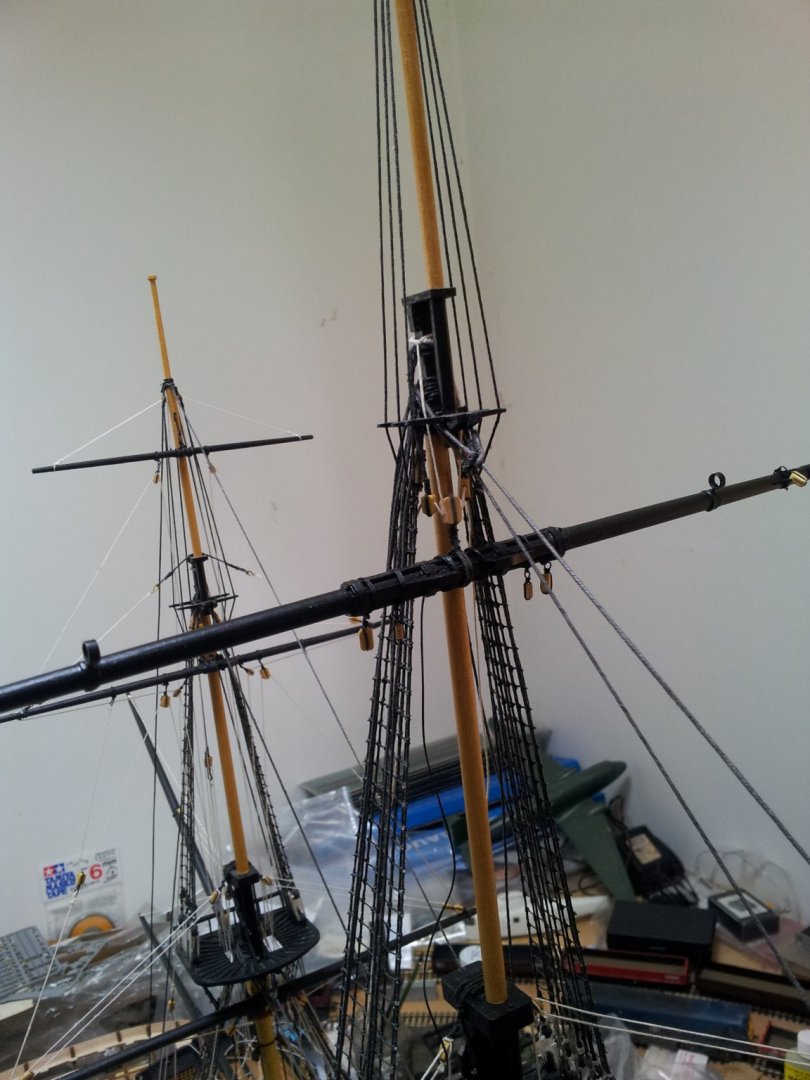
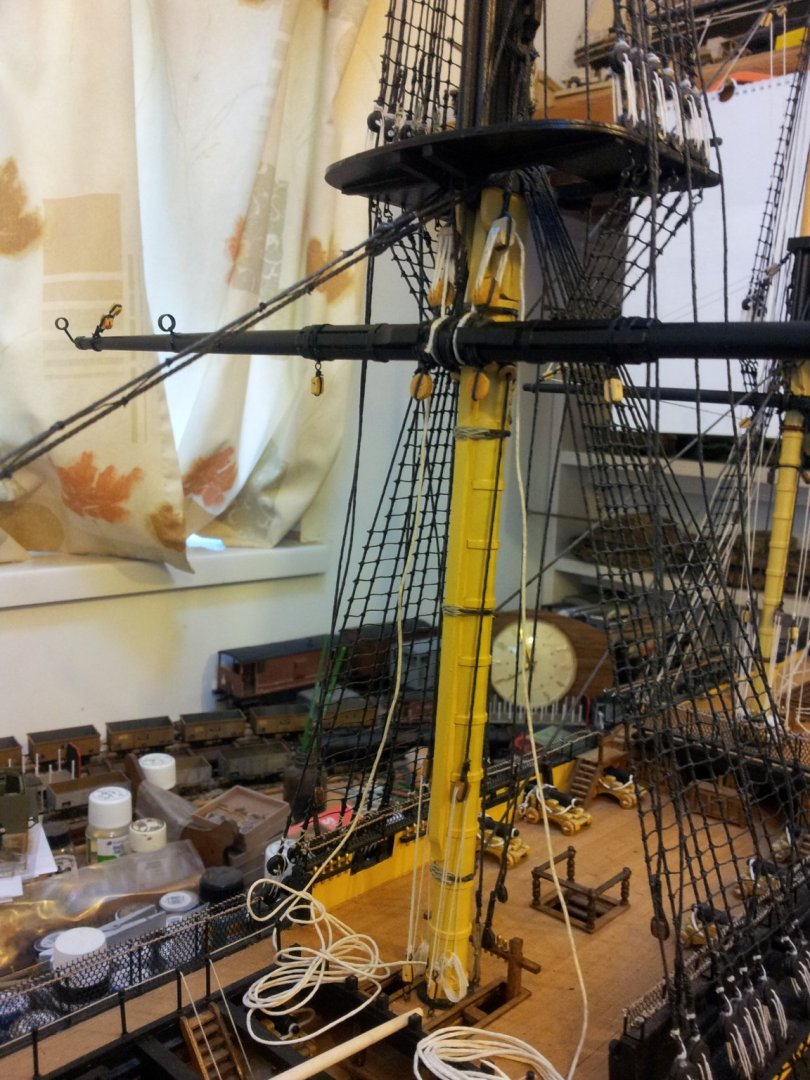
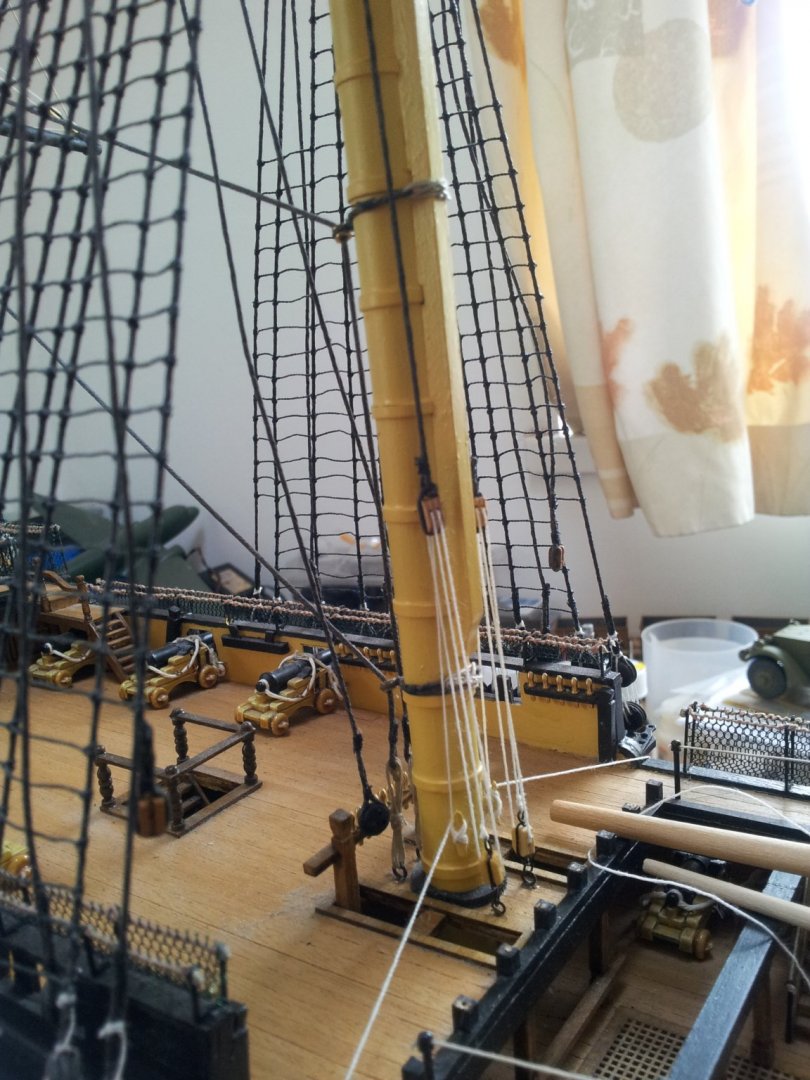
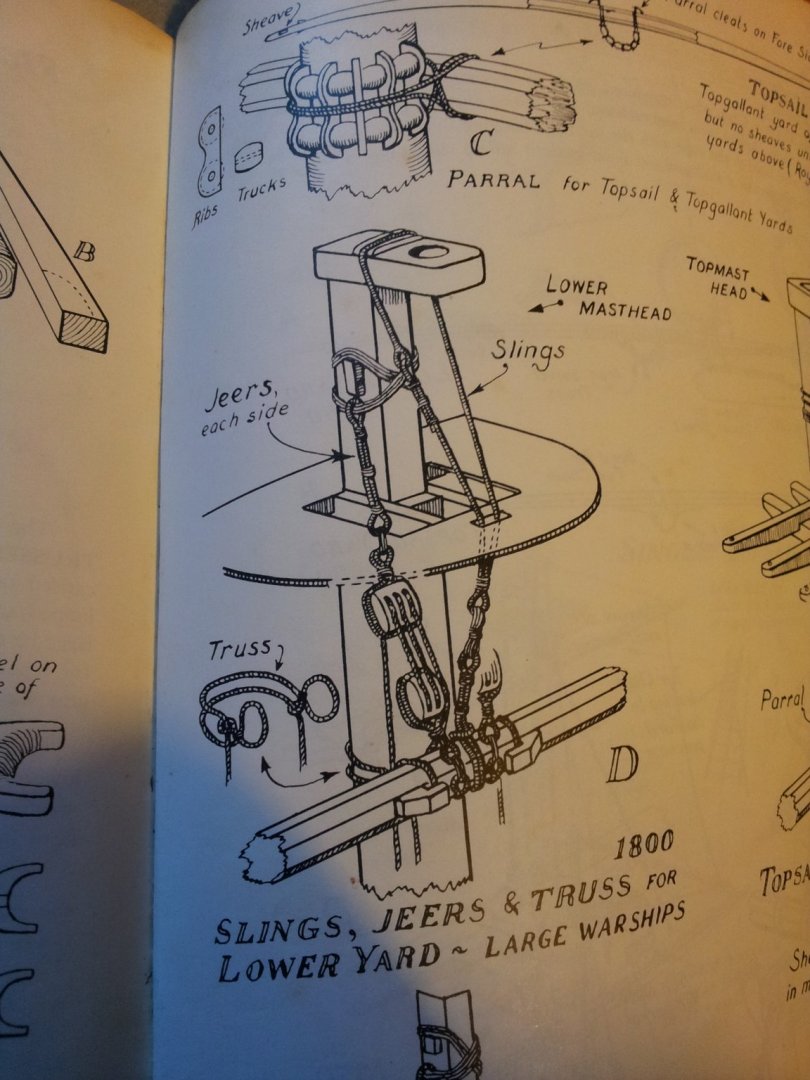
thanks for the comments and views everyone- got the main topyard painted and varnished and rigged the main yard lifts - soooo glad i didn't glue that rail infront of mainmast in place yet! also rigged the halliards to the main mast breast stays- not sure if i got it right with the mainyard lifts but billings just had them belayed to the pin rail! take care all and have fun. Keith
-
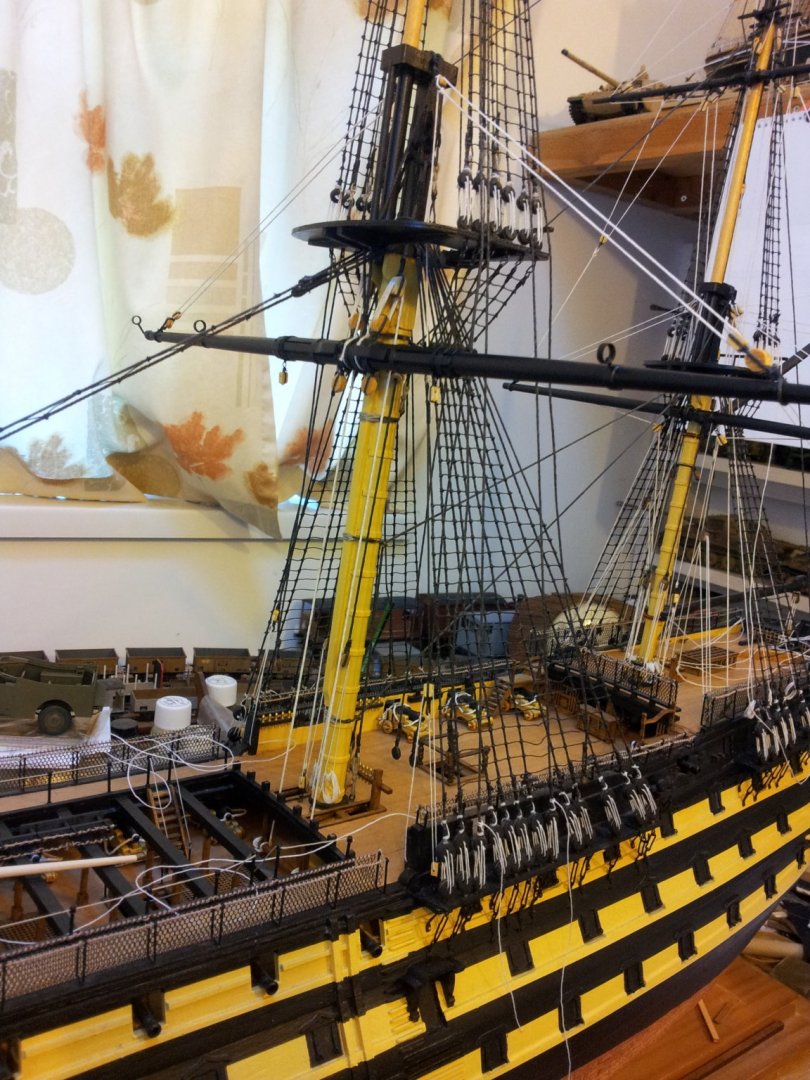
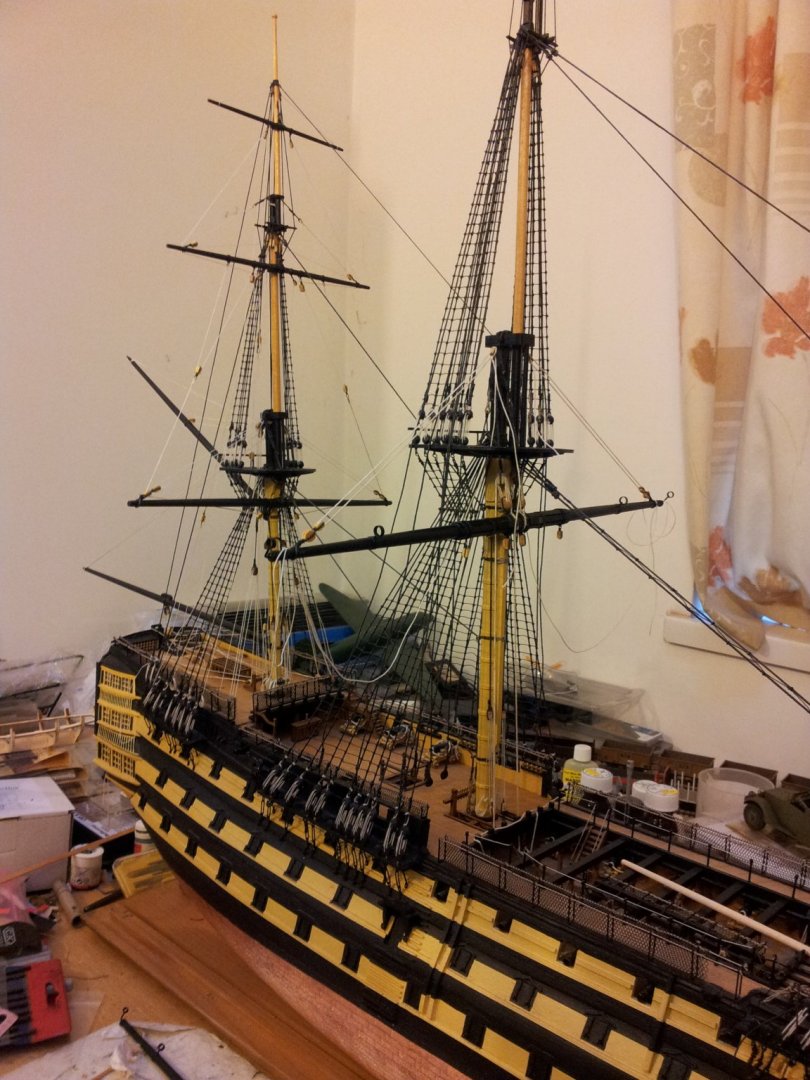
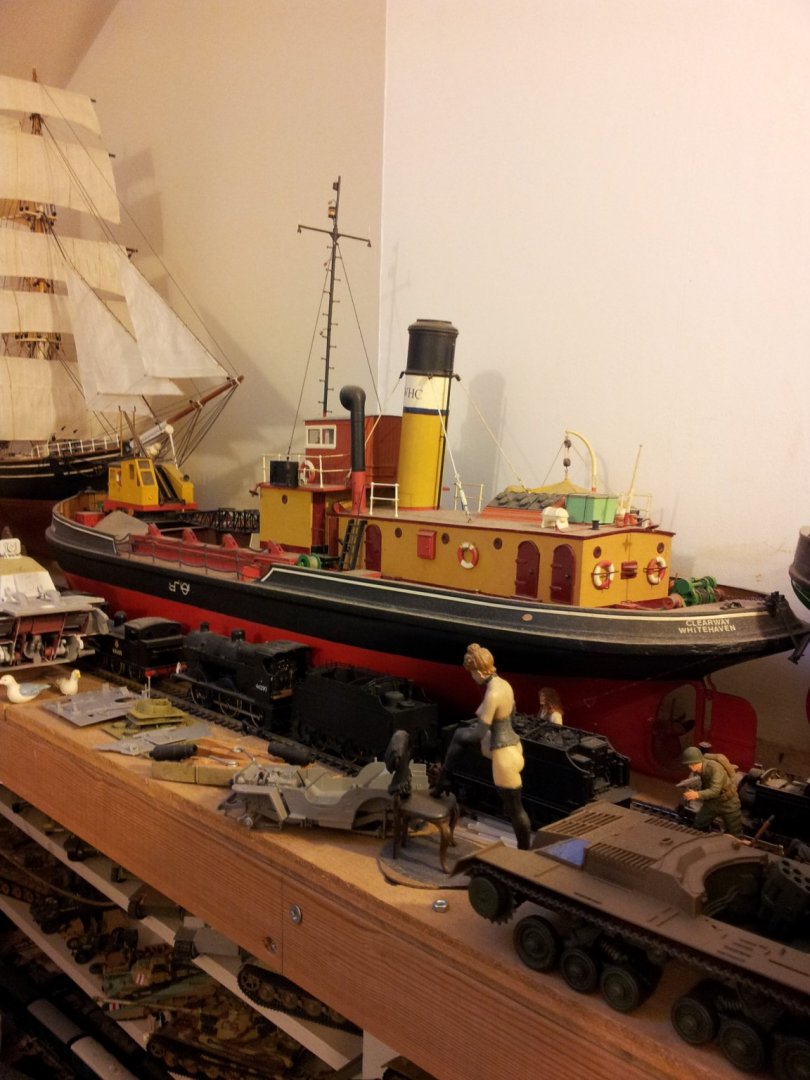
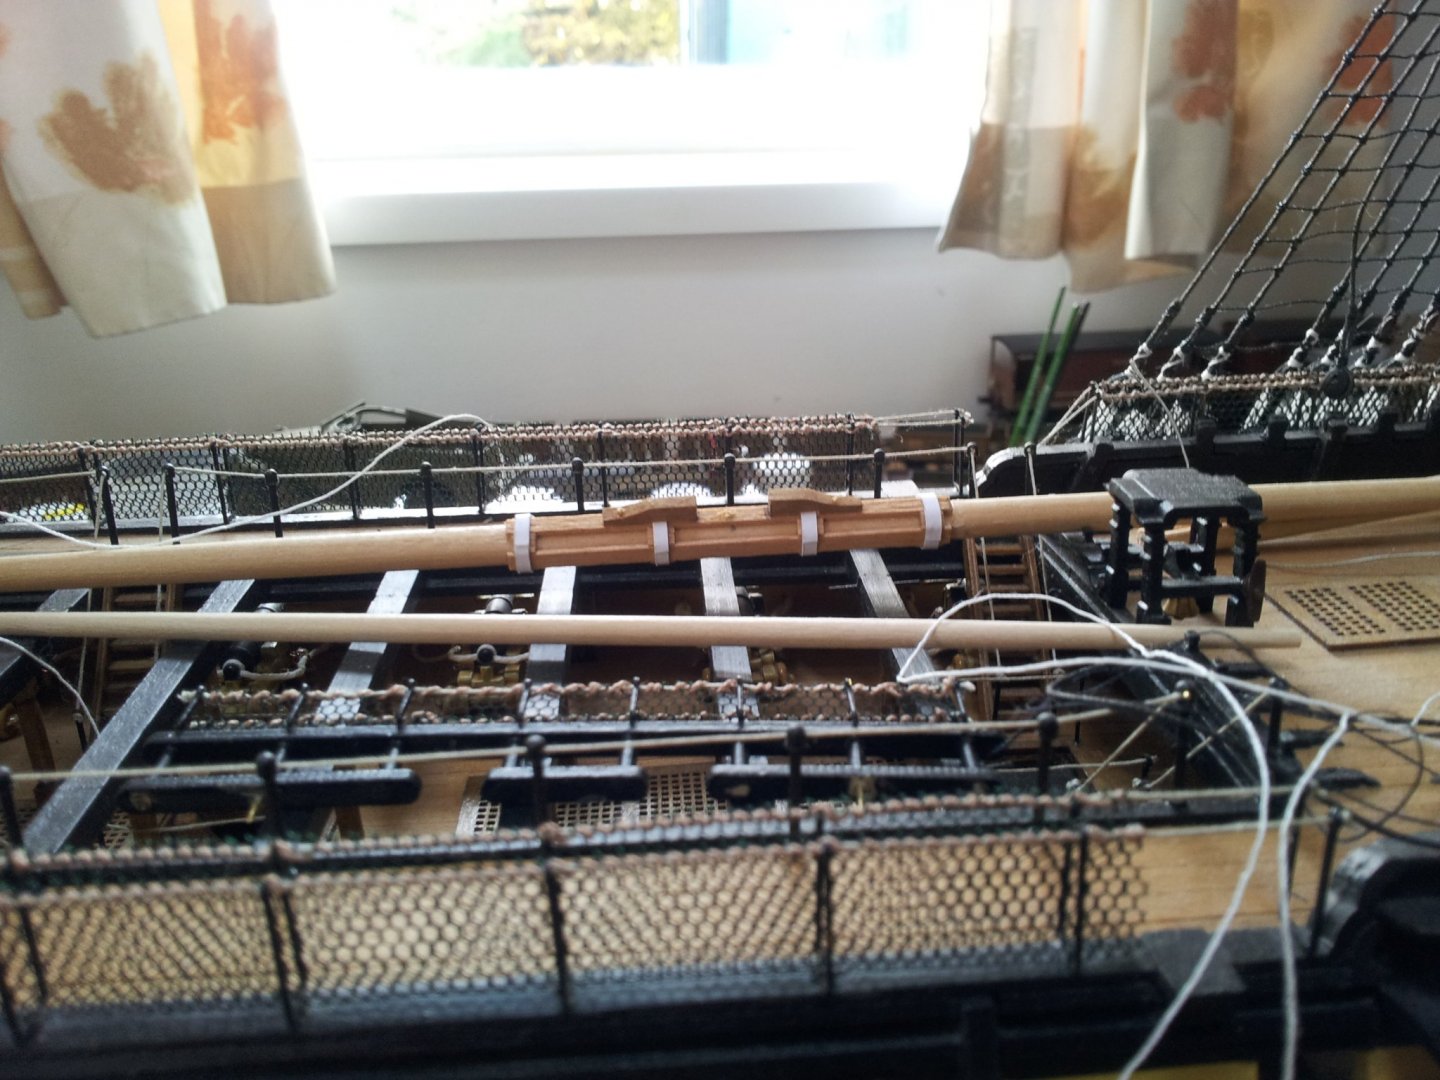
Thanks for comments likes and taking a look all. the main topyard is now finished and ready for paint and varnish- as with mainyard will leave stuns'l booms till later. also a shot of work so far also for Emmet a shot of my scratchbuilt model of the coal fired grab dredger Clearway- she remained with her coal fired steam engine until mothballed in 1993- was sold for scrap in 1998. need to finish the crane gantry so might be a build log in scratchbuilt ships in the future😉- also really need to sort out my mancave!!!!! take care all Keith
-
they should do emmet- i get as close to the tip of the cutters as possible push down on the wood around the head as the wood will dive a little then grip the head and pull 180 degrees in the opposite direction to original nailing if that makes sense- you will need to fill and sand back some afterwards- or you could get a punch and drive the nails deeper, but filling will still be needed. thanks for the positive comment mark (they do help😁) keep going as practice makes it easier- this is my first man'o'war kit as most of the models i have built have been 19th century schooners, clippers or steam ships (tugs, dredgers etc) as well as fishing boats. Keith
-
looks good so far and no probs with pics as far as i can see🧐 take care keith
- 12 replies
-
- artesania latina
- cutty sark
-
(and 1 more)
Tagged with:
-
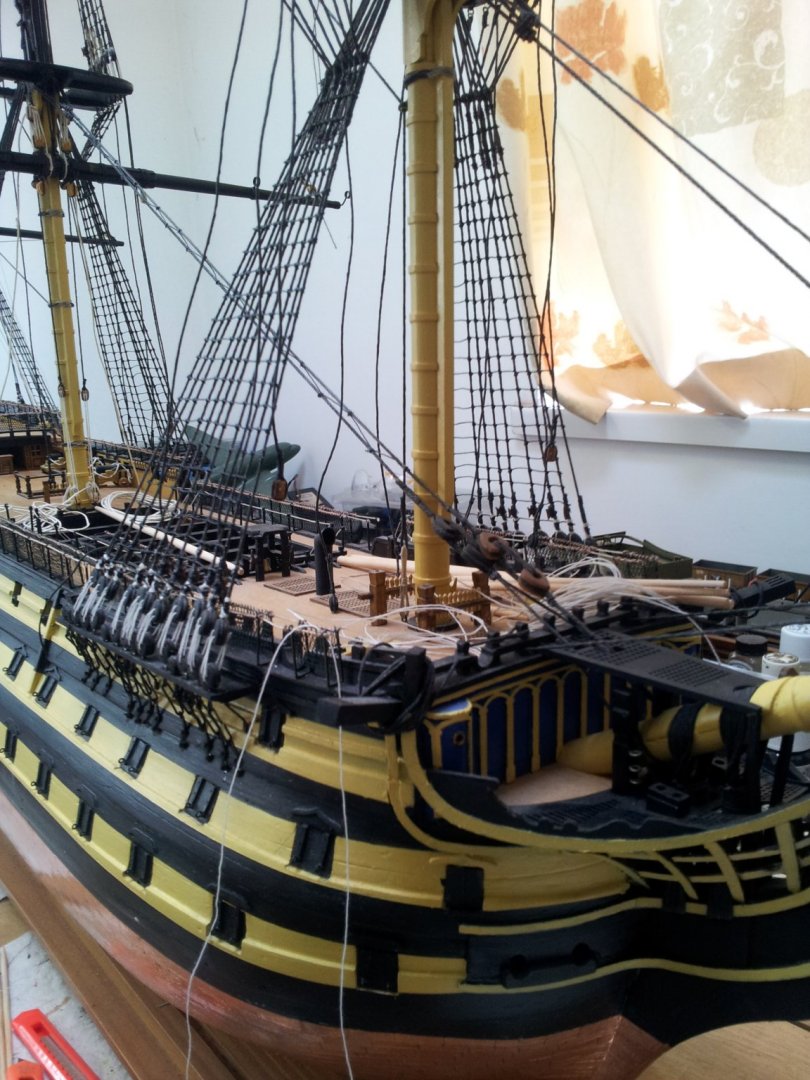
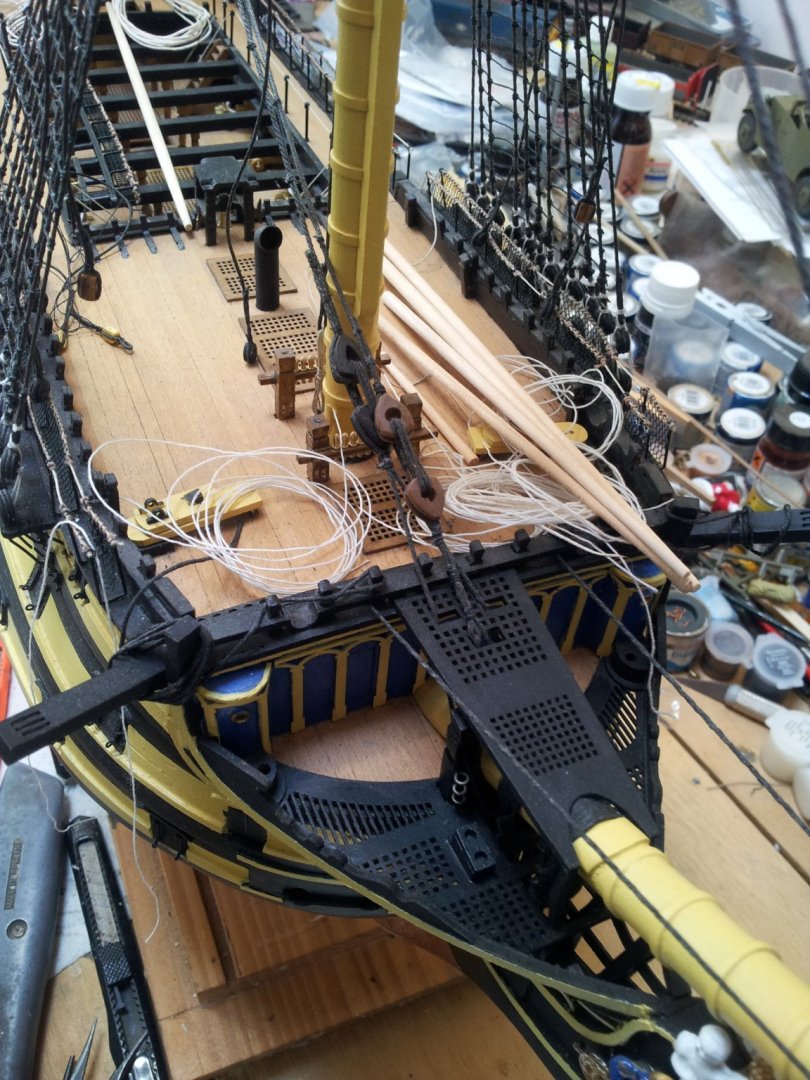
it comes with practice Emmet- it is hairy pulling the pins, the side cutters i use have blades around 10mm long. gieb8688 asked for some bowshots to show run of main stays- the mainstay (lower one) passes through the marines catwalk through holes in the knightheads, a hole in the stem then back up to the heart- the preventer stay (upper rope) passes through the catwalk as well then goes round the bowsprit then back up to the heart. hope this helps take care all keith
-
god speed and good luck- this new generation of modellers don't know how lucky they are- no laser cutting and photoetch upgrades for us back in the day! Keith
-
Safe journey Emmet- the brass pins are around 10mm long (the type you see supplied with a lot of model boat kits), i remove the with a pair of side cutters- not really suitable if a natural wood finish is required though. just a lil progress today with the main yard jeer blocks rigged though not tied off yet. Take care all and thanks for looking in. Keith
-
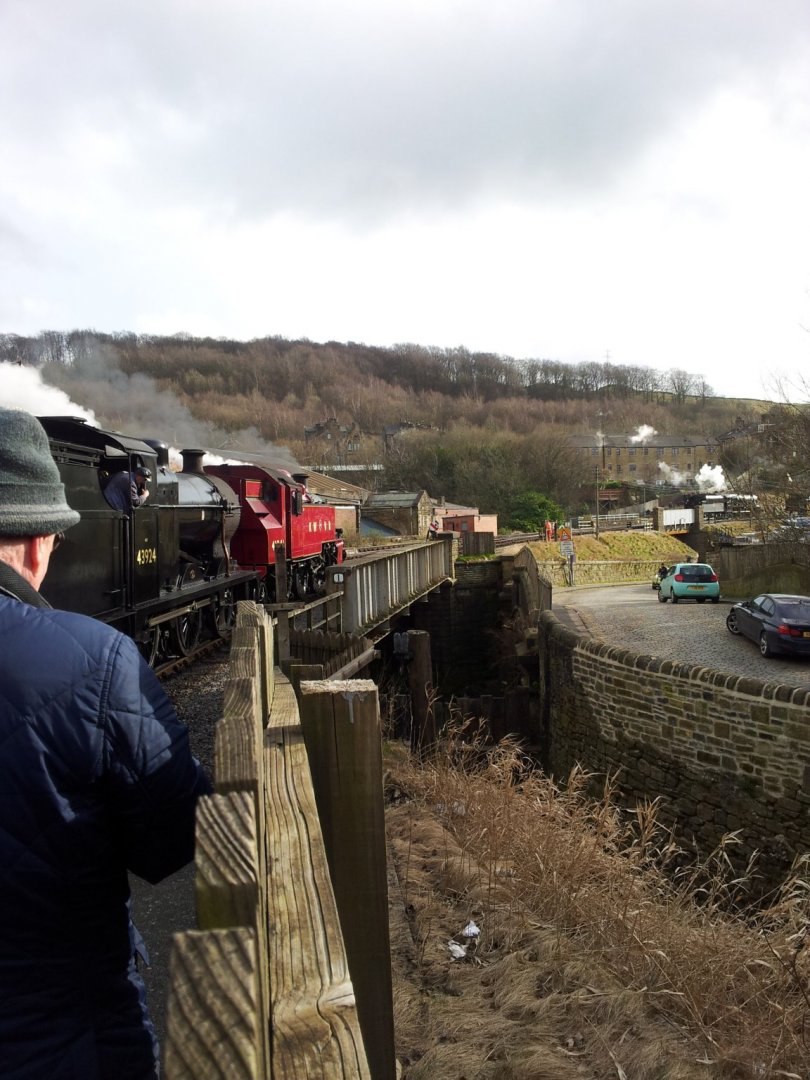
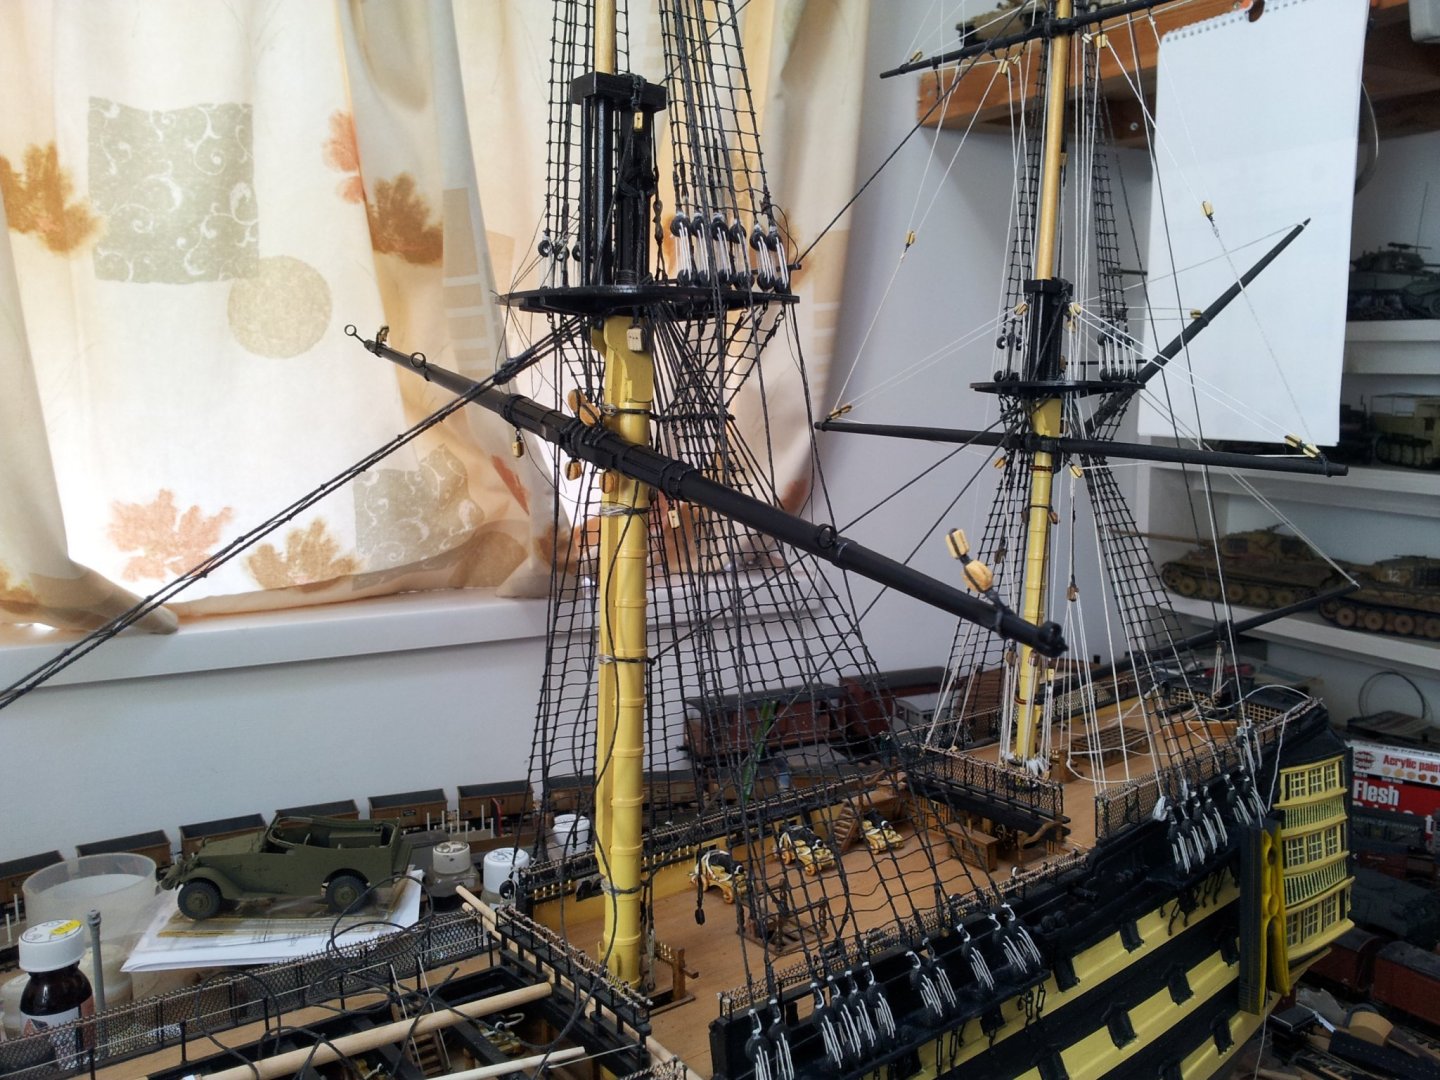
Thanks for looking in all- bit more progress- got the main yard truss pendants rigged and the stop cleats in place on the main topyard (will trim the bamboo treenails flush when glue dried). Thinking 200 moves ahead i didn't actually glue the rail in front of the mainmast in permanently yet as i knew i would need access there. Sometimes pays to just sit infront of the model you are building and mentally skip to future possible headaches! As an aside for you steam buffs out there the family went to the Keighley and worth valley railway spring gala on march 7th which was our last day out before the lockdown- take care all Keith
-
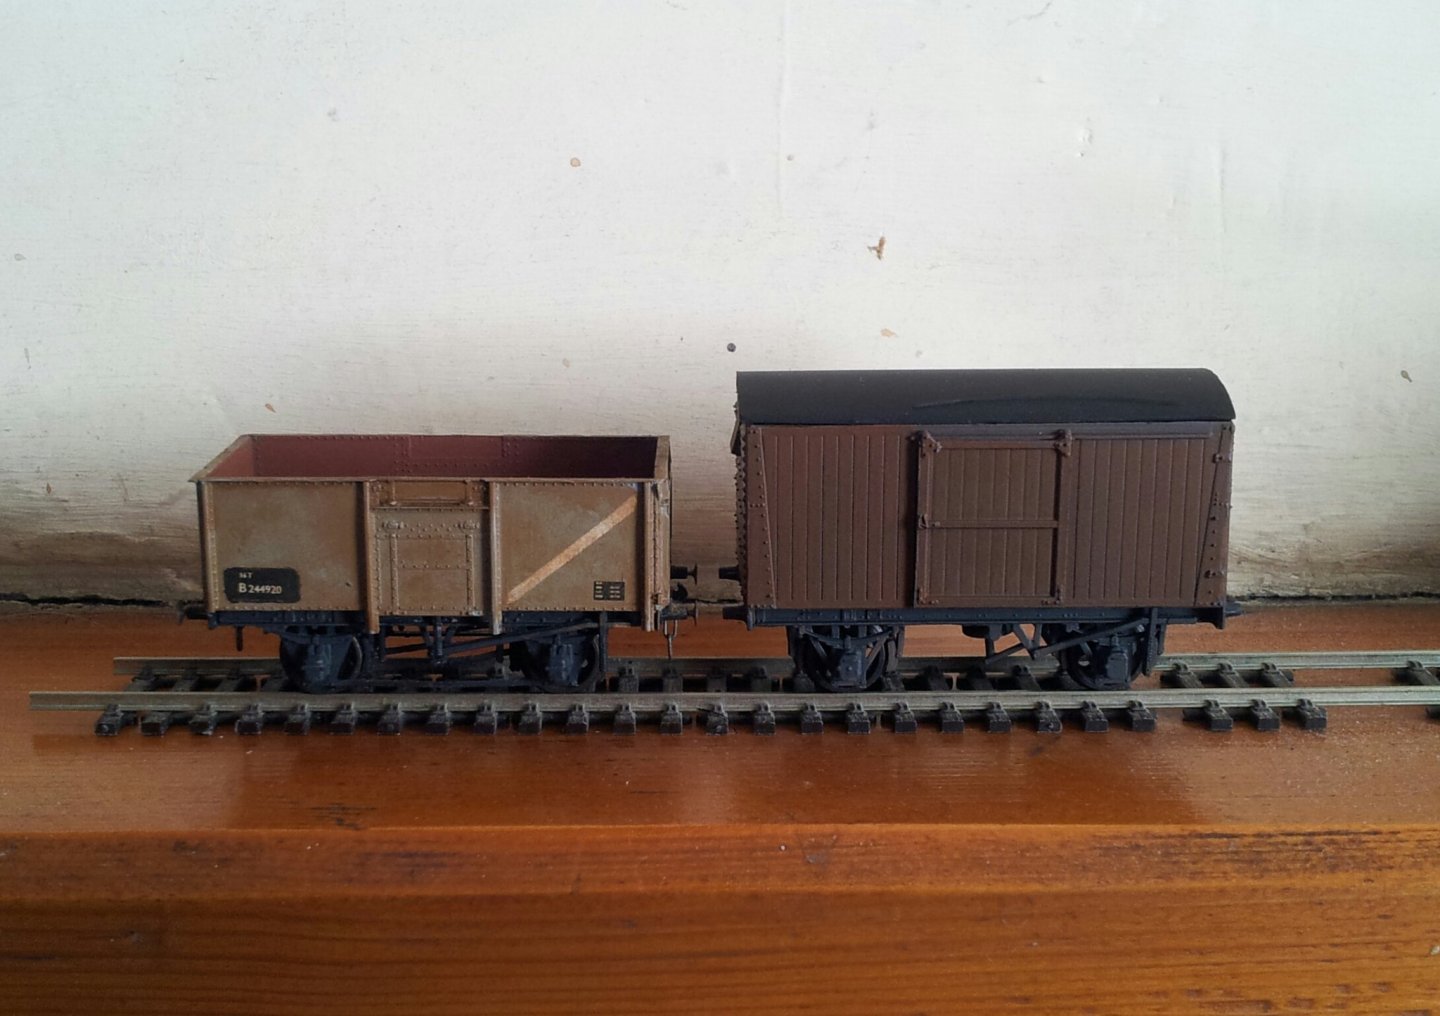
i know it isn't ships, but been playing around with weathering again- the wagon on the left was weathered using humbrol rust wash which then had some removed using a cotton bud in a rolling motion and the covered van was given a base coat of black primer, then a coat of red brown after which the woodwork was given a wash of humbrol satin 133 bauxite and the underframe a wash of humbrol matt 67 tank grey. keith
-
Ty for the positive comment Peter- i have resorted to scratch building, buying in extra fittings and delving into my odds n sods stash left over from previous builds! If you go back to page two and work forwards i have made a note of where i have bought in extra fittings + manufacturer who makes them. Ty all for looking in. Keith
-
thanks again for having a look and comments- progressing slow but sure- got the main yard attached (just via the sling at the moment), and rigged the t'gallant lifts though not tied off/ belayed yet- never thought i was ever going to get to this stage! take care all and keep up the good work everyone. Keith
-
Hi Emmet, the thread is 1mm diameter- the two fittings in the middle are actually wooden eyes that the trusses pass through to hold the yard to the mast- the blocks on the end of the yard are 5mm and 6mm- the larger blocks you see on the mizzen are 5mm and the smaller 3mm. the mainyard is 400mm long. Keith
-
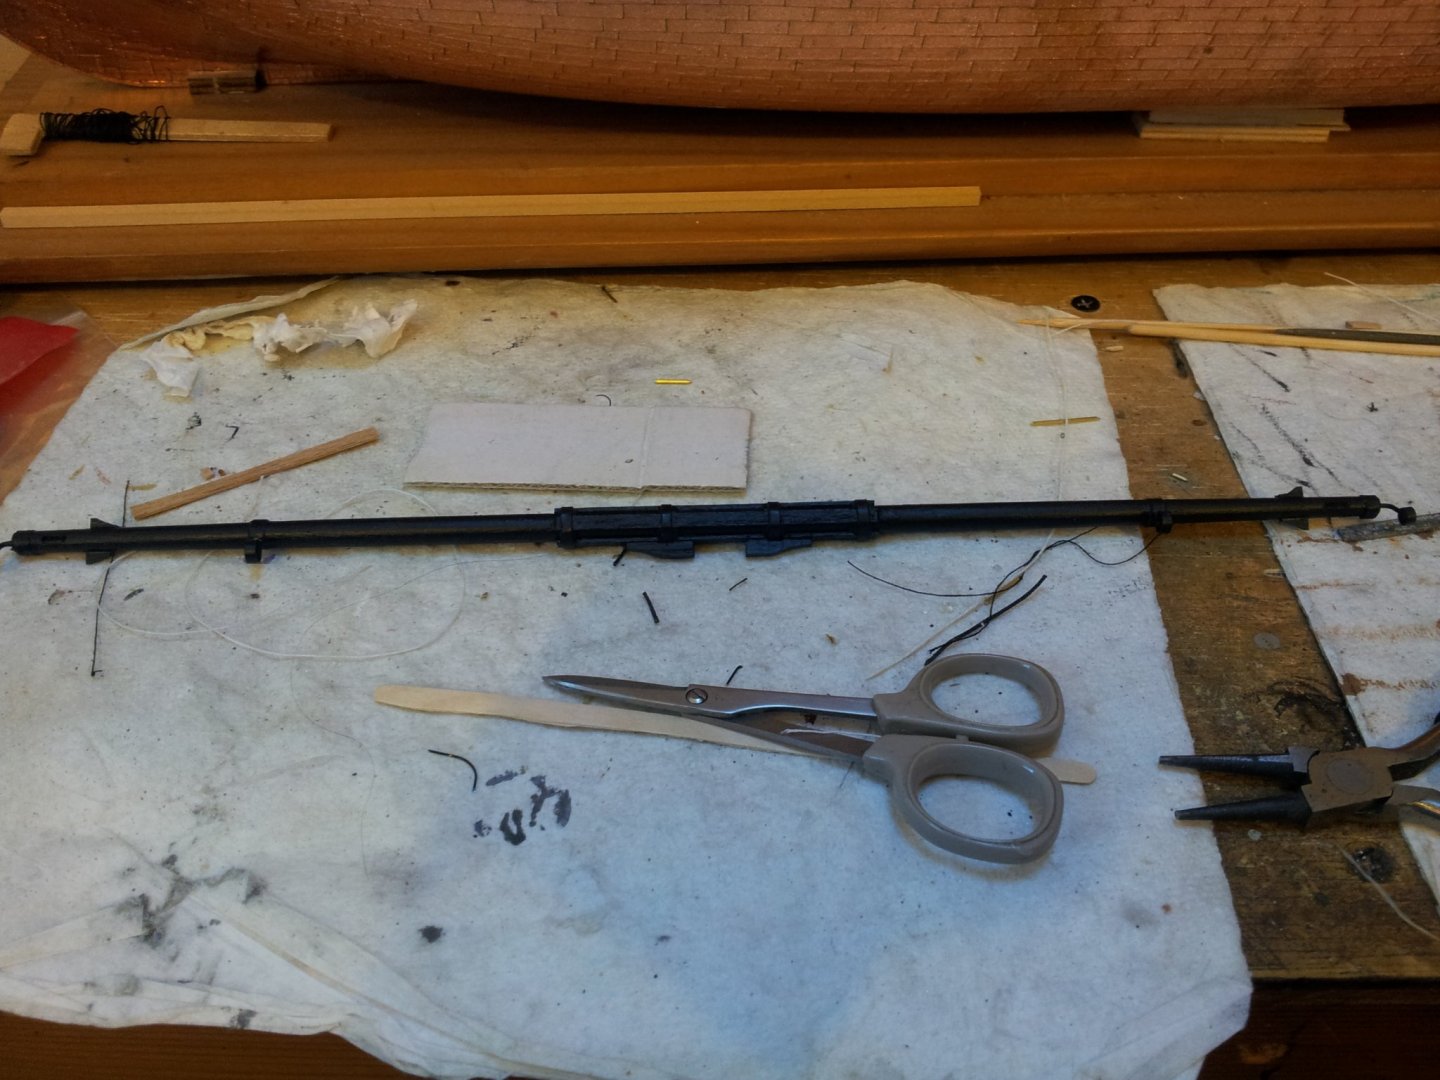
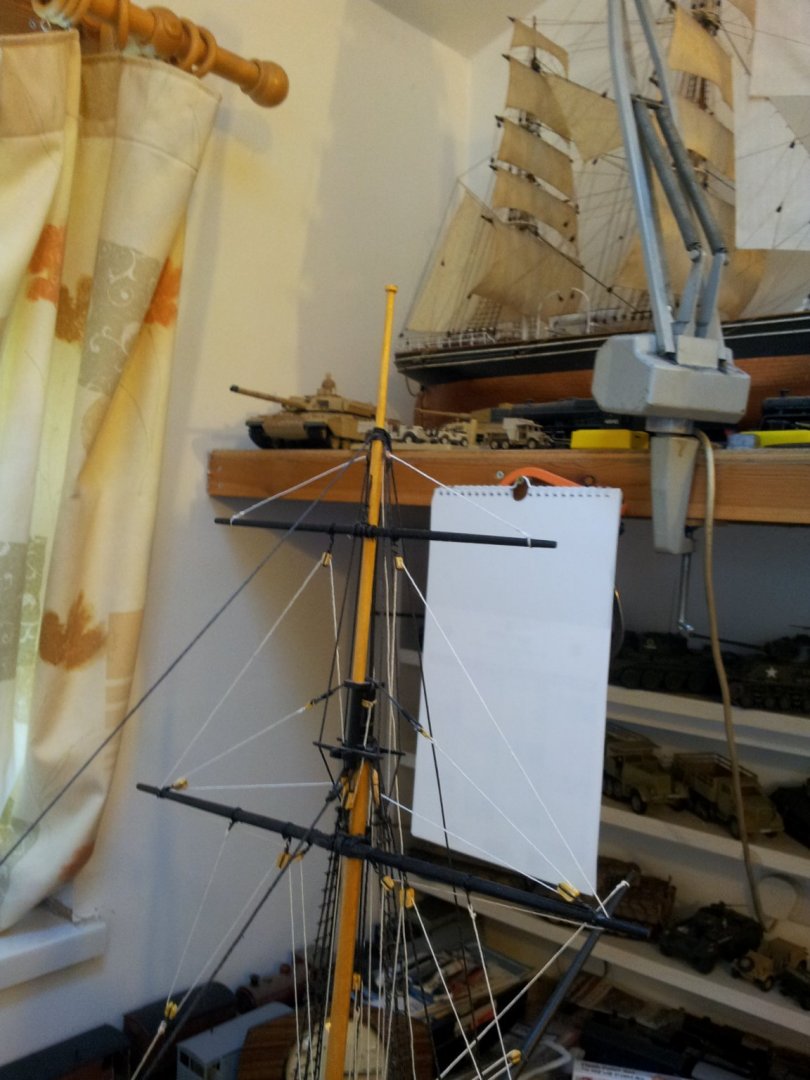
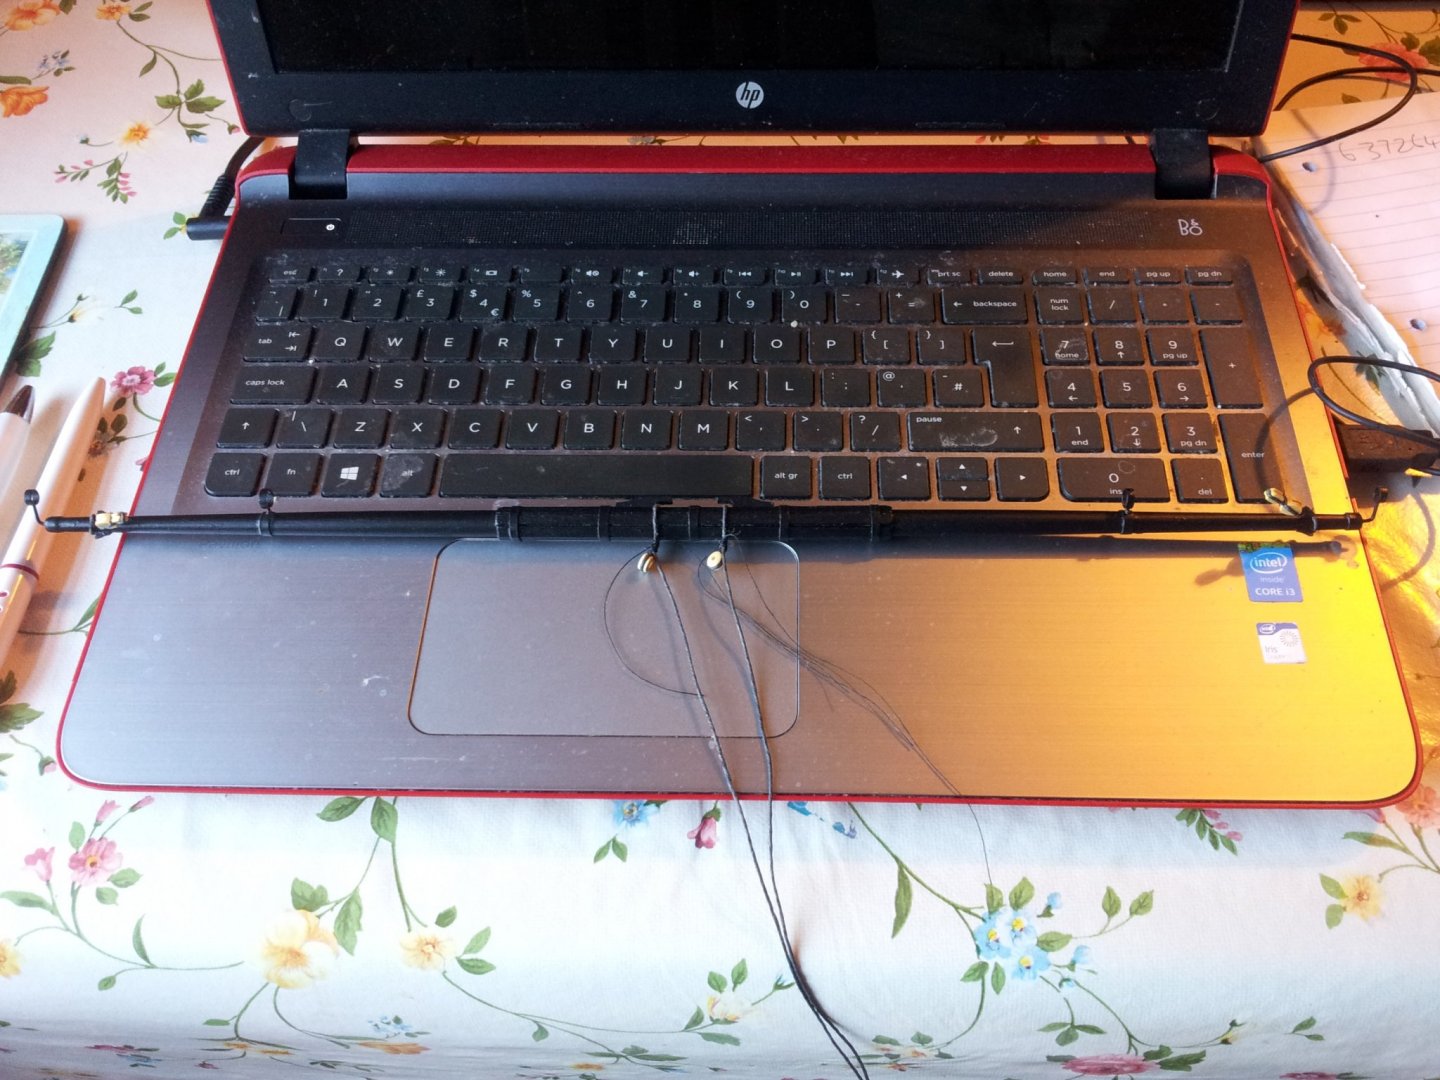
Thanks again for the kind words, likes and taking a peek. Emmett i trim the planks as needed afer removing from the water and then using thumb and fingers tease them to shape then pin and glue them to the hull using either P.V.A. or woodworking adhesive- i dont take the pins/ nails out for at least 24 hours, but if using brass nails to fasten the planks will leave them in for a few days before pulling them (hope that makes sense). Back to the beast and rigged the t'gallant cluelines and sheets, tidied some of the rigging and painted the mainyard while starting to attach some of the blocks and truss lines- put it on the laptop to show how long the main/ fore yards are (stuns'l booms not in place yet). take care all Keith
About us
Modelshipworld - Advancing Ship Modeling through Research
SSL Secured
Your security is important for us so this Website is SSL-Secured
NRG Mailing Address
Nautical Research Guild
237 South Lincoln Street
Westmont IL, 60559-1917
Model Ship World ® and the MSW logo are Registered Trademarks, and belong to the Nautical Research Guild (United States Patent and Trademark Office: No. 6,929,264 & No. 6,929,274, registered Dec. 20, 2022)
Helpful Links
About the NRG
If you enjoy building ship models that are historically accurate as well as beautiful, then The Nautical Research Guild (NRG) is just right for you.
The Guild is a non-profit educational organization whose mission is to “Advance Ship Modeling Through Research”. We provide support to our members in their efforts to raise the quality of their model ships.
The Nautical Research Guild has published our world-renowned quarterly magazine, The Nautical Research Journal, since 1955. The pages of the Journal are full of articles by accomplished ship modelers who show you how they create those exquisite details on their models, and by maritime historians who show you the correct details to build. The Journal is available in both print and digital editions. Go to the NRG web site (www.thenrg.org) to download a complimentary digital copy of the Journal. The NRG also publishes plan sets, books and compilations of back issues of the Journal and the former Ships in Scale and Model Ship Builder magazines.


