HOLIDAY DONATION DRIVE - SUPPORT MSW - DO YOUR PART TO KEEP THIS GREAT FORUM GOING! (Only 44 donations so far out of 49,000 members - C'mon guys!)
×


Shazmira
-
Posts
1,303 -
Joined
-
Last visited
Content Type
Profiles
Forums
Gallery
Events
Everything posted by Shazmira
-
 Steve, gee I go away and WOW! Definitely a prescence for sure!
 -
Those little added bits add so much interest to the hull. I am always amazed by how just a small addition makes things pop and look so much more "real".
- 2,191 replies
-
- 2
-

-
- confederacy
- Model Shipways
- (and 1 more)
-
Steve, thanks for the explanation, that makes perfect sense when you say it that way. Wow, you are at the rigging stage....I am excited for you. So this means you will not be doing any sort of deck furnishings? I would guess as an rc model, it serves a different purpose and they aren't needed, especially when there is a chance they could get wet, or throw off the balance of the ship
-
Just asking since this type of boat is so different from anything I have worked on thus far, but are the chainplates to scale? They look really long in the pics, but perhaps that is angle or close up that makes them look that way.
-
Wow Augie, that stern is stunning!!! it looks so real, not model-like!
- 2,191 replies
-
- 1
-
-
- confederacy
- Model Shipways
- (and 1 more)
-
Yep, Sjors is still King of the Rats, the Pied Piper of ships lol
- 1,873 replies
-
- 4
-
-
- occre
- san ildefonso
- (and 1 more)
-
Sherry, checking in again and there just are not enough adequate adjectives to describe this beauty you have created, stunning, beautiful, perfection....I could go on and on!
-
I think your jigs are prefect. I do mine the same way, cheap, with spare bits laying around. They serve their purpose perfectly. Your carriages look great, keep up the great work!
-
Progress!!!!! Looking good David, was beginning to think you fell into that same pit i did of too much real life and not enough shipyard time. as for staining, just remember if you still have to glue anything to the hull, it wont stick if you have it stained. forces you to sand through the stain where the parts meet, and often times you have to pin the parts as well in order to get a bond.
-
Thanks for the pics Charley, I really needed to get that look at the stern (best pic of any log for what I am looking for). I understand life and work thing, I really need to learn how to say "no". Every time my boss comes to me and says, "hey we need someone to teach another section of this or that" I always say yes. Partly because I am honored they ask me, and partly because I am low man on the totem pole and prefer they think of me as indispensable...really isn't about the money, in fact, for all the extra work, the money is NOT worth it. I keep hearing it will get better after retirement....hmmmmm....another 15 years of this, I just don't know lol Can't wait to see you new update, I know the two of us are neck and neck.
-
Stunning again, as I have come to expect nothing less from you Sherry. This build is flawless, I do hope you are proud of all your accomplishments with her
-
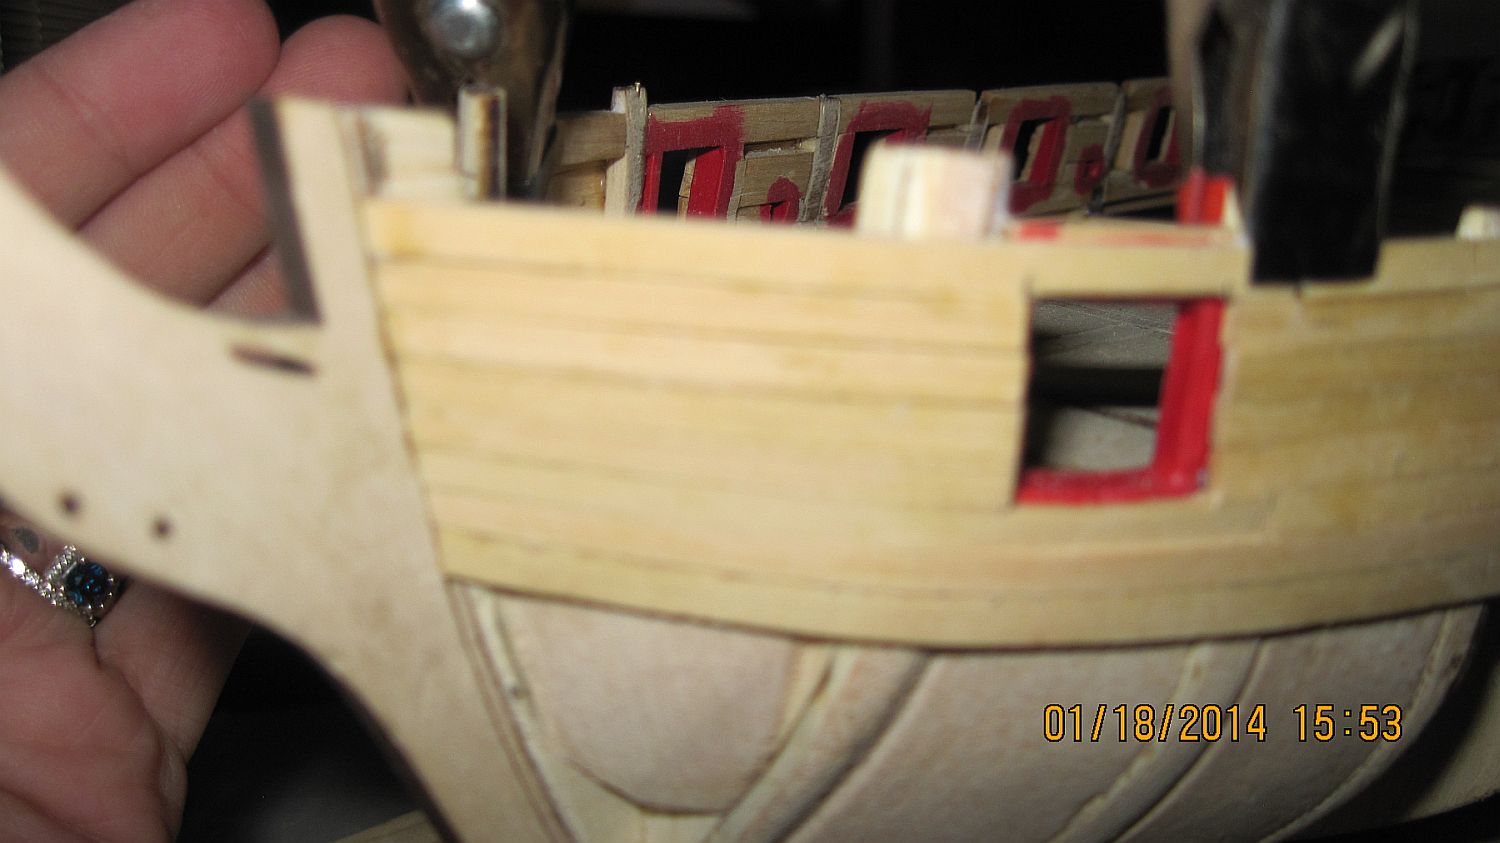
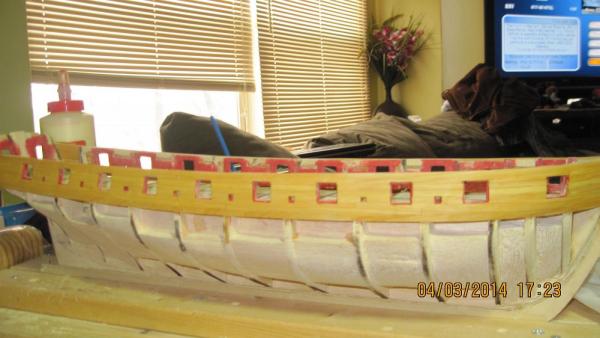
So I have managed to make a little sawdust since my last update. Got the upper planking complete on both sides. Still have a bit more sanding to do, and need to touch up a bit of my paint on the interior faces of the gun ports. Much happier this time around in the result! Kieth, yes, I am teaching again this summer, but at least this year those classes are already developed so it should be less stressful on that front. On the other hand I was asked to pick up two online 16 week courses for eduKan (the Kansas college consortium) they pay really well for those courses, but now I will spend my summer getting them fully developed and up and running for the fall semester.
-
Charley, if you have the time could you reload the missing pictures from the last pages of you log please. I was really hoping to see yours and model mine after them
-
Congrats Mobbsie, that is quite an honor, and a well deserved one I must say!
- 1,279 replies
-
- 1
-
-
- agamemnon
- caldercraft
- (and 1 more)
-
Wow, step away for a week and see I missed ton of stuff, have to remember to keep up with your build more frequently! beautiful job on everything, I love the paint scheme; I really love how it is so different from the normal plain scheme! You have to give me the info on this decal maker you are using....I think that could come in handy for a plethora of things.
-
Gee, step out for a few days and viola, mastery at work again. I do like that window finish, looks really good if you don't have an interior finished cabin to show off. I especially like the wood paint. can you give more details on that, I would like to purchase some. I think your stern looks awesome, all the details really make it pop!
- 2,191 replies
-
- 1
-
-
- confederacy
- Model Shipways
- (and 1 more)
-
First planking looks good Sjors! wow, I did not realize the Aggy was so big!!! @Augie...to copper or not to copper....not telling Sjors to not do a good job, just reminding him that sometimes you don't have to sweat the little things, all a matter of deciding where ones priorities lie...for me on the Syren, it is in the coppering since that will be a new skill to learn...next build perfect planking lol
- 1,616 replies
-
- 1
-
-
- caldercraft
- agamemnon
- (and 1 more)
-
well heck Sjors, if you are going to cover it all in copper, then really who cares if you spile, drop plank, or just cover it in wood filler. no one will see any of that anyway. So unless you are wanting the practice, don't sweat it! For me the Syren will be the same way. When I upgraded to boxwood, I did not spend the money on boxwood for the lower hull that will be covered with copper, seemed like a waste of money to me. I plan to use the kit supplied basswood for that part, and do not intend to worry about splices and drop planks in that area at all. I just want a nice smooth finish, so the copper plates all sit nice and pretty.
- 1,616 replies
-
- 2
-
-
- caldercraft
- agamemnon
- (and 1 more)
-
Charley I too am going to have a wall side...seems no matter how many times I redo things I still end up with one side better than the other
-
Drop planks are not too difficult to do at all Sjors, I have faith you will master them just fine
-
what an excellent job on the carving Sherry. Your skills are amazing!
-
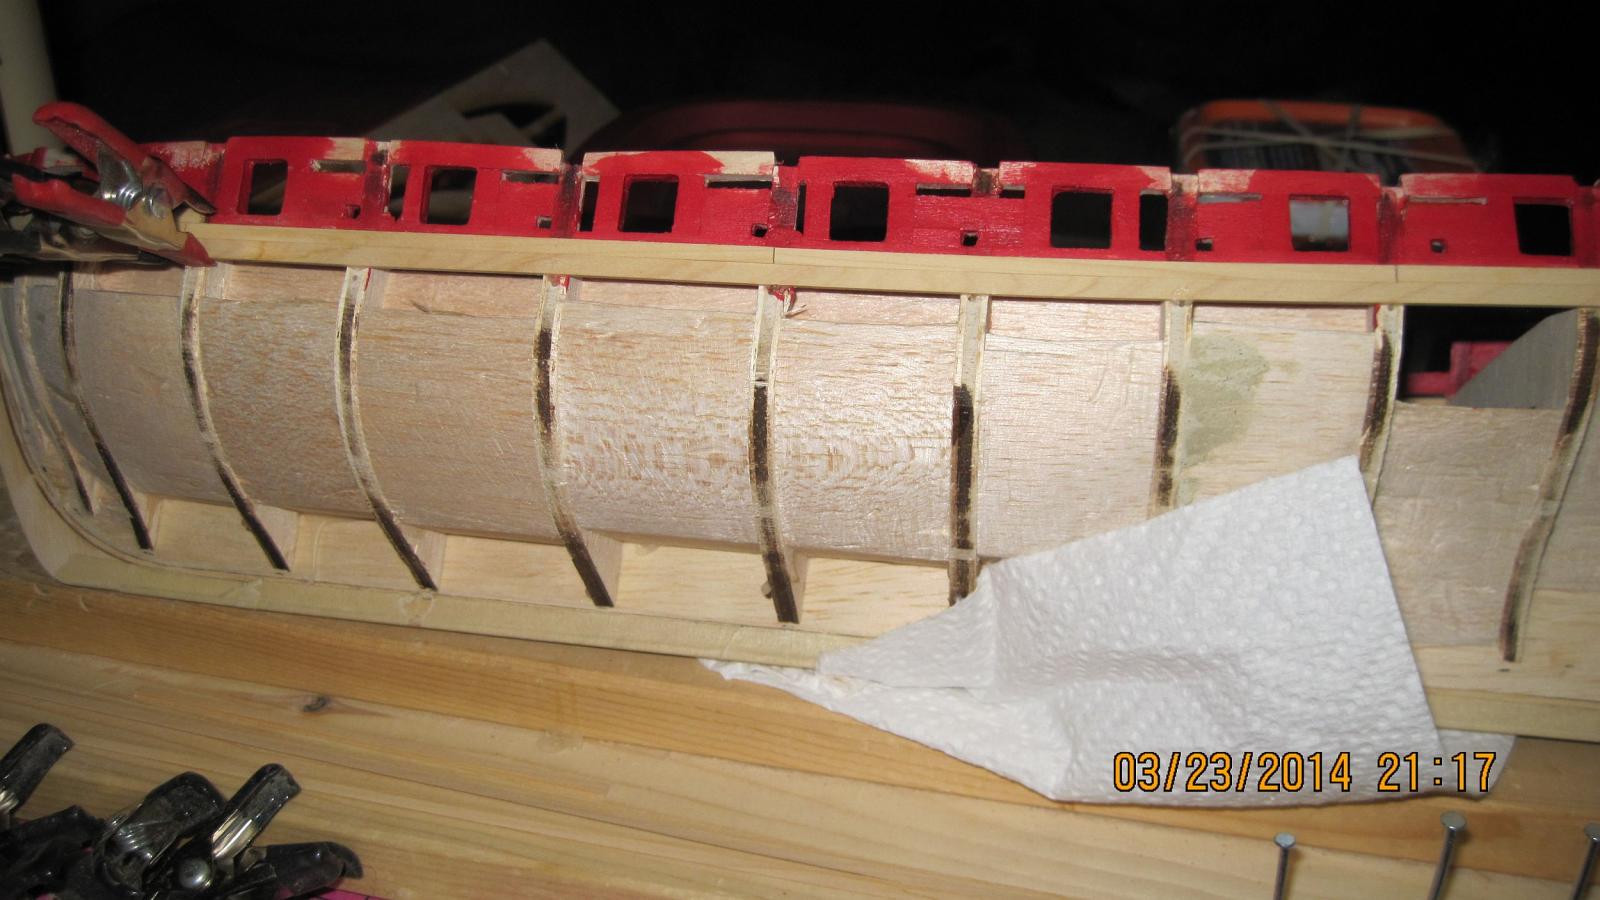
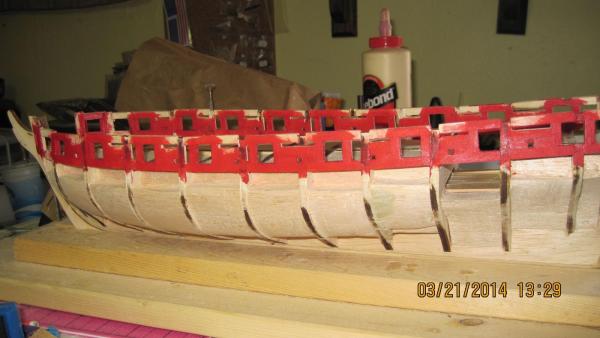
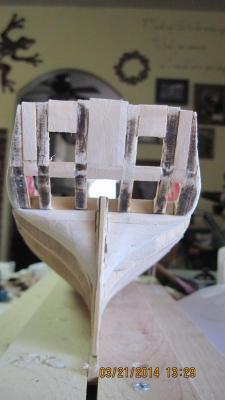
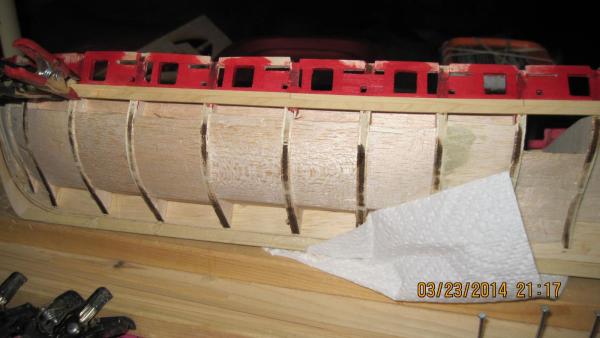
Finally a bit of an update, had spring break this past week and I took a break from life in a way. Got all sorts of little things done around the house I had been putting off for 9 months, managed to get all my aftermarket accessories (windshield, saddle bags etc) put on my new Harley...now just waiting for nice weather so I can start riding! In the midst of a week of relaxation, I did manage to get a bit of building done Got all the gun port framing completed Finished the stern framing I think I managed to get everything faired correctly this time And the upper planking has begun!!! This time I taped together 7 small strips of planking and ran it along the top wale (before gluing it in place) to make sure I had the proper curvature. this is where I messed up the first time, you can see below that my wale at the bow was almost 1/2 inch too low, notice how the planking was not "up" where it should have been


-
Marsares, I can't stress how important it is to get the correct sweep of that temporary batten. Everything you do regarding the hull follows what you do on that step, so take your time and get it right the first time!!
-
Beautiful!!! I really love looking at your woodworking skills!
- 2,191 replies
-
- 1
-
-
- confederacy
- Model Shipways
- (and 1 more)
-
She sails!!!!!!!!!!!!!!!!!!!!!! She looks beautiful on the water, she definitely belongs there Now I can't wait to see her under full sail!