


etsinko
-
Posts
94 -
Joined
-
Last visited
Content Type
Profiles
Forums
Gallery
Events
Posts posted by etsinko
-
-
3 hours ago, Gregory said:
Sorry to hear about store closing. I have really enjoyed your products and pricing..
Thanks! Tried to keep it fair.
- scrubbyj427, Ryland Craze, toms10 and 3 others
-
 5
5
-
 1
1
-
On 11/26/2023 at 6:27 PM, hamilton said:
Maybe it's just me but I can't see any of the Vanguard kits when I visit your website and the links above give me a 404 error......are you still carrying Vanguard products?
hamilton
No, I've only got 3 kits left. Basically I'm selling off what is left and closing down the store in a couple of months.
- Ryland Craze, Keith Black, Canute and 4 others
-
1
-
 6
6
-
Discover Black Friday Delights: 50% Off Ship Kits, 30% Off Ropes & Fittings!
Embark on a sea of savings this Black Friday weekend! Unveil the craftsmanship with 50% off all kits and secure your voyage essentials with 30% off on ropes and fittings. The best part? Discounts are automatically applied at checkout. Dive into the deals – your model ship masterpiece awaits!
The sale is on until midnight Monday November 27th. As always, all orders of $150 or more are shipped for free to the US or Canada! -
Ahoy, shipbuilders! It's time to set sail on our first big sale for fittings! We're excited to offer you progressive discounts on all fittings, so the more you spend, the more you save.
- Spend $50 or more on fittings and you'll get a 10% discount.
- Spend $100 or more and you'll receive a 20% discount.
- And if you spend $150 or more, you'll get a whopping 30% discount!
Stock up on your blocks, belaying pins and other fittings while supplies last and make sure to take advantage of this sale before it ends. Happy building!
The discount is applied automatically at the checkout. As always, all orders of $150 or more are shipped for free to the US or Canada!
Shop Now -
We are having our first big sale in 2023. Most of the kits, boats and sails are currently for sale!
As always, all orders of $150 or more are shipped for free to the US or Canada!
Ship Kits

HMS "Flirt" 1:64 was $389.99, now $349.99 View 
HMS "Speedy" 1:64 was $389.99, now $349.99 View 
Tender "Avos" 1:72 was $199.99, now $179.99 View 
Cannon Jolle 1:72 was $99.99, now $84.99 View 
Secret Vessel "Morel" 1:36 was $124.99, now $62.99 View 
9th century longship 1:72 was $69.99, now $49.99 View 
Liburnian Monoreme was $249.99, now $169.99 View 
Picenian Ship Novilara was $299.99, now $169.99 View Boat Kits

26ft Launch (5") 1:64 was $39.99, now $29.99 View 
32ft Barge (6") 1:64 was $44.99, now $36.99 View 
Boat "White Horse" 1:48 was $69.99, now $49.99 View 
Ship's Boat 68mm (2 3/4") 1:72 was $16.99, now $12.99 View 
Ship's Boat 75mm (3") 1:72 was $16.99, now $12.99 View 
Ship's Boat 95mm (3 3/4") 1:72 was $17.99, now $14.99 View Sails

Sails for Tender "Avos" was $44.99, now $35.99 View 
Sails for Cannon Jolle was $12.99, now $10.99 View 
Sails for "Lady Eleanor" 1:64 was $39.99, now $31.99 View 
Sails for "Lady Isabella" 1:64 was $49.99, now $39.99 View -
@hollowneck Sorry, missed your post last year. Basically I used SIGST001 which is the "light" silkspan by Sig. And the regular masking tape that I used didn't jam the printer at all, however your milage may vary as it depends on the printer.
-
-
Black Friday Sale!
All ship kits, sails and boats are on sale!
The sale is on until midnight Monday November 28th. As always, all orders of $150 or more are shipped for free to the US or Canada!
HMS "Flirt" 1:64 was $389.99, now $311.99 View
HMS "Speedy" 1:64 was $389.99, now $311.99 View 
Fifie "Lady Eleanor" 1:64 was $199.99, now $158.99 View
Tender "Avos" 1:72 was $199.99, now $159.99 View
Secret Vessel "Morel" 1:36 was $124.99, now $62.99 View 
Imperial steamboat "Dagmar" 1:48 was $99.99, now $79.99 View
Cannon Jolle 1:72 was $99.99, now $79.99 View
9th century Slavic longship 1:72 was $69.99, now $56.99 View -
2 hours ago, BenD said:
The flag looks incredible compared to the kit one. You could sell that on your site. I would buy one for my Avos 100%.
Hi Ben,
The problem is that I'm not sure I can make the quality consistently good.
If you haven't put your model's flag on, I can try printing one for you and sending it to you for free so you can check it out. If you like it you can put it on your model too.
My wife is an artist and has a professional inkjet printer which she uses once every few months (she does that because this printer wastes a lot of ink in standby mode), I'll add the flag to the next batch of the stuff she will be printing (probably sometime in the end of November).
-
-
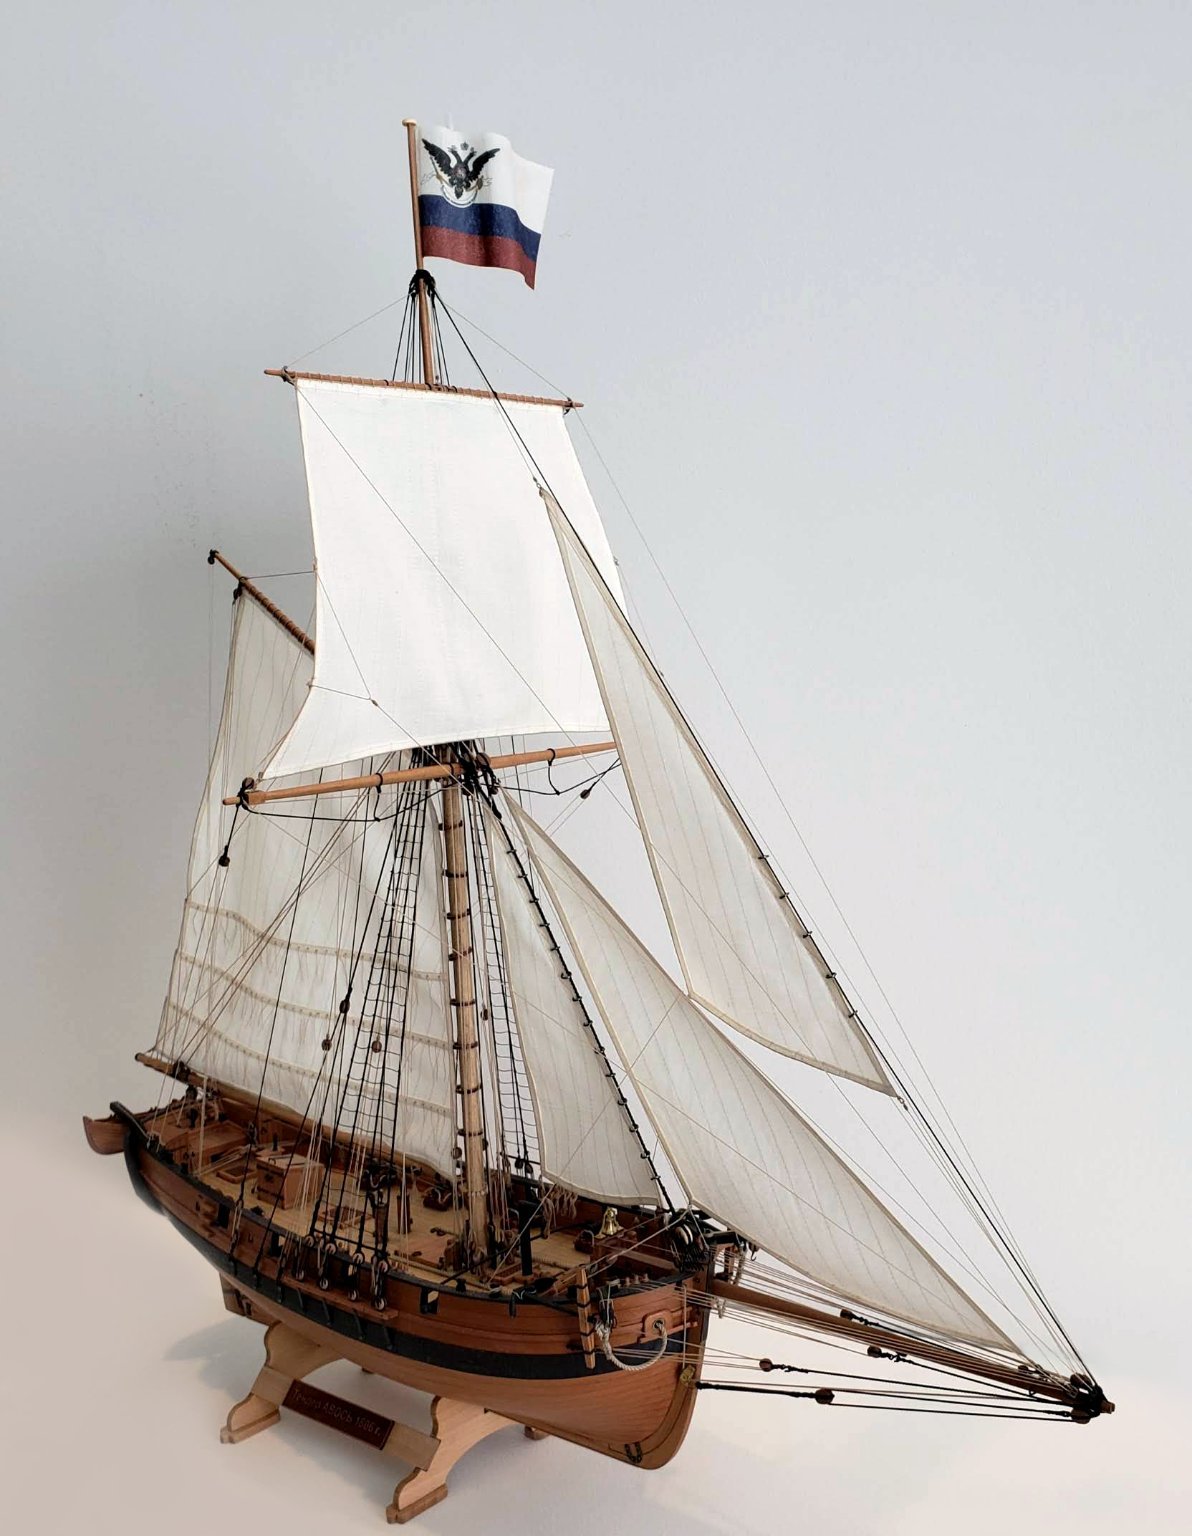
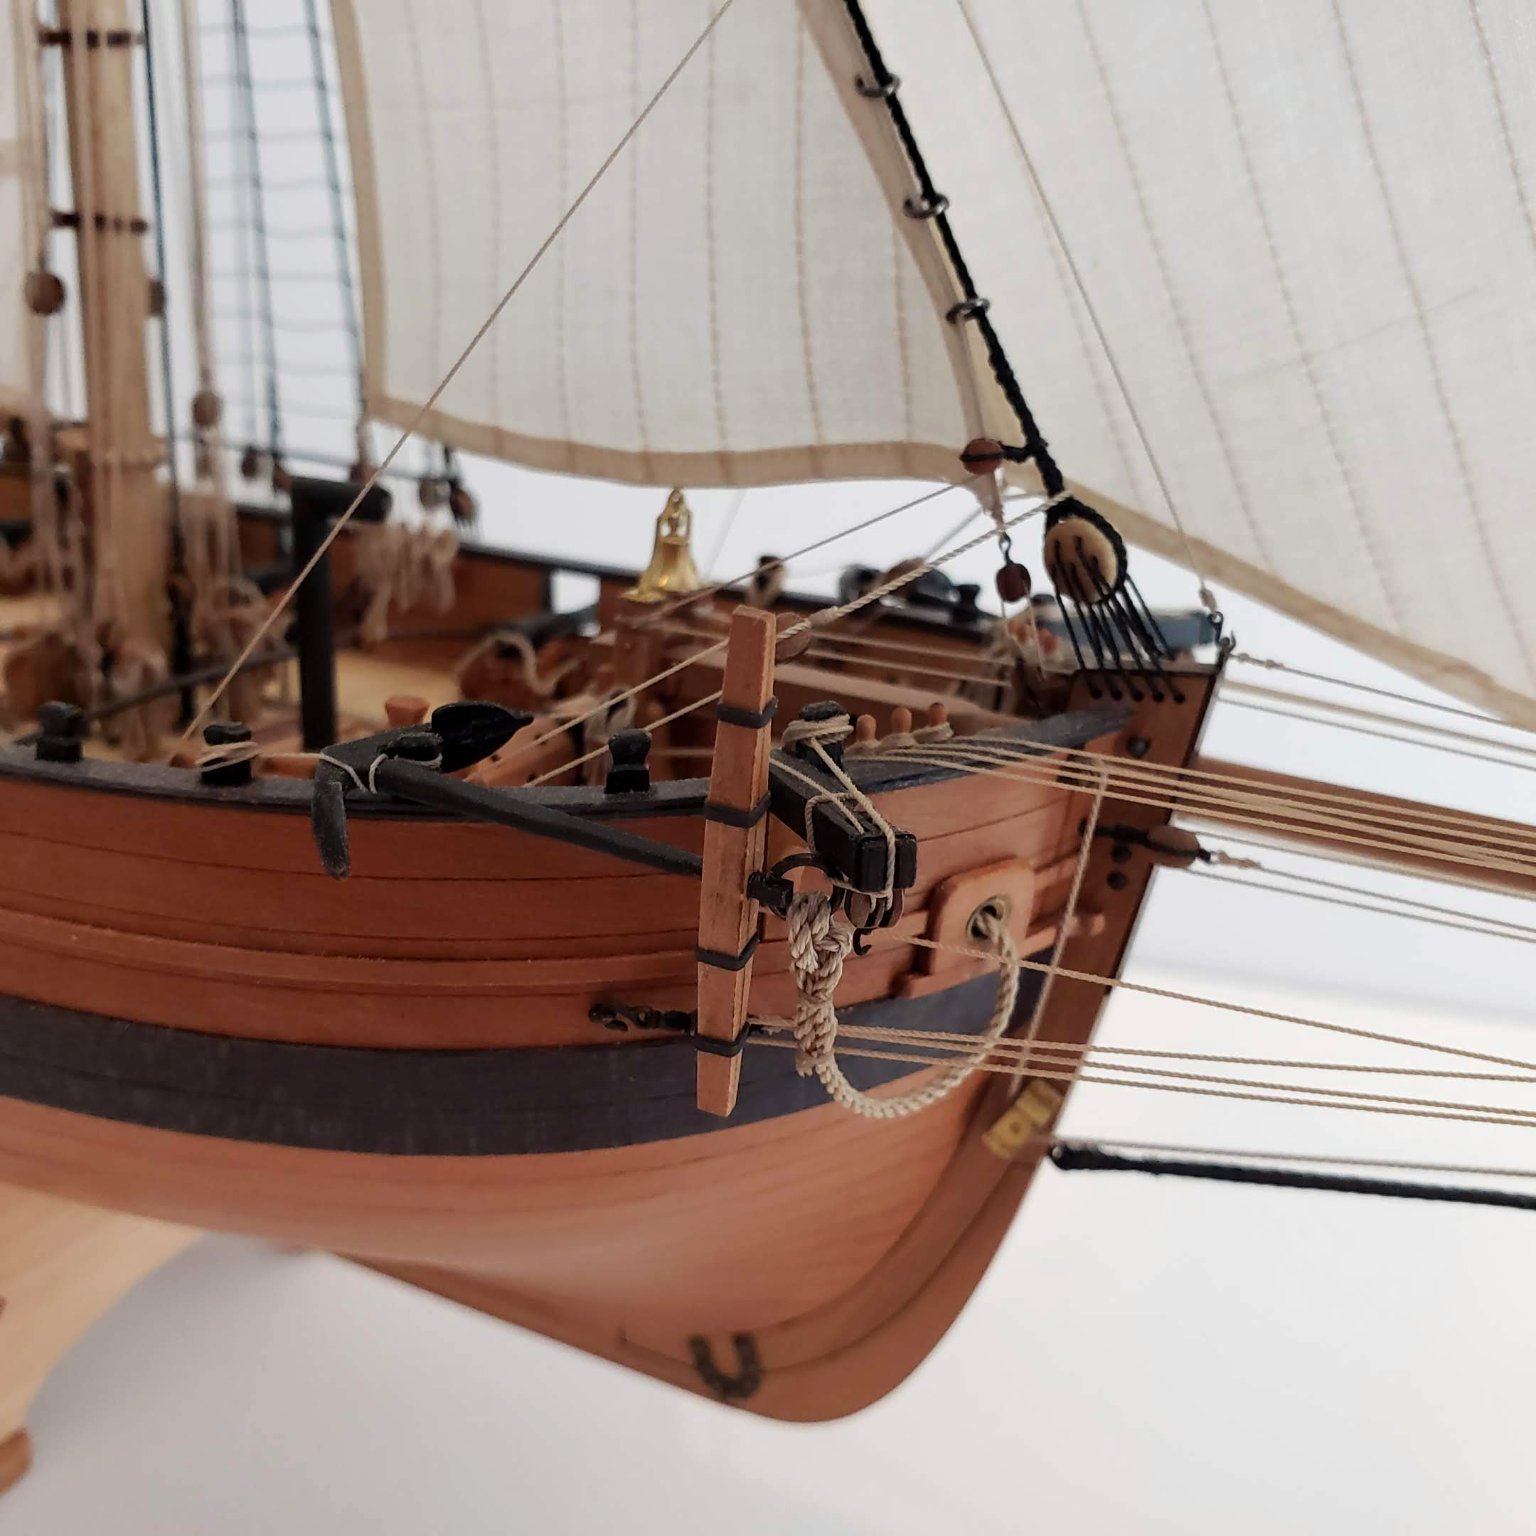
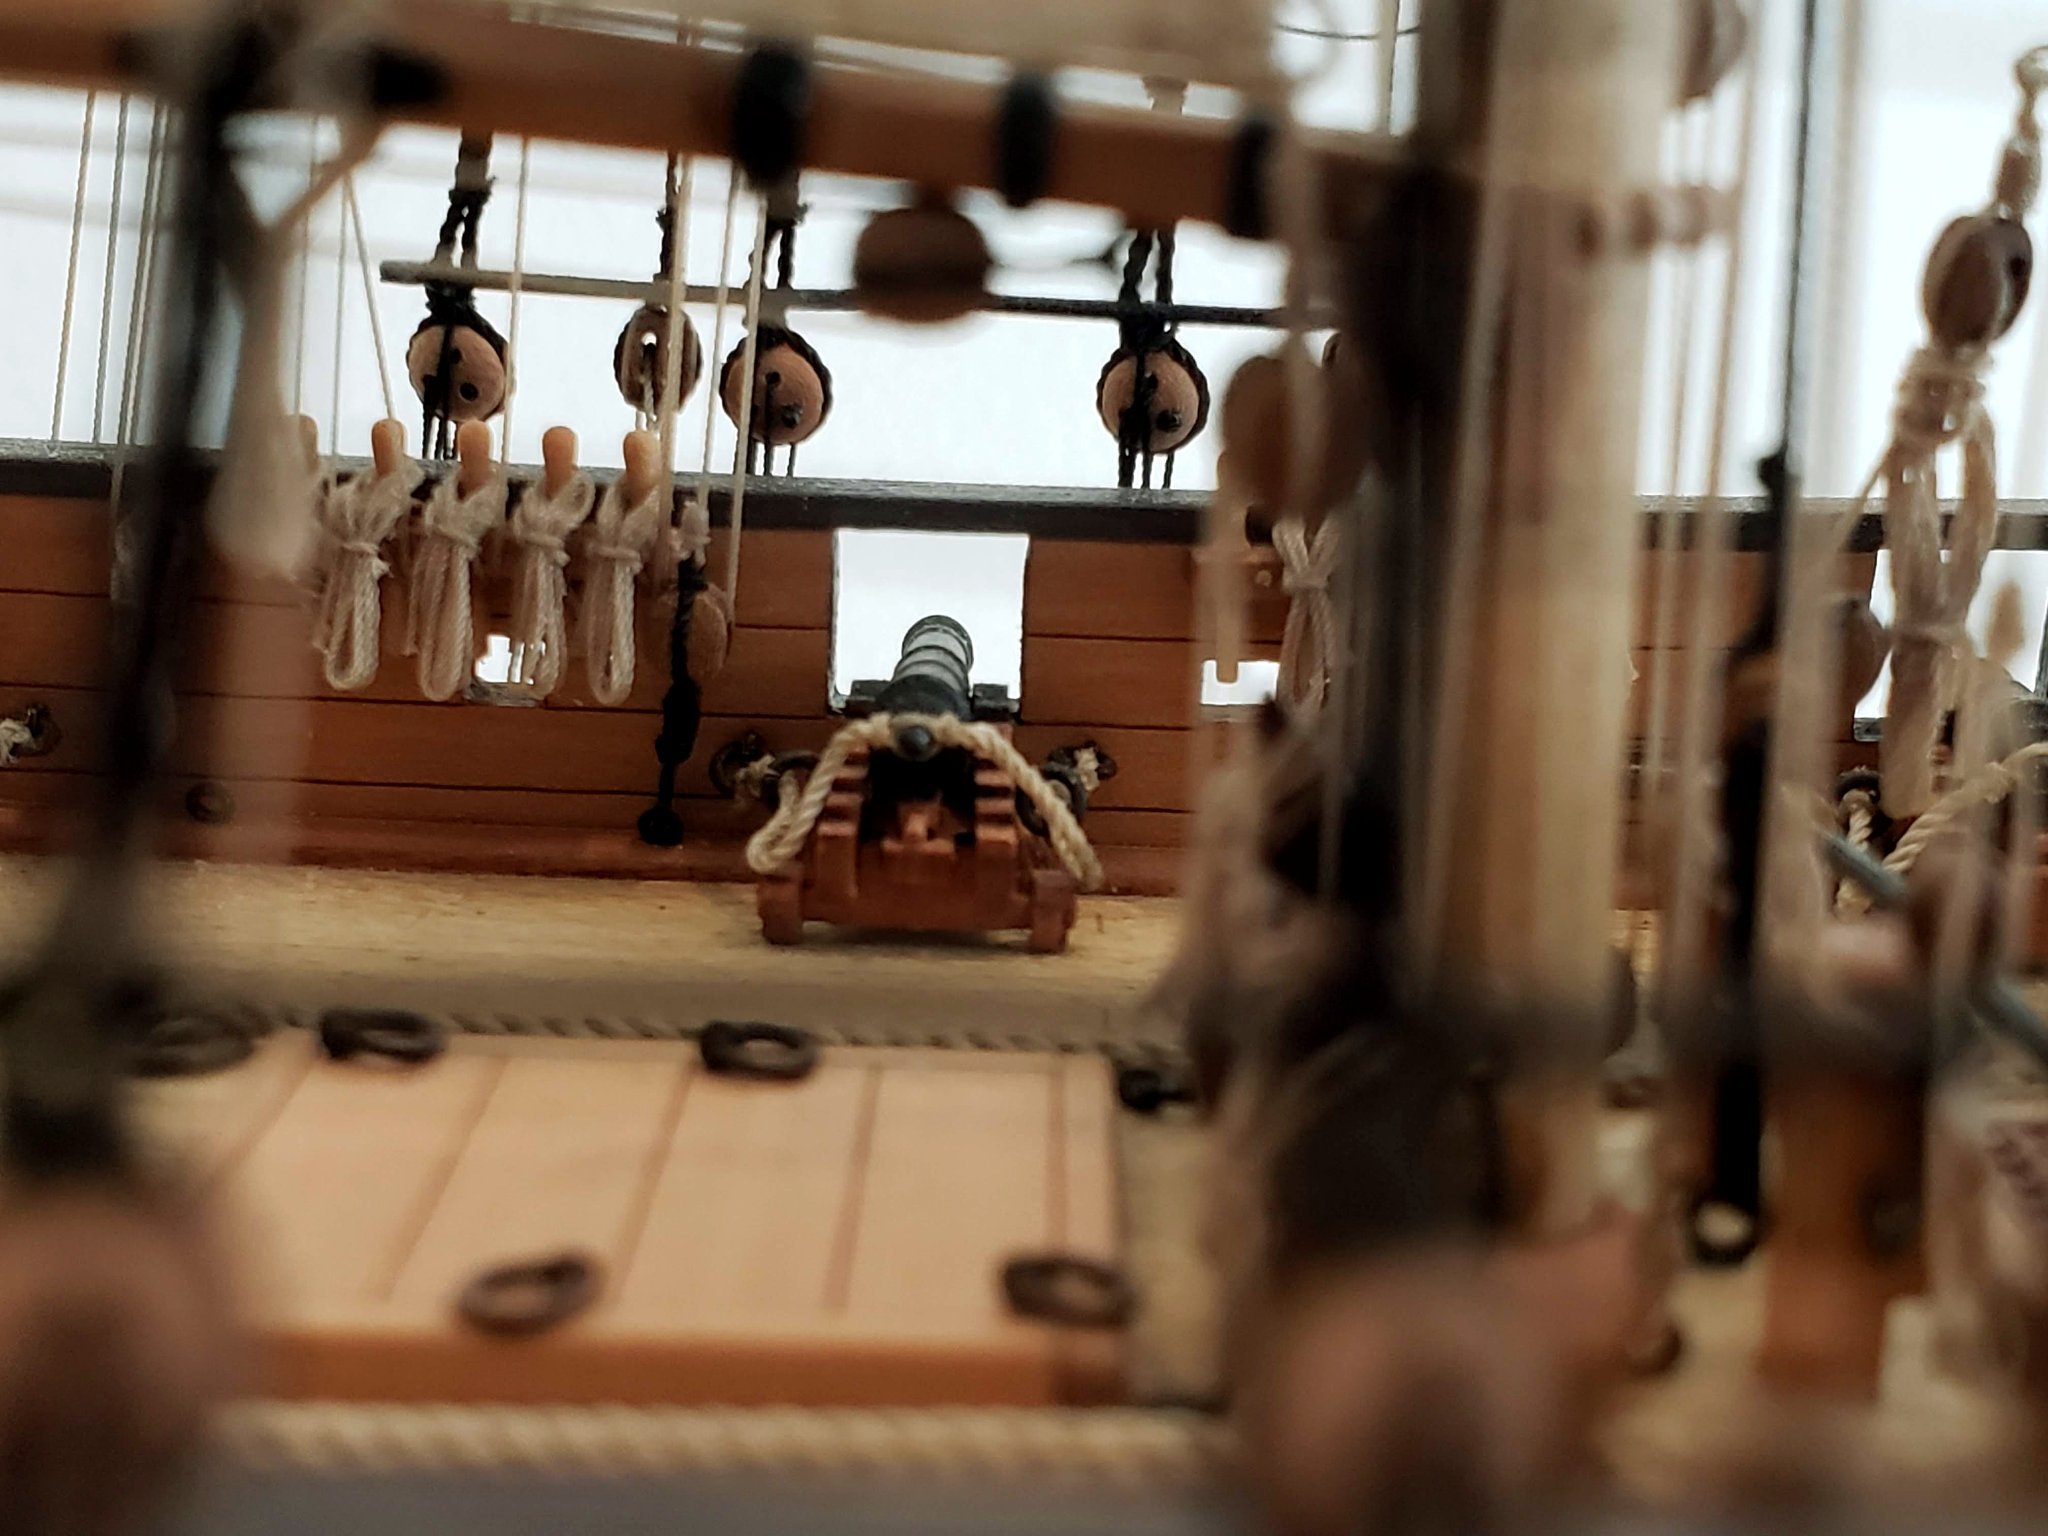
It has been a long time since I posted here... The life has been pretty busy and I forgot to regularly post any updates here. The Avos is finished now and I'd like to share some of the photos of the final steps.
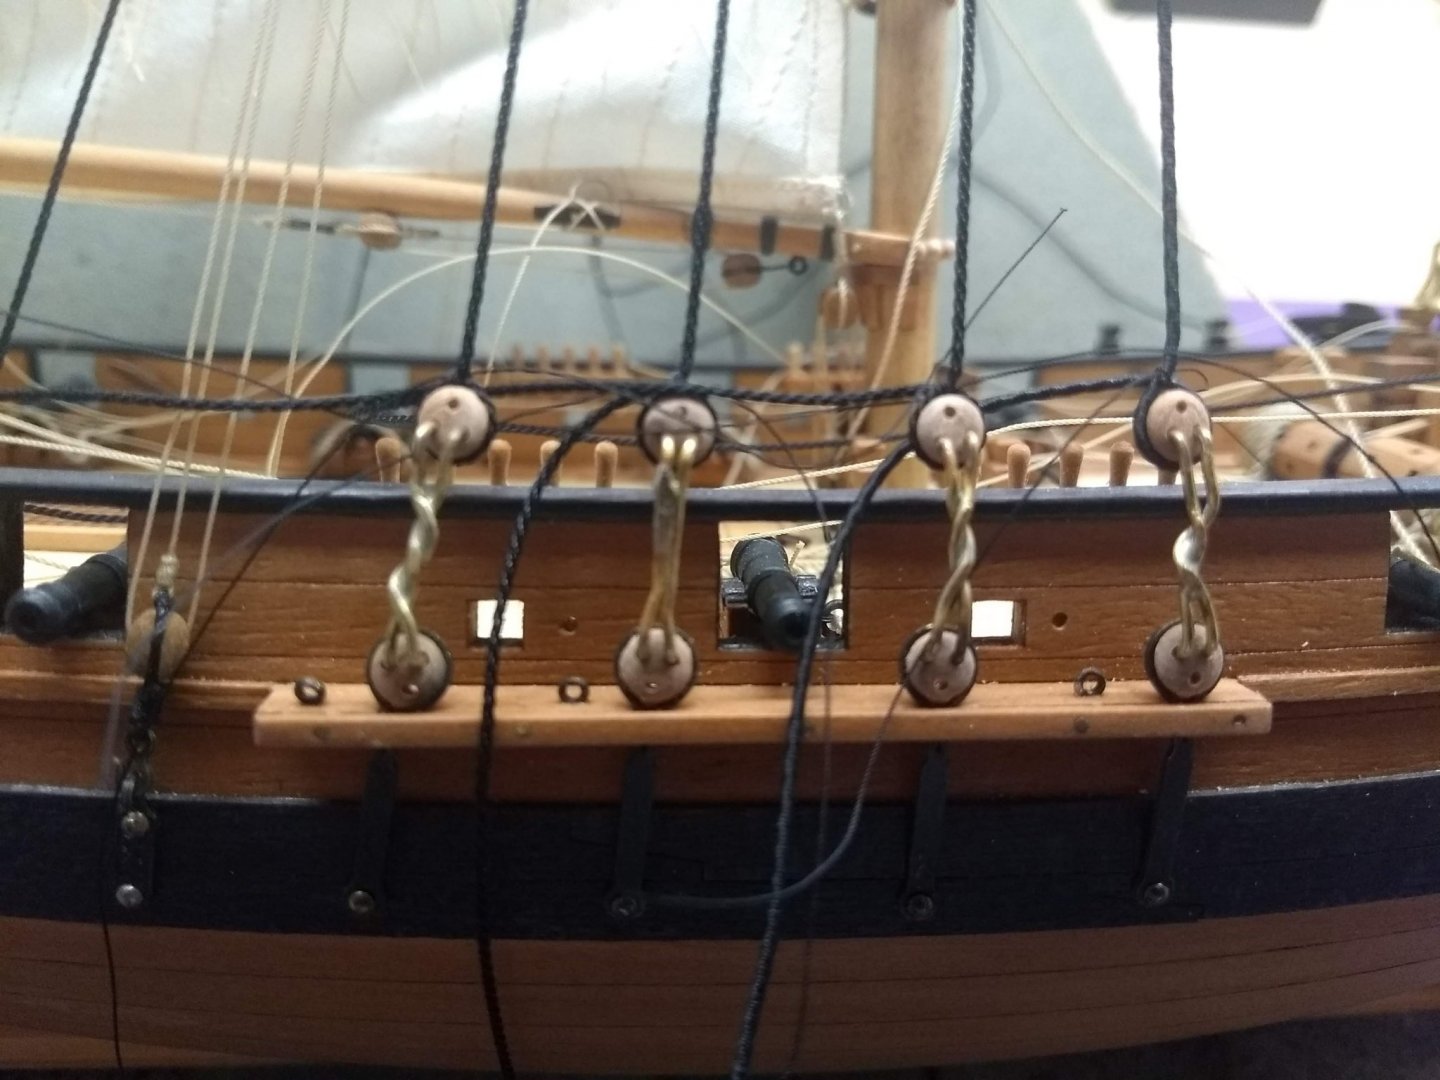
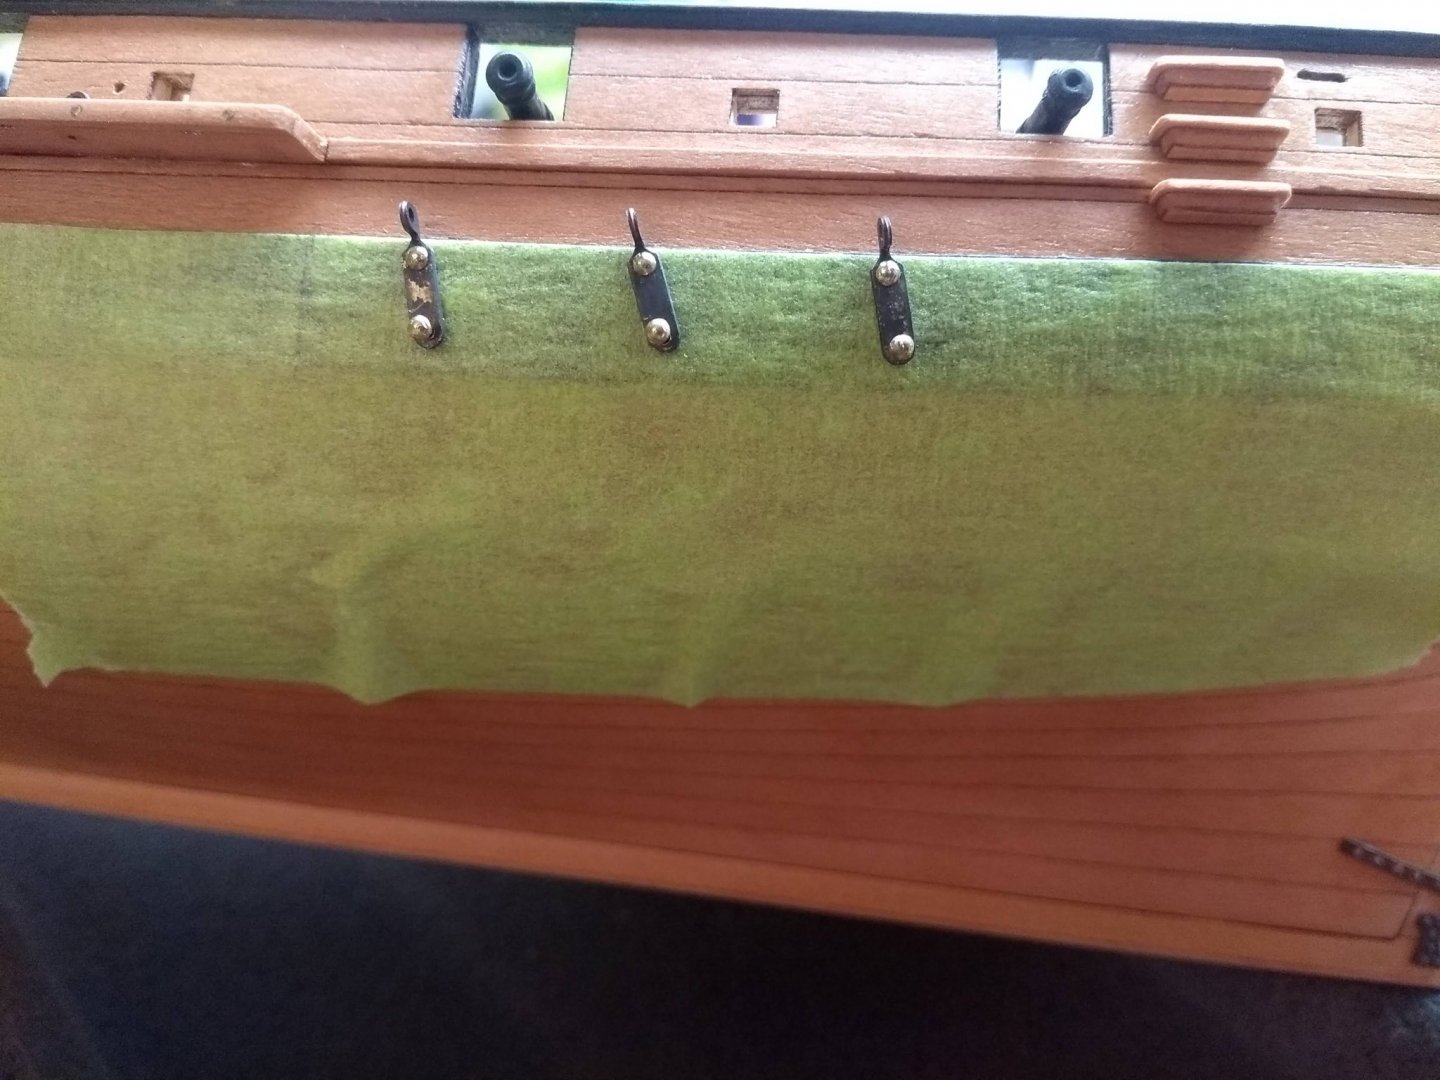
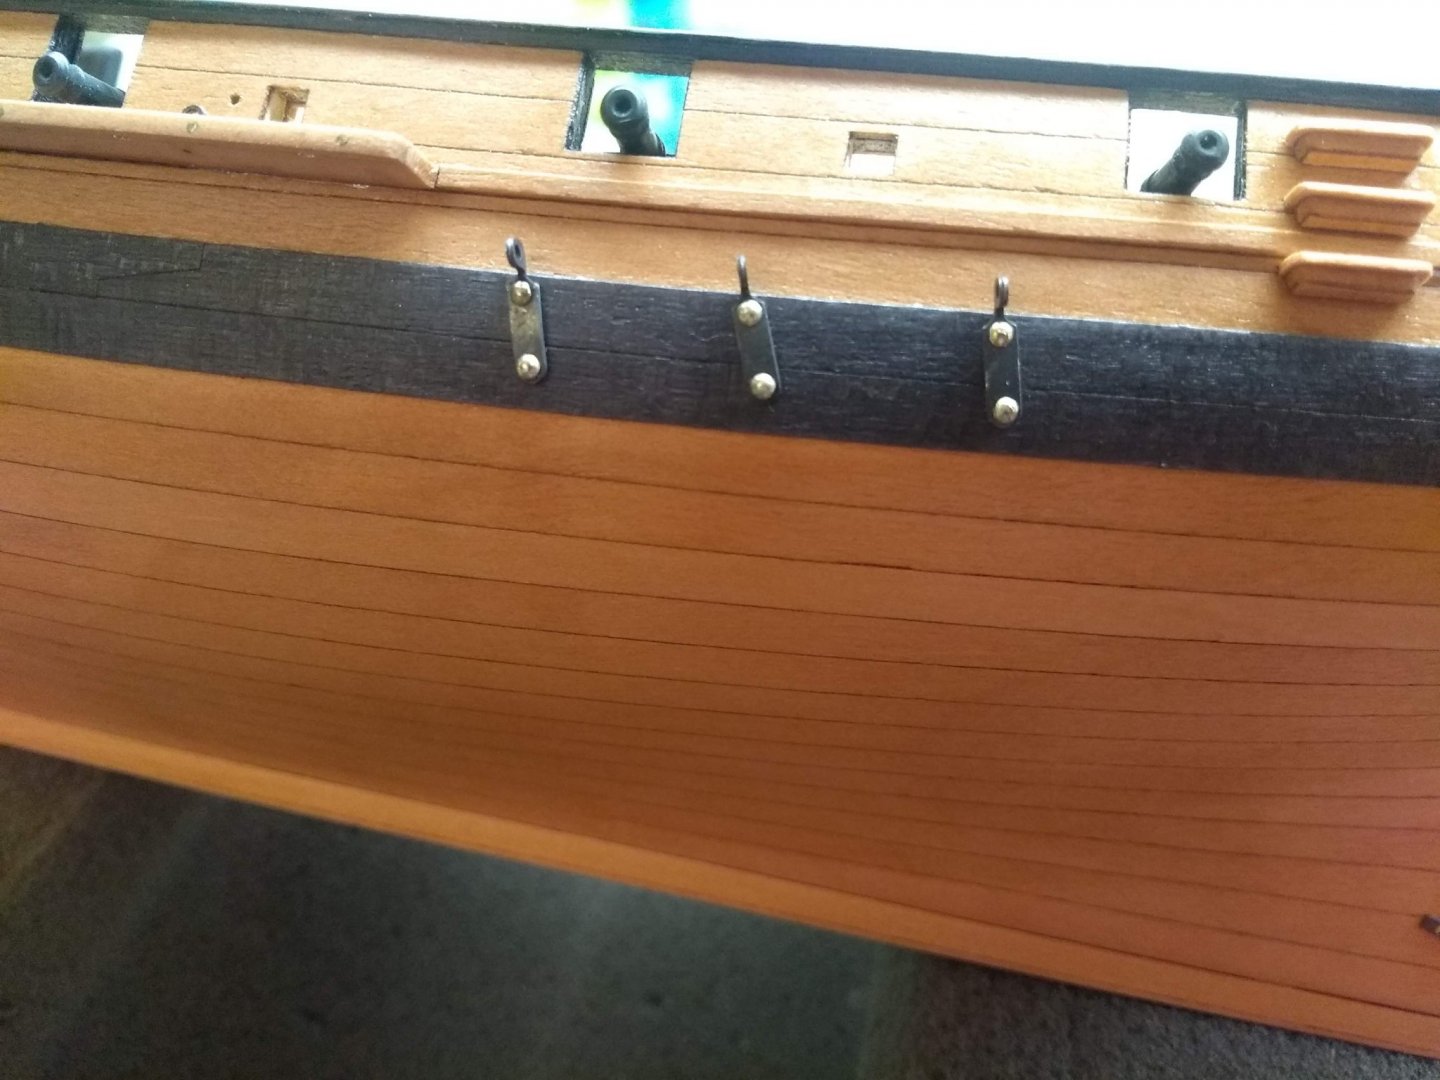
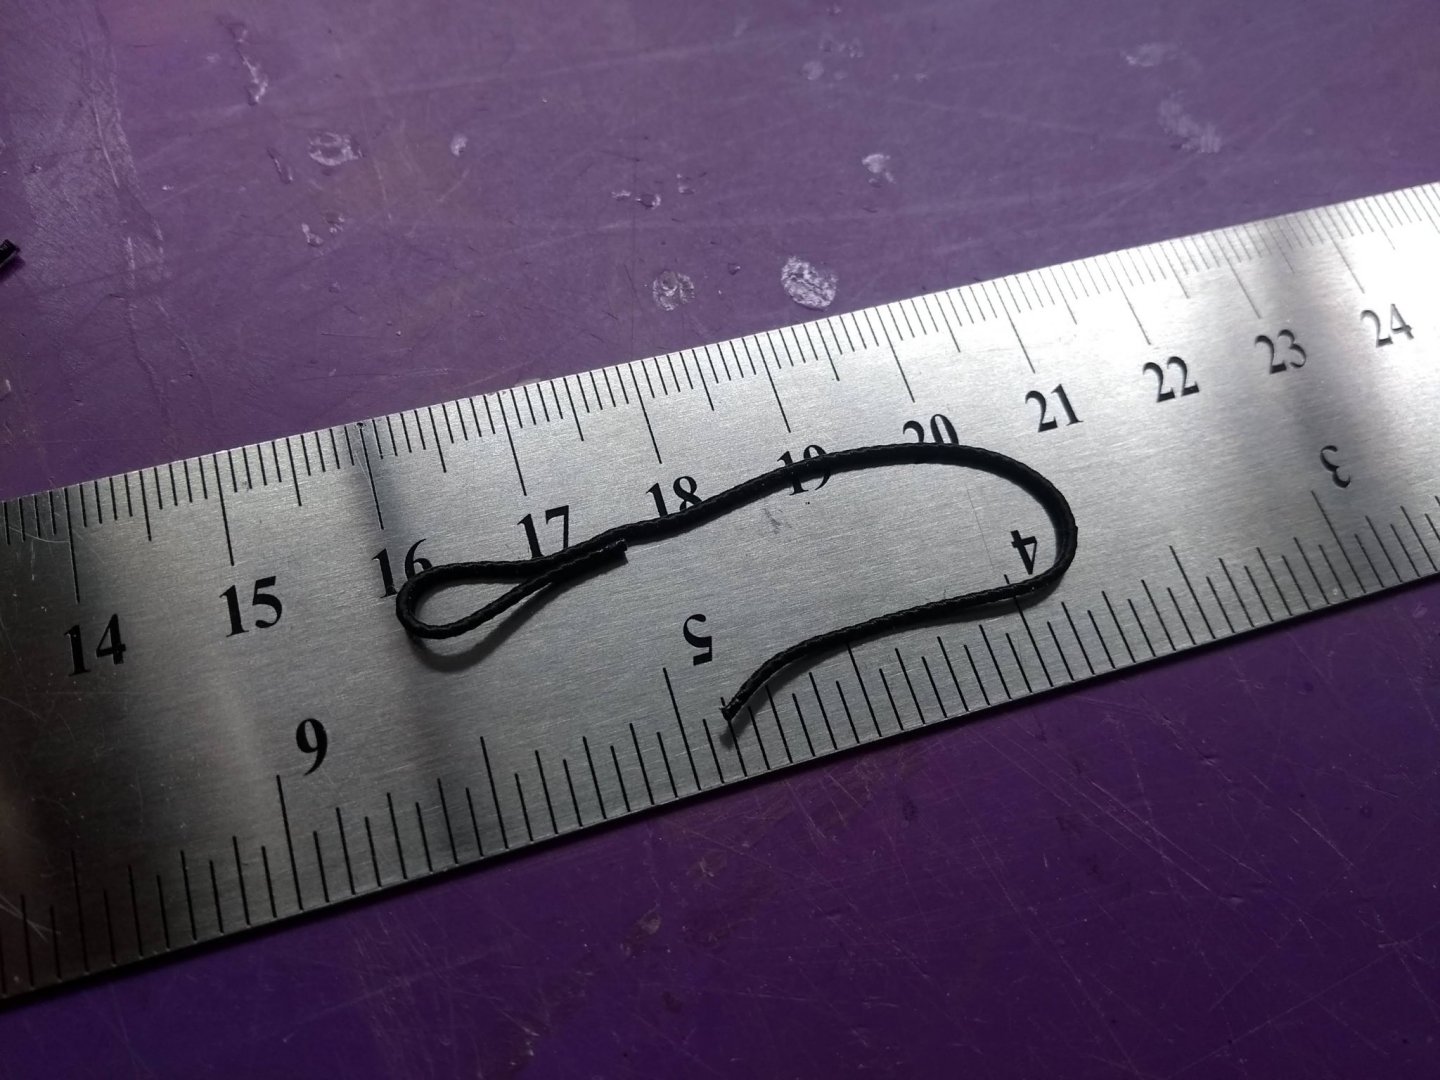
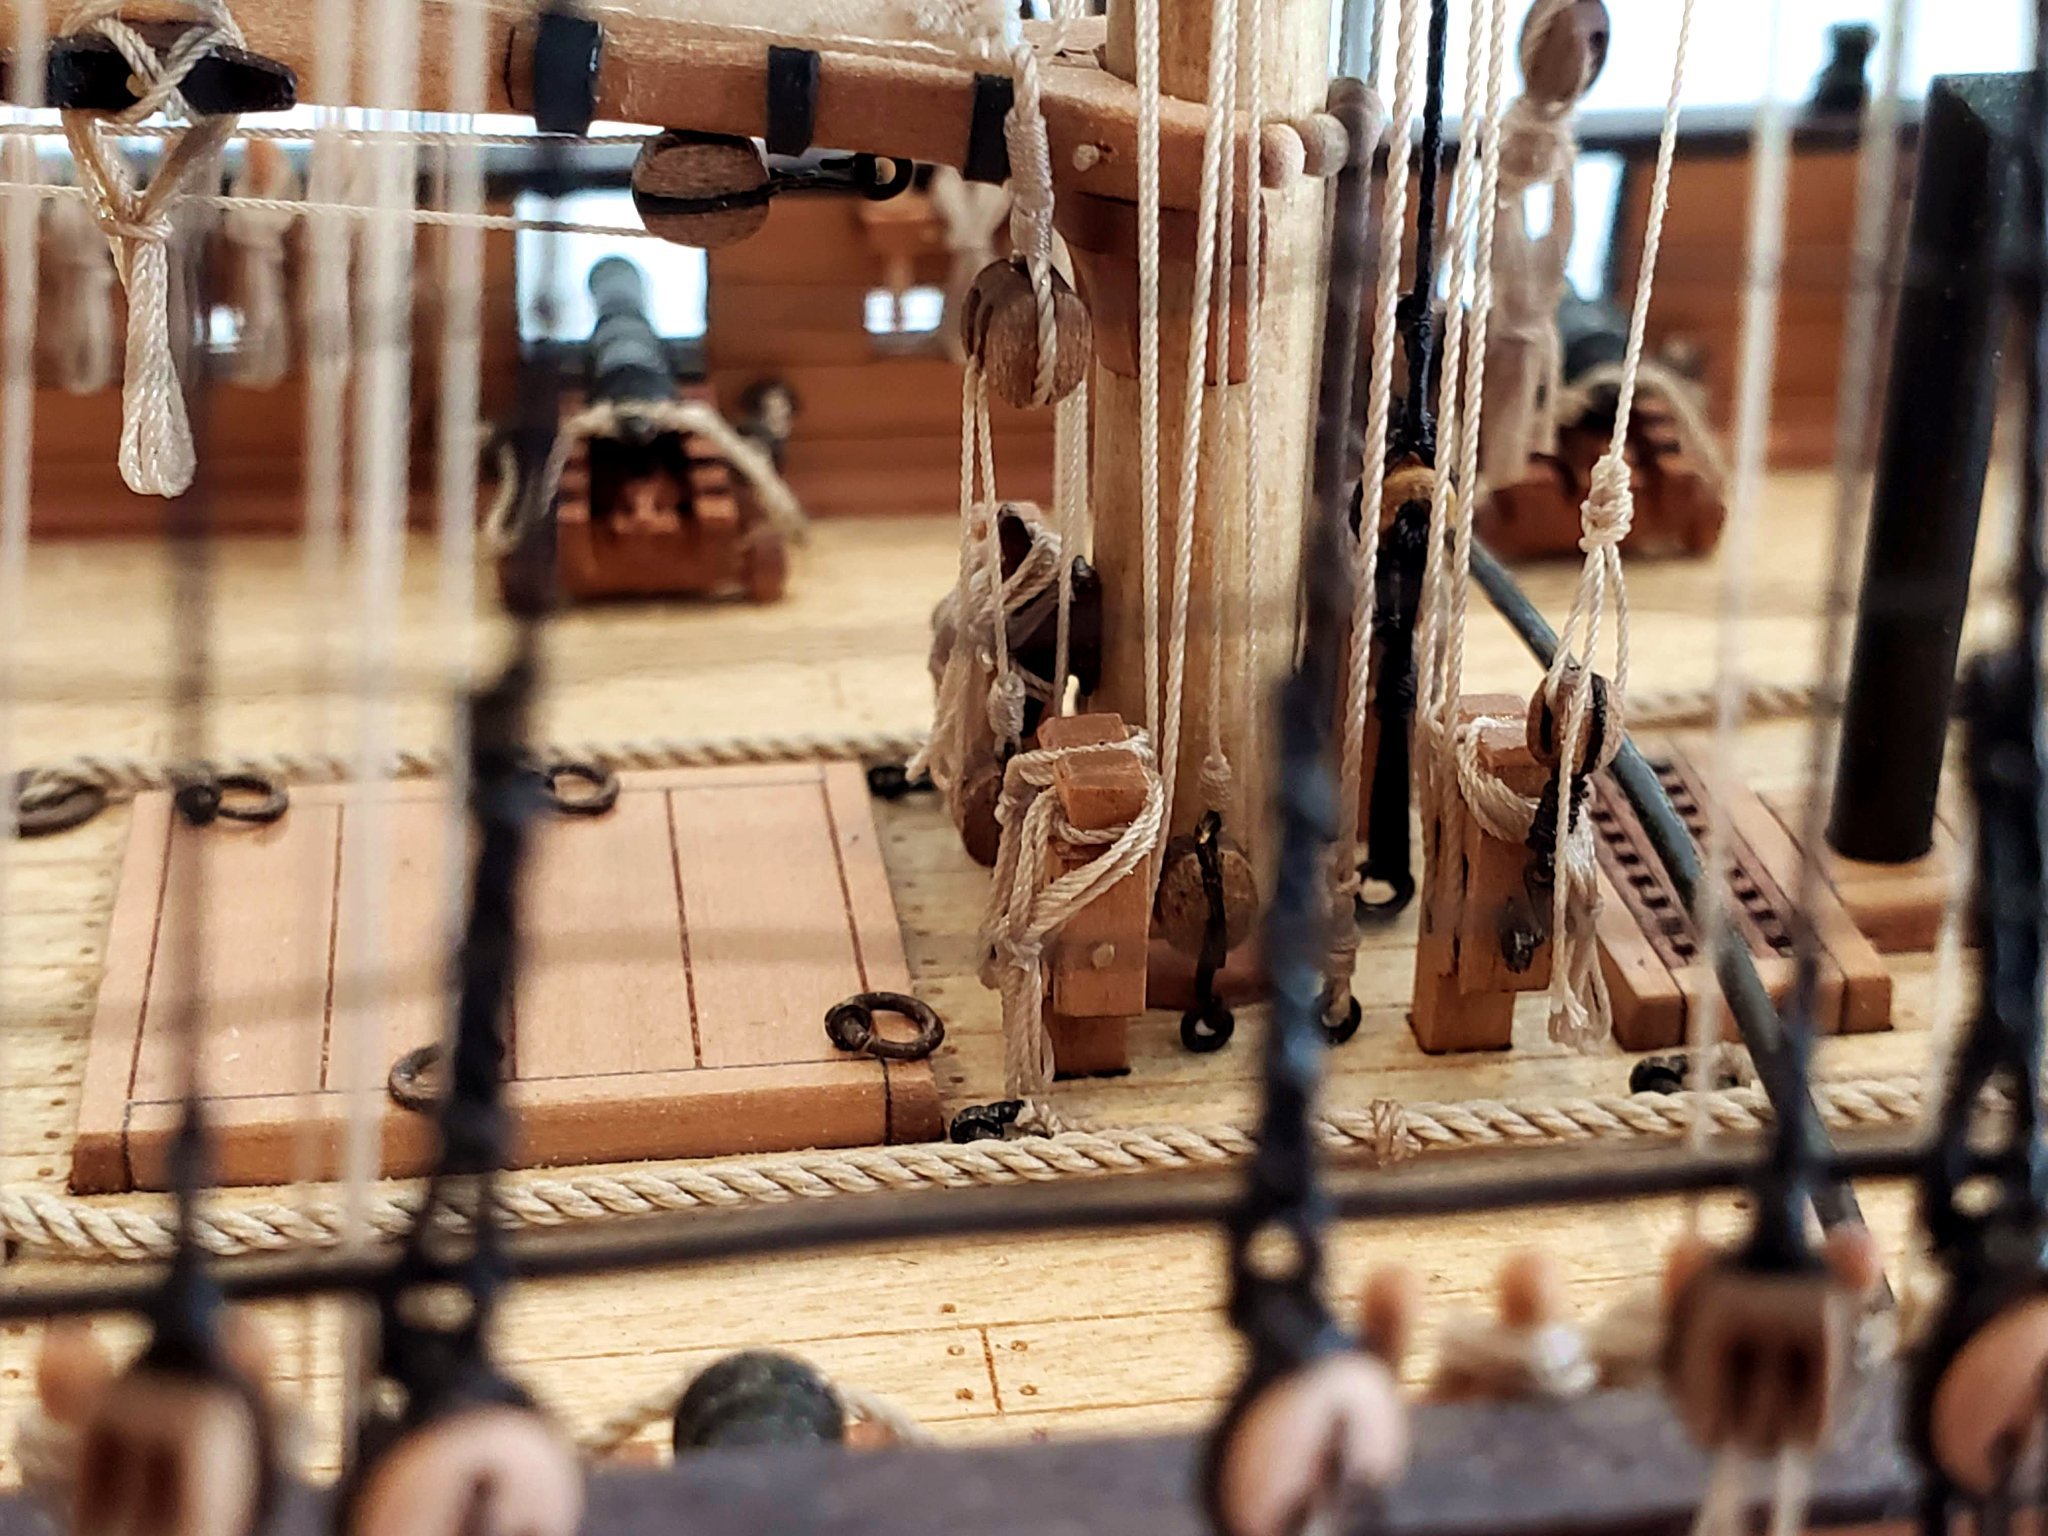
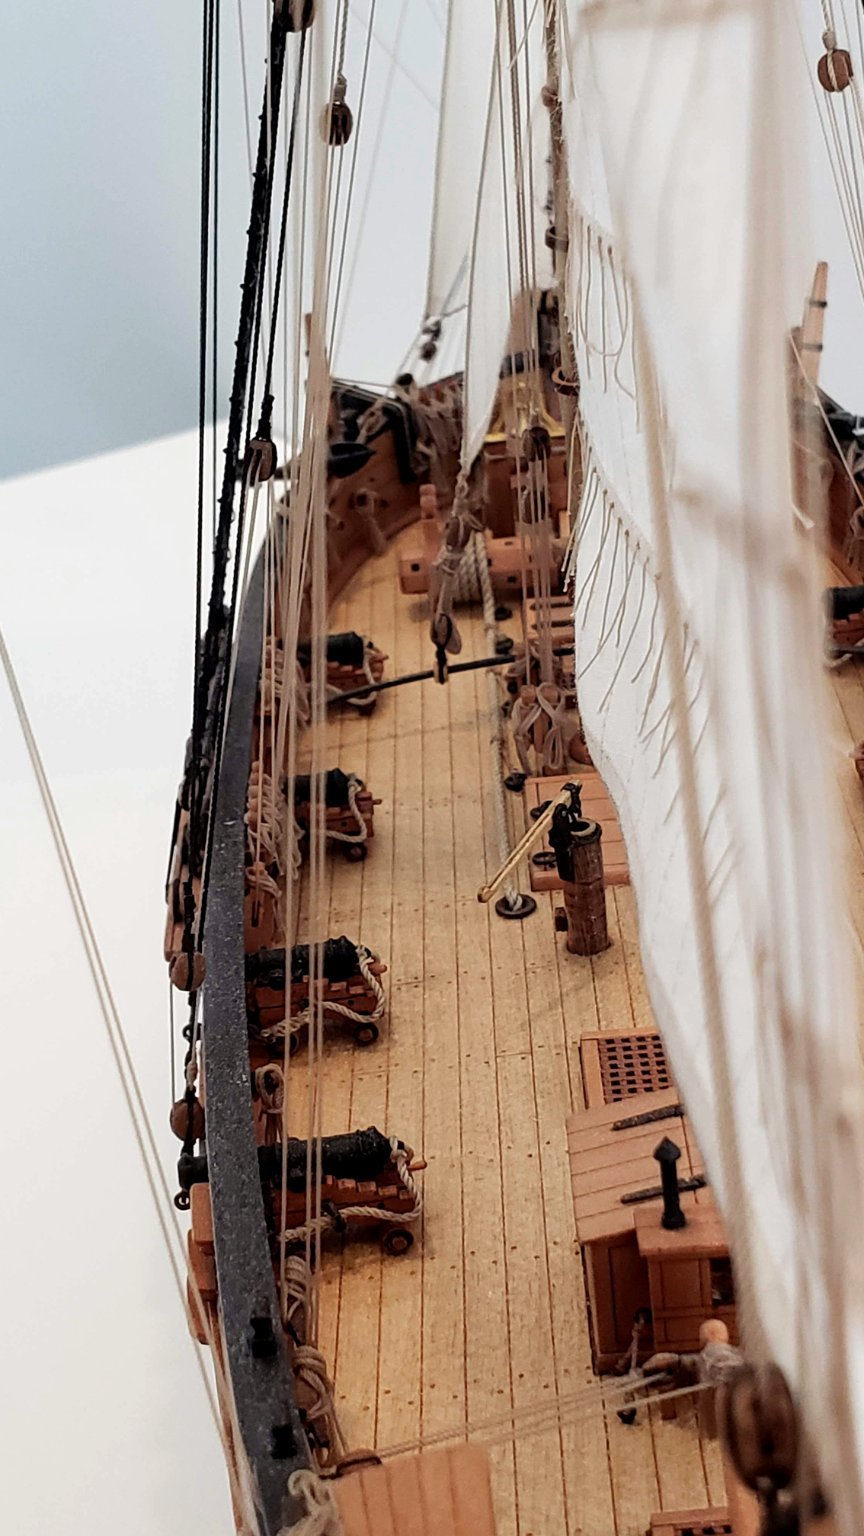
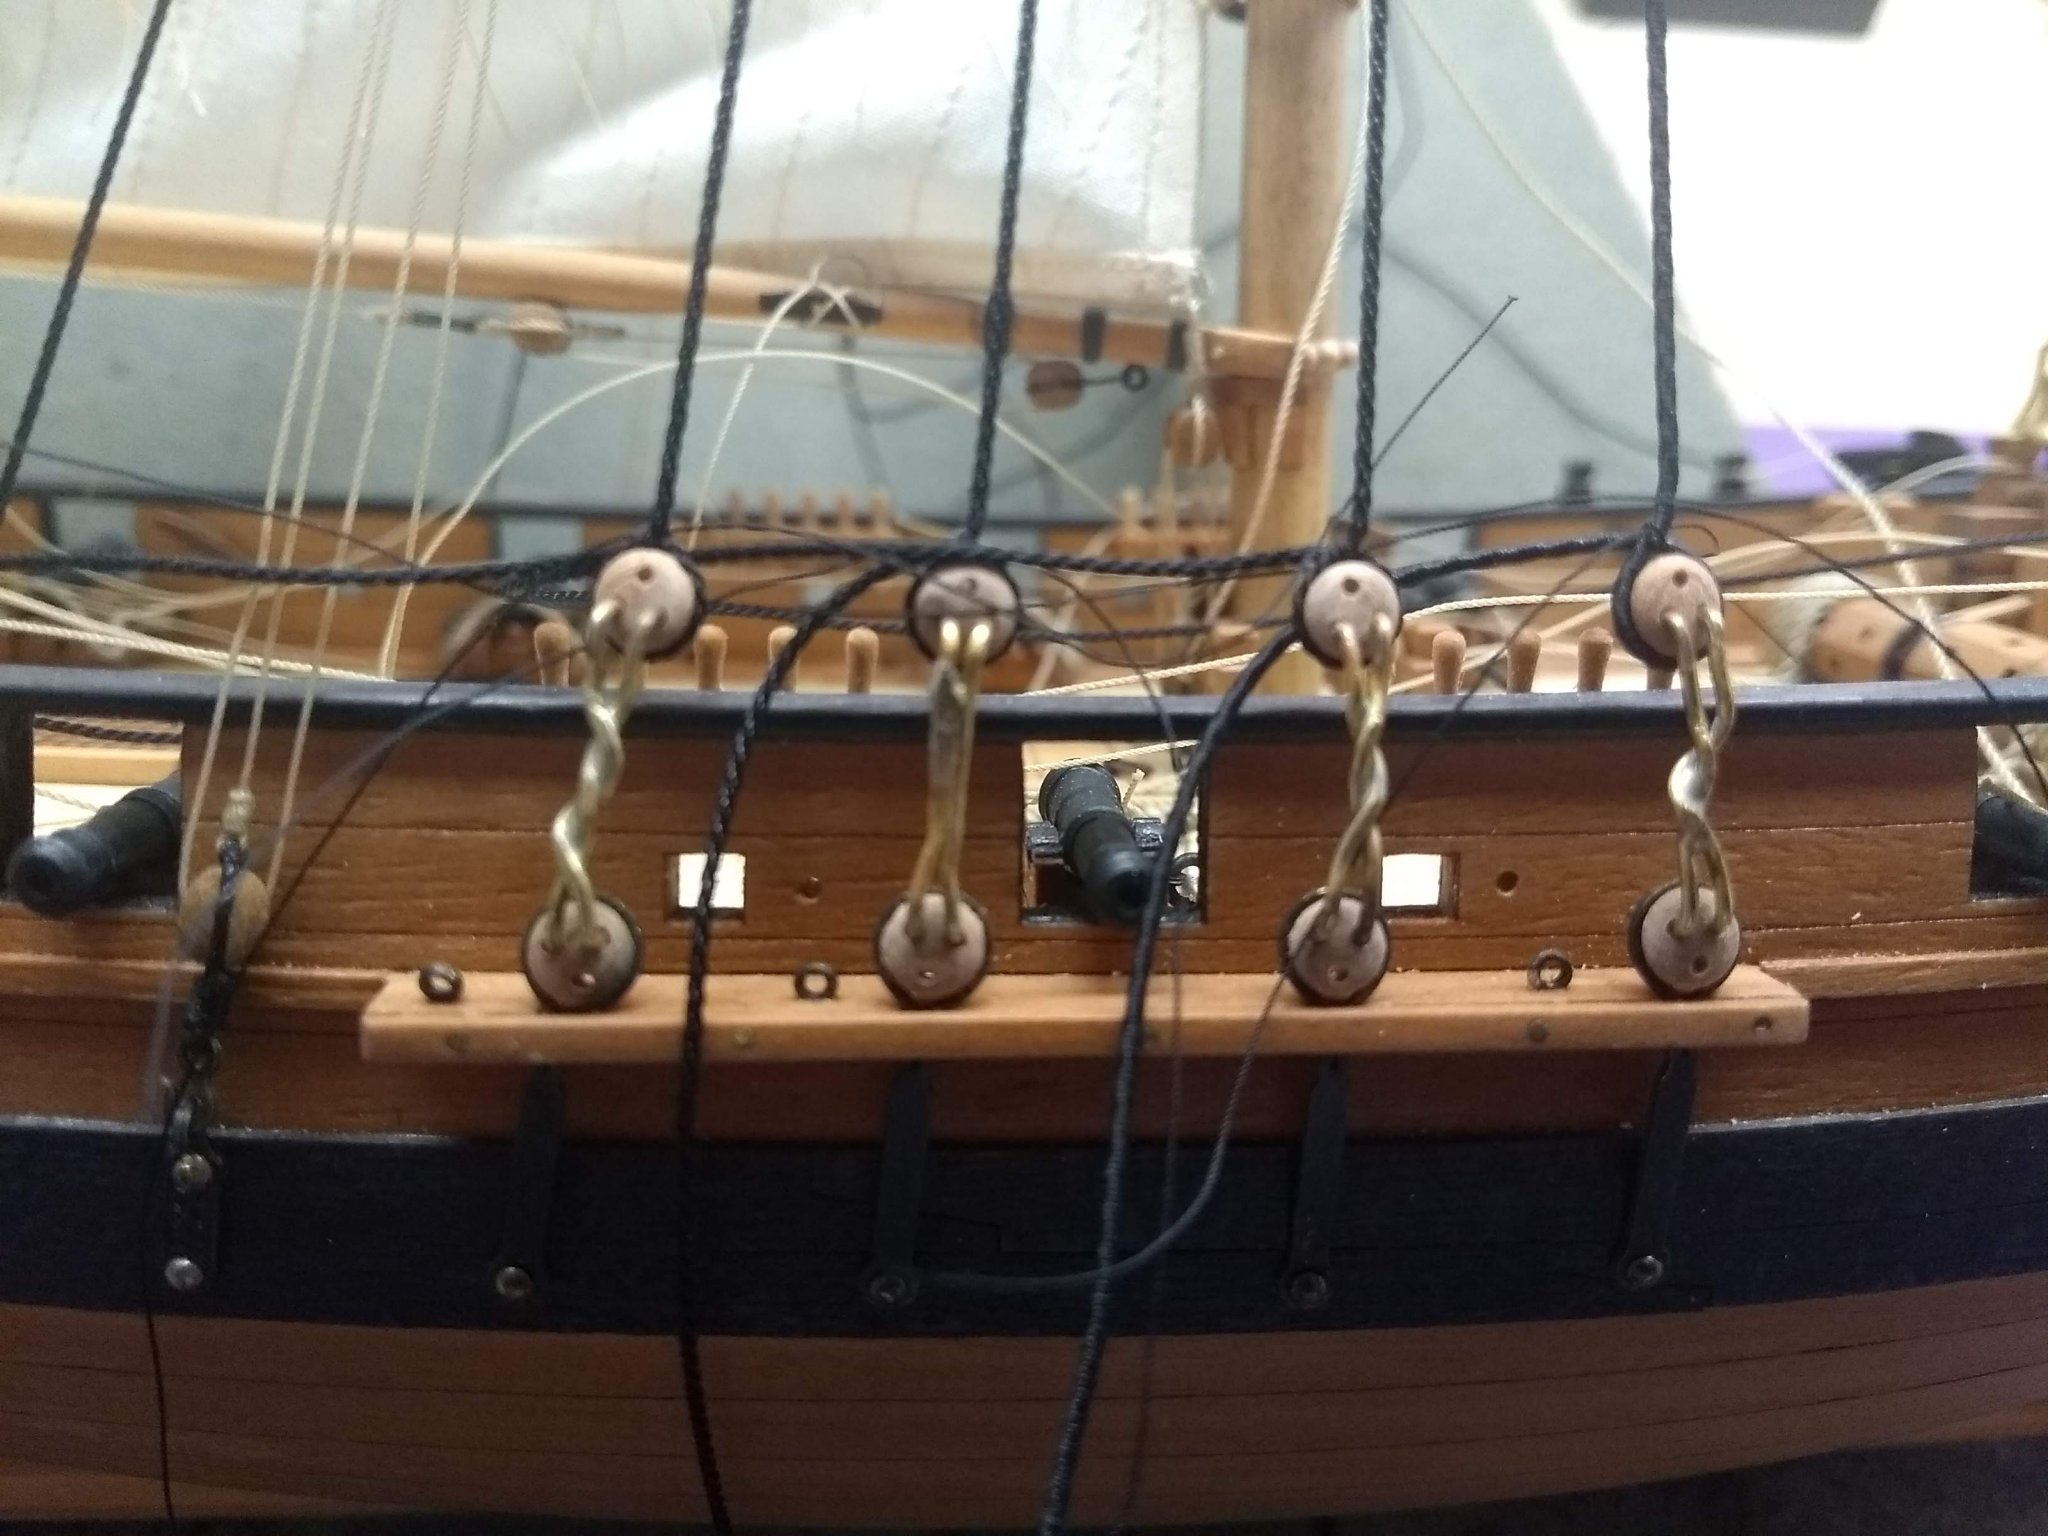
Once the mast was installed on the hull I attached the stays and the shrouds. I prefer to use individual jig for each of the deadeyes because of the andles their lengths are all slightly different:
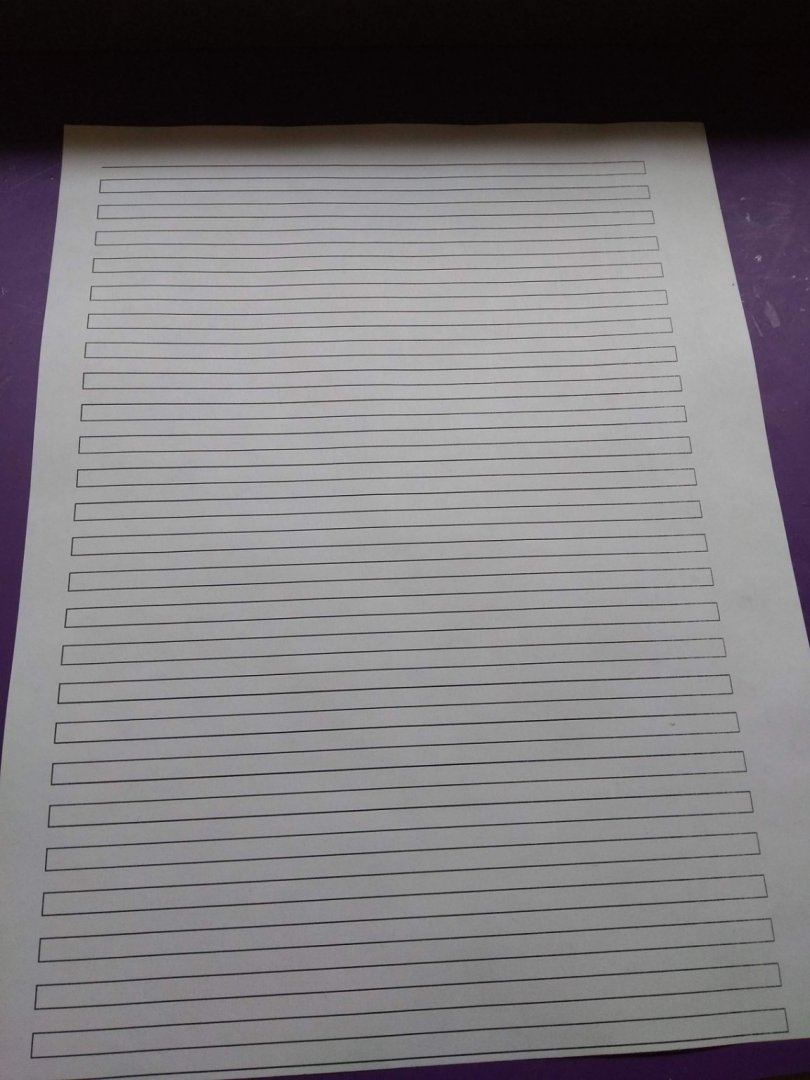
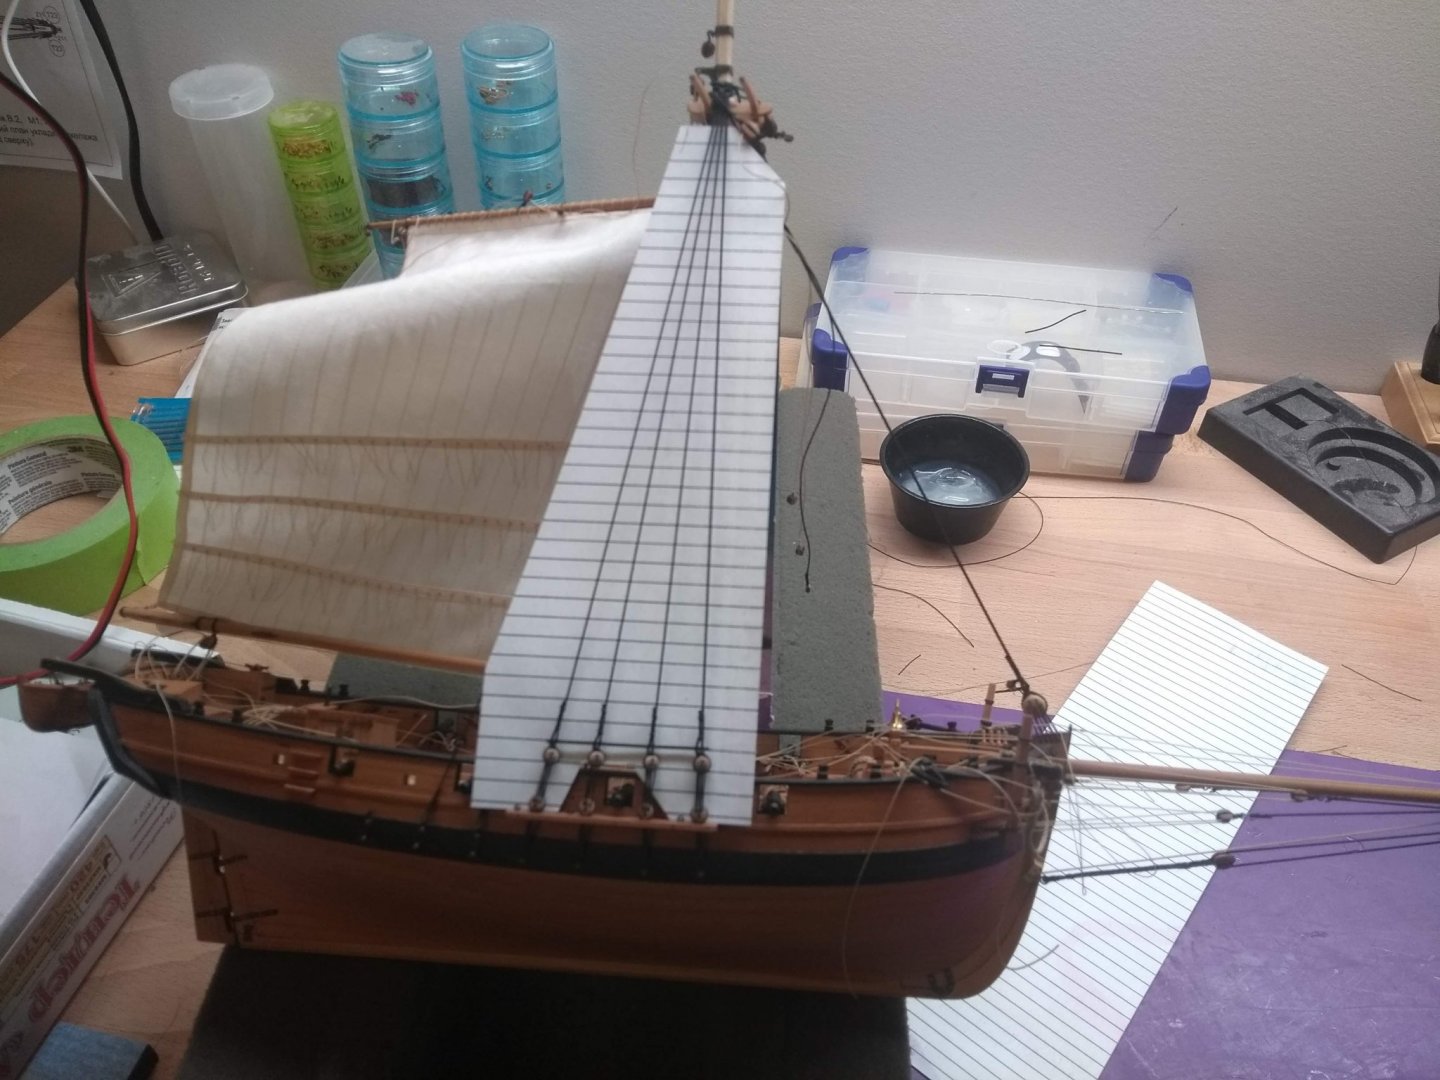
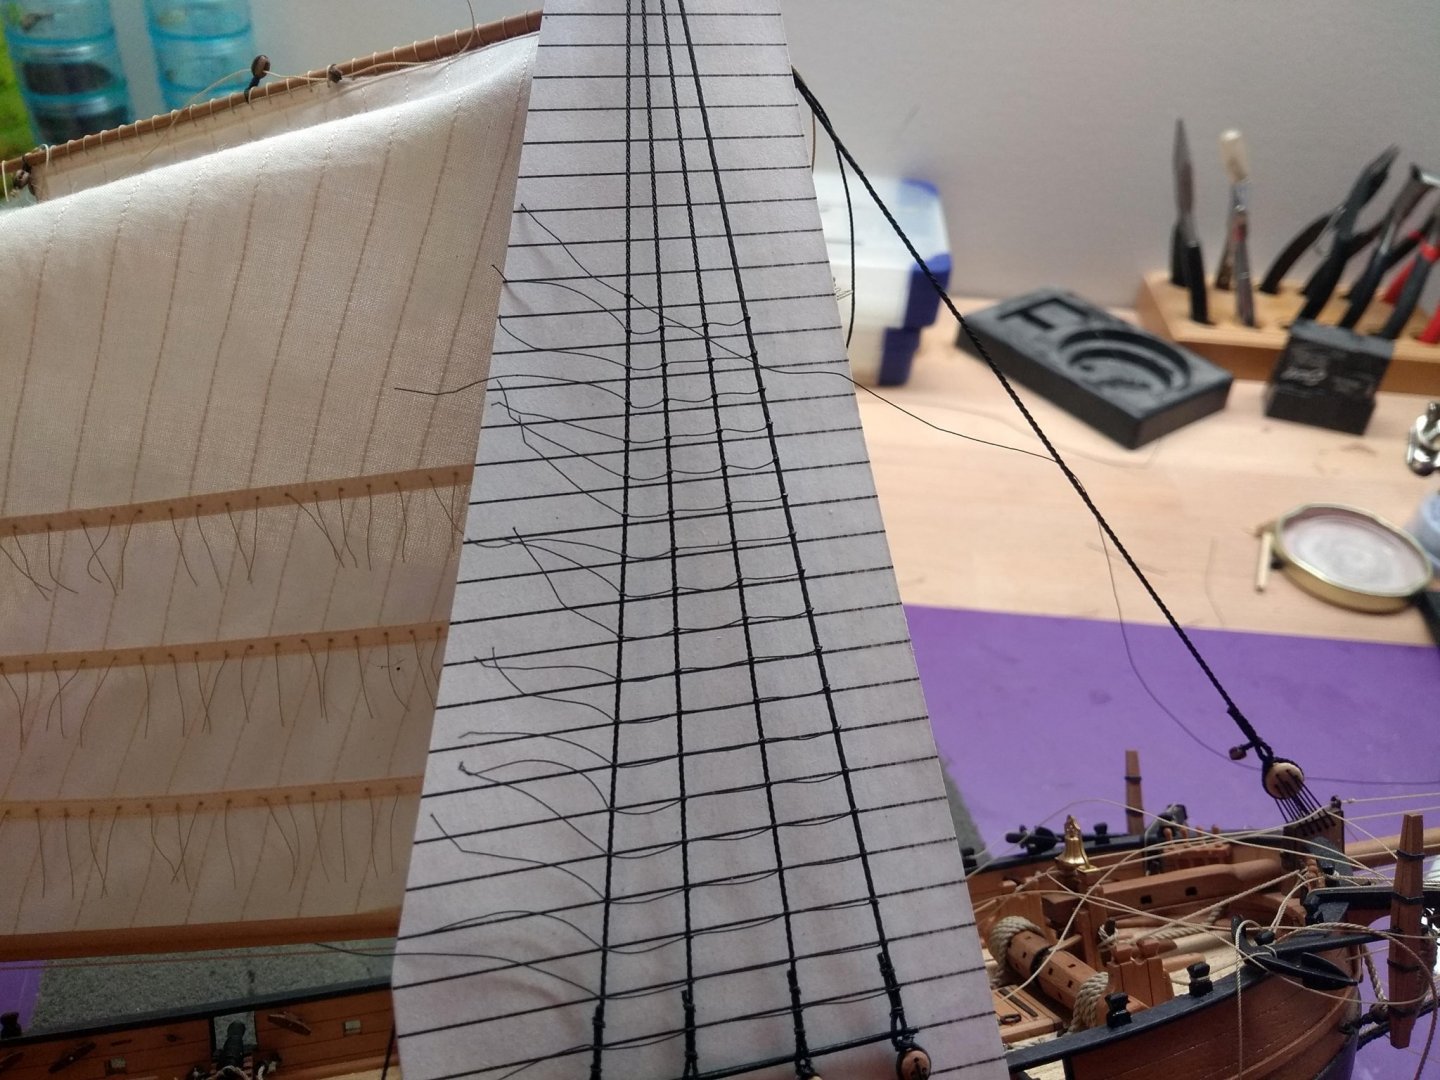
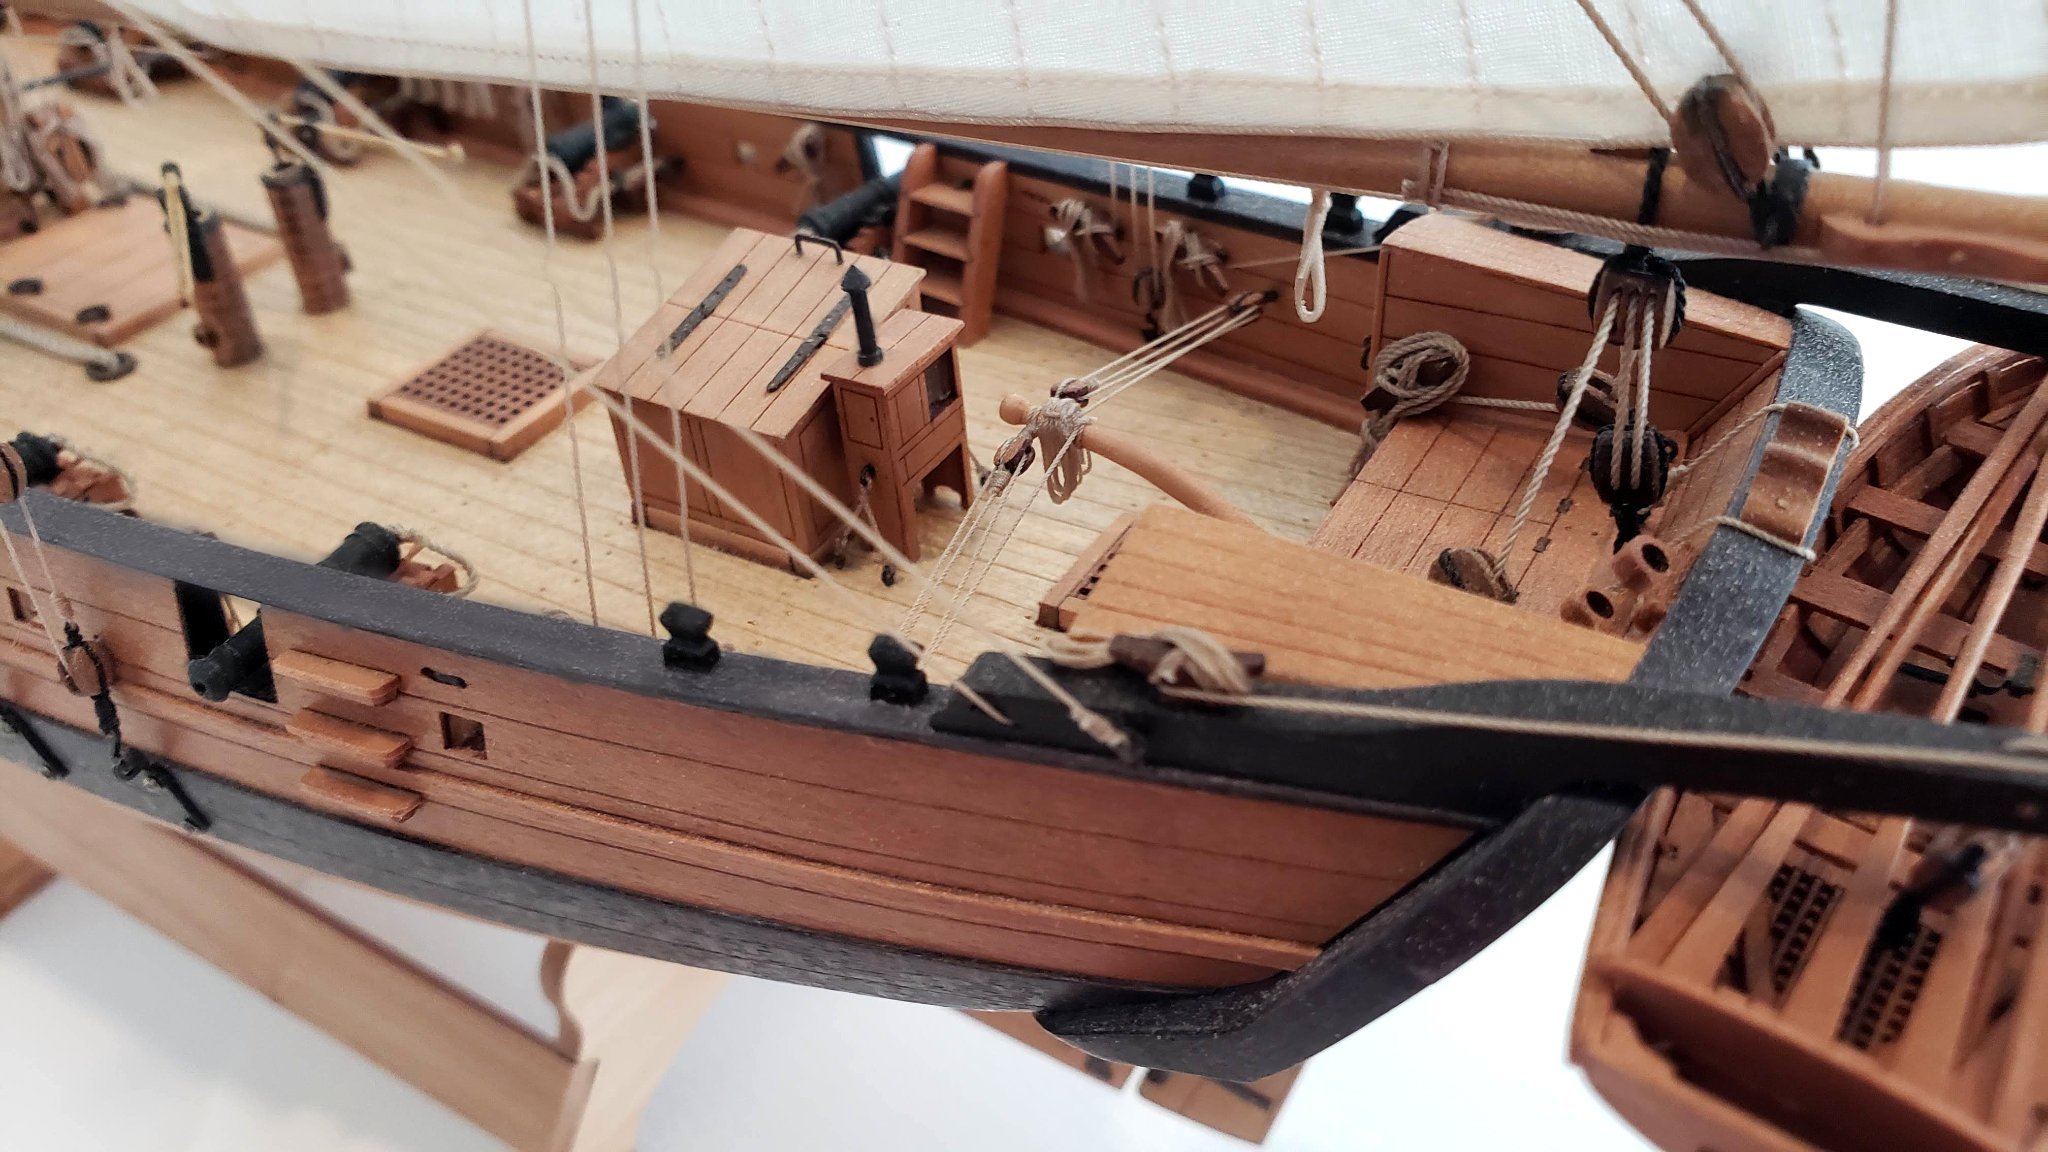
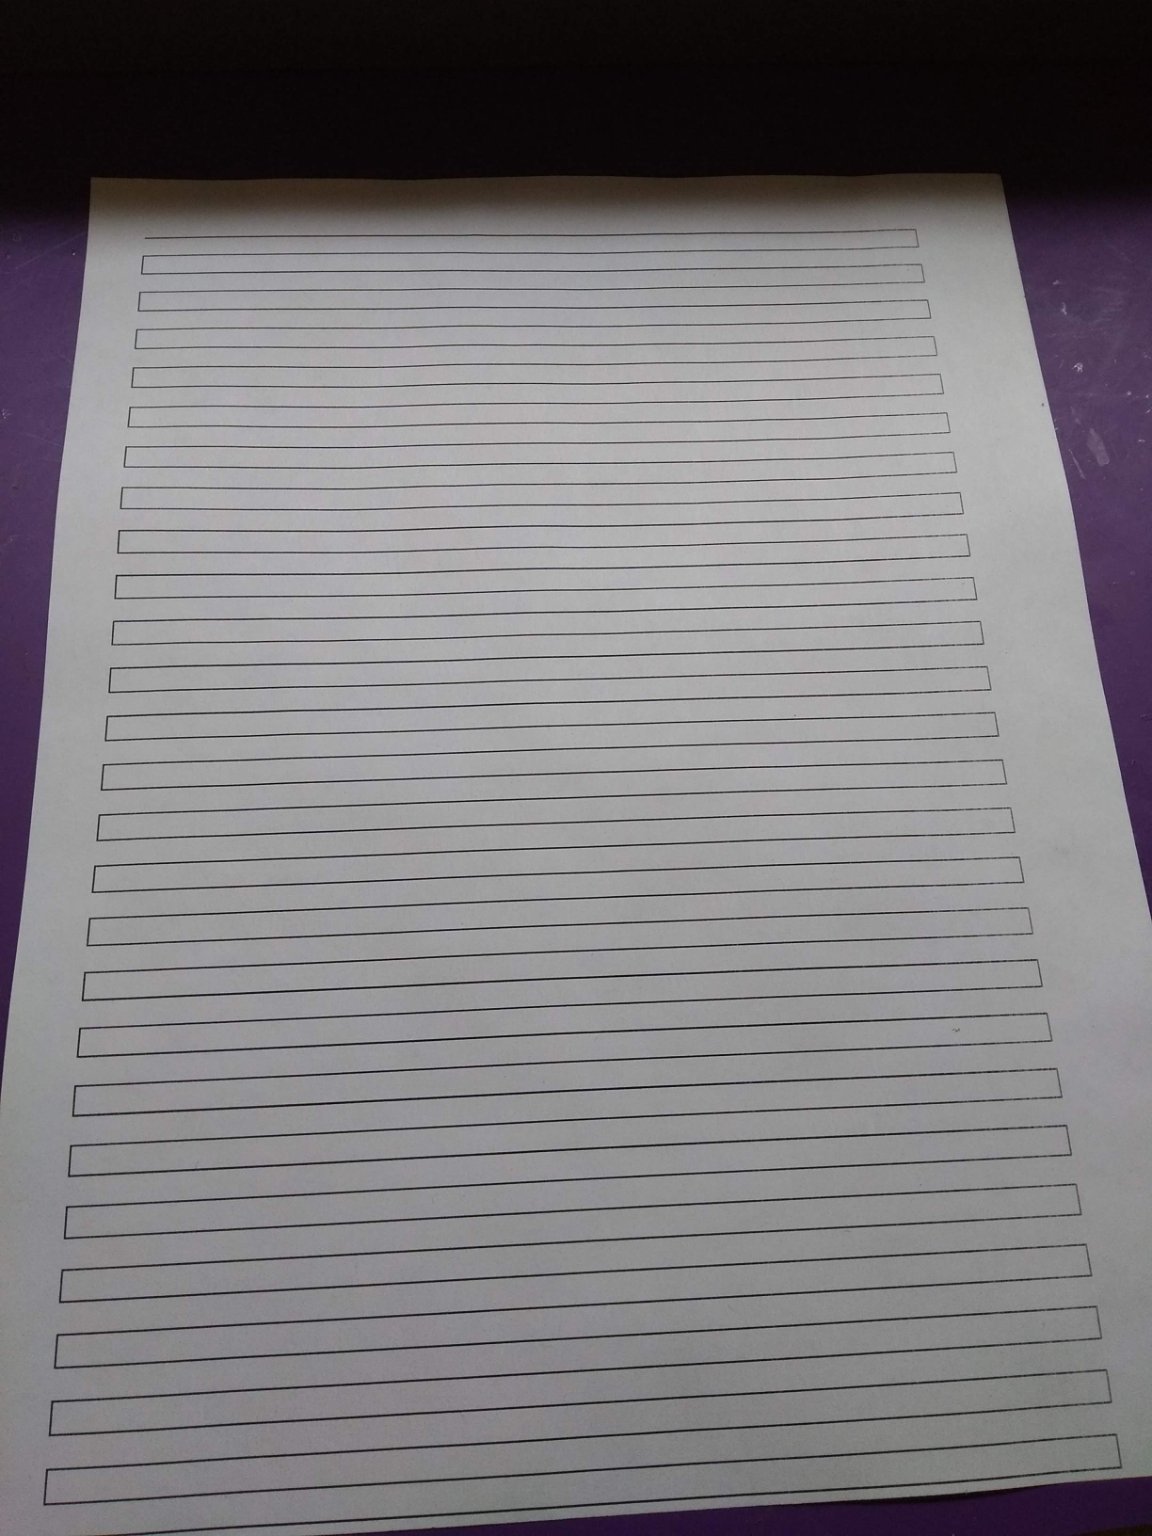
To make the ratlines I printed a template on a laser printer and then simply cut it out and affixed behind the shrouds. This way it is possible to consistently tie the ratlines parallel to the channels:
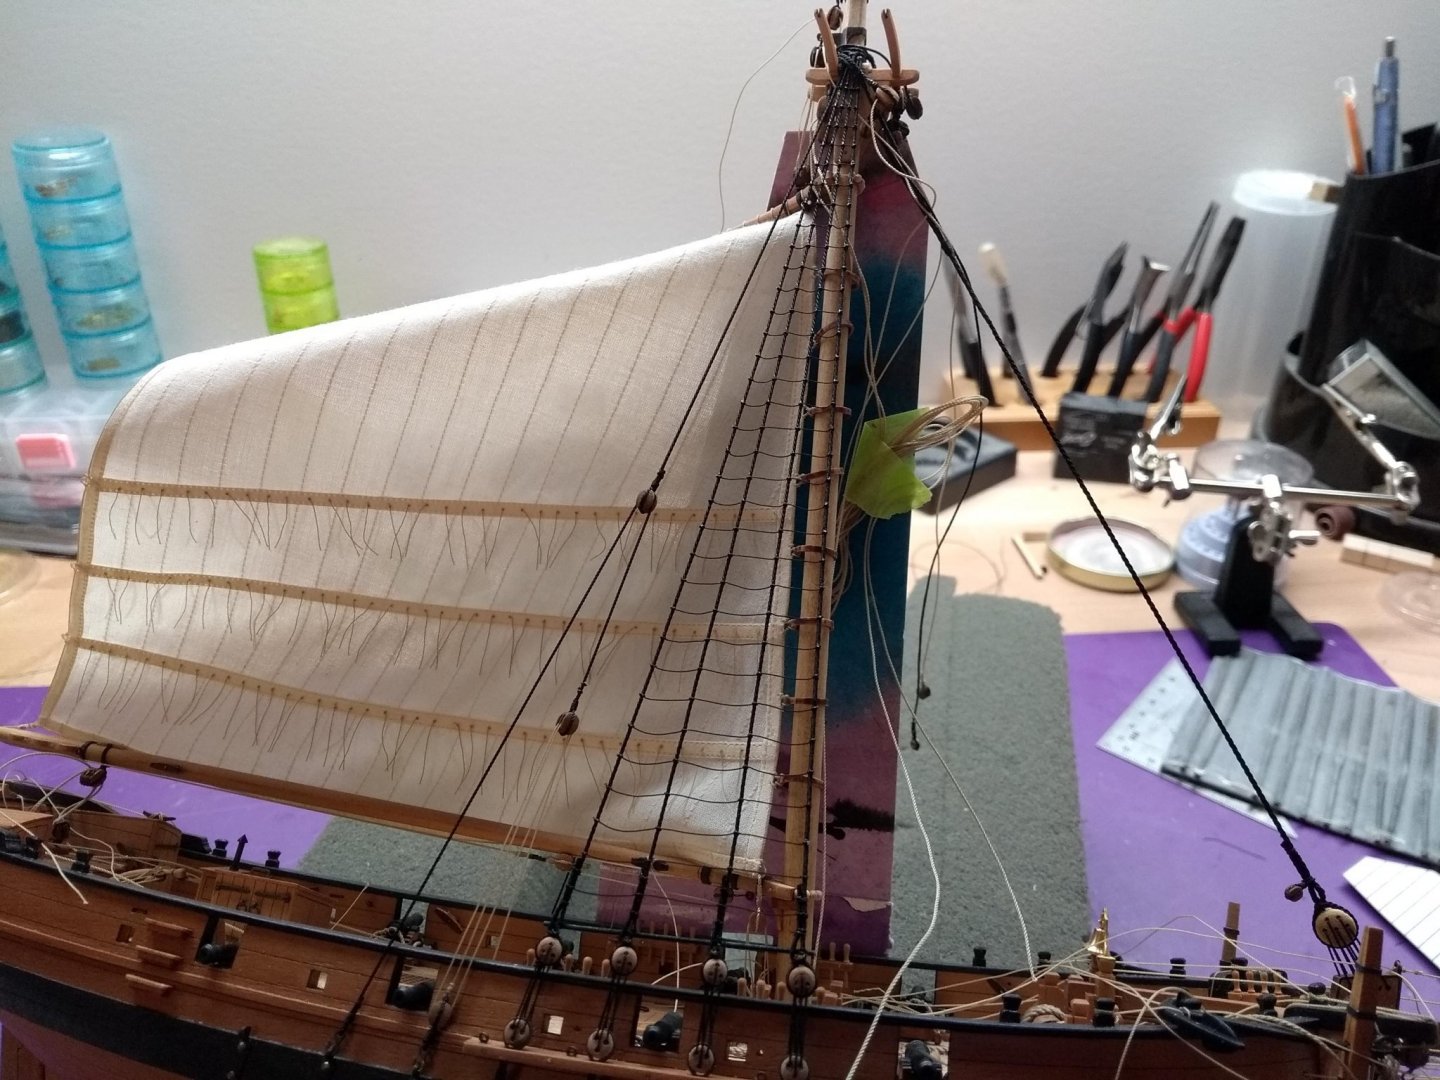
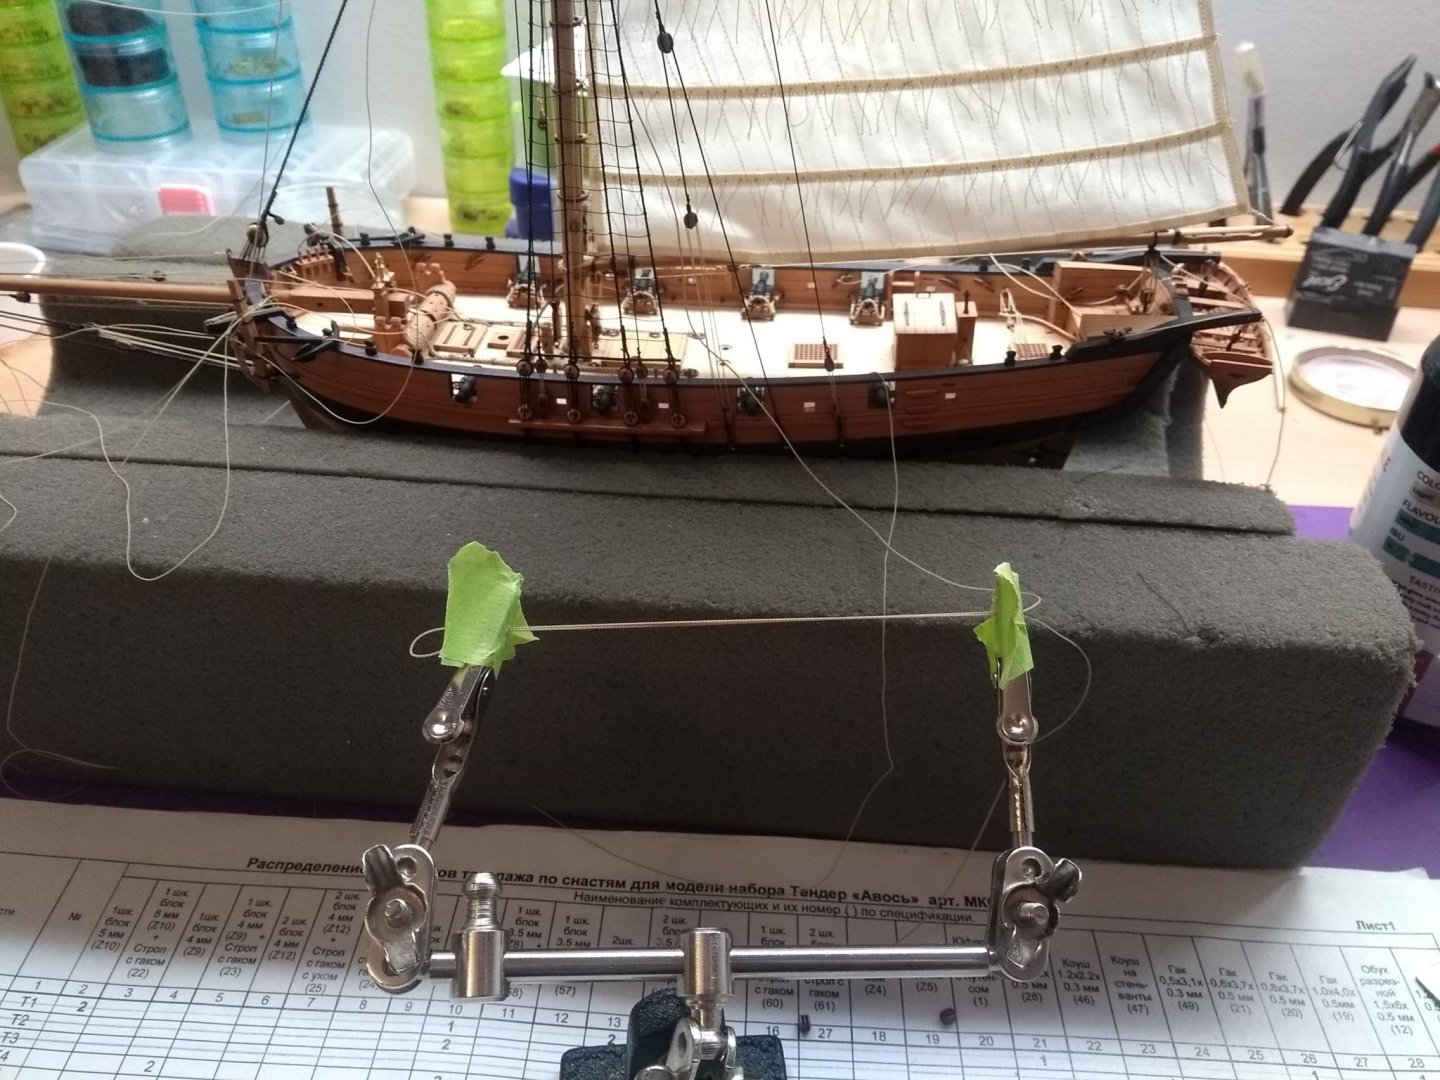
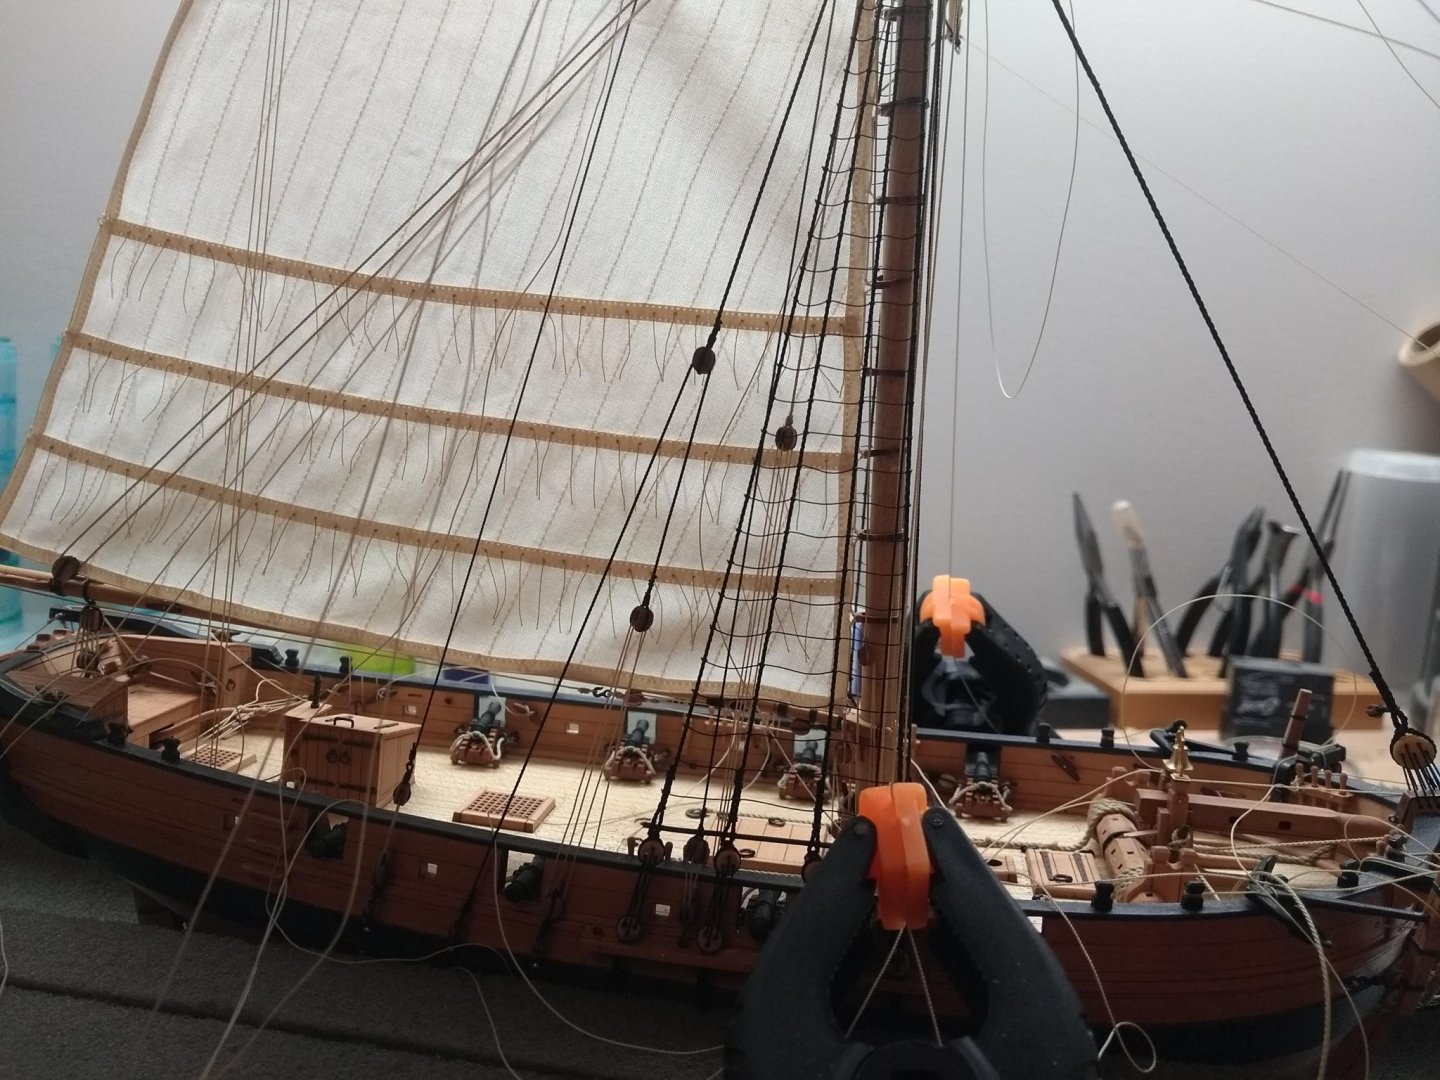
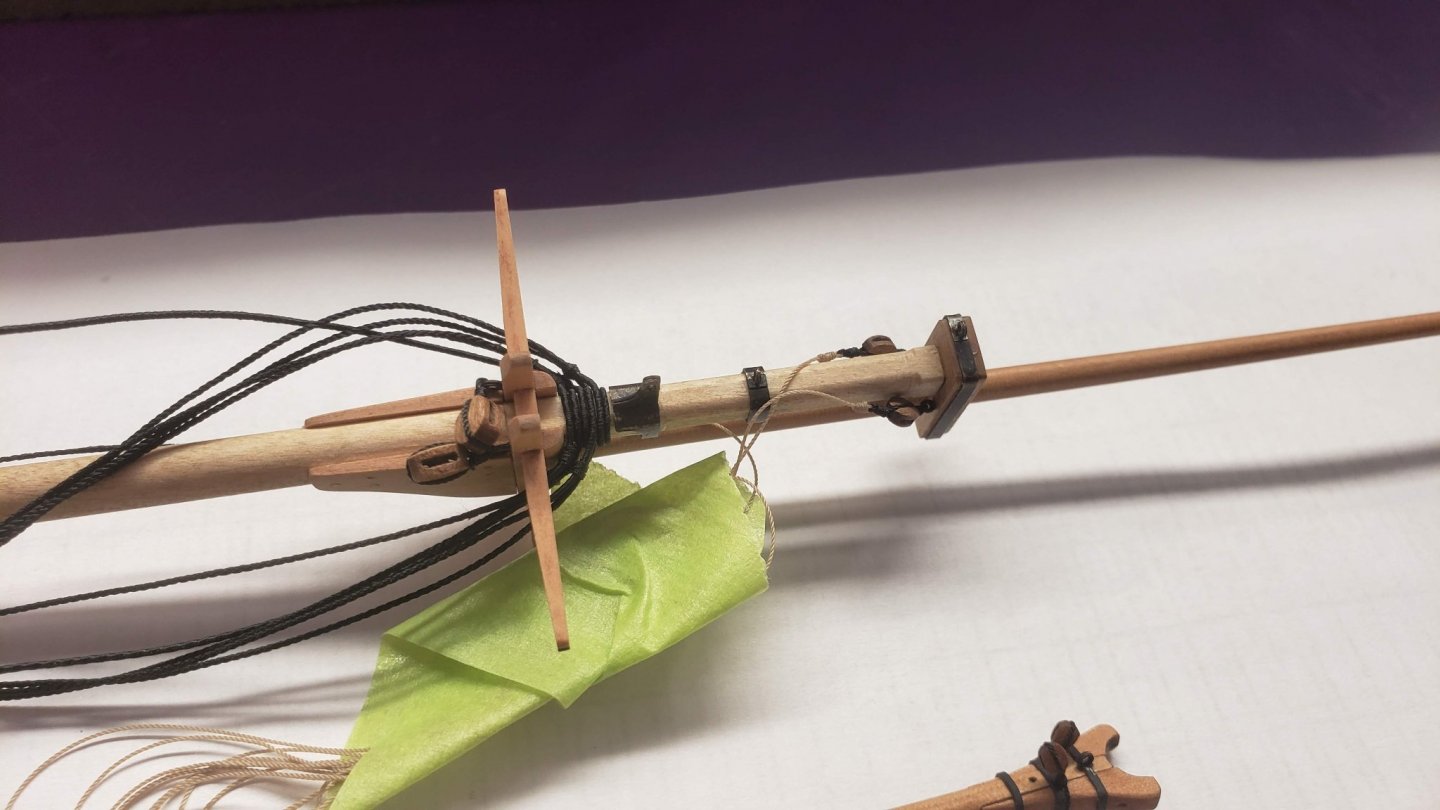
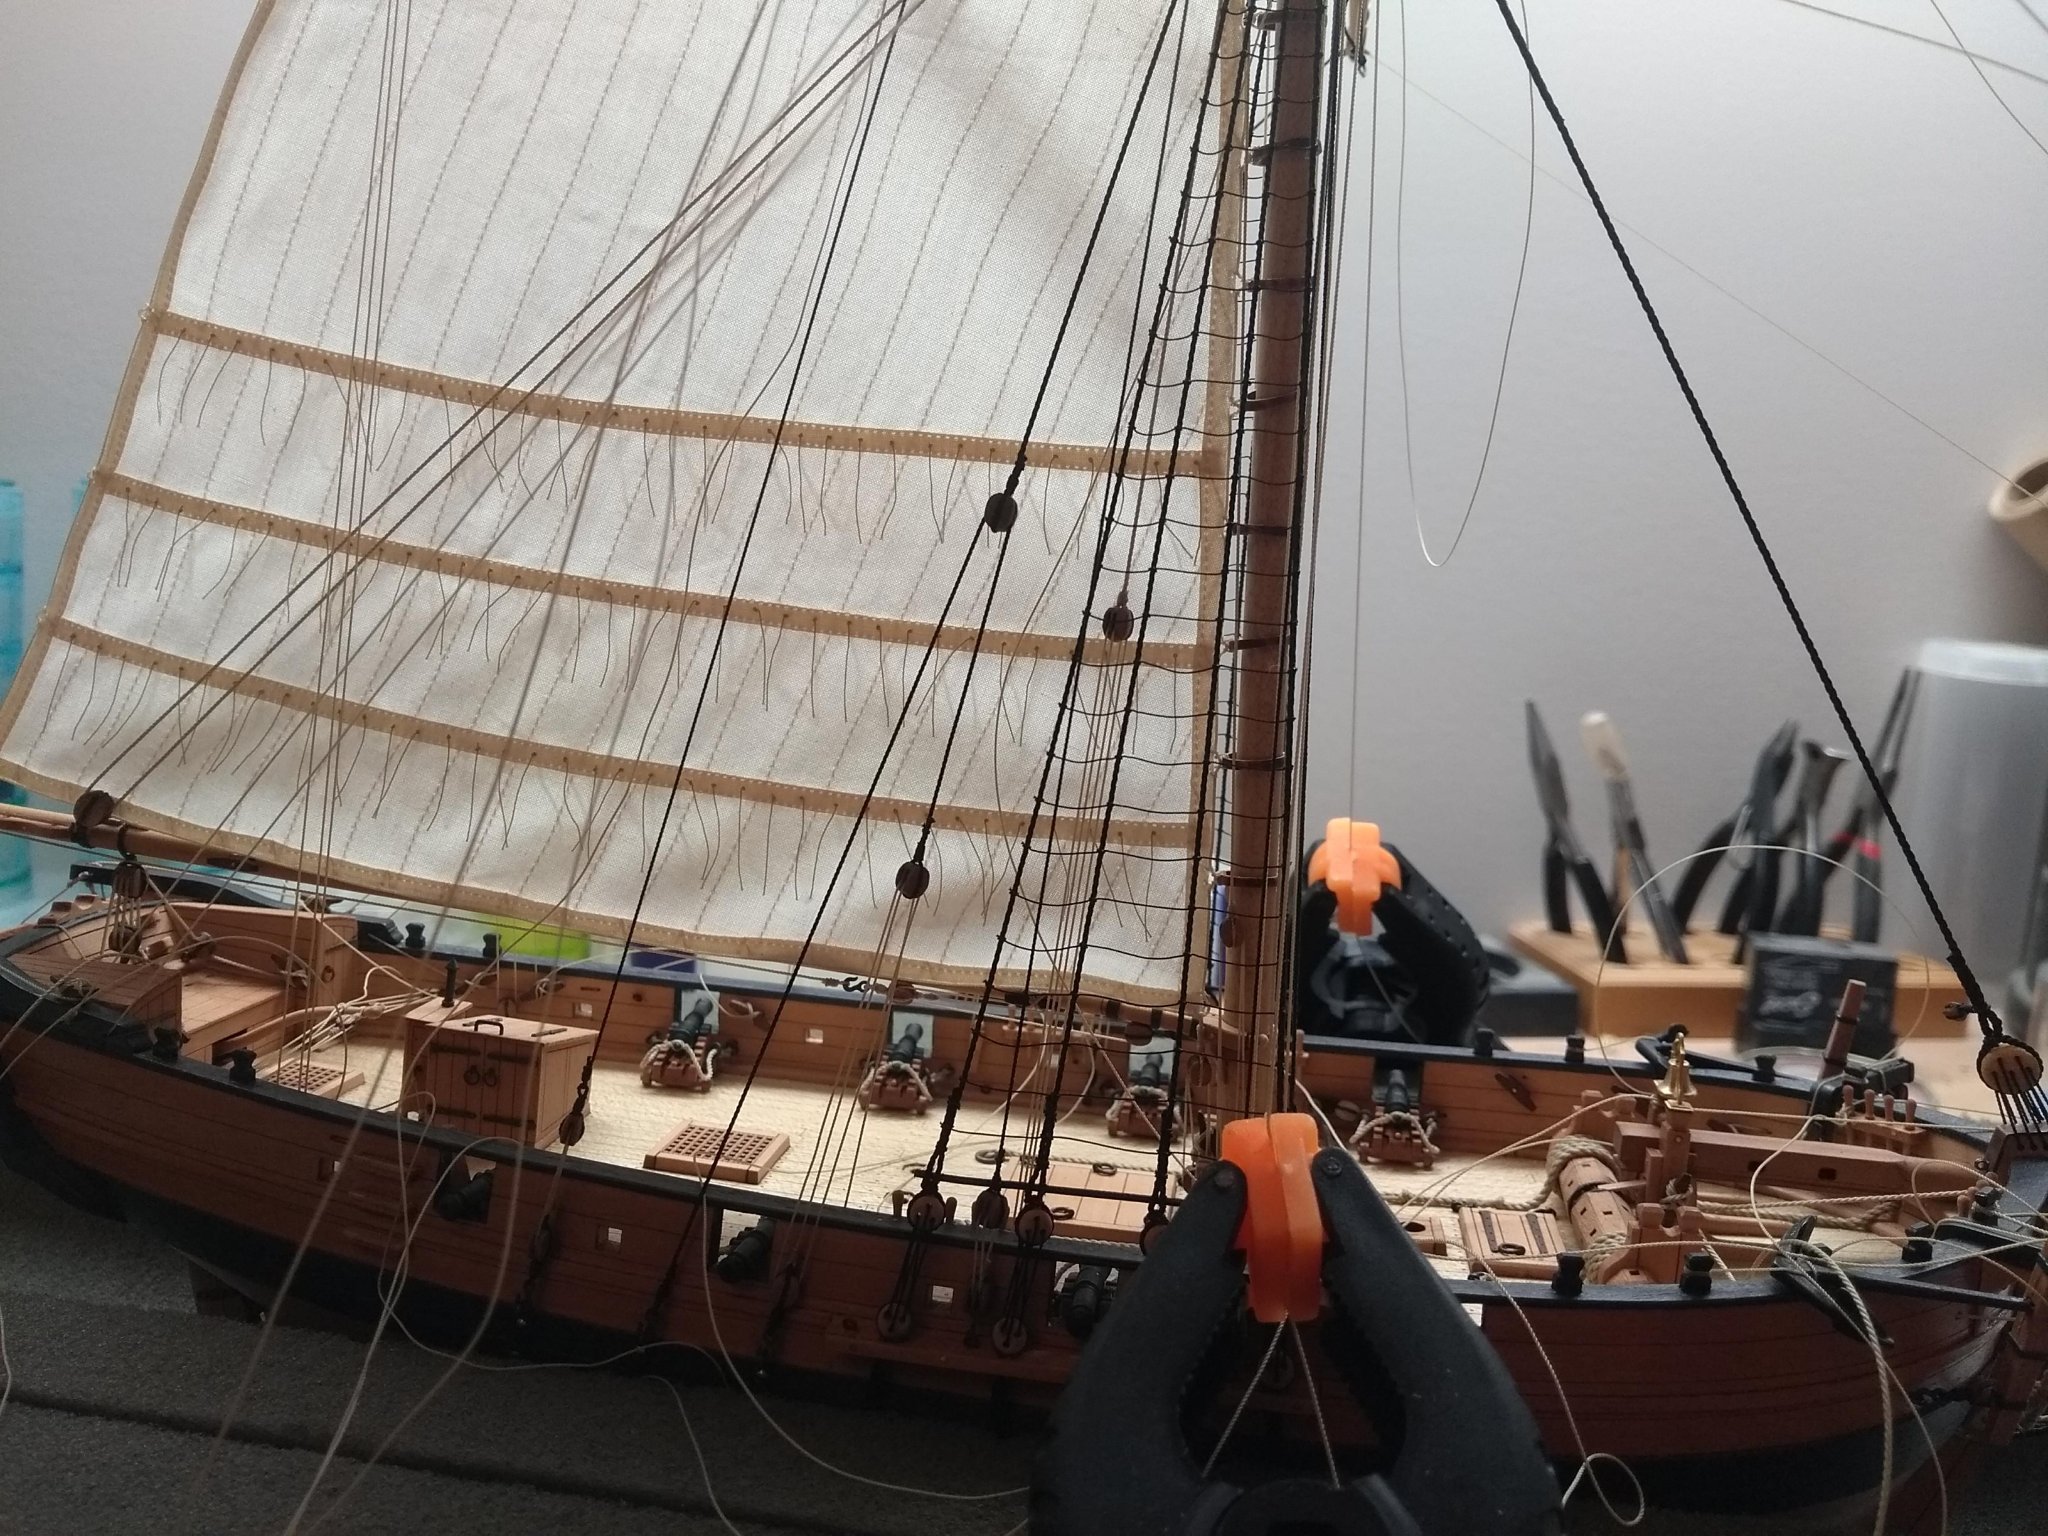
Once the standing rigging was done it was a matter of connecting all the pieces of the running rigging, I used the help of the third hand and the clamps extensively:
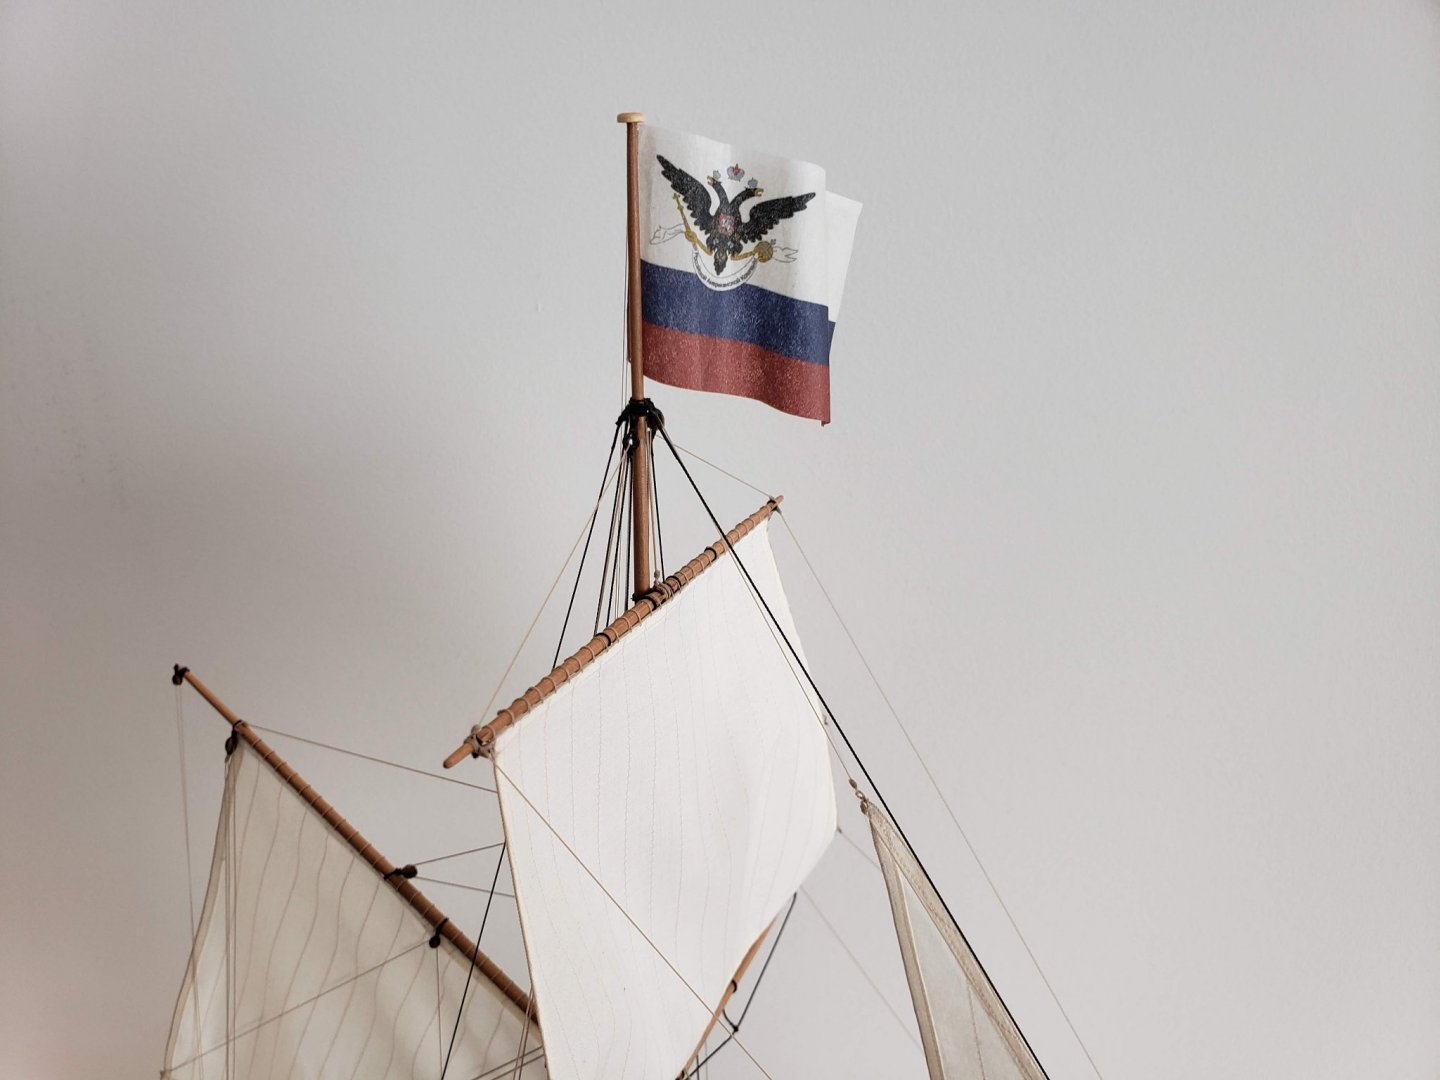
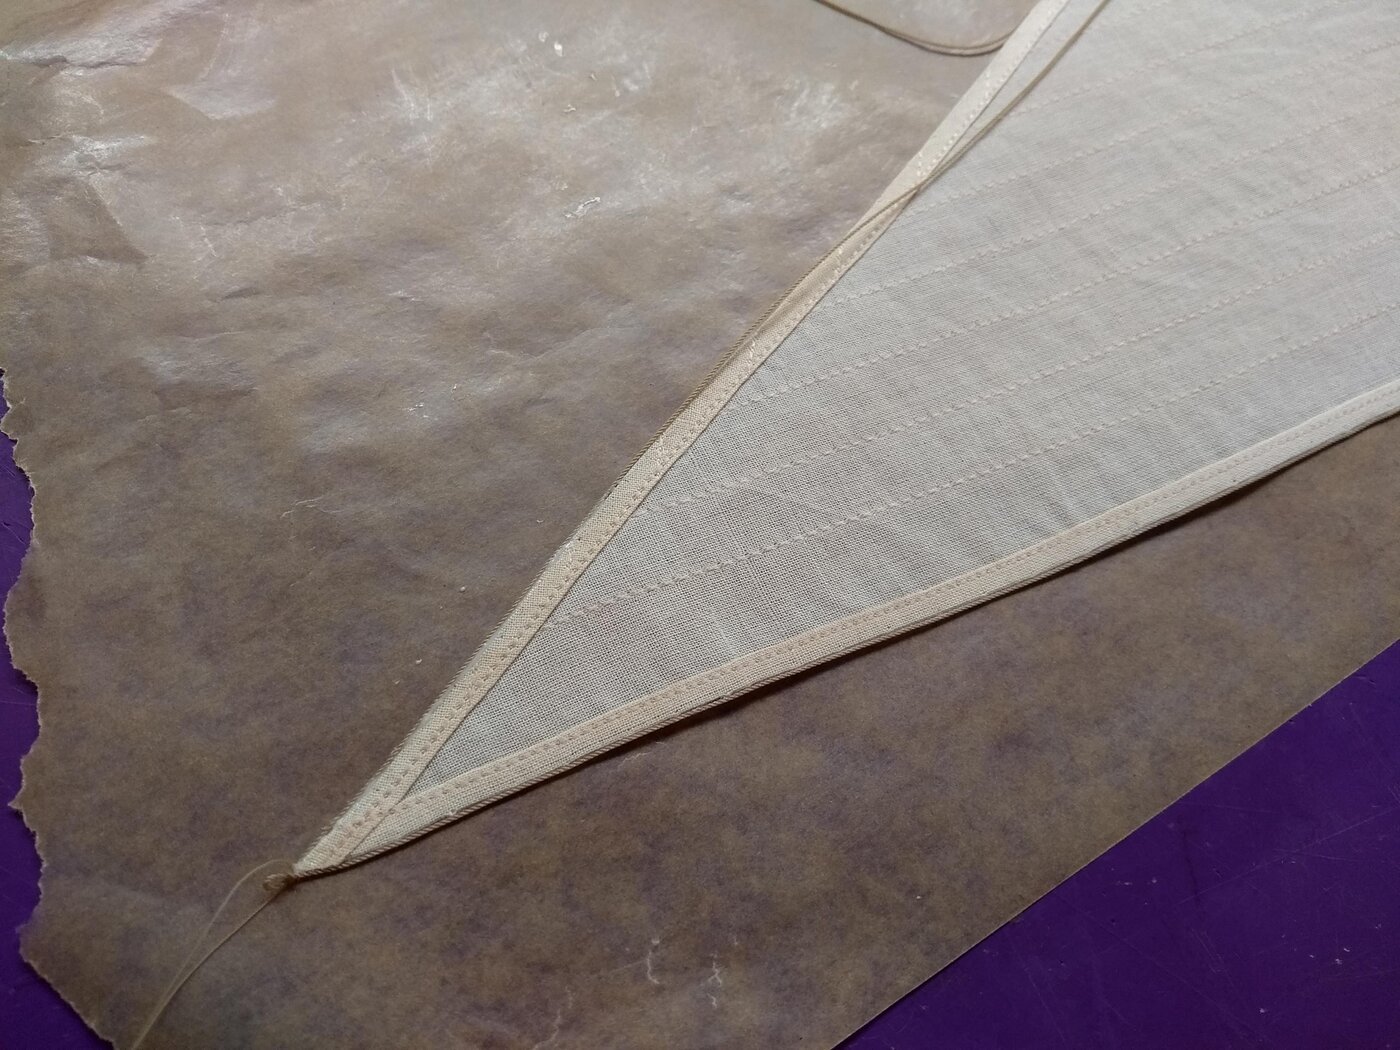
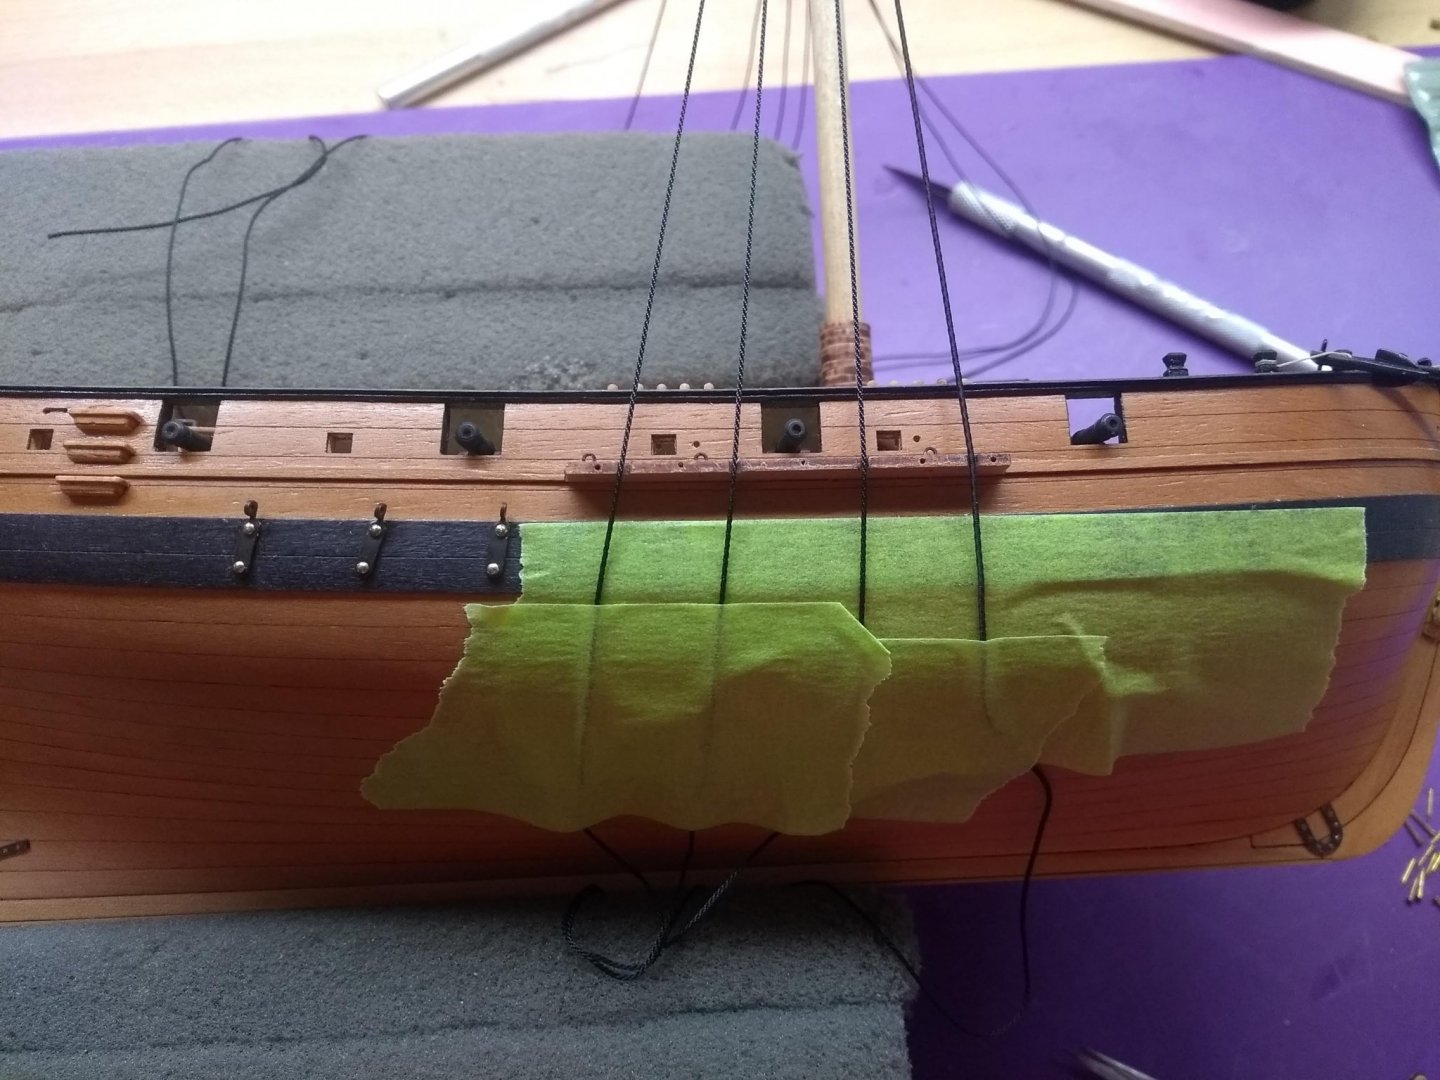
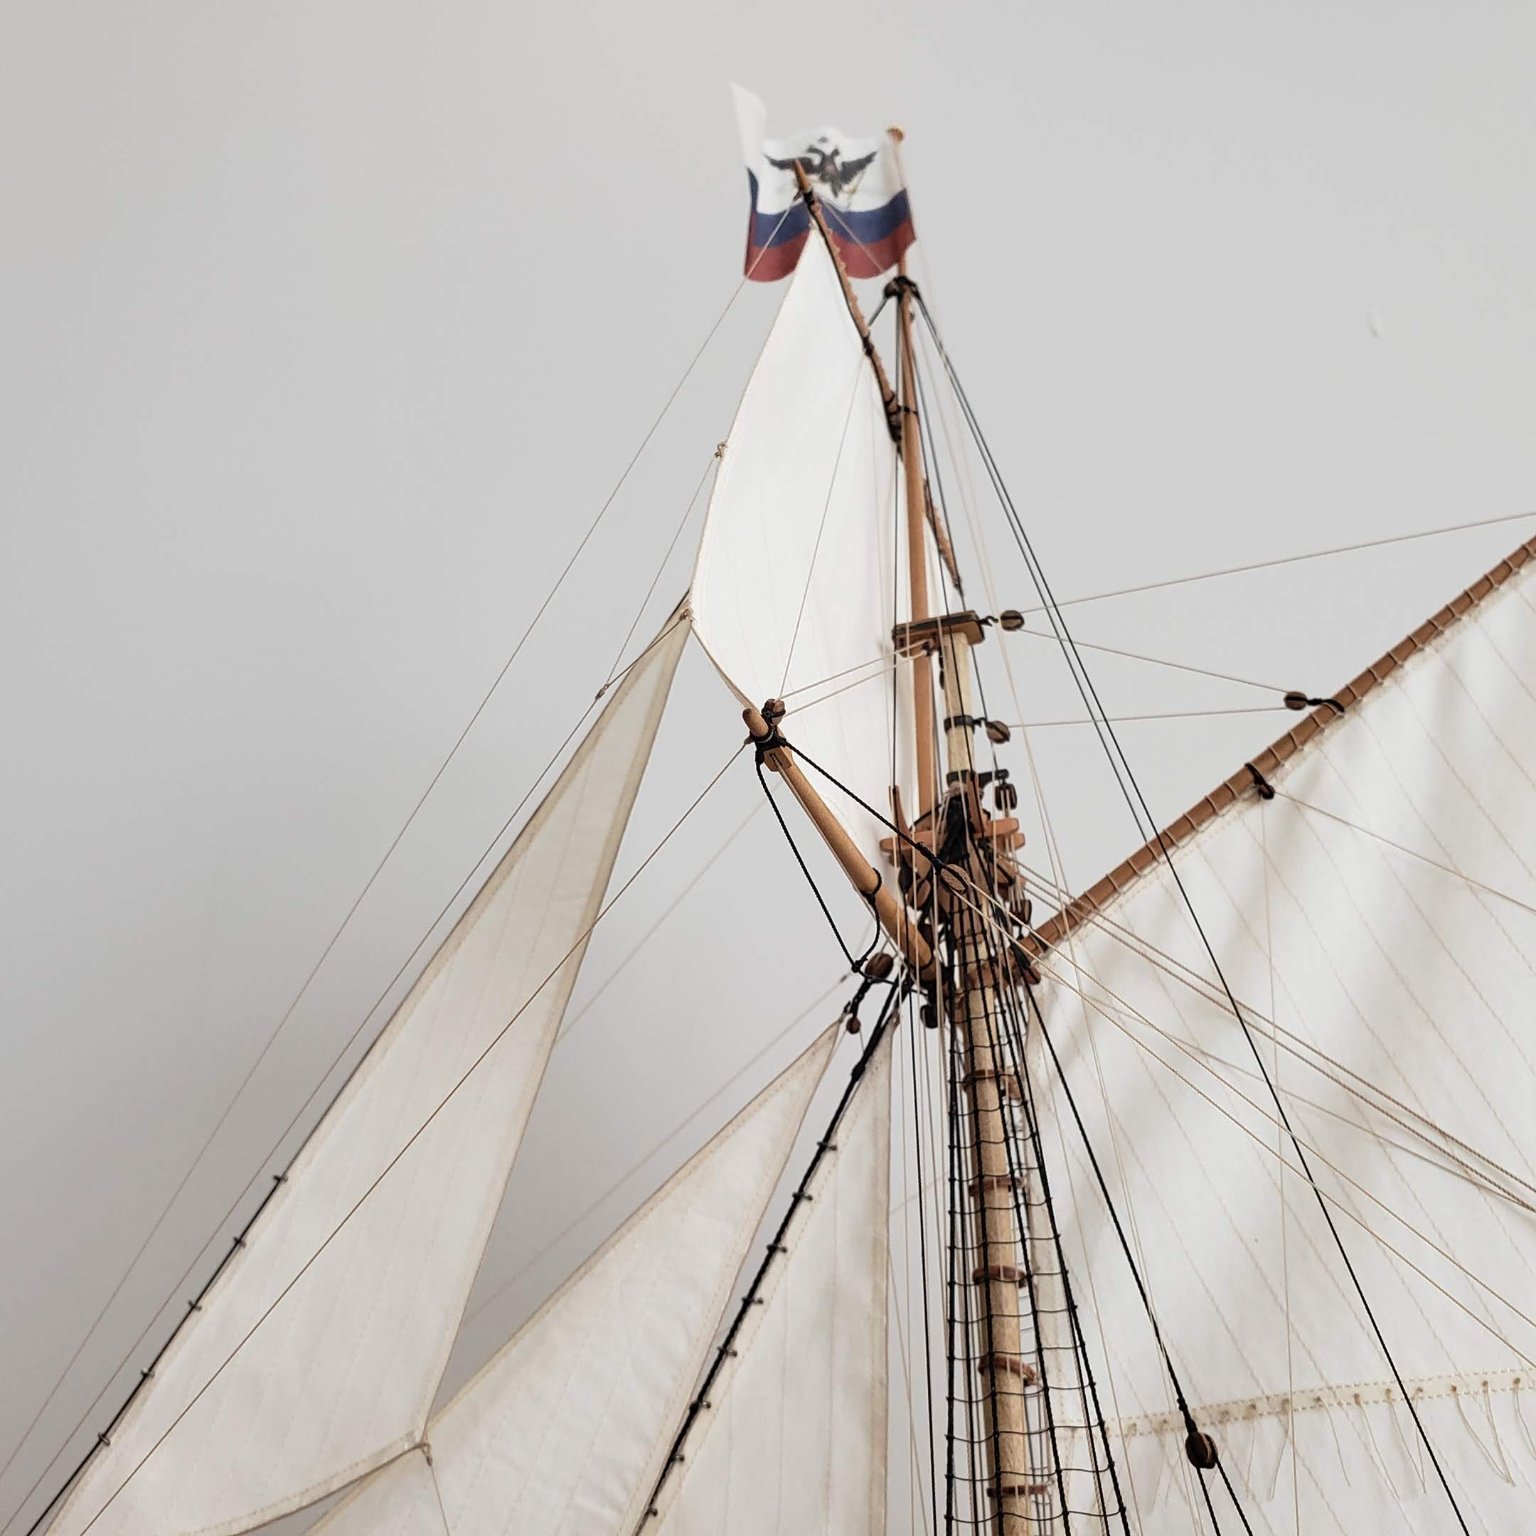
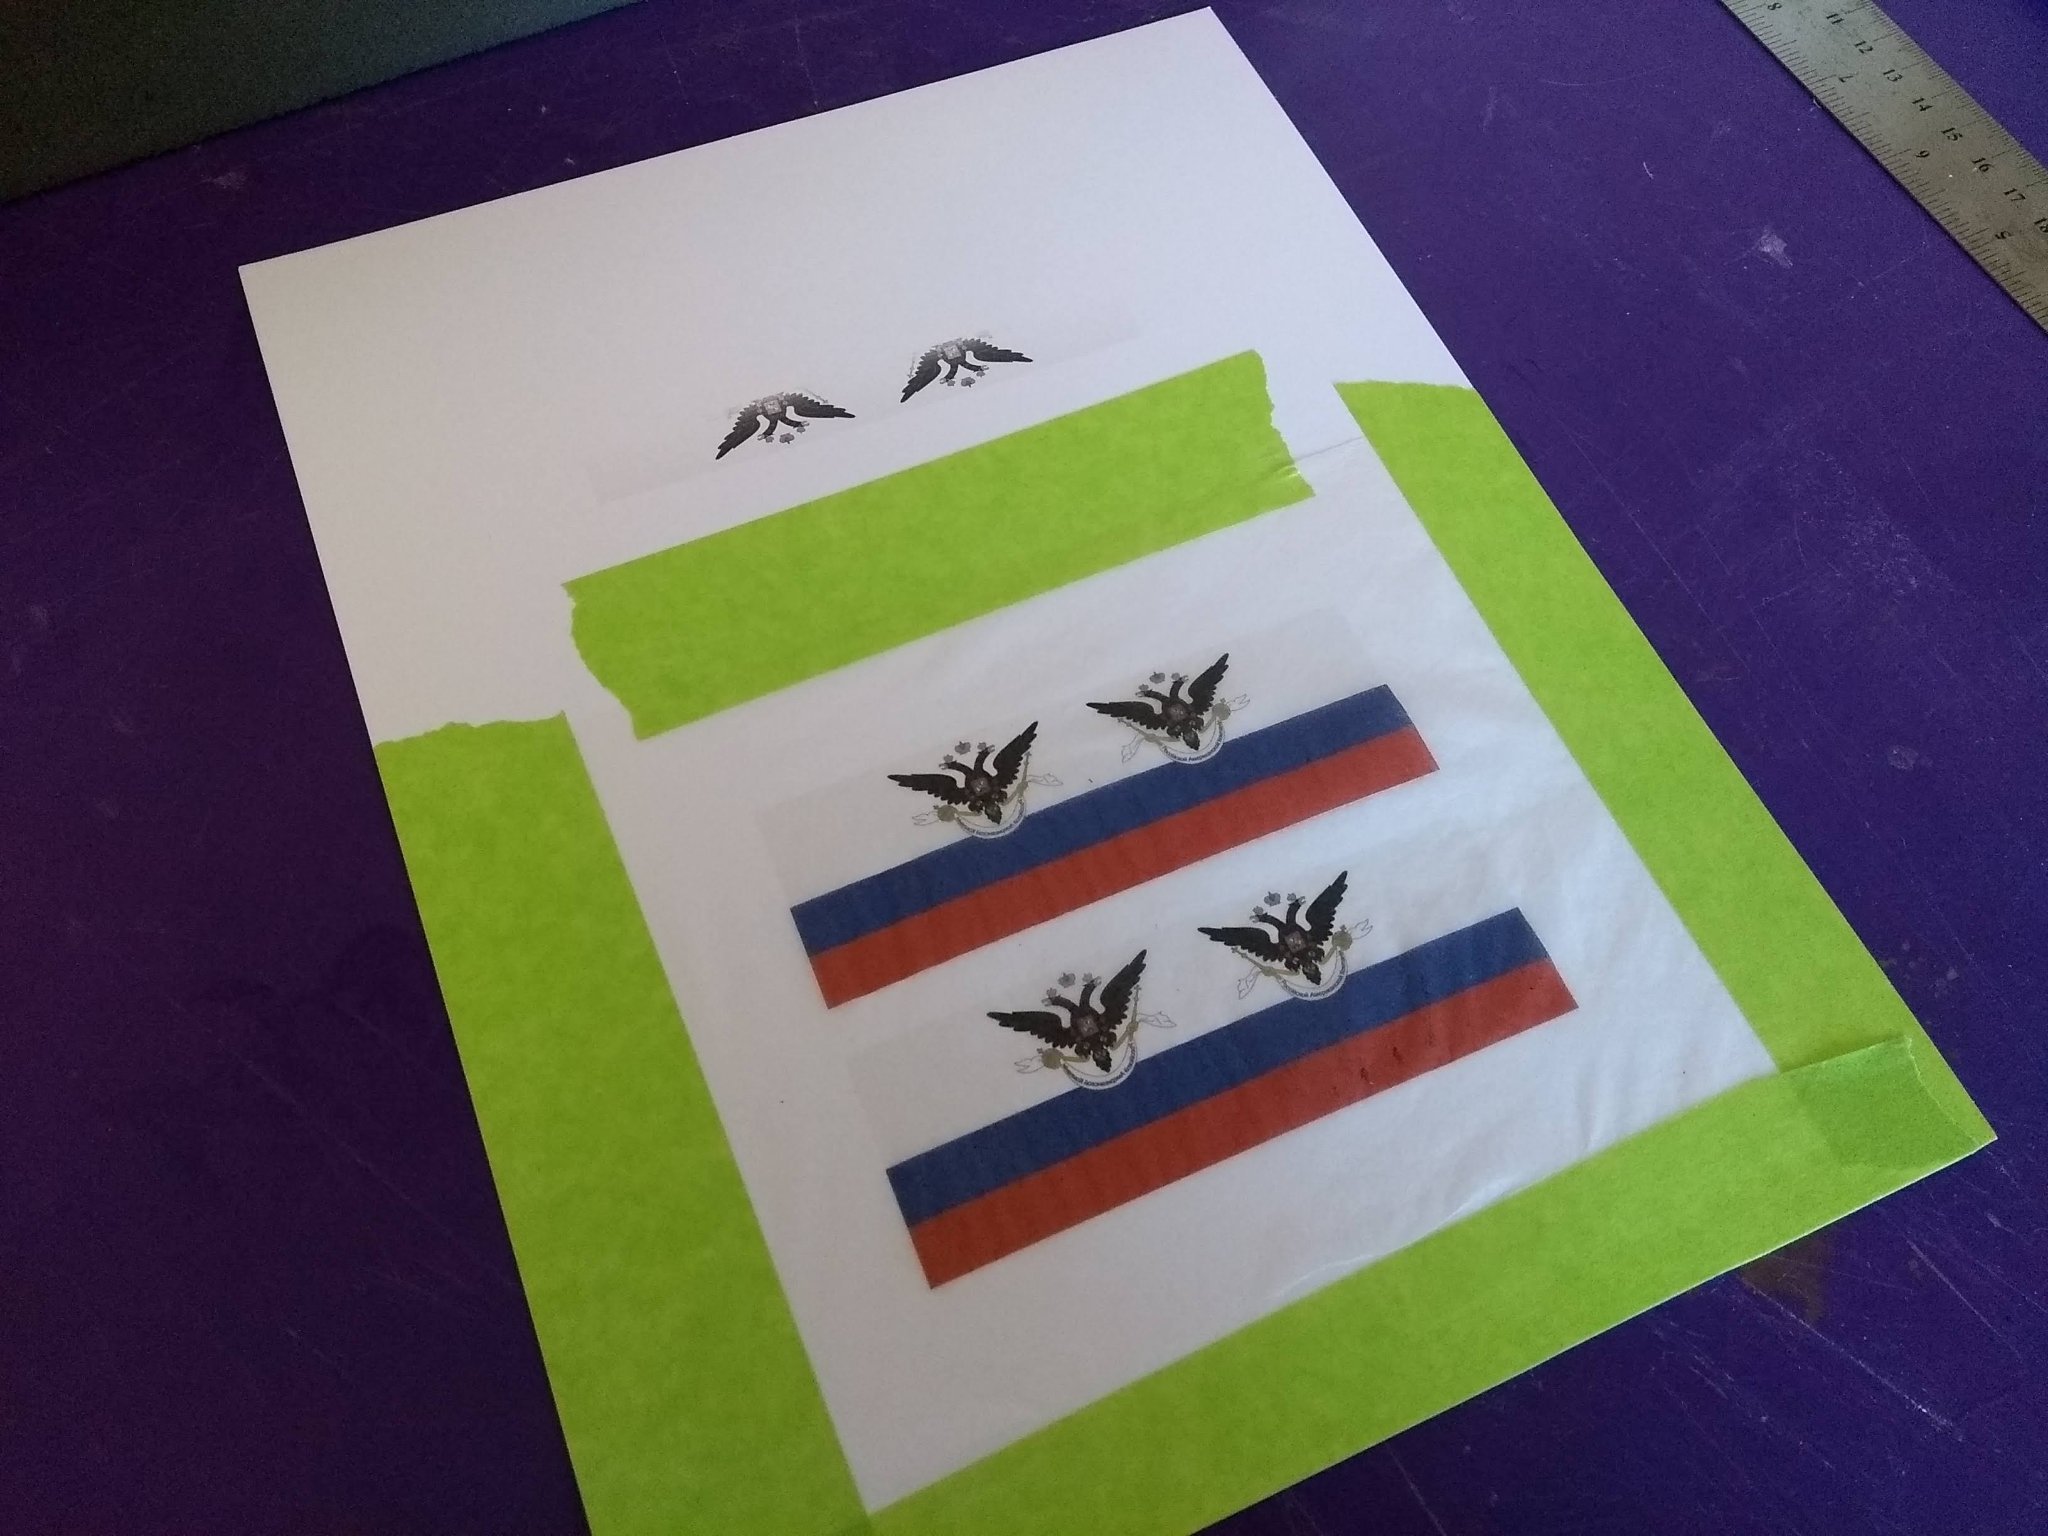
For the flag I decided to ditch the one that came with the kit and simply printed the flag on a inkjet printer. I attached a piece of silkspan to normal letter size paper with some masking tape and loaded it into my printer:

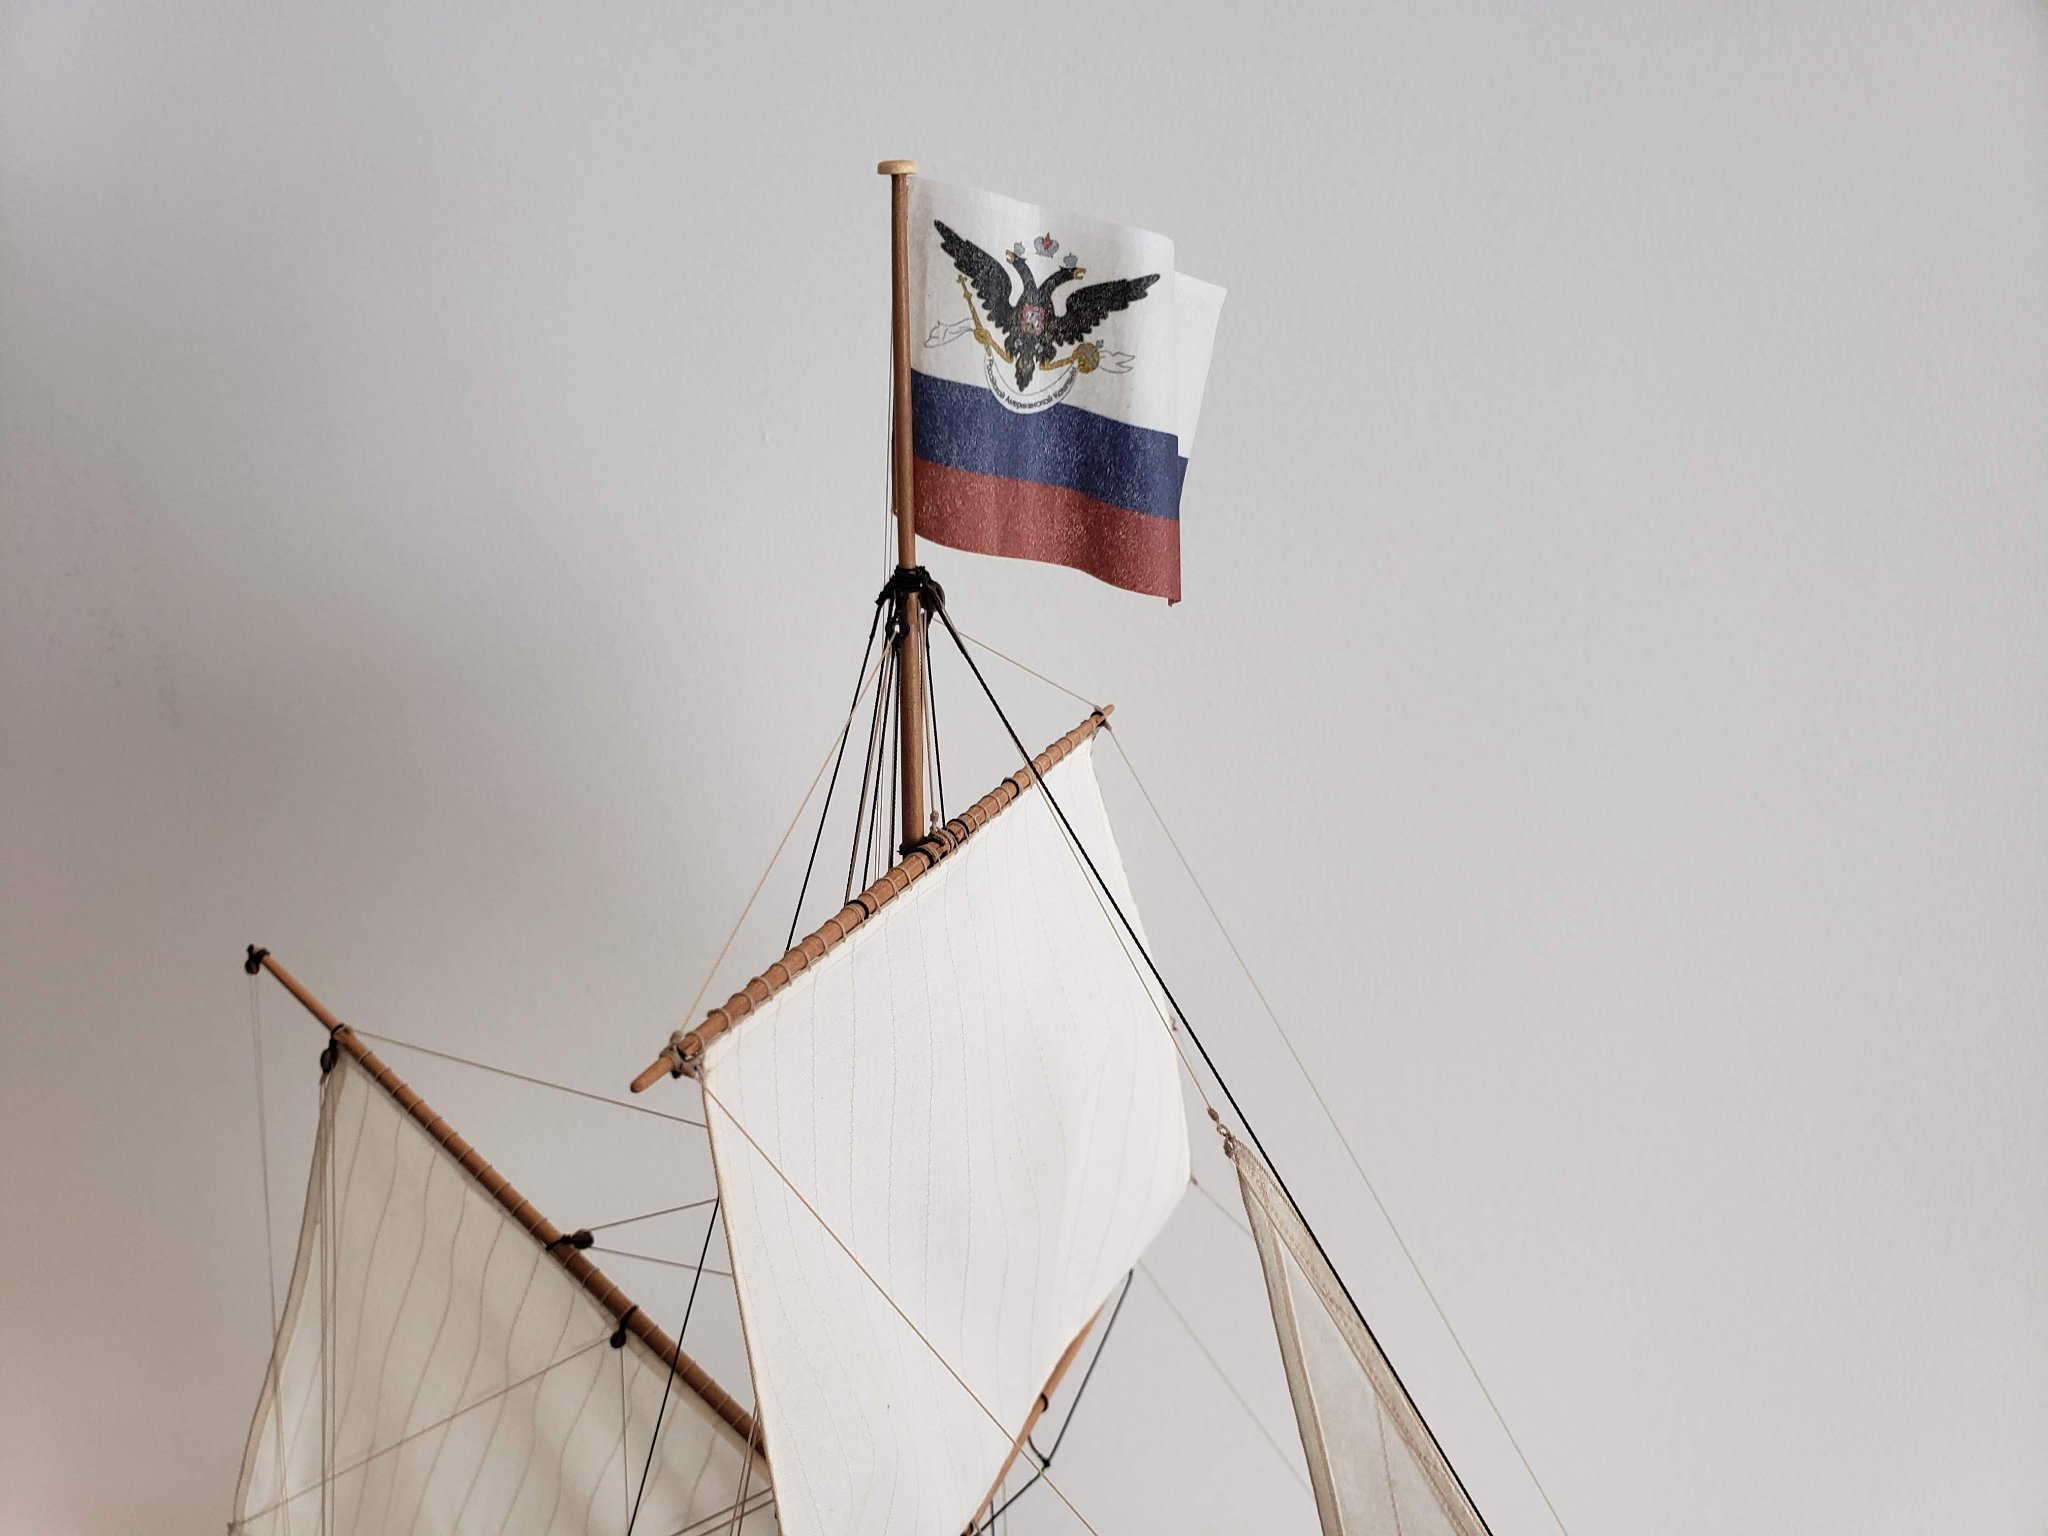
I think the end result is not so bad:
In the next post I'll share some of the pictures of the complete model.
-
1 hour ago, BobG said:
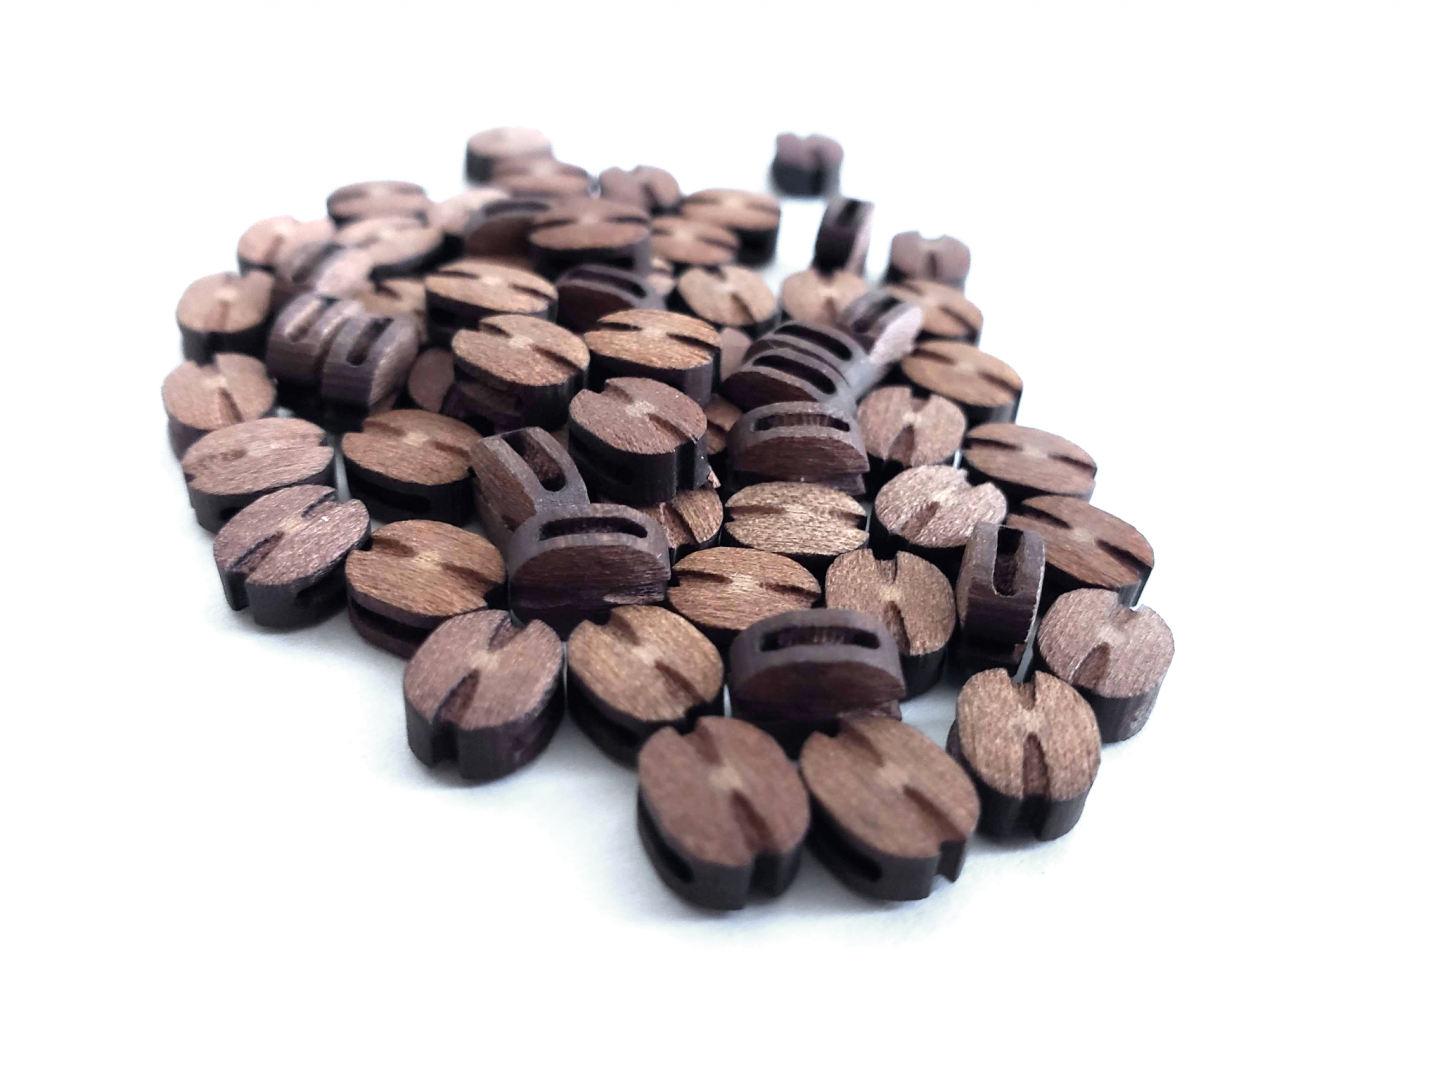
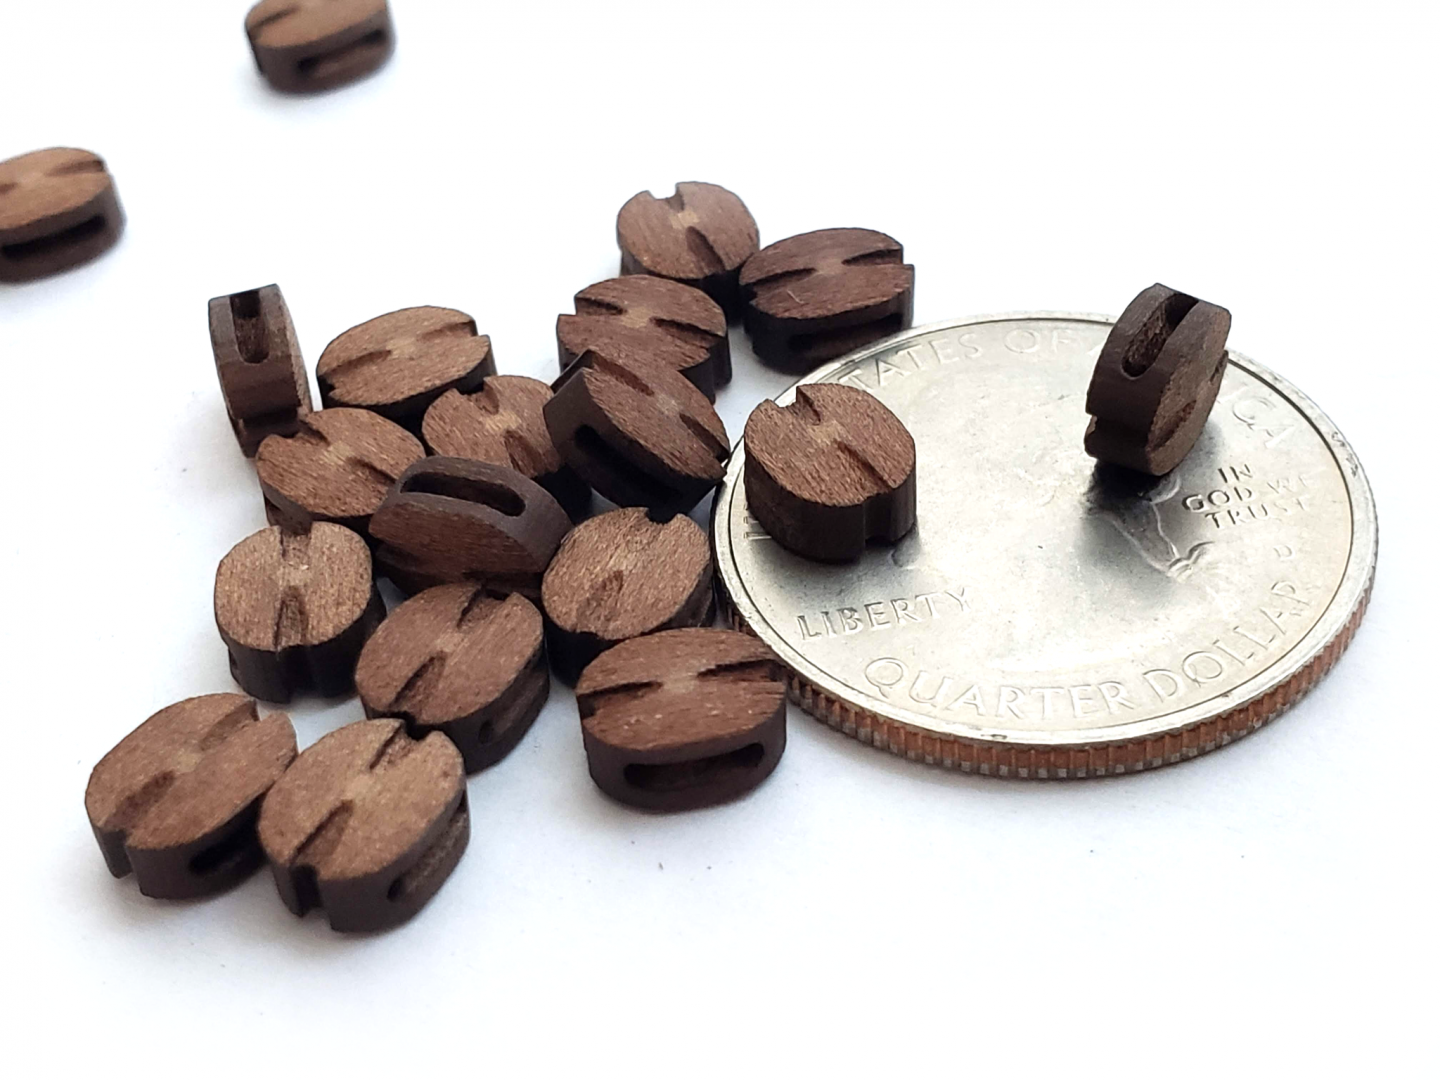
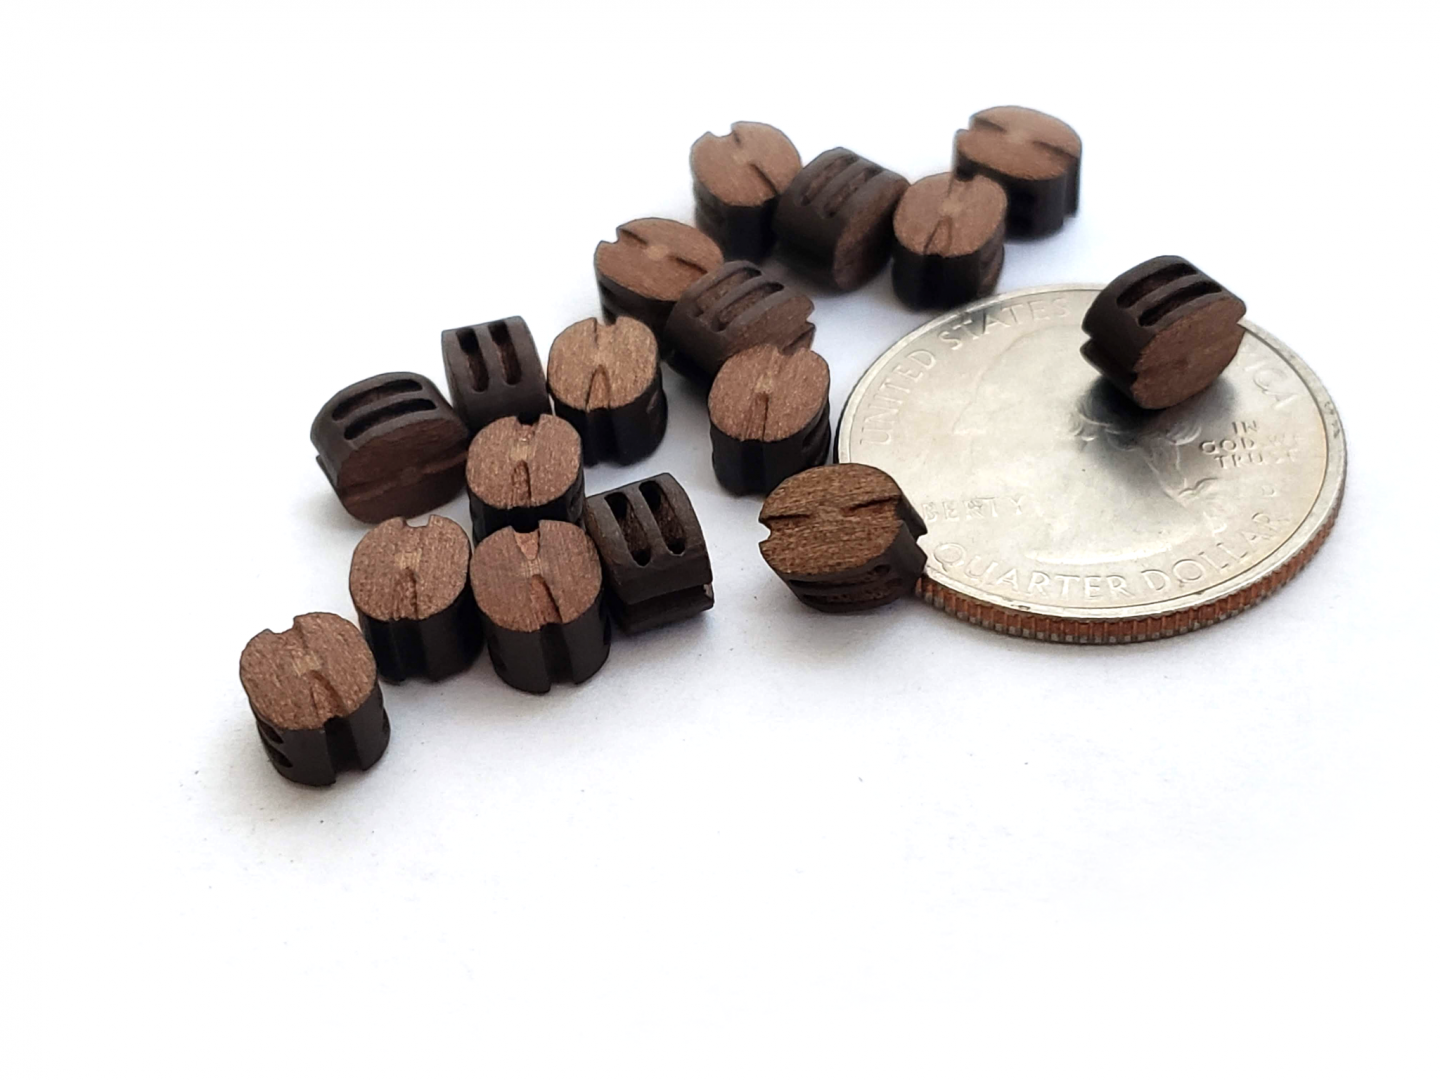
I'm really glad to see these thimbles! I've had a heck of a time making them.
Exactly! It is one of those things I never look forward to.
- BobG, Canute, thibaultron and 2 others
-
5
-
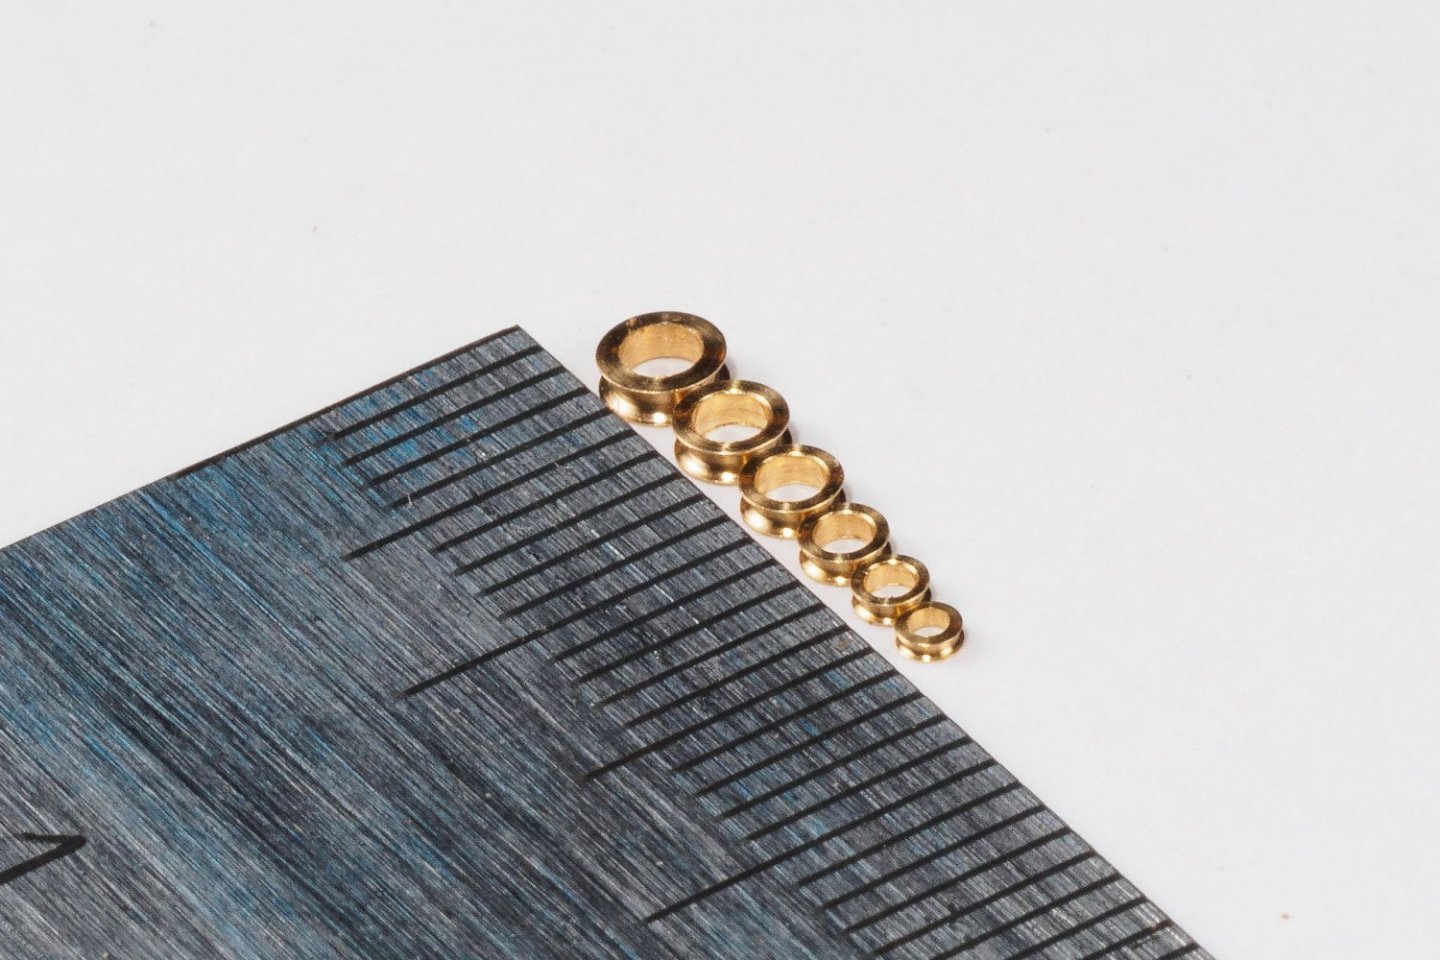
Hello everyone!
One thing I really hate in kit building is making thimbles from photoetched brass (you know which manufacturer I'm talking about :). I have never been able to make a good one, the halves never stick together and it is impossible to blacken afterwards. Now nobody has to deal with this nightmare anymore as we have several sizes of high quality machined thimbles for sale (the pictures are clickable and link to the store page)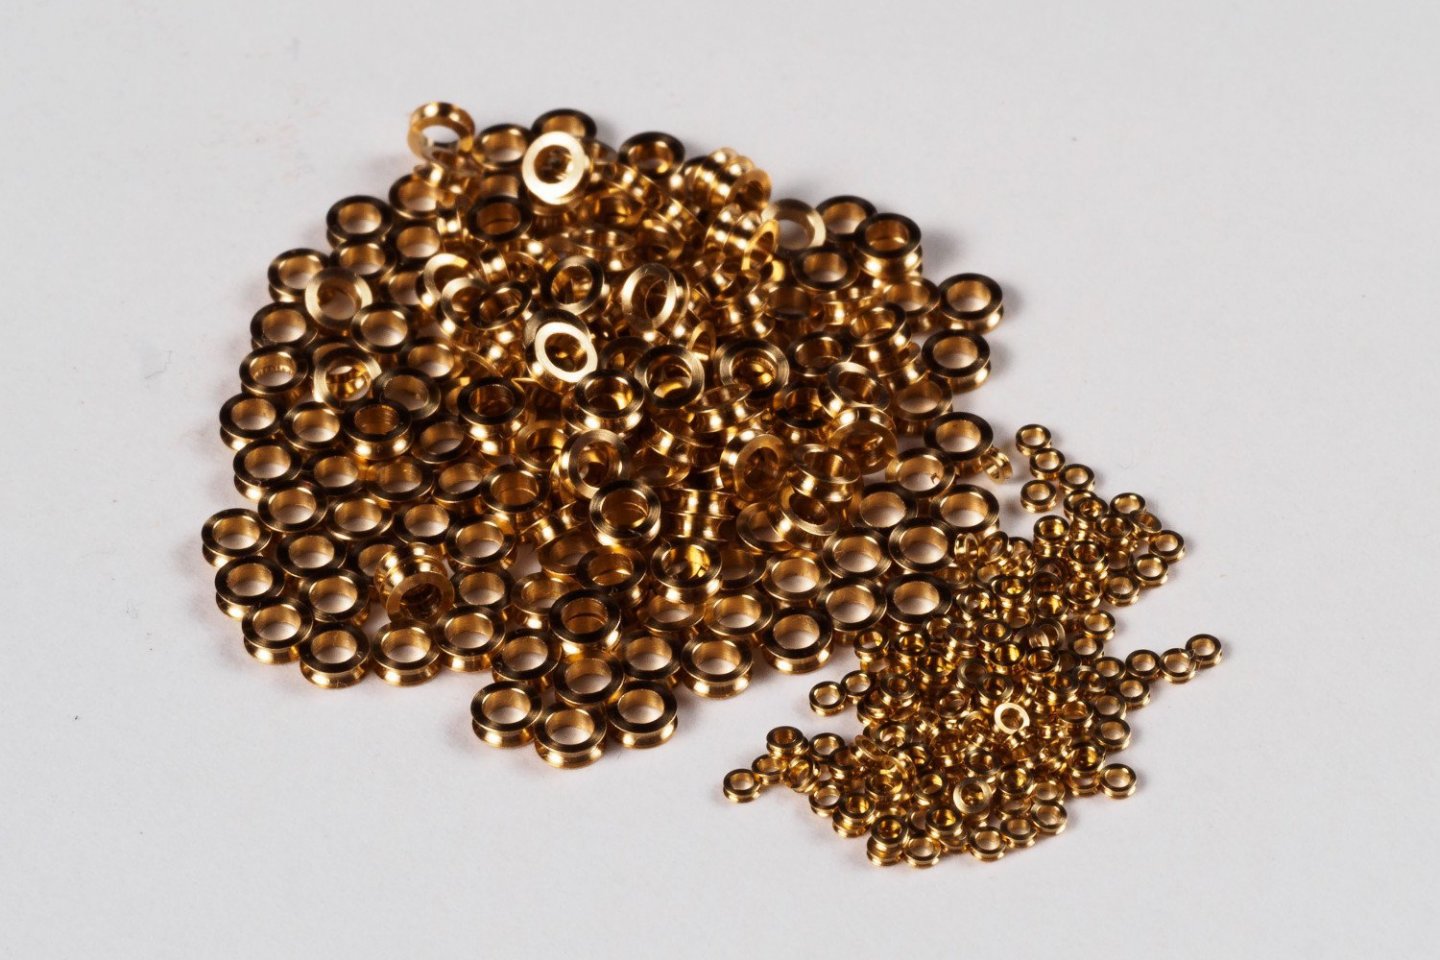

- Landlubber Mike, Seventynet, Gregory and 15 others
-
14
-
 4
4
-
-
On 2/25/2021 at 5:20 PM, BenD said:
The counter is not fitting so well, It's ok at the wales though. I'm still working on it but it's not going to be pretty 👎
I had similar problem. After adding all veneer layers to the counter its curvature slightly changed. Maybe this will help you, but this is what I did when I was gluing it to the hull. I mostly used PVA glue with a couple dabs of thick CA glue near the edges where there were gaps between the hull and the counter. Then I pressed it firmly to so the counter conformed to the curvature of the hull and held it until CA glue dried. This worked and the counter was "persuaded" to maintain the shape and, more importantly, stayed attached to the hull.
-
-
-
-
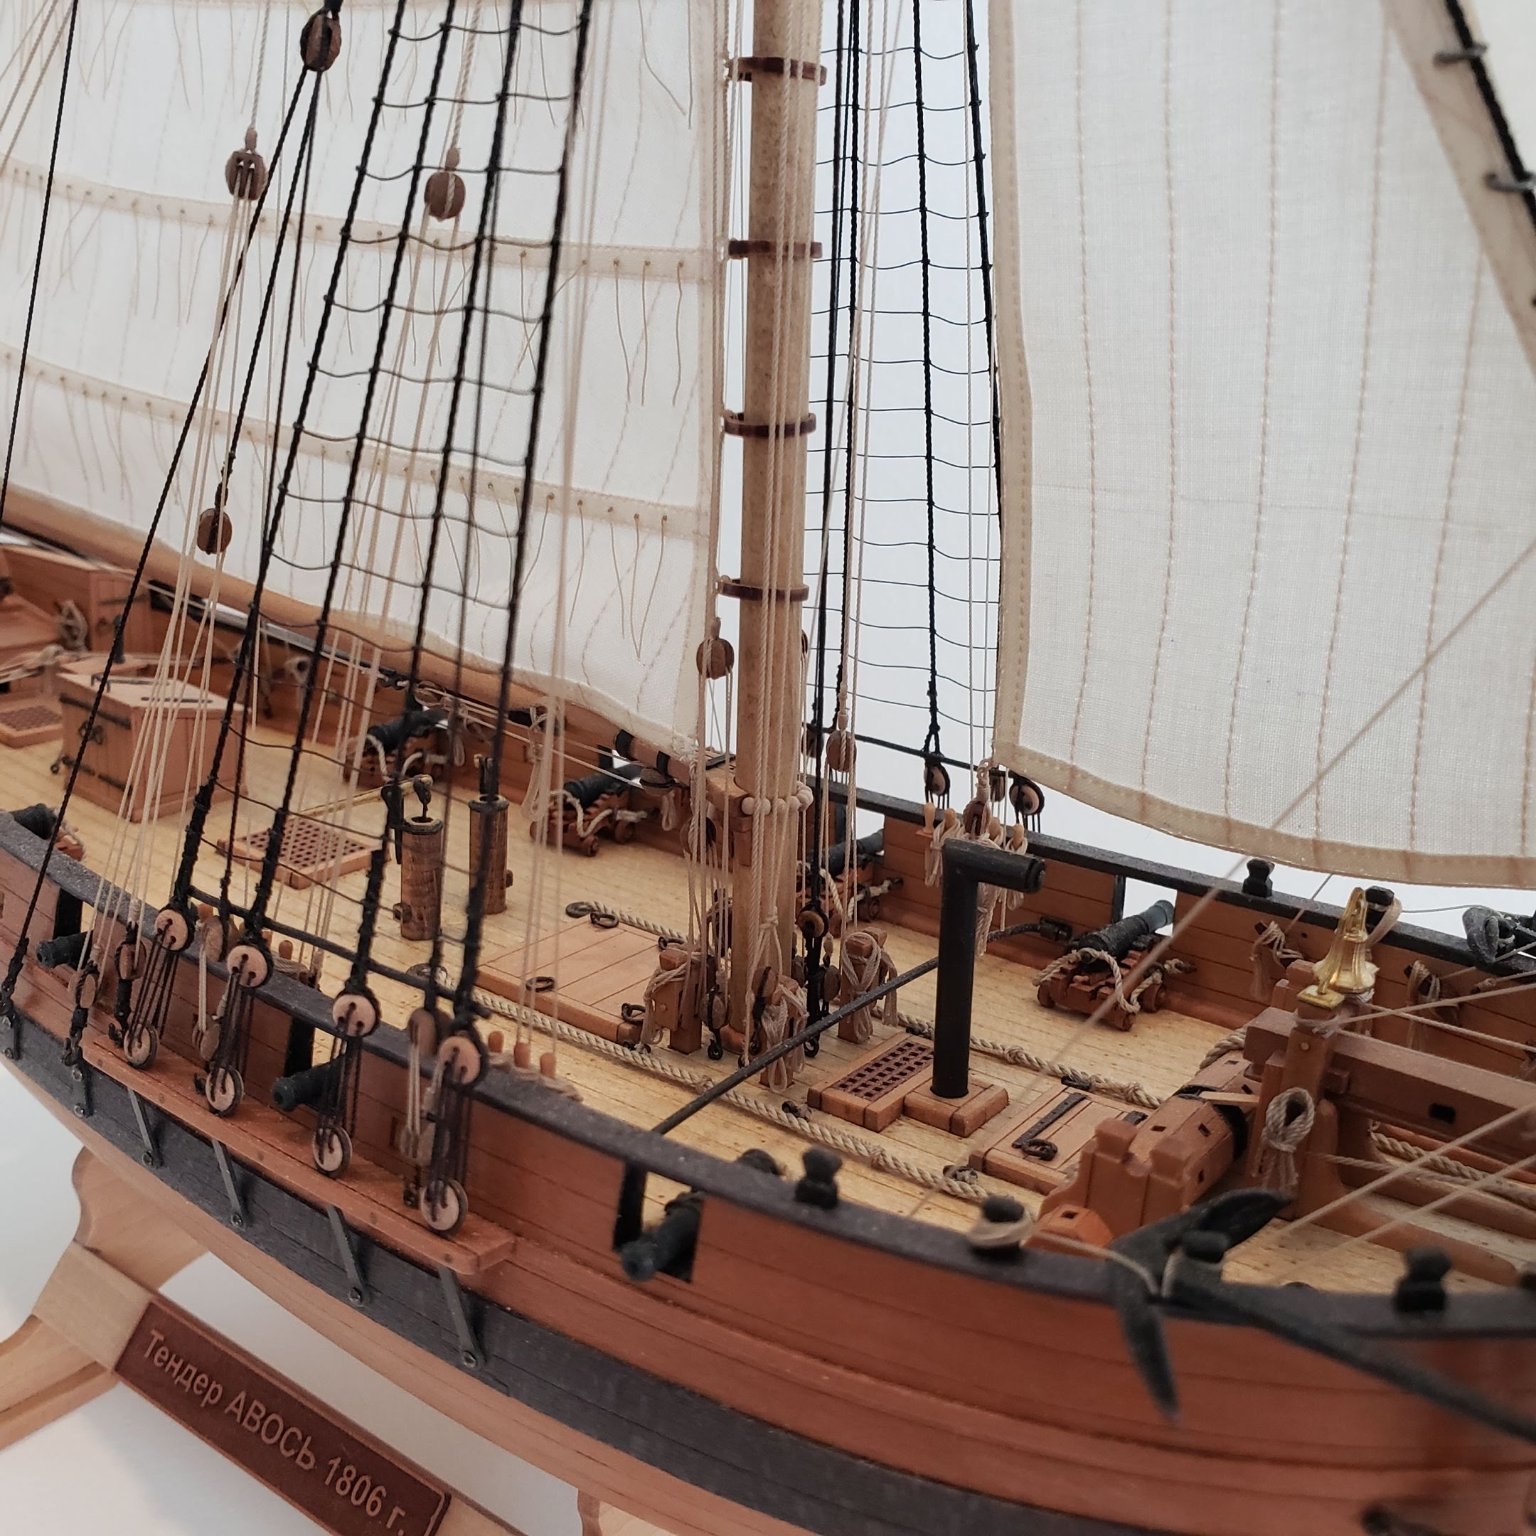
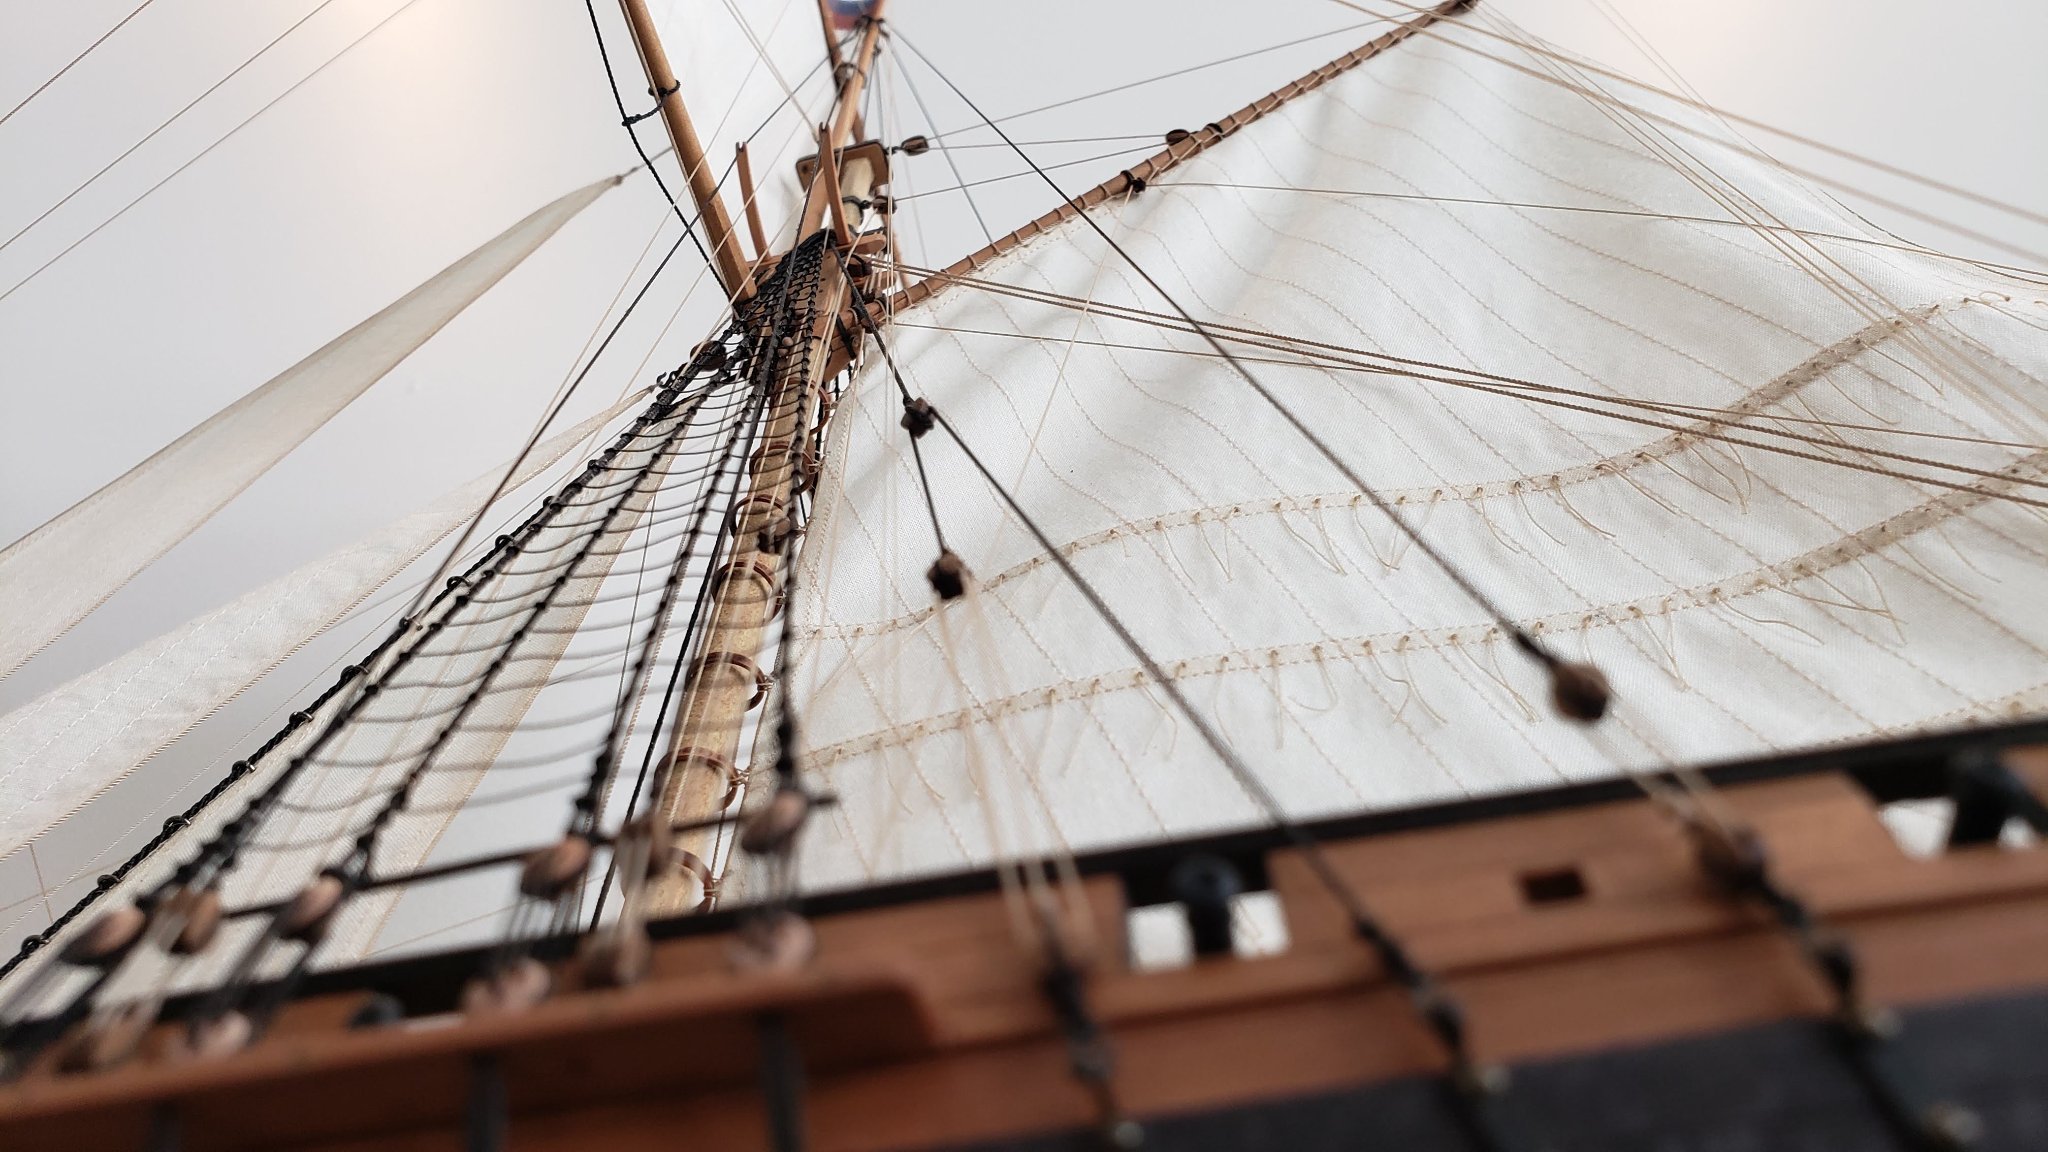
The work continued. Here came the most dreaded part for me - sails... Previously when building MK kits I always used the sails they provided. Their sails are pretty good quality, the only thing that always bothered me was that the boltrope was always too thick for the scale and it looked fluffy and not too neat.
I heard that some builders use this material called Silkspan and decided to give it a try. I was really surprised by its looks when I finally bought it. It really looked like 1-ply toilet paper to me, very thin and transparent. And on top of that I had no idea how to make it look like a cloth sail. I believe I tried everything - painting it using several coats acrylic paint, laminating two sheets into one, printing on it, laminating a piece of paper between two silkspan sheets. In the end I was never happy with the results - it always looked like paper to me. It didn't feel that seams were real - I could always see that they were printed or drawn with pencil. There was no cloth texture, it really was just paper..
In the end I gave up and decided to use Master Korabel sails with one modification - I cut off the original boltrope and instead of sewing a new one on I decided to glue it on using PVA glue:
To my surprise the glue held and after a few hours I had sails with cleanly attached boltropes:
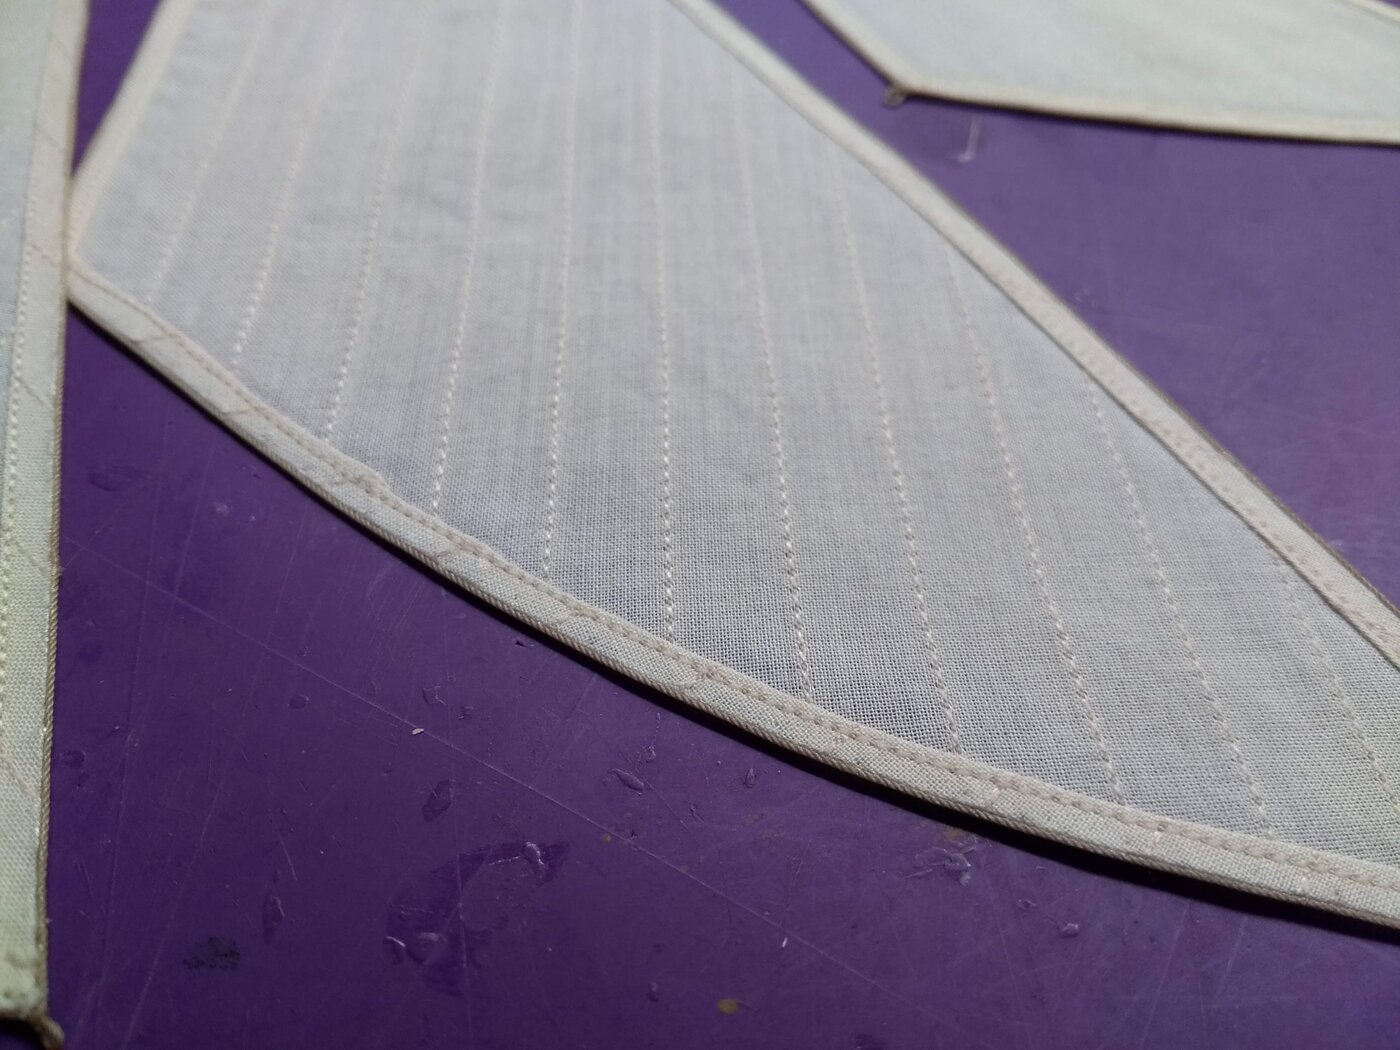
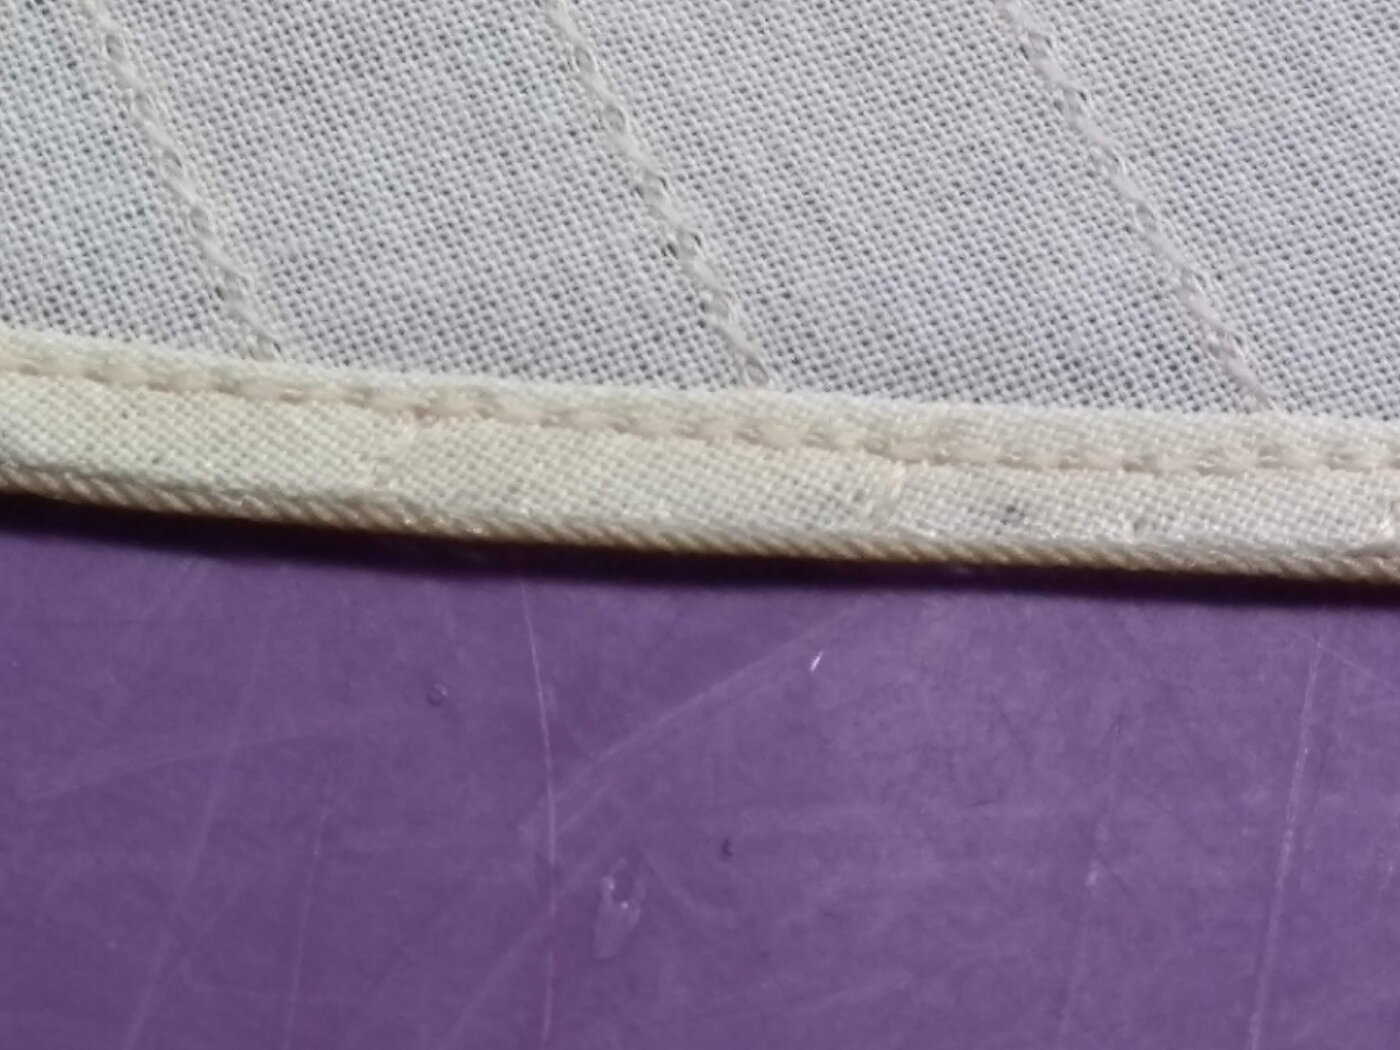
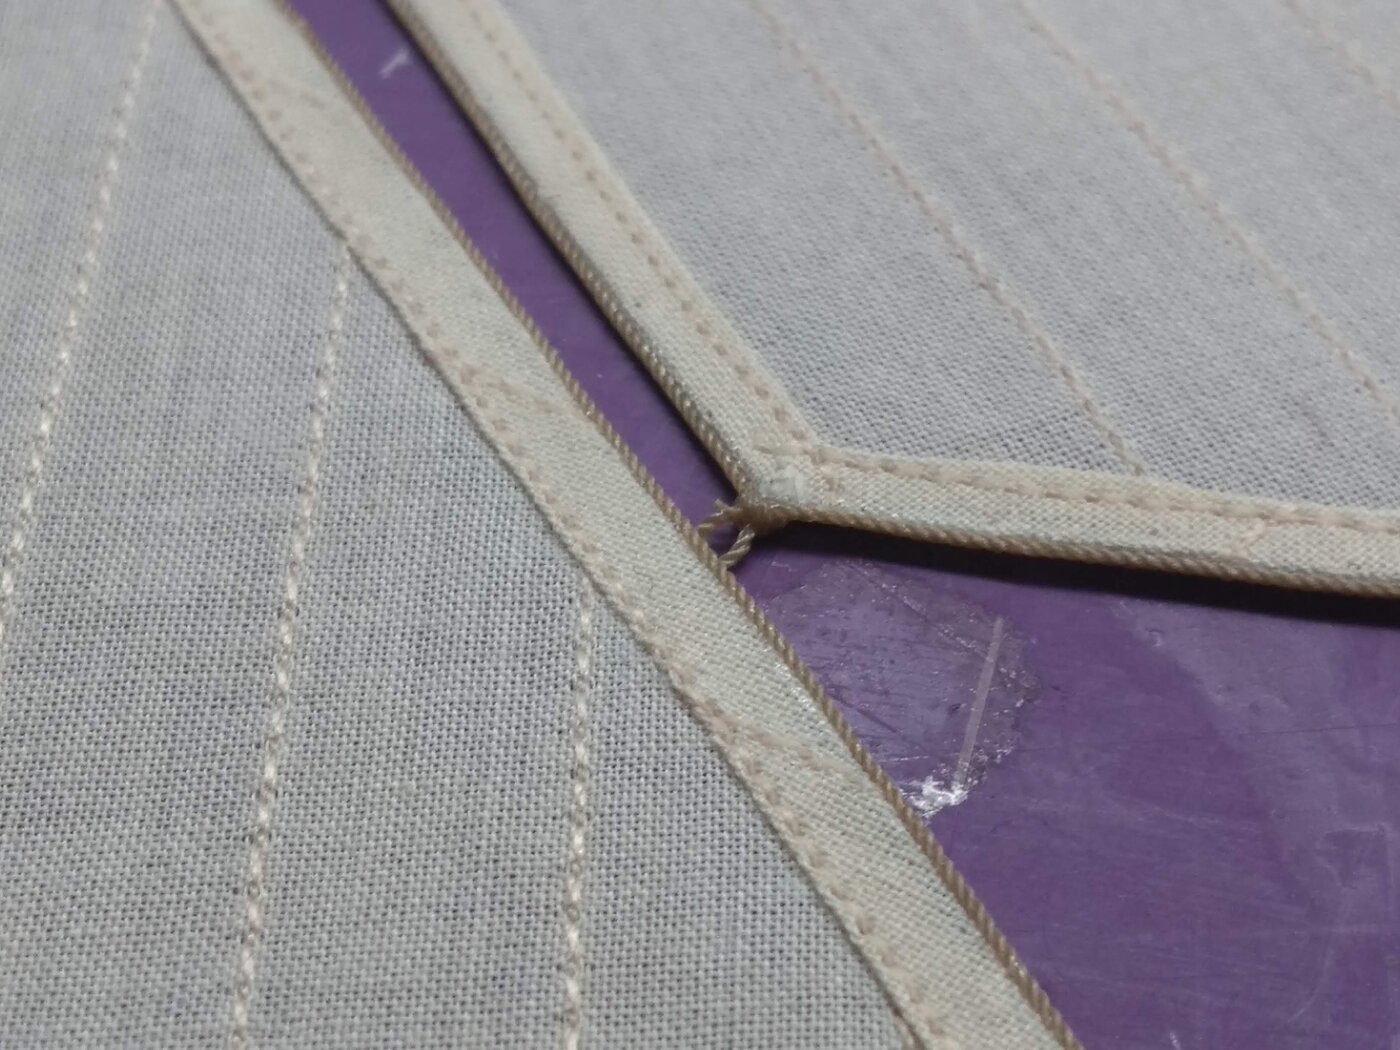
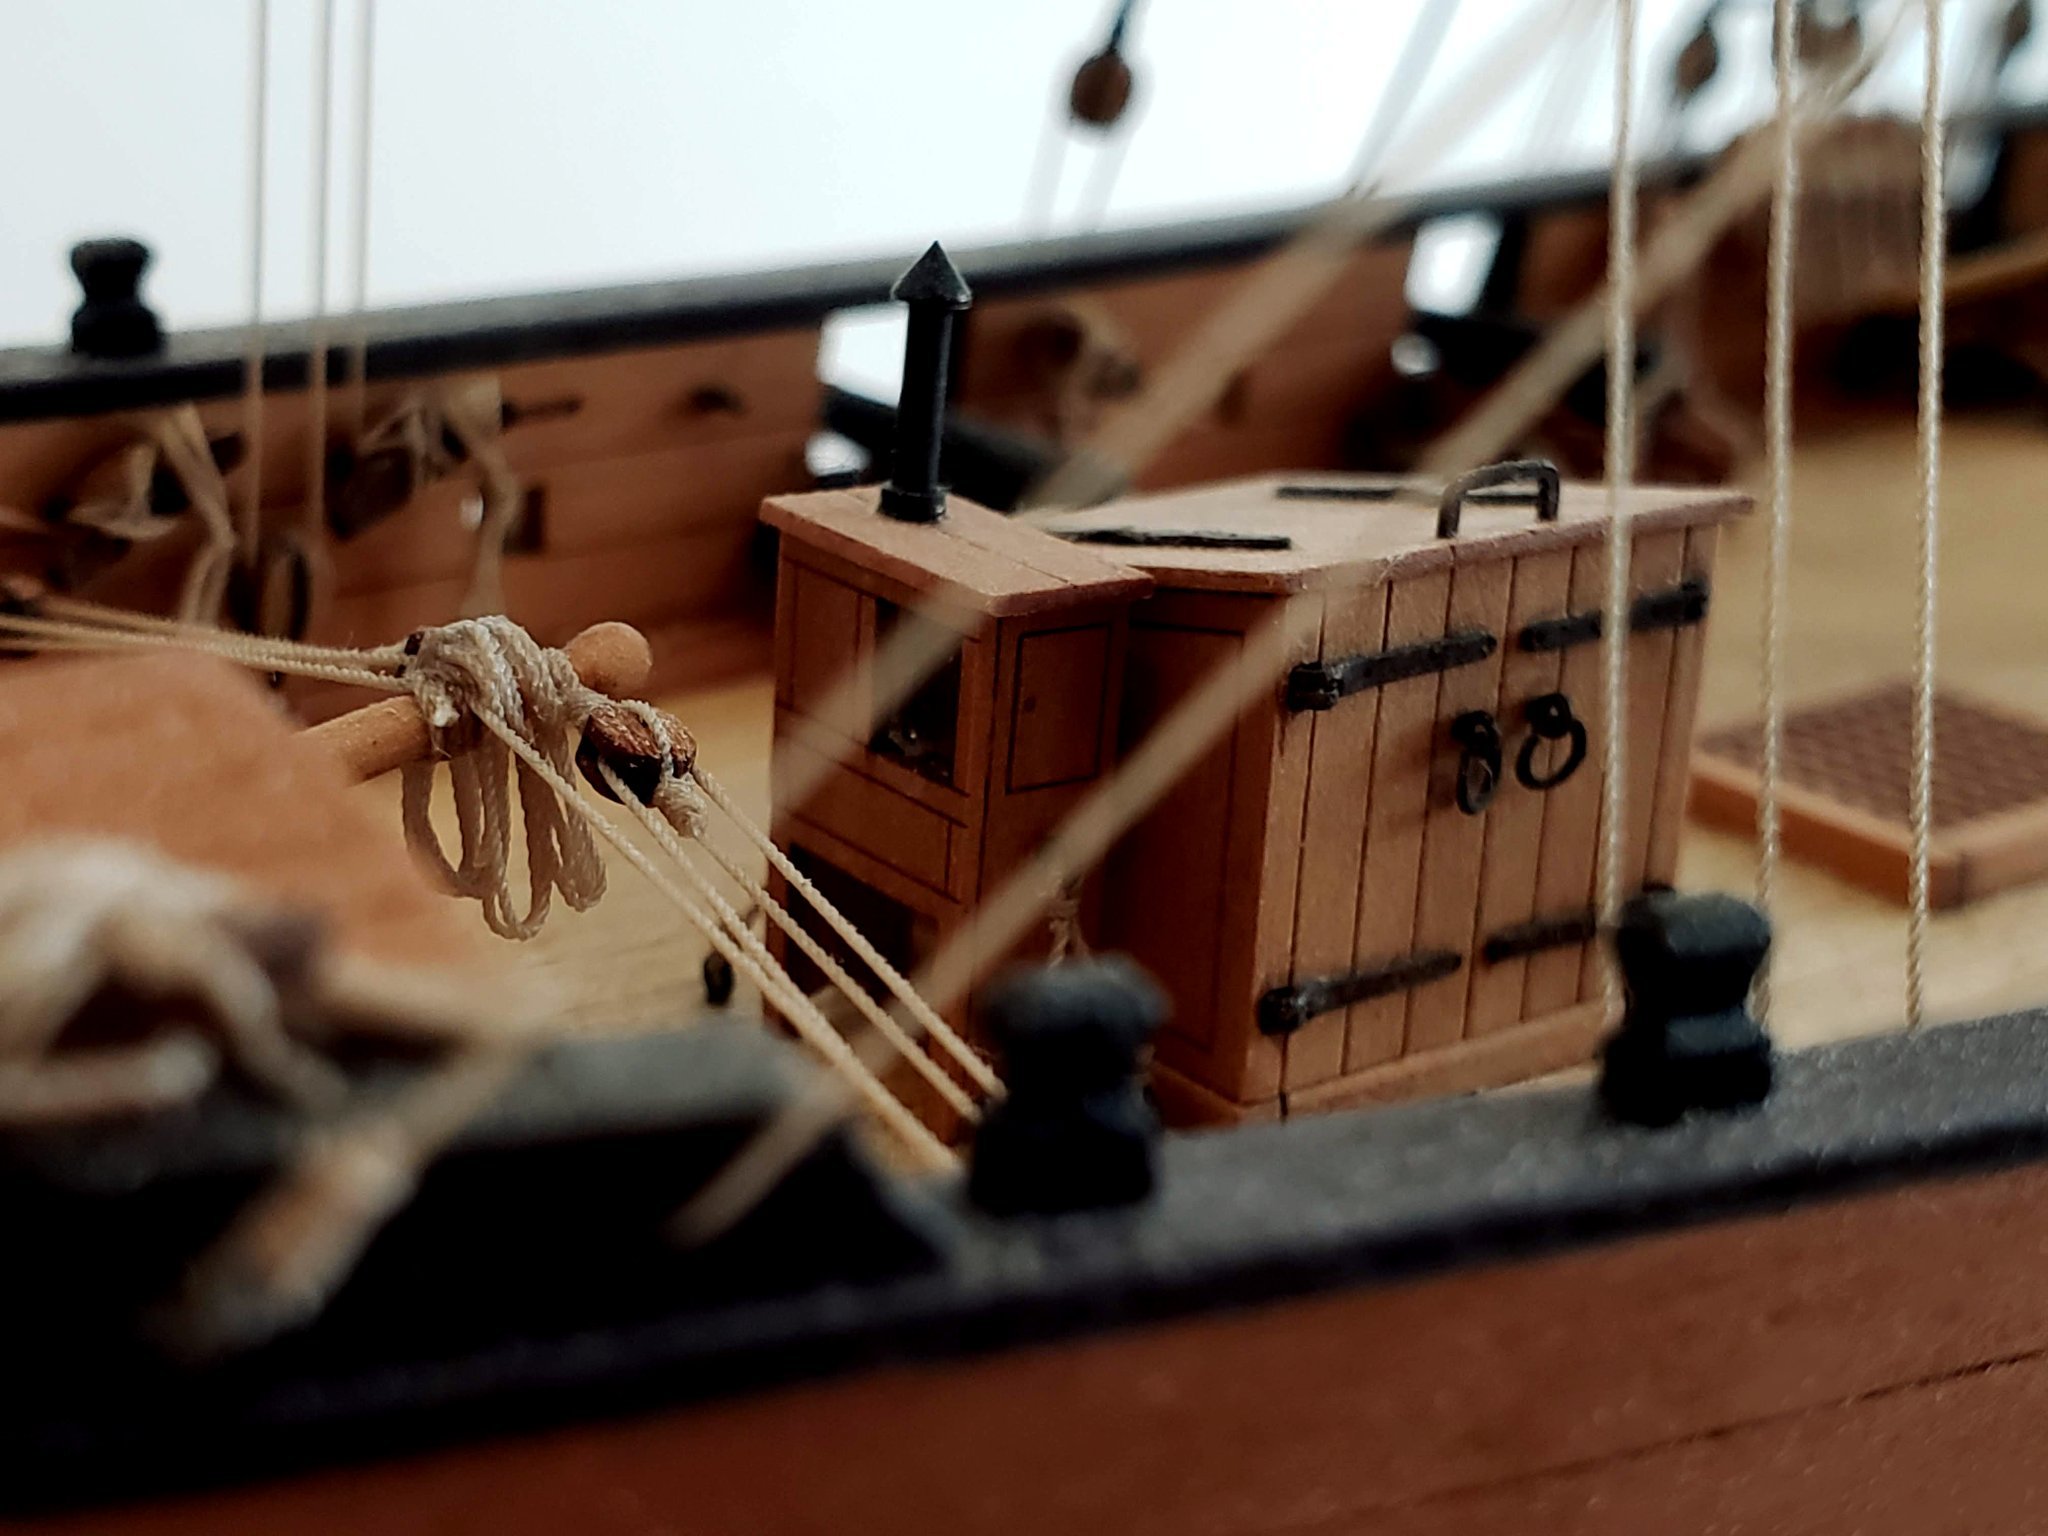
In the end I really like the result - the fabric is thin enough but it has this nice texture and real seams and the boltrope is finally to scale. Here is all five sails with main sail attached to the boom, gaff and the mast:
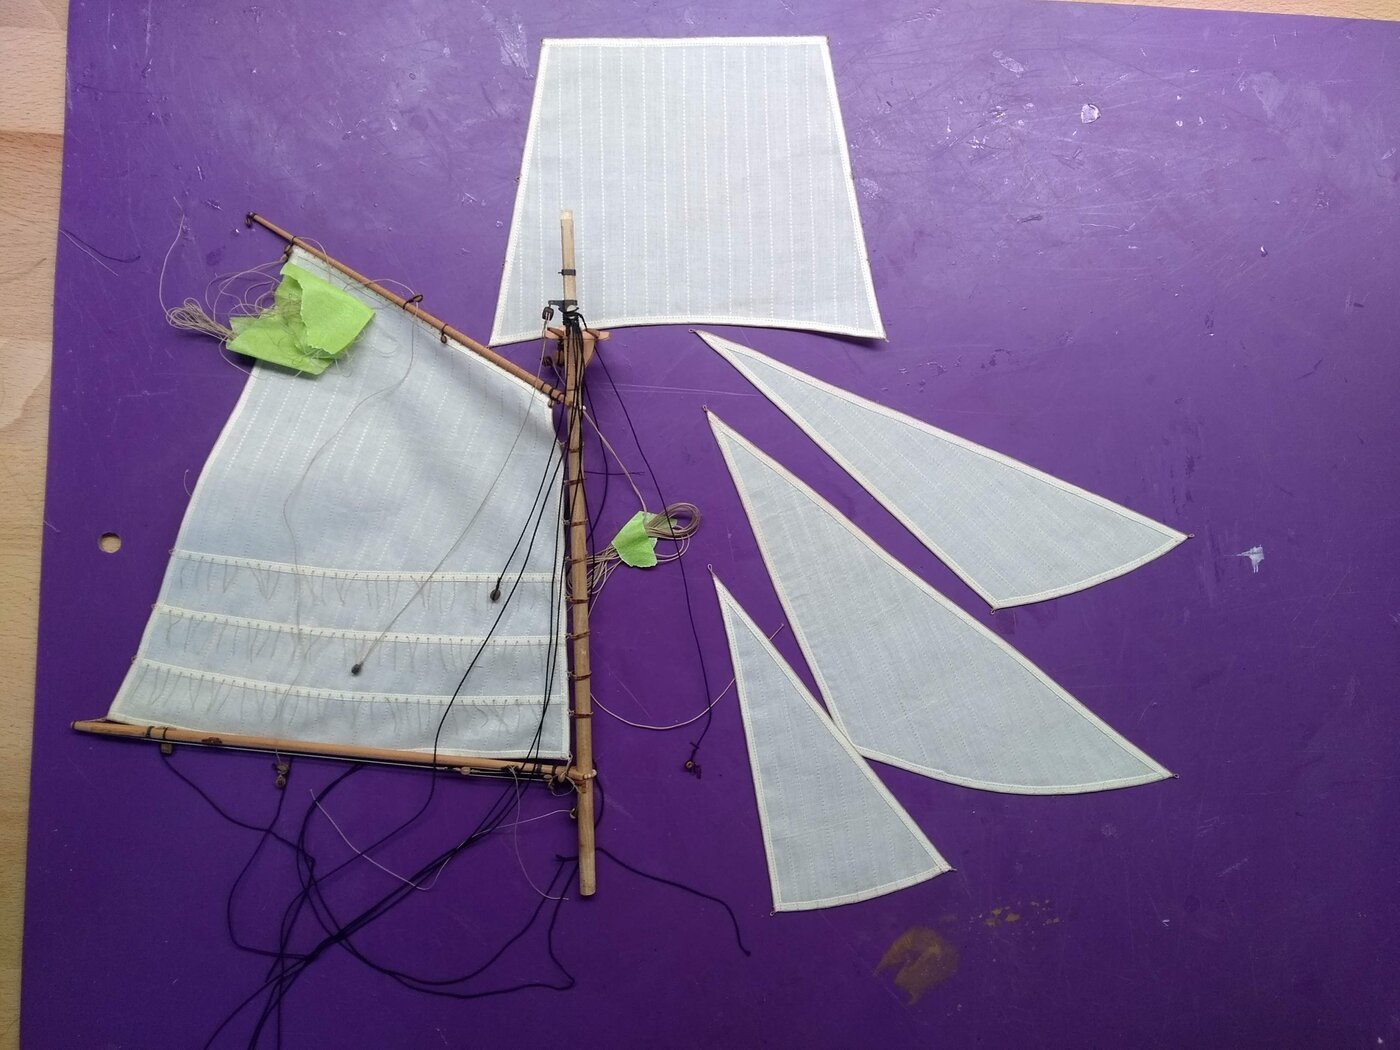

Now I can finally install the mast and start working on the standing rigging!
- BenD, Gregory, GrandpaPhil and 4 others
-
7
-
-
5 hours ago, Peta_V said:
What a Fast and beautyful progress! Very nice.
Thank you Peta! I was really inspired by your build.
-
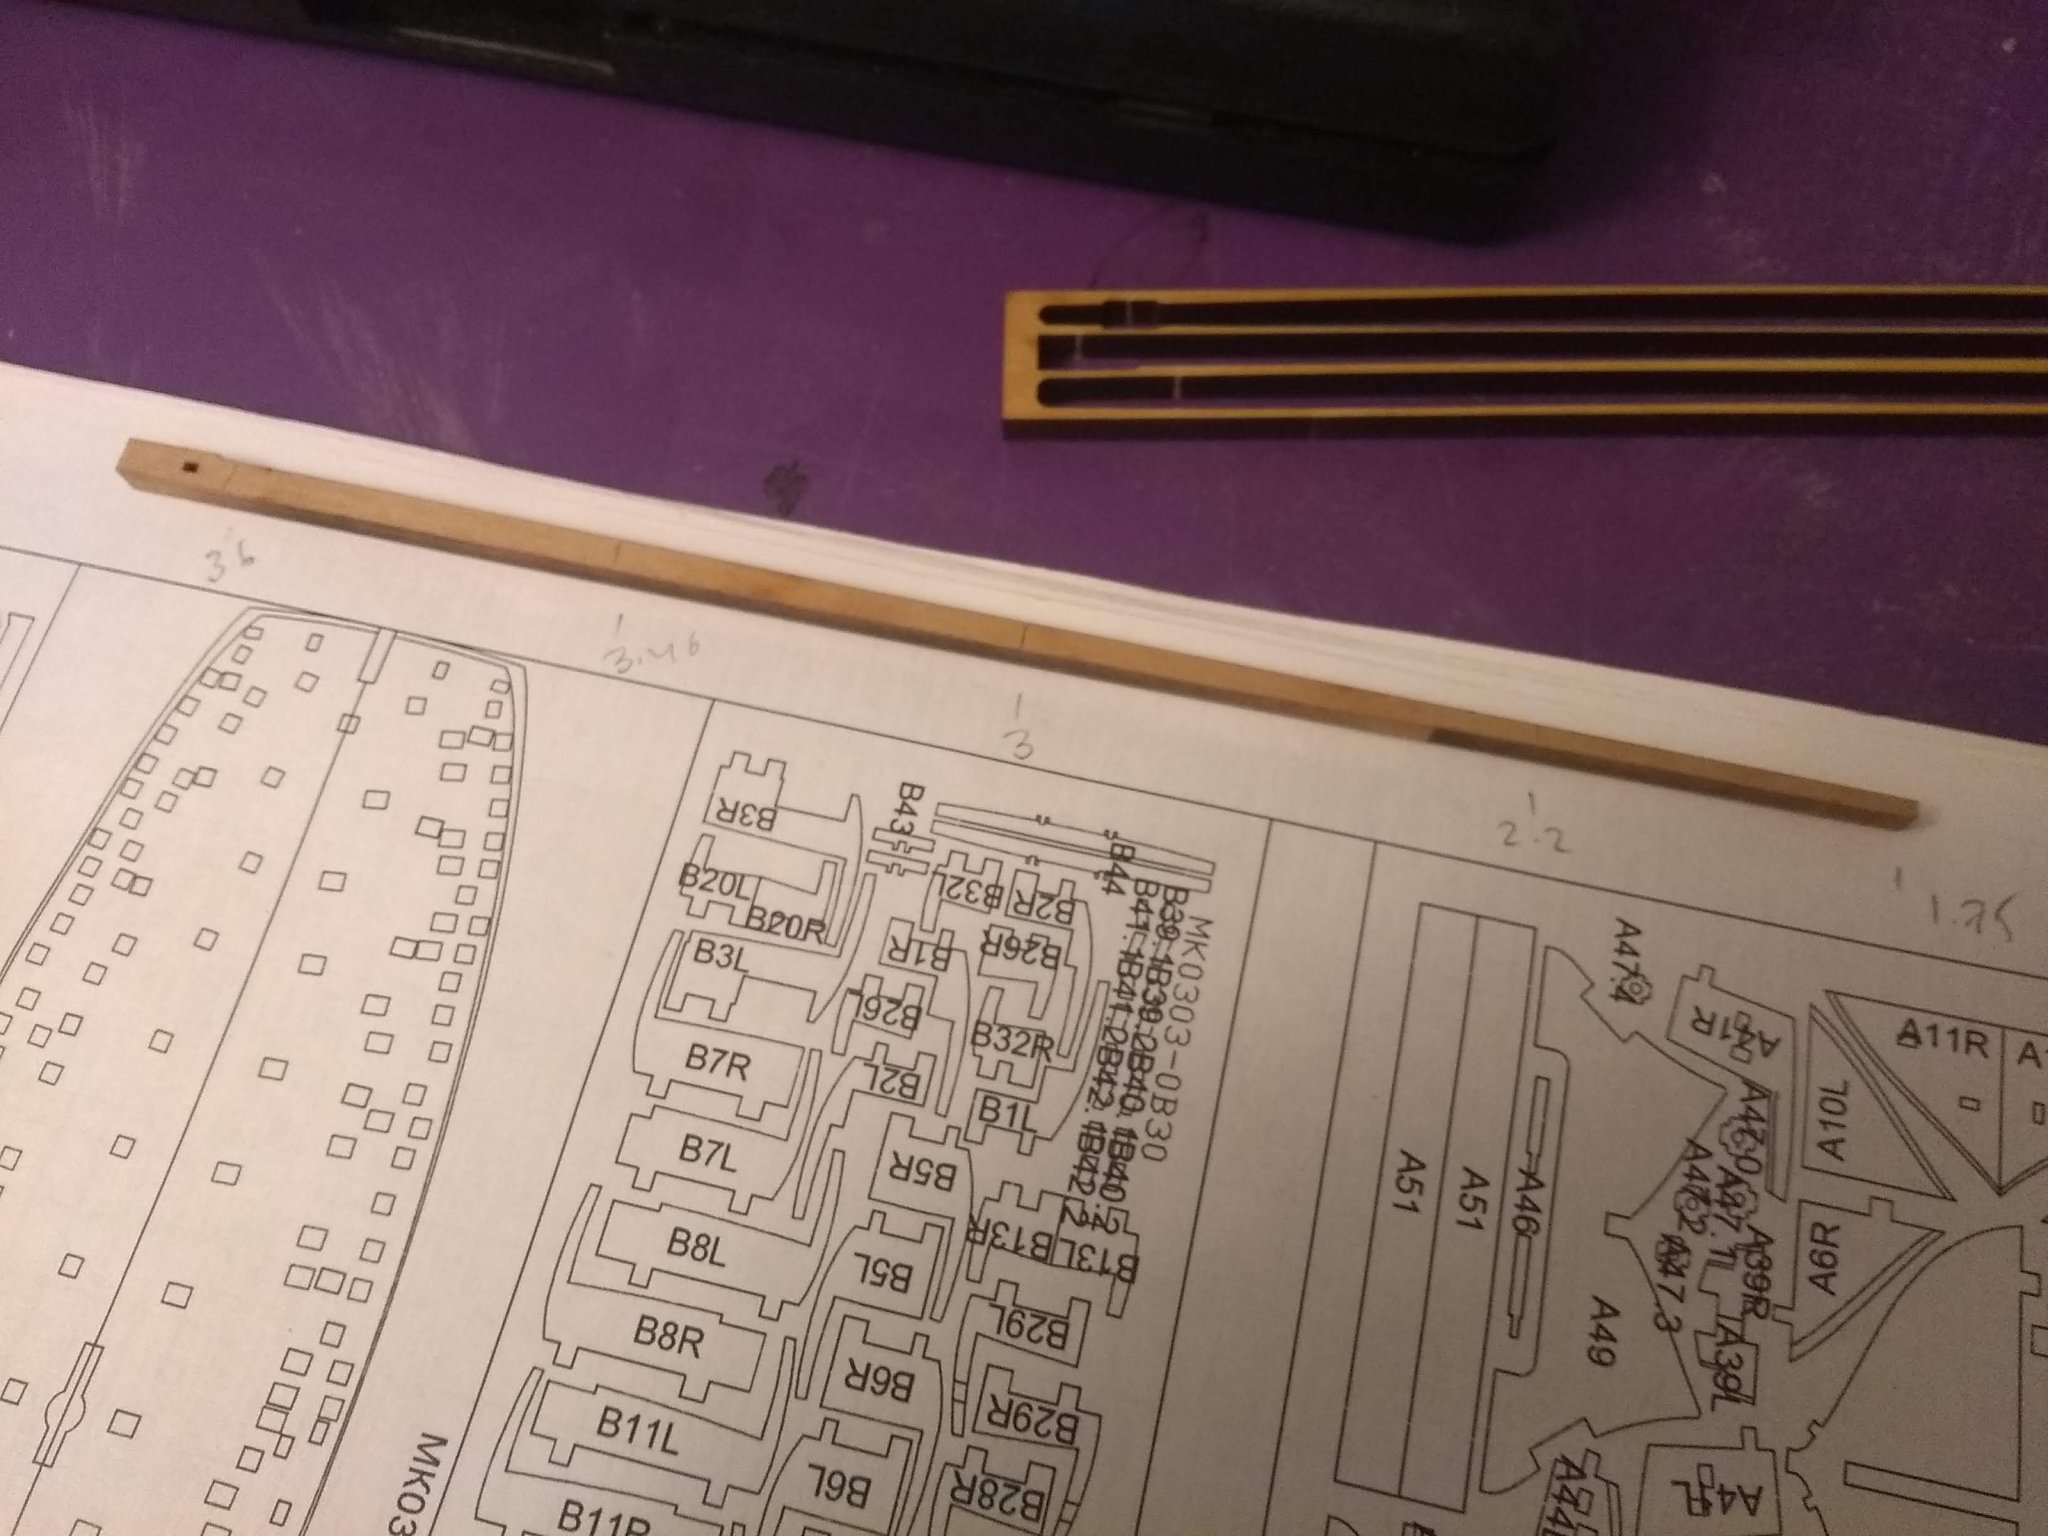
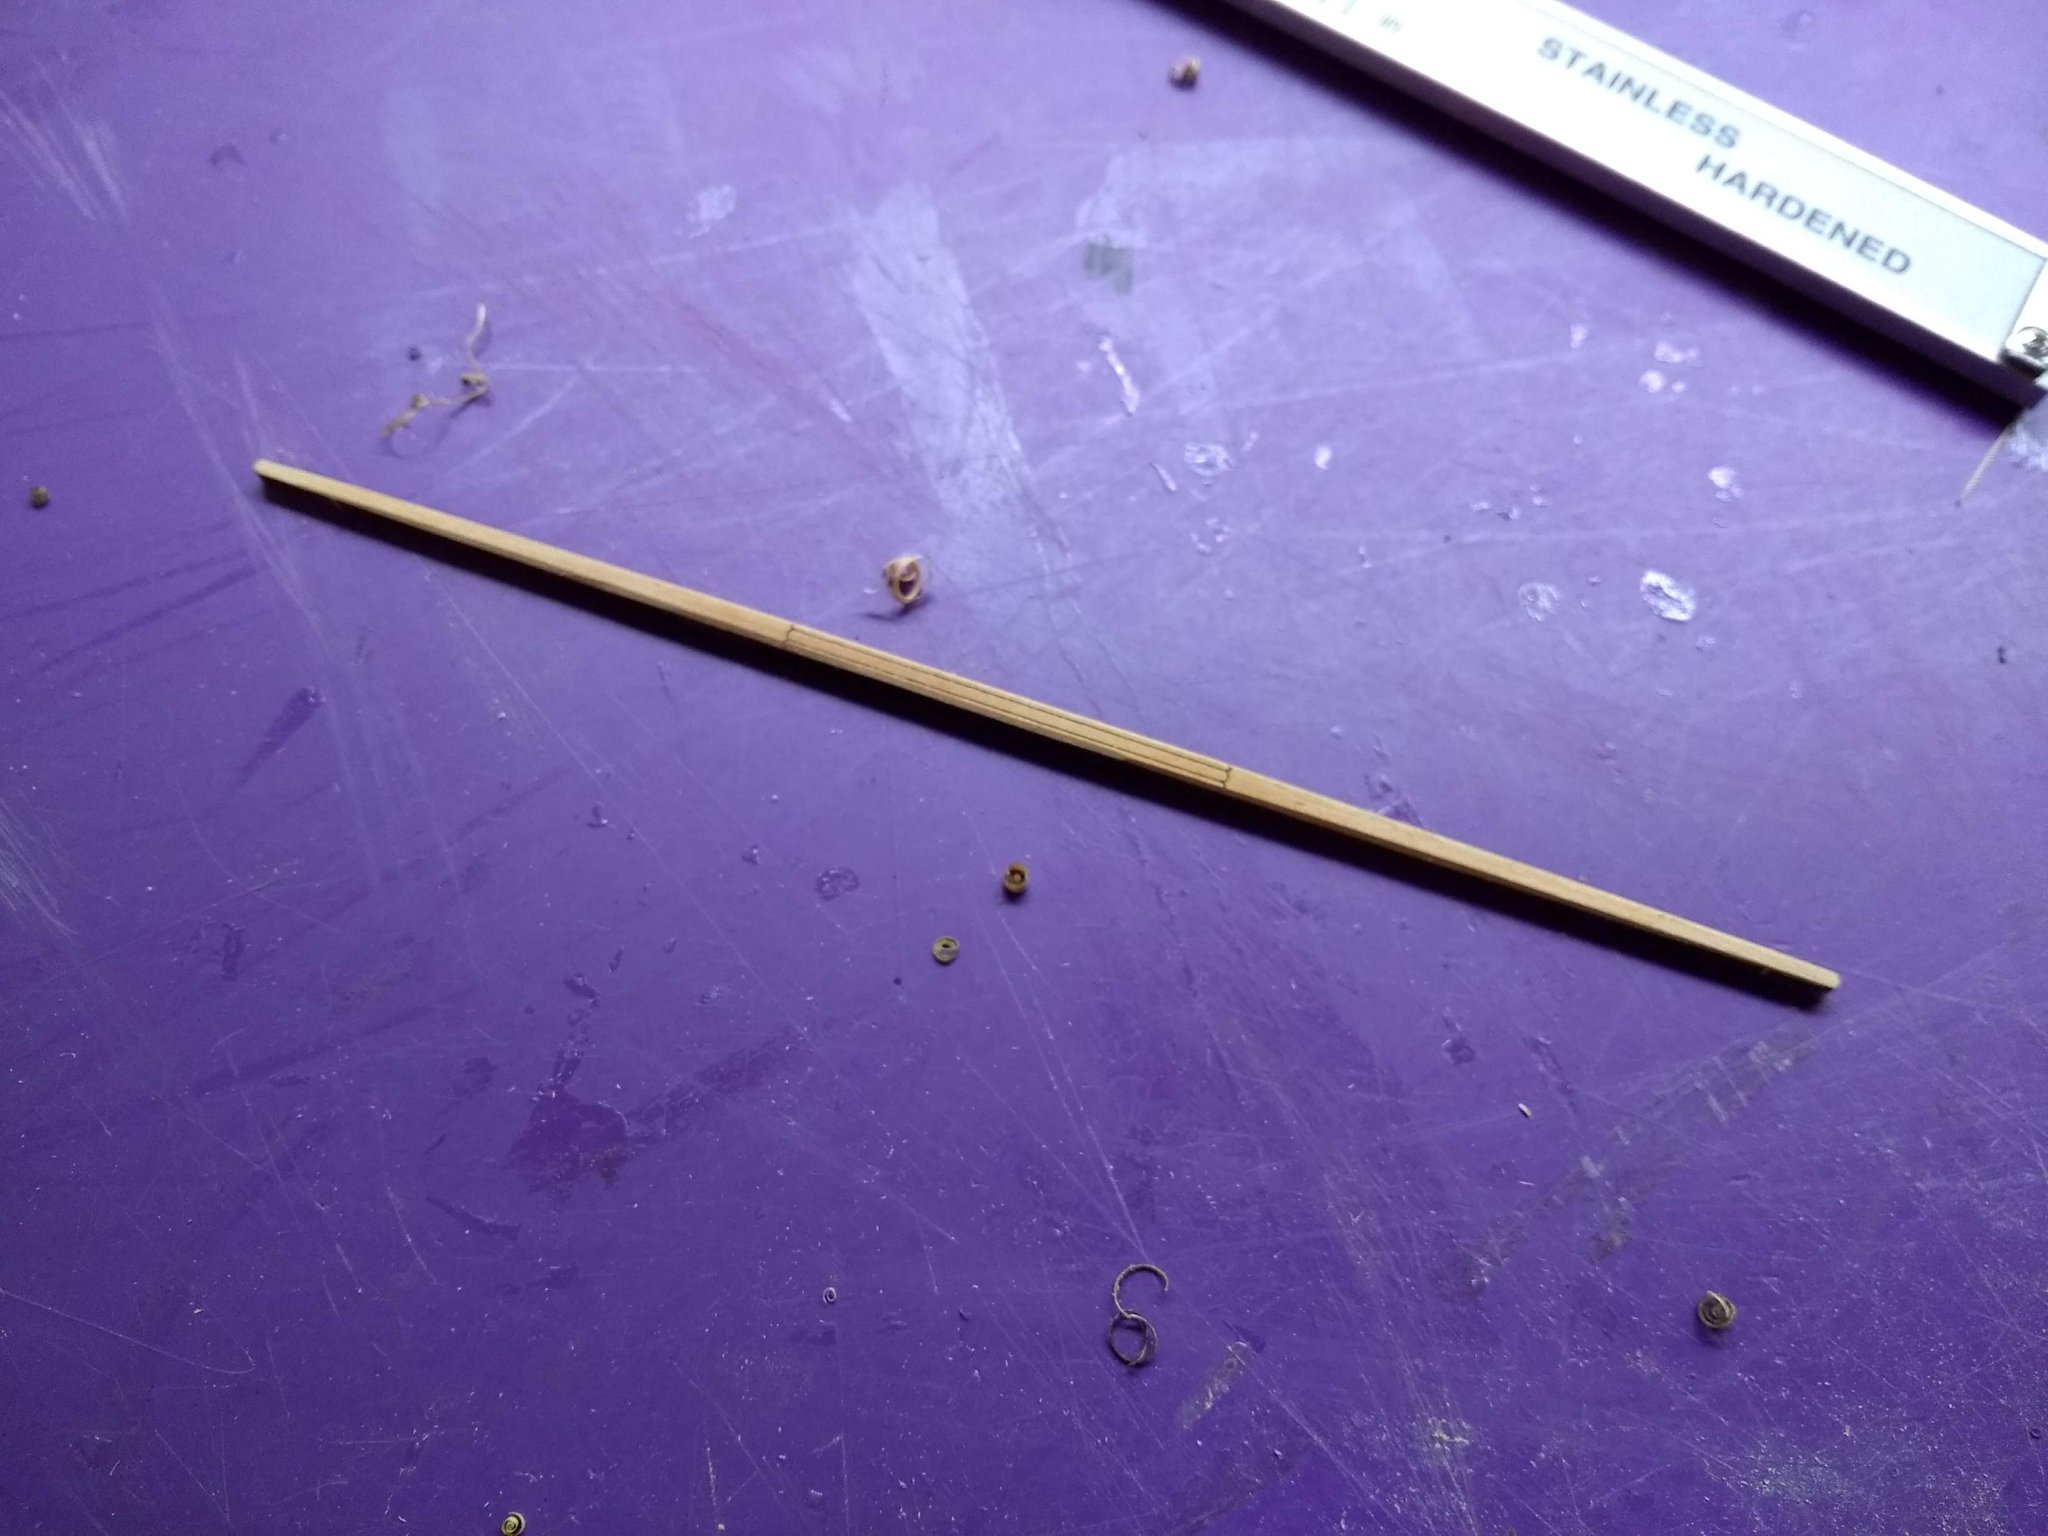
So, the work continues... Once the hull was done I switched my attention to making the remaining yards and the mast. This is a small model, so there is only a handful of spars: boom, gaff, bowsprit, spreadsail yard, topsail yard, mast and topmast. I have already made the bowsprit earlier, so only 6 spars were left to do. The workflow I follow for making them is always the same:
1. I narrow down the part (by sanding the part so It has square cross section everywhere):

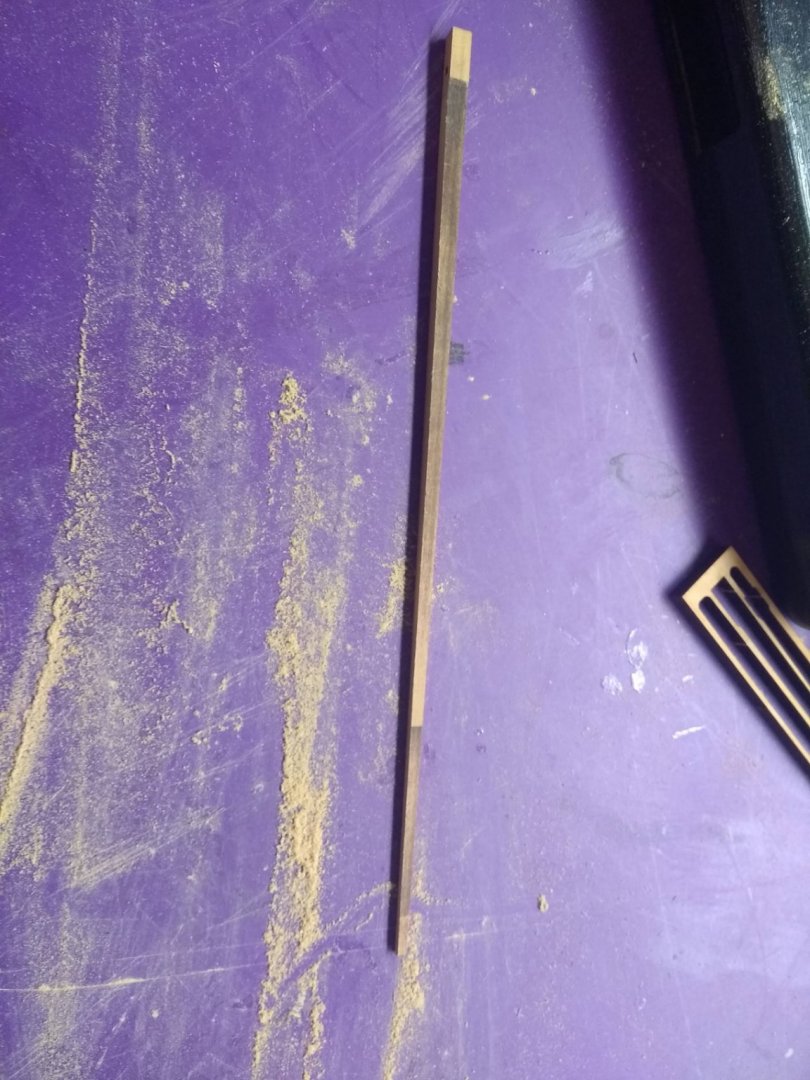
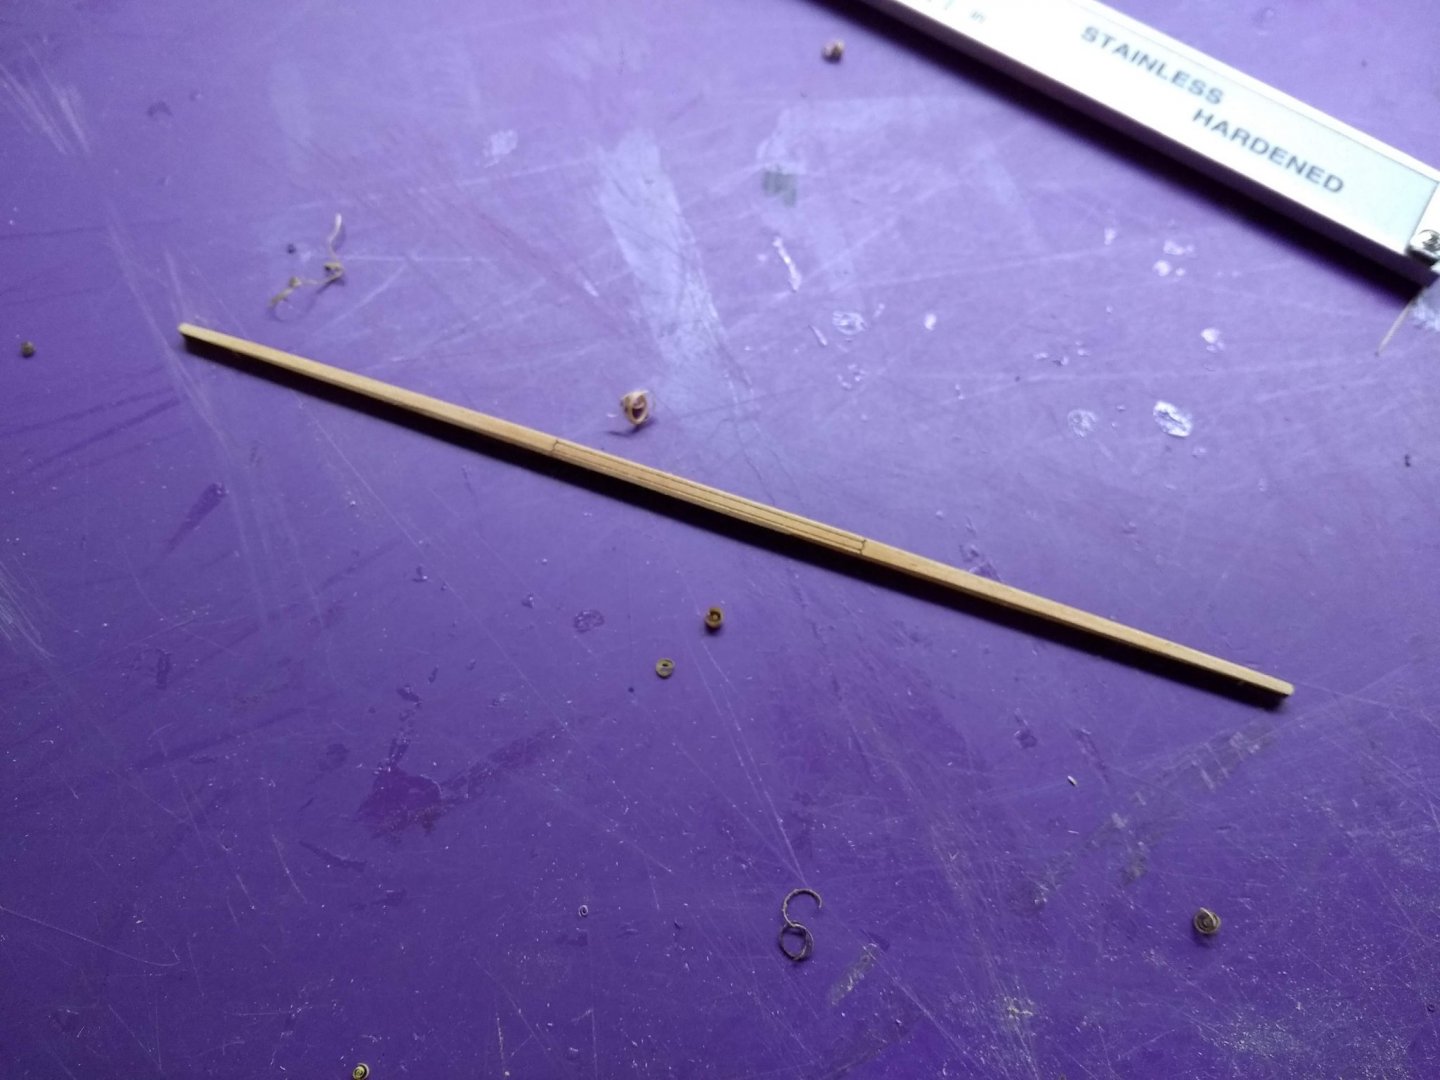
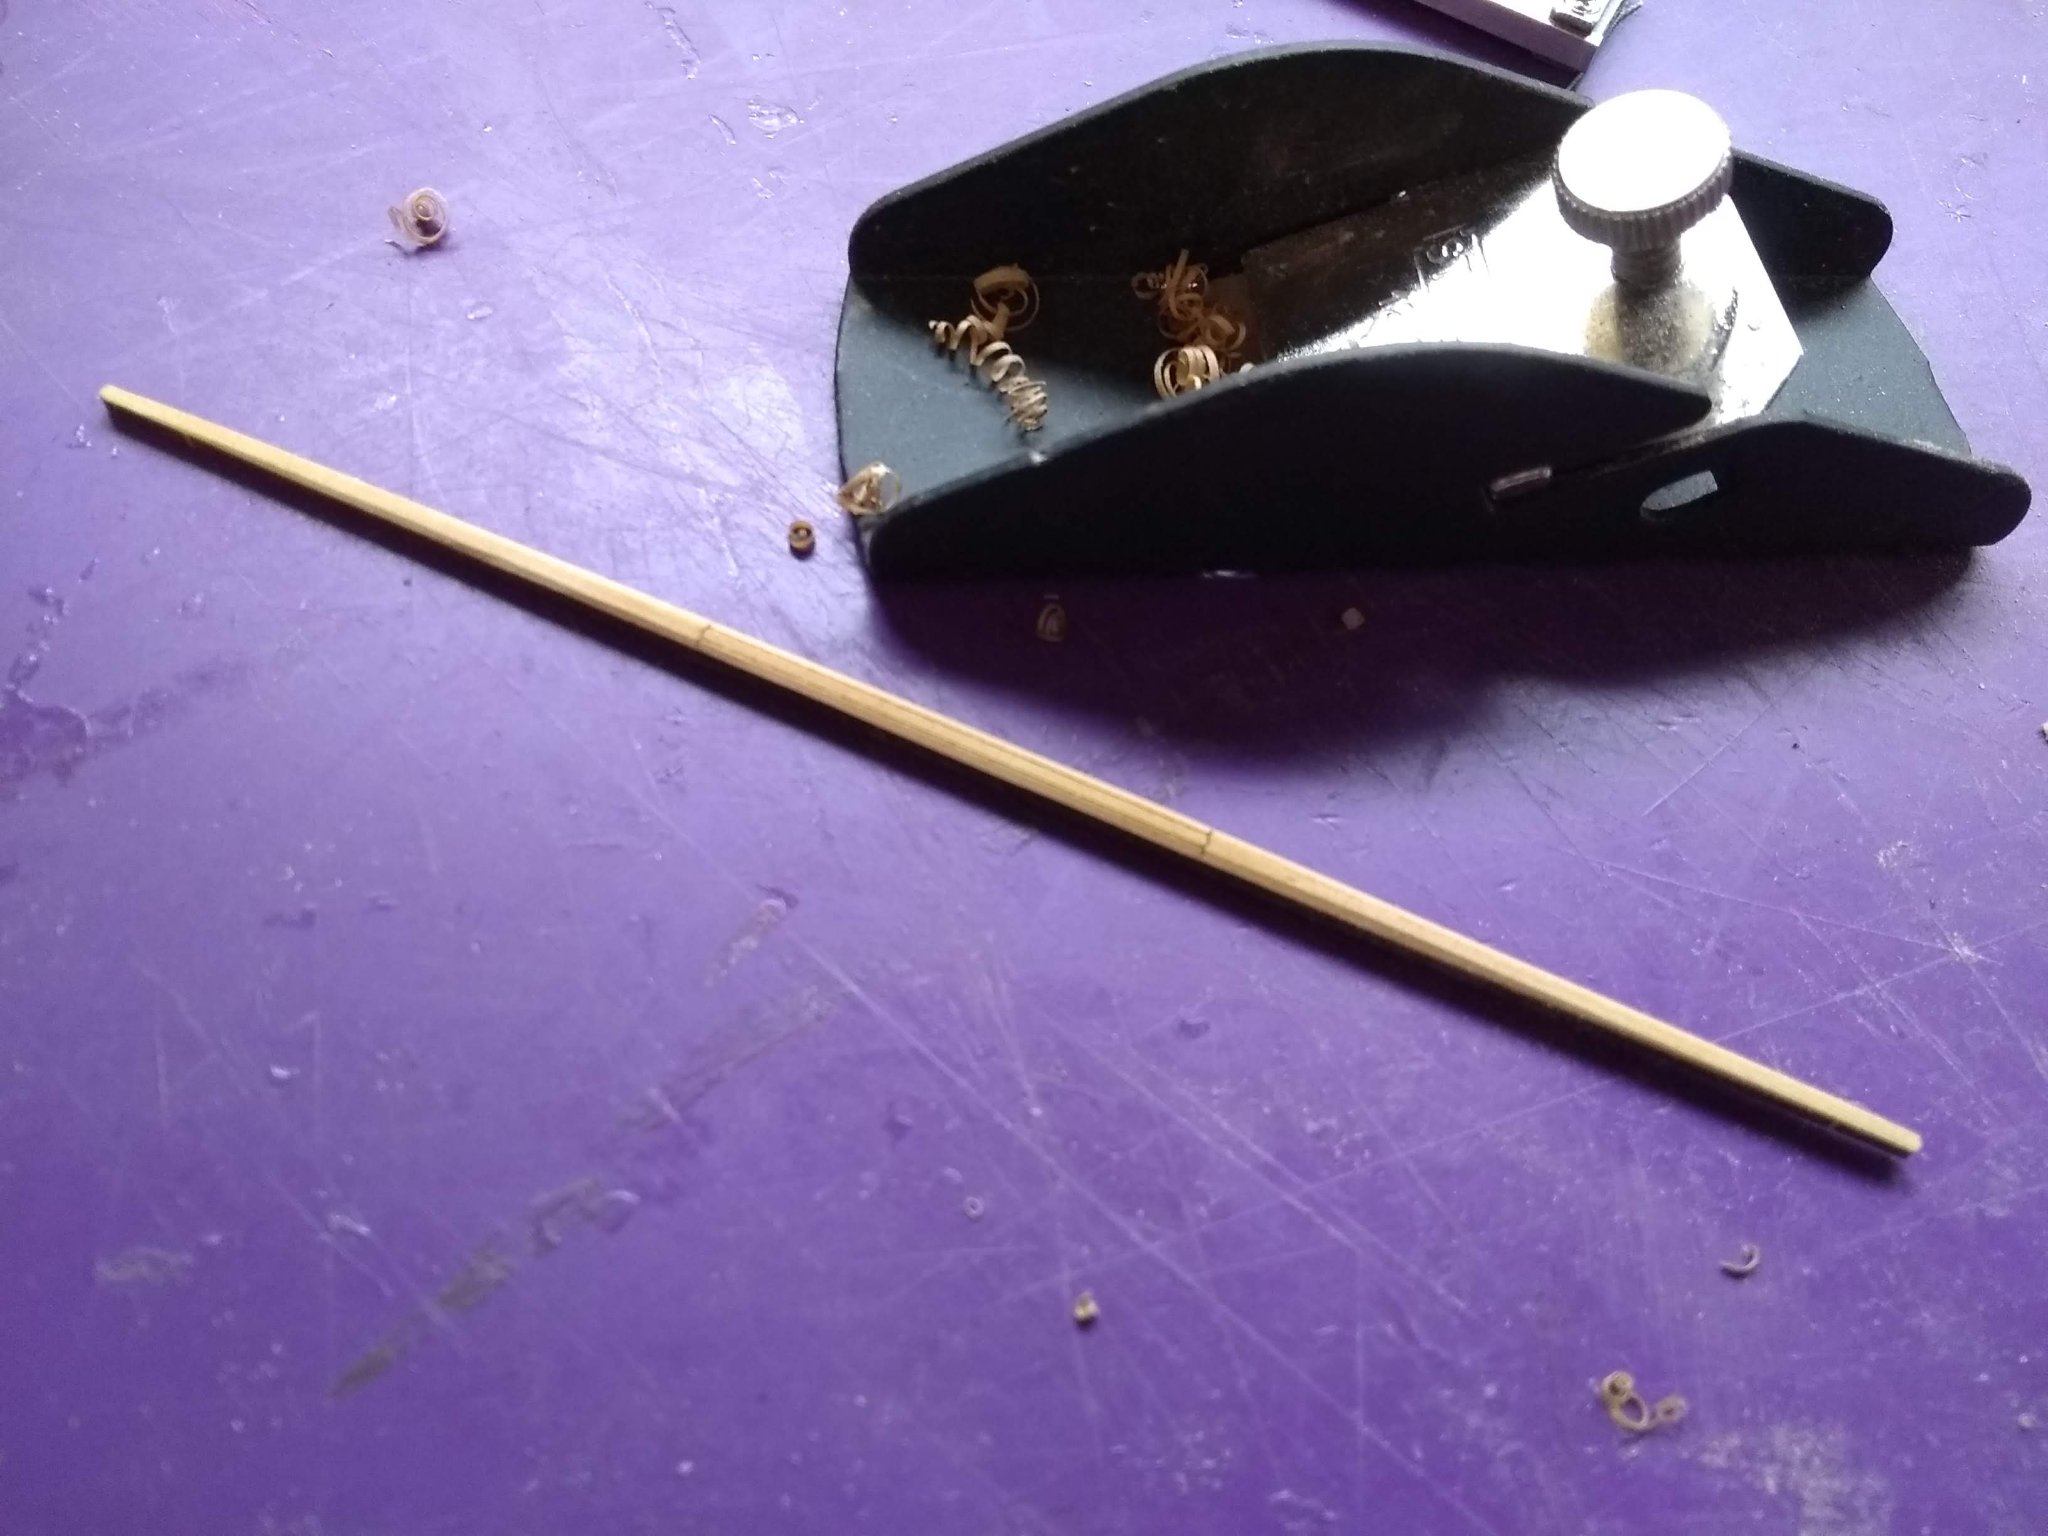
2. Then I use a mini-plane and cut off the edges of the part to make it more or less hexagonal:

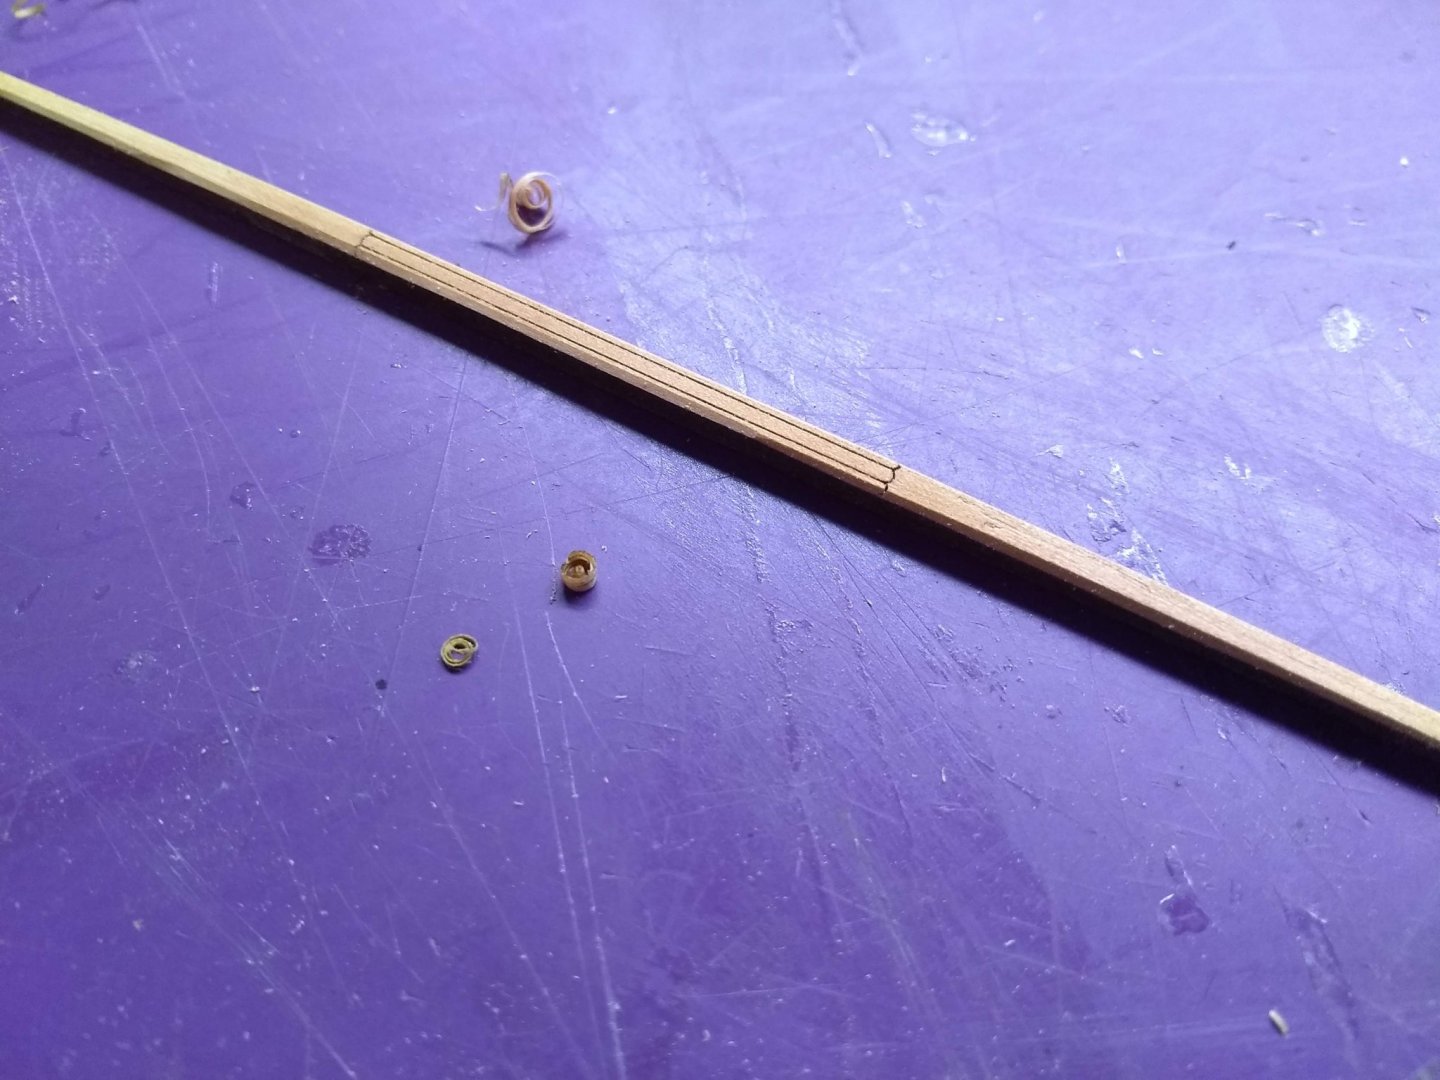
And after that I wrap it into a small sheet of 180 grip sandpaper and rotate it with my left hand while holding the sandpaper with the right hand. In the end I get something like this:
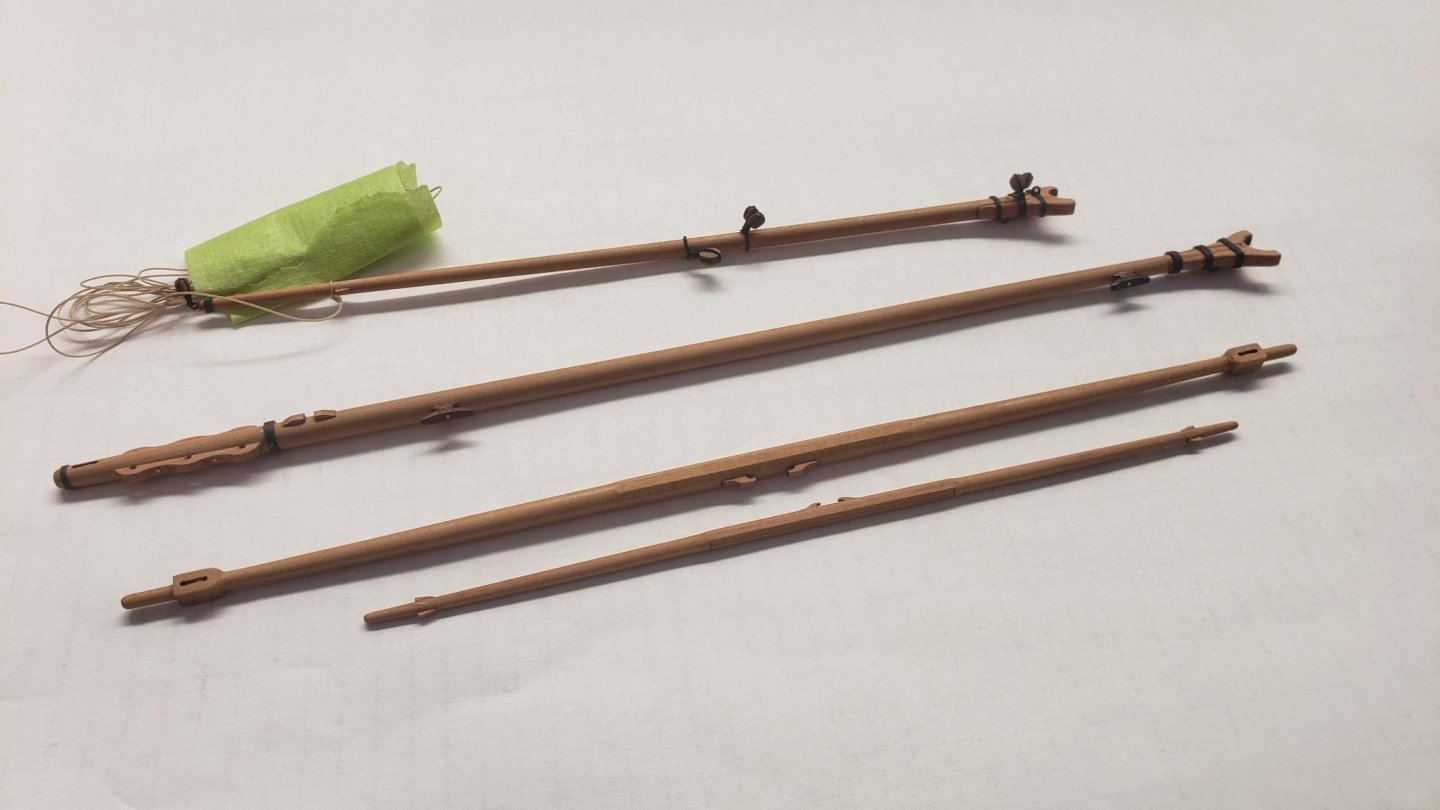
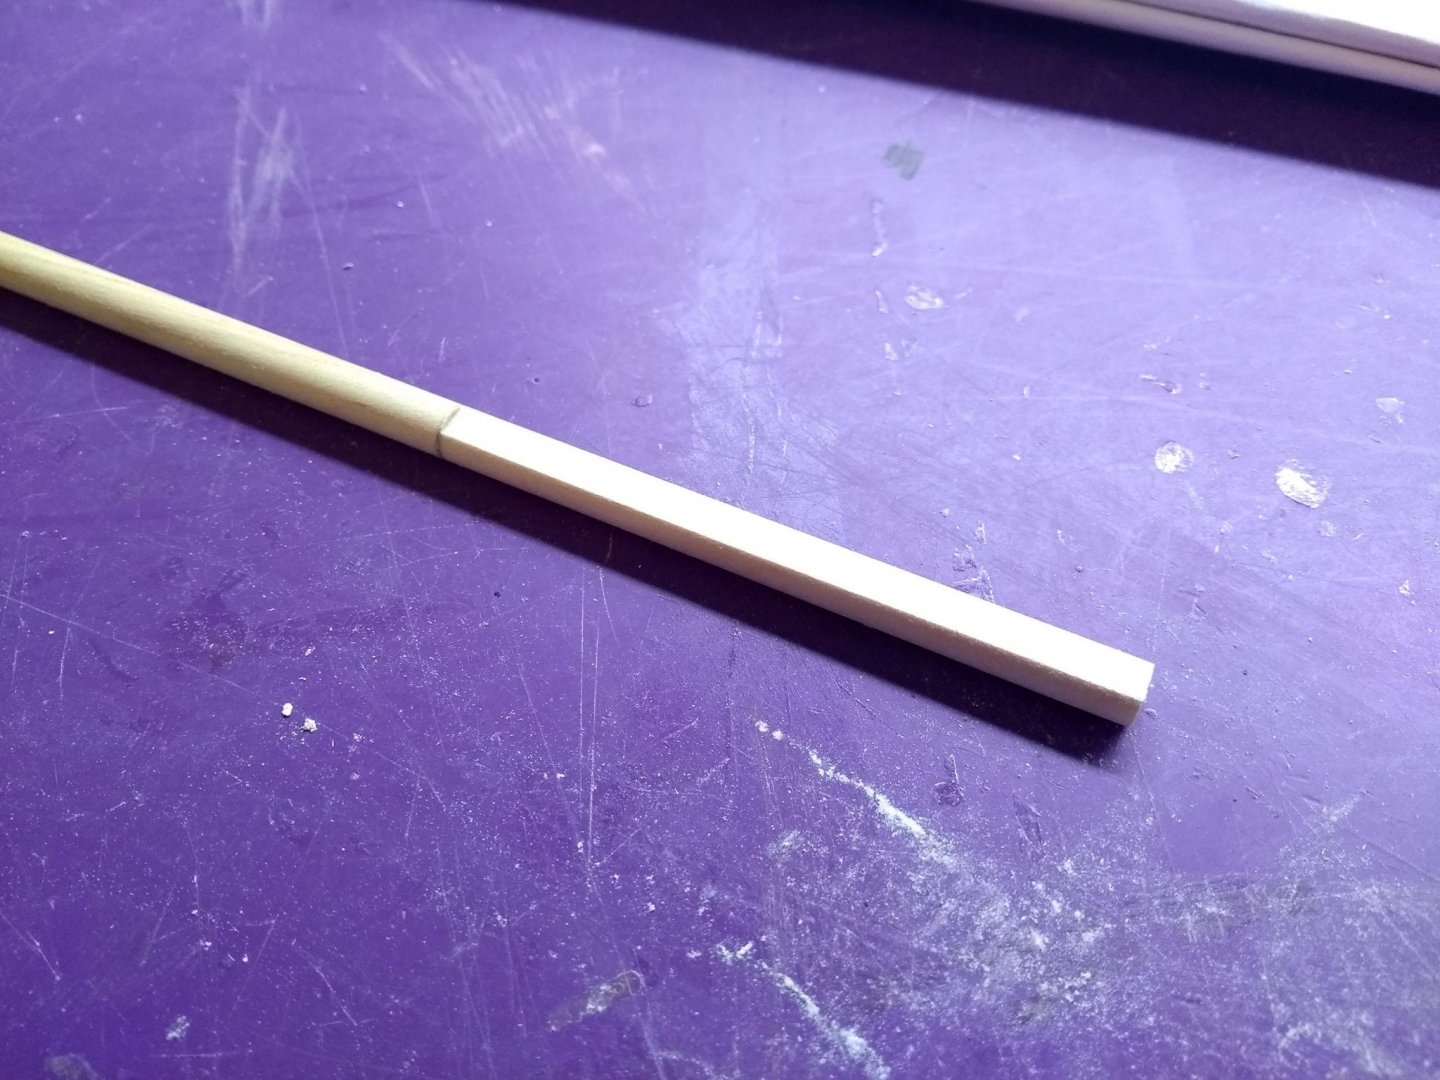
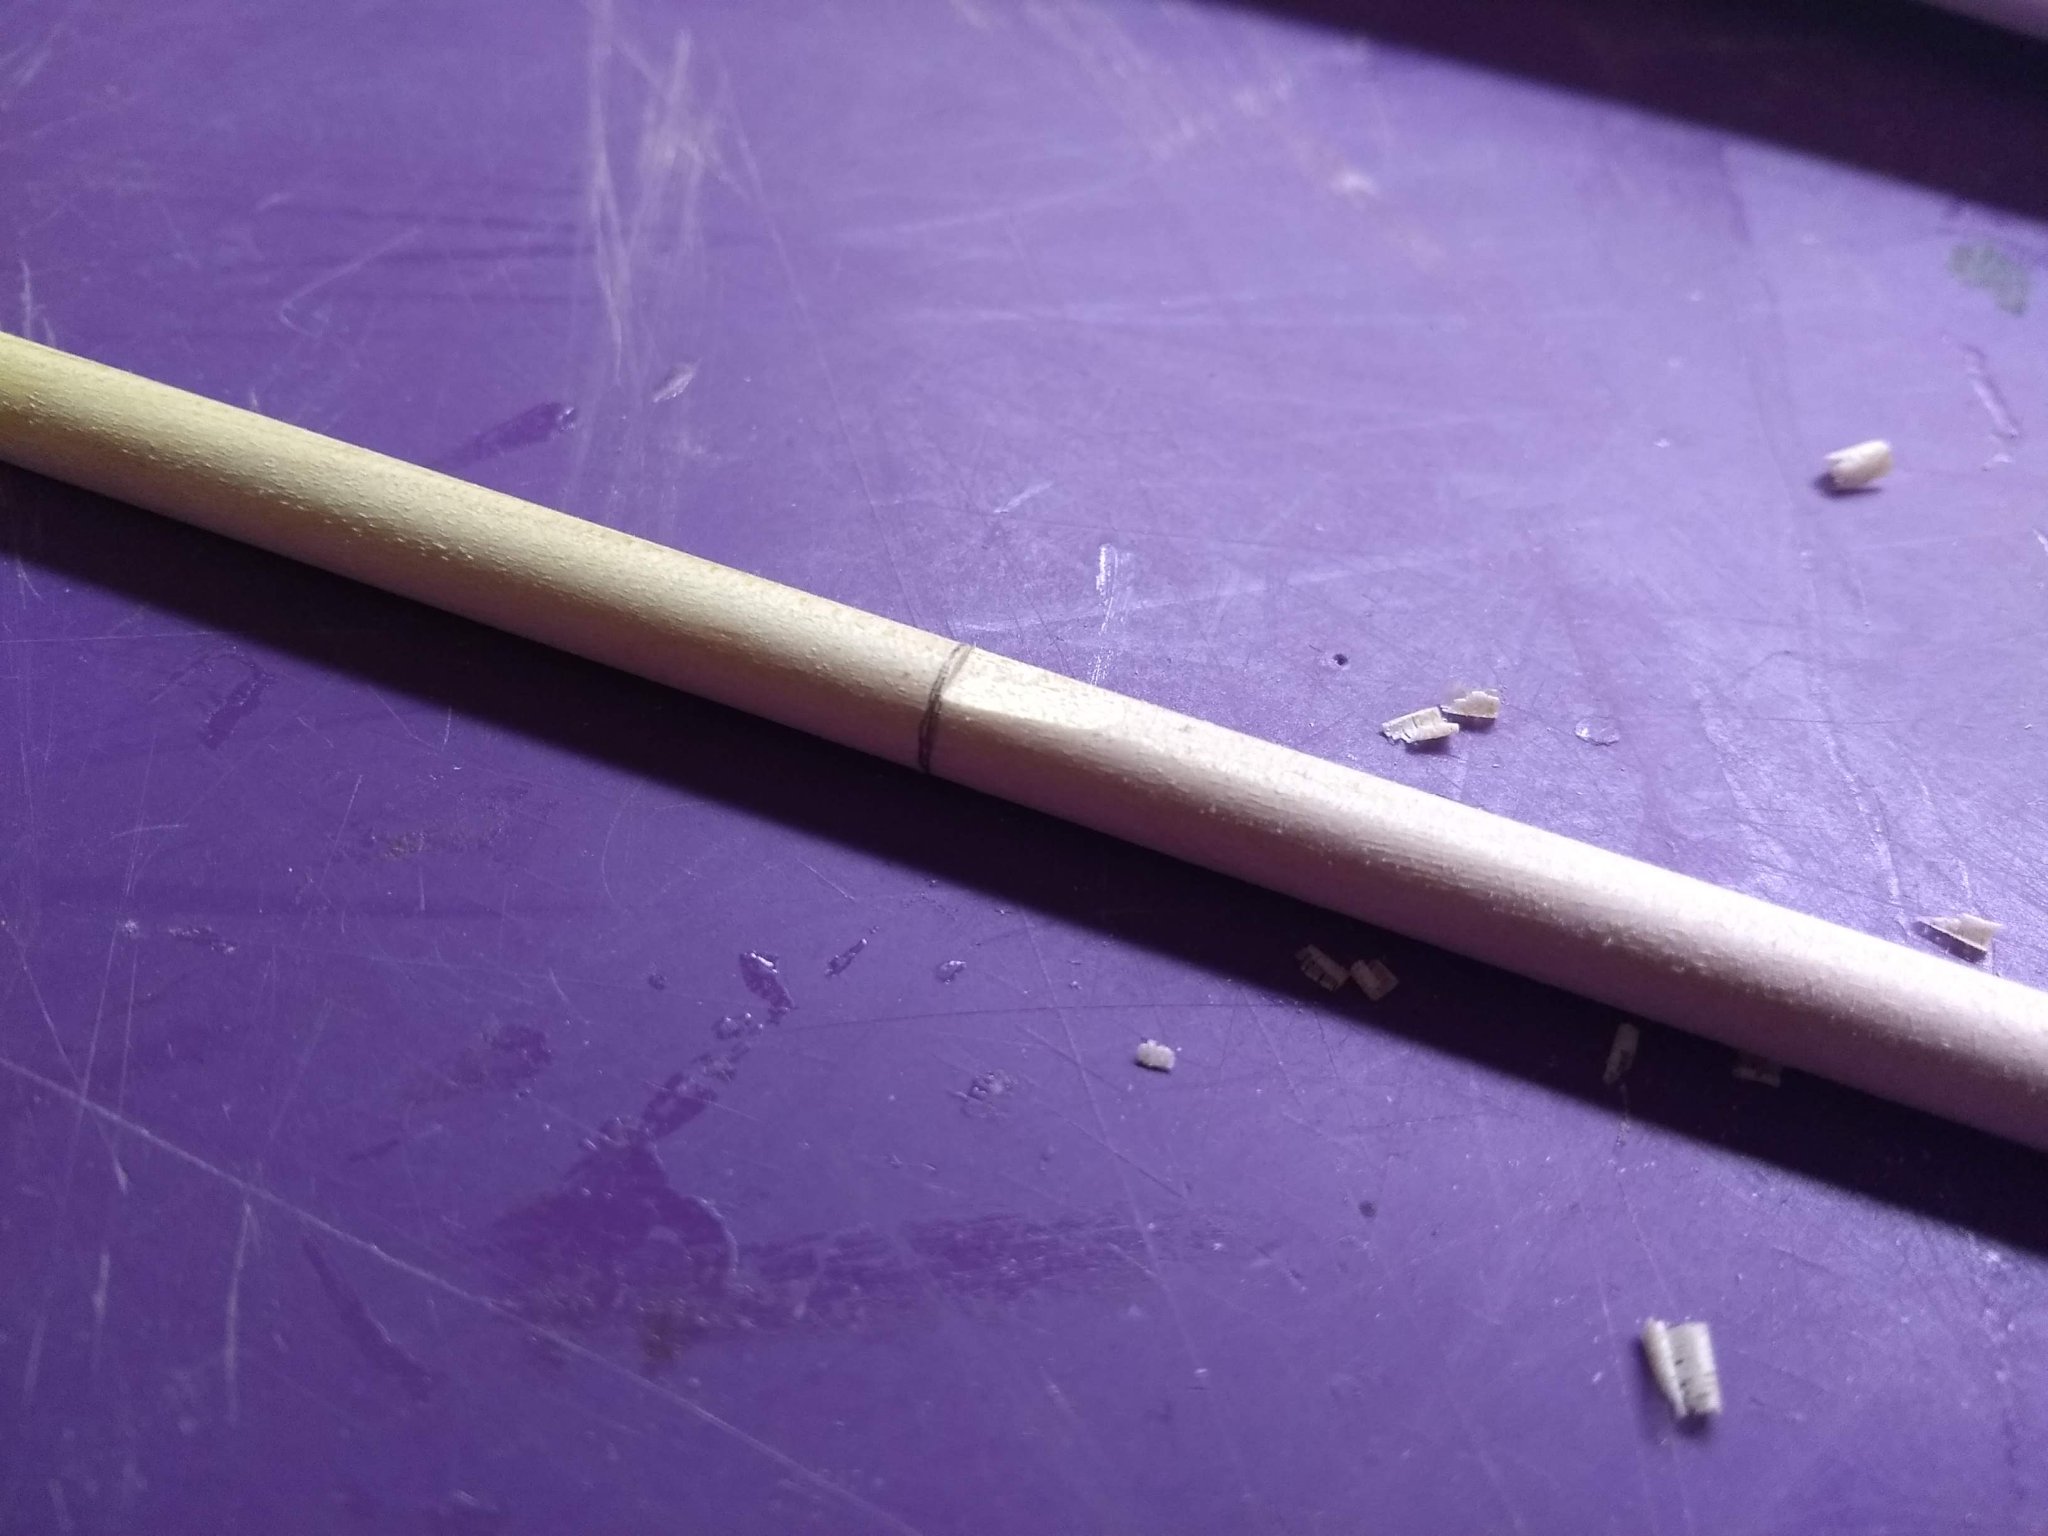
The mast is something different. Instead of making a square round, I make a circle square by removing material. I first try to identify the order (or stages) in which material needs to be removed and then start cutting, the first cuts are always perpendicular to the mast and they establish the depth of the rest of the cuts:

In the end after the first stage, the mast looked like this:
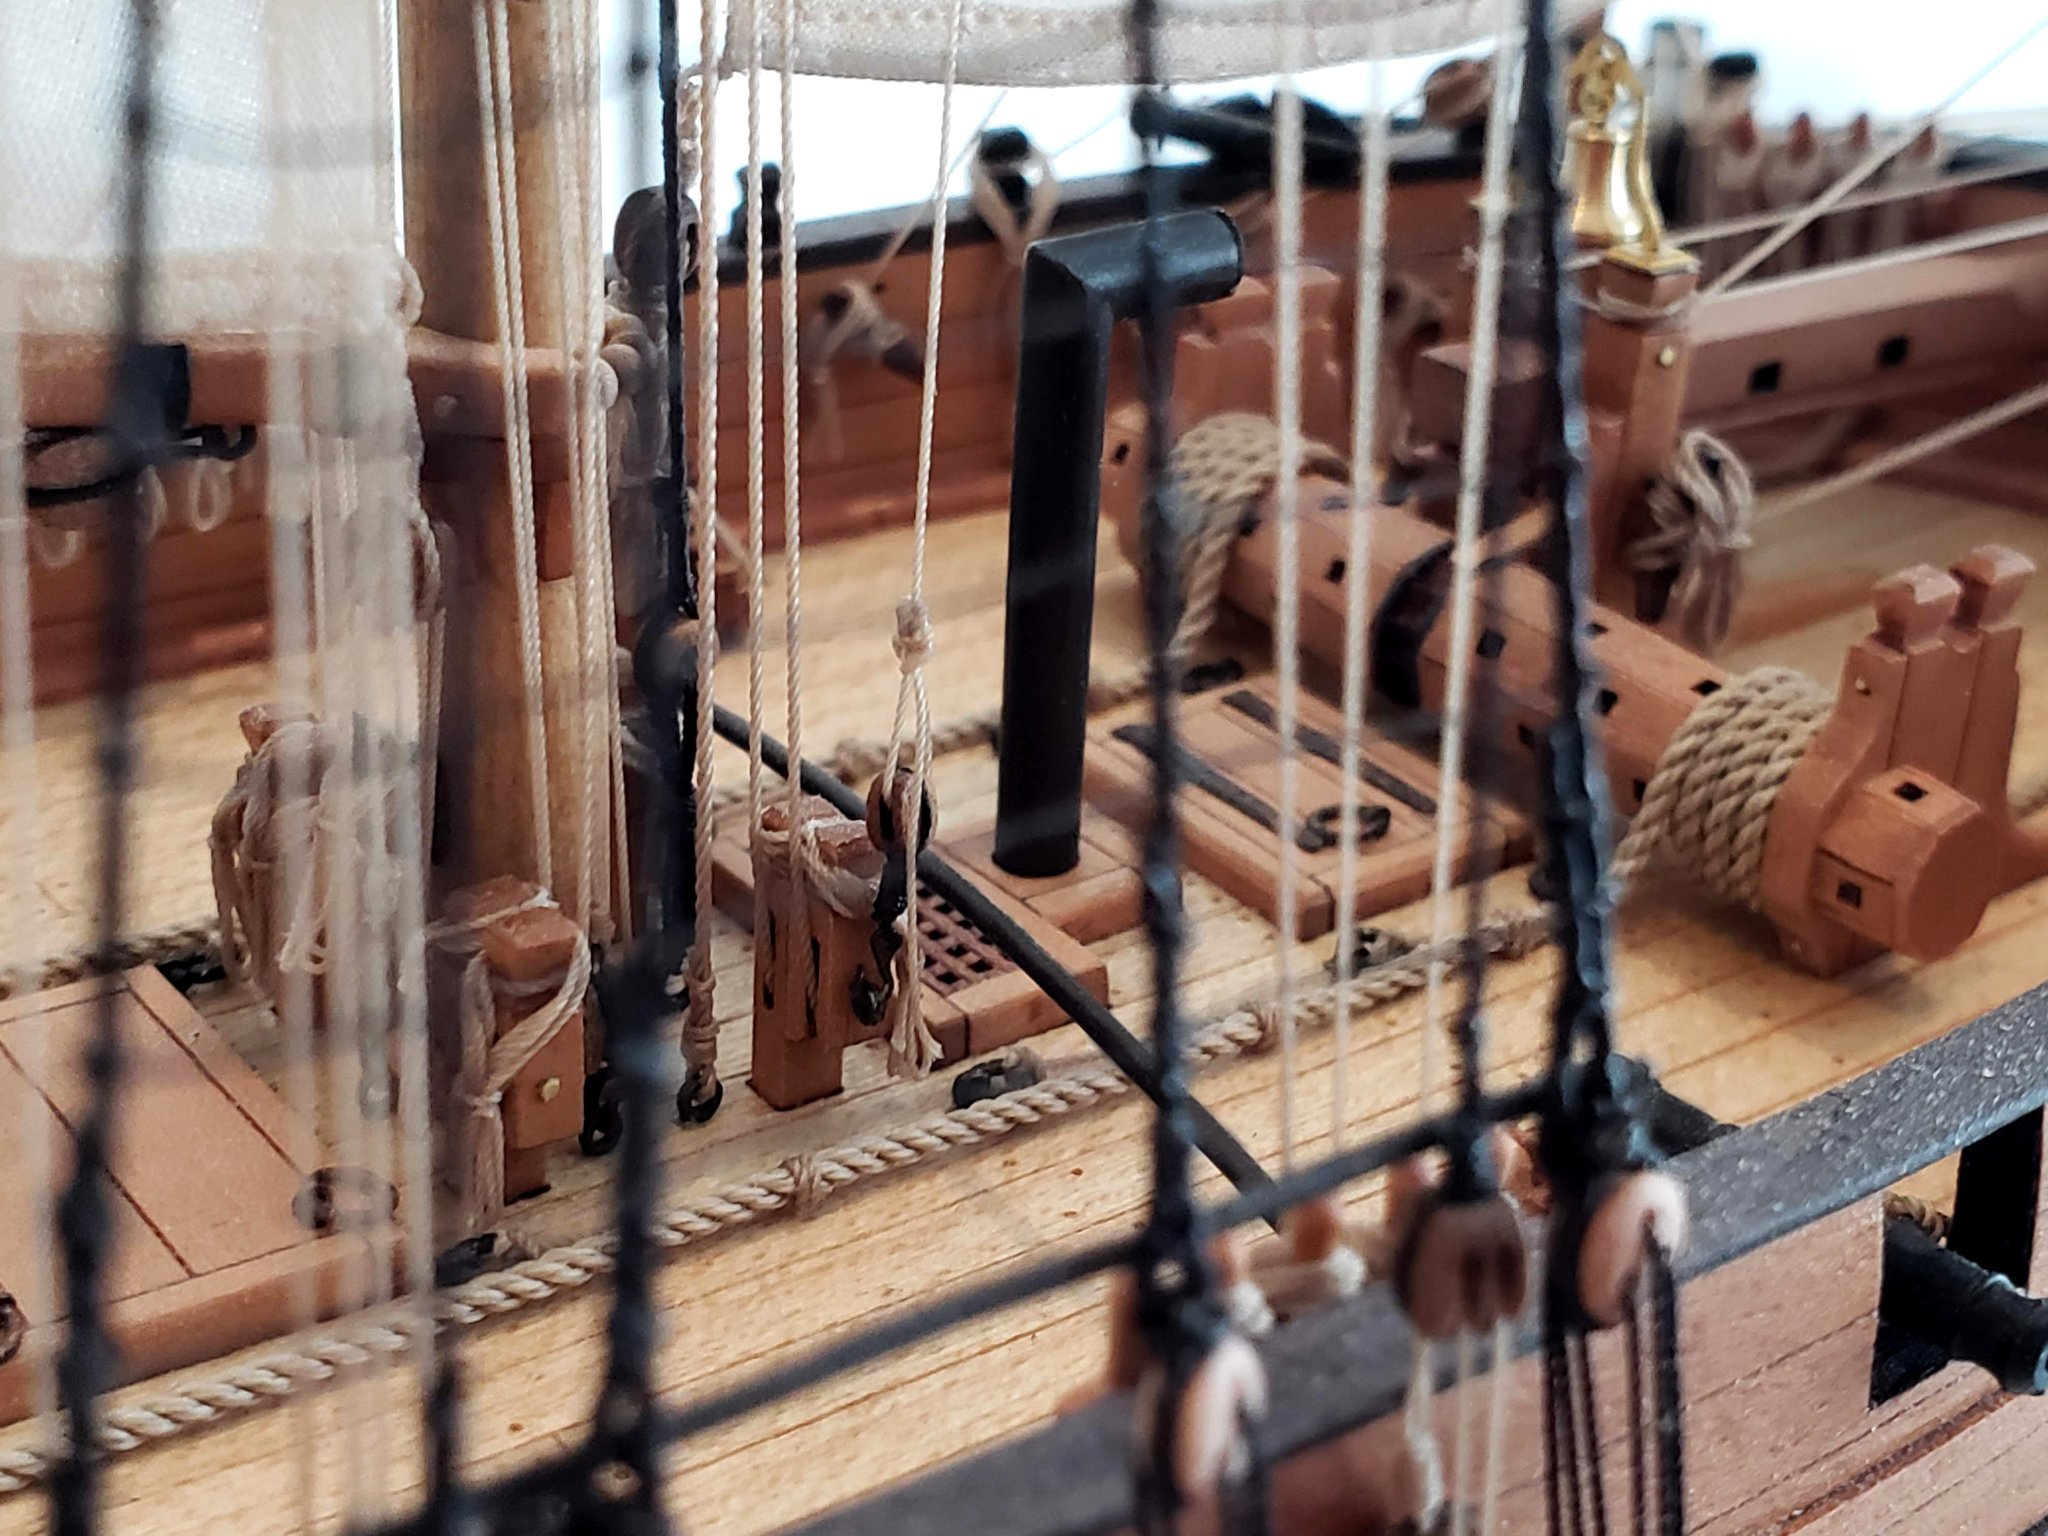
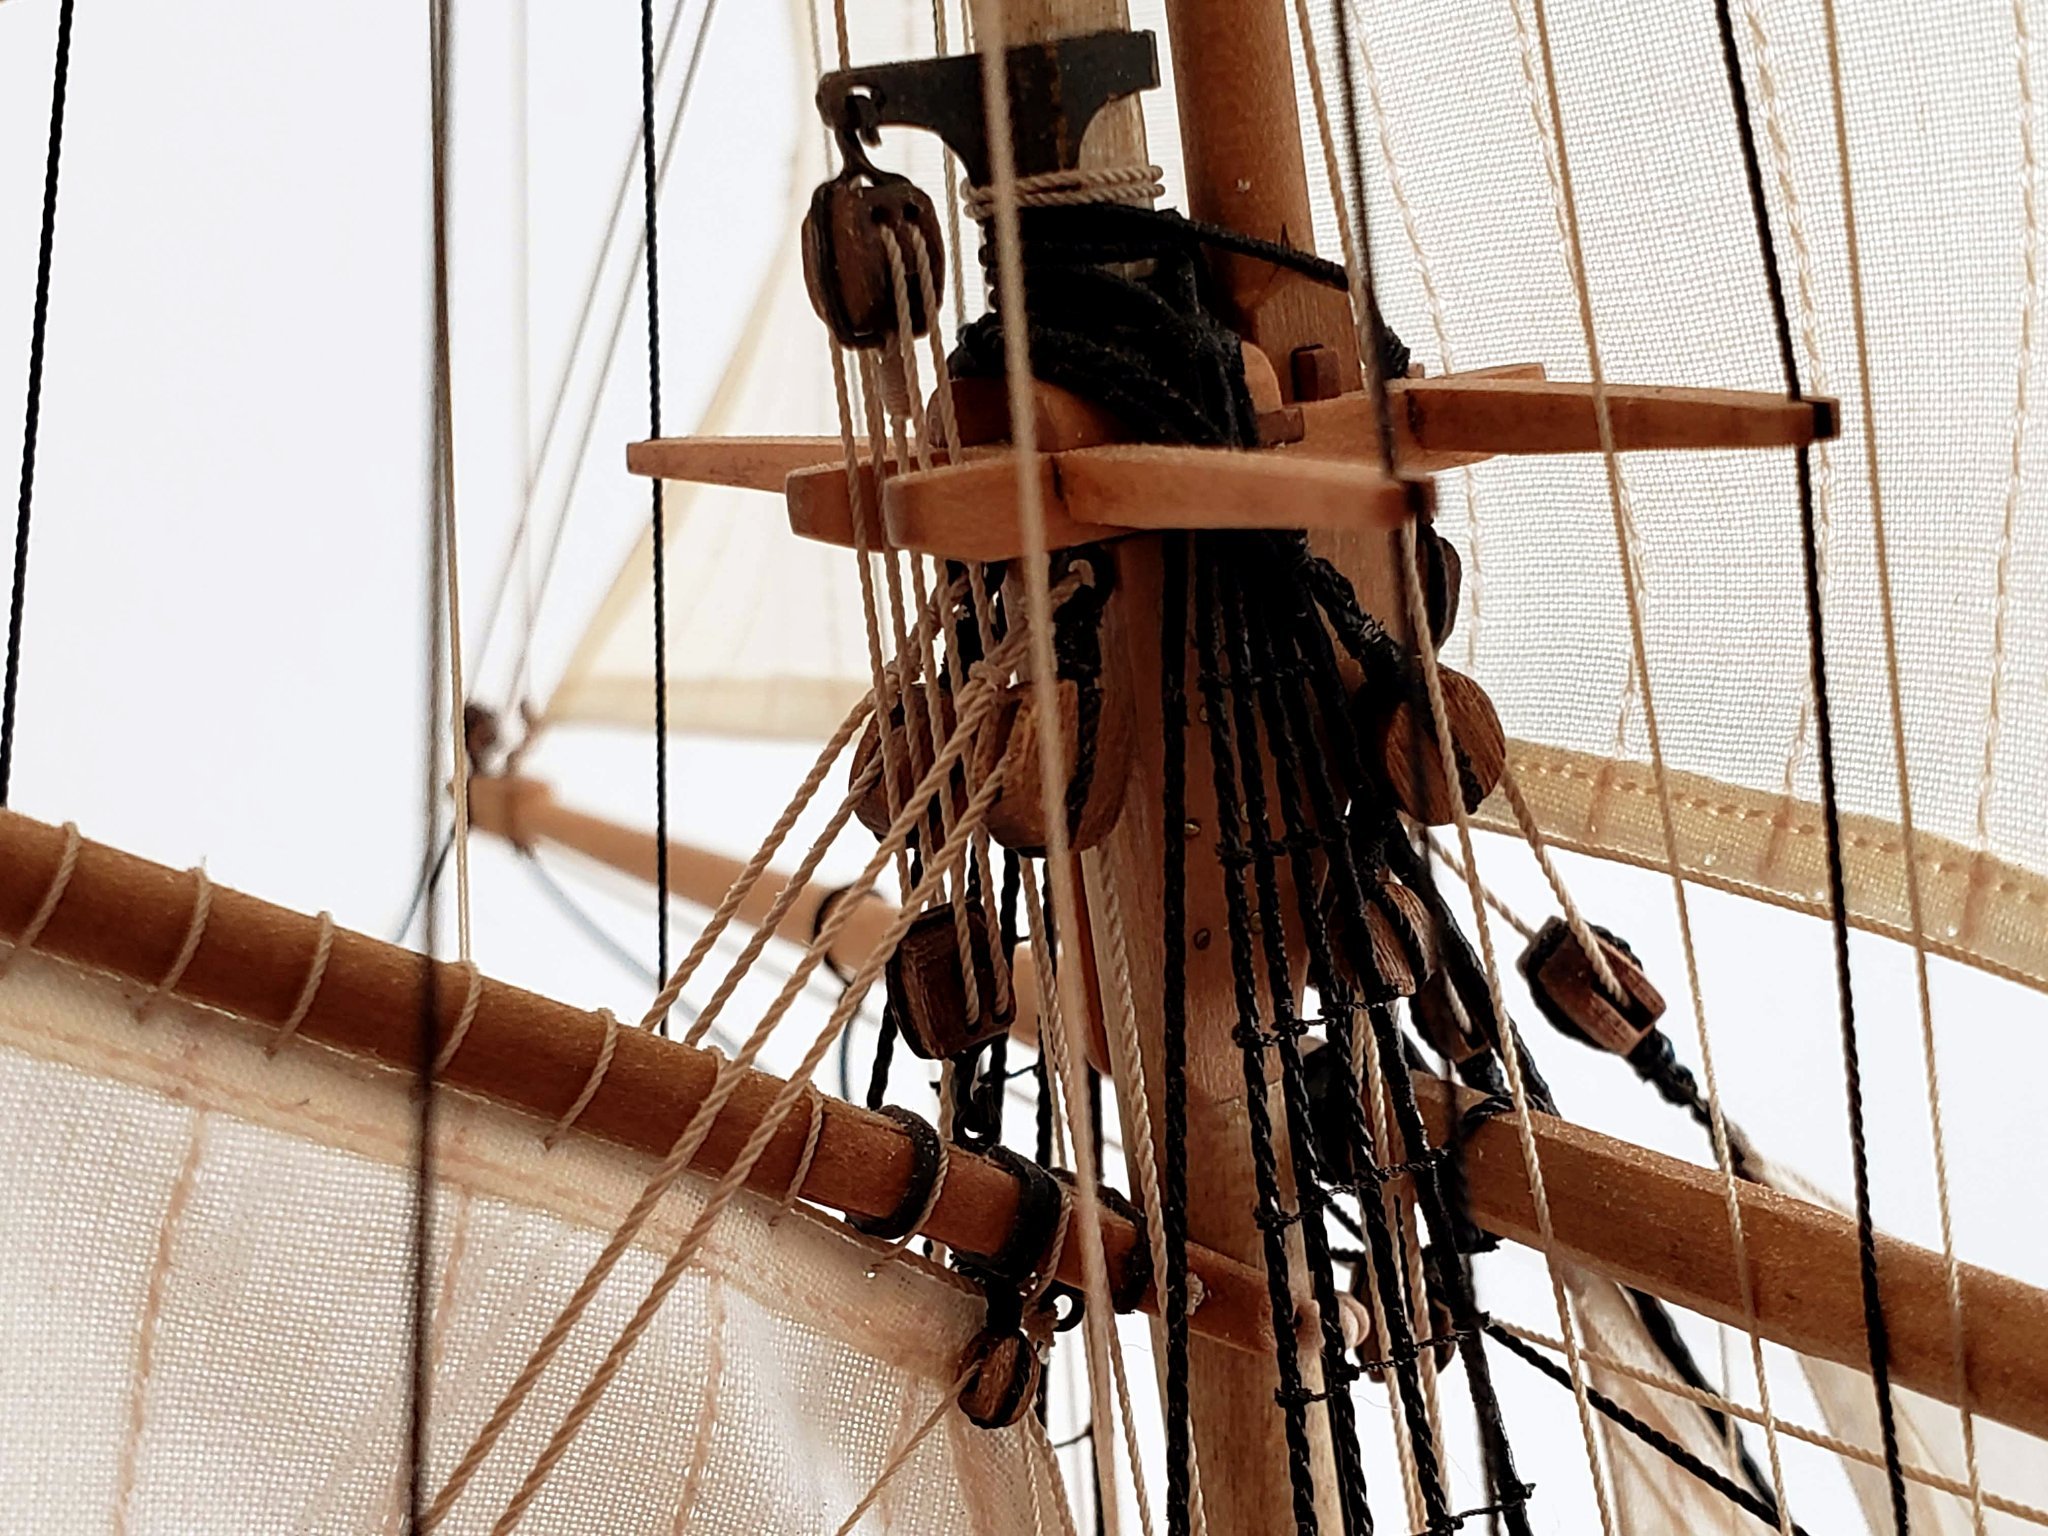
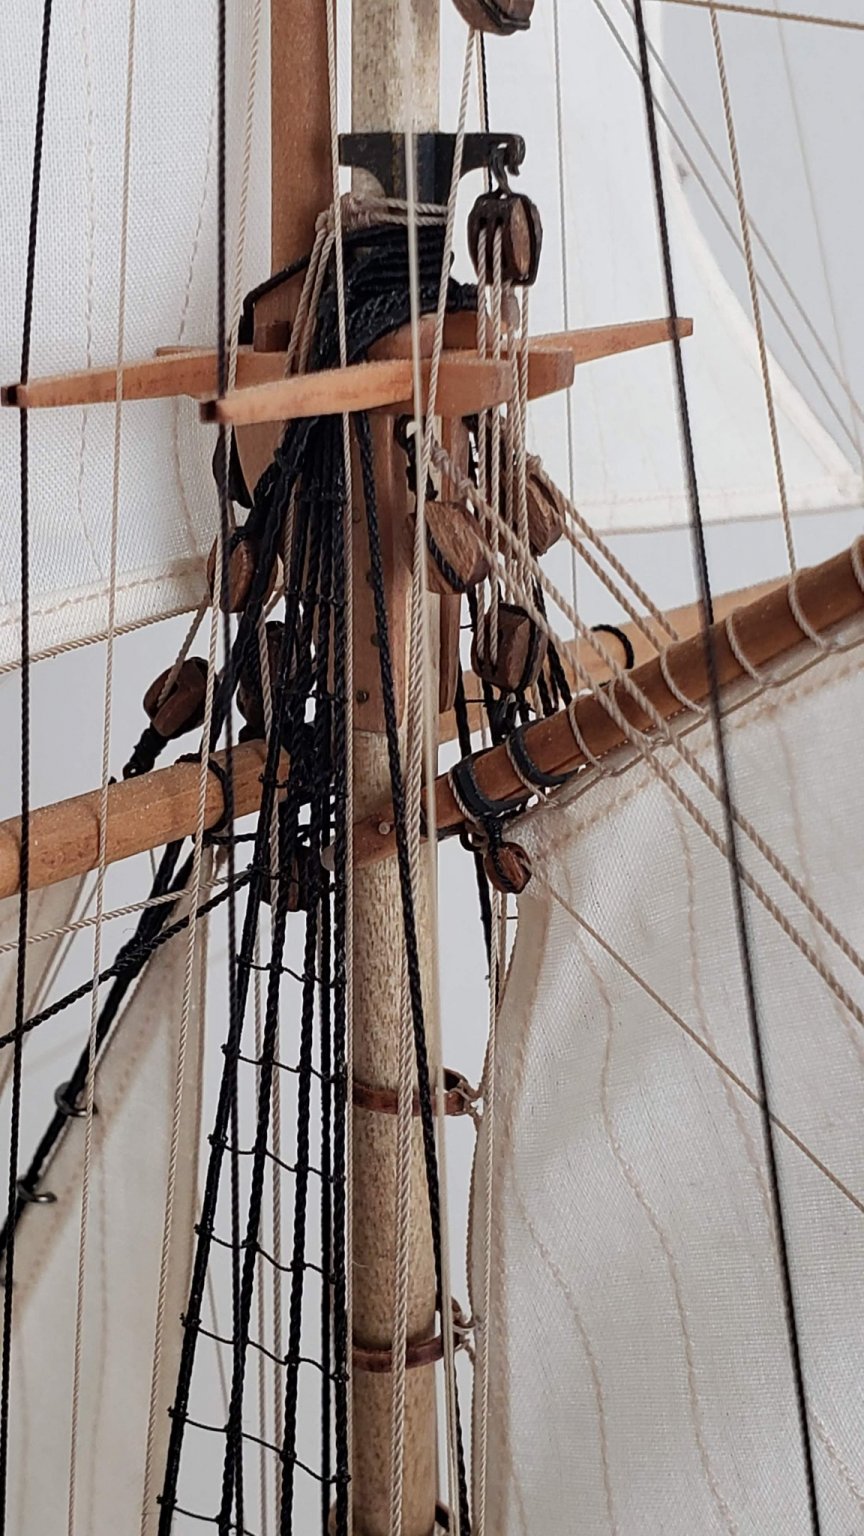
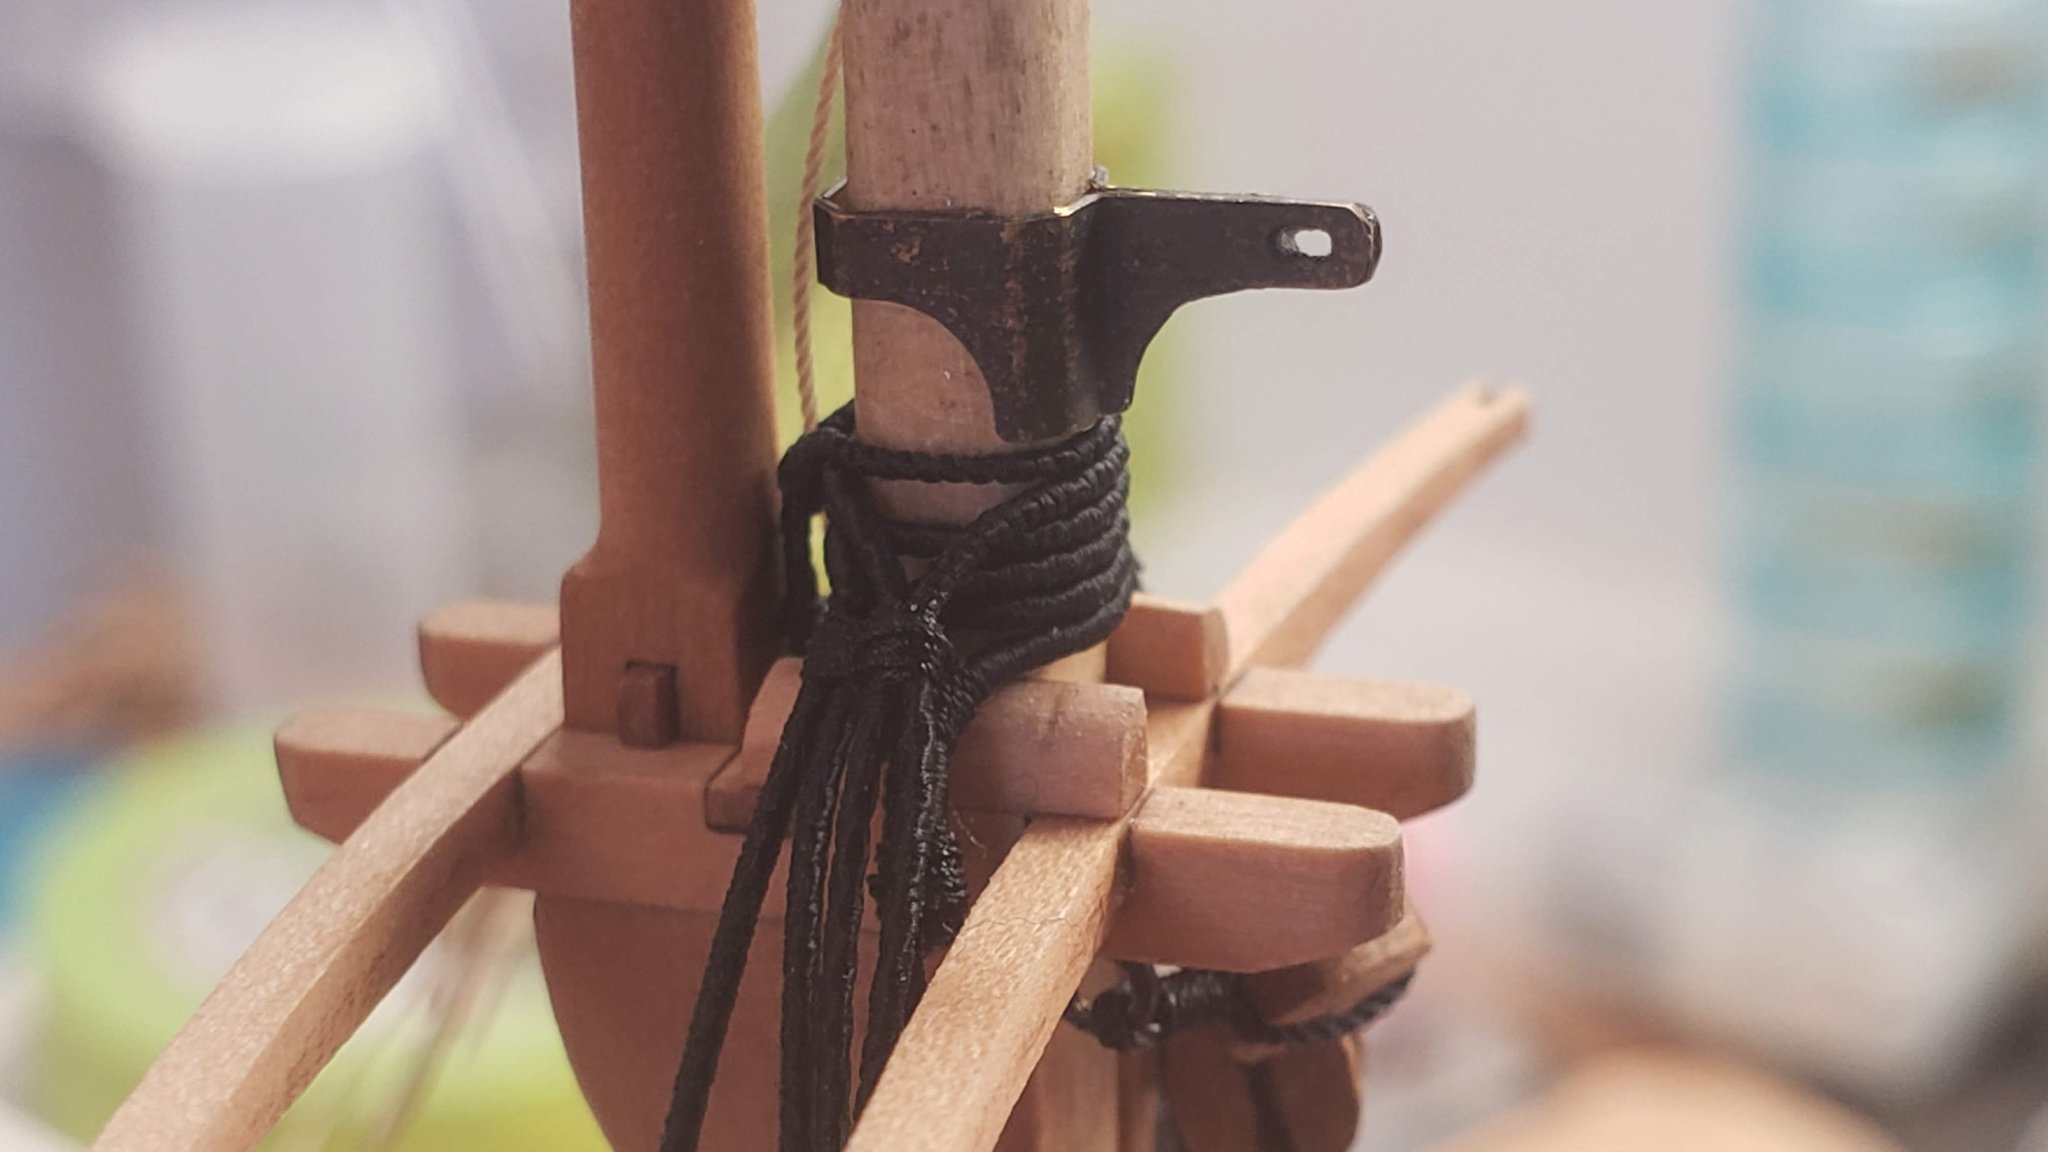
Once the mast was complete I attached all the stays and the shrouds to the mast top:
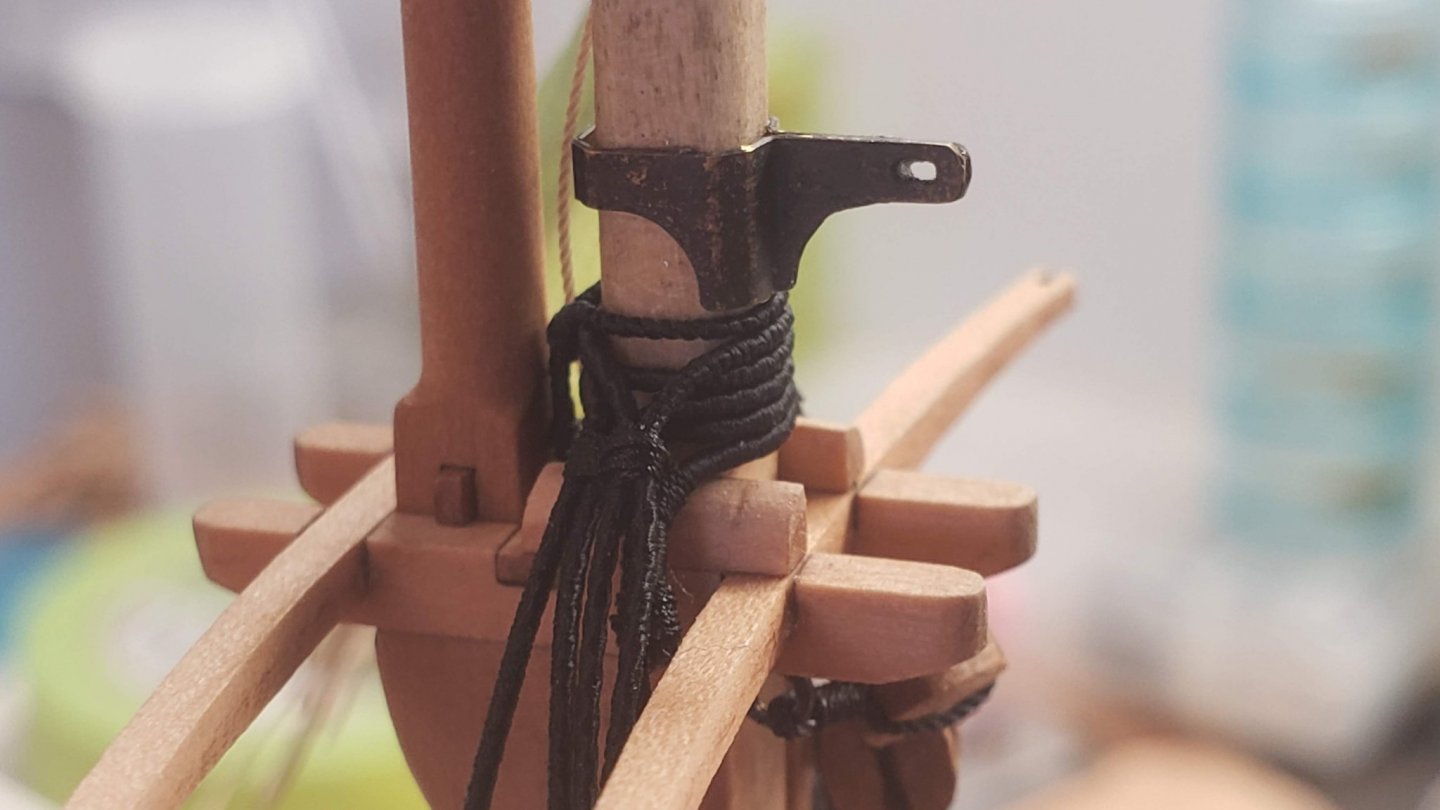
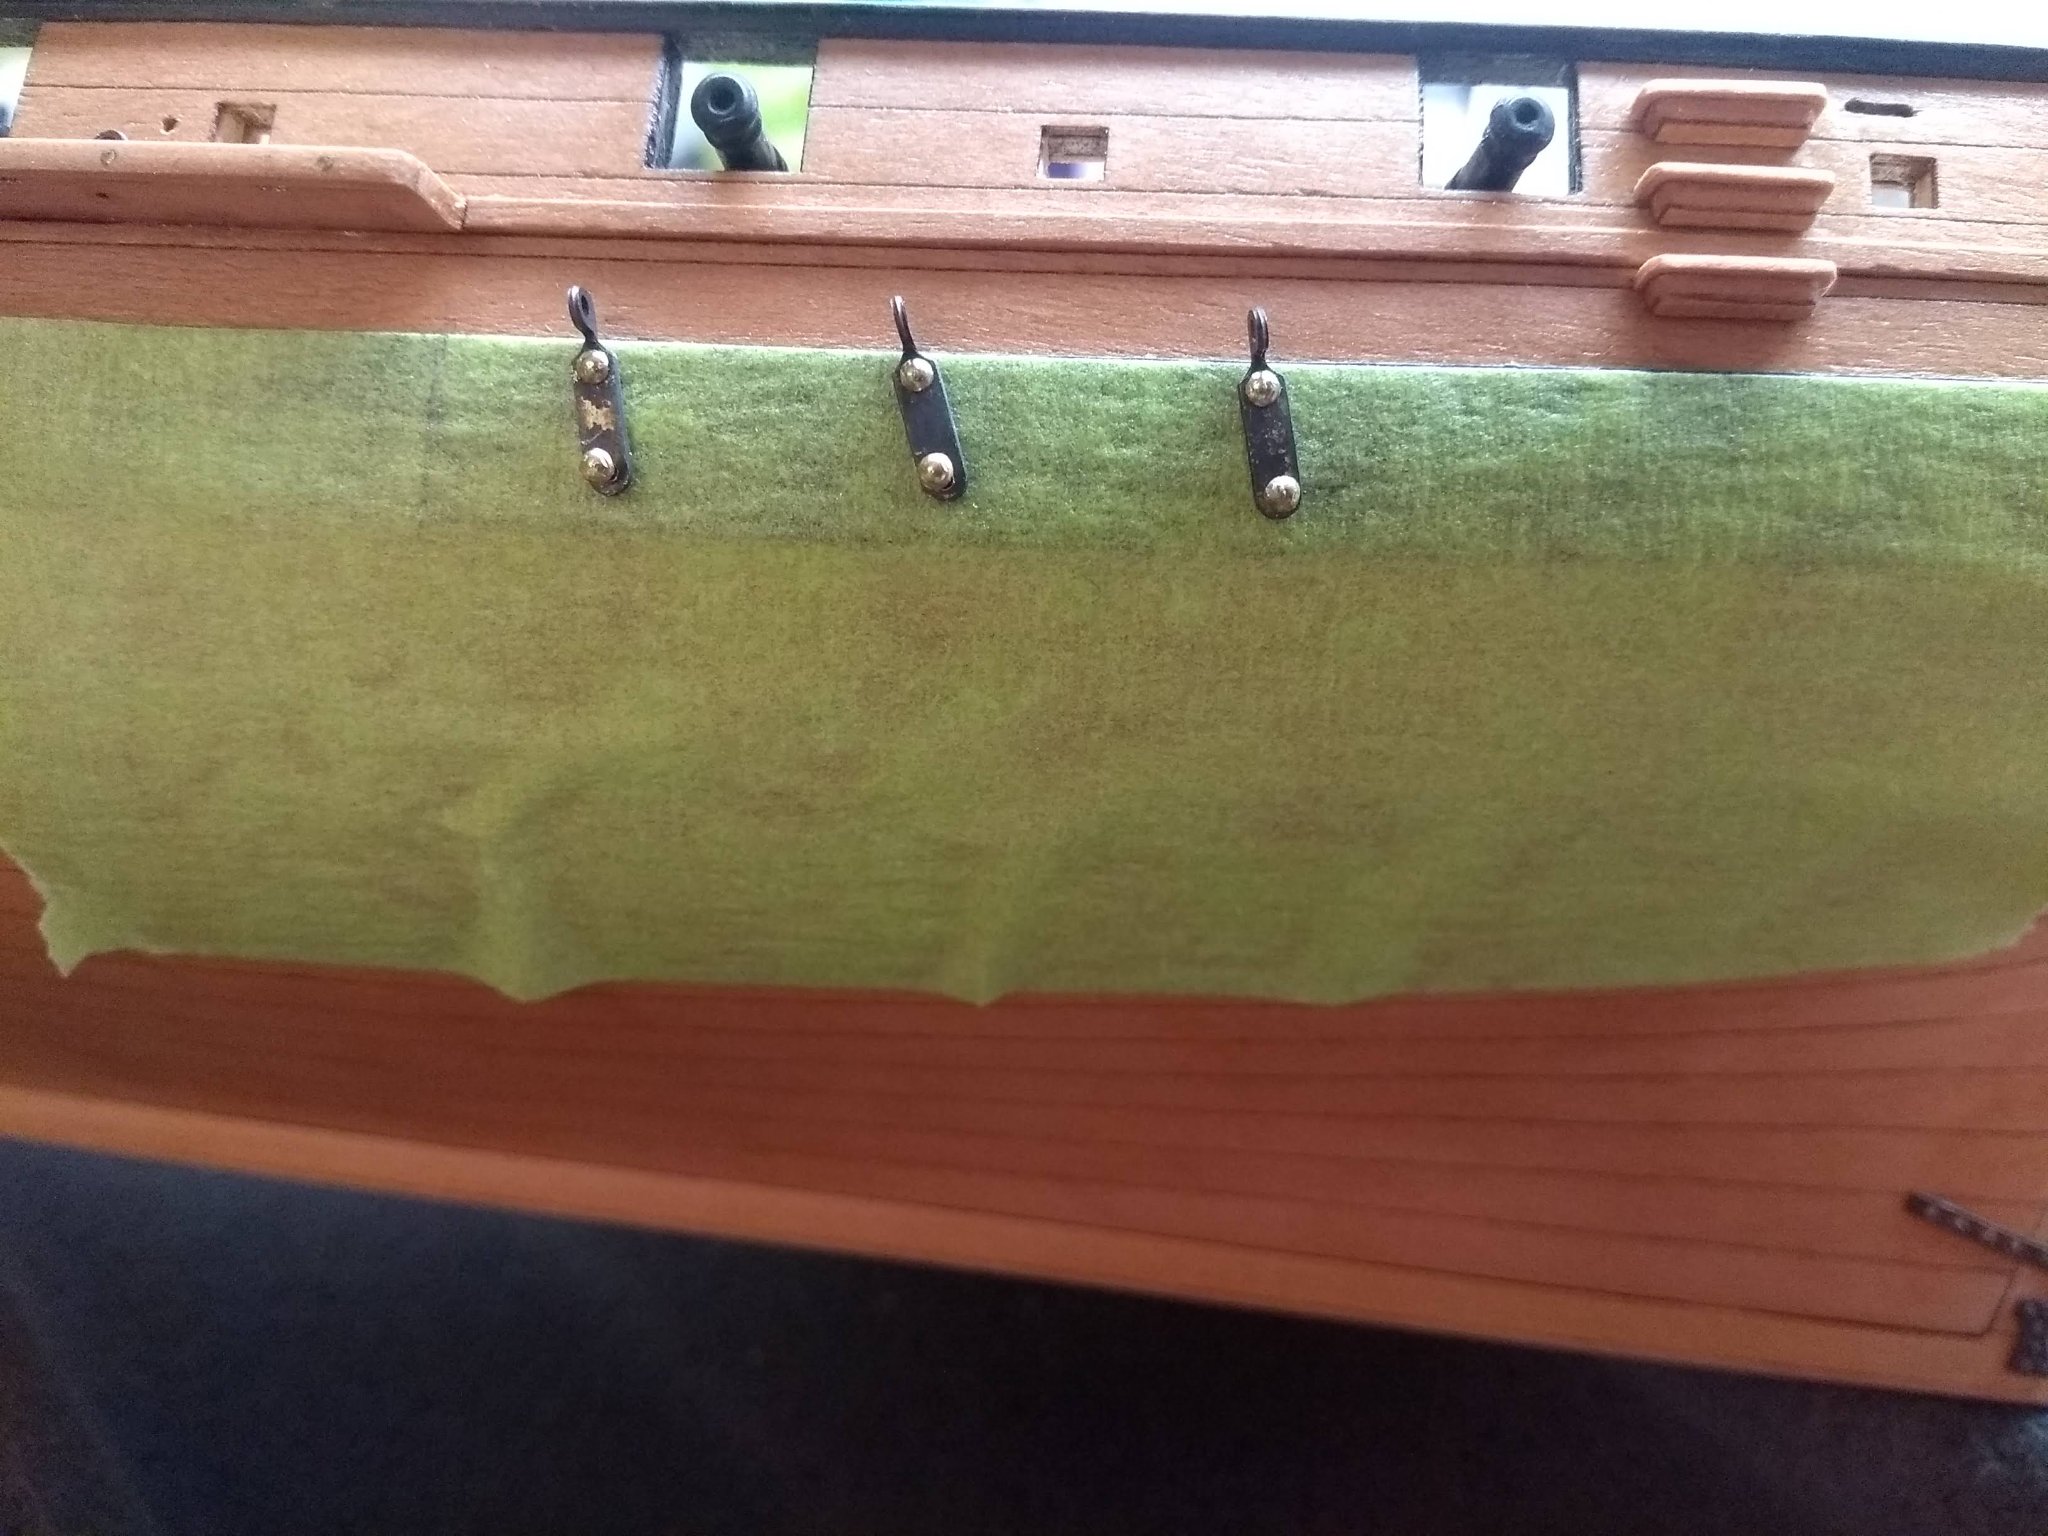
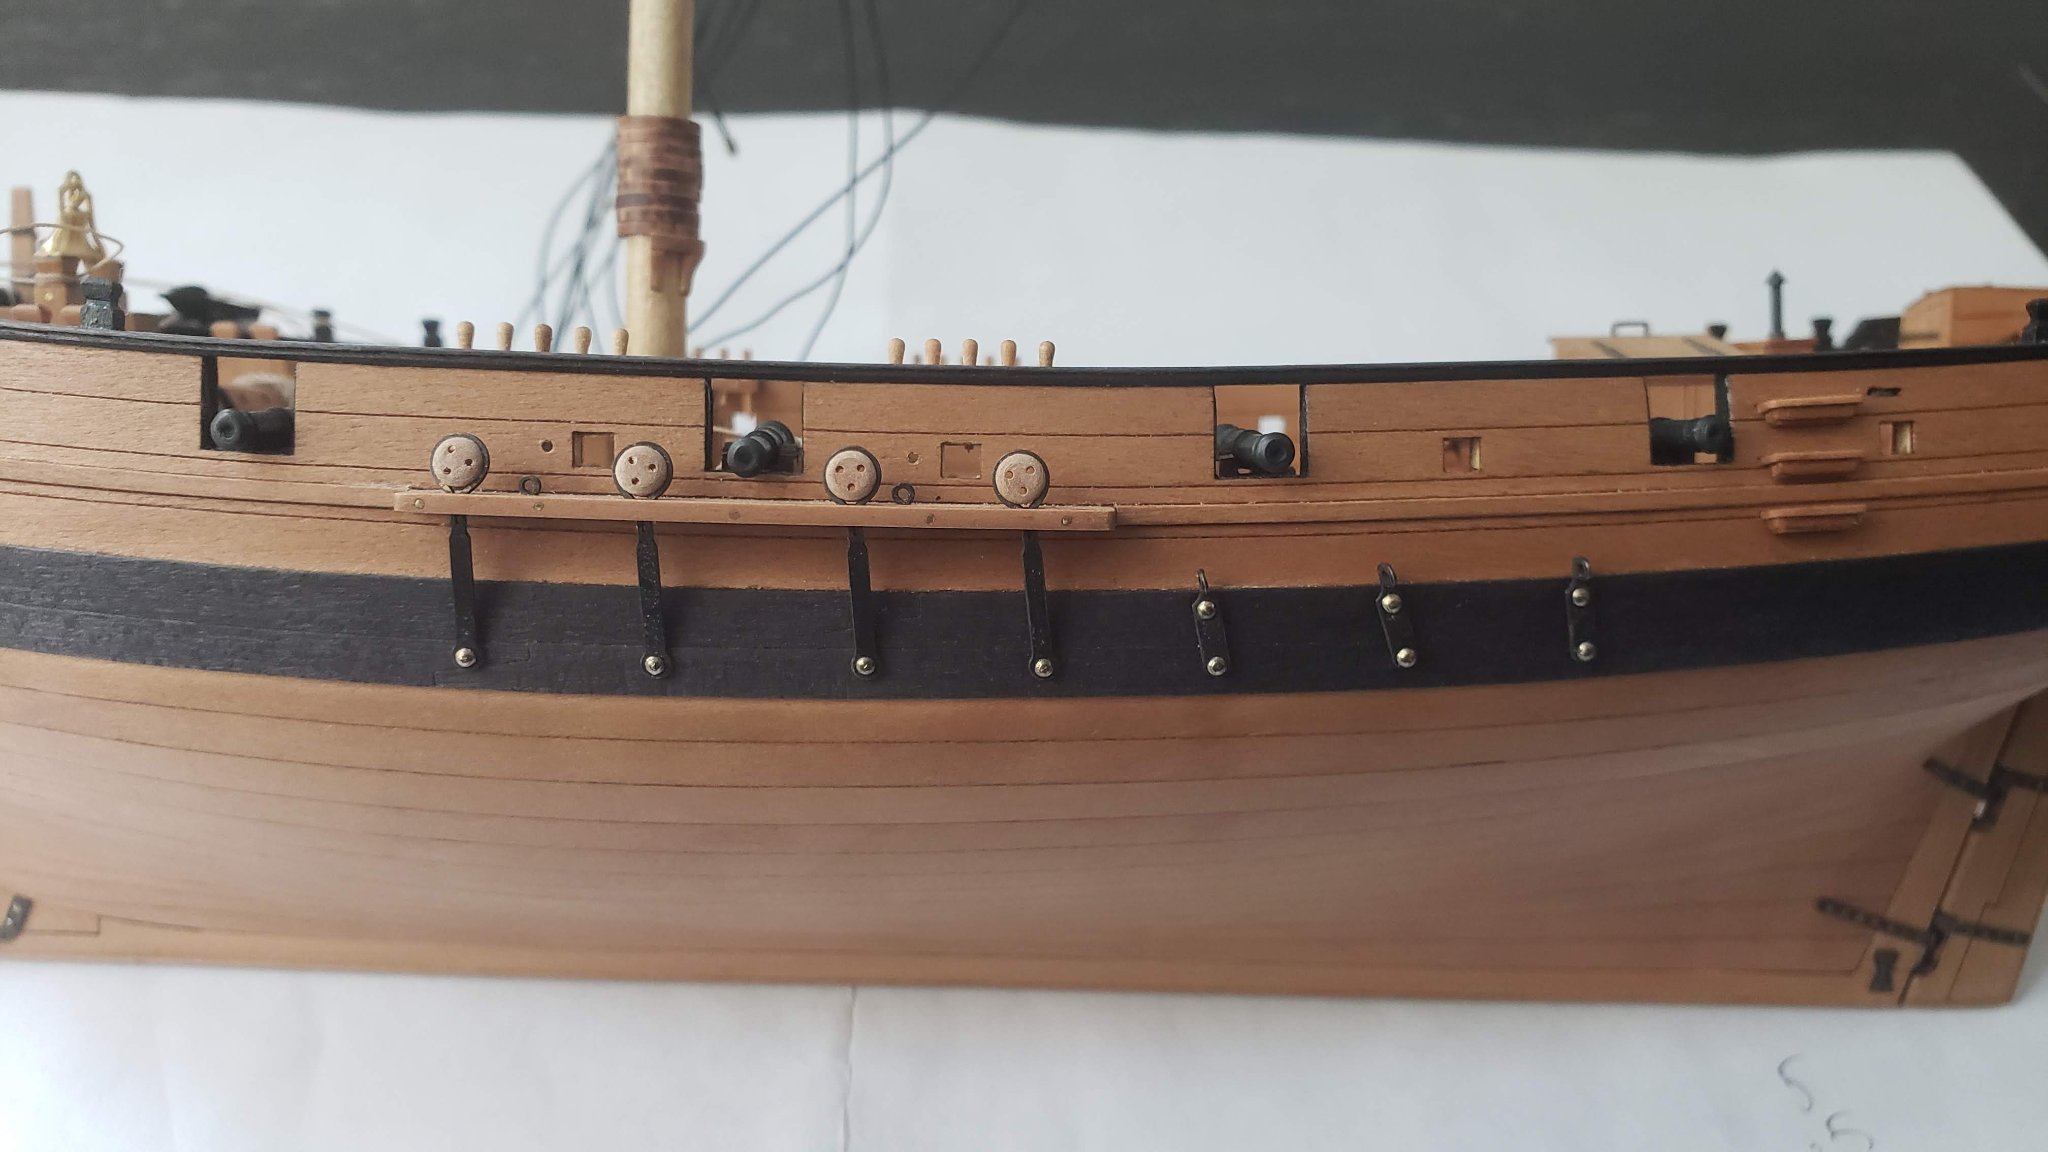
And then established the angles for the chainplates using the actual shrouds (I usually take a lot of time at this stage, because I love perfect symmetry :):

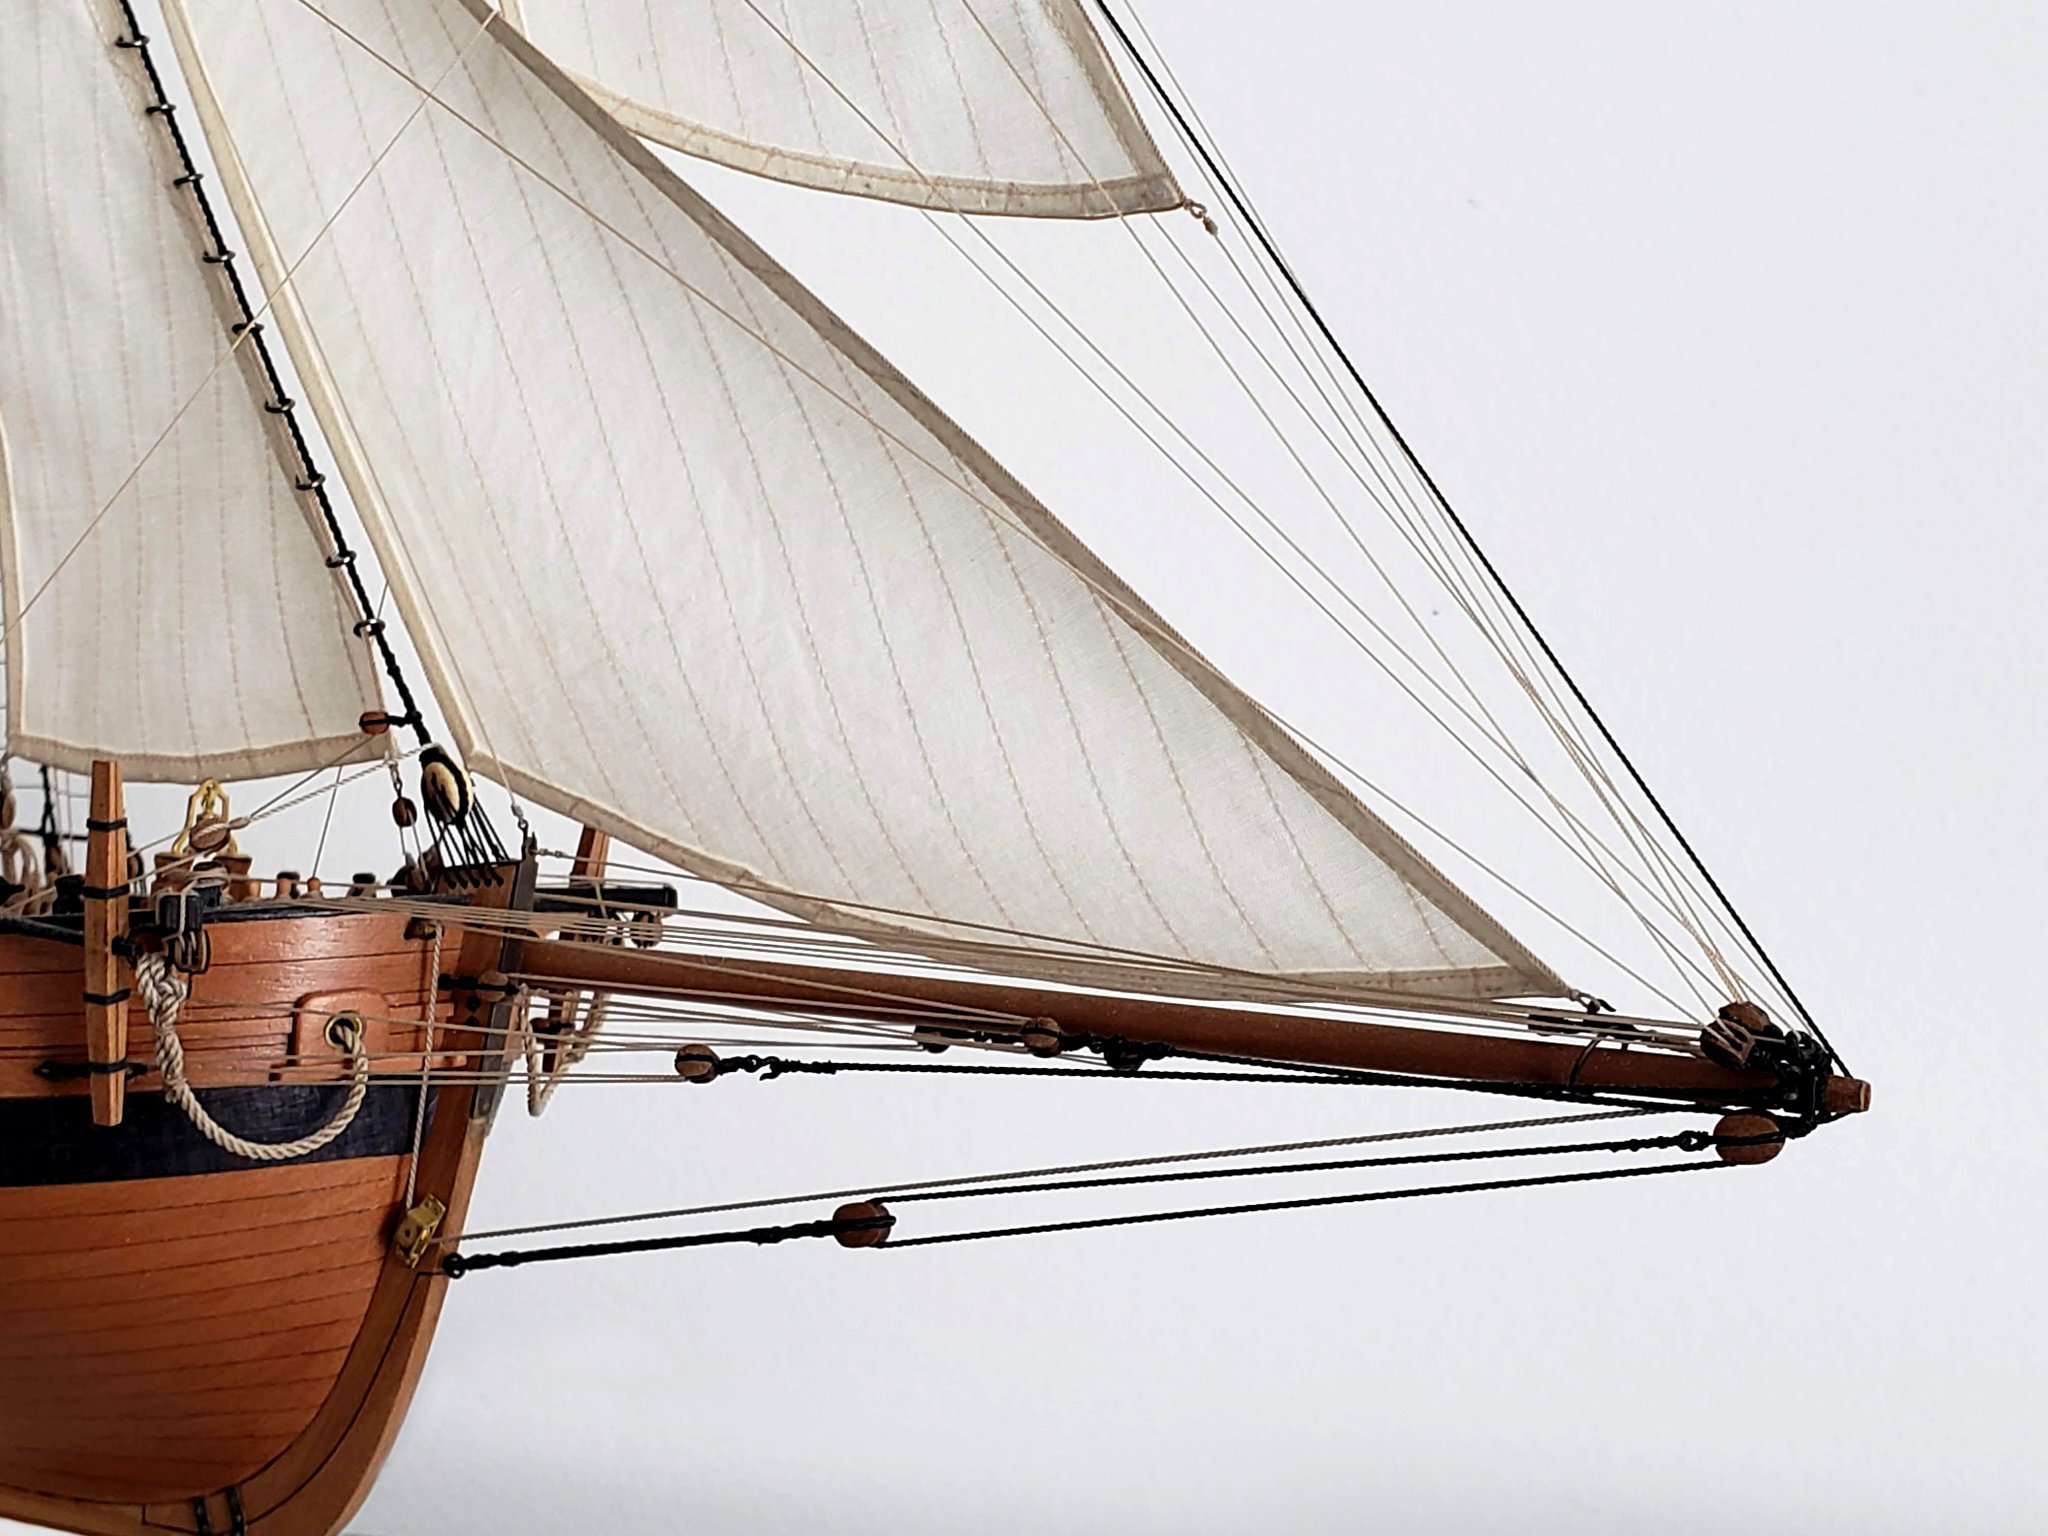
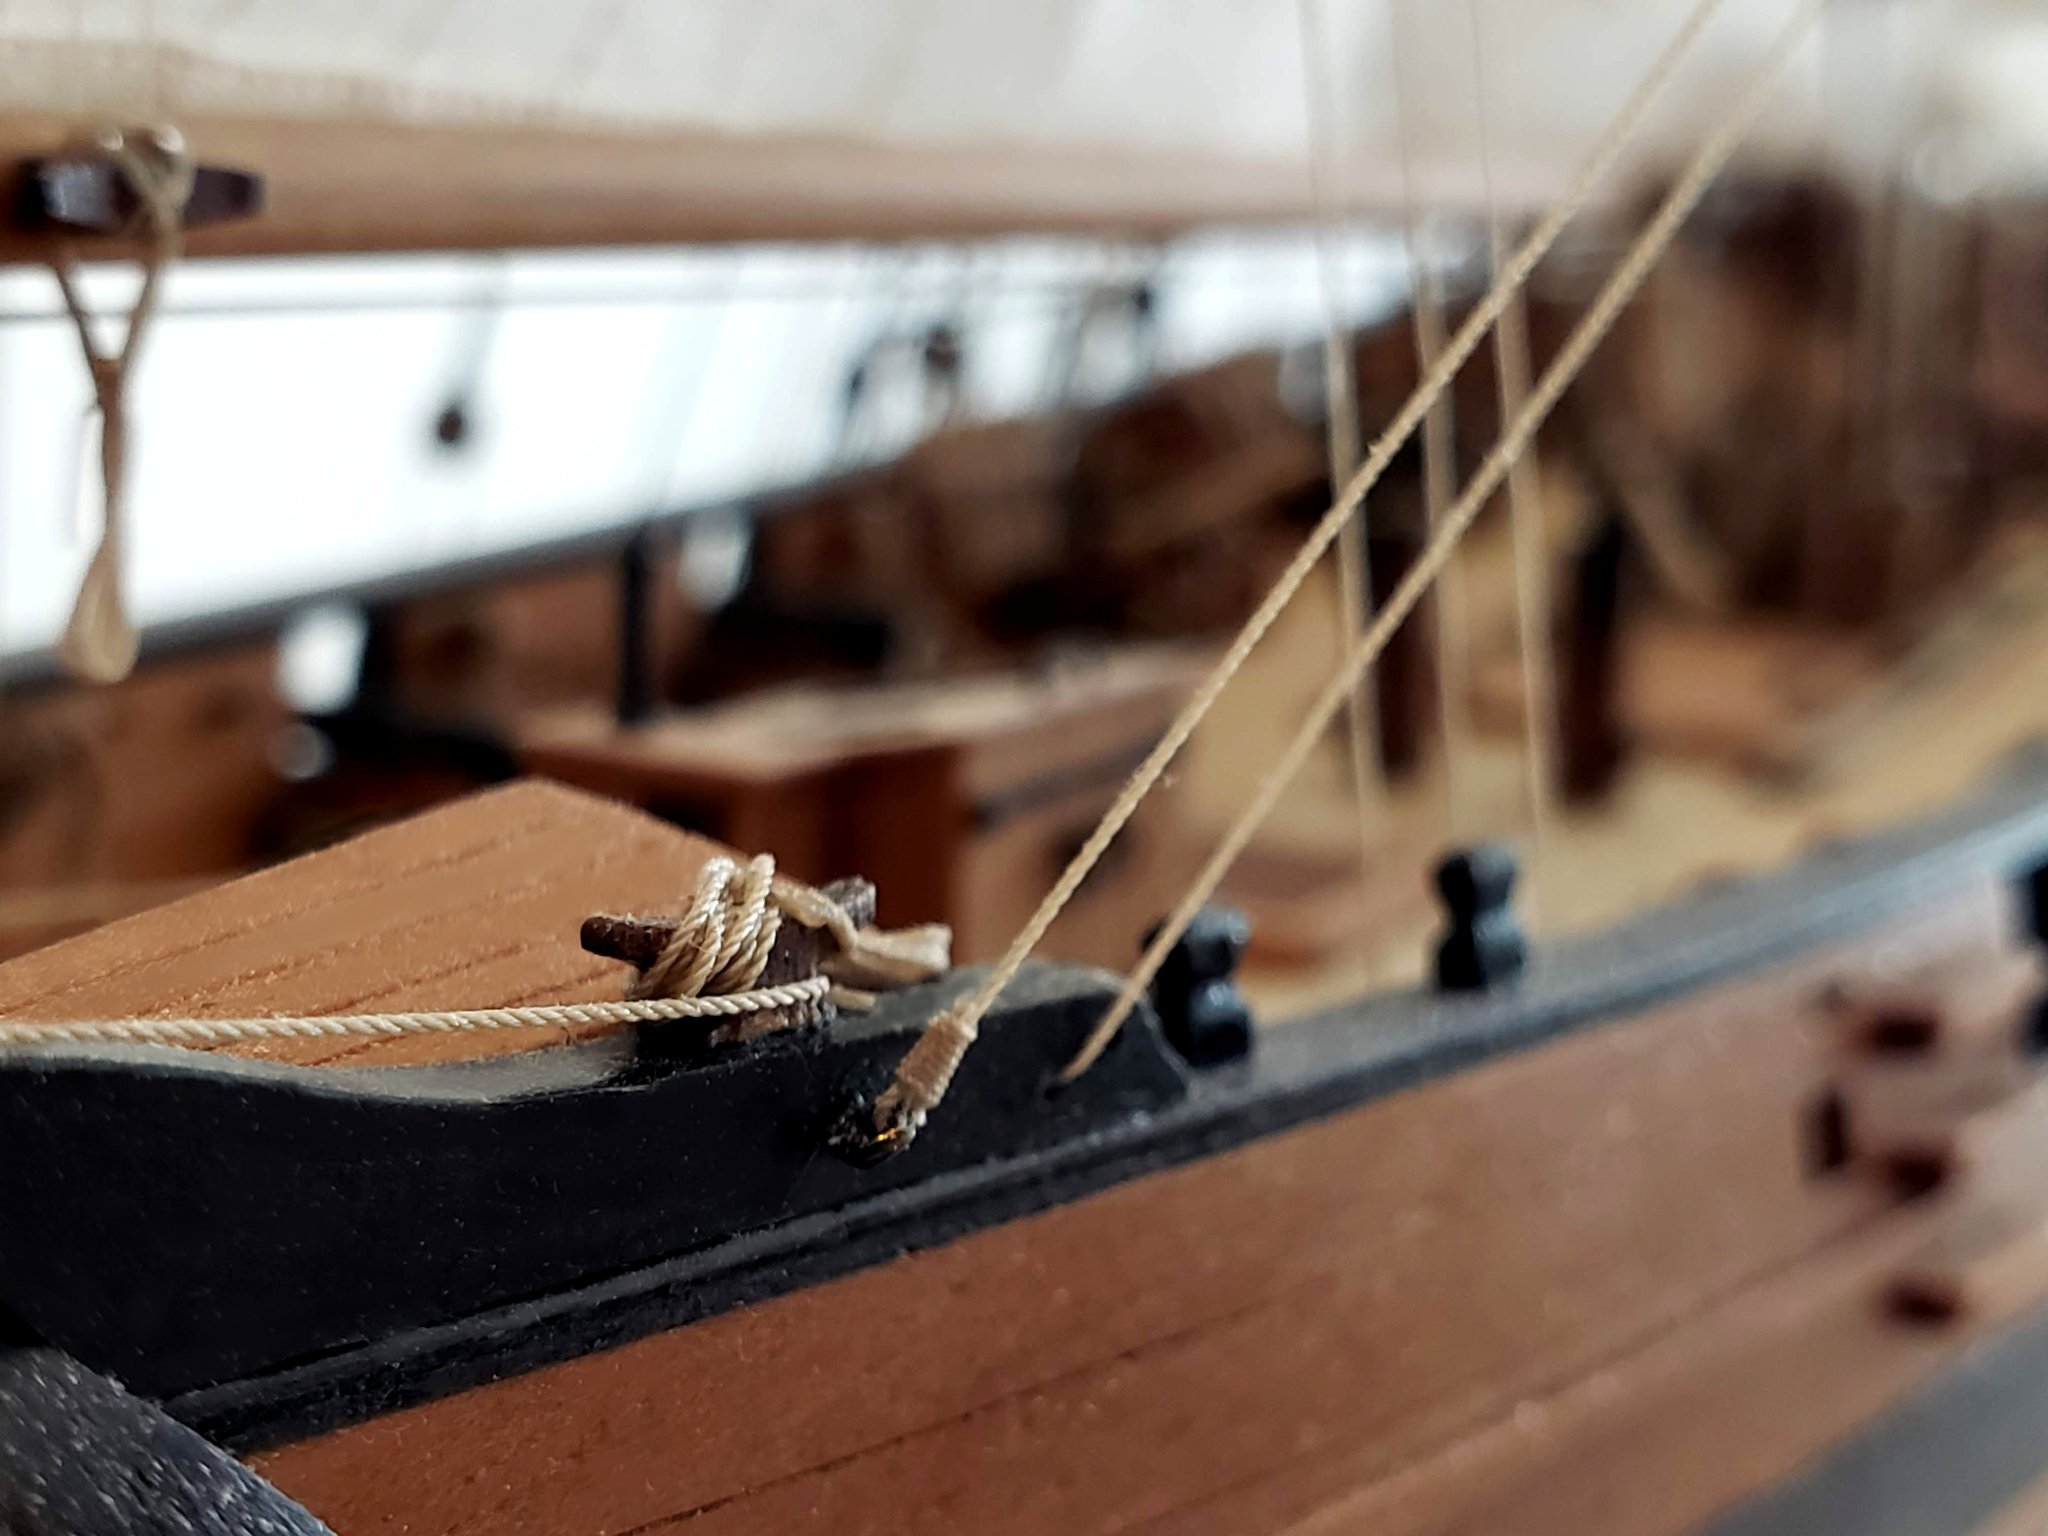
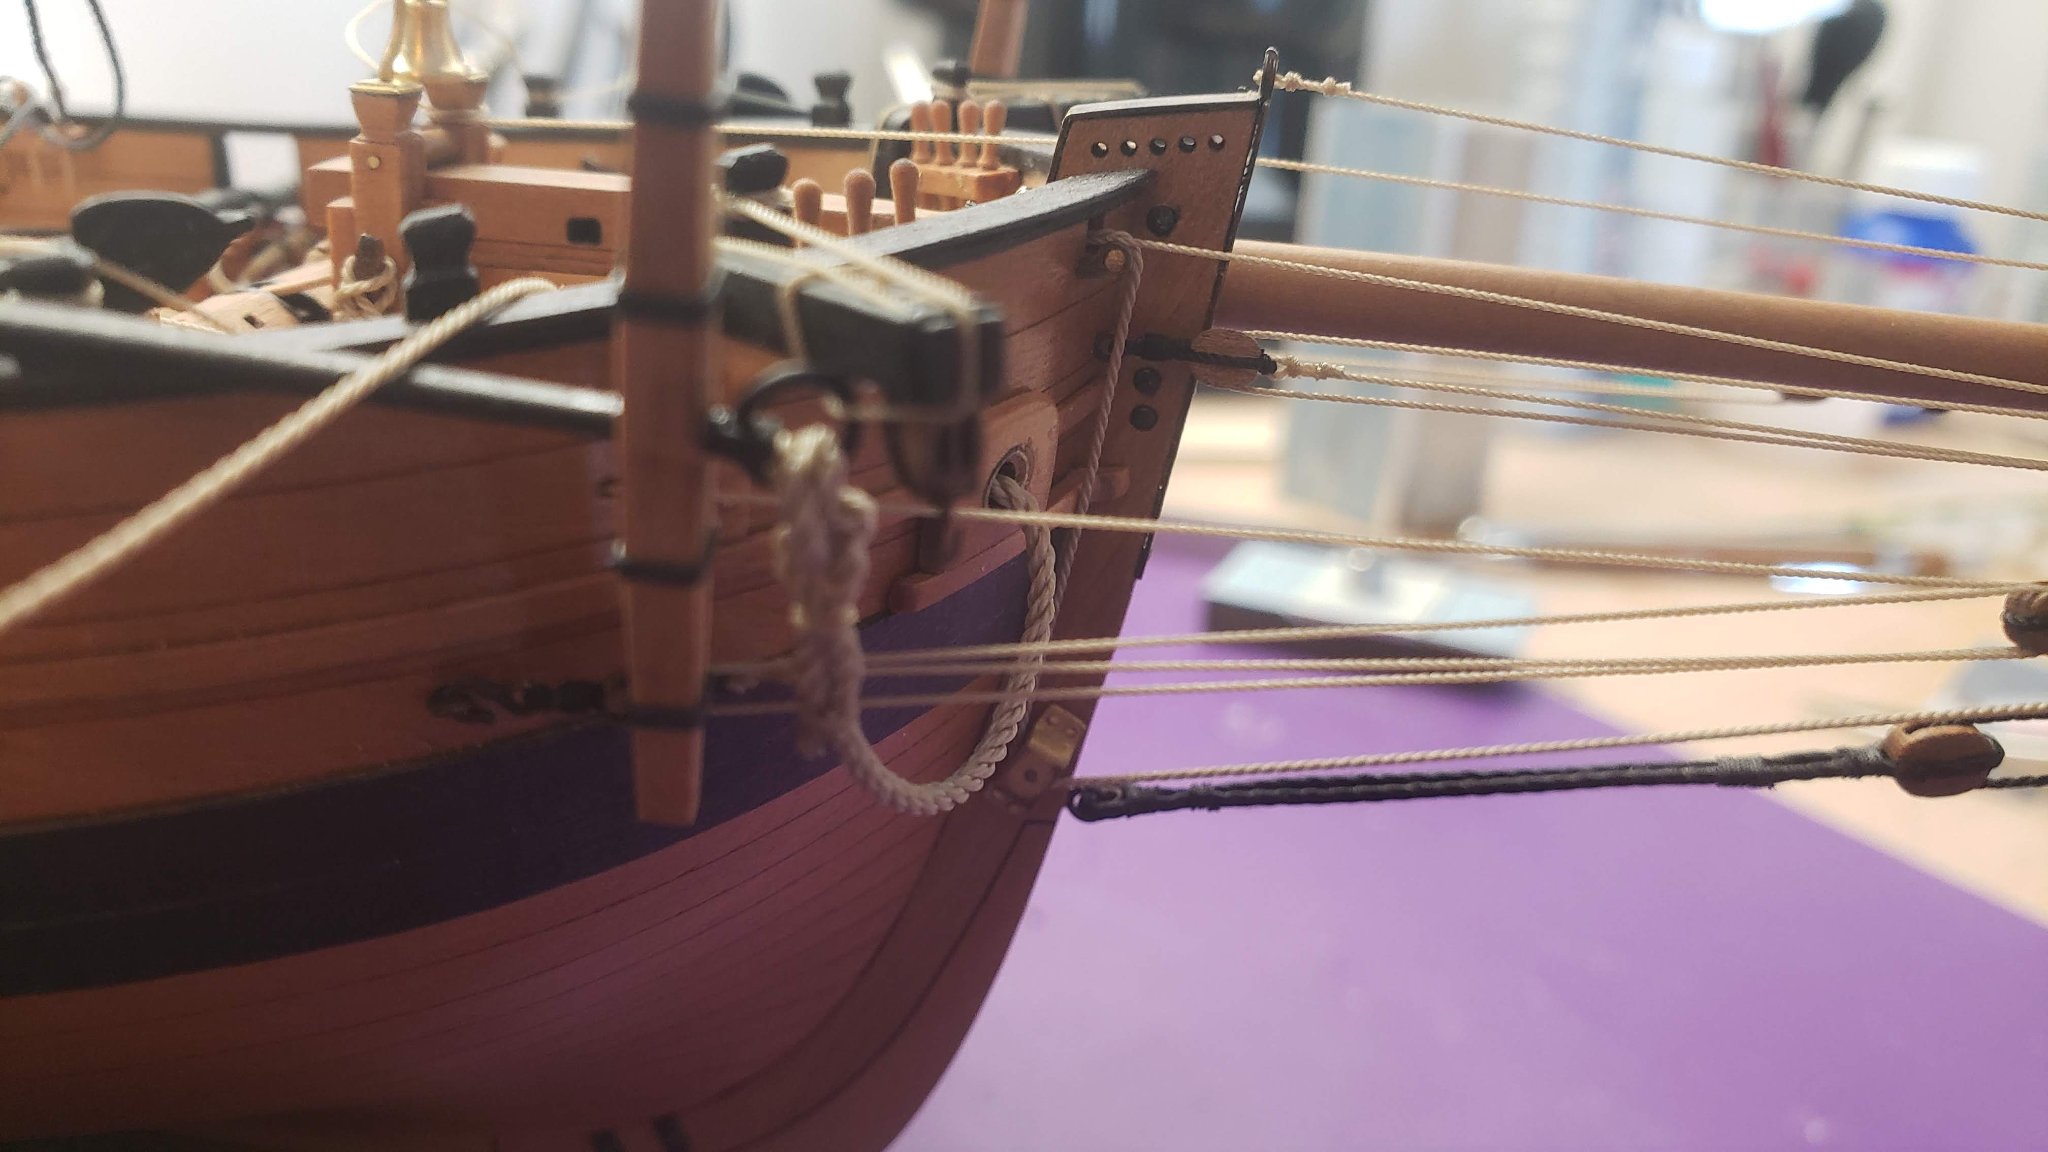
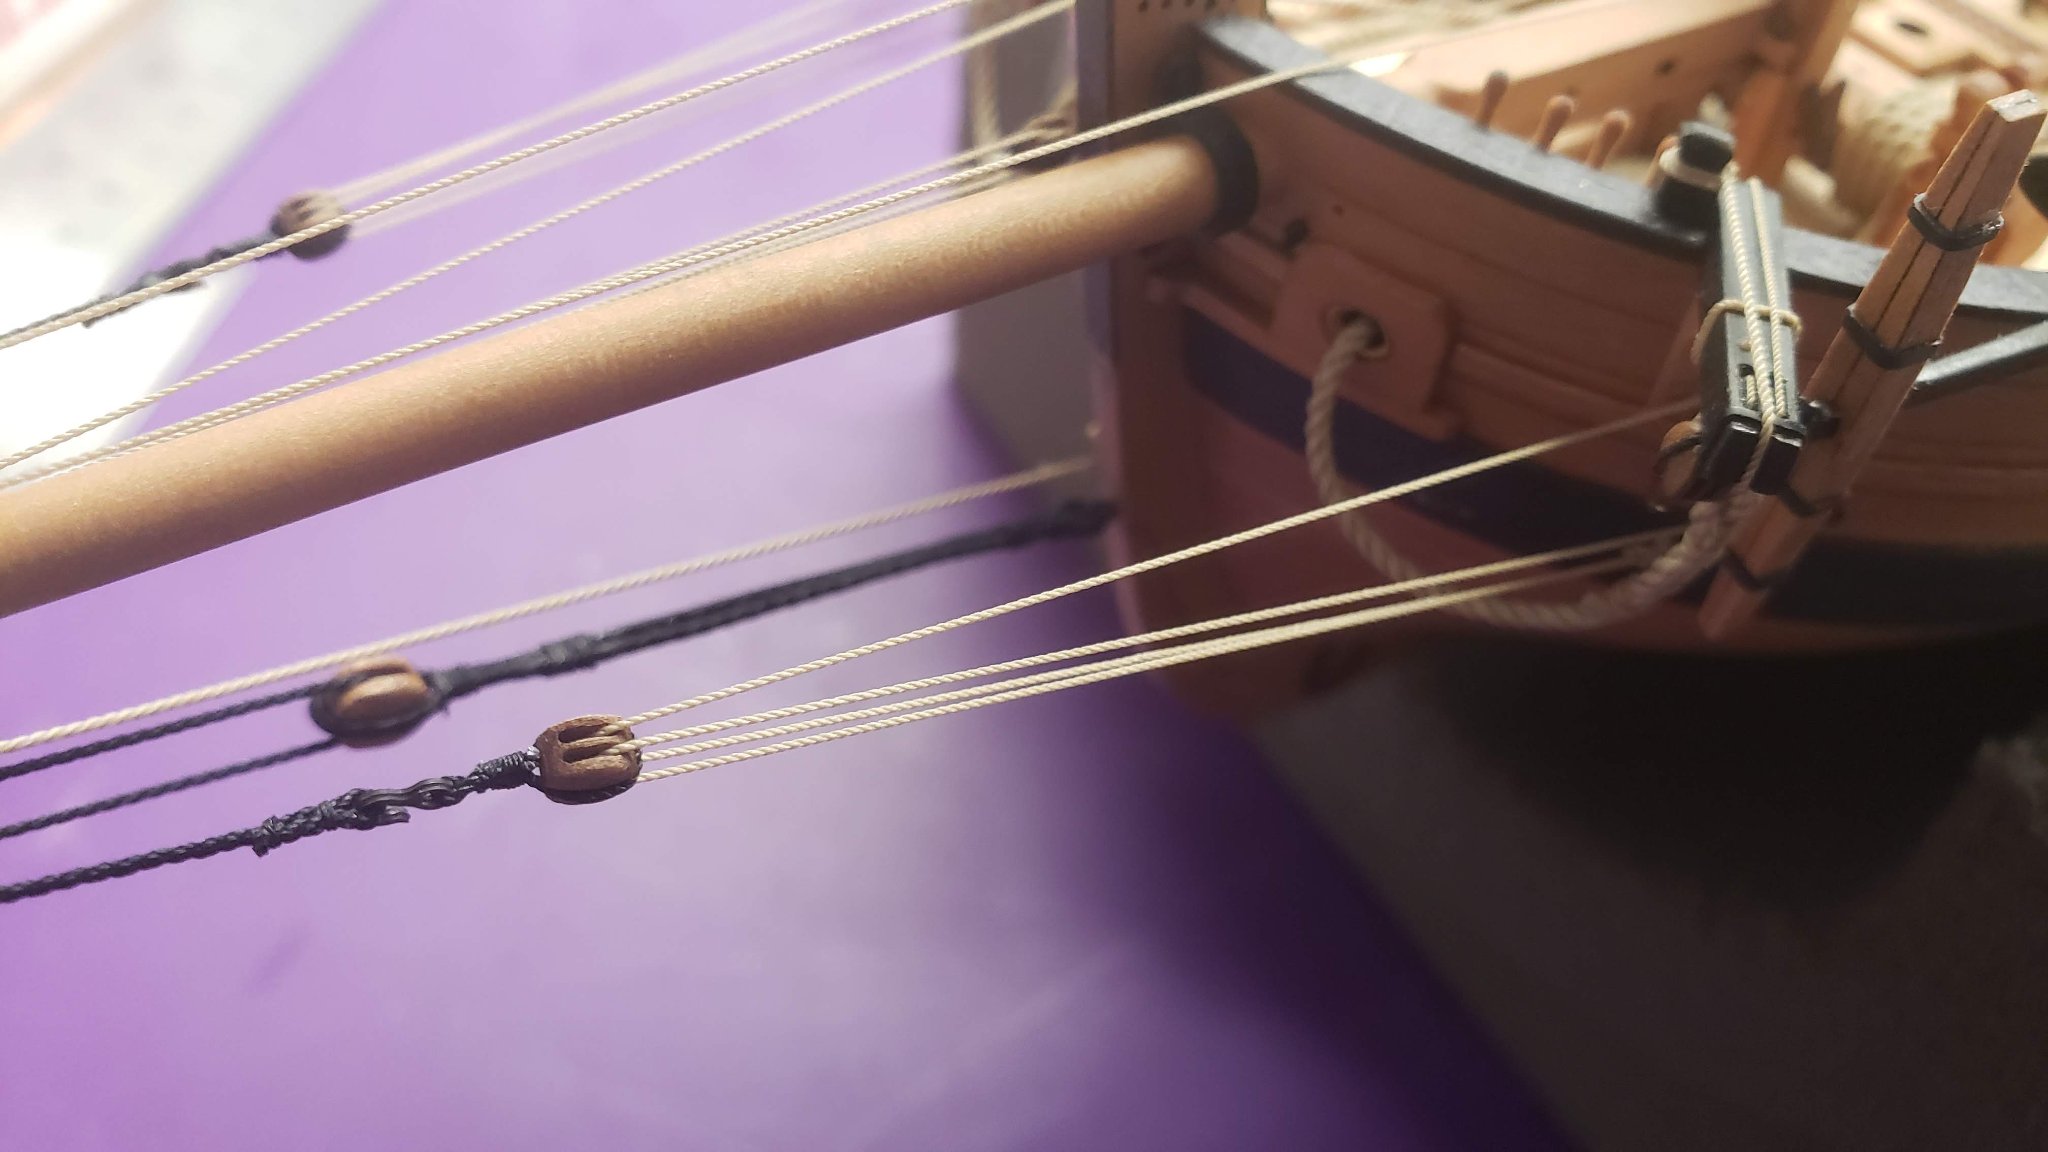
Once this was done, all the tedious work was over! Now the fun part could begin. I could finally start some of the standing rigging. Bobstay:
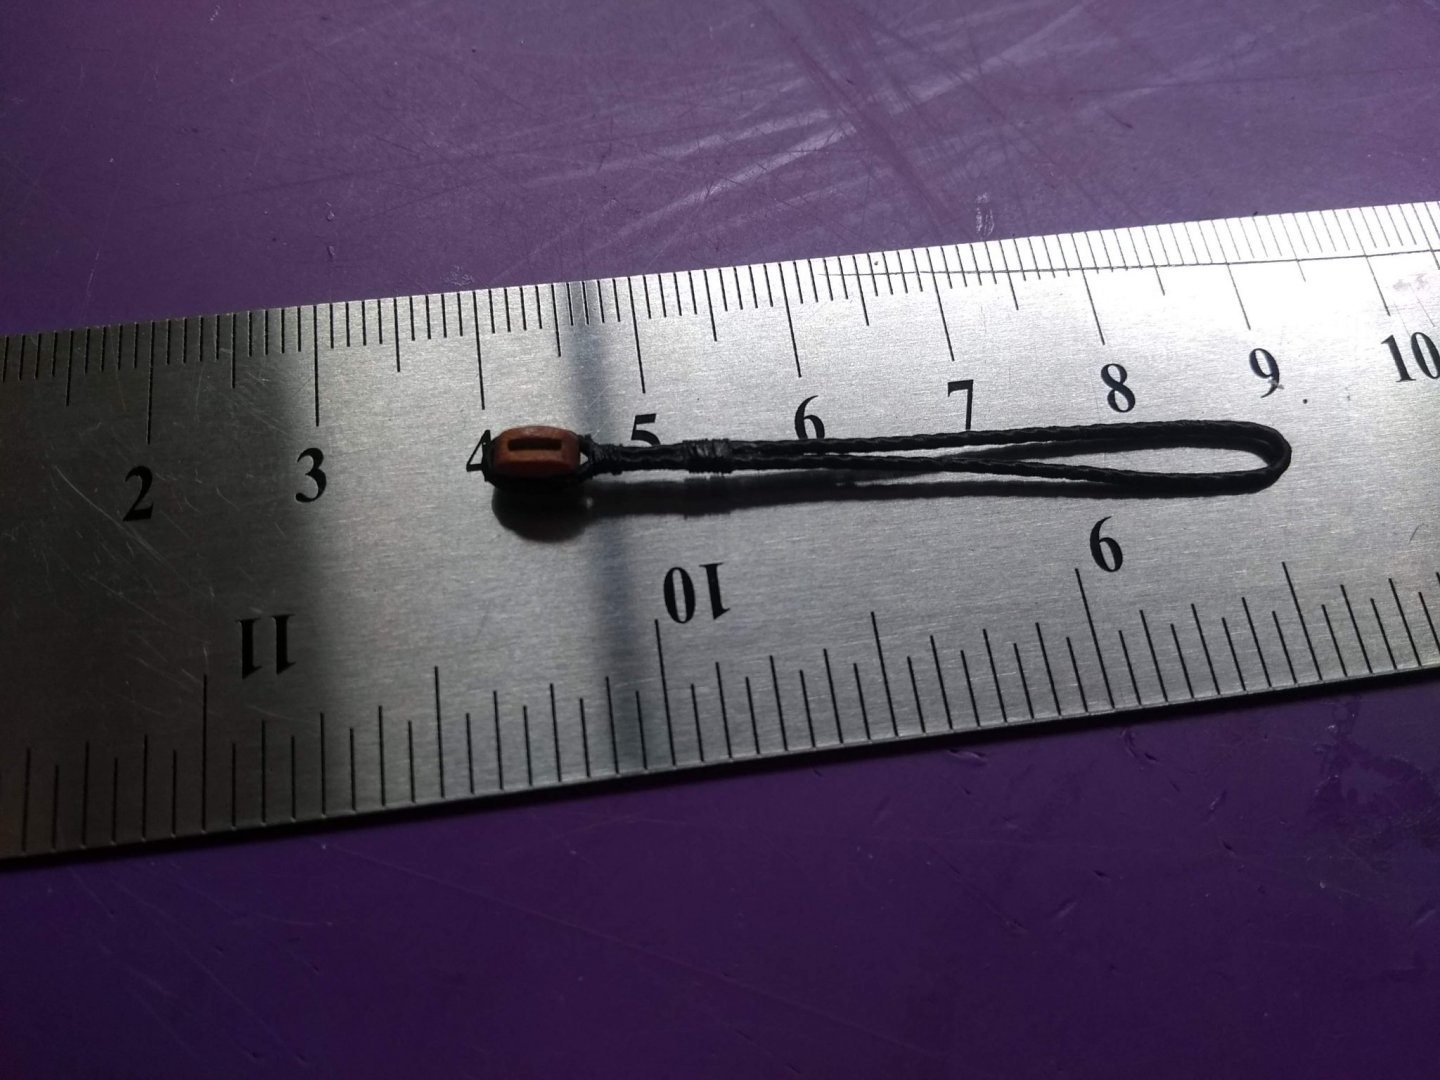
And the bowsprit shrouds... This is what it looks like right now:
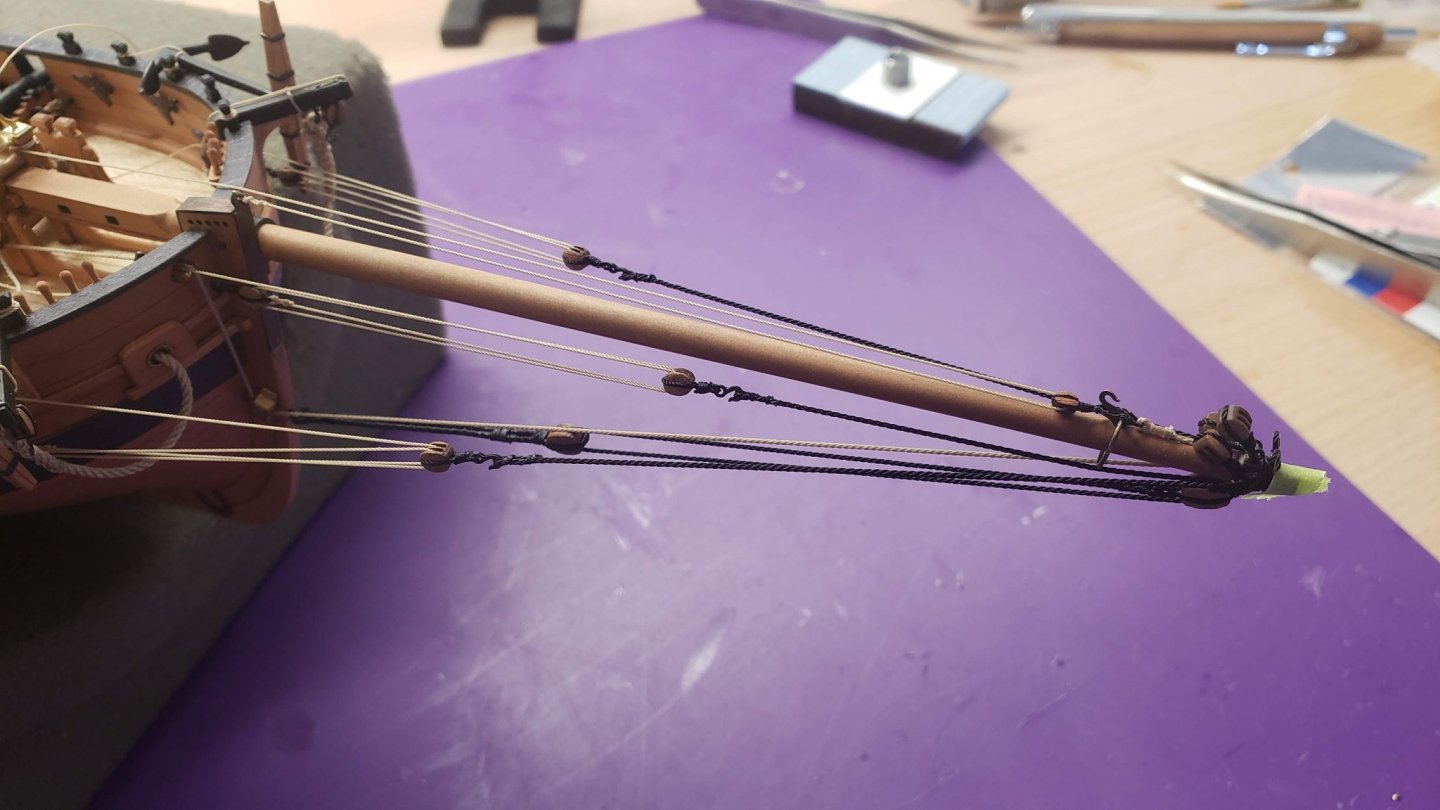


Next I'm going to continue rigging all the spars (I try to install as much rigging with them off the ship as possible)...
- CiscoH, captain_hook, oneslim and 6 others
-
9
-
-
9 hours ago, BenD said:
This looks amazing! I need to get my hands on a Master Korabel kit.
We've got all of them
") If you never built one, let me know and I'll help you choose.
If you never built one, let me know and I'll help you choose.
- Ryland Craze, hollowneck and BenD
-
3


Crafty Sailor Store News
in Traders, Dealers, Buying or Selling anything? - Discuss New Products and Ship Model Goodies here as well!!
Posted
Set sail with savings as we bid adieu! Our store closing sale is underway, offering you 30% off everything storewide until the end of March. Explore our remaining selection of model ship ropes and fittings, each at an unbeatable discount. Whether you're a seasoned sailor or a budding enthusiast, now is the time to stock up on essentials for your next maritime masterpiece. Don't miss out on this final chance to secure top-quality products at incredible prices. Anchor your savings before we sail into the sunset!
The discount is applied automatically at the checkout. As always, all orders of $150 or more are shipped for free to the US or Canada!
Blocks
Pins, Hooks & Eyebolts
Deadeyes
Cleats
Deck Fittings
Misc