


mtdoramike
-
Posts
2,089 -
Joined
-
Last visited
Content Type
Profiles
Forums
Gallery
Events
Posts posted by mtdoramike
-
-
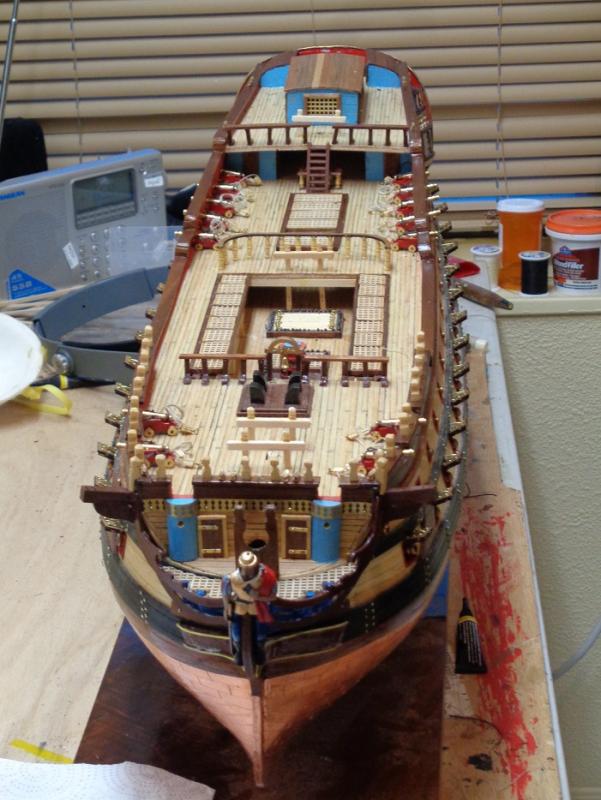
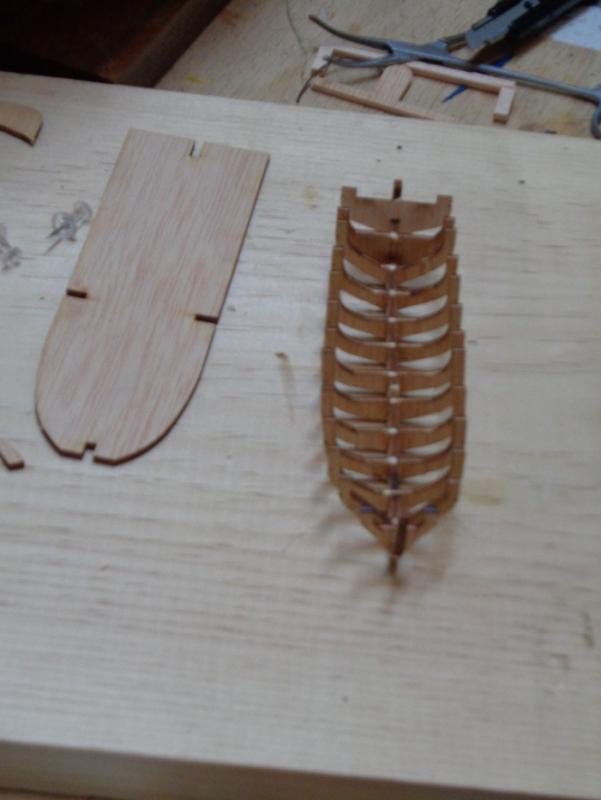
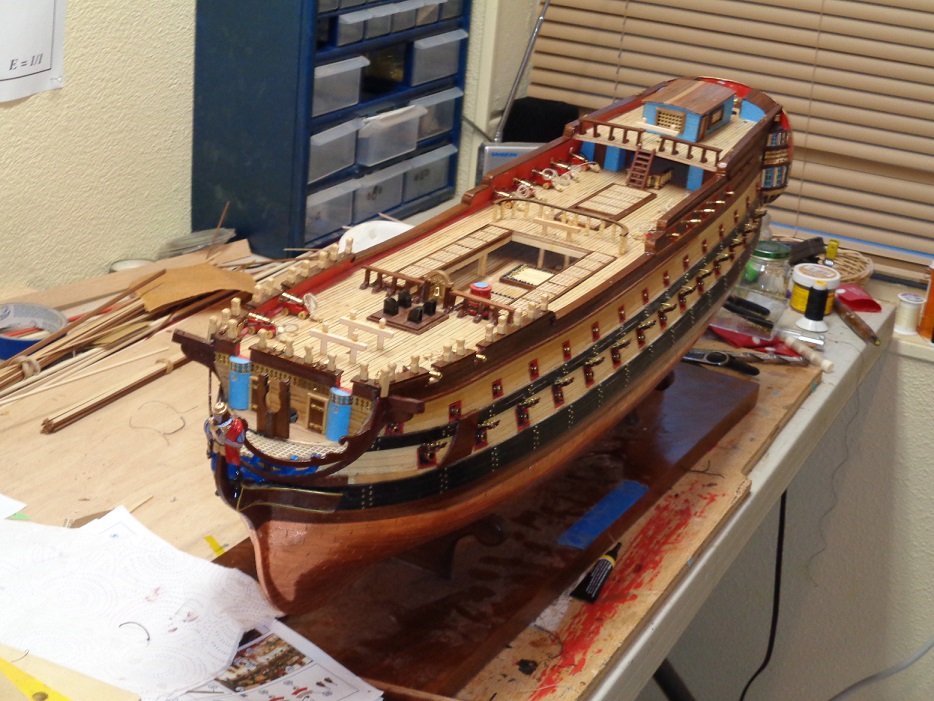
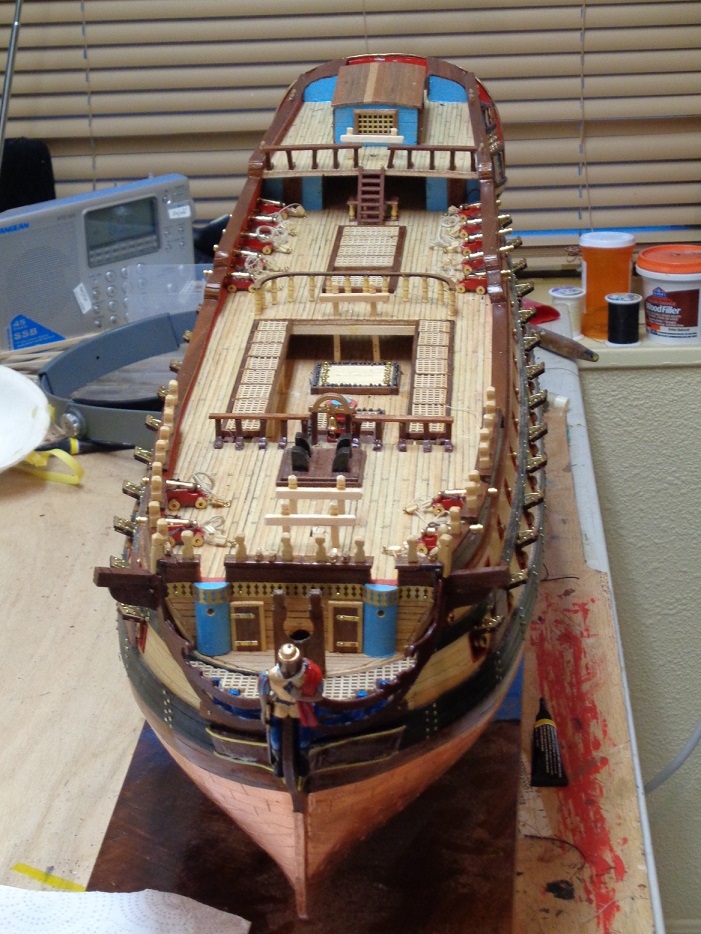
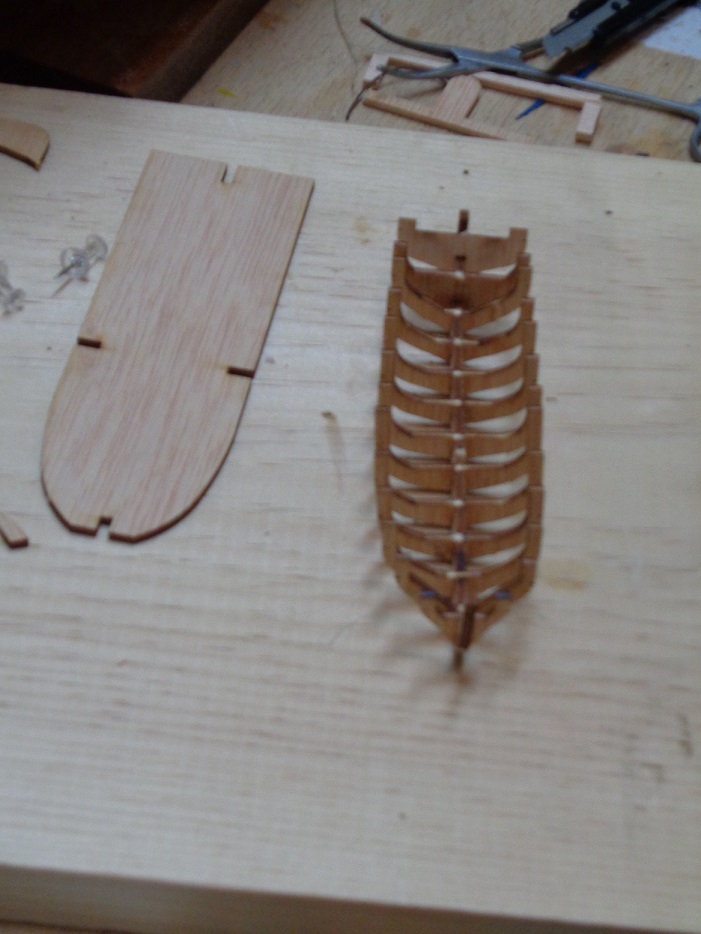
Got the cannon lashed down and started framing the life boat.

- toms10, CDW, marktiedens and 1 other
-
 4
4
-
Hi Paul, started prepping for model build, numbering parts etc, getting more toys and tools. How the hell you got to the standard of build with the crappy plans I will never know. All I can say is well done. Thinking of painting mine to the new colours (apparent original 1805 colours). Waiting for RN Museum to tell me the actual colours though.
Are you referring to the plans or the instructions, Constructo plans are quite detailed and really leave very little to doubt if you have any experience building model ships. But the instructions are a whole other deal being hard to translate even when they are supposed to be in english. If you need further help, I would suggest the Anatomy of the Ship HMS Victory, which gives very detailed information about the ship as well as several plan views. I found the book quite helpful especially when rigging the Bow sprit.
mike
-
-
Ooooooo, this is going to be interesting, popcorn check, soda pop check, chasie lounge chair check, enthusiasm check

mike
- mtaylor, WackoWolf, Old Collingwood and 2 others
-
5
-
-
Beautiful work on her.
mike
-
-
-
-
-
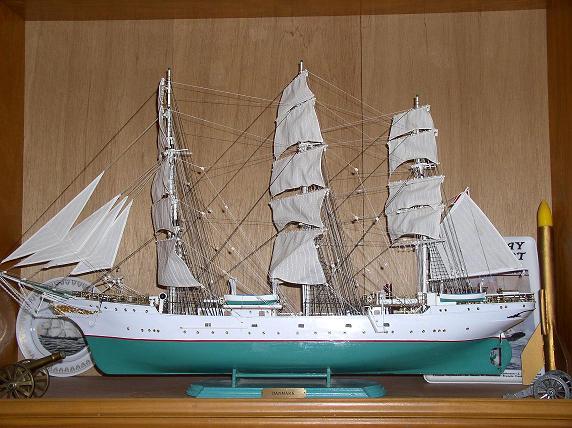
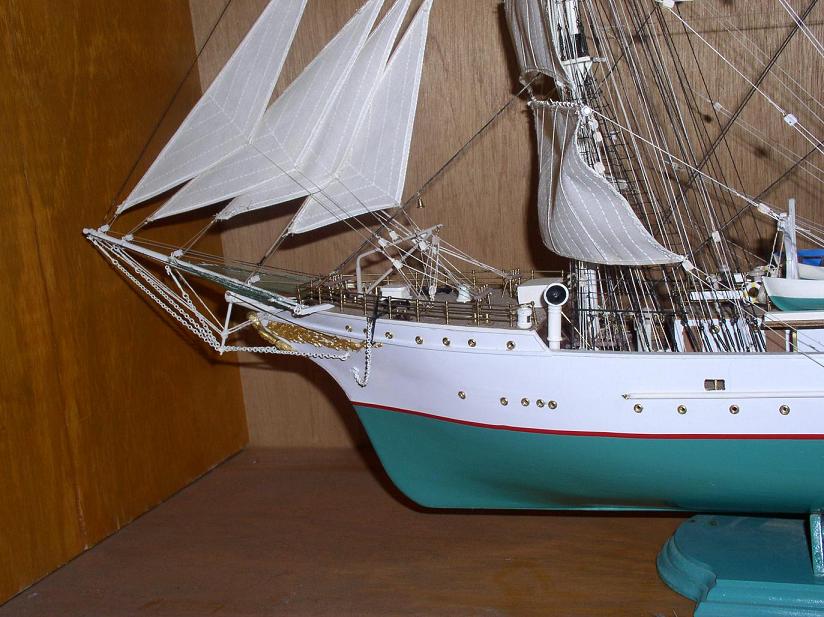
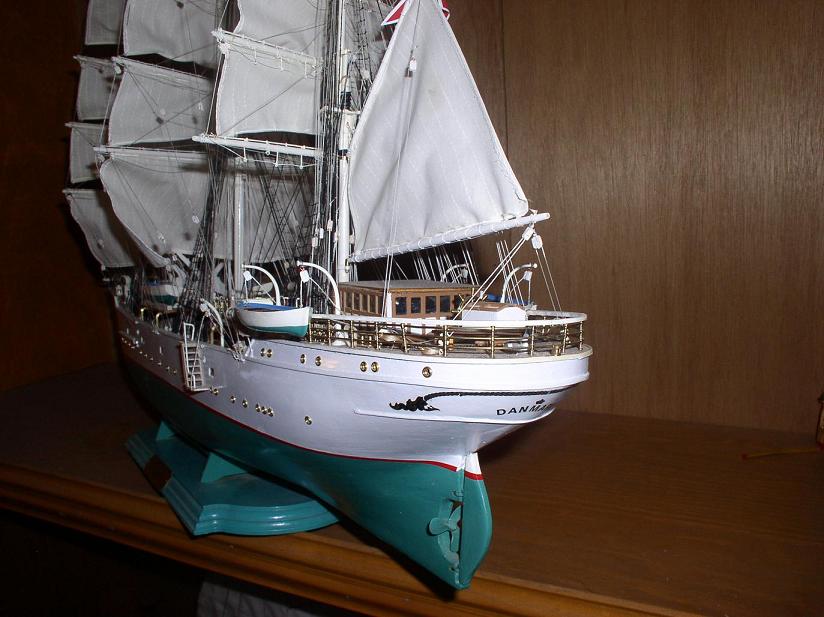
I built the Danmark by Billings and what a magnificent model. Oil based paints tend to yellow much quicker than water based paints. I actually used a slightly thinned down white semi gloss house paint, which has chemicals in it to help from yellowing. I built this model about 15 years ago and sold it a few years ago to a west india shipping company based in Fort Lauderdale Florida and the white was a bright a white as the day I painted it. But it also helps to have it in a display case.
If I were you, I would if possible put some paint stripper on the hull and take off the paint and start over, if not possible I would at the very least sand down as much of the paint as you can, put on a nice primer and then a coat of paint. I loved building the Danmark, what a fittings package it had and a real beauty. One of the few models that I regret selling, because it was a show stopper. I bought some 24kt gold leaf and covered quite a few parts with the gold leaf. I was my first time using gold leaf and was quite an experience that was well worth the effort.
mike
-
Mike,
Did I understand correctly that you would like a set of plans for the Sea Witch? If so, I have two, and I would be willing to send one set to you. I have two kits of this ship, one with the old balso hull and one with a pine hull. The plans are identical. Please let me know.
Bill
Thanks for the offer Bill, but no, I built this model years ago and thought I had kept the plans, but I must have thrown them away when I finished it.
mike
-
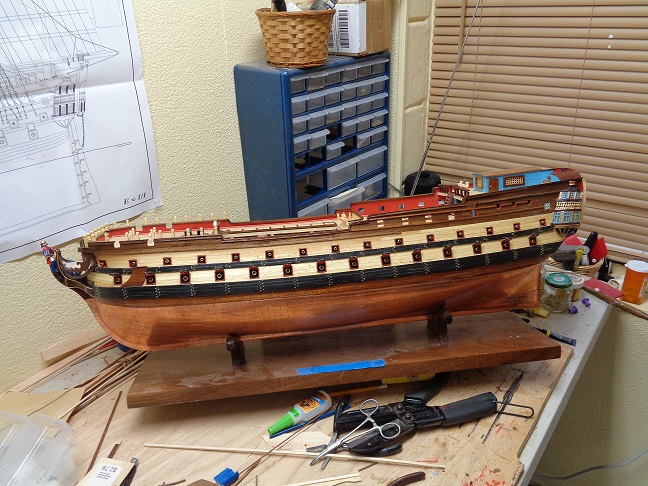
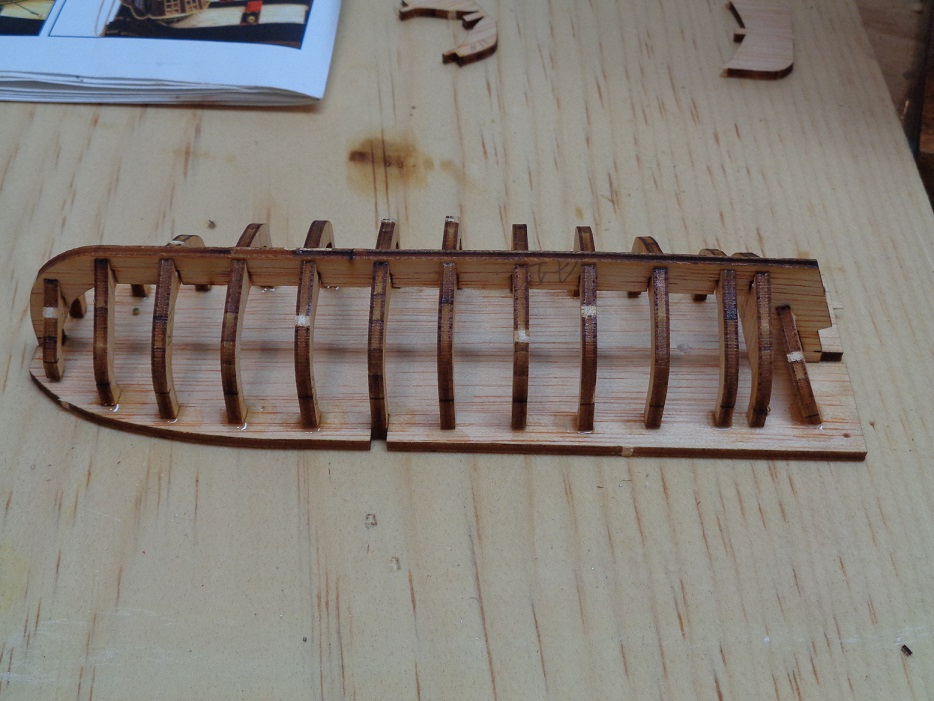
Now this looks a lot better than it did.
mike
- marktiedens, fnick, toms10 and 1 other
-
4
-
-
Why would you want to substitute another wood for the Sapele? This is a beautiful wood when finished with a natural finish like clear satin poly. It's not a cheap wood either. I can see the deck wood maybe being replaced but not the Sapele. Now if this was a Model Shipways kit or one of those others that don't supply such an exotic wood I could understand it.
mike
- Canute, rdestefano01 and mtaylor
-
3
-
Yep and turn that $300.00 worth of wood into $800.00 by the time you add the cost of the Byrnes Table saw. They are great saws no doubt about it, but they also ain't no $130.00 either. The only way I could see that kind of investment, I would have to be like 20 years younger and with the intent on scratch building several models. But that is me.
Now, I have seen the Microlux mini table saw from Micromark in use and it's great on stock of 1/4 inch hard wood like black walnut and it's cost is a tad less than $200.00. If I were going to buy a mini table saw to scratch build one or two ship models, I would opt for the Microlux.
Lastly, if you don't mind ordering from China, you can usually find milled planking strips on ebay from China sources relatively inexpensive in various woods. I have bought bulk strips this way in the past and have been happy with what I have received. Some strips only requiring only minor sanding on a few edges. But all in all very workable. It took about 3 weeks to get by way of the cheapest shipping I could get, but it was worth it in the end.
mike
http://www.micromark.com/microlux-mini-tilt-arbor-table-saw-for-benchtop-hobby-use,7500.html
My mistake, they have went up a bit since my buddy bought his a couple of years ago, they are now $299.00, but still quite a bit cheaper than the Byrnes and in my opinion as close as you can come to it without biting the bullet and buying a Byrnes.
-
Absolutely beautiful. Your build is giving me the itch to build this model.

mike
- mtaylor and Mike Dowling
-
2
-
Yeah, I figured before reading your post that the saw was better than 20 years old because they stopped making them some time ago. I've been looking for one myself, but can't find one any where. A friend of mine had one and loved it, ut again, he made mods to it to make it acceptable to what he was doing with it.
mike
-
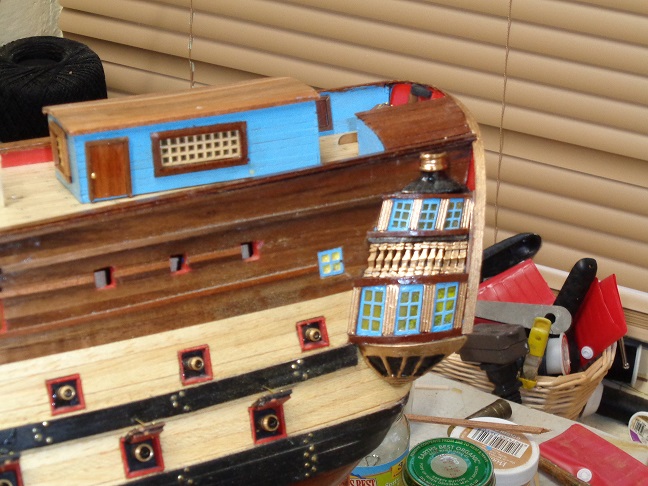
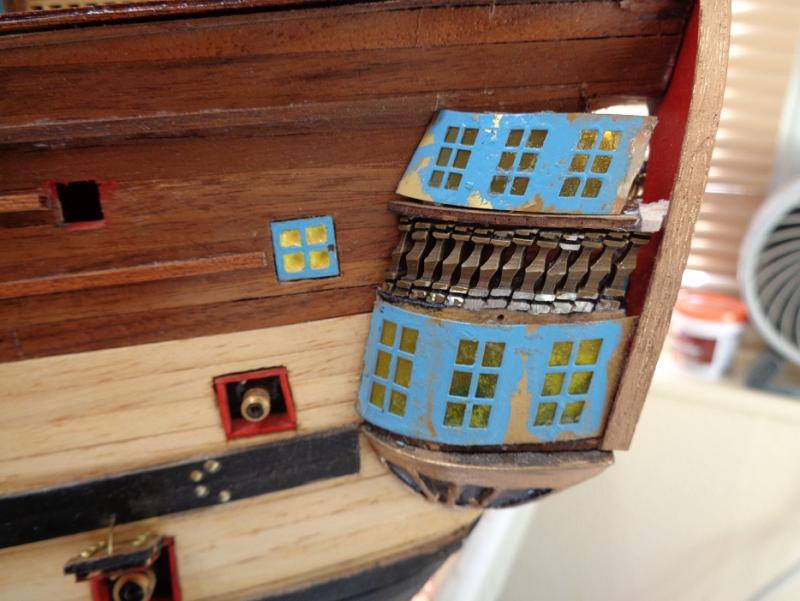
Well I have been working on the side windows after a much needed break. But I have run into a snag. There seems to be too much space between the top side windows towards the stern plate. I added a small piece of white wood to the wood piece that the top windows fit into, But that isn't going to solve the problem. I will have to remove the metal rails, move them in with more of a tilt I think. I will have to play around with this a bit to see what I can come up with.
mike
-
-
-
I'm not bashing caldercraft for the pre-made sides. I'm sure some folks find them very helpful, but I don't. I prefer to make my own out of planking because of the few models that I have built with the pre-made sides just seemed to need too much tweaking and fillers to suit me. The good points of the pre-made sides are the gun ports are pre-cut and most of the time positioned properly. Then all you have to do on the second layer of planking of cutting out the second layer of planking out for the gun ports. That is my only personal issue with Caldercraft, well that and the price. I hope this clarifies my earlier post.
mike
-
-
Beautiful, I love the cannon that Constructo uses in their kits. They really spare no expense on their fittings most of the time. You will have a tone of work installing them.
mike

1949 Chris-Craft 19' Racing Runabout by gjdale - FINISHED -Dumas - 1:8 Scale - RADIO
in - Kit build logs for subjects built from 1901 - Present Day
Posted
What a real beauty, you got to love that mahogany look.
mike