HOLIDAY DONATION DRIVE - SUPPORT MSW - DO YOUR PART TO KEEP THIS GREAT FORUM GOING! (83 donations so far out of 49,000 members - C'mon guys!)
×


hof00
-
Posts
1,647 -
Joined
-
Last visited
Content Type
Profiles
Forums
Gallery
Events
Everything posted by hof00
-
 Hi Rod, Really nice work on the Watchtower/Aft Signal Station!! Agree, The totally PE sub-assemblies are definitely a pain.... Cheers....HOF.
 -
Thanks Rod, New Zealand Rimu (Pronounced "Reemoo.") Re-cycled of course as Rimu forests are now protected. Hoping to commence painting the Hull today. Cheers....HOF.
-
Hi Bob, Ditto as Katsumoto said.... 🙂 Cheers....HOF.
-
Hi Rod, Yet another question for you.... Did you mask and pint a "Stern" wave on your Hull? If so, how did you mask off your Stern Grab Rails? (Dumb question I know but better to "Pick" your brains rather than find out the hard way.... 🙂) Cheers and Regards, Harry.
-
Thanks Chap, I/We live in the hope that it will look good at the end of proceedings!! 🙂 (I guess it is what it is and the risk of fixing imperfections outweighs perfection. The Starboard side Grab Rails are better....) Cheers and Regards, Harry.
-
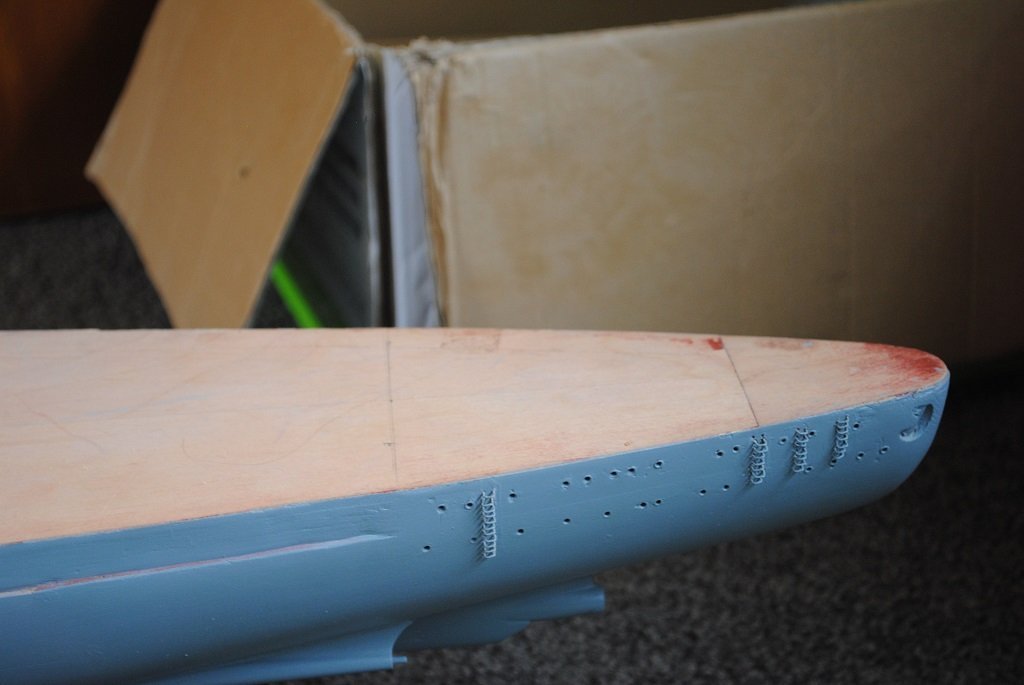
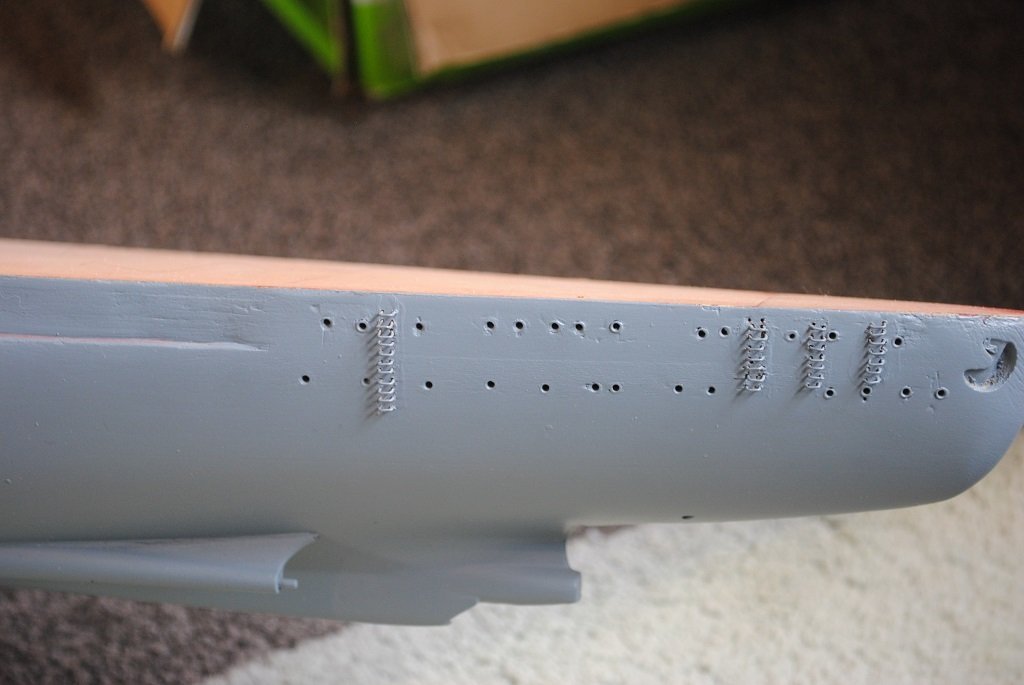
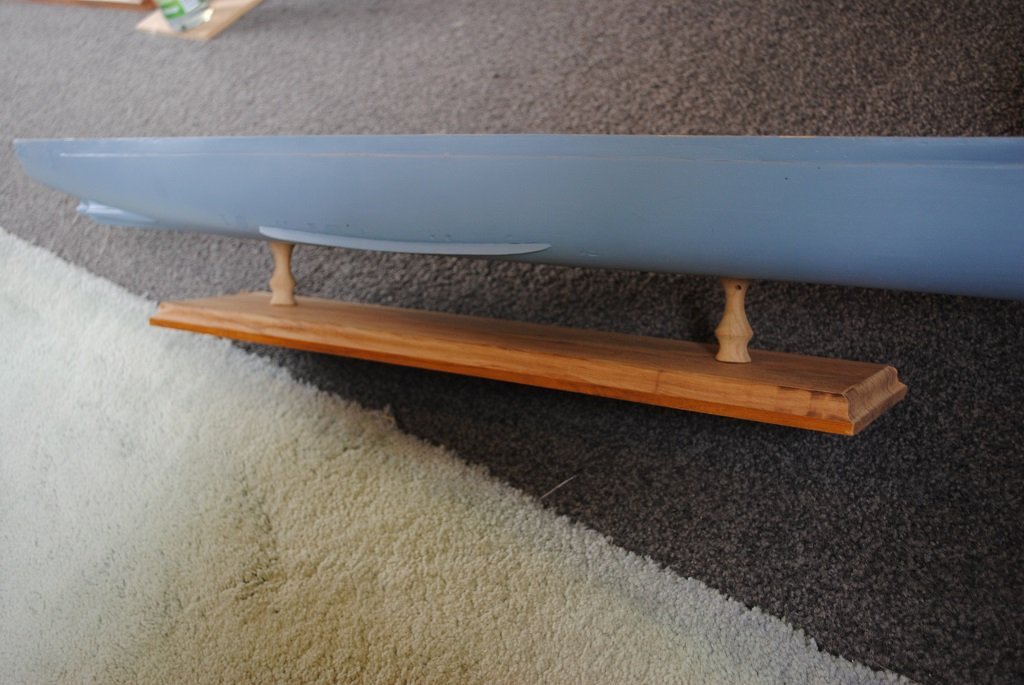
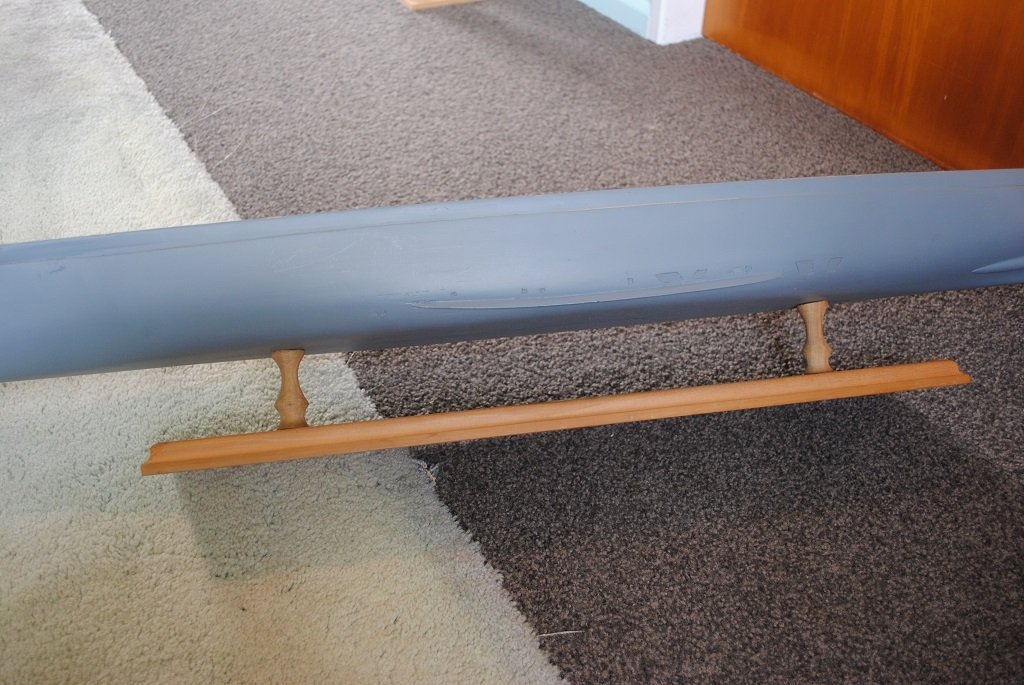
Hi All, Very small update: Had a think about the Stern Grab Rails and decided to leave well alone, They are not perfect and I figured that if I was to remove them and re-drill, I could end up with a big mess!! I think that they are acceptable as they stand with the gap between Rail and Hull 1.0mm (Once the Hull is Painted, (Soon), I am thinking that any error/s will "Blend" into the overall model. The only ones to know will be myself and anyone reading this build log....) Attached my attempt at turned Pedestals and Plinth, but will remove these for final Hull finishing/painting. (It always seems a bit "Criminal" to drill holes into a perfectly good Hull.... 🙂) So, the plan for tomorrow is to perform the final prep of the Hull, attach Propeller Shafts/Hubs followed by a final prime, that should keep me occupied enough for a few hours anyway. (I'll get the Airbrush dusted off and serviceable also.) Cheers....HOF. Photos:
-
Hi Chap, Very nice work!! (Slow but Steady....🙂) Cheers....HOF.
-
Thanks Rod, I had forgotten that I had created a "Gallery" for the Cutty. 🙂 No, I'm not a Cabinetmaker, (I guess that you would call be retired from around 40 odd years as a Switching/Transmission Tech to part of the IT shop in a Bank.), but I like to "Practice" Cabinetmaking.... Yes, I did make the Cutty Cabinet. Made from NZ Rimu, very difficult to source apart from recycled timber.) The cabinet was the easy part of the build!! 🙂 So, progress is a little slow on the Bismarck at the mo, I'm still tossing up the idea of making a Brass drilling template for the Stern Grab Rails or just leave them and move on. (After reducing the gap between Hull and Rail, they are much more acceptable and look even more so with a dose of primer, I'll "Ruminate" on this for a little longer.... 🙂) Cheers and Regards, Harry.
-
Thanks Rod. I don't really want to introduce more holes otherwise I'll end up with "Swiss Cheese.🙂" I'll get into the Rails shortly. Cheers....HOF.
-
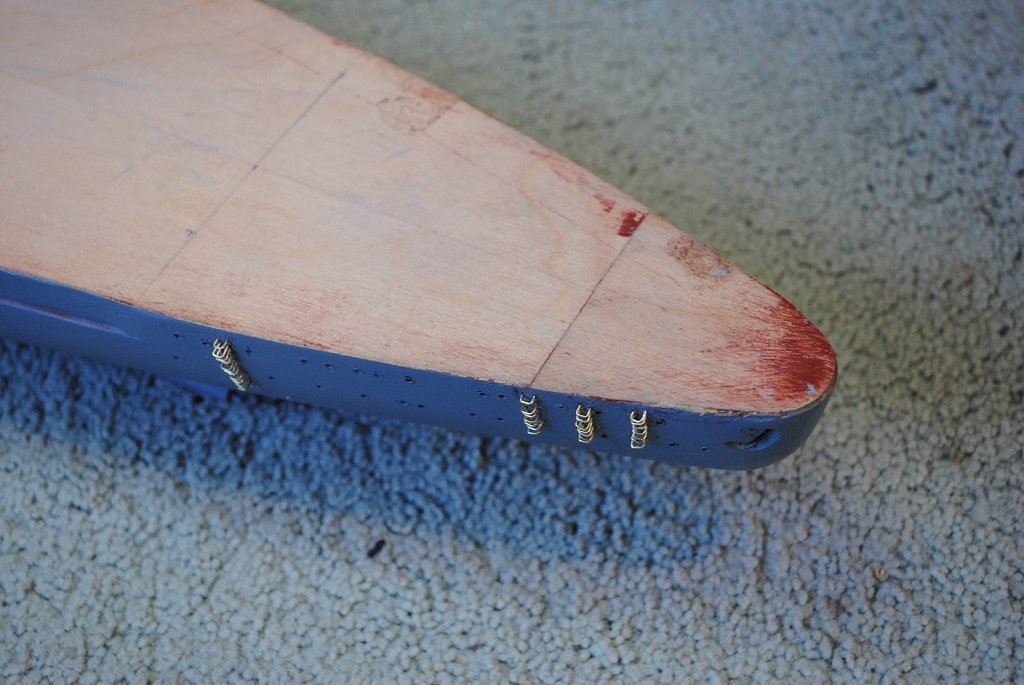
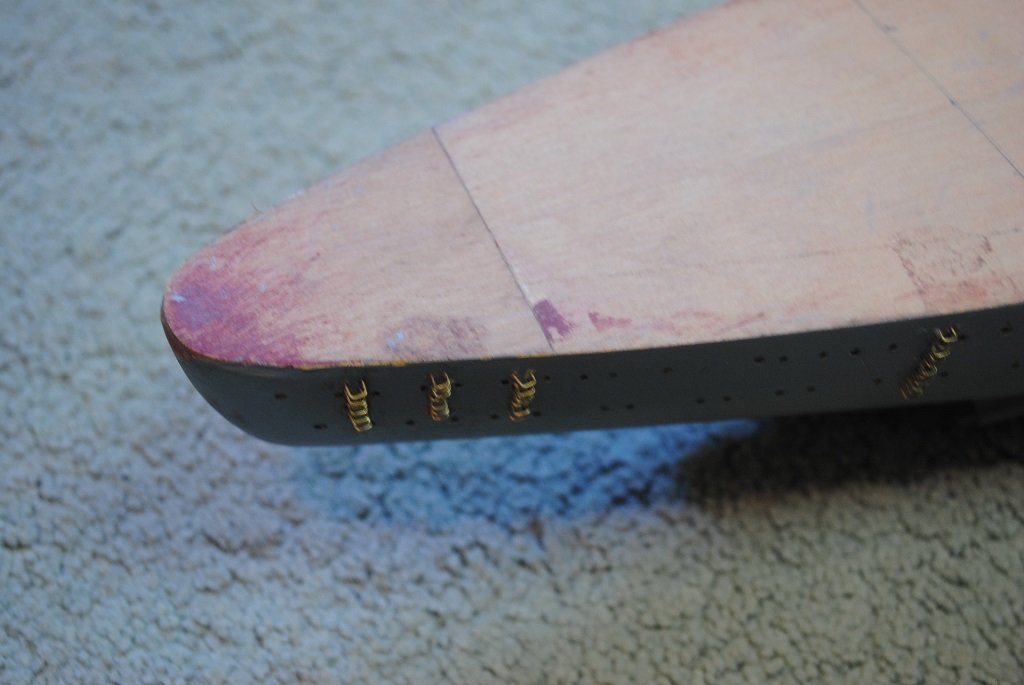
Thanks Chap. Yup, the alignment is an issue on some of the Rails, agreed. I was not happy, the more I thought about it.... I looked at Rod's, (rvchima), Bismarck build also for confirmation of my thoughts. (Thanks Rod 🙂) So, I have "Pushed" the Rails in on the Starboard side using a 1.0mm strip of Walnut as a spacer between Rail and Hull, it looks much better and much more in scale.... I think that a "Prime" will hide any other misdemeanors. Amazing what a millimeter will do!! 🙂 Live and learn I guess. Anyway, something to start my day off tomorrow!! Please feel free to comment, it's really helpful!! Cheers....HOF.
-
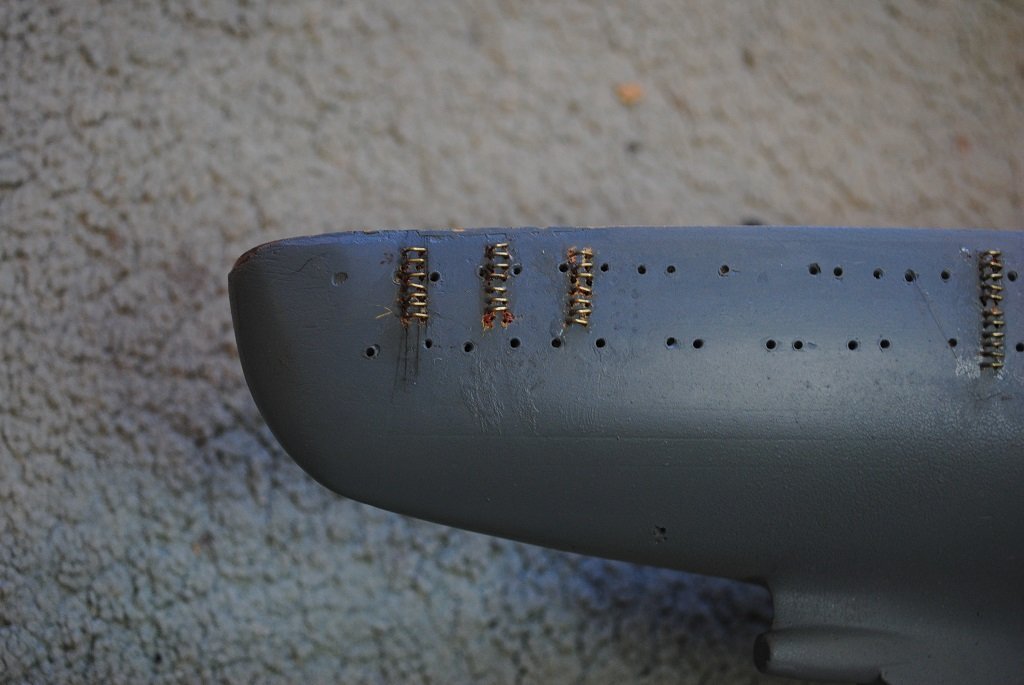
Hmmm.... Looking at the photos, I may have to "Push" the Rails in just a tad.... 🙂 (Shouldn't bee too difficult, bit of de-bonder and a thinner spacer.) They are 2.0mm out from the Hull currently. Observations/Comments? Cheers....HOF.
-
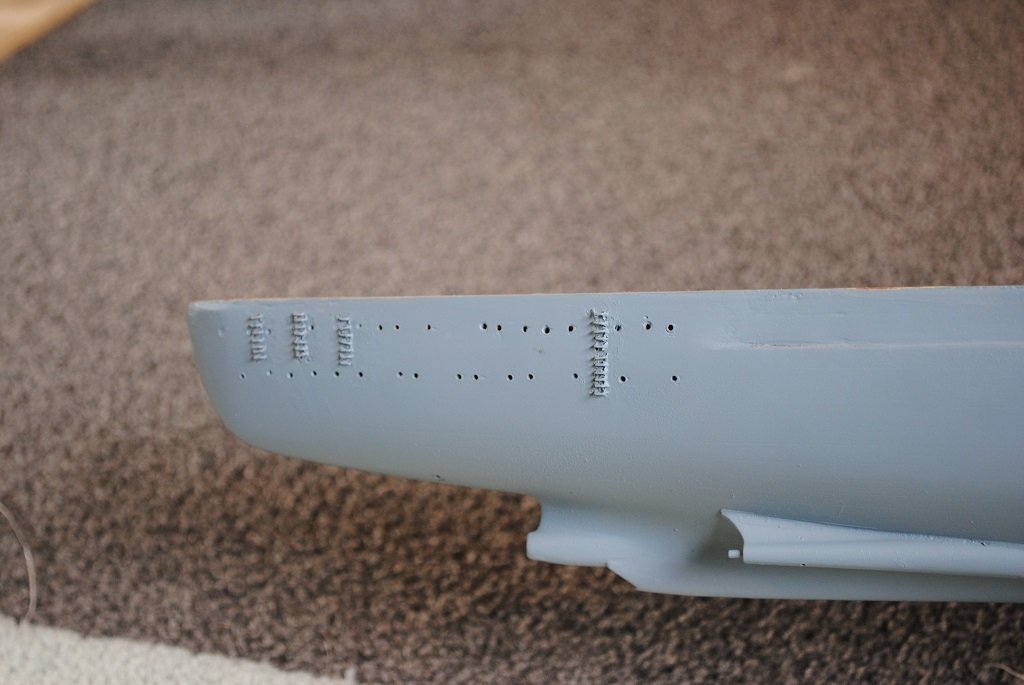
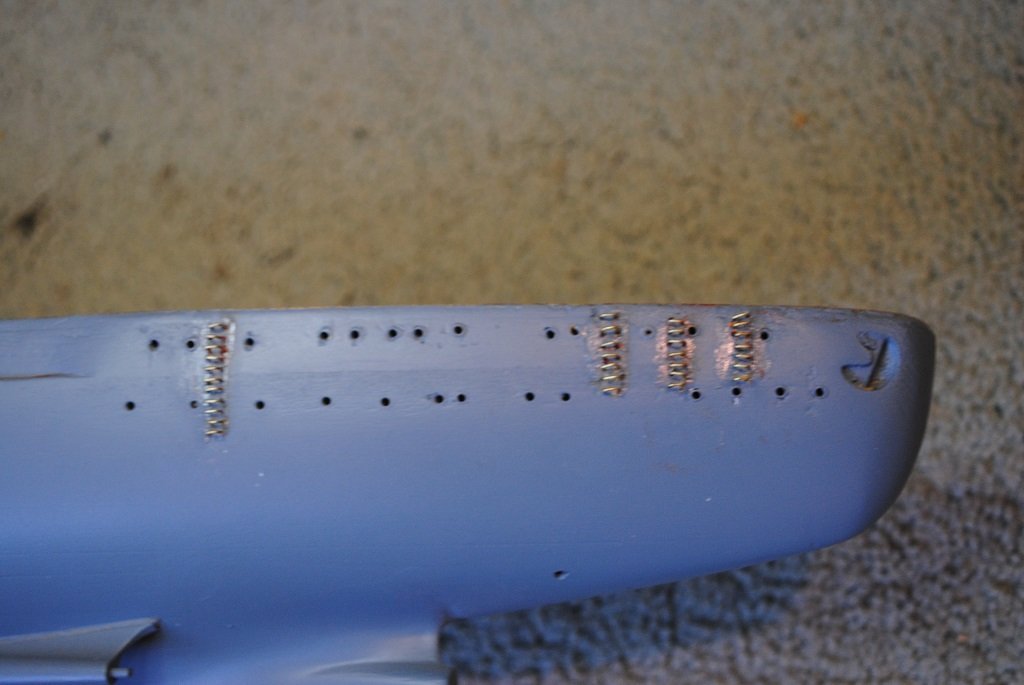
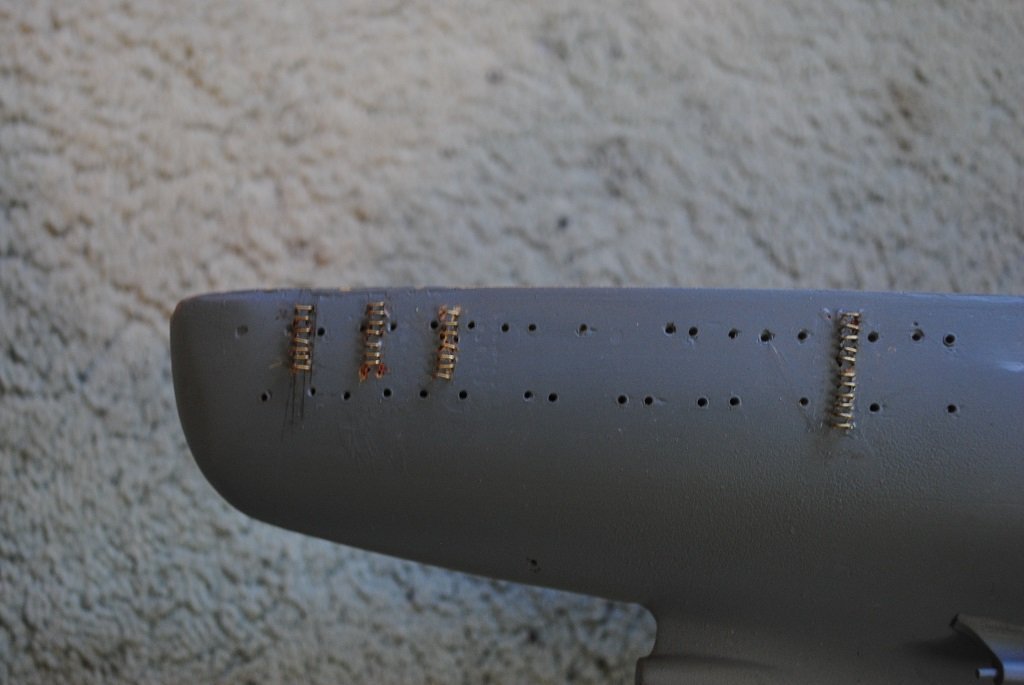
Hi All, Small update: Developed a Jig for Stern Grab Rails. Worked out o.k. The Rails are not perfect and some need a little "Tweak" here and there but I am pleased this is done. (In the photos, it looks like they protrude a bit too much but I think they are o.k. and will look better after a bit of a prime. I can now concentrate on getting ready for a bit of paint and mount the beastie on it's pedestals. Cheers....HOF. Photos: .
-
Hi Rod, A question for you,... How far up the Hull does the Hull Red go? One "Issue" mentions 50.0mm from the base off the Hull and another states 43.0mm.... (I'd be keen to know about the thickness of the "Boot" stripe also if you have a couple of minutes to spare.... 🙂) What do your instructions say? Cheers....HOF.
-
Hi All, Still working on the "Beastie.... 🙂) Small update: Sanded down slightly "Proud" Portholes, (Emery Paper), and started on the Stern Grab Rails. I was not happy at all with my efforts so removed them. I particularly do not like the paper templates provided. Filled the holes that I had created and primed the sanded areas and manufactured another bunch of rails with longer "Legs'" The Plan going forward is to make a drilling template for these items with hopefully more success. (I'll be able to see the holes on the primed surface and I located a 0.5mm drill for the rail "Legs." I turned a couple of pedestals and sorted ot some suitable wood for a plinth. (Both "Rimu" pronounced Reemoo. 🙂 (Gives me some "Thinking" time for developing a suitable template. If anyone has ideas, I'm all Ears!!) Sorry, that's all for the mo. Cheers....HOF.
-
Very nice work on the Turrets!! (I assume that the Barrels are the Amati supplied ones?) Cheers....HOF.
-
Thanks Rod, I tend to agree with you.... 🙂 My intention is to begin with the Stern "Grab-Rails" today. Not happy with a couple of Portholes so will drill the holes a little deeper. I'll also get Pedestal locations marked out. Cheers....HOF.
-
Awesome work!! Ditto all the above completion comments. (Again, begs the question, wot's next?) Cheers....HOF.
- 130 replies
-
- 11
-

-
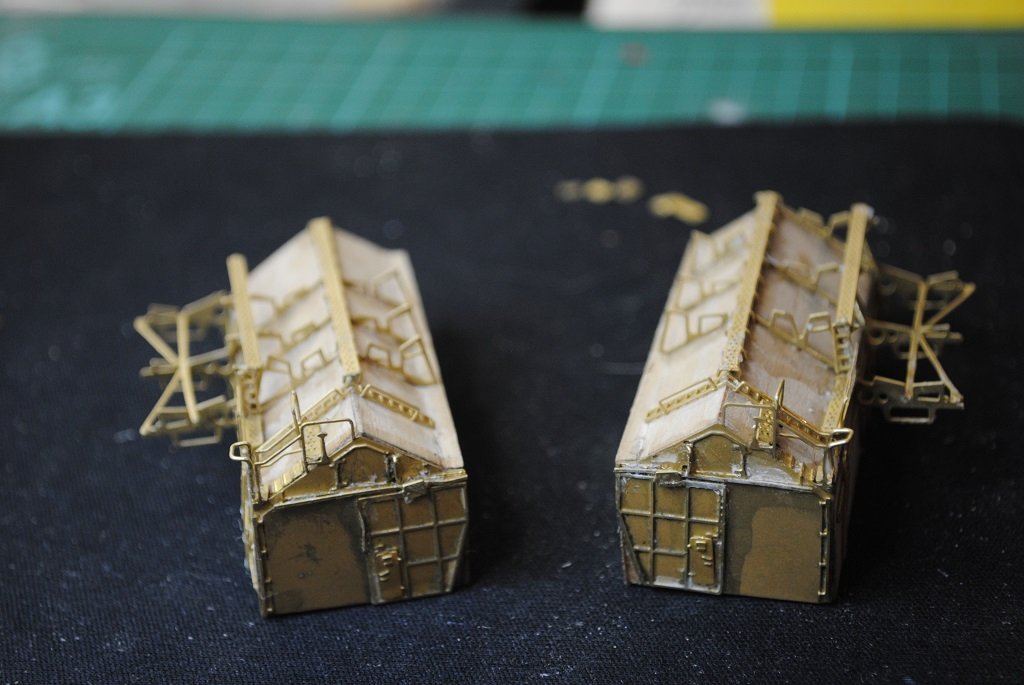
Hi All, Small update: After three or so days I have completed the Port and Starboard Hangers. (PE anyway. (I identified the "Issue" that contain the Plastic elements for these and other sub-assemblies. I don't think I'll put these on just yet...)) I'm unsure what I'll go with next, I was leaning towards completing the Hull. Also tempted with cladding the forward Superstructure. Maybe Boats/Launches. (These remind me of things that used to be in Cereal packets that myself and my sister used to fight over.... 🙂 Cheers....HOF. Anyway, a couple of photos of the Hangers, not perfect but good enough: