Louie da fly
-
Posts
7,973 -
Joined
-
Last visited
Content Type
Profiles
Forums
Gallery
Events
Everything posted by Louie da fly
-
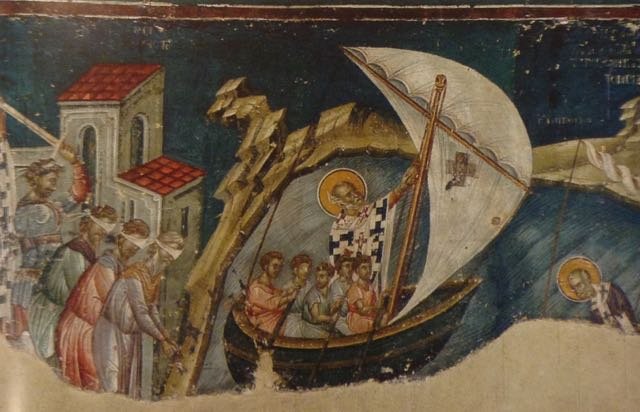
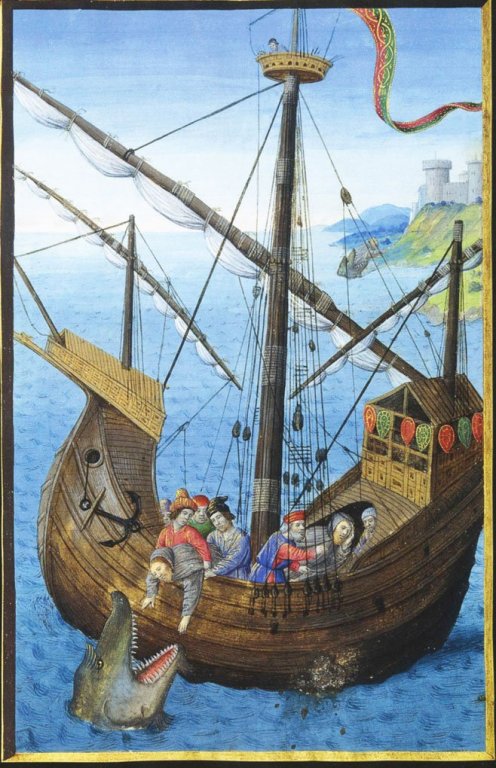
 Dick, just checking - Prof Pryor shows the sheaves in the calcet across the ship, not fore and aft? The St Nicholas picture could be interpreted that way, and the Greek Fire could well represent two transverse sheaves. It would mean the halyard would be belayed to the side of the ship, not fore and aft? I think I might do that - it should cancel the problem of chafing. Pat, my reading suggests that not all the oarsmen rowed all the time - sometimes only the forward ones rowed. The Jason Voyage guys certainly did this, rowing in shifts to give each other a break. Again, all the upper oarsmen doubled as soldiers in battle (so the archers were drawn from their ranks), and so there should be plenty of manpower available. And the ship could be kept under way by the lower oarsmen if needed while the sail was raised or lowered. I like your idea of the double sheaved calcet and a single sheaved block. It does seem like a sensible way to go - no need to make raising and lowering the sail any more difficult than it has to be. And certainly, there have been a decent number of blocks discovered in the archaeological finds. Steven
 -
Thanks, Mark. I'm not an experienced sailor - I was in the sea scouts when I was a kid. We sailed clinker-built 18 foot ex-navy gaff-rigged cutters. Lots of fun, but I've certainly never studied up on the theory, and my knowledge of mechanical advantage dates back to high school, and never applied to sailing. So maybe I just go with the single sheave at the top of the mast. I still haven't glued the "blobs" in place, so I'm not yet committed (though maybe I should be . . .) I'd thought the double sheave in the mast would be combined with a double-sheaved block between that and the yard, but I admit my ignorance on all this and it might be a really dumb idea. I was originally going to just go with the single sheave (as can be seen in the first foremast I made), then I saw something about double-sheaved assemblies at the top of the mast on mediaeval Mediterranean ships. But that might be completely inappropriate to something like a dromon. Particularly as you say, with oodles of available manpower who needs mechanical advantage anyway? Steven
-
Yes, and very few of the surviving northern representations (or any of the others, for that matter) show the break of the poop looking from the bow. I think there's a single one from Master WA that does (and shows it open), and that's about all. Perhaps the idea of removable "partition walls" would be best, particularly as it's a structural matter for your model. Steven
-
I'm still very much feeling my way with all this stuff. Would those of you "in the know" think I should go back to a single sheave at the top of the mast, and get the mechanical advantage from multi-sheave blocks and tackle on the halyard downhaul itself? Steven
-
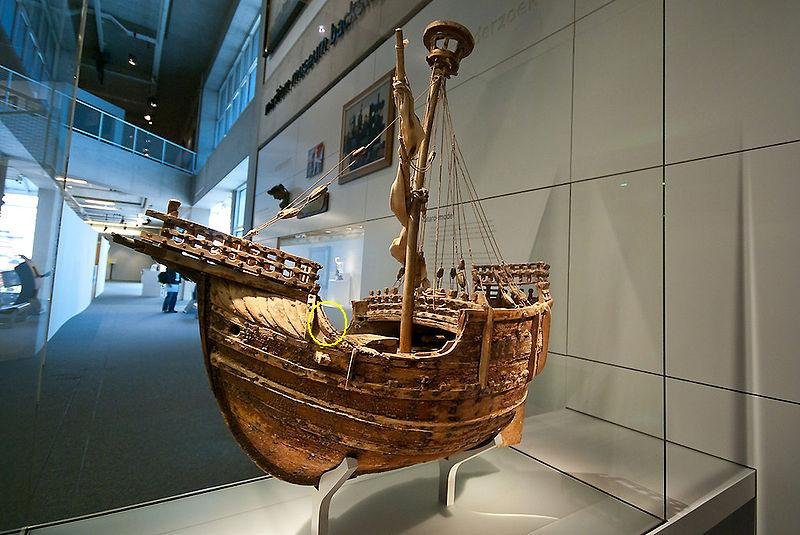
Well, it had occurred to me that having that area open to the elements could get pretty bad at times. Rather like being in an open boat. One thing you might try is getting in touch with the people in Bristol England who operate the Matthew, a reconstruction of John Cabot's ship of 1497. She is at least partly open in this region - maybe they can tell you what it's like under the aftercastle in bad weather. By the way, the arched openings have removable shutters to close them in. Not a bad idea. Steven
-
Good point, Pat. The foremast should be ok - Prof Pryor has it about 70 degrees from horizontal (i.e. 20 degrees forward rake), but it's at 77 degrees (13 degrees) on my AutoCad drawing . The aftermast, however, is vertical, and there may be a problem with that. I can only suck it and see. Steven
-
I can't remember off the top of my head, Dick. I'll have to get back to you on that. Steven
-
Patrick, it seems to me that the wall of the aftercastle is artistic licence, based on a vessel later than 1500AD. However, the decision is yours. It's your model and you can do what you like with it. Steven
-
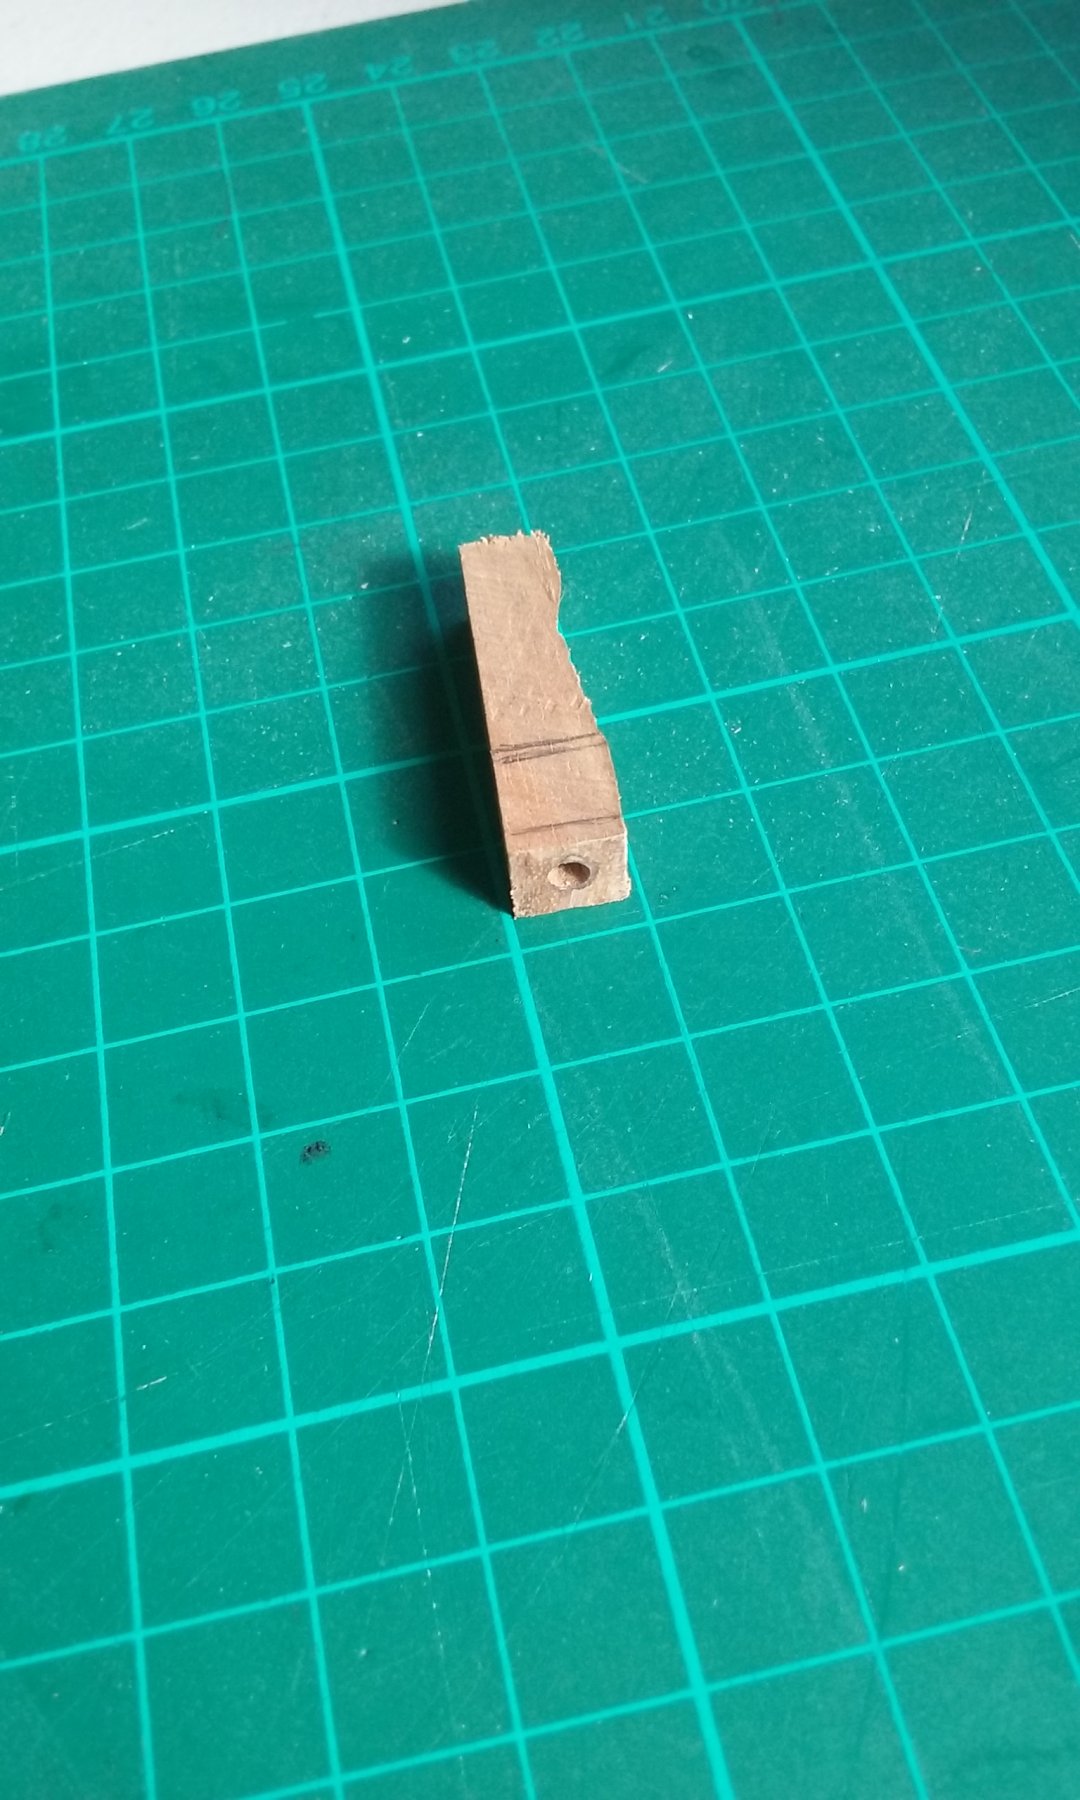
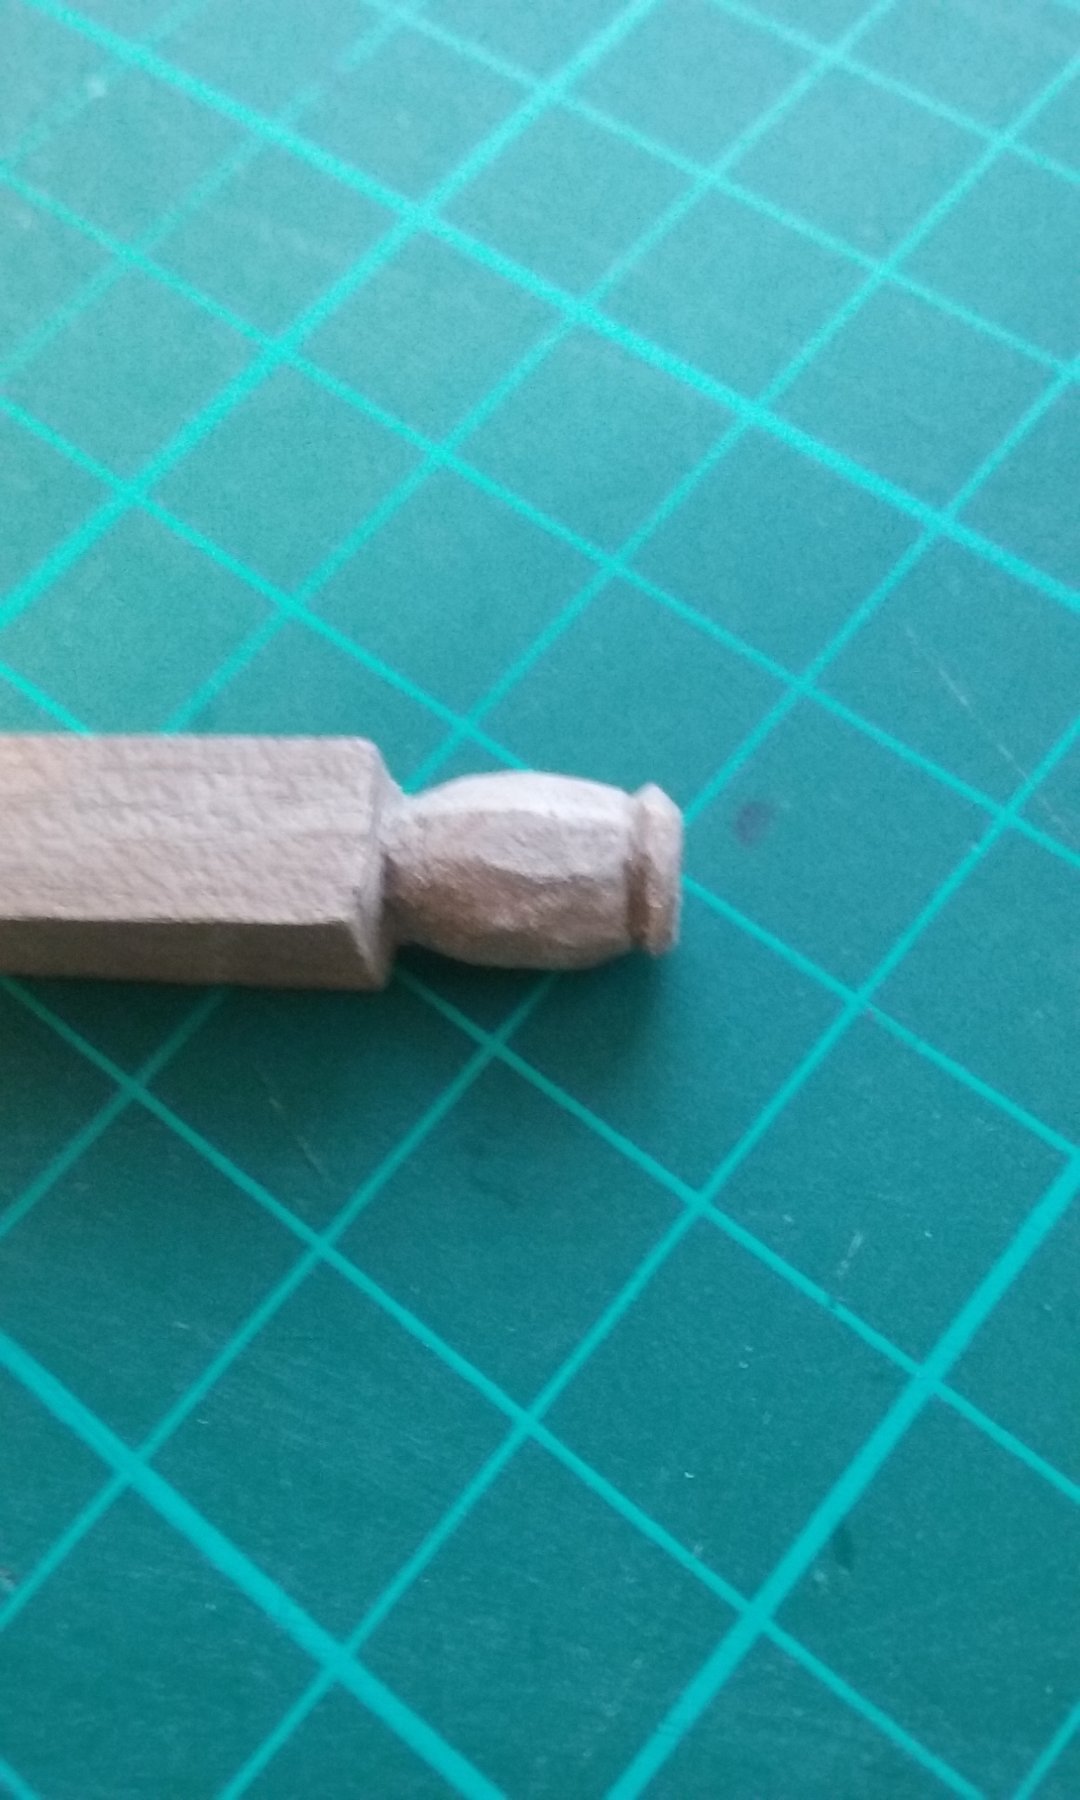
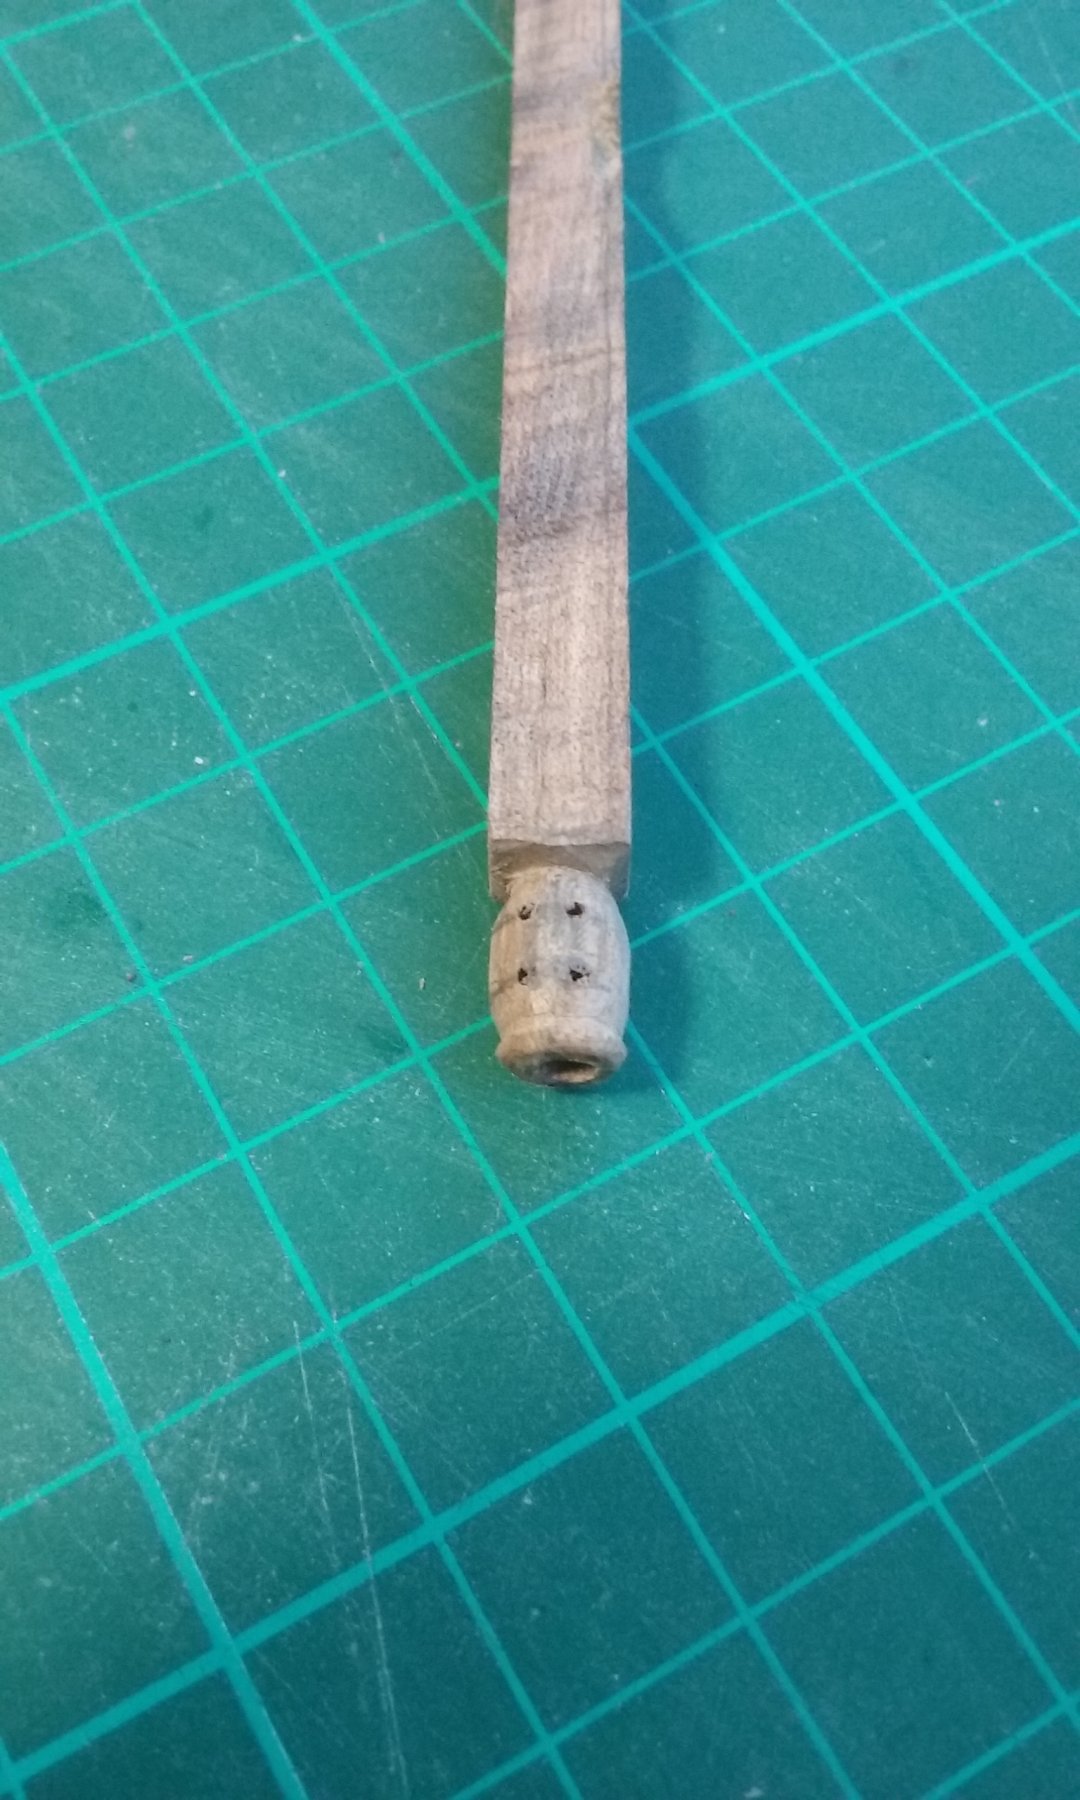
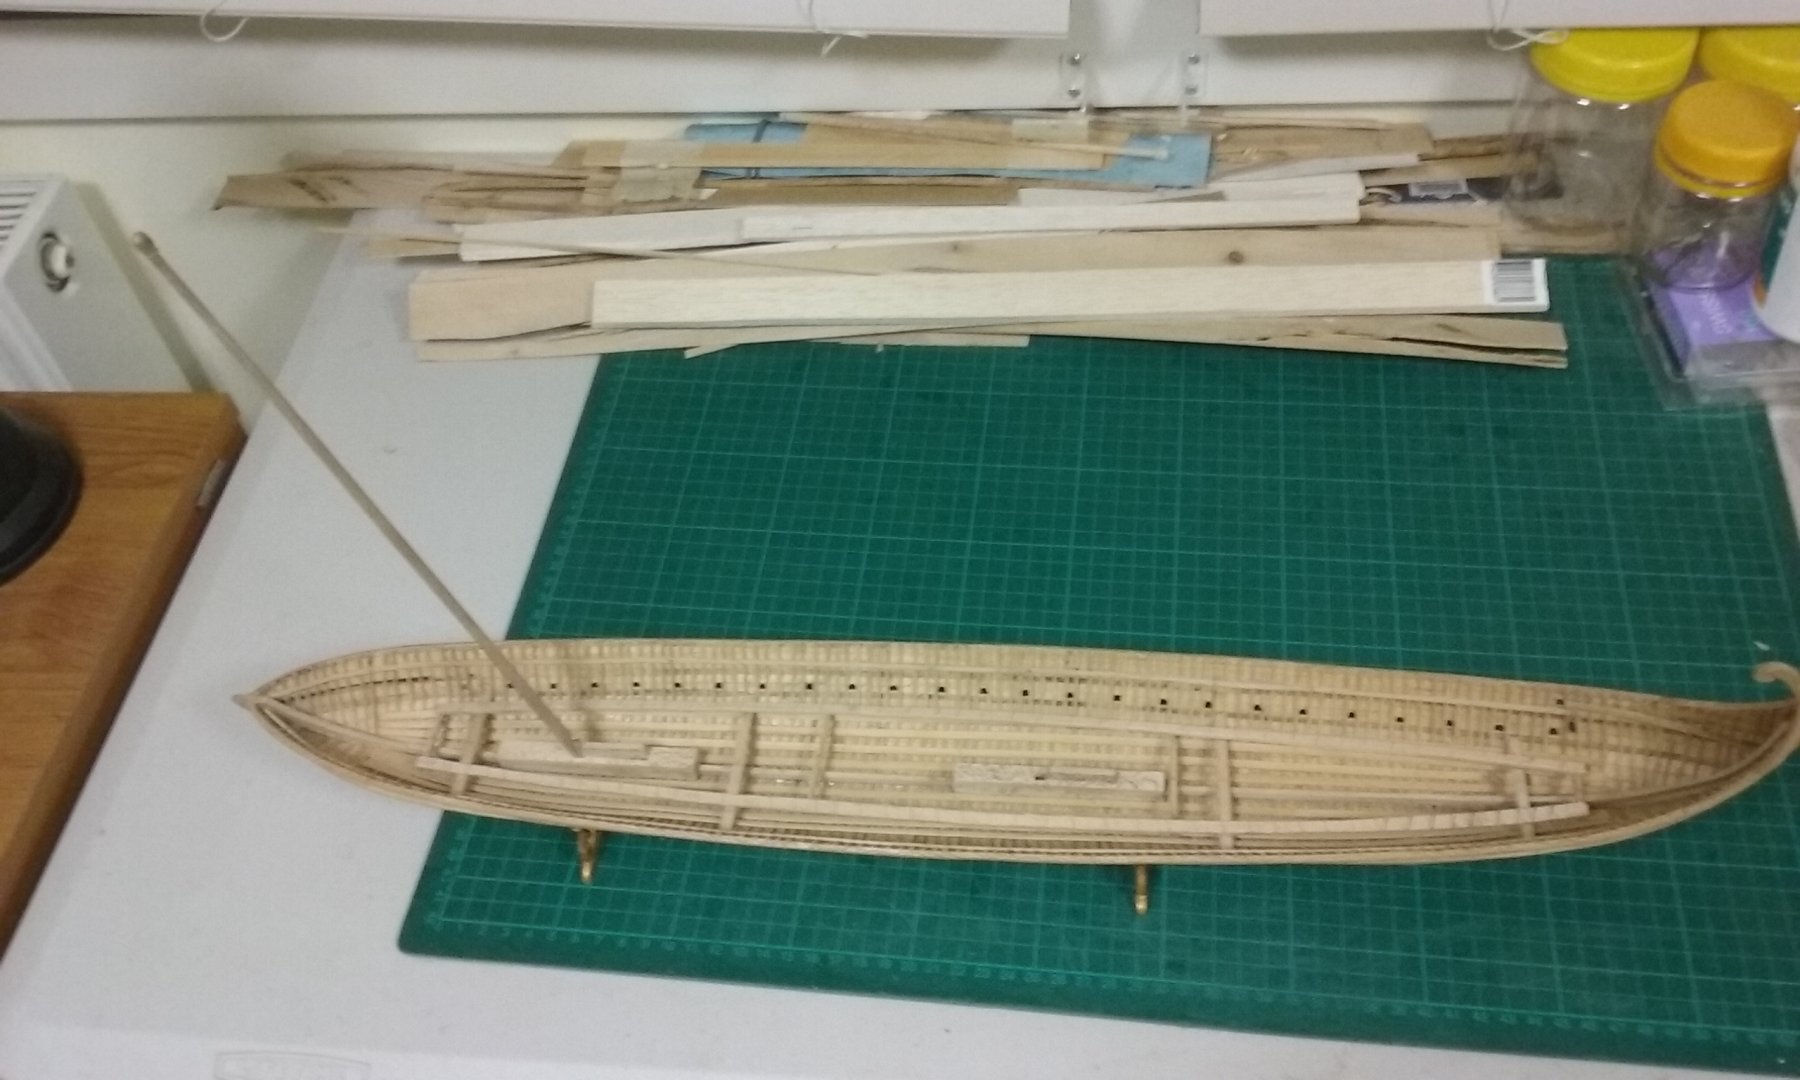
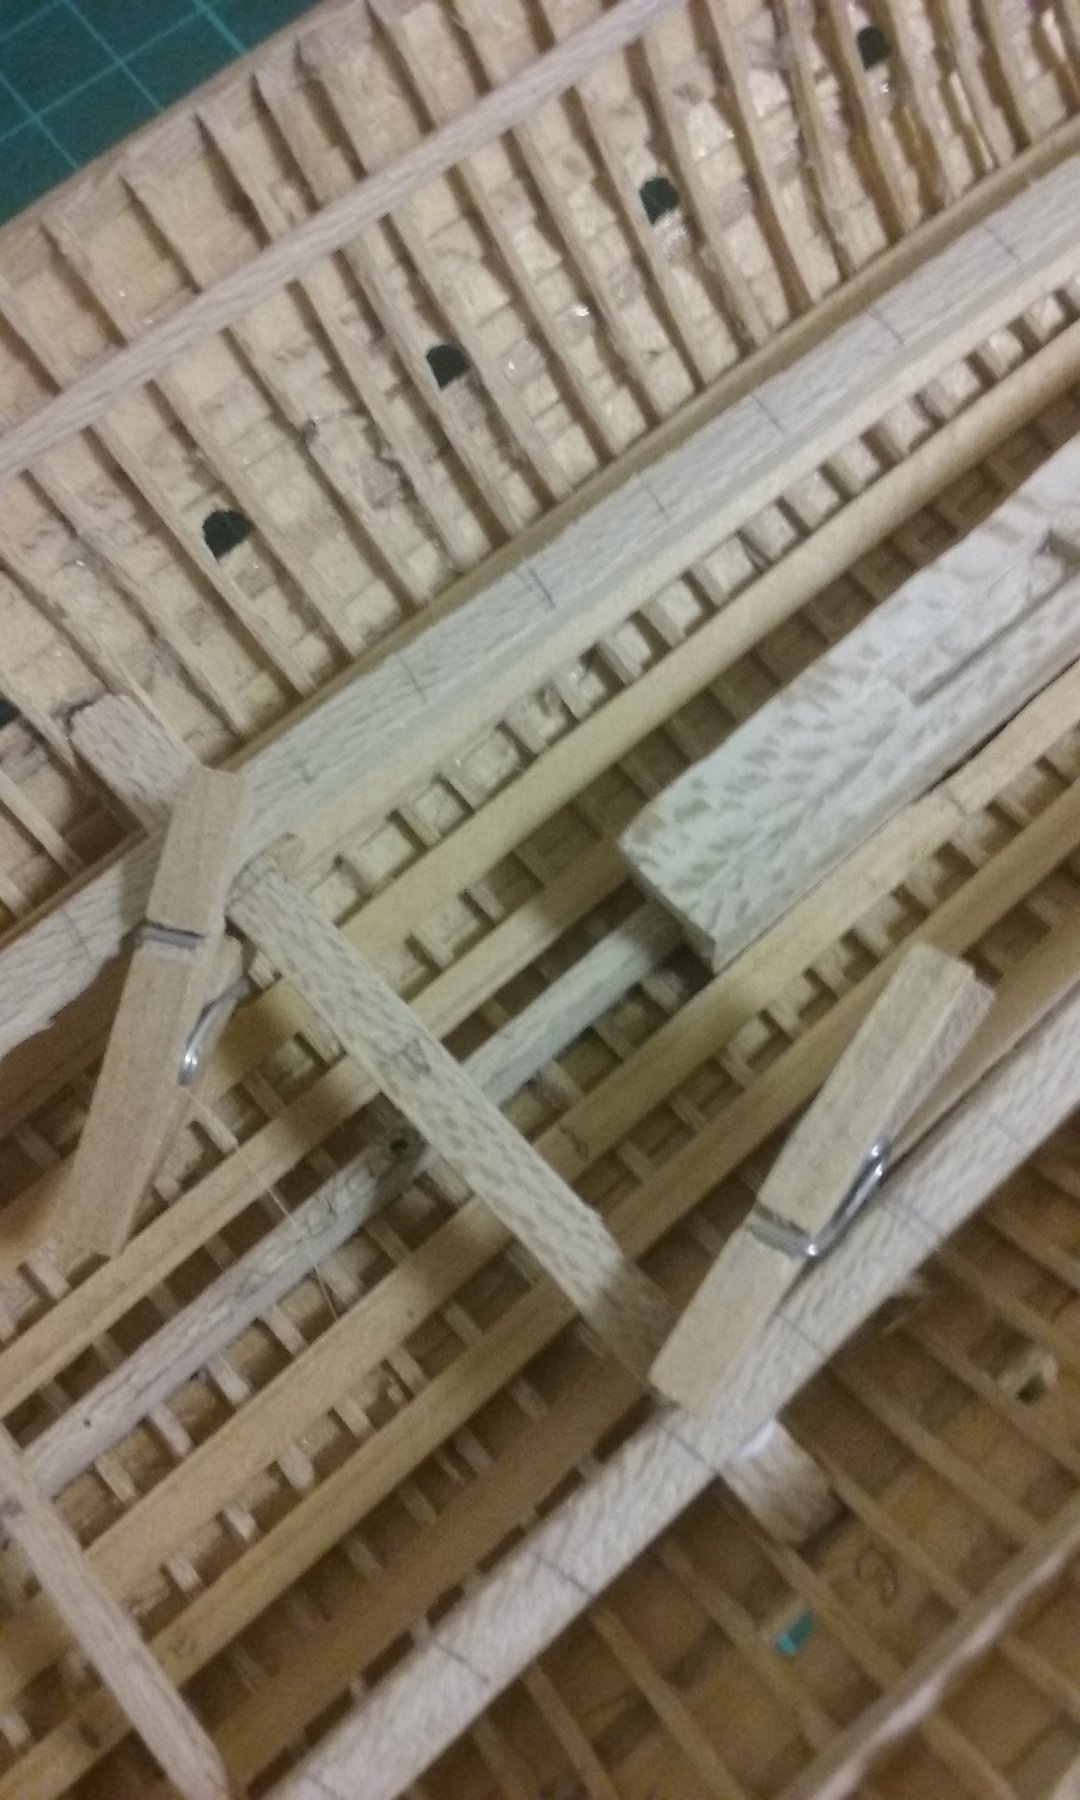
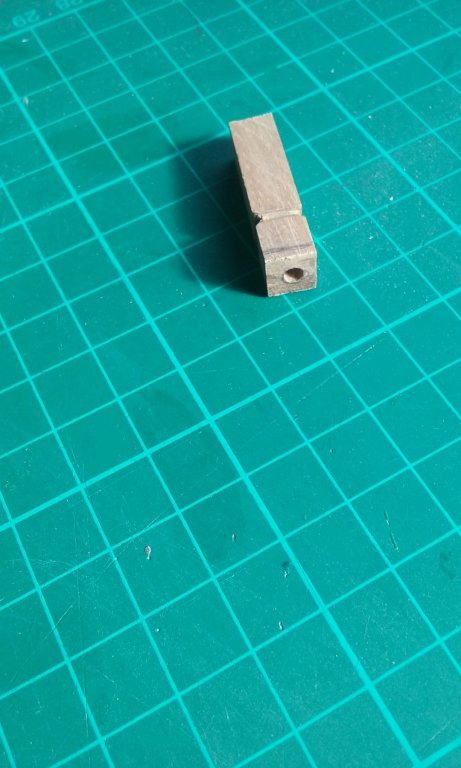
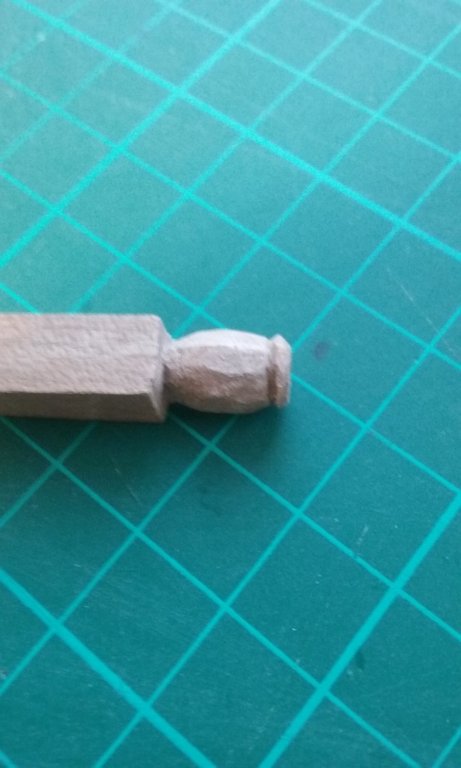
The "blob" at the top of the mast that holds the sheaves for the halyard is a bit too small to match the one in the picture I based it on. So I'm making two new ones, one for each mast. Also they'll have two sheaves instead of the single one in the original one I made, as the forces involved in hauling up the yard are pretty large. The drill bit in the hole is to ensure the tenon for the blob is at the correct angle, as I don't have the luxury of a drill press to drill the hole exactly in line with the axis of the blob. Had I thought of it earlier, I could have used the drill bit as a guide in carving the blob itself and not have to adjust the tenon on the mast. I expect I'll have to re-drill the holes for the sheaves through the tenon once the blob is in place, so the halyard can pass through the sheaves. Steven


-
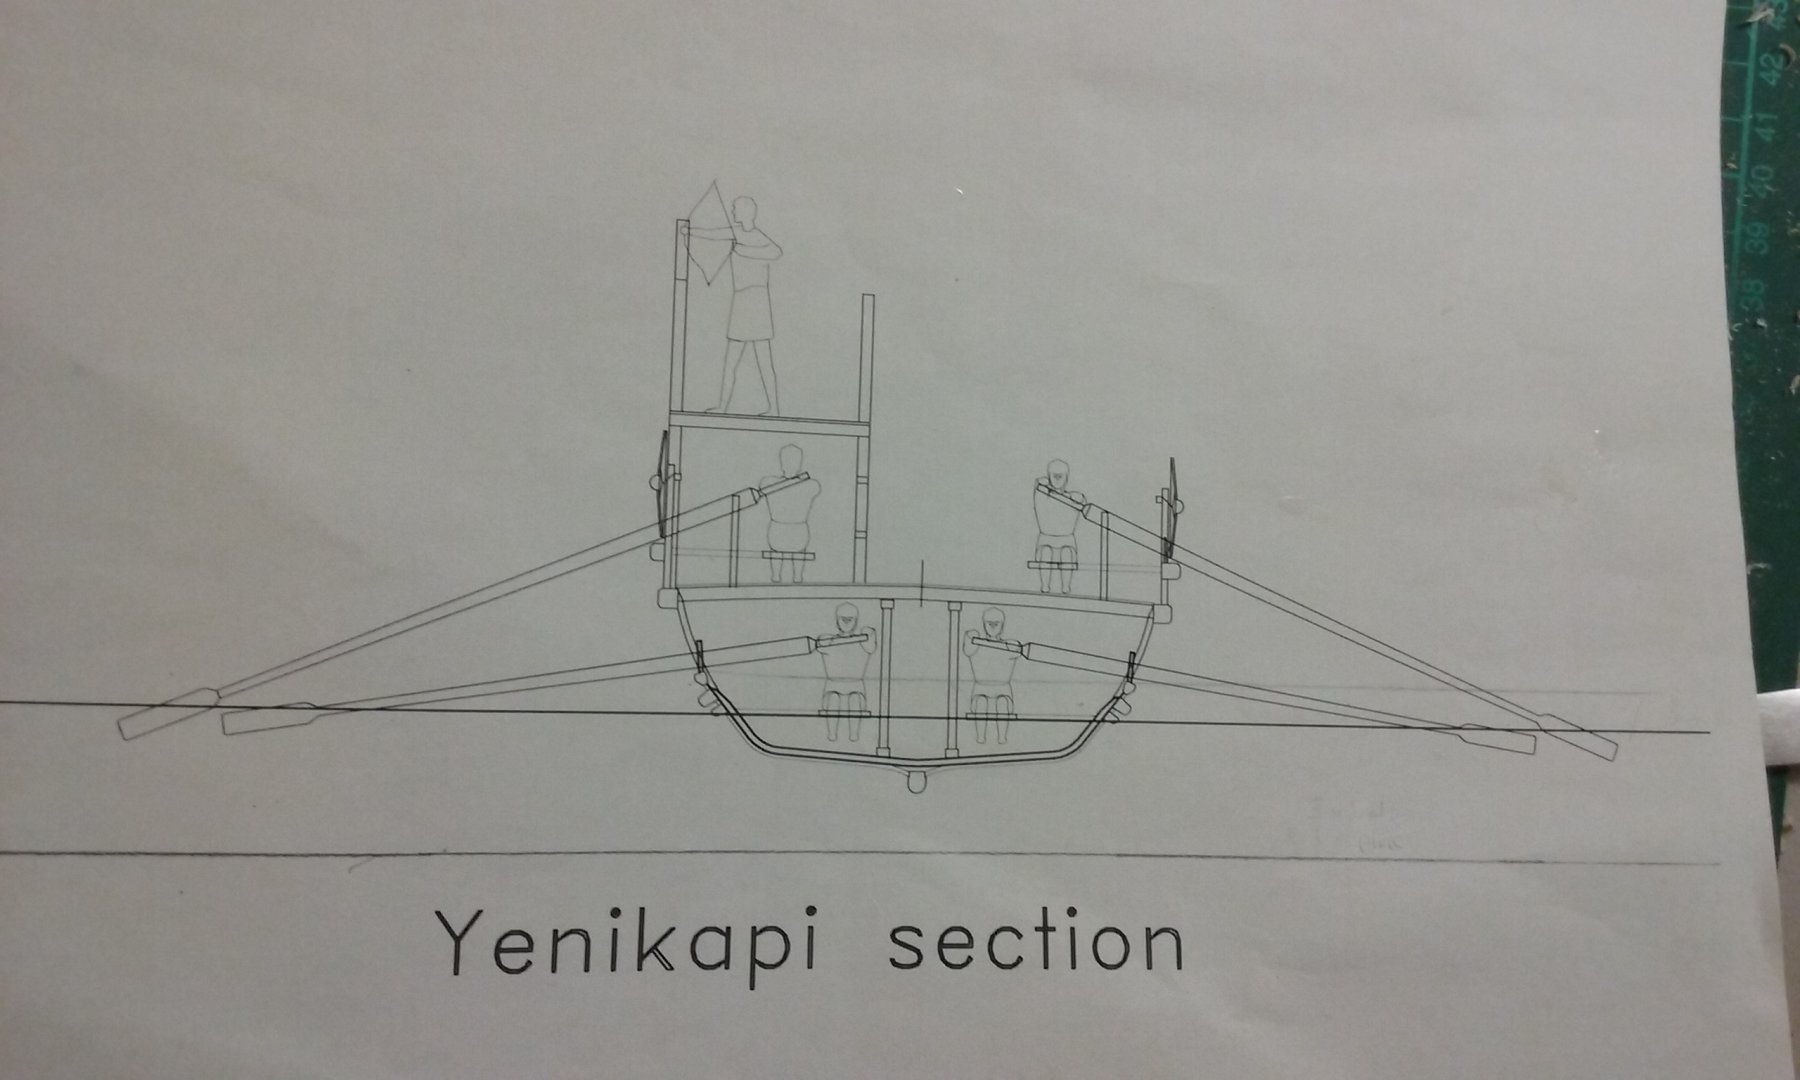
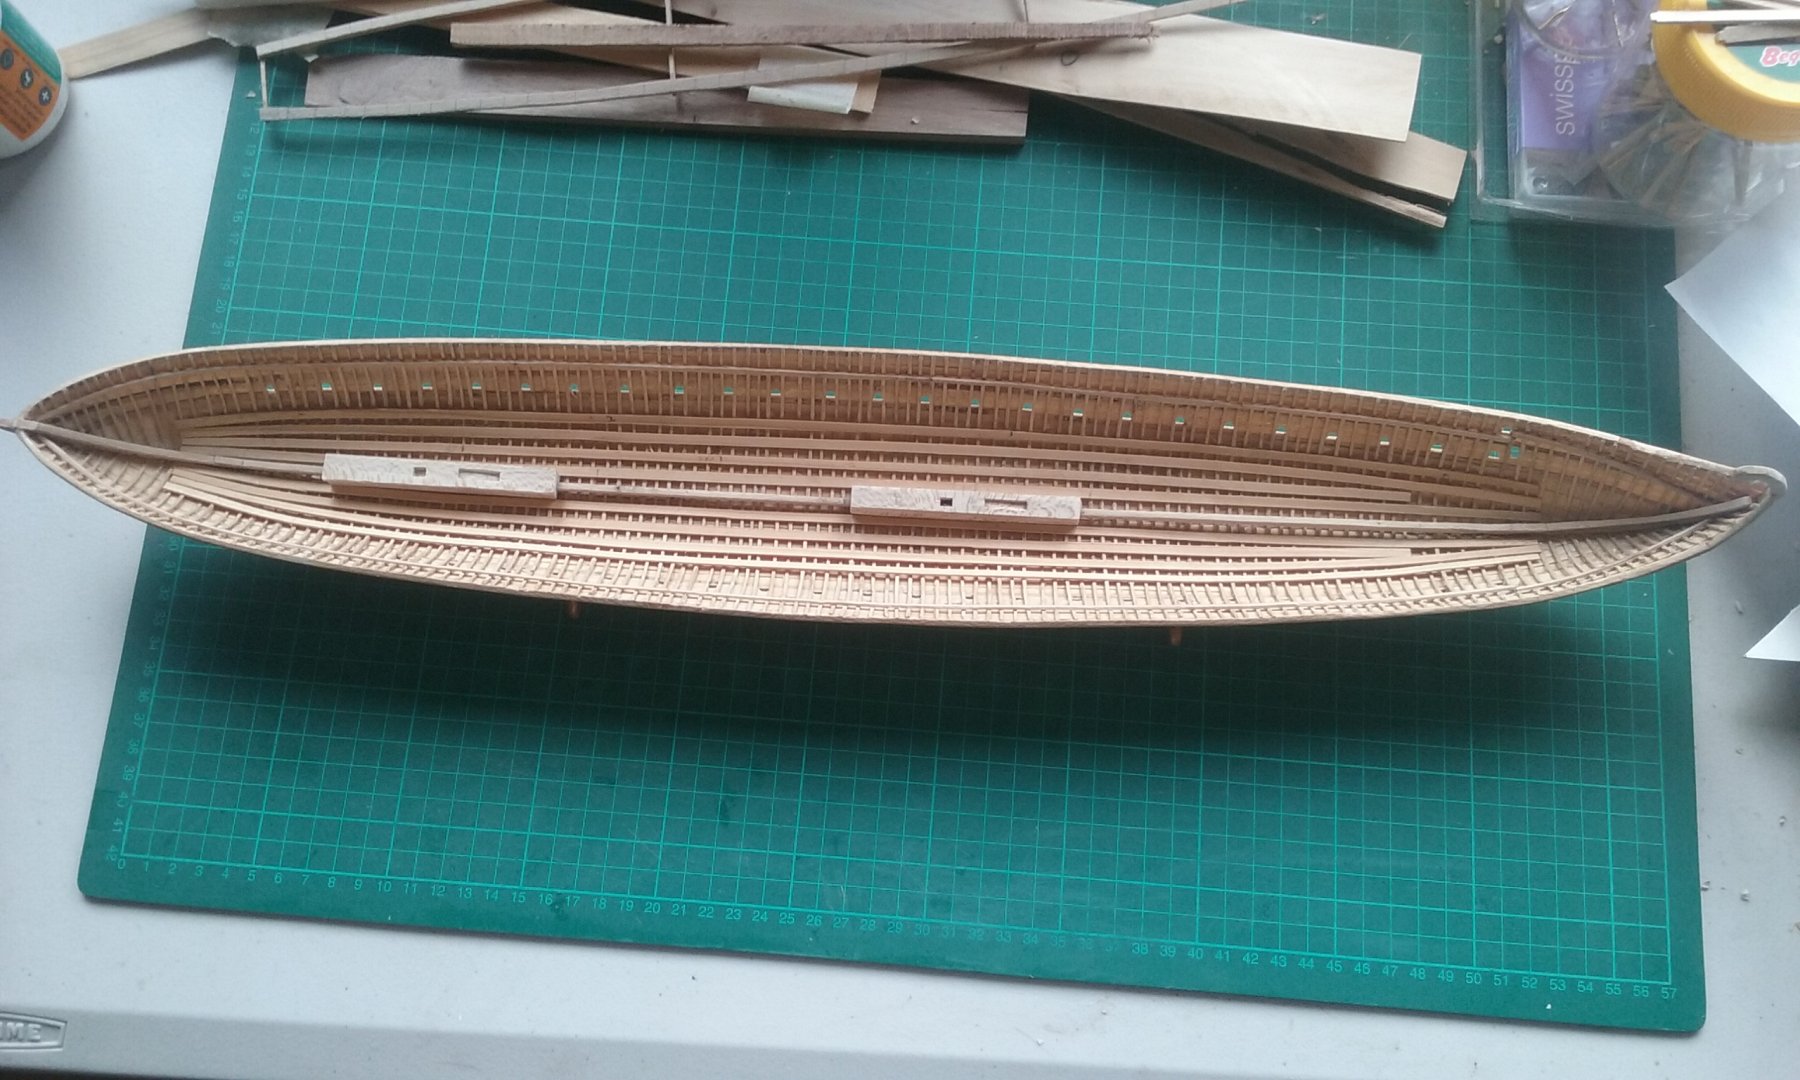
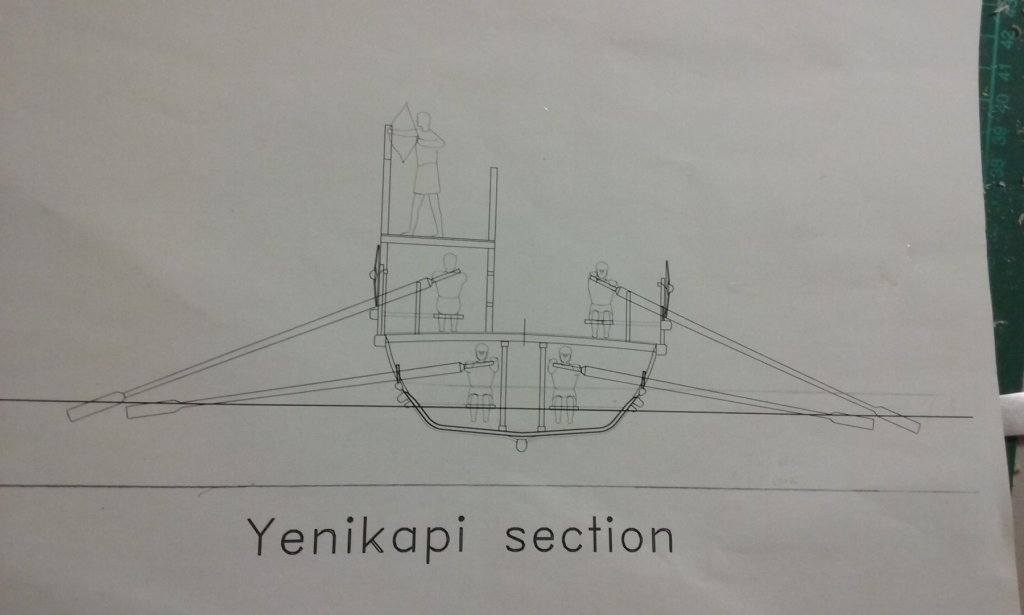
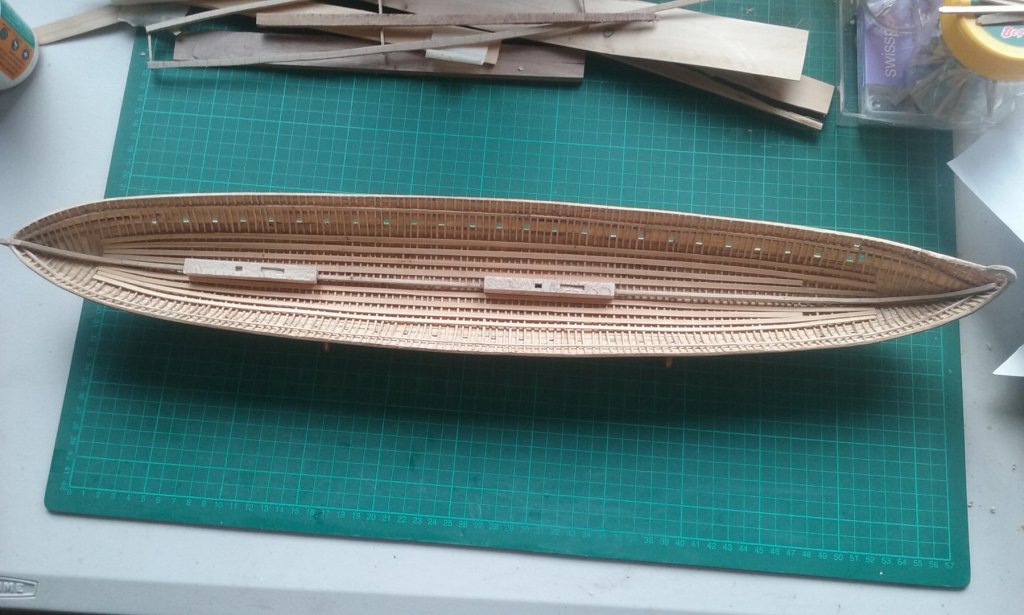
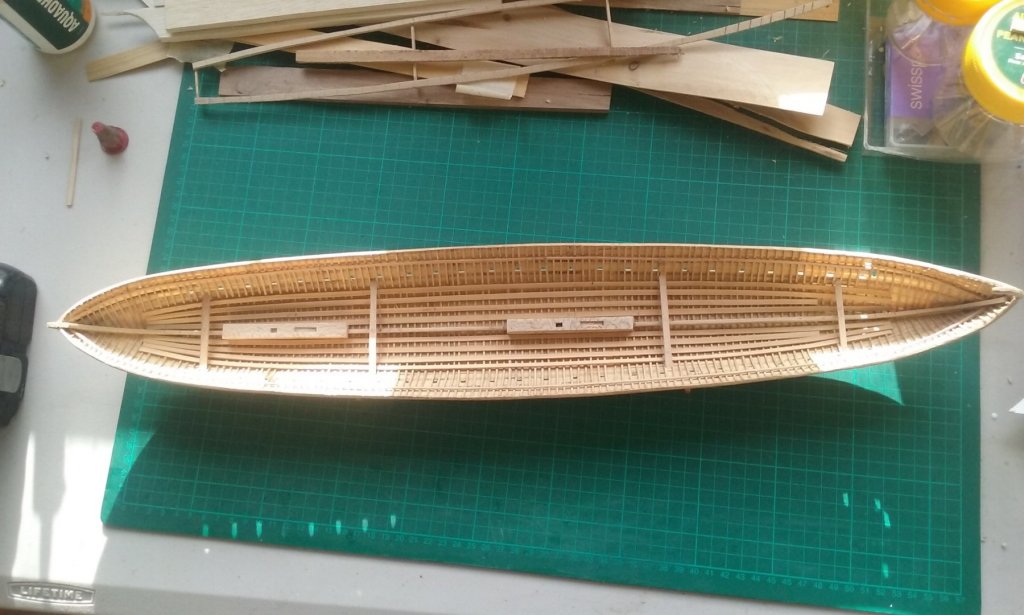
Here's my theoretical midship section, to give some idea of the oars. Sorry, I wasn't holding the camera quite straight so it looks like the ship has developed a list. It was very difficult getting enough headroom for the lower oarsmen while keeping the ship low enough in the water to allow a workable angle for the upper bank of oars - the deck beams are only the equivalent of 100mm (4") deep, which won't span from side to side of the ship without bowing, so there are a pair of beams running the length of the ship to support them, held up in their turn by a series of posts - positioned so a person can walk between them but allowing the oarsmen enough room to row. None of this lower stuff appears on the model, but I had to work it out to my own satisfaction to see if it would work in the real world. Probably not the way they actually did it, but it is workable. Steven
-
Oh no, these oars are only correct from the oarport outwards, Druxey. I've built a framework of my own invention to support the lower oars rather than have to make 50 lower deck oarsmen (who will be invisible anyway), and reduced and bodged the inboard section of the oars to go on the framework. See my post of 6 July above. Sorry if I gave the wrong impression! Prof Pryor's reconstruction has the outboard length as 3.395 metres (including the blades) and the inboard as 1.265 metres (including the handles). Though I'm not following his reconstruction completely as I believe the Yenikapi finds have invalidated some of his conclusions, I have followed it in regard to oar lengths (well, the bits you can see, anyway). Steven
-
A magnificent job, Michael. I just went back and looked at the first page of the build log. What a transformation! You have good reason to be proud of your achievement. I take my hat off to you, sir. Steven
- 749 replies
-
- 5
-

-
- albertic
- ocean liner
- (and 2 more)
-
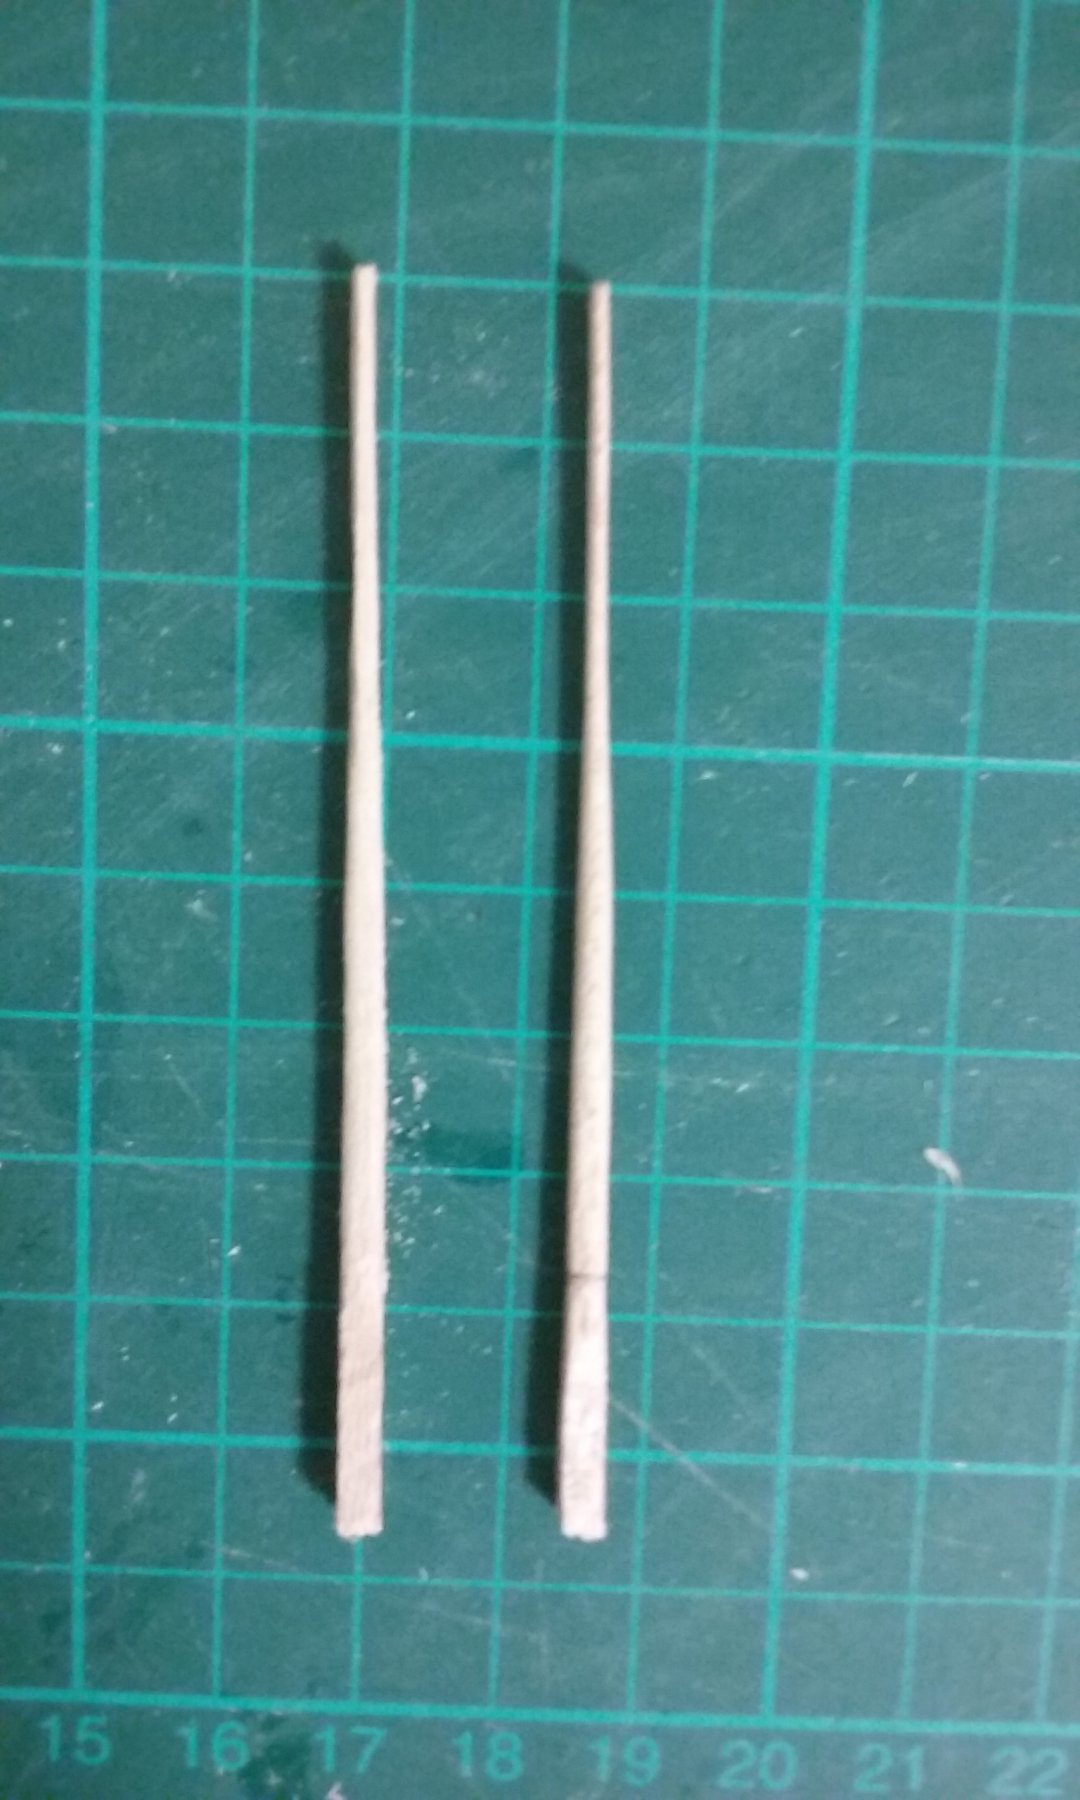
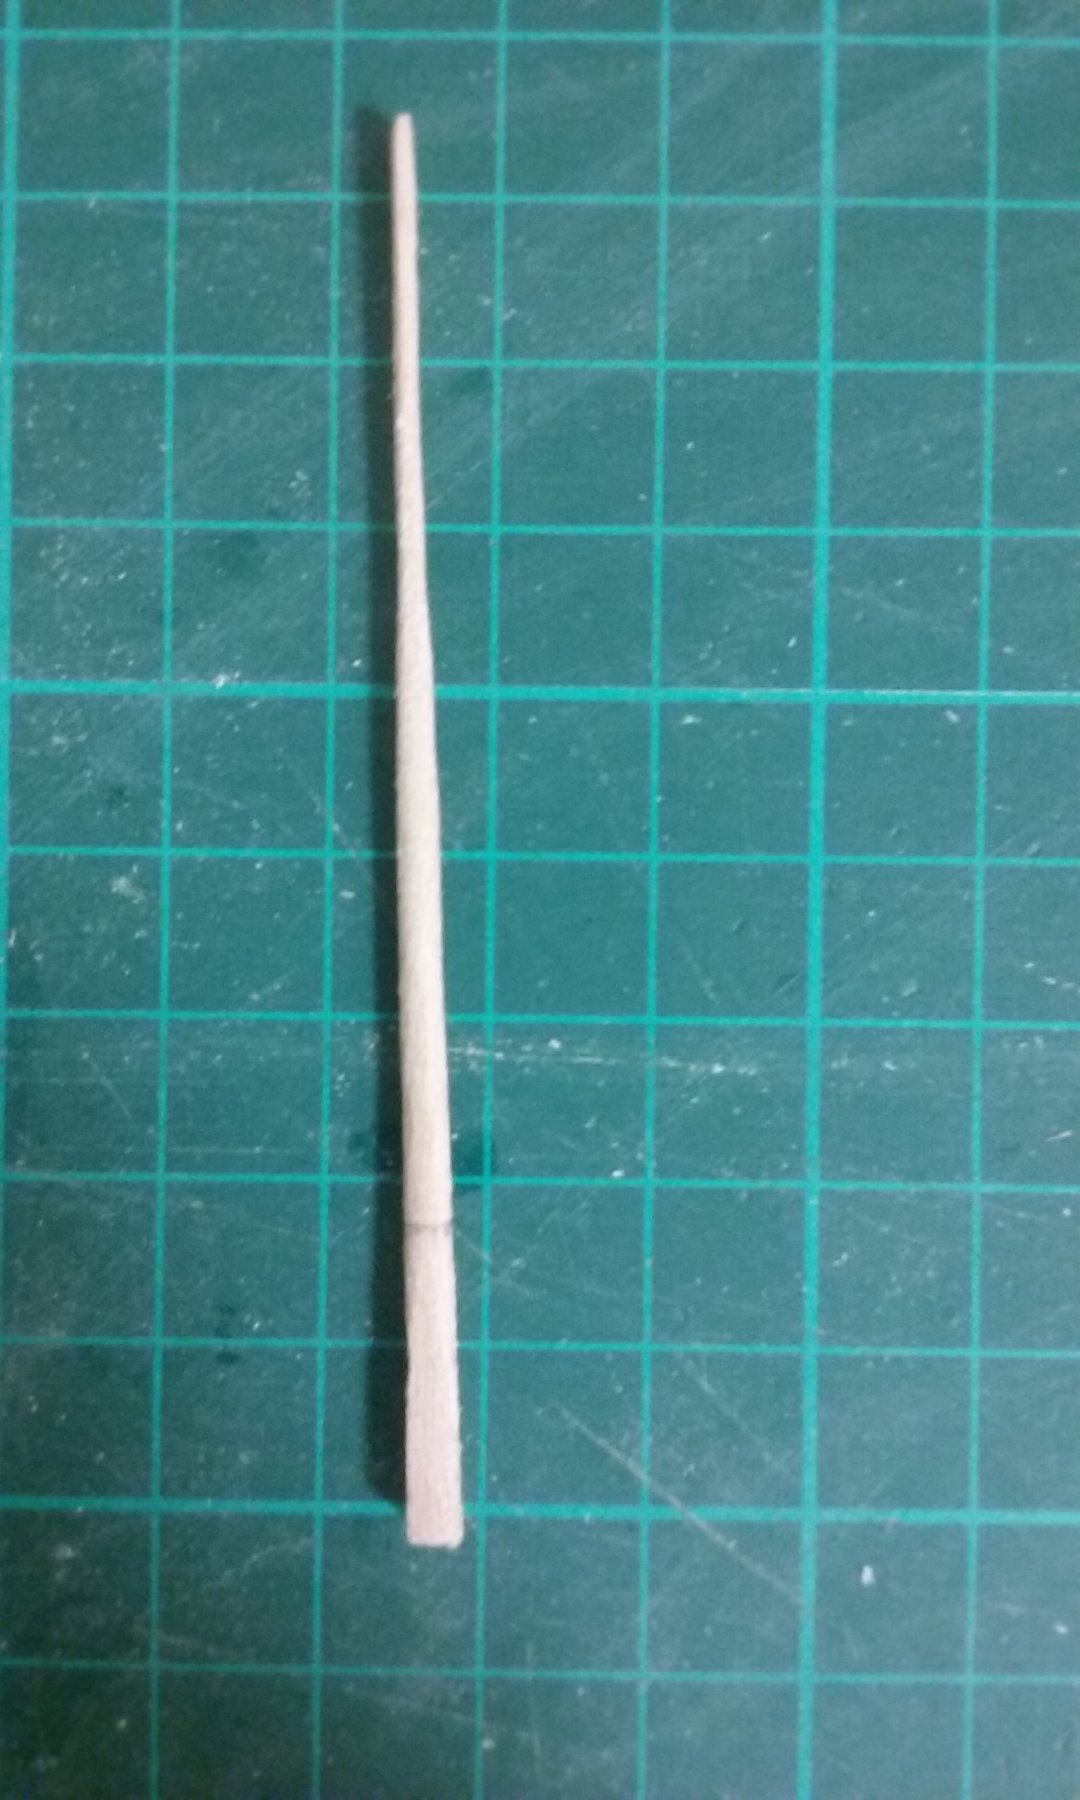
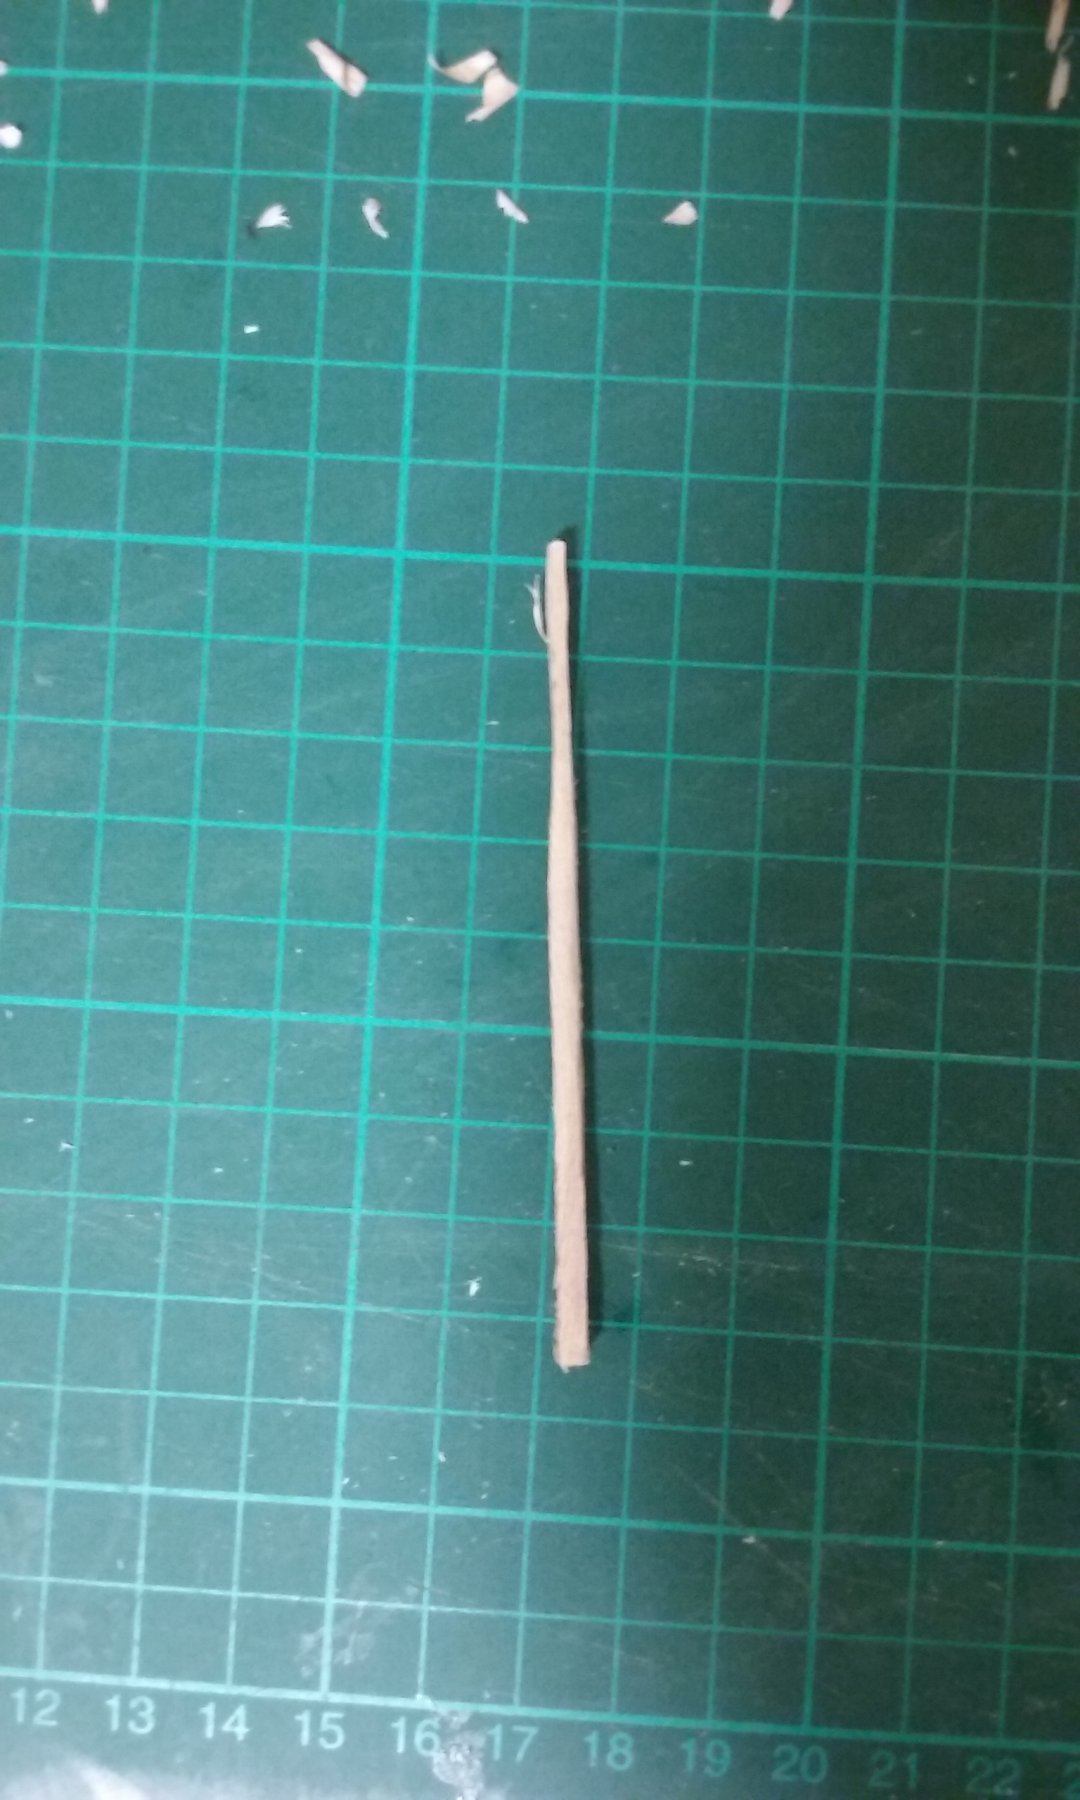
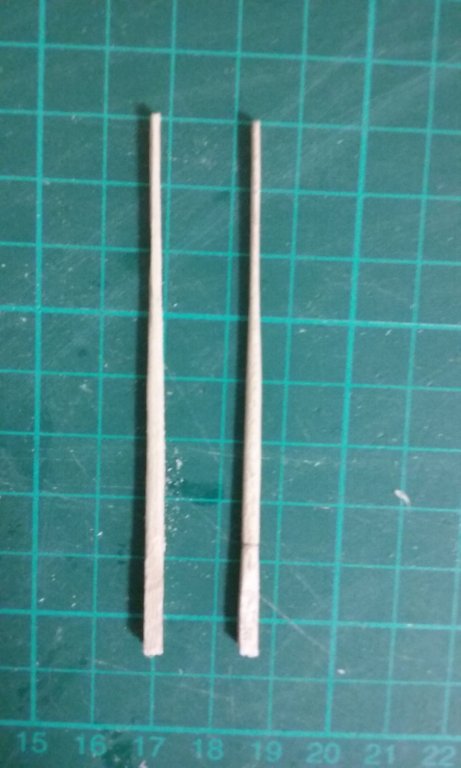
Trimming down with the scalpel to get closer to the standard oar. And further still Side view Shaped the blade - using the file now, as I did on the mast, rotating the oar in my fingers to check for roundness and filing down any lumps and bumps. Cleaned-up with the file and then sanded to finish. Note the pencil line near the base - this is to mark where the oar goes through the oarport. The finished oar side-on. Steven


-
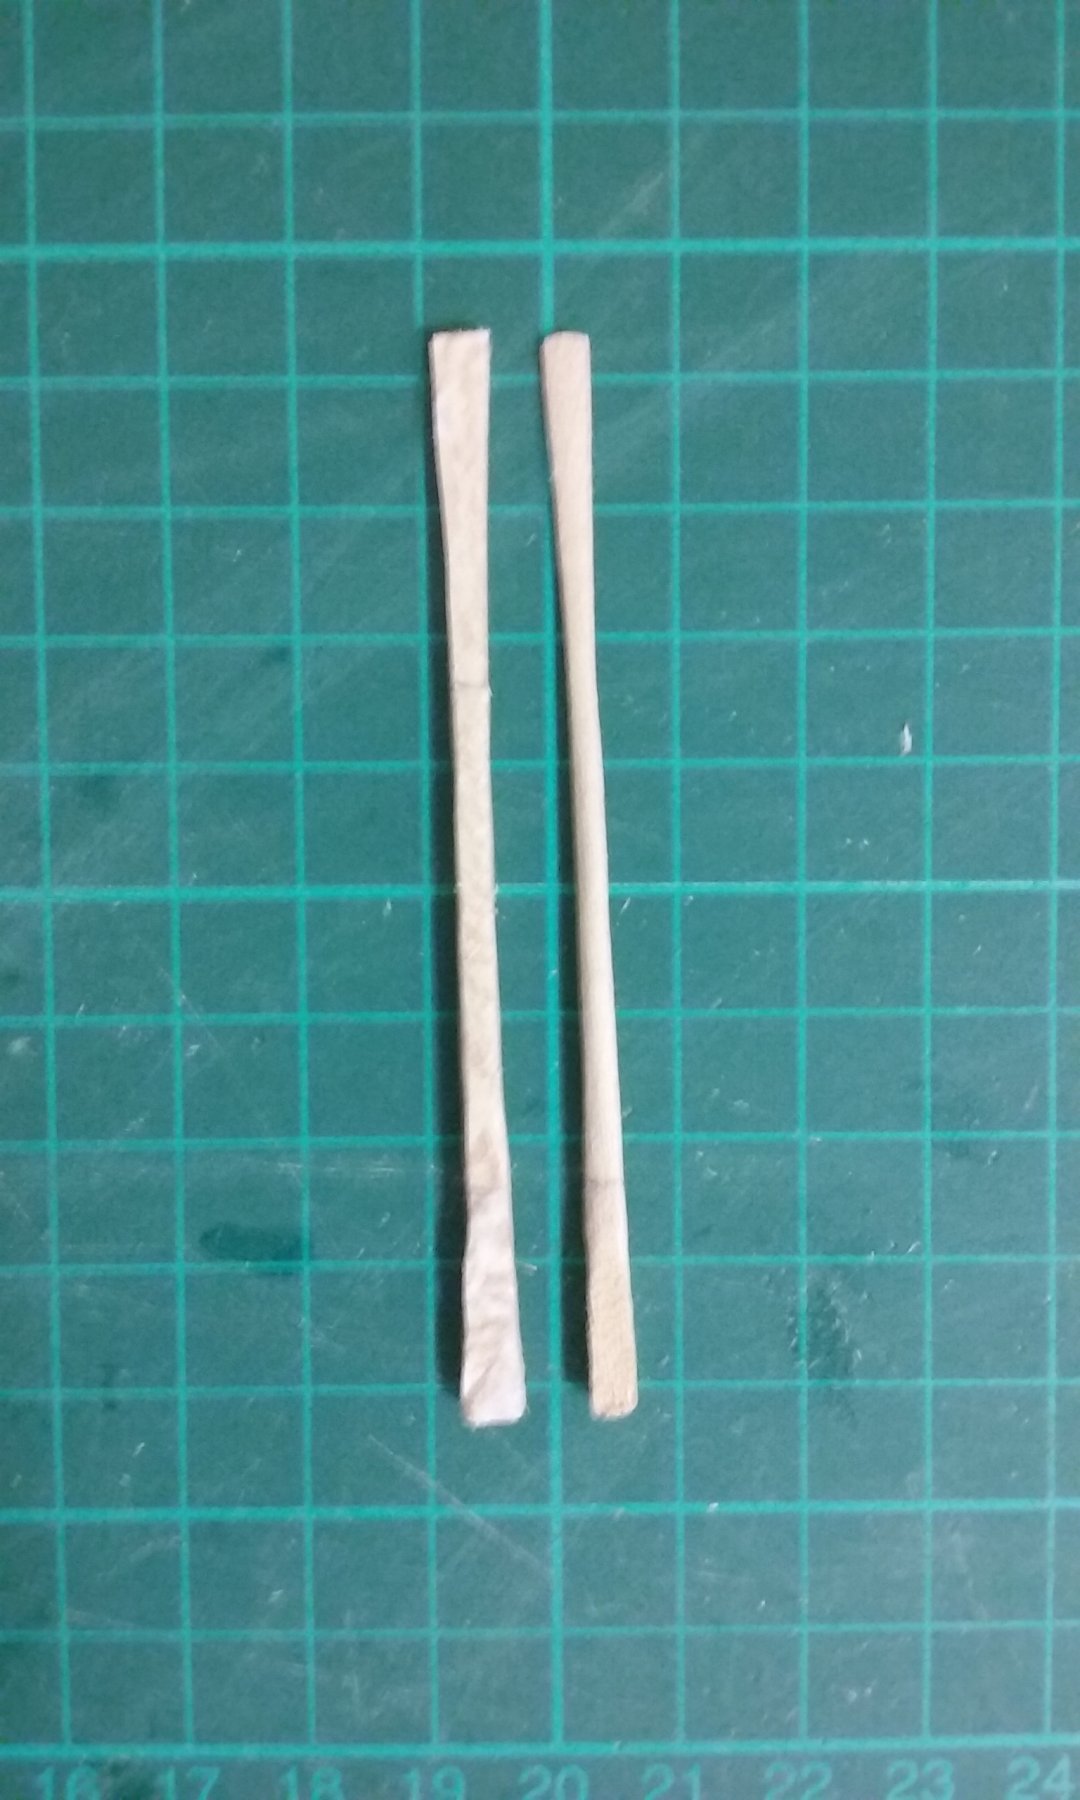
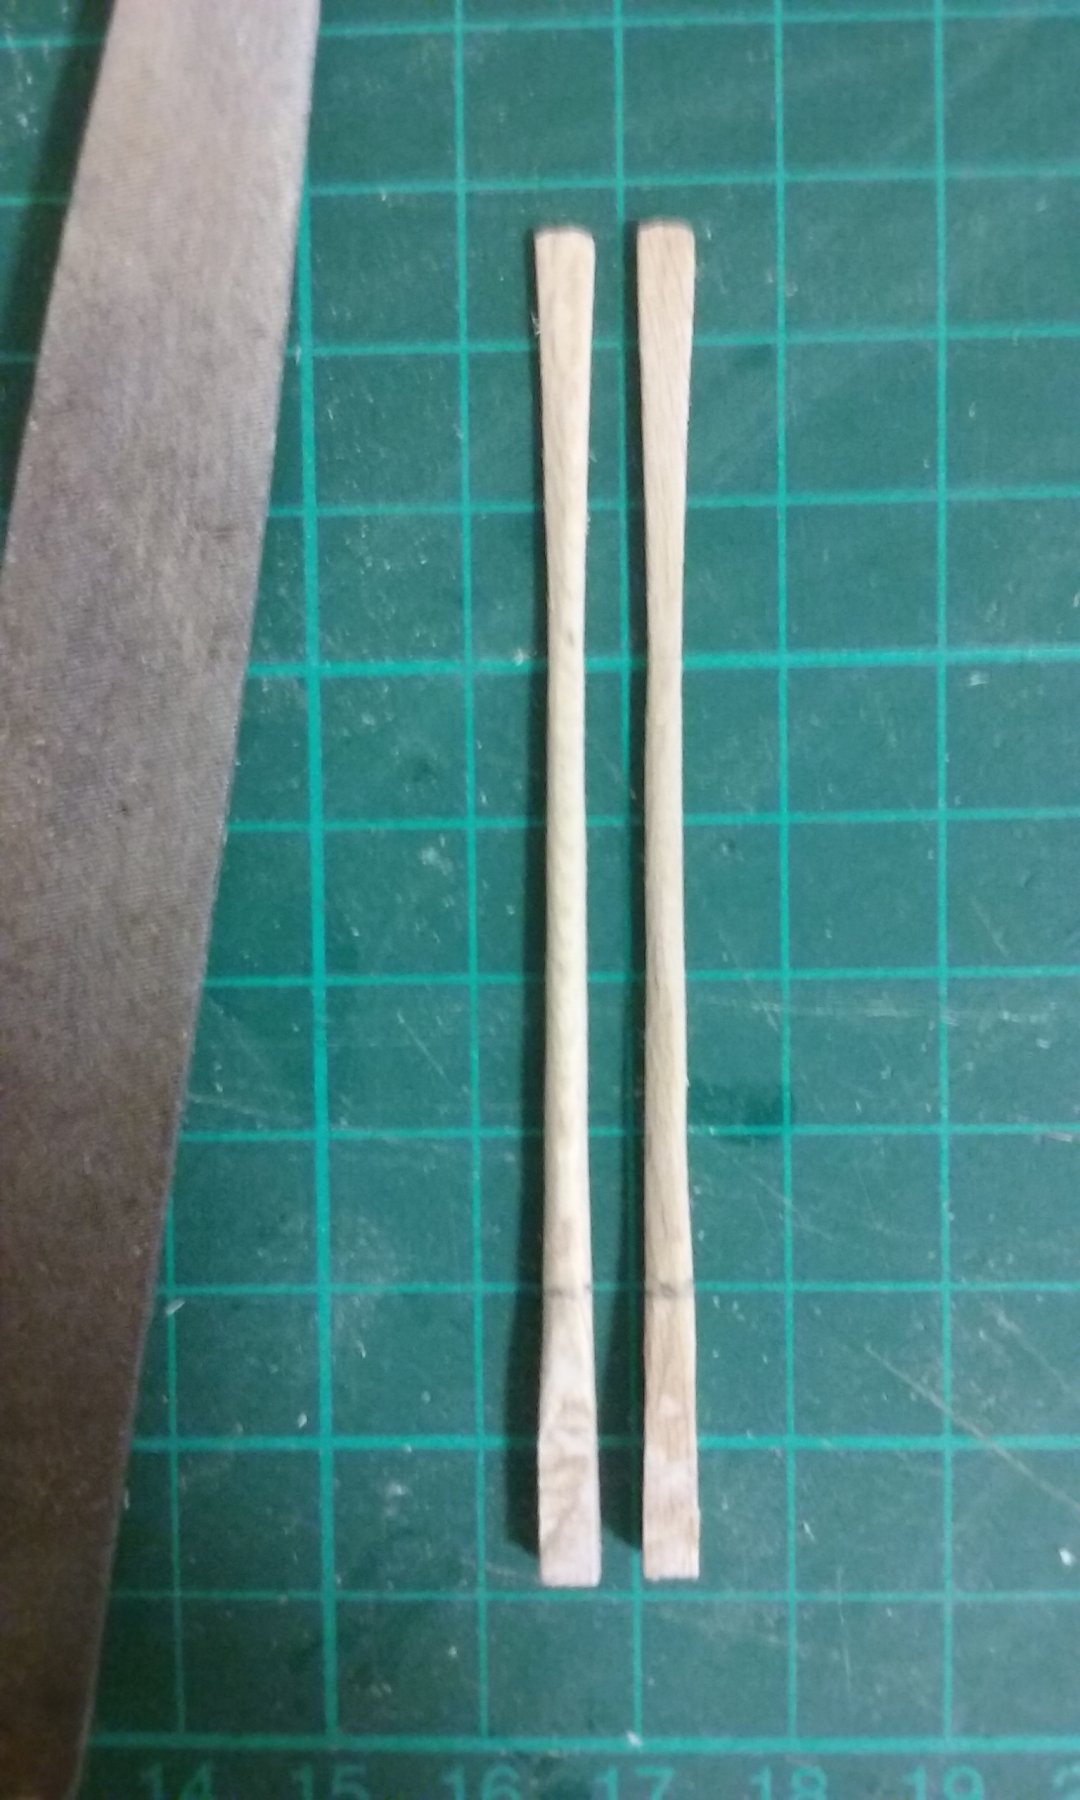
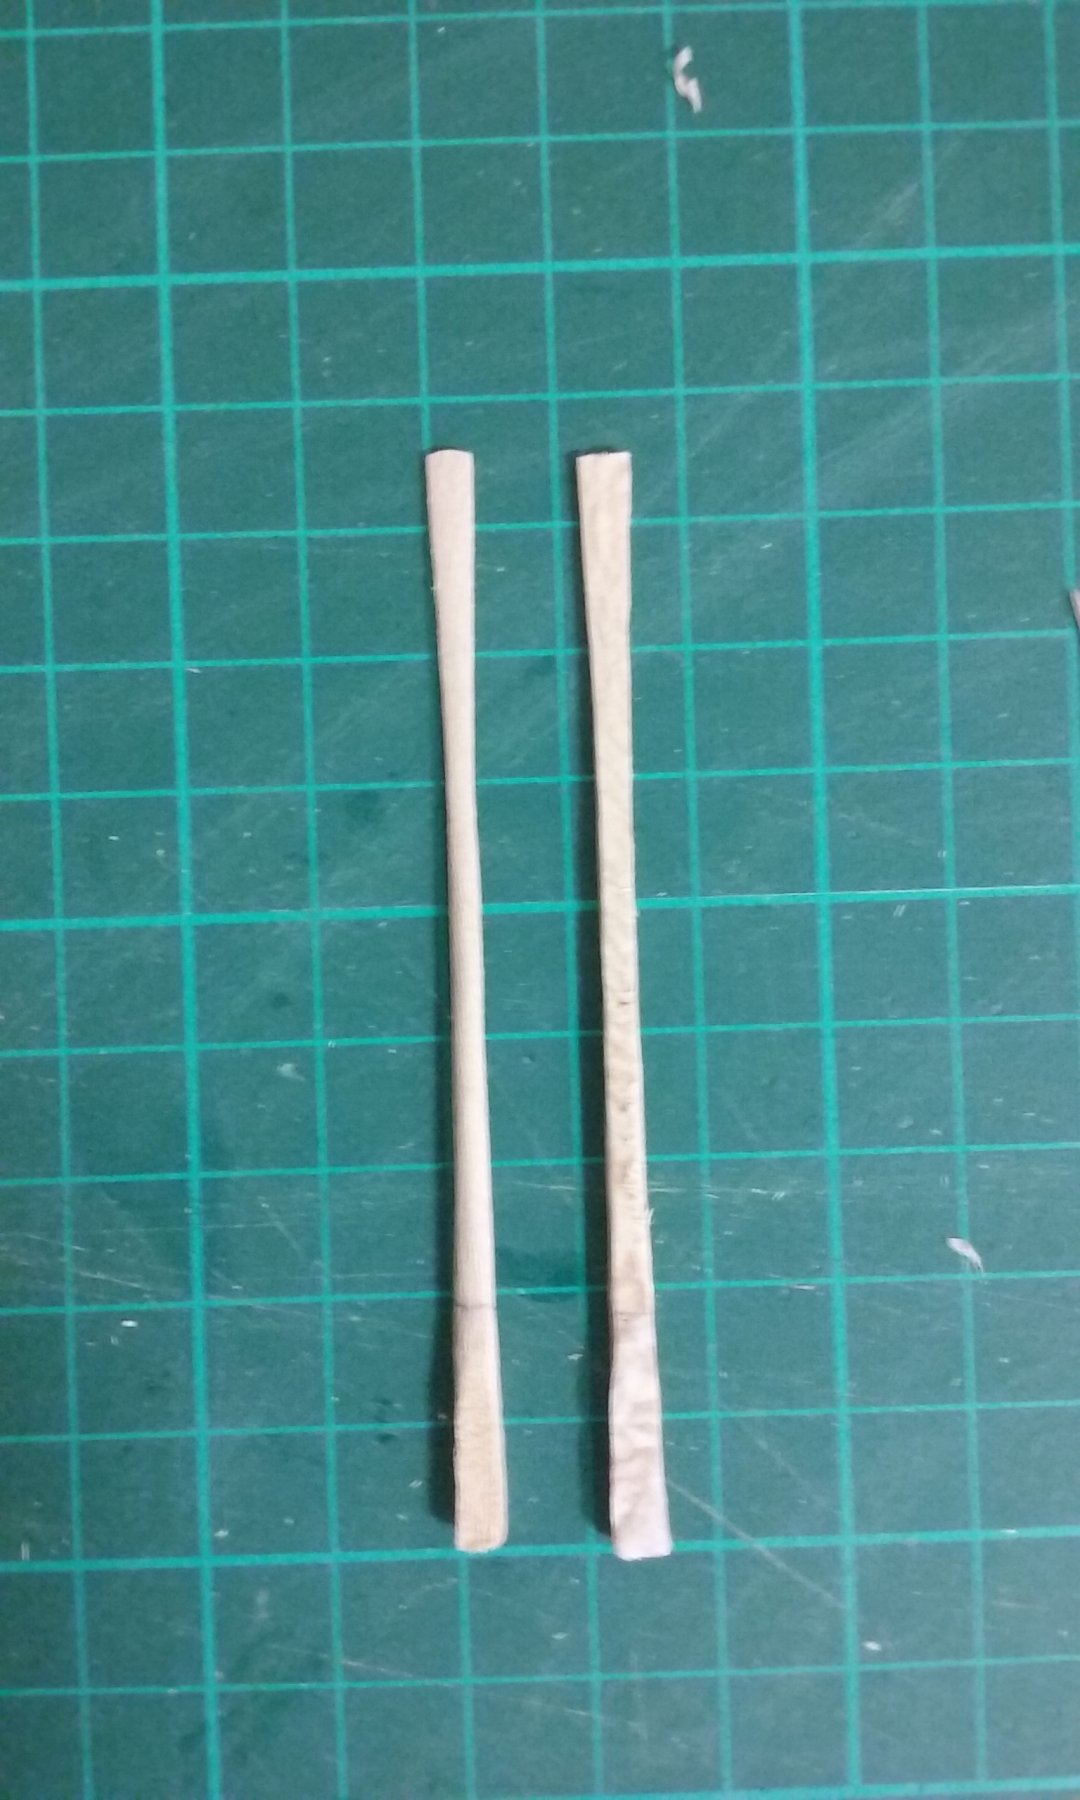
I promised a step by step outline of making a lower bench oar, so here it is. Two of the oars had turned out to be unsatisfactory - one was bowed and the other had a dark blemish in just the wrong place - so I had to replace them. Here's the first oar blank with the outline on paper glued onto a piece of 2mm thick planetree wood. I trimmed it with a No. 11 scalpel till the wood was almost cut back to the outline - leaving a little overlap in case of Murphy. Then I cut faces at 45 degrees to give it an octagonal section and started trimming the thickness to make the oarblade. Comparing it with a "standard" oar - it's quite a bit too thick. Trimmed down further to get the shape closer to the desired one. (Sorry, the new one's on the right this time). More to follow. Steven


-
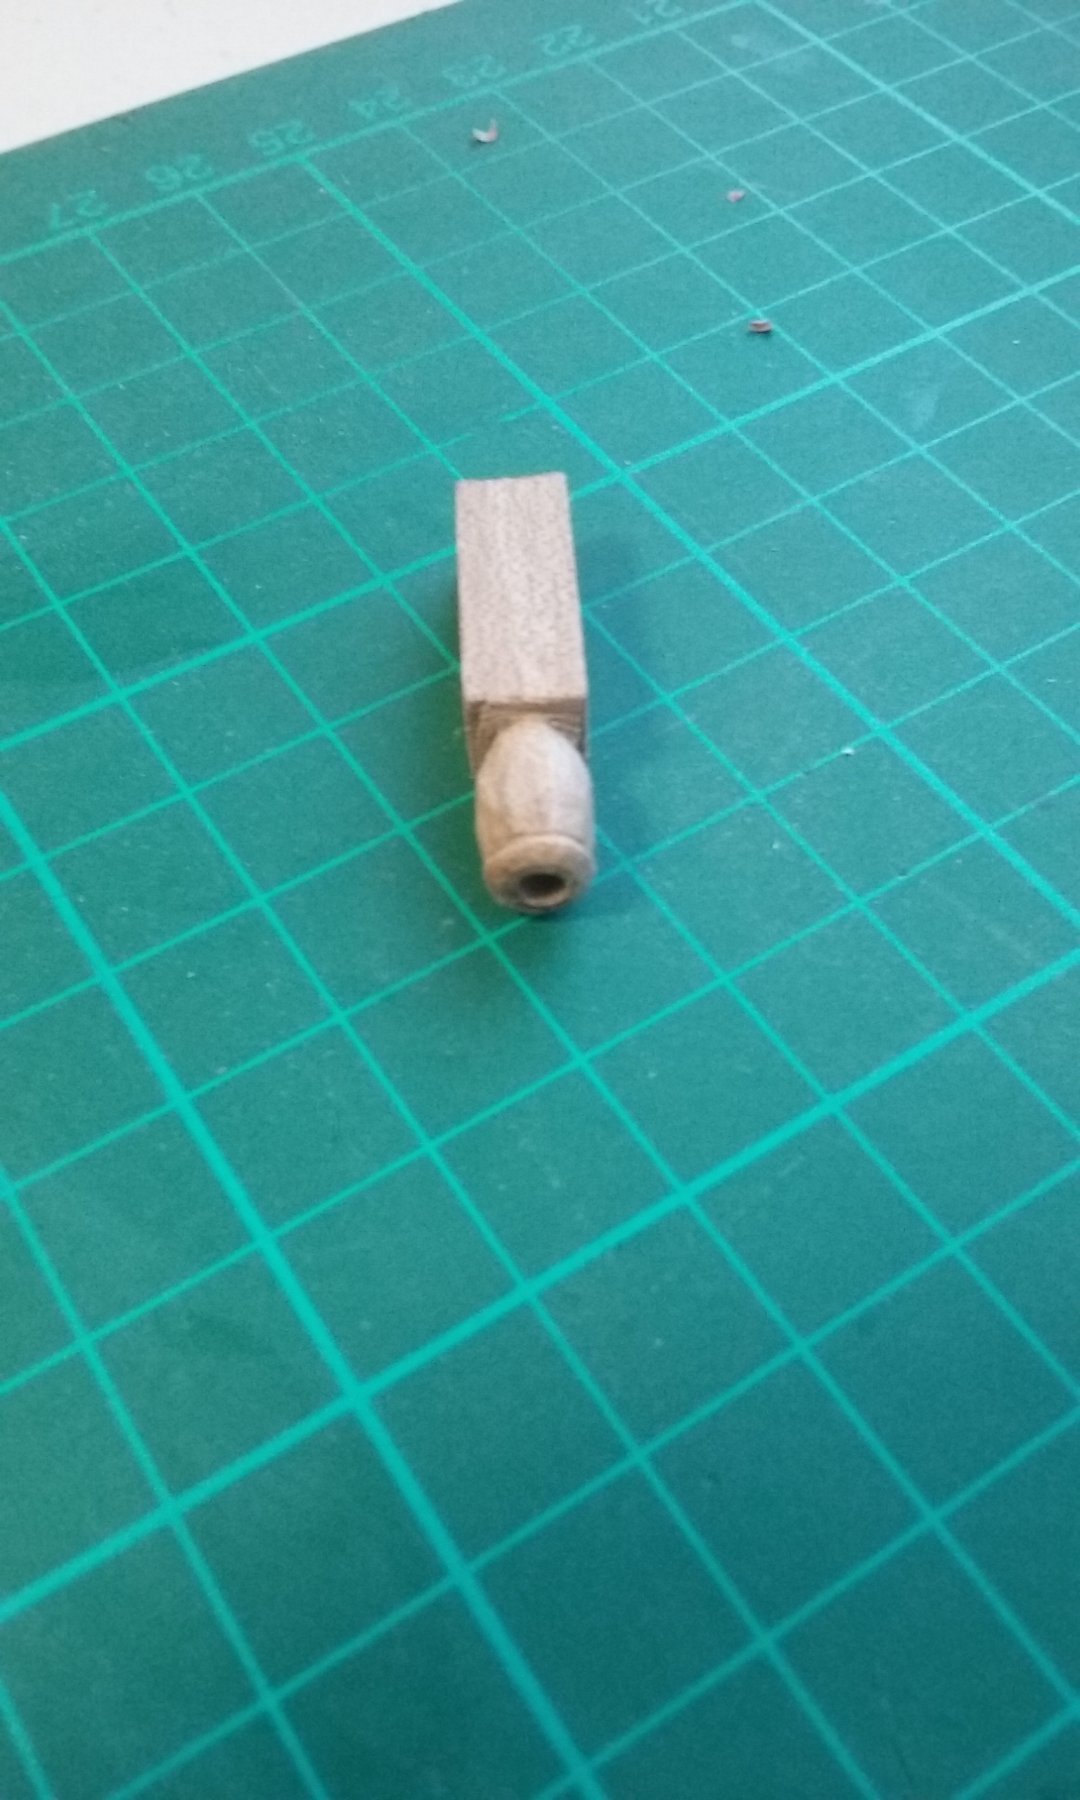
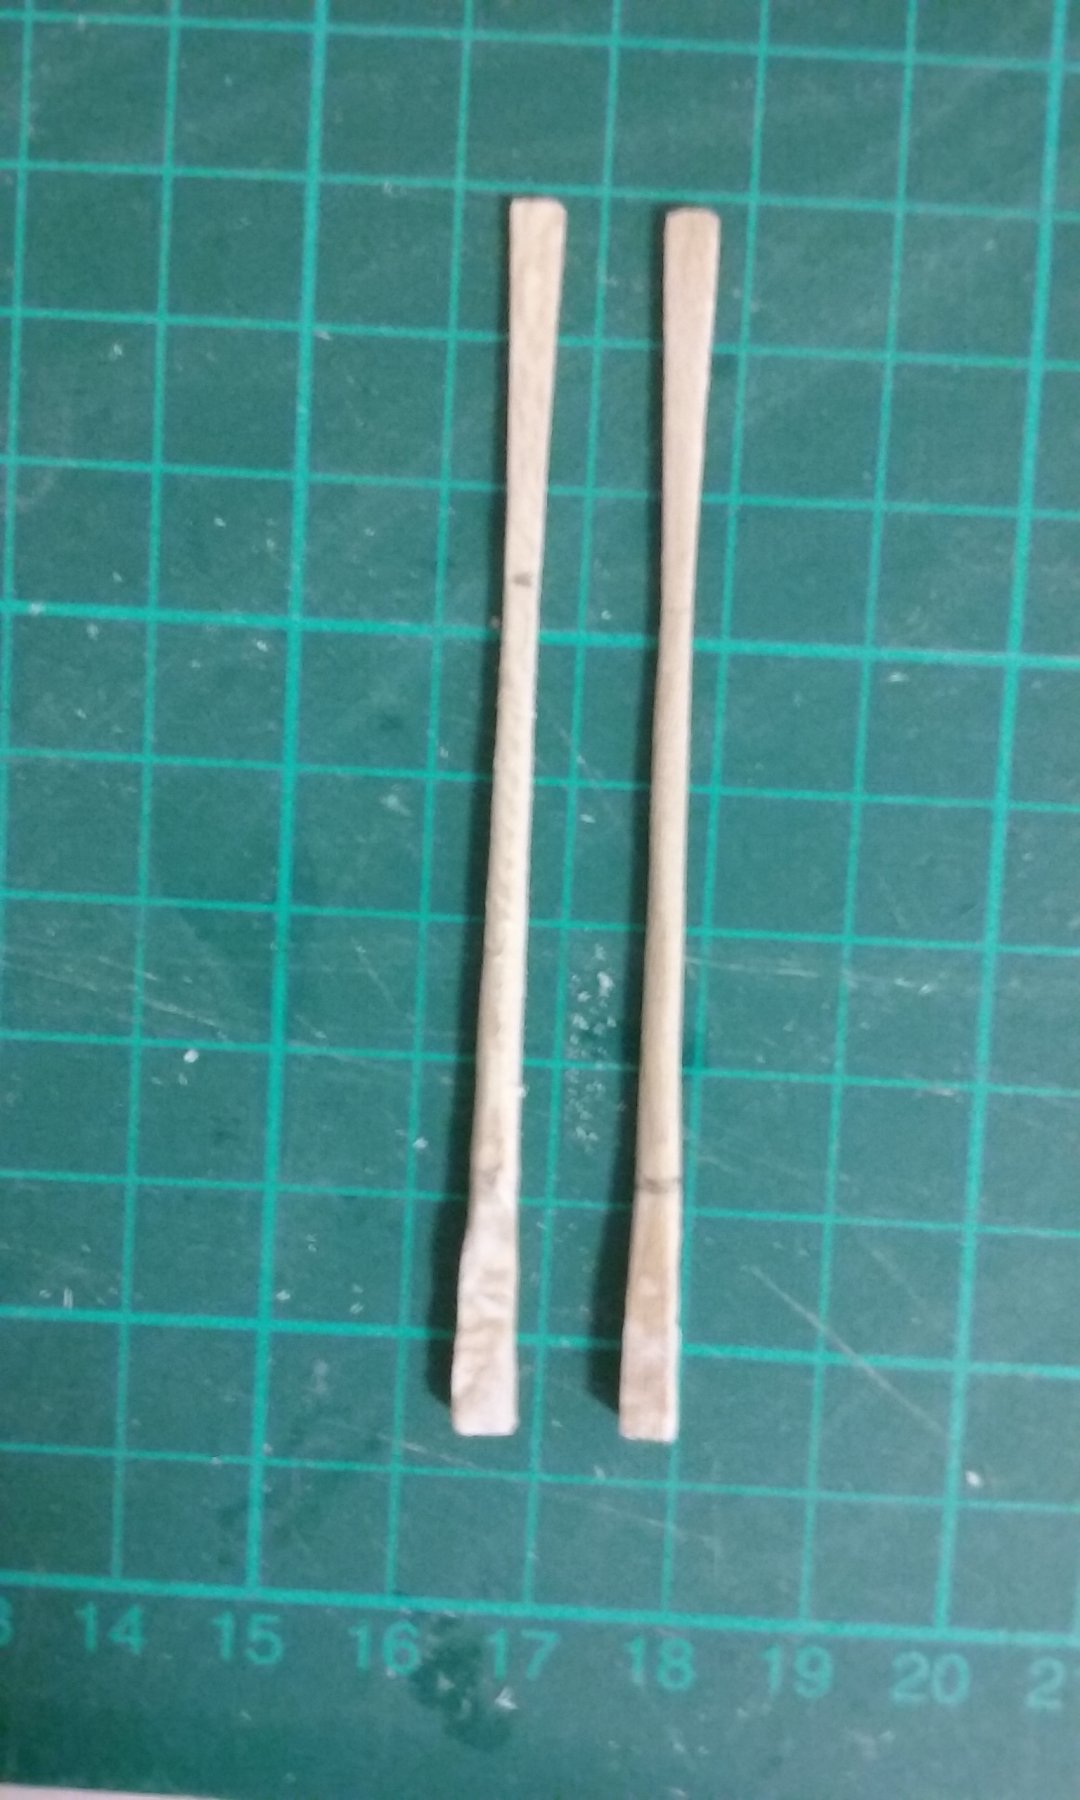
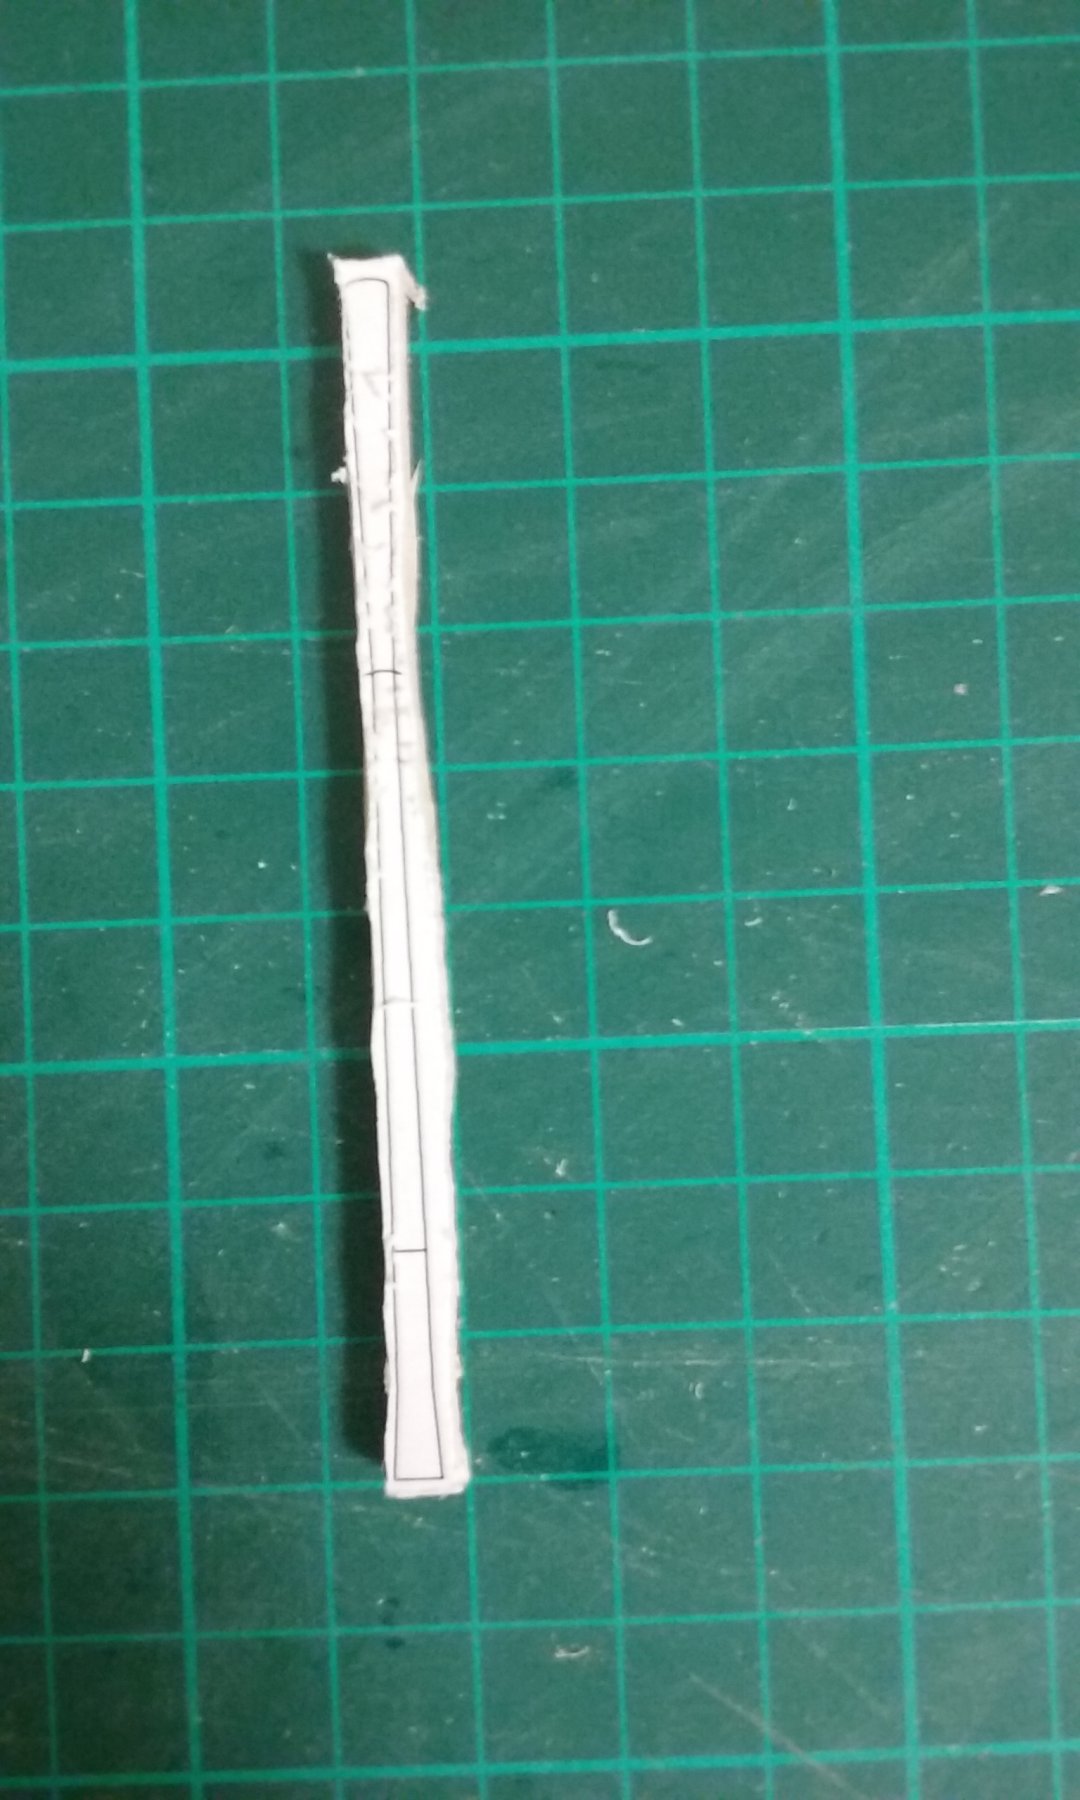
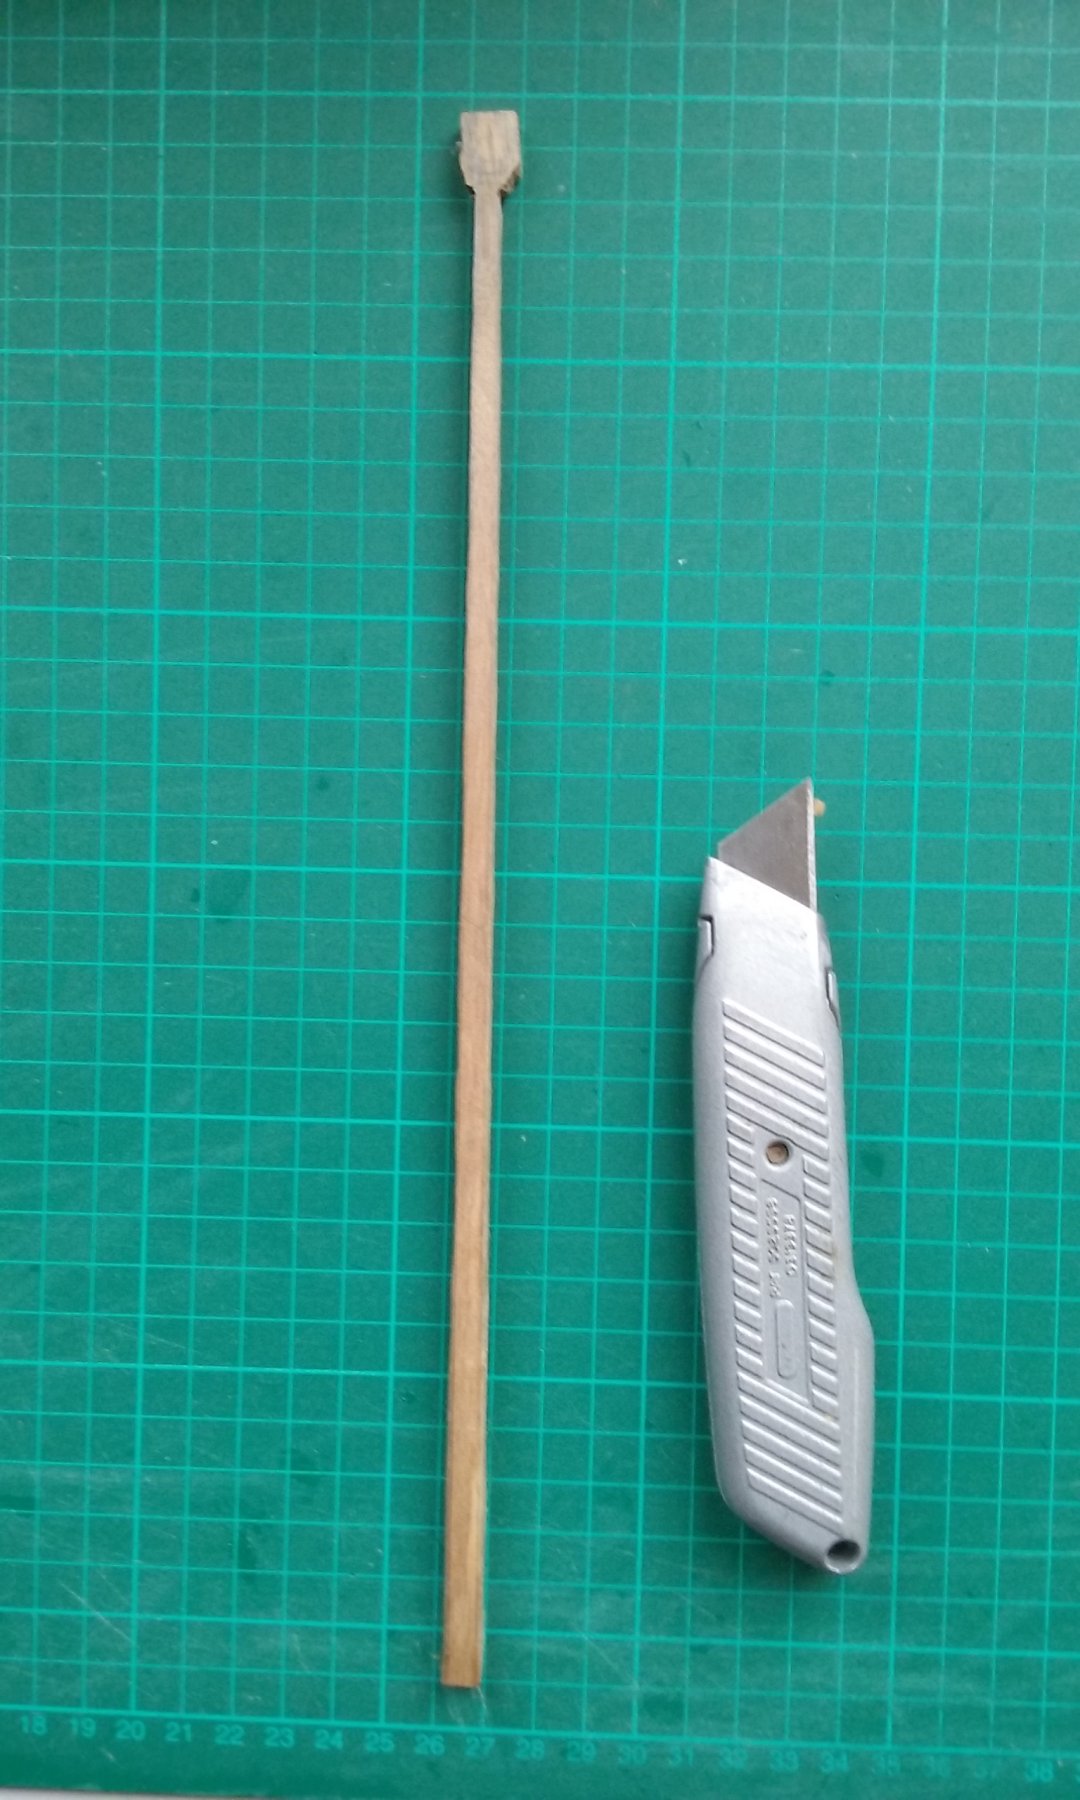
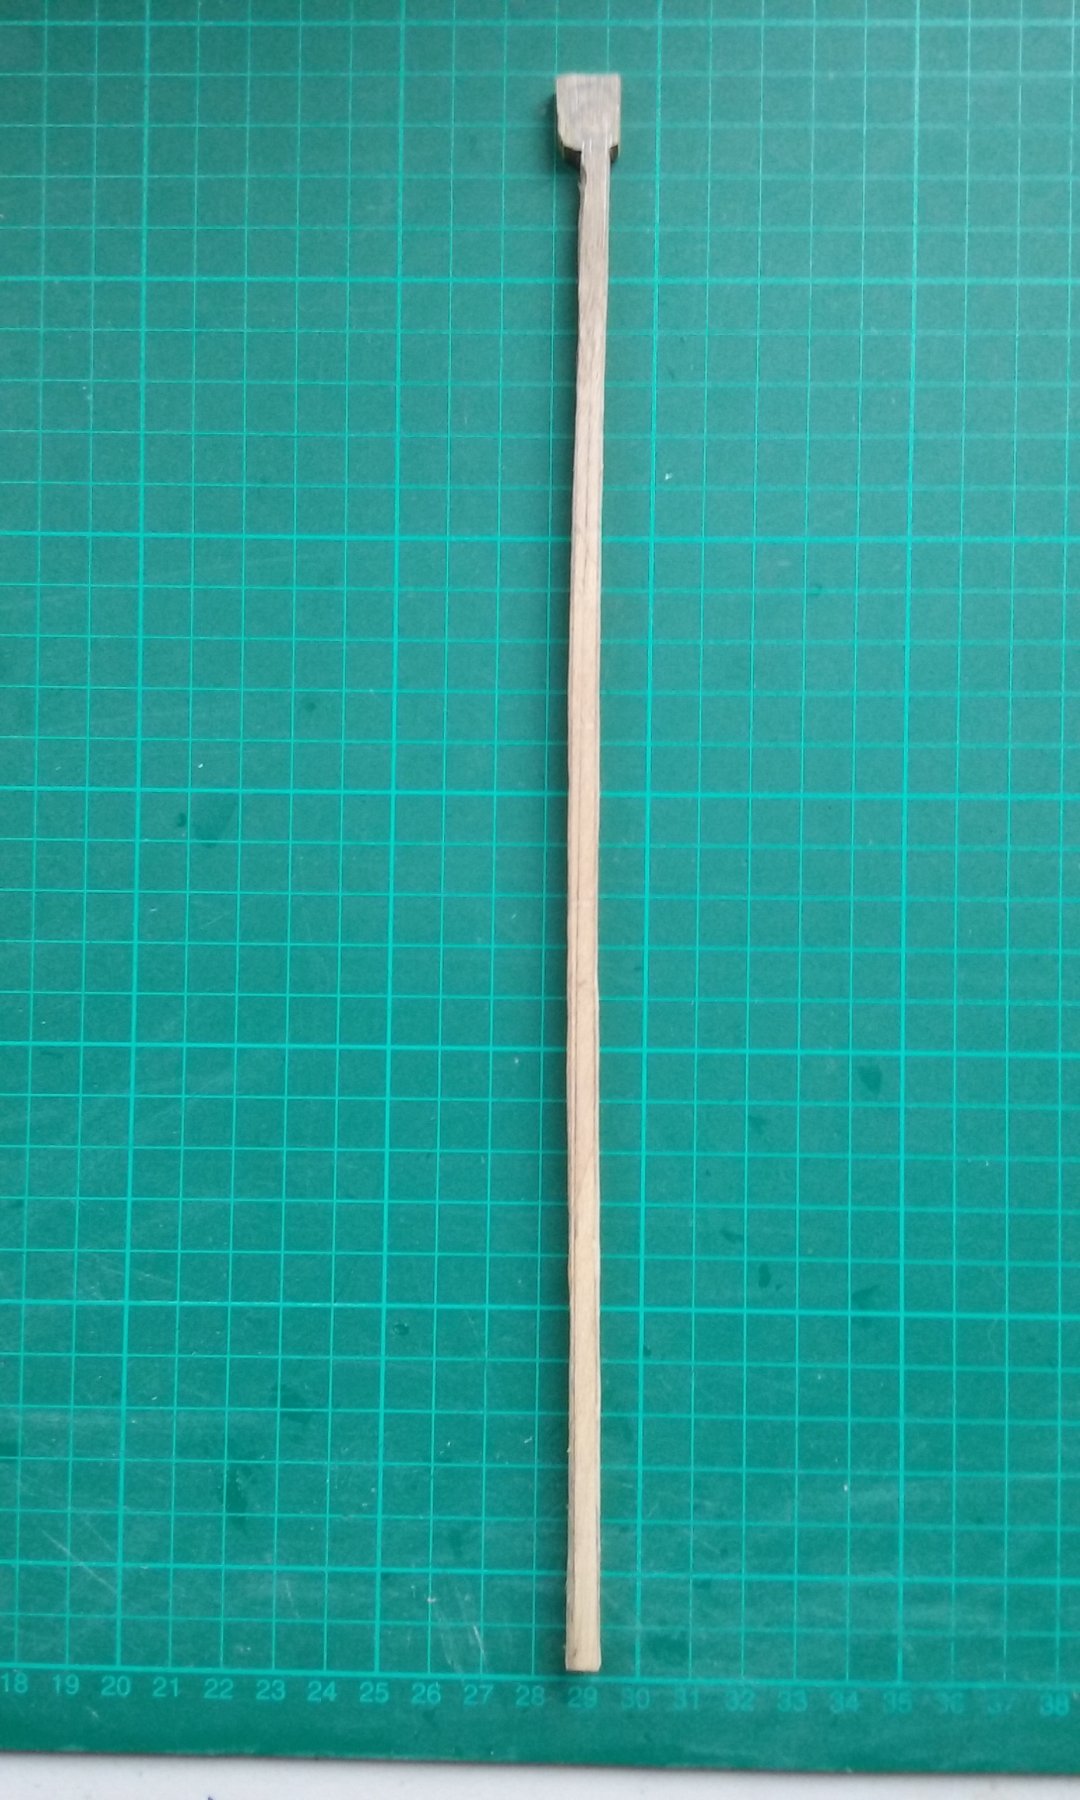
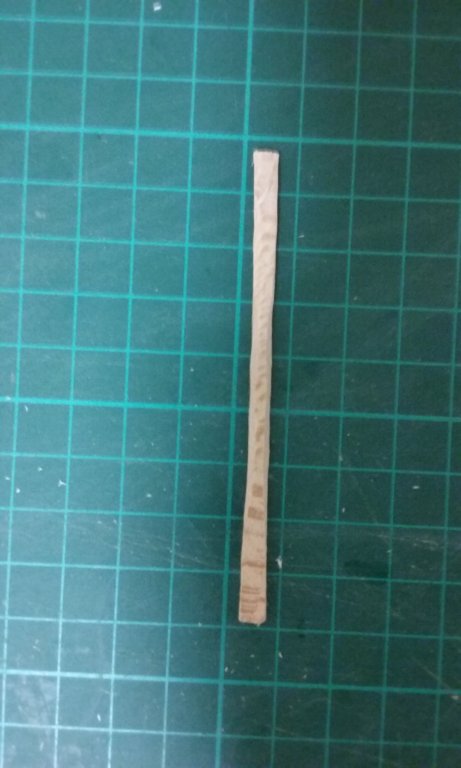
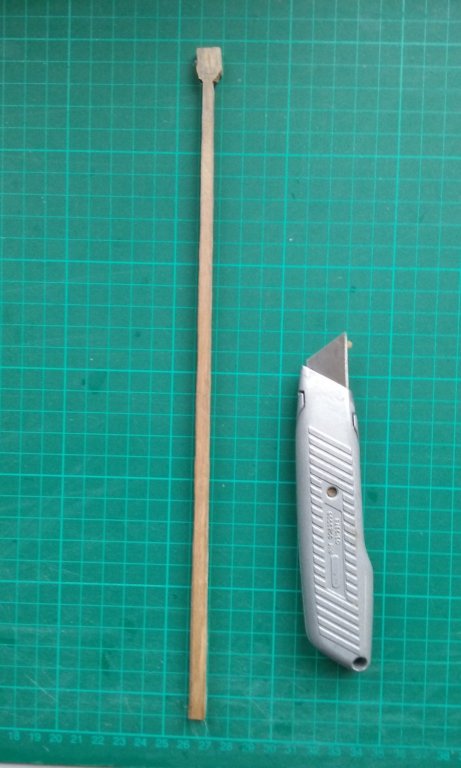
I've made the foremast. I'd cut a piece of walnut with a tapered thickness with my drop saw, and I marked out the two masts and cut them roughly to shape with a coping saw. I trimmed the foremast with a Stanley knife (see picture) as close as I could to the lines I'd marked, and made the faces flat and straight with a file. I left the top rough to start with, because it was going to hold the "blob" containing the sheaves. Unfortunately I got it wrong with the after-mast. Somehow I'd missed the lines and the thing ended up with a bow in it. Fortunately I'd left myself enough wriggle room to straighten it out - barely enough. After it was straight I put it to one side and went on with the foremast. I marked the correct taper for the other two faces of the foremast, and trimmed them so I had a square-section mast tapering from the base to the top, then filed it flat and straight. I cut faces at 45 degrees, to create an octagonal section. Then with the file I turned that into a round section, rotating the mast in my fingers to get the "feel" (which I've found gives a pretty reliable circular section when you don't have a lathe). Cut the "blob" to shape and cut the tenon at the lower end of the mast and dry fitted it into the mast step, adding a wedge to hold it tight against the blocking piece. More to follow. Steven


-
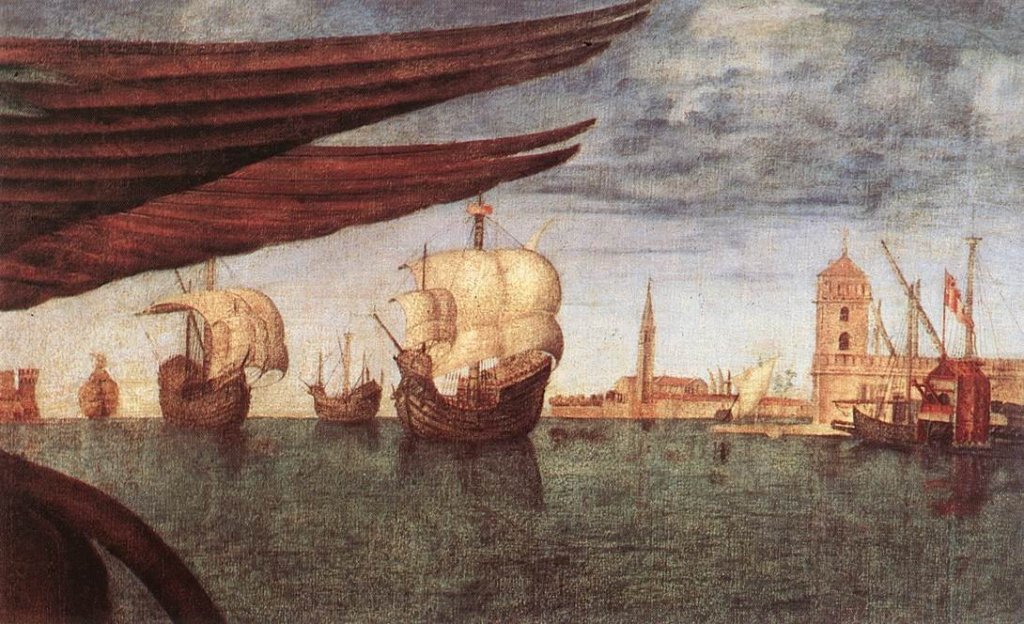
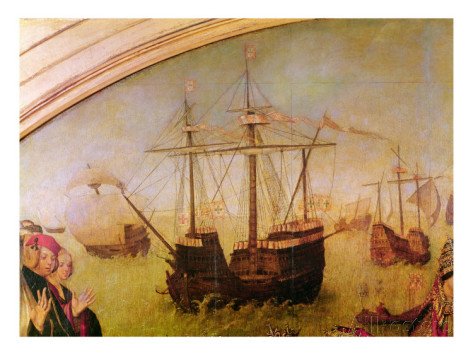
This is a little hard to answer. A lot of contemporary pictures of round ships of this period are shown from the stern so they don't show this detail. Of the ones that are seen from the bow, many pictures (and the Mataro model) just show this area open, presumably for easy access. Others (not very many) show an arch similar to the one at the forecastle. By 1520 this area seems to have been closed in with what might be an arched door leading within - but the carracks of this time were considerably larger. I haven't seen the picture of the Spanish carrack you refer to, so I can't comment. Is it possible to post it?
-
Thanks everything for the likes. Pat, thanks for the comment, though I'm afraid the frame to hold the oars is a modern fudge, as I'm not prepared to put in lower oar benches and oarsmen that will never be seen. Steven
-
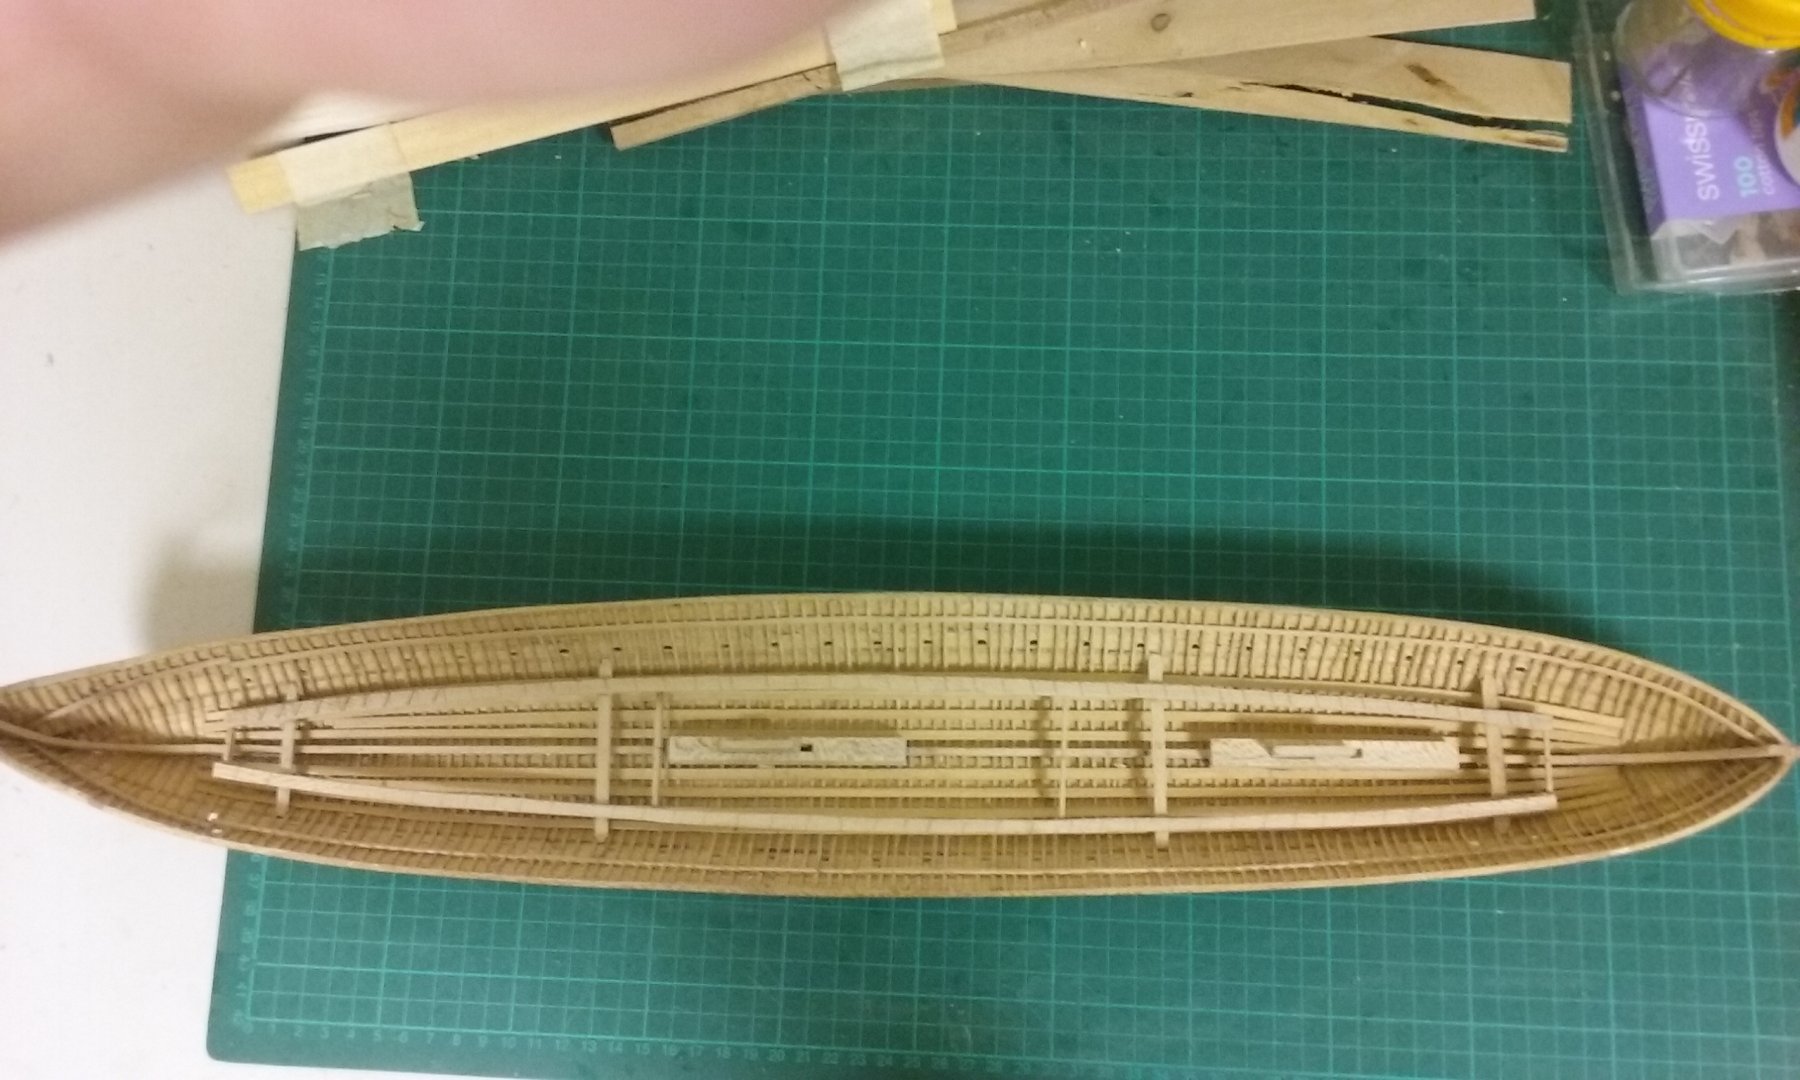
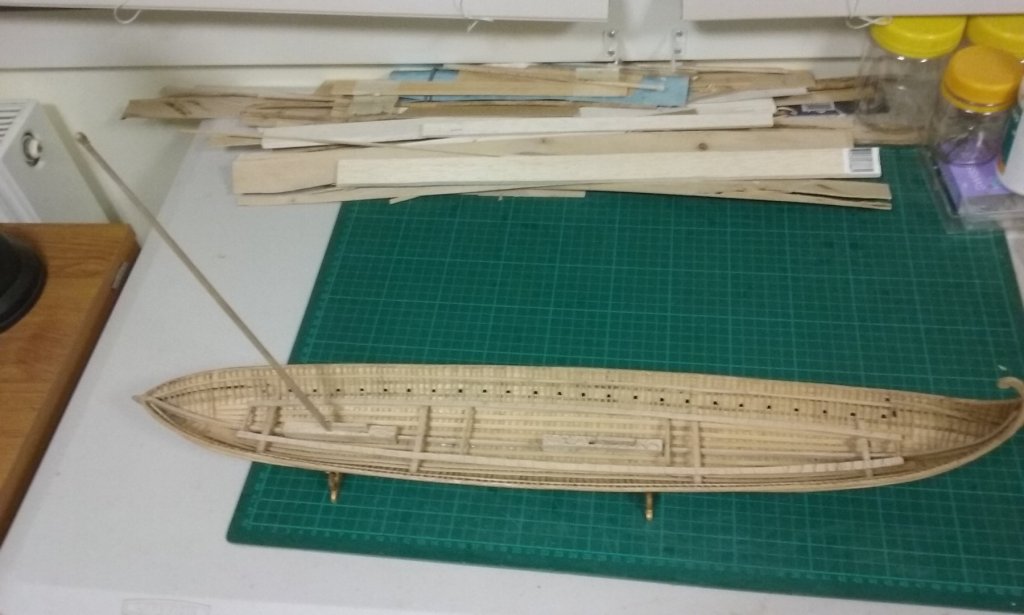
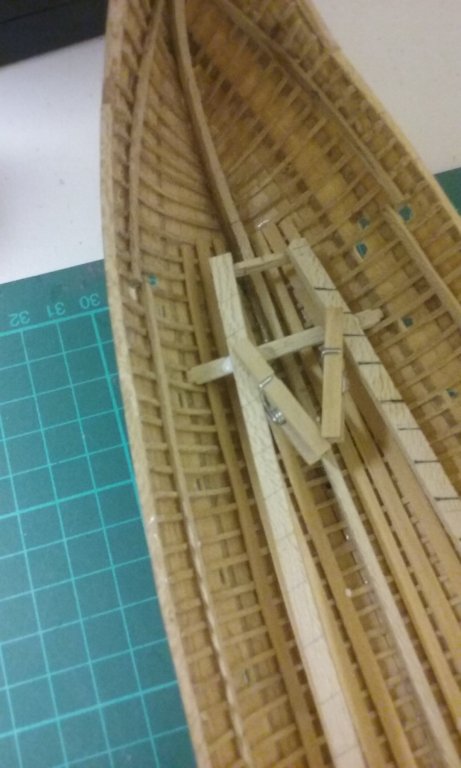
I've made the mast steps and put them in. Here they are dry fitted: The supports for the frame to hold the lower bank of oars are now glued in place: And the frame has been glued to them. Oops: I discovered that the pencilled guidelines I'd drawn to fix the angle of the oars faced 180 degrees the wrong way, so I had to erase them and redraw them. I still have a remnant of the wrong ones because I started with spirit pen at one end and couldn't get rid of it. As the pencil line around each oar where it goes through the oarport was getting faint I've also re-done the lines. And the mast steps are now glued in, along with the blocking pieces. Still working on the new masts and then I'll make the wedges to hold them in place. I also have to make and insert the mast partners to hold them rigidly. Steven


-
A very interesting framing system, Dick. Is this based on the Libro di Navigar? Steven
- 263 replies
-
- 2
-
-
- nave tonda
- round ship
- (and 2 more)
-
Yes, that's the Italian name for it, and the name of the republic of Ragusa from the 14th to the early 19th century. It's apparently where we get the name "argosy" meaning a fleet - not, as I'd thought, from Jason's ship Argo. A very nice body of work, GG. And the carrack is very finely done. Steven
-
Lou, to my chagrin I'd never heard of the Beaverford, which seems to me had even more to do with saving the convoy than the Jervis Bay, (noble though her sacrifice was). I looked Beaverford up and was astounded at her achievement - for an unarmoured merchant vessel to hold off a pocket battleship for 5 hours, with only a 3'' and a 4" gun. Amazing and incredibly courageous. And it's shameful they were never given official recognition. Steven
- 292 replies
-
- 5
-
-
- g class destroyer
- trumpeter
- (and 4 more)