


Louie da fly
-
Posts
7,568 -
Joined
-
Last visited
Content Type
Profiles
Forums
Gallery
Events
Posts posted by Louie da fly
-
-
So here it is with the whole length toothpicks.

And trimmed, with the railing just started.

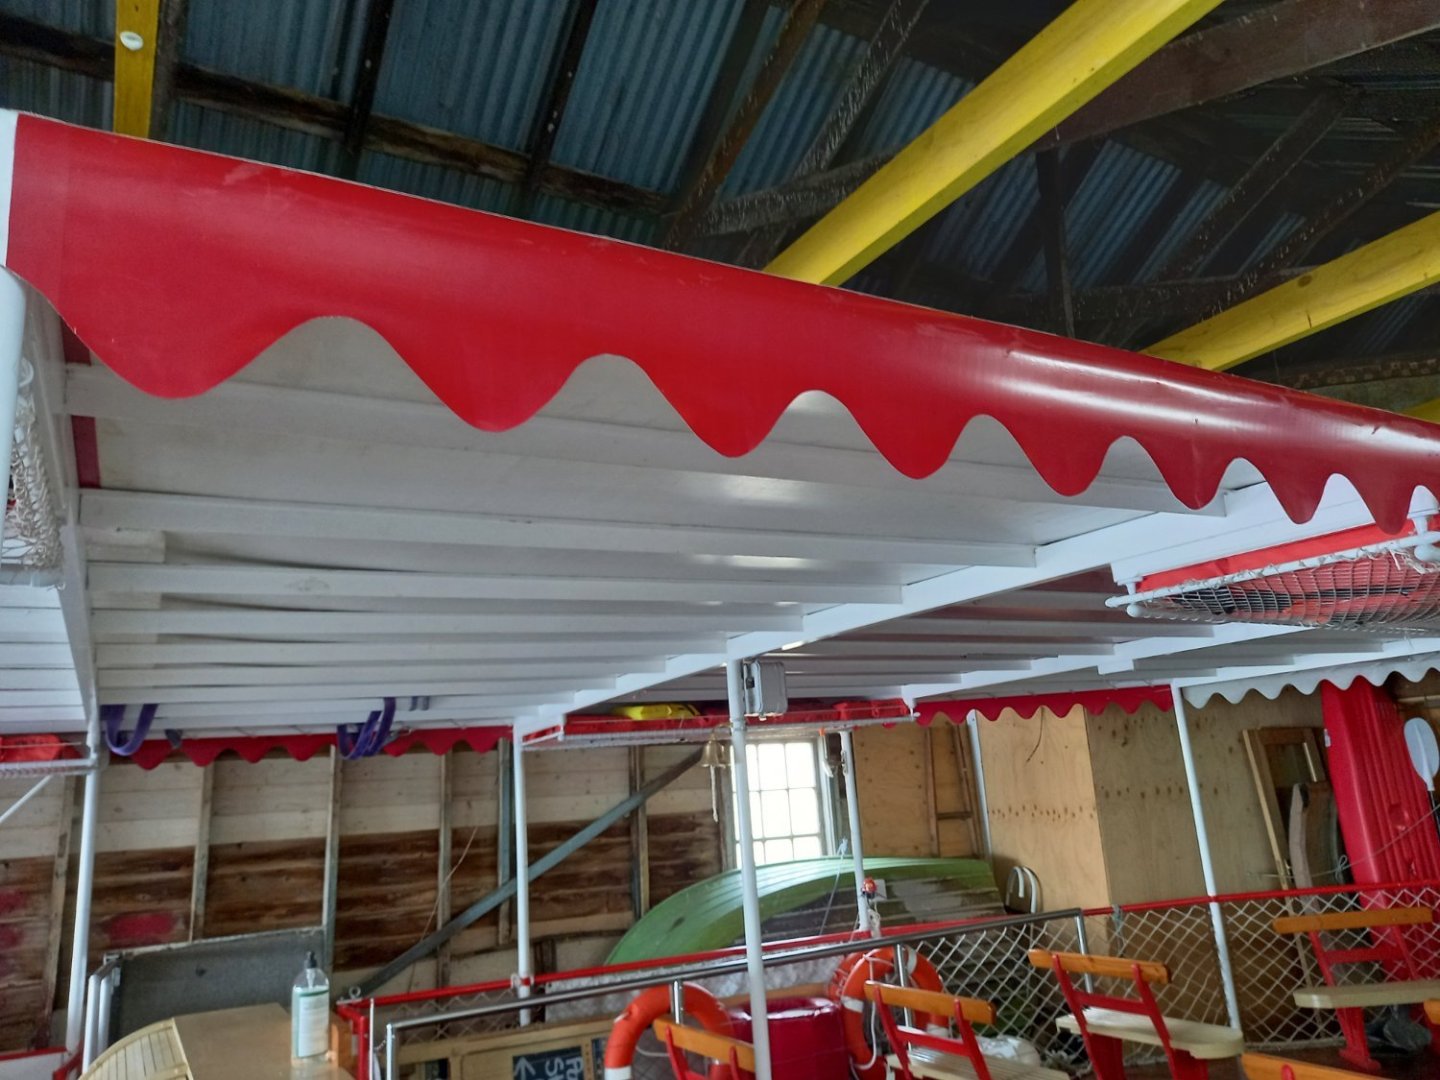
My lovely wife has solved at least one problem on this build for me - I'd wondered how to get the wavy border on the awning. Turns out she has a pair of scissors (think: a variation on pinking shears) that cuts paper and cloth with just the right wavy edge. Amazing!
Steven
- druxey, Mark Pearse, Ras Ambrioso and 11 others
-
 14
14
-
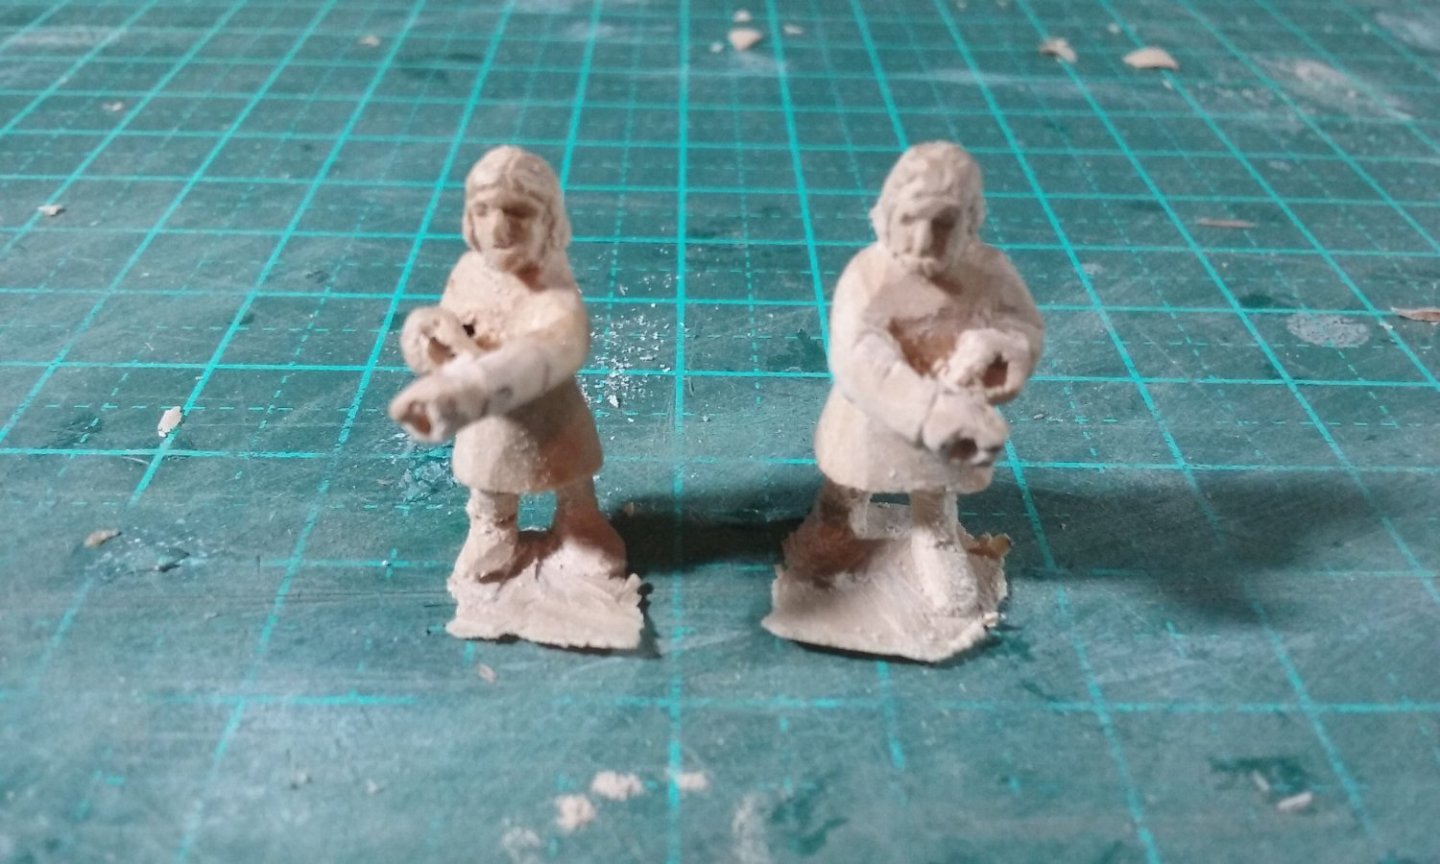
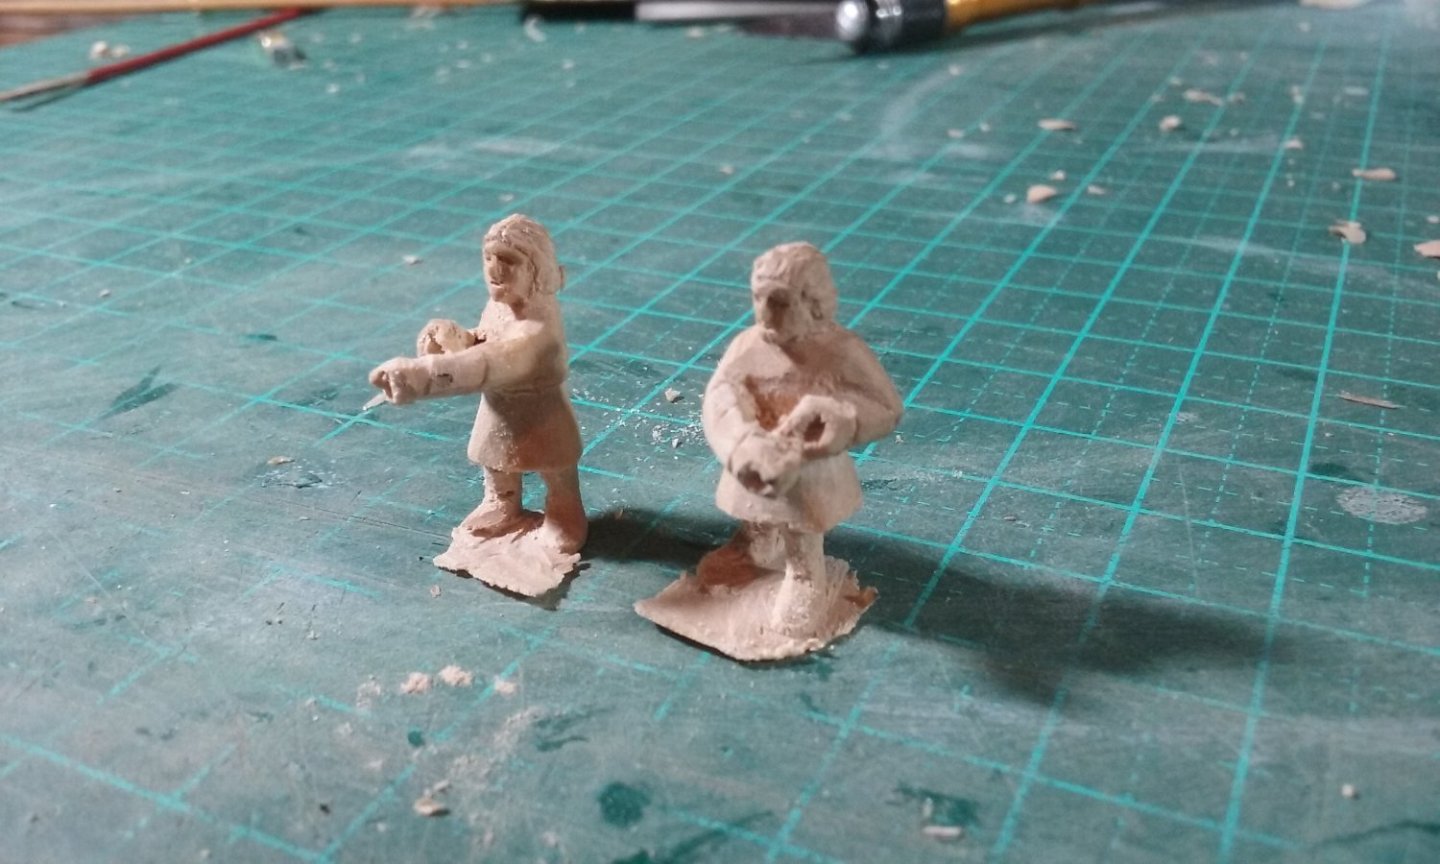
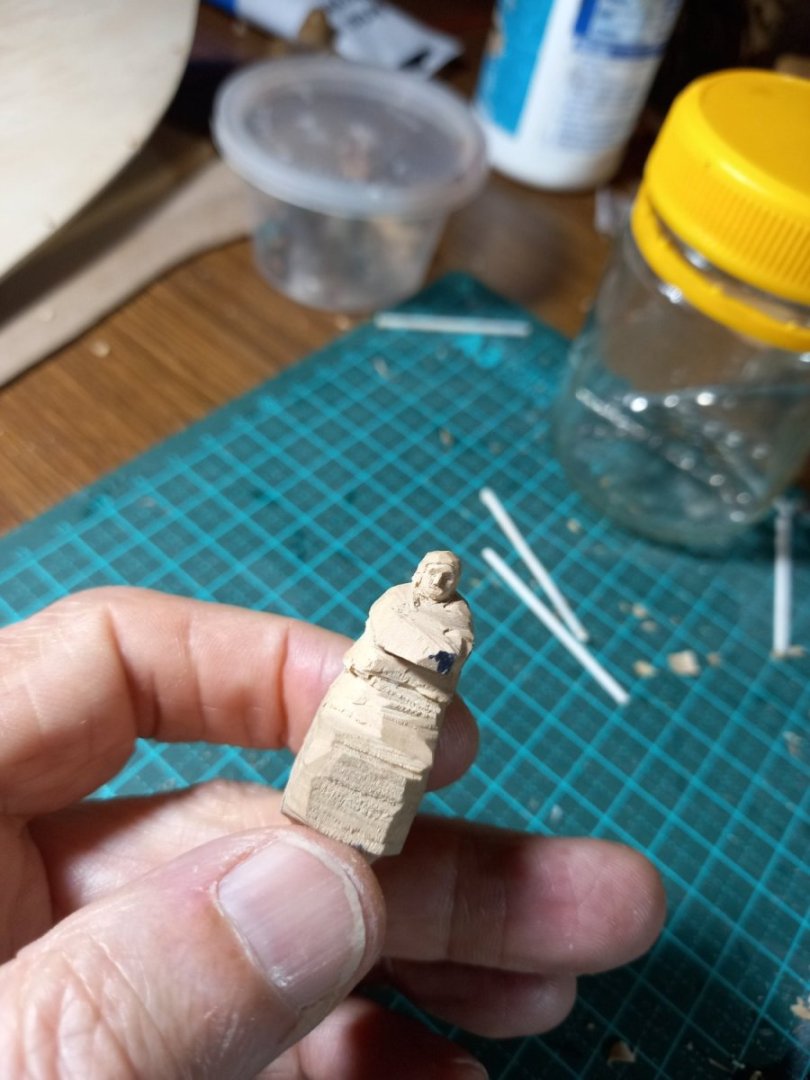
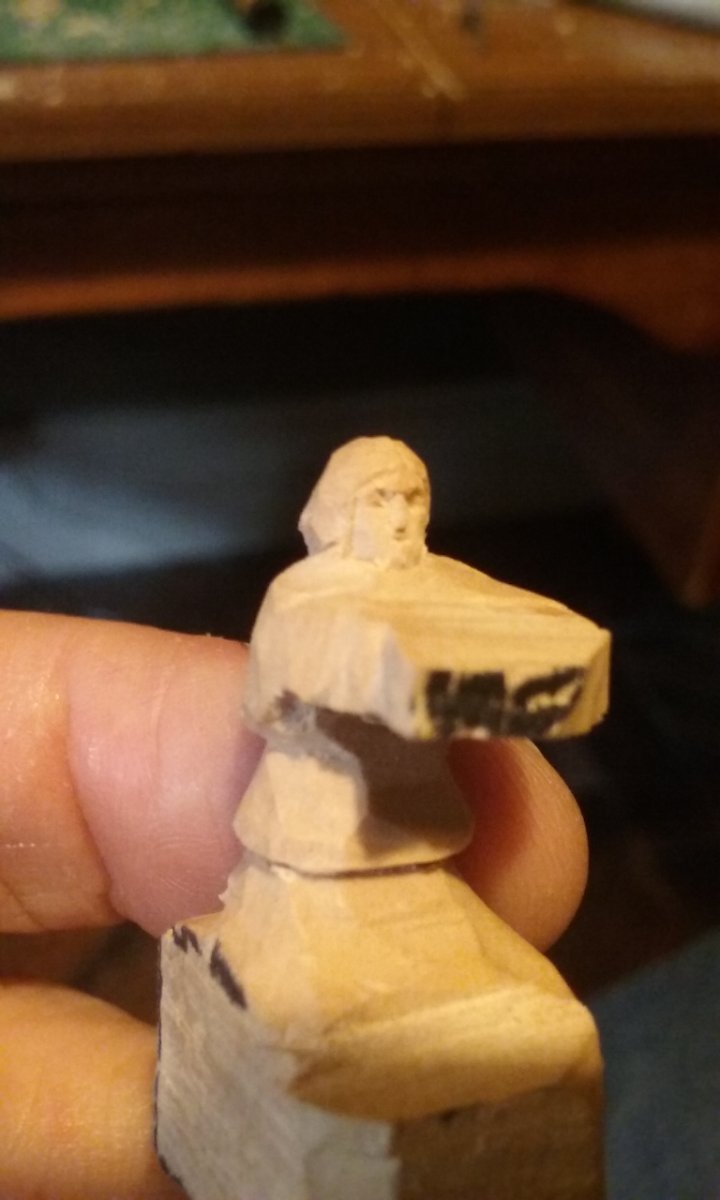
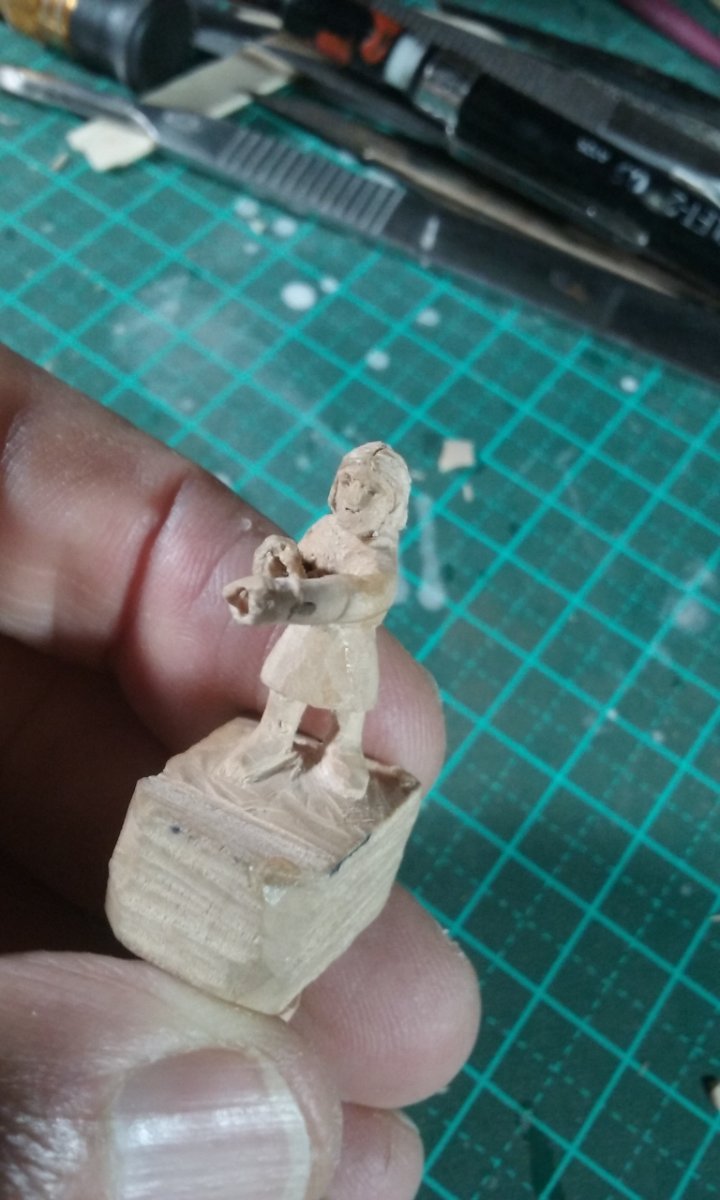
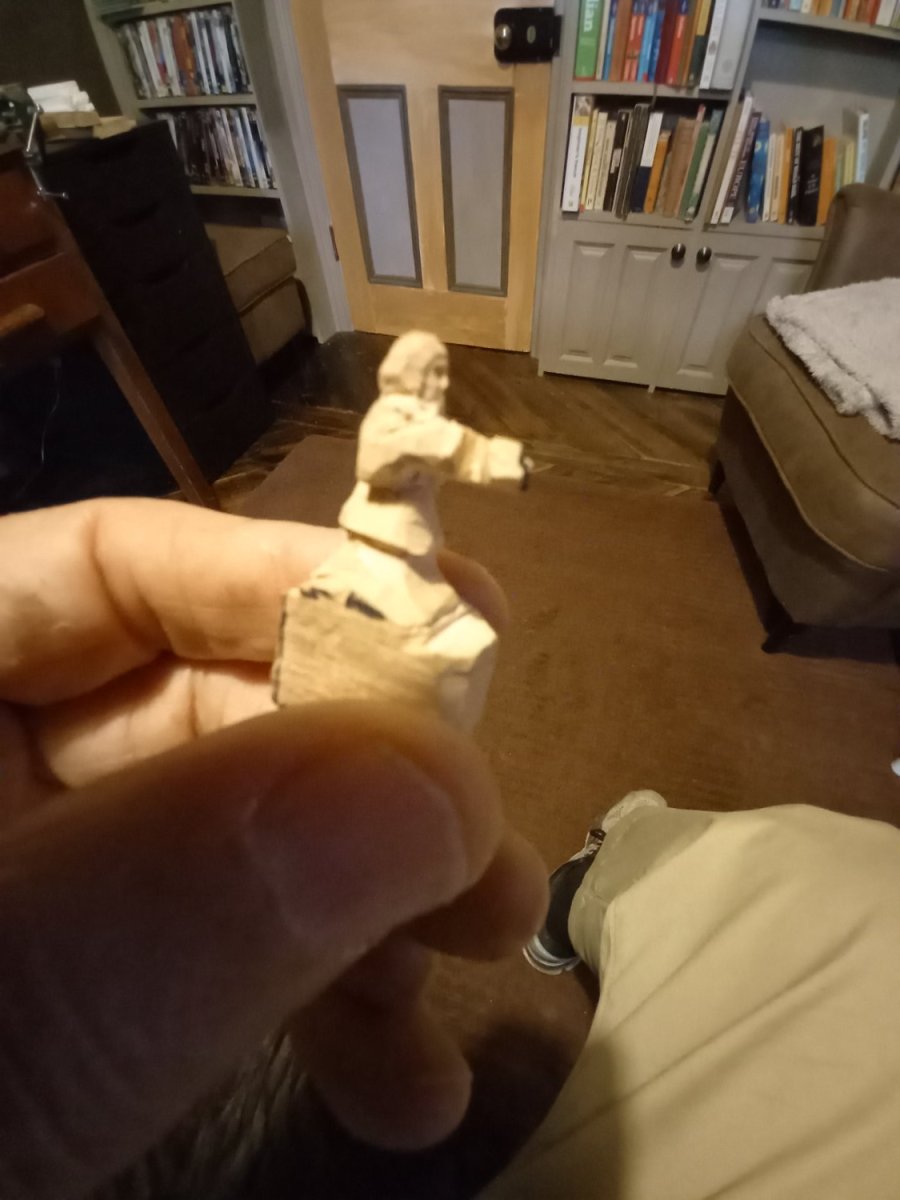
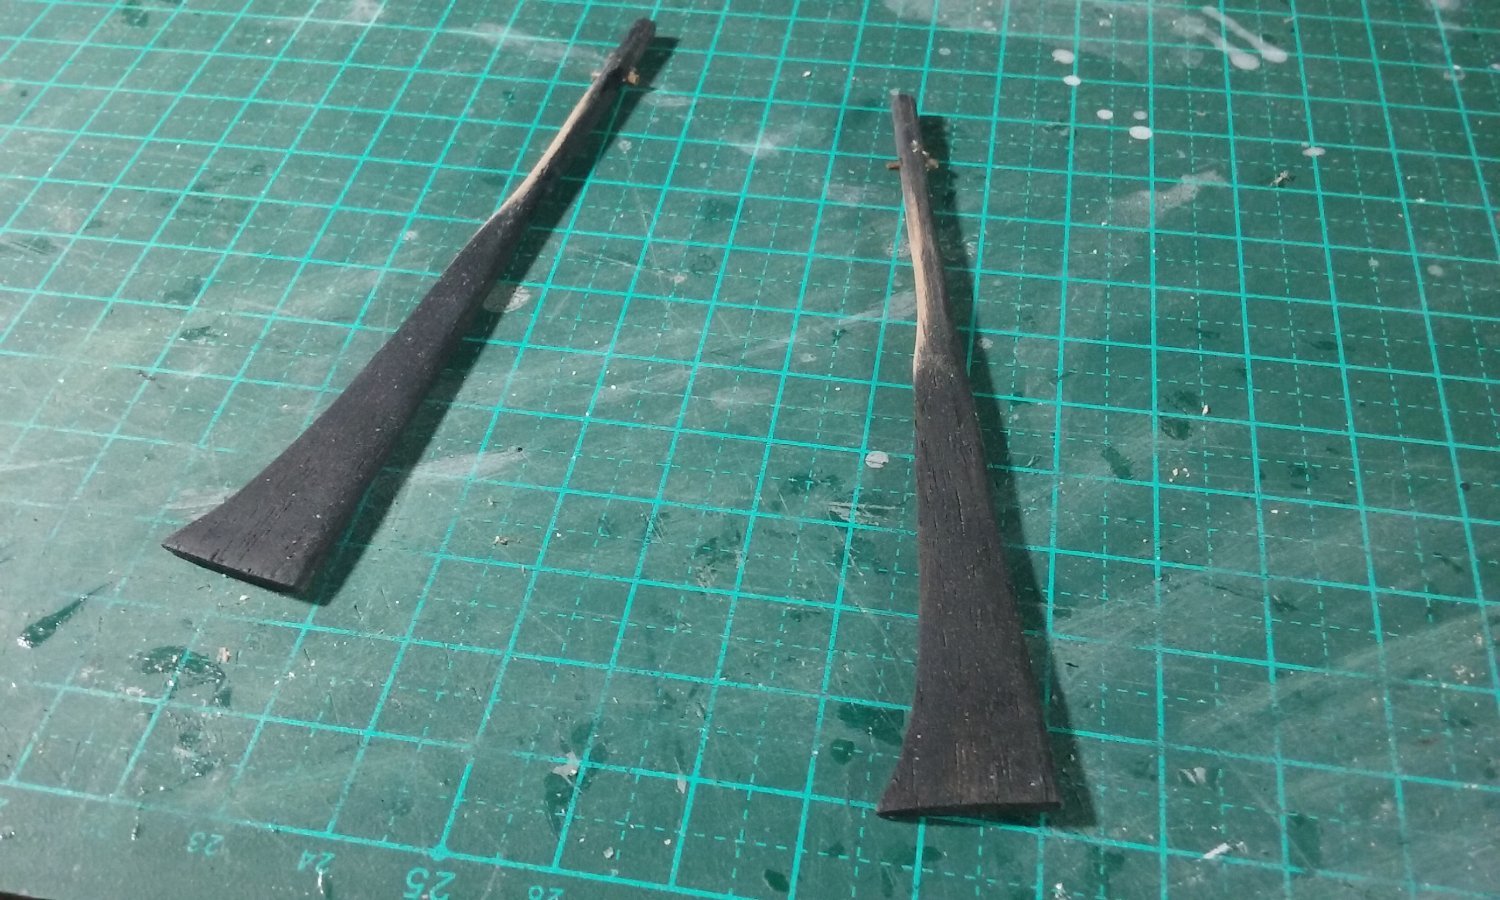
And they're done (except for thinning the legs a bit, and a bit of sanding and painting). I think the stance is wide enough. If not, too bad. I've spent so much time and effort getting them the way I want them, particularly the grip on the tiller, that this will have to do.
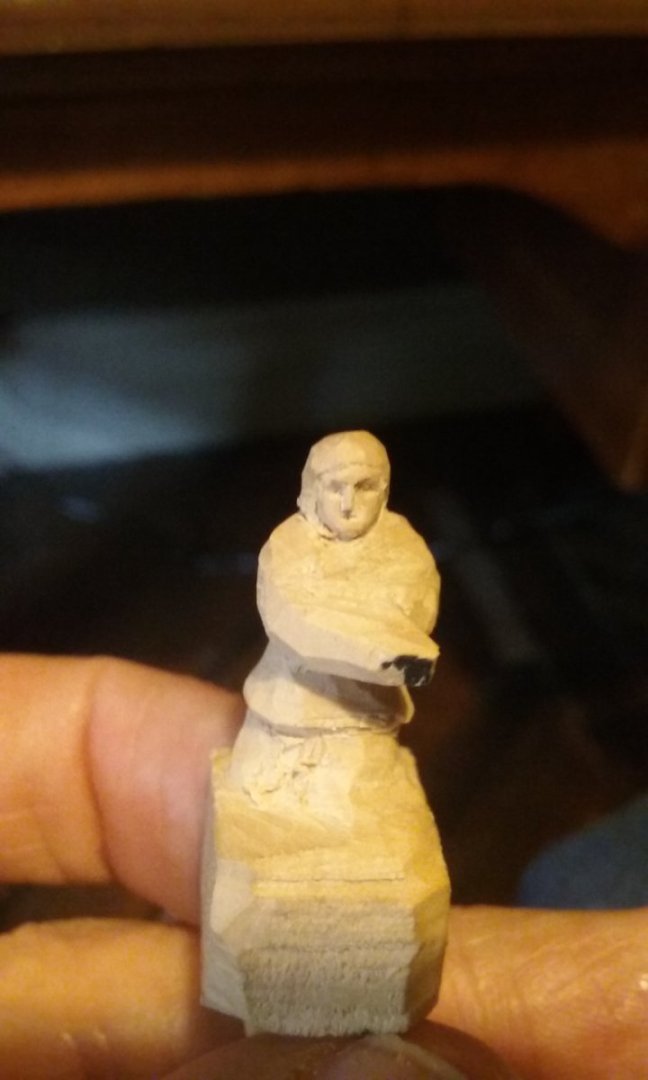
Roughed out:

And finished.
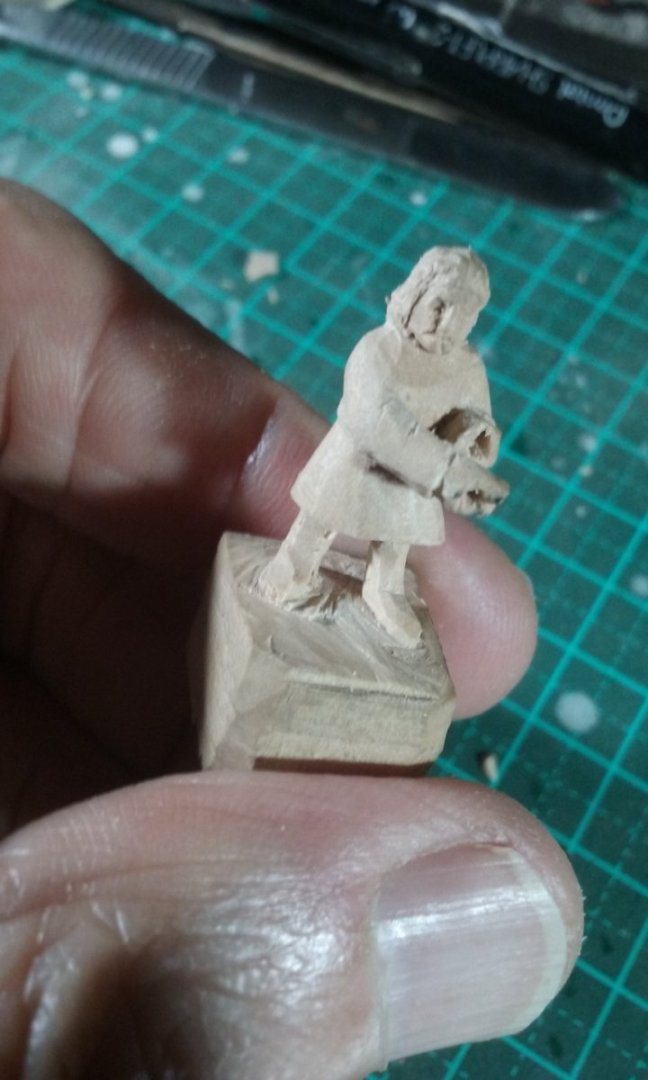

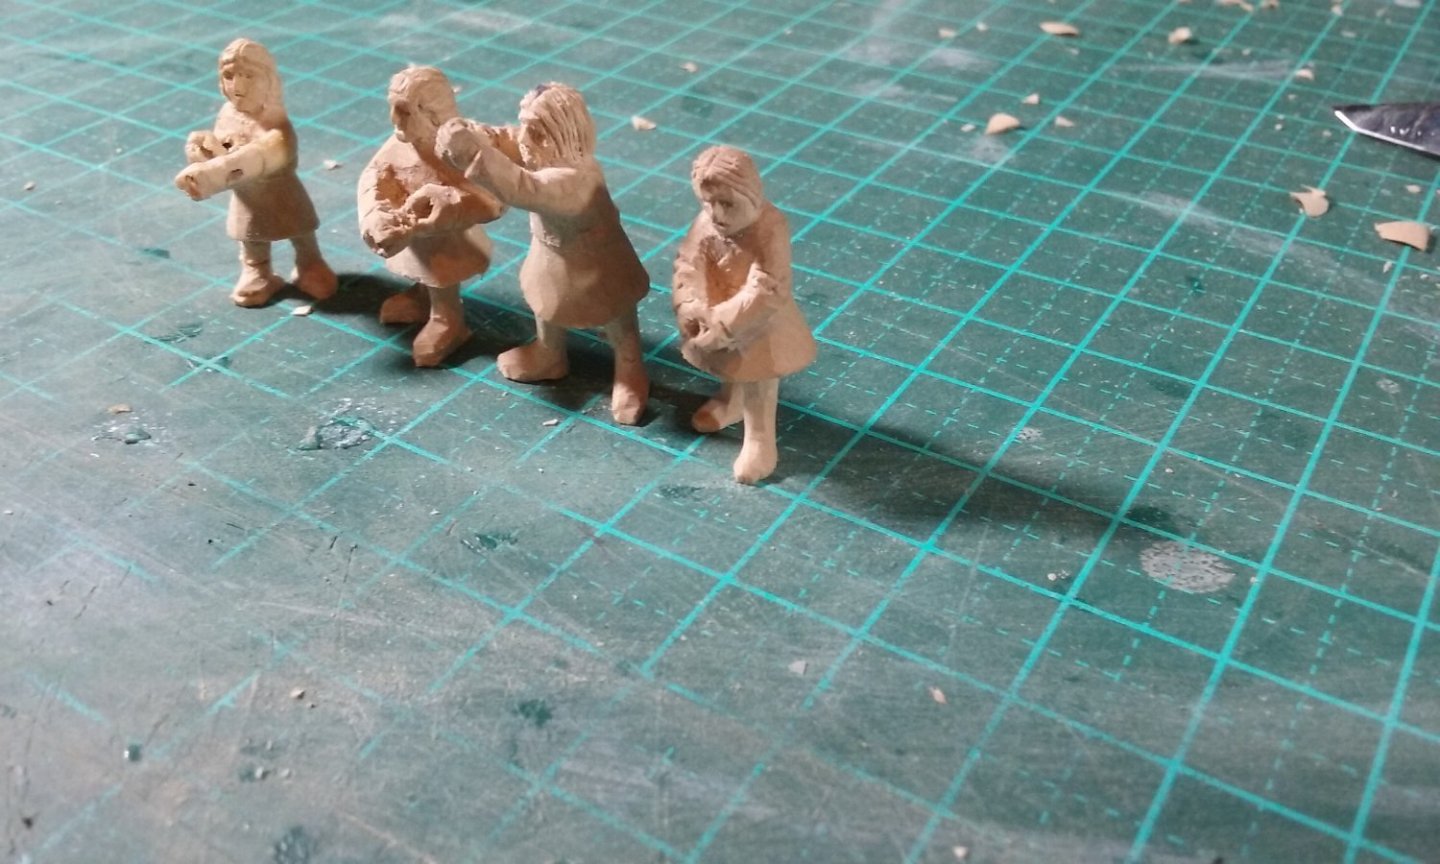
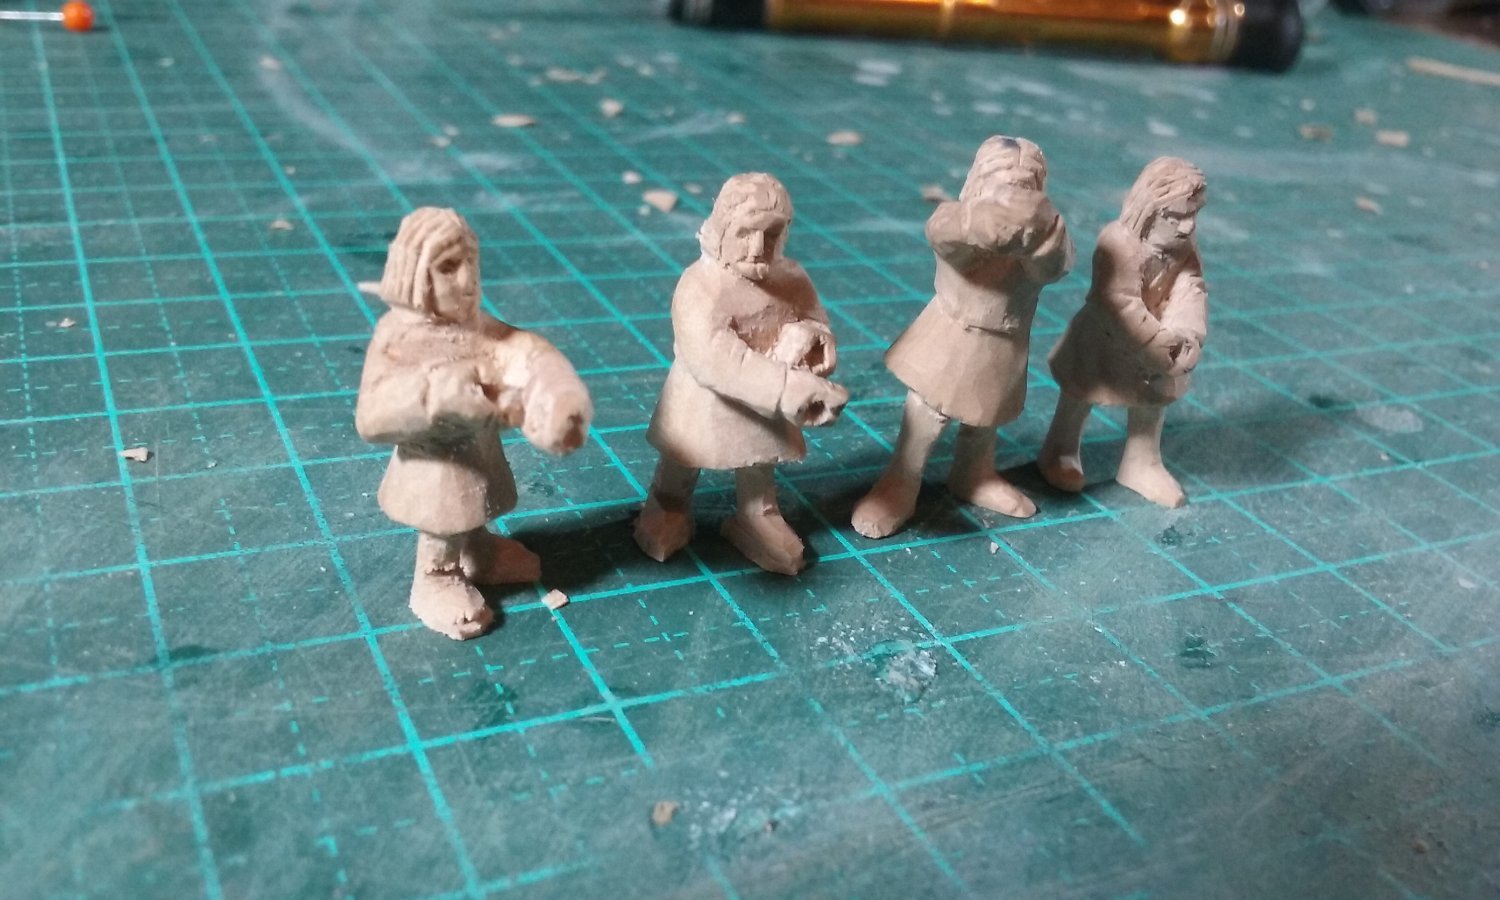
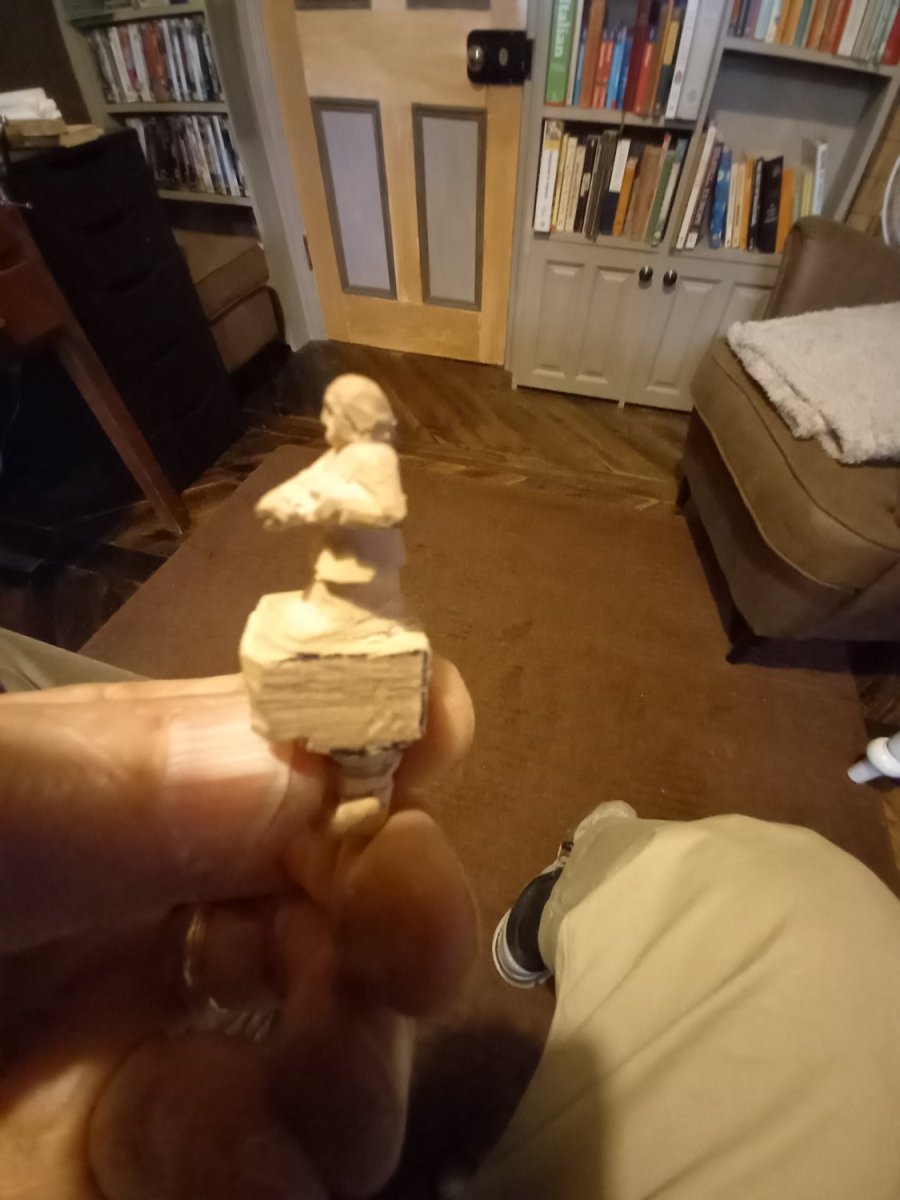
Separated, and hair carved:
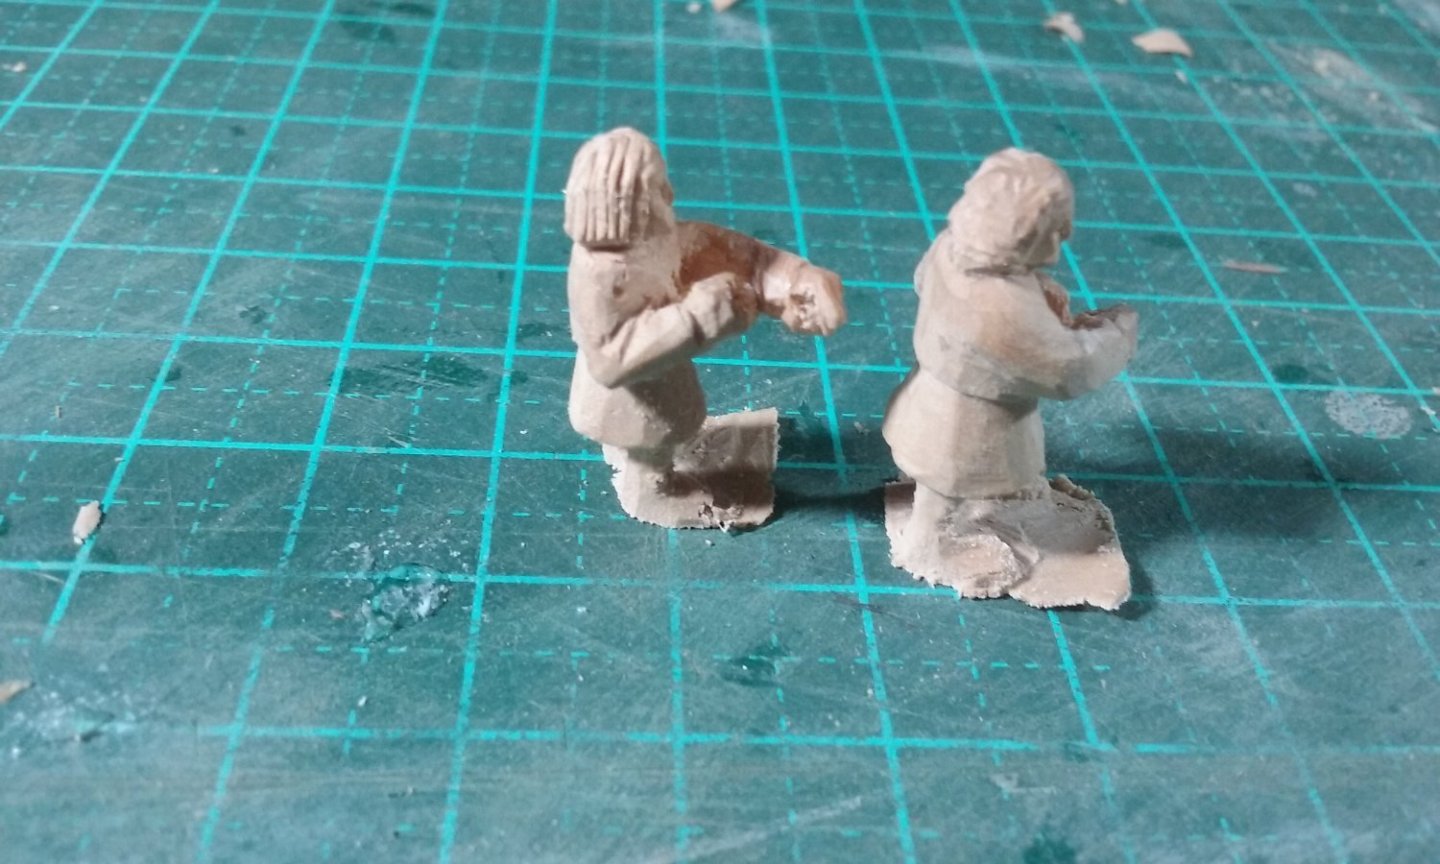
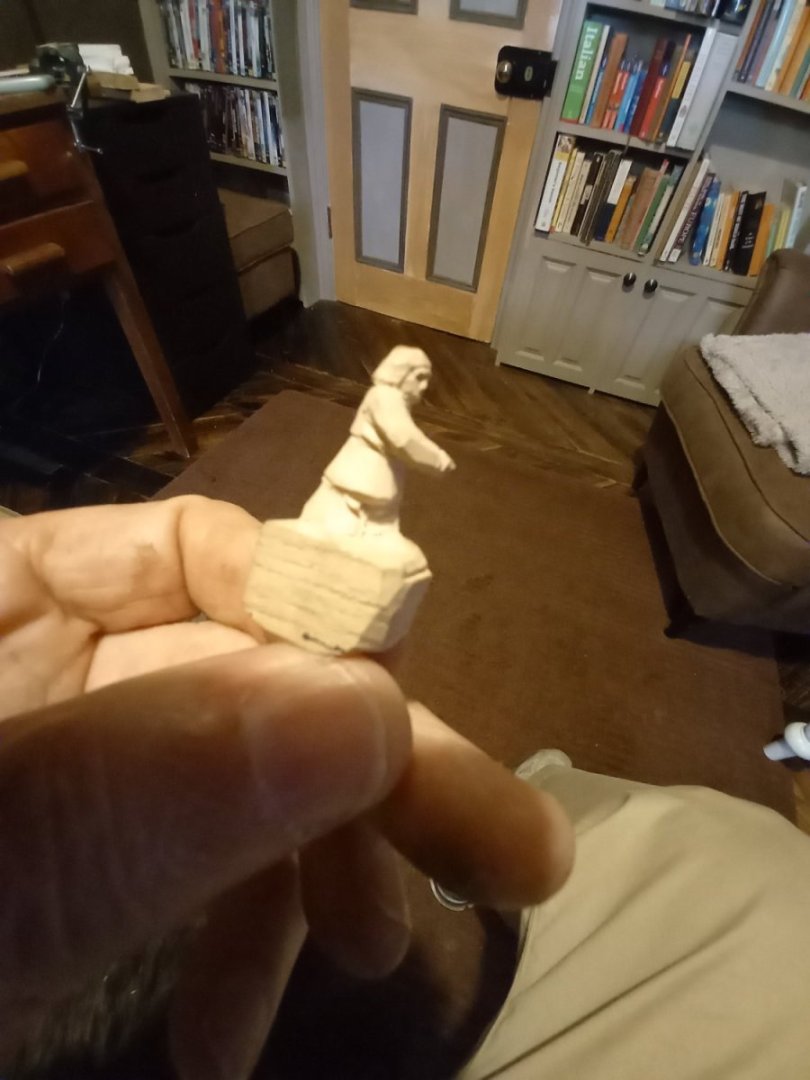
And trimmed. I pride myself that my figures should be able to stand upright all by themselves, and usually I manage it. And two other crewmen I'd also carved (not sure if I posted them at the time) working on the rigging.


I need to cut a little bit away at the base of the helmsmen's feet. At the moment they look like they're from the 70's with platform shoes.
And then that's all the carving done.
Steven
-
Nice looking build. I love these spectacularly rigged yachts from back in the day.
What was the cutter used for?
Steven
- mtaylor and Ferrus Manus
-
2
-
On 3/13/2024 at 11:05 PM, druxey said:
I see you've been at Mots d'heures gousse râmes again, Steven. Sometimes I worry about you!
That's not me, that's Liteflight. I accept no responsibility for him . . .

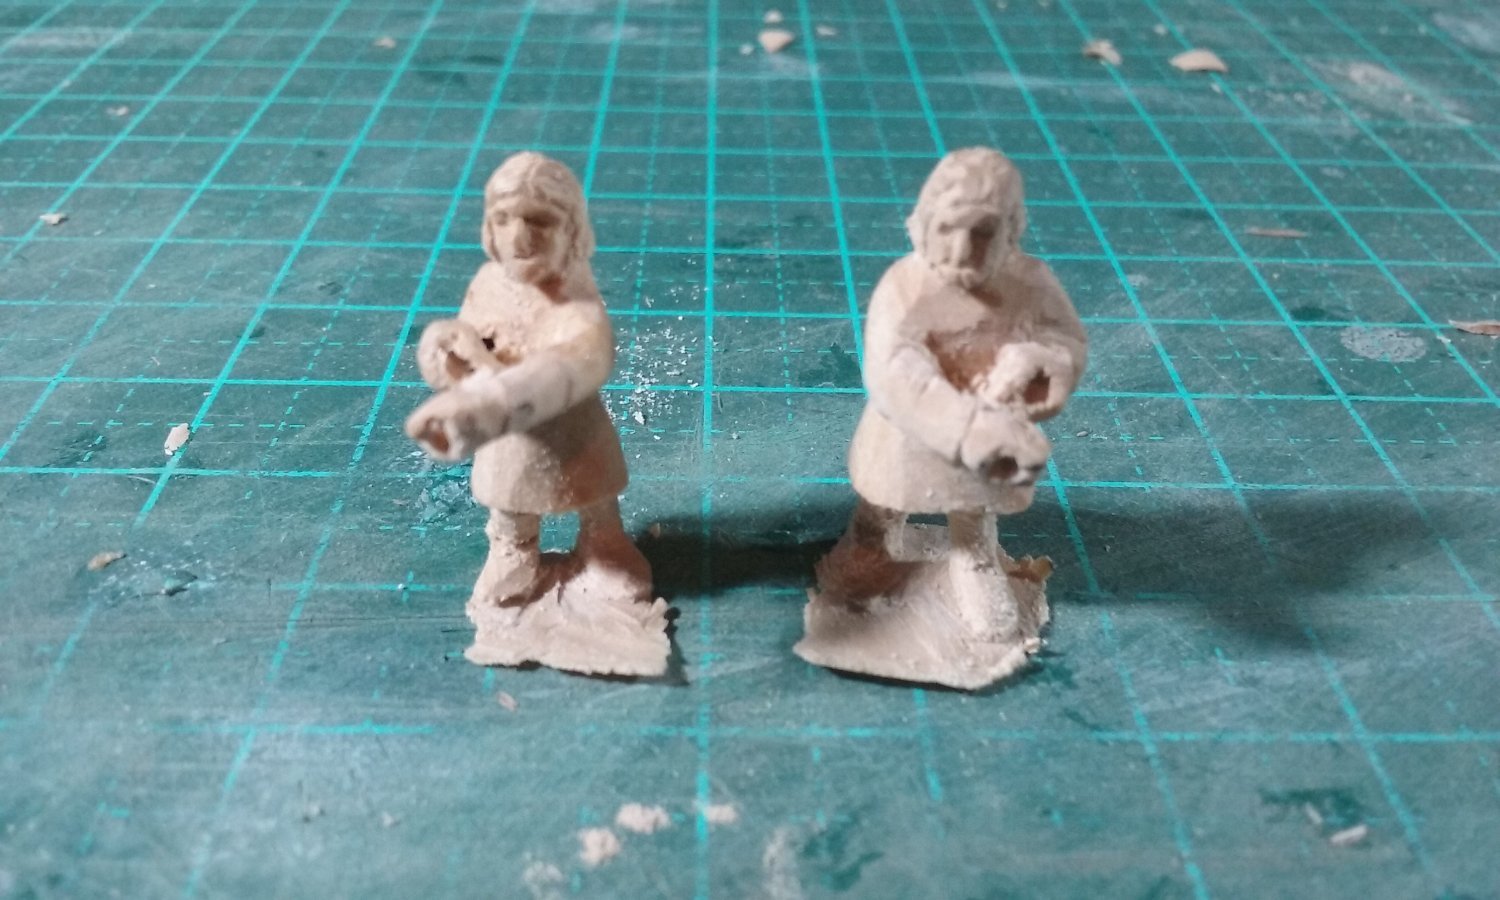
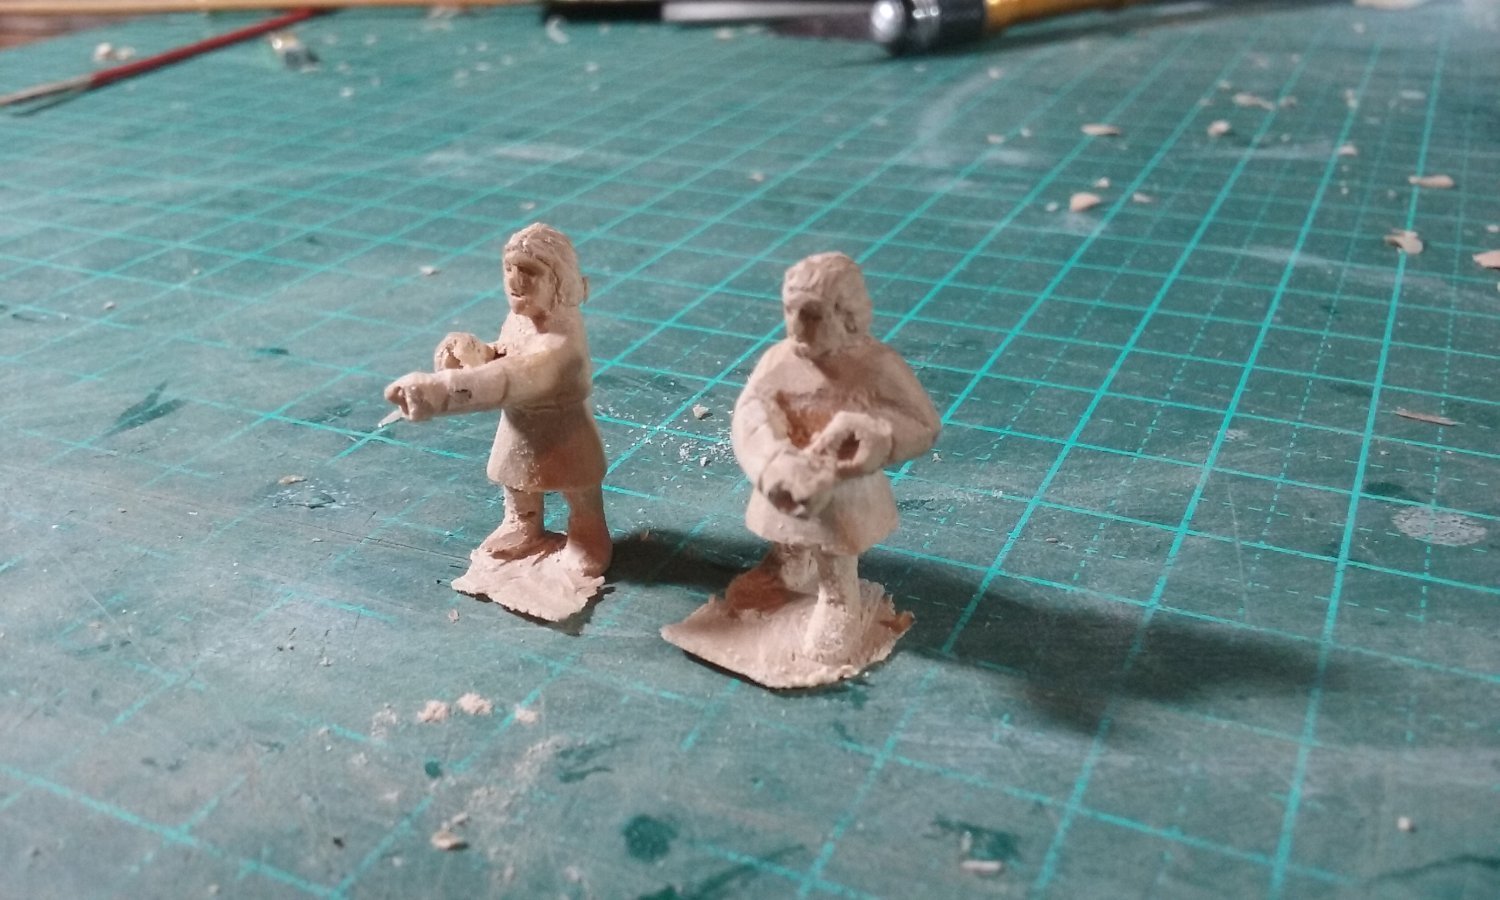
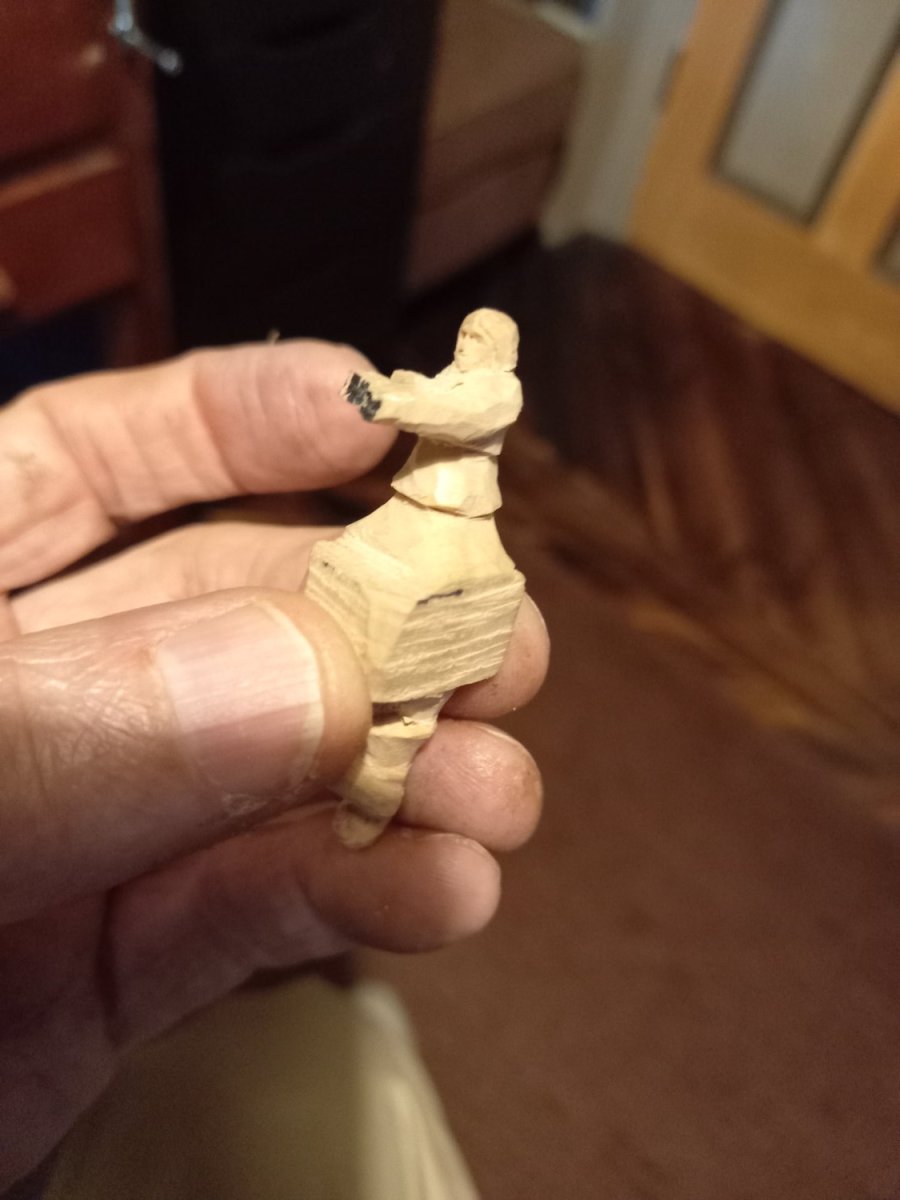
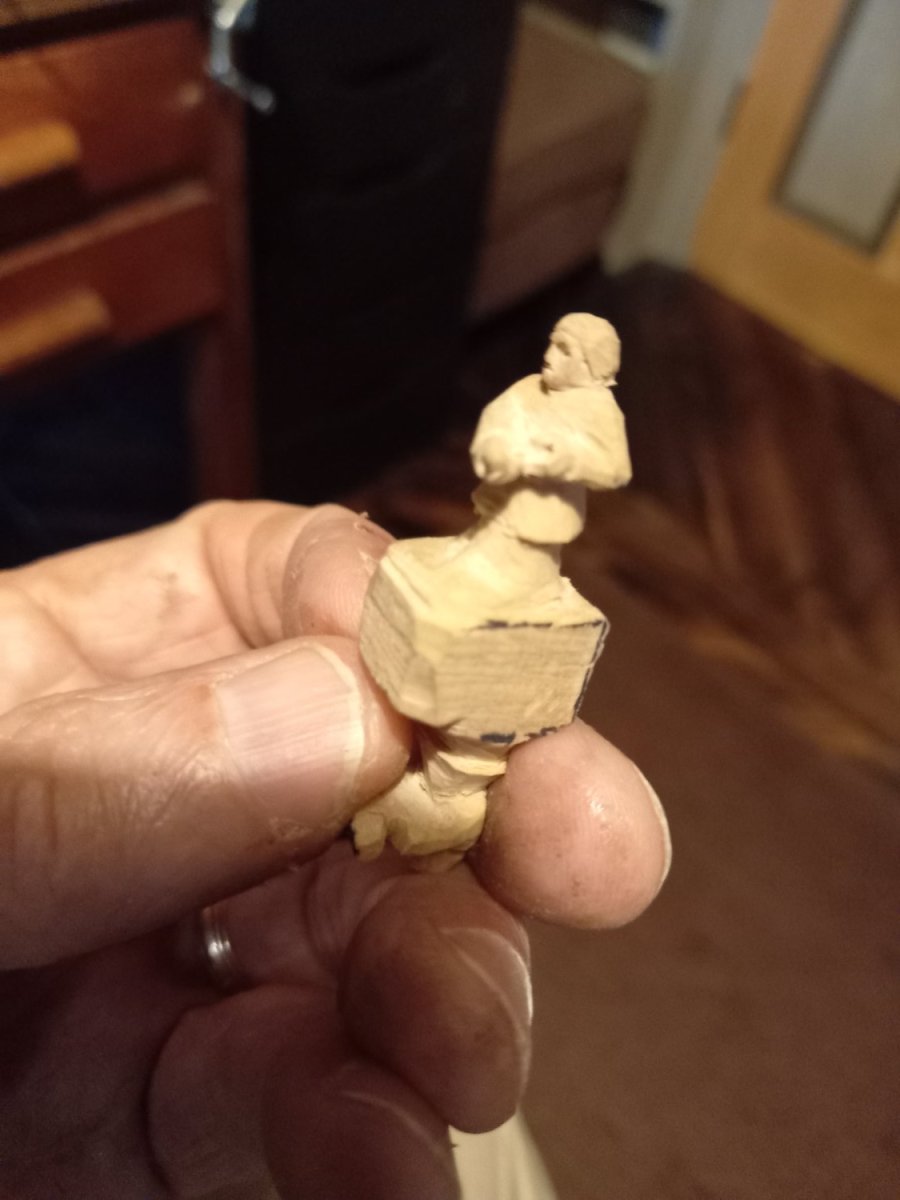
The wide stance is well on the way . . .


Here's close-ups on their faces.

Steven
-
That would make sense, Mark. And the helmsmen will have a wider stance, if only to make sure they can stand upright on the deck without having to have one of those ghastly flat stands attached to their feet
 .
.
Steven
- mtaylor, Knocklouder, Mark Pearse and 2 others
-
5
-
I can always rely on you for something interesting and useful, Dick.
Steven
- Glen McGuire and mtaylor
-
2
-
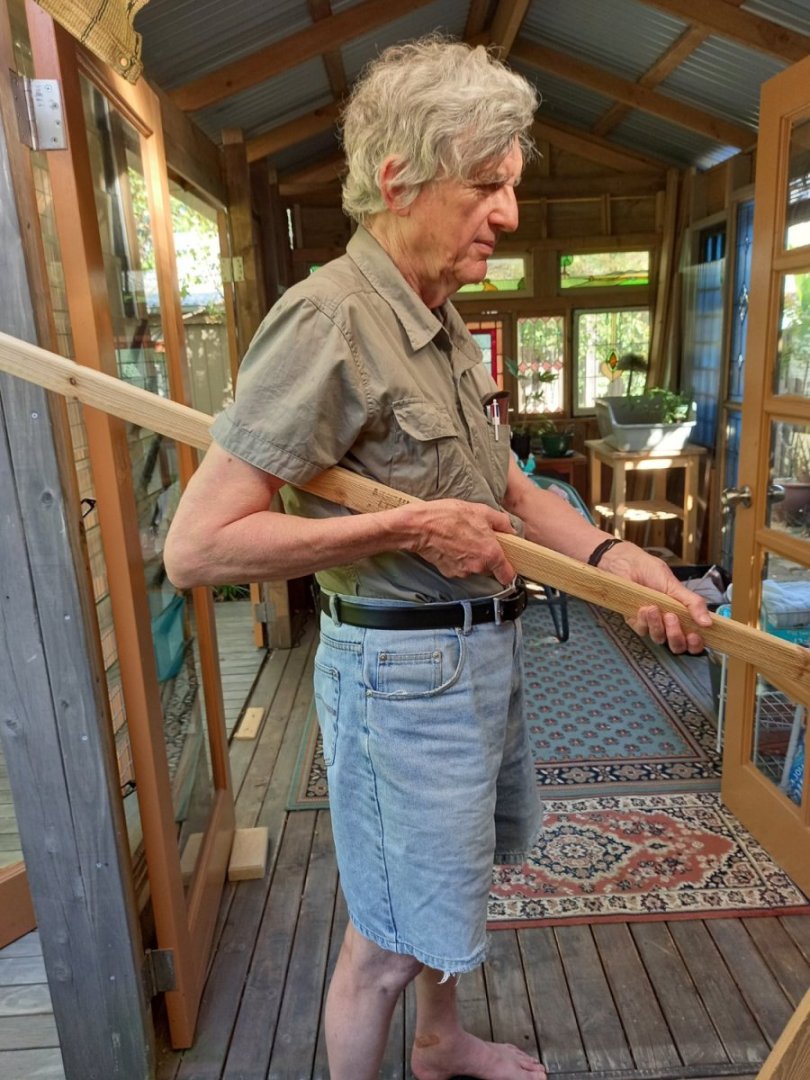
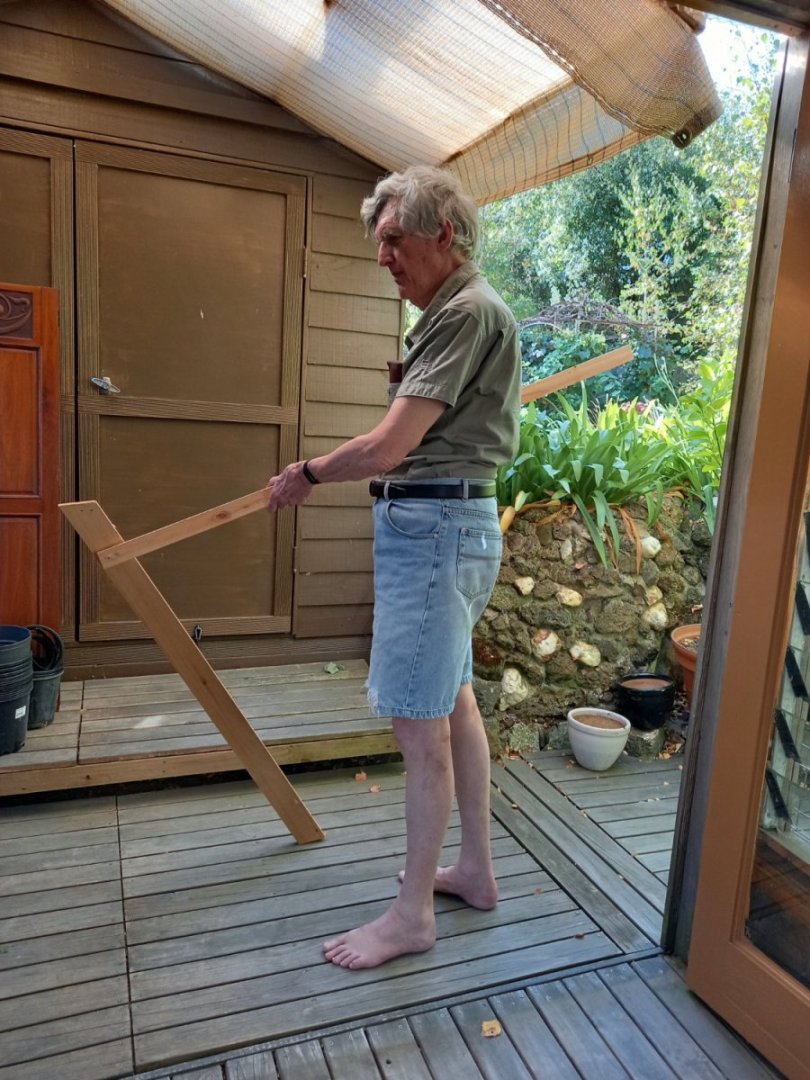
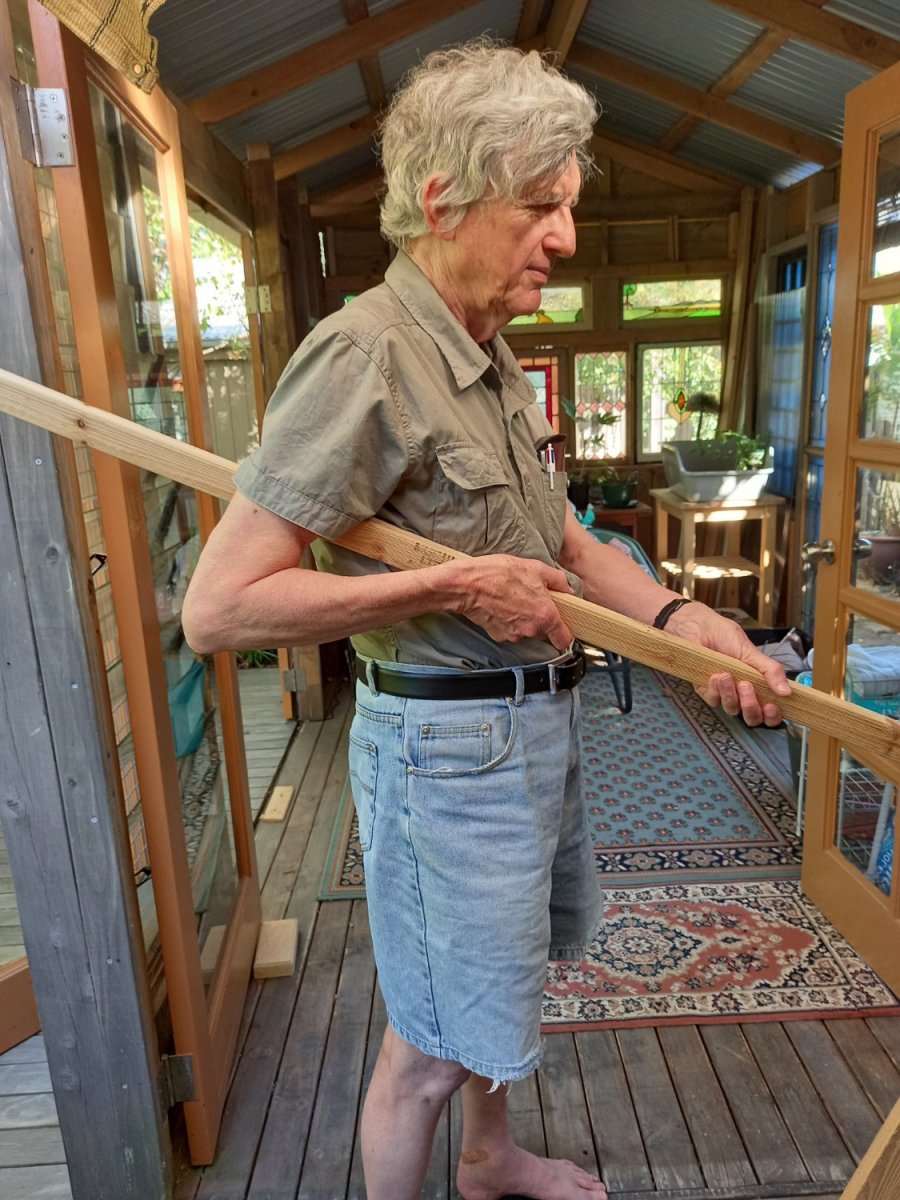
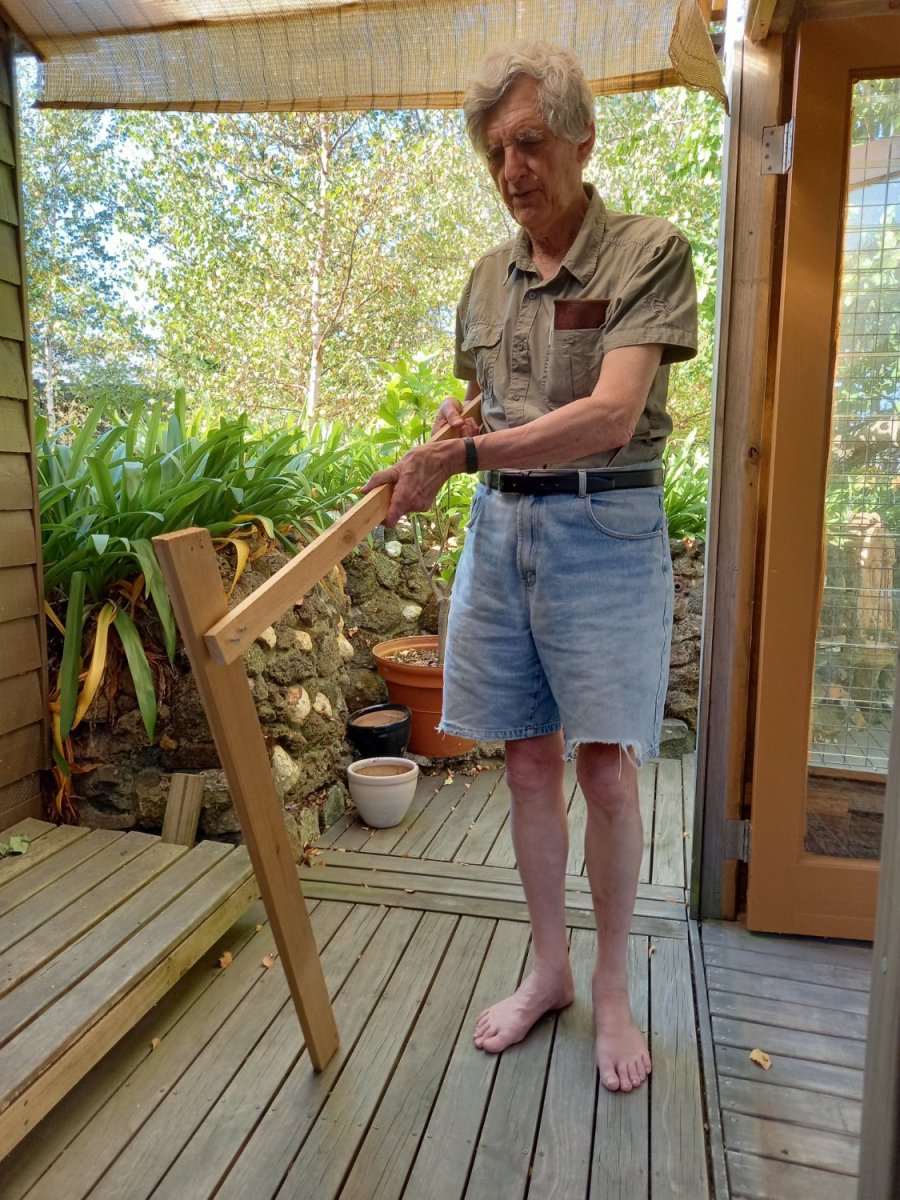
Hoo boy. This aft-facing tiller business is a pain in the neck to get my head around. I can understand how you hold a tiller crosswise or forward-facing, but aft-facing has me bamboozled. I finally made a full-size test-piece and got my lovely wife to take photos of me holding it in what I think is the most likely grip and stance for the helmsman - but who knows?
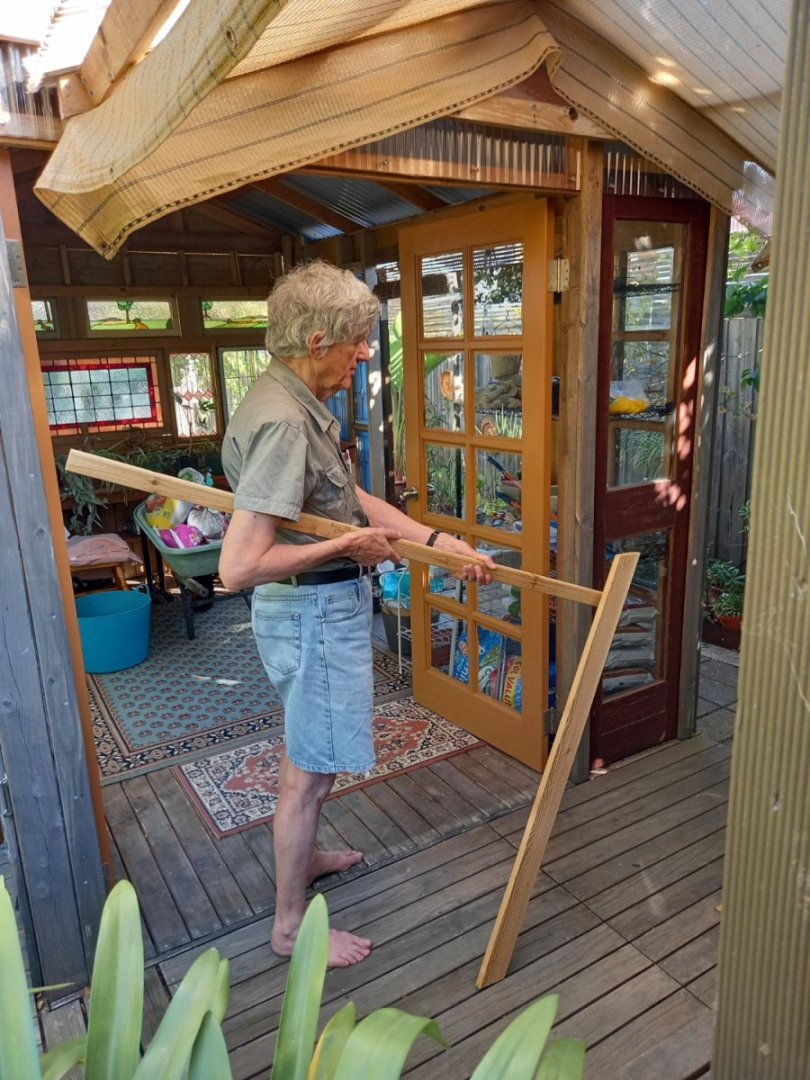

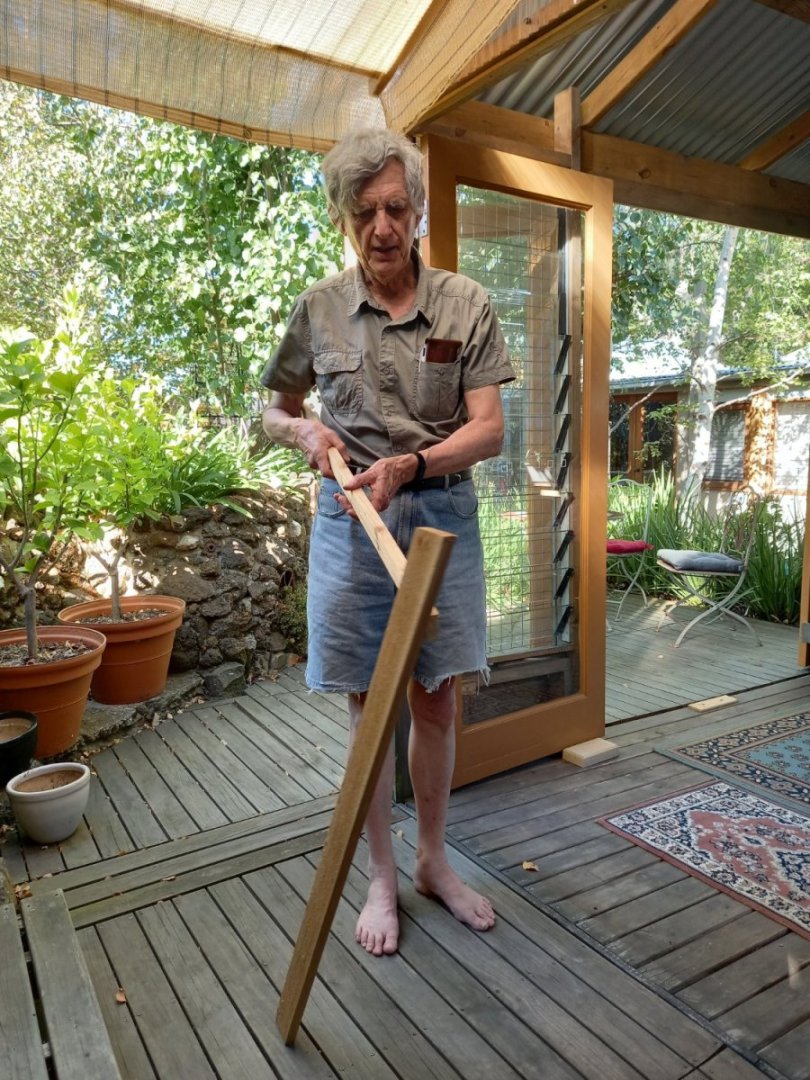
Note - we're having our summer (all four days of it) in autumn. A series of 34 degree (93 F) days. Ballarat's like that. (we sometimes get snow in November, too).
And I changed the tiller sockets to be slightly angled inboard from the rudder blades - otherwise the tiller would be fouled by the railing when turning it outboard (if you get what I mean). So I had to close up the existing holes with wooden plugs, and also change the shape of the rudder shafts to allow for the rudders being somewhat higher up than I'd originally thought.

I hope this works!
Steven
- GrandpaPhil, Bryan Woods, Ian_Grant and 8 others
-
10
-
 1
1
-
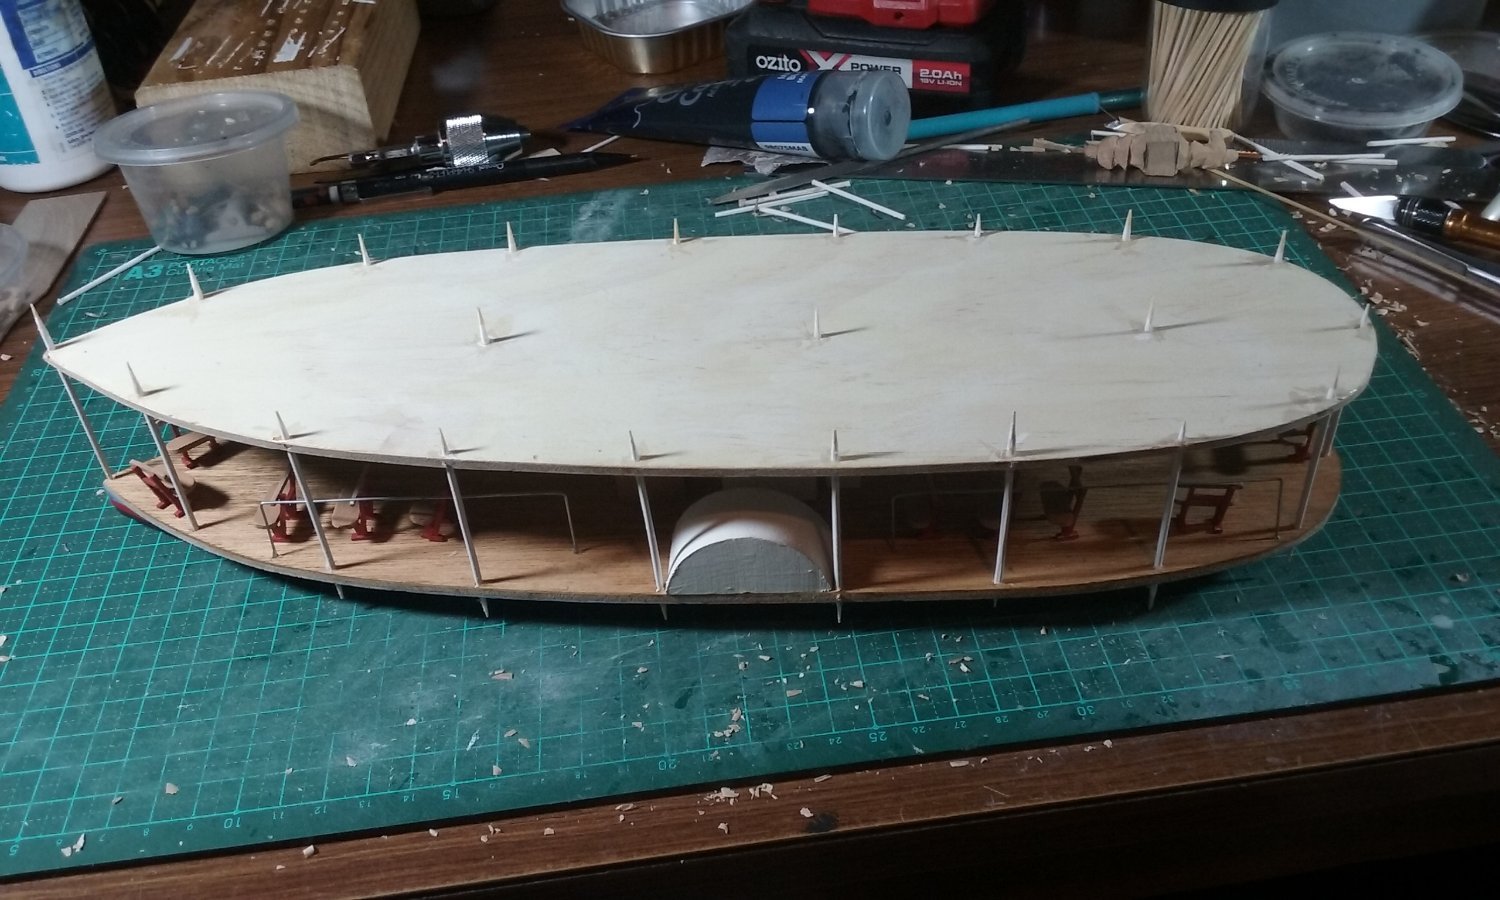
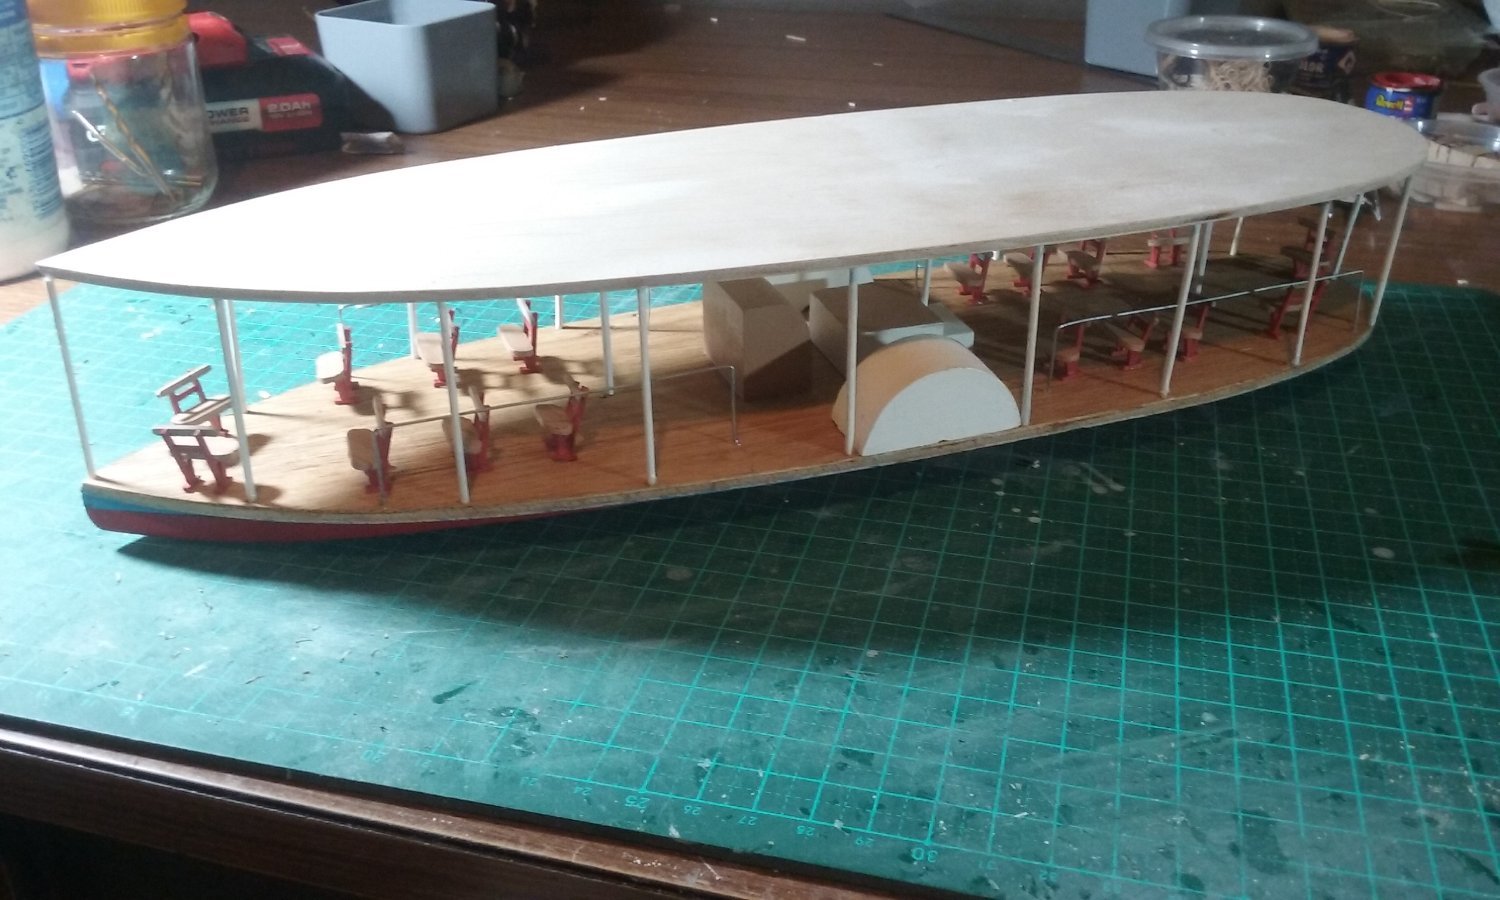
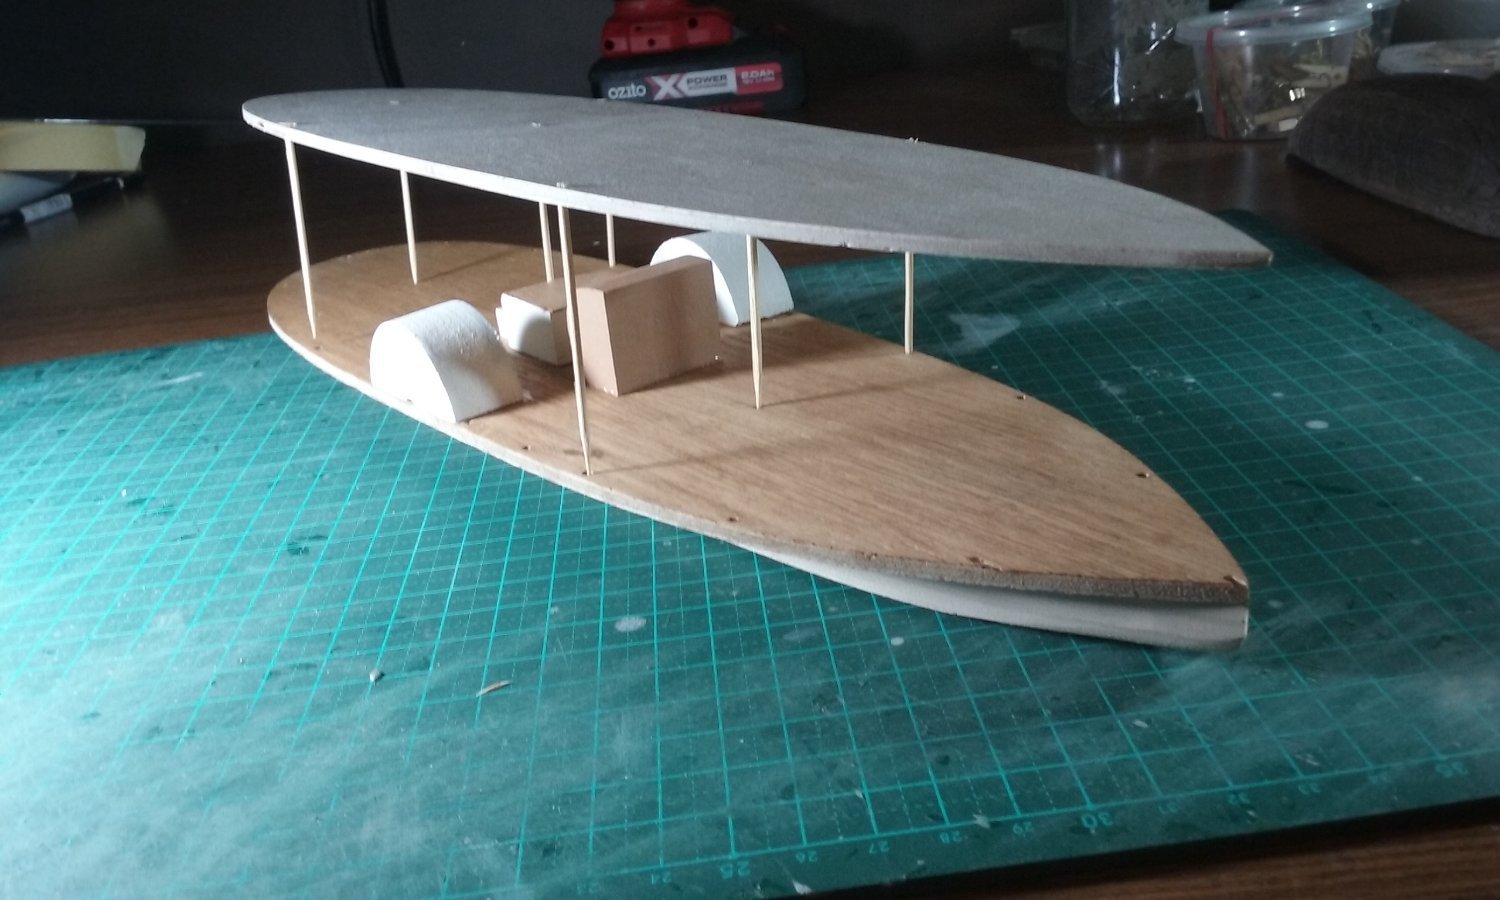
Still a fair few things to do - she needs a railing and a red and white striped awning for the roof.


As I mentioned before, this is a prototype for a "good" model double the size, to see what works and what doesn't. Unfortunately one of the things that doesn't work is the uprights that support the awning/roof - they're made of bamboo toothpicks - in this version they were cut to exact length and went into "stopped" holes in the deck and roof, but due to inherent lack of precision this meant several posts didn't reach all the way from floor to roof, but hung supported at only one end.
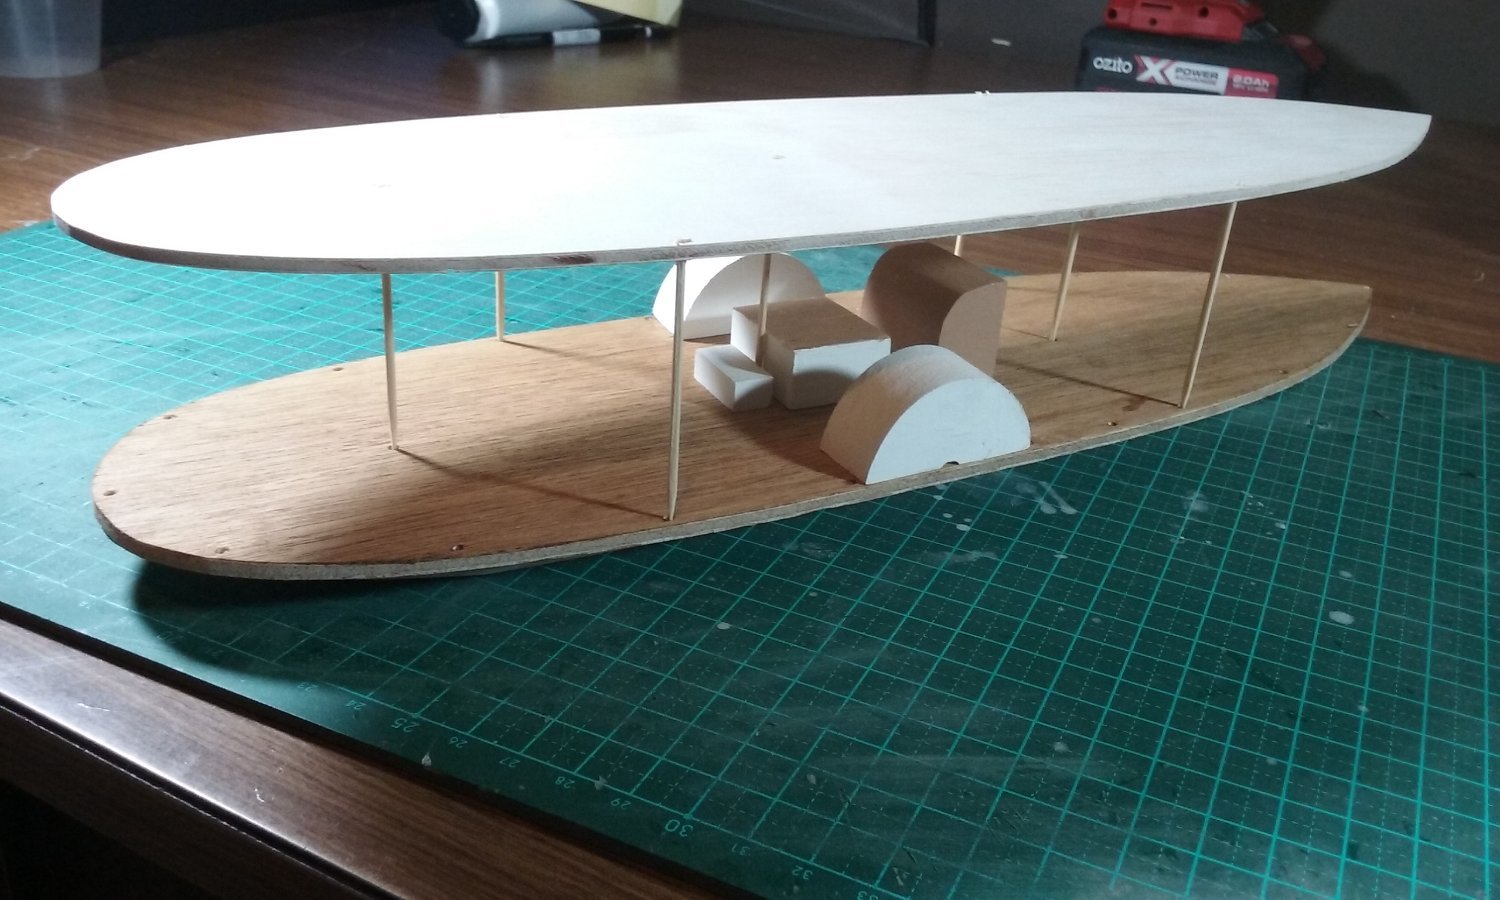
So I've removed the roof again and drilled holes that go all the way through both deck and roof, and I'll use the toothpicks full-length so they stick out the holes, and cut the ends off when the glue is dry.
Steven
-
-
Hi Chickpeas, and welcome to MSW!
Regarding planking, many kit manufacturers' instructions are incorrect- the planking method they advise is more about what's convenient for them than how it was done in the real world. I'd recommend you have a good look at the planking tutorials here -
I don't regard myself as a planking expert - far from it - but I'm gradually improving, model by model, by following the instructions here. Don't get too upset if you make mistakes - we all do. But take heart from the fact that your second model will be better than your first, and your third better still, and so on and so on.
I'd also recommend you start a build log for your model - put it in the section named Kit build logs for subjects built from 1801 - 1850 - you'll find instructions on how to do that here -
And I'd also recommend you have a look at the other build logs for Occre's Polaris - I think there are quite a few of them - to get ideas and tips on how others have overcome problems you may face in your own modelling.
And welcome to the ranks of ship modellers!
Steven
- Keith Black, Chikpeas, tlevine and 2 others
-
5
-
Hi Vivian!
Good to hear from you again. I'm looking forward to seeing you back on the forum when your ships arrive.
Steven
-
I'd agree with Jaager. If the kit doesn't cost too much, buy it and use the pieces as a template to build a proper model from decent timber.
Steven
- Roger Pellett, mtaylor and dcicero
-
3
-
-
That's just amazing work. A pleasure to see!
Steven
- Keith Black, Ian_Grant and mtaylor
-
3
-
Glad you think so, mate. I'd thought it was rather boring, compared with most paddlewheelers (it doesn't even have a funnel!). Glad to know someone else disagrees.
Steven
- Ras Ambrioso, Canute, Mark Pearse and 2 others
-
5
-
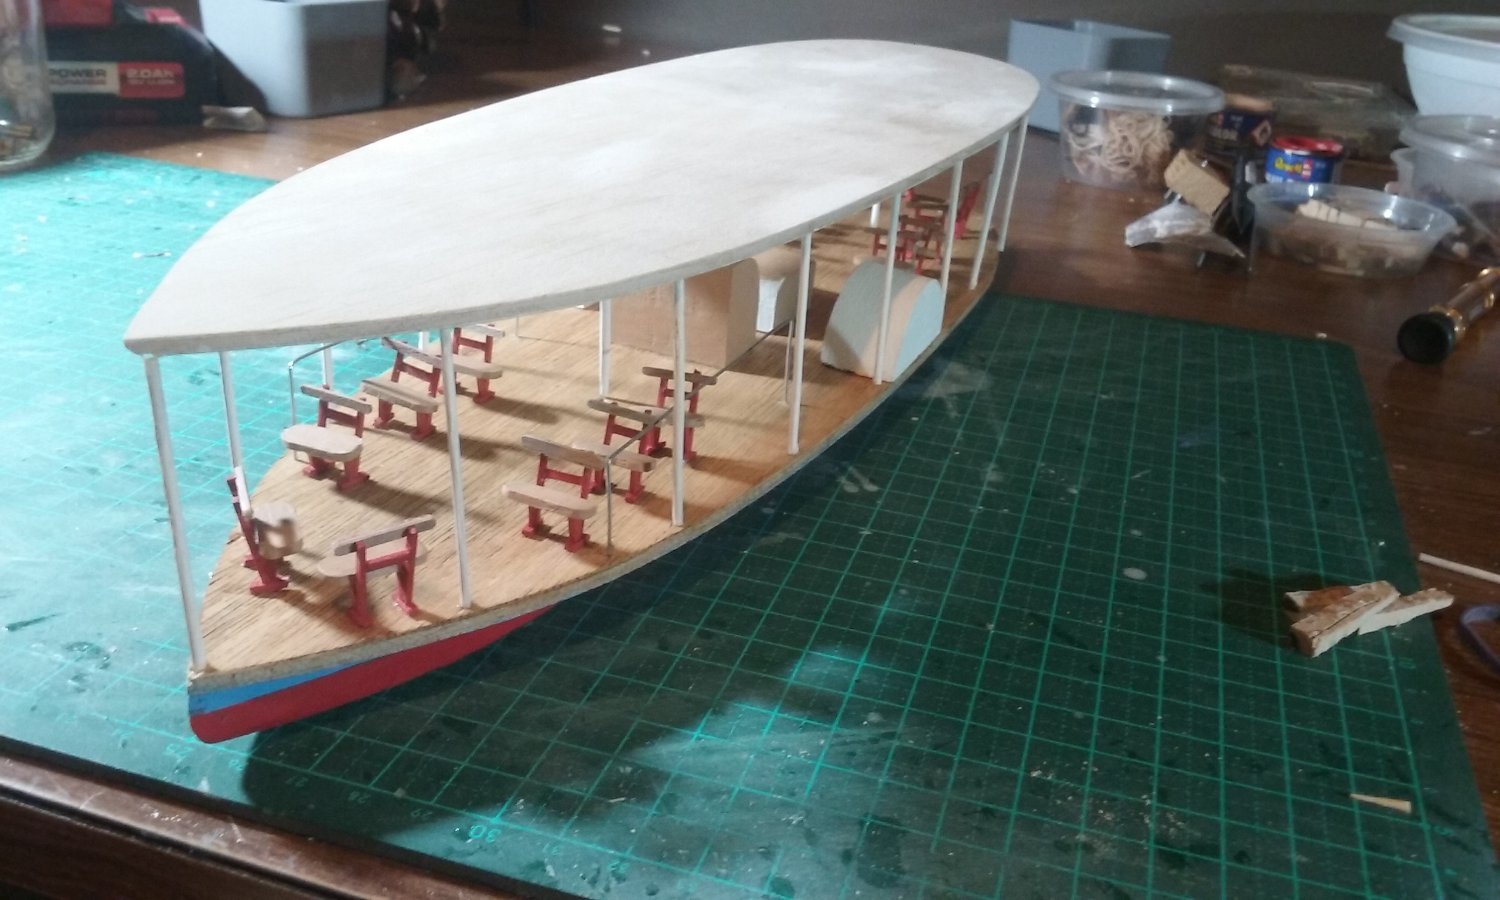
Seats added. Ready to add the awning and railings.
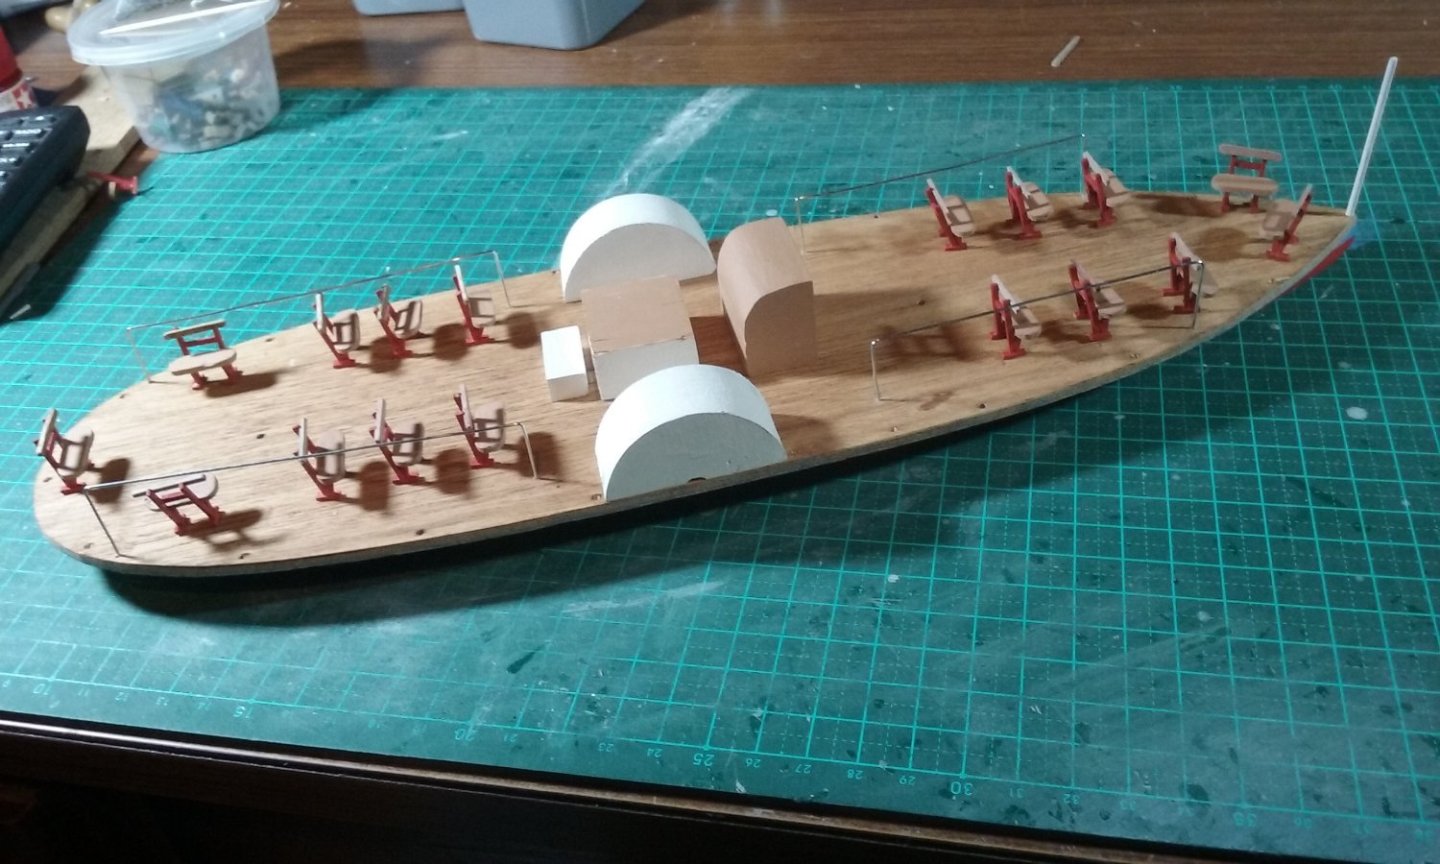

I've learnt from doing this one that for the "good" version I need to make some sort of jig to ensure all the seats are identical. I was a little too casual about making these ones.
Steven
-
-
That's just exquisite work!
Steven
- FriedClams, Knocklouder and mtaylor
-
3
-
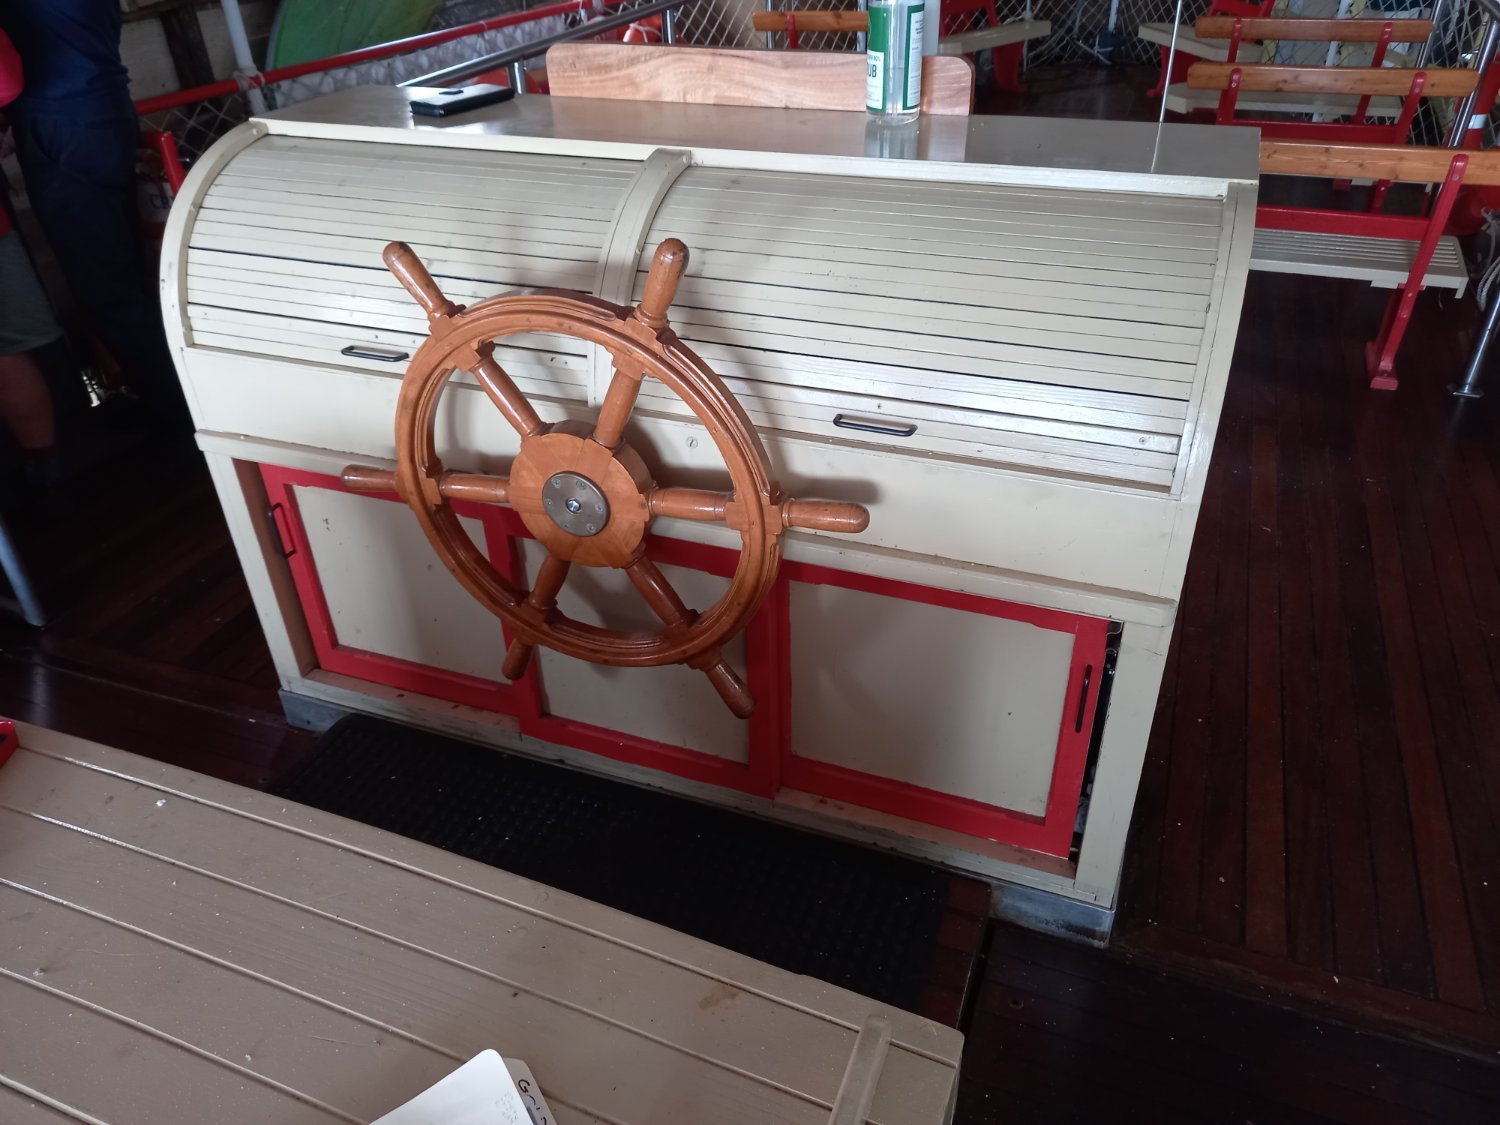
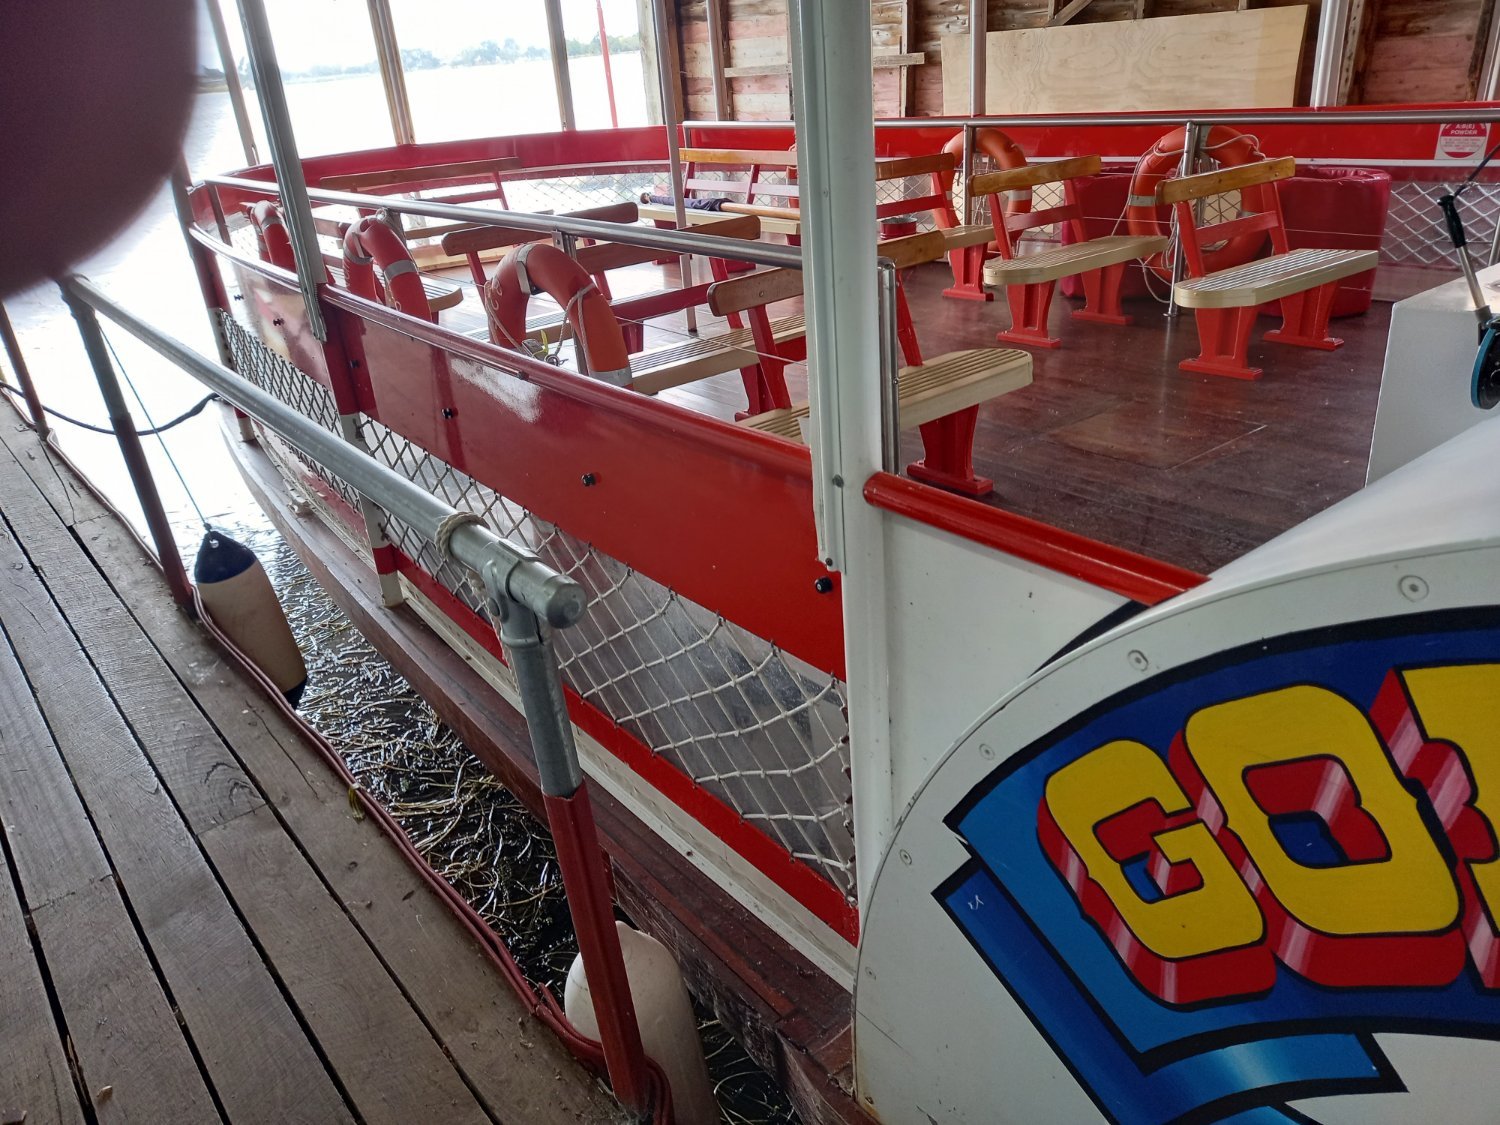
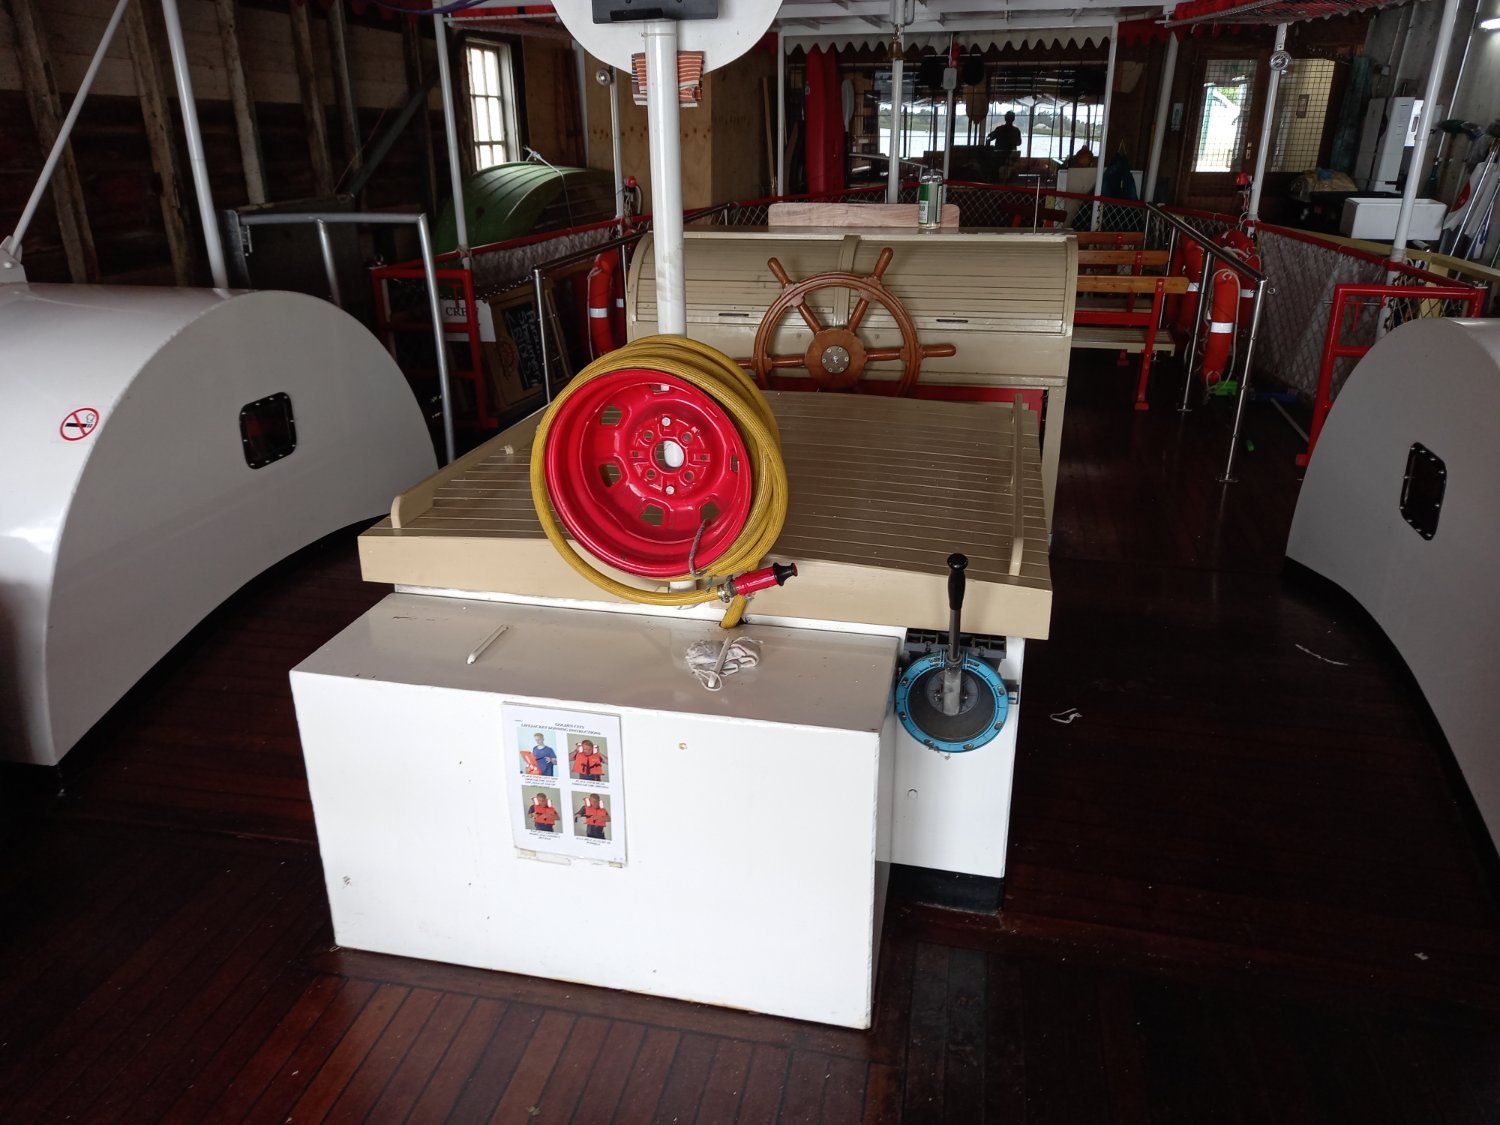
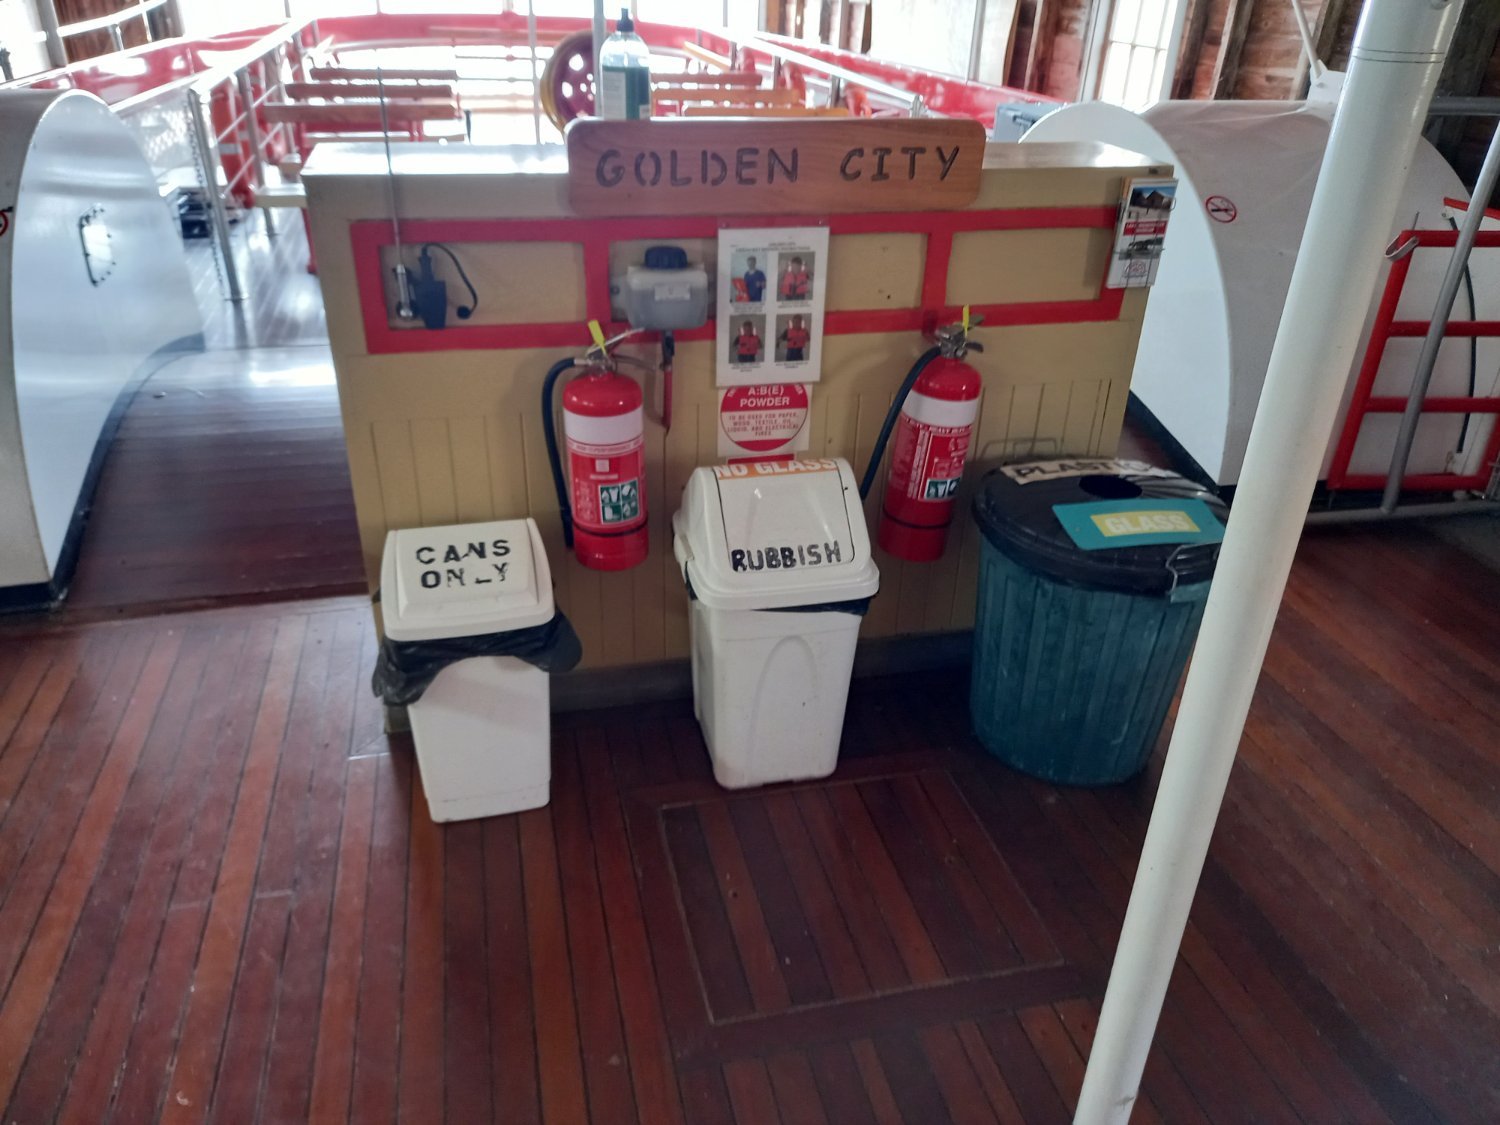
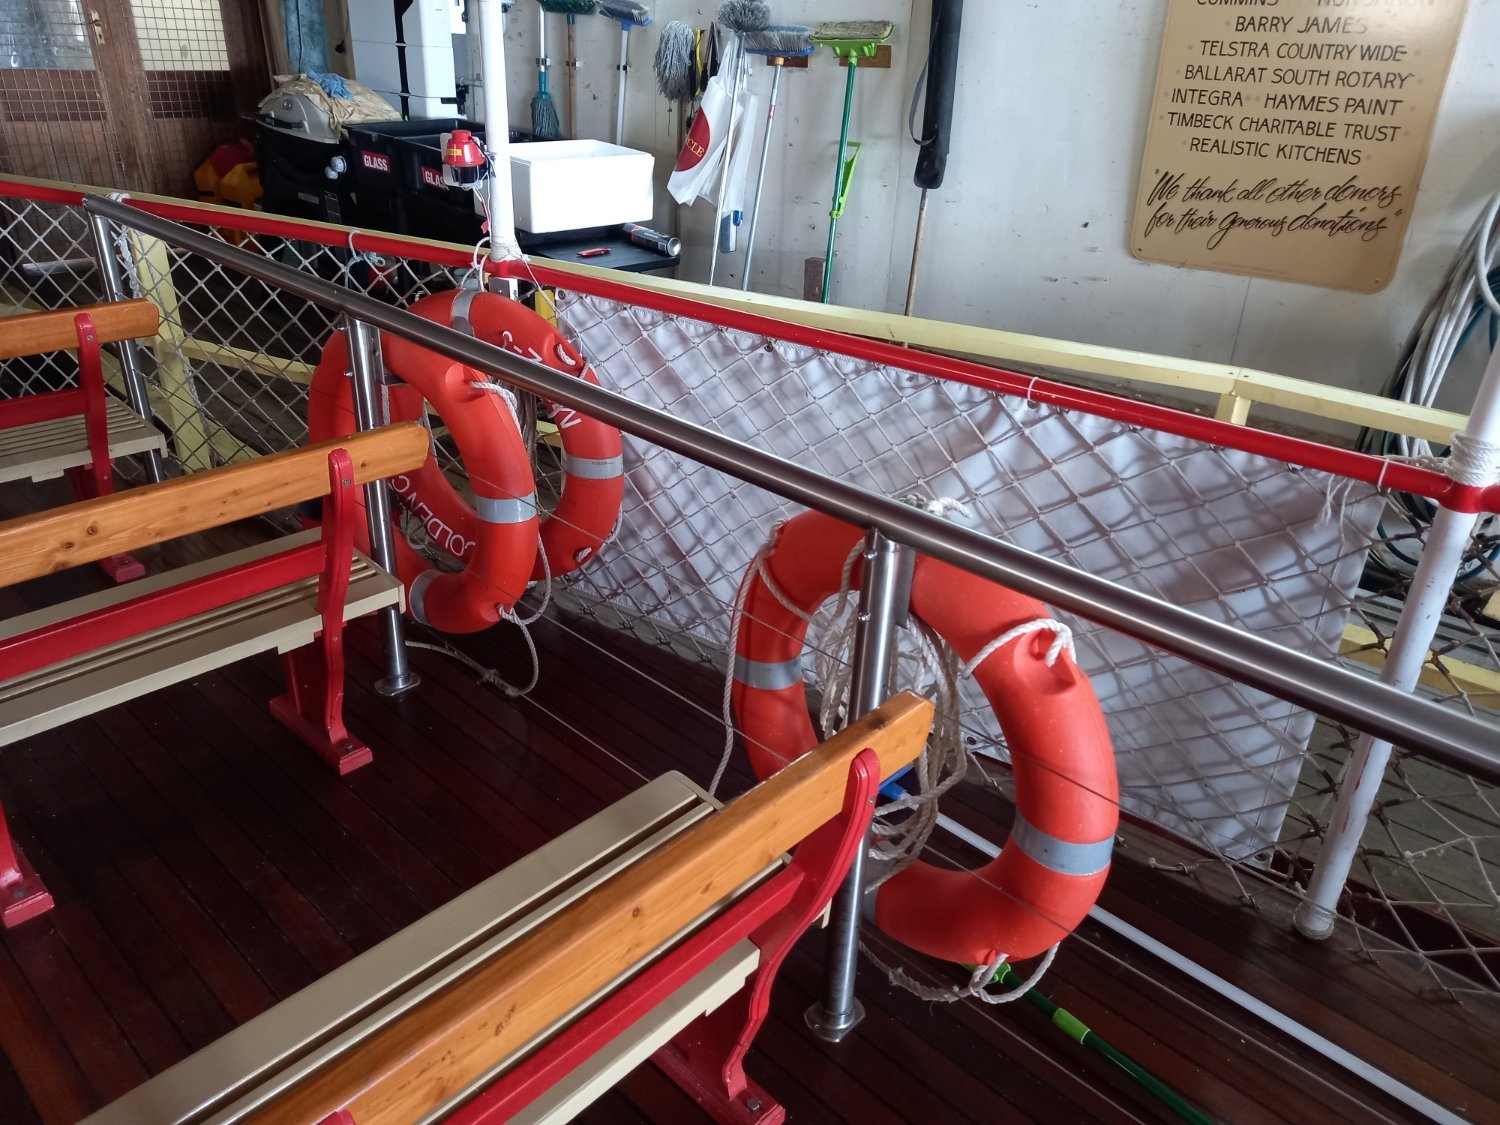
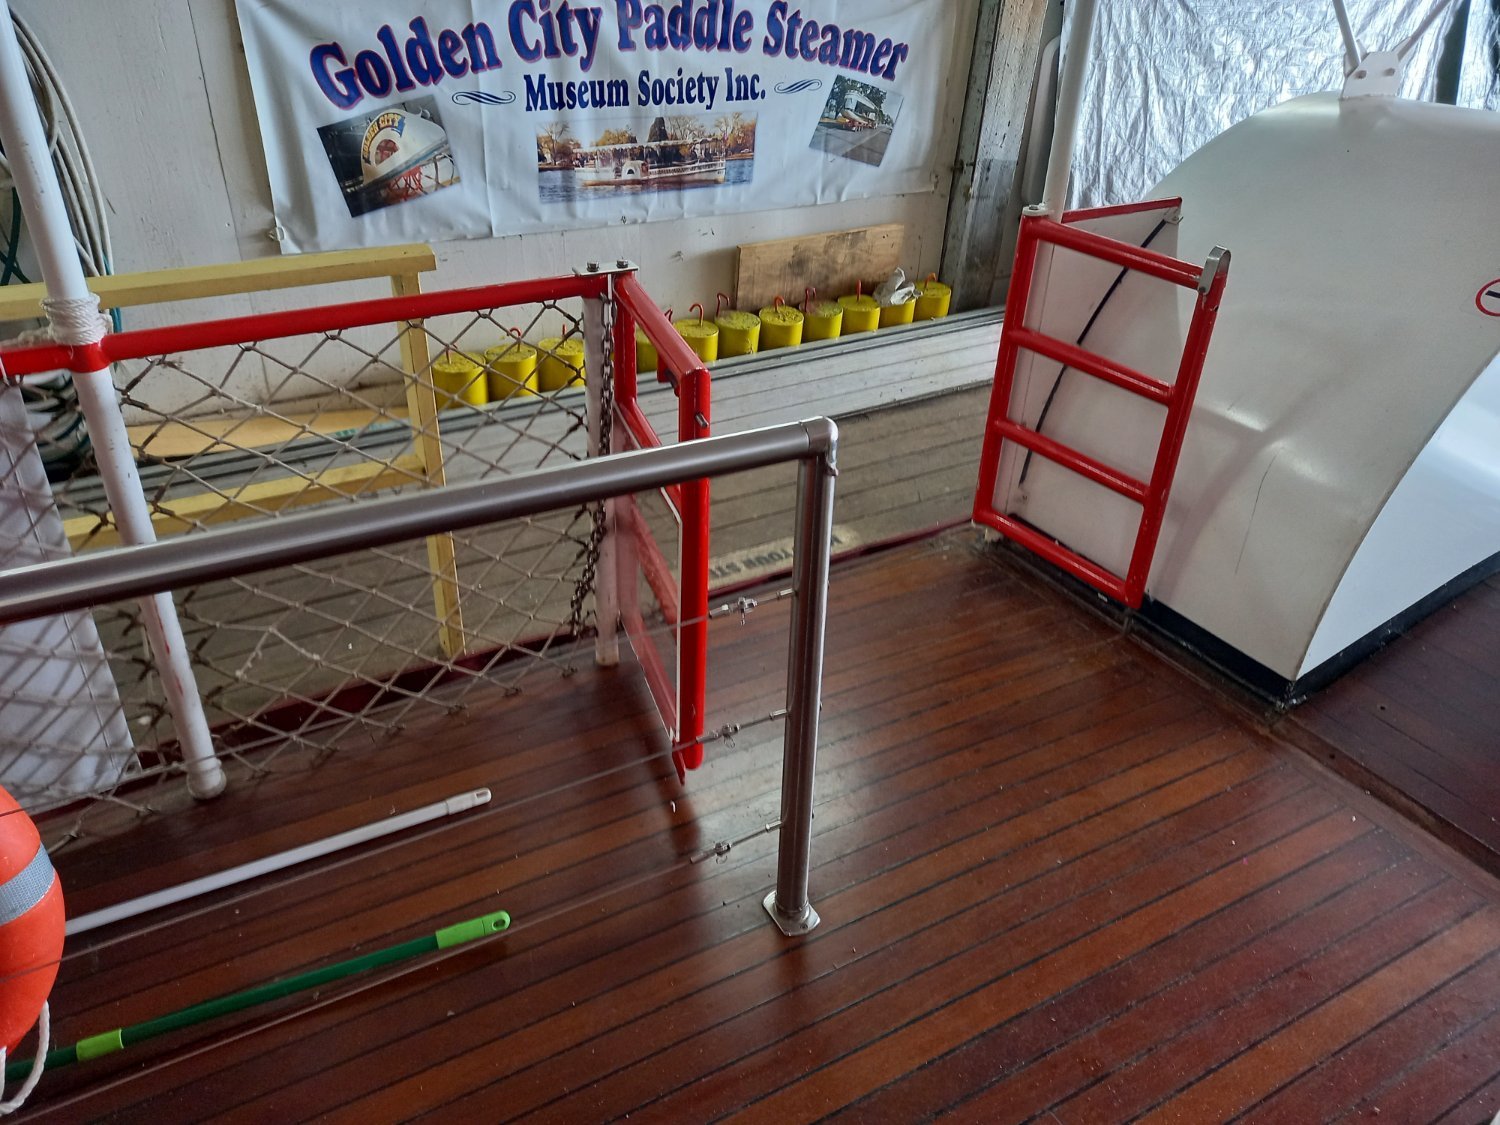
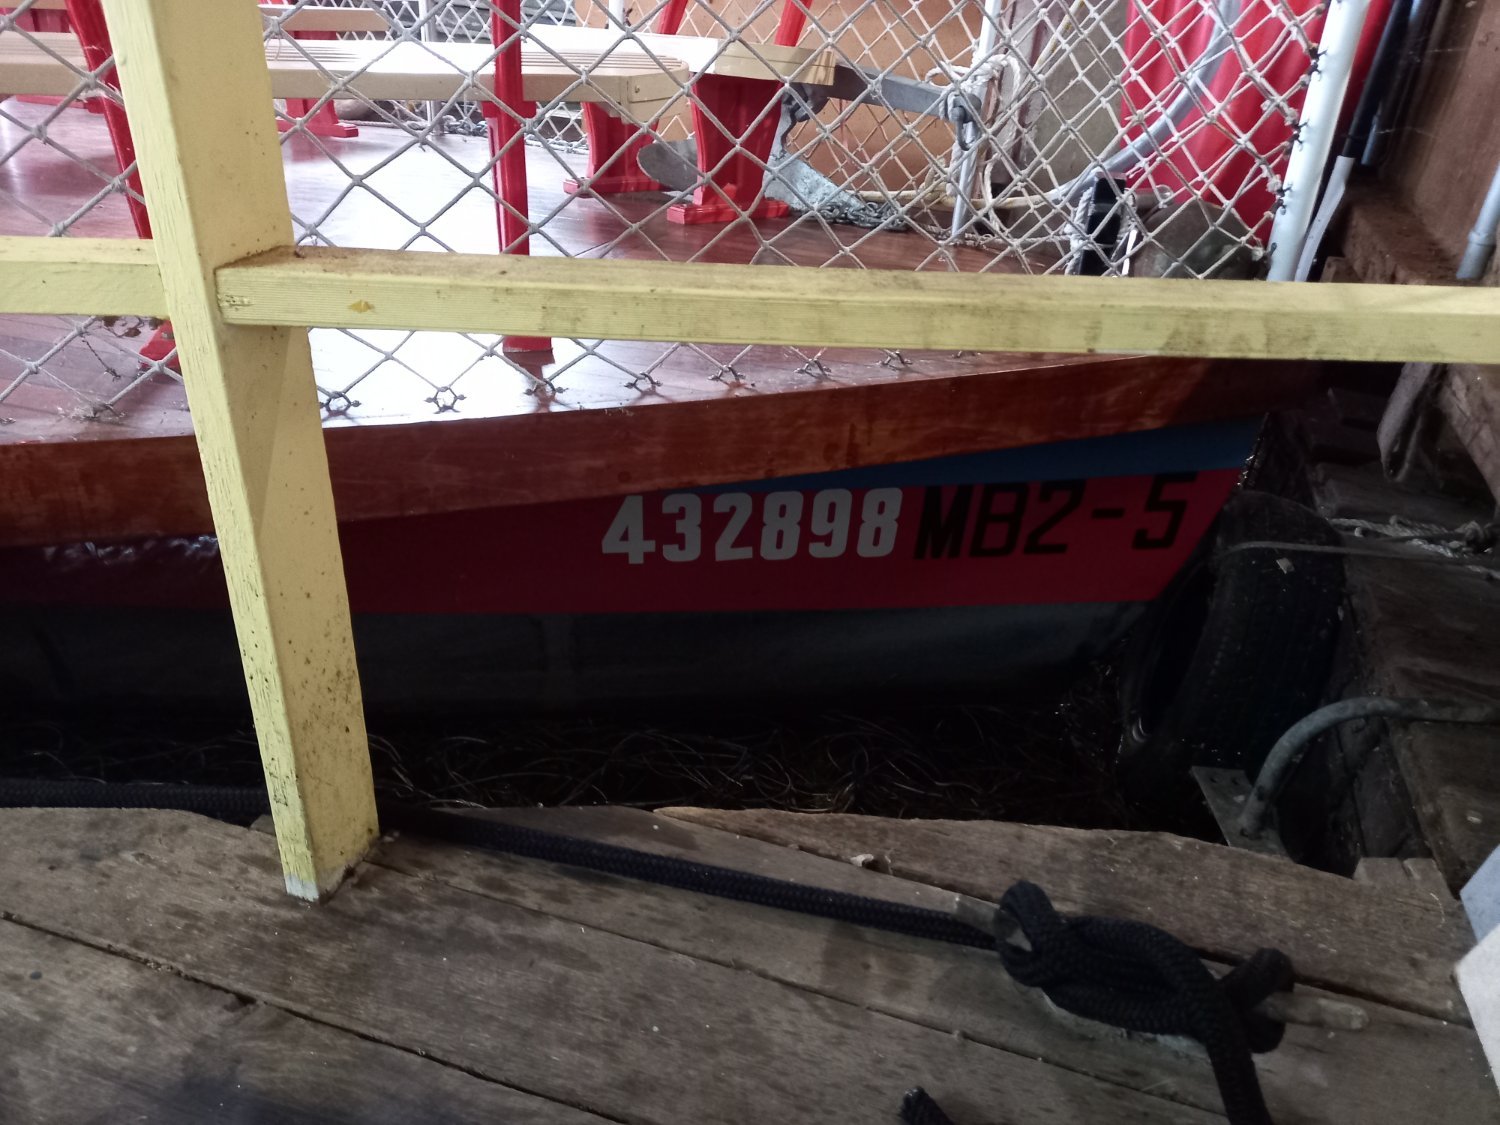
I went over to where the Golden City is berthed today and showed off the model in its current configuration to the manager of the museum and the skipper who takes her out on the lake. They were pretty chuffed with it even though it's not complete.
And I took lots of photos. A lot of things my initial photos didn't tell me, which I can incorporate into the larger model. I'm not going to change the smaller one - it's my test piece after all.

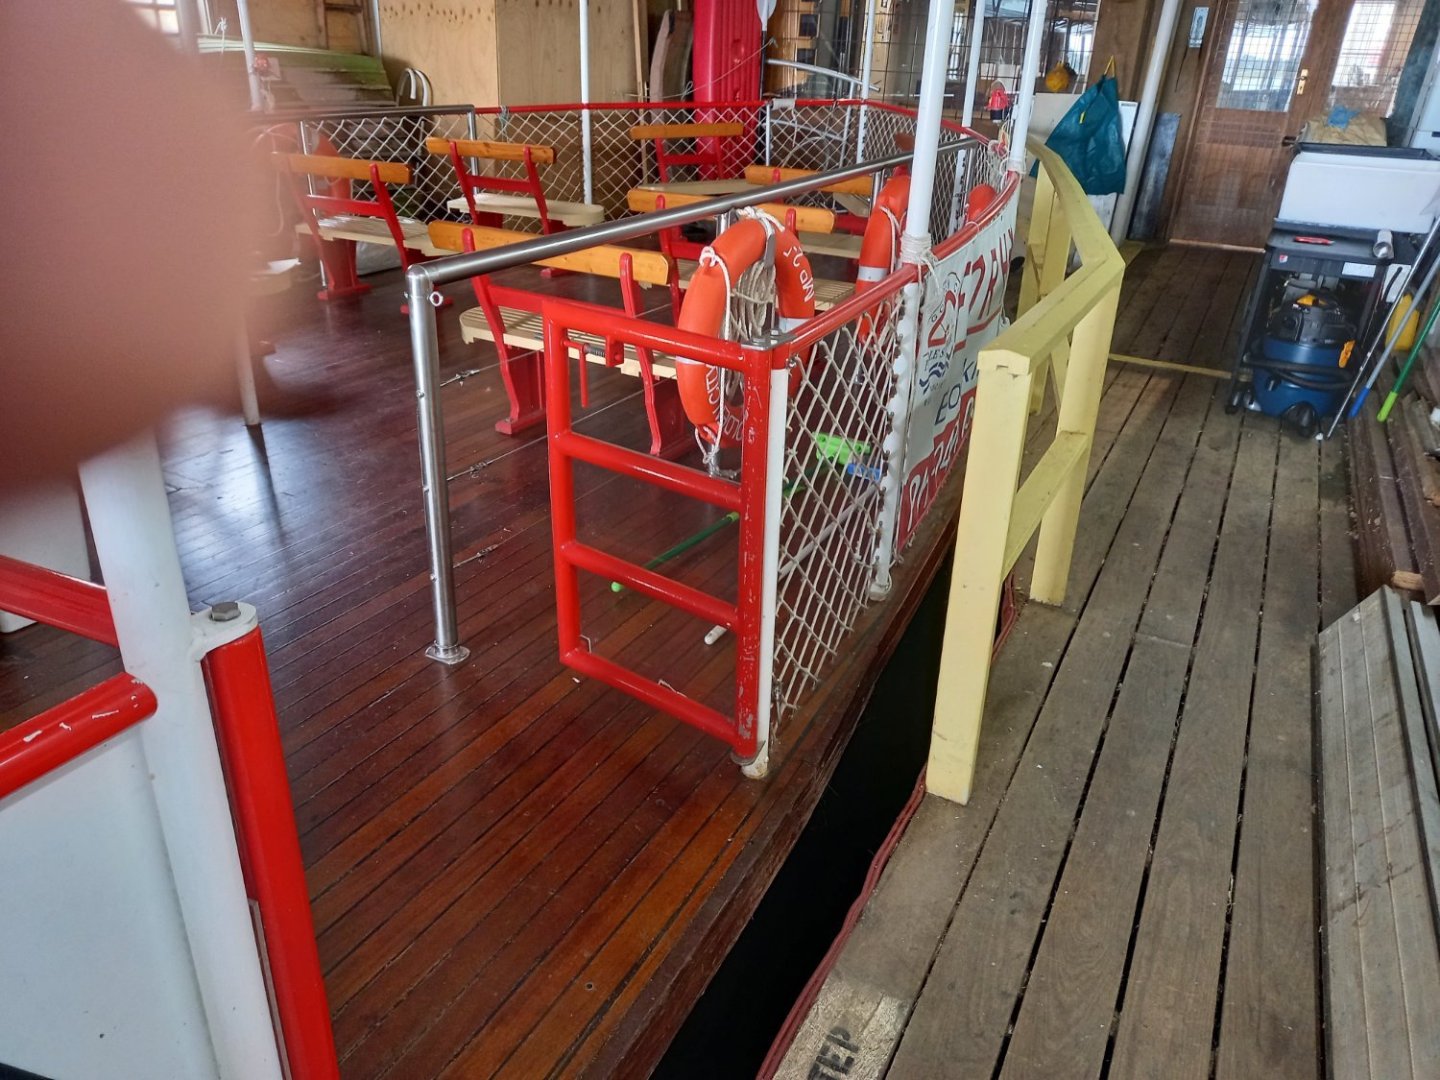


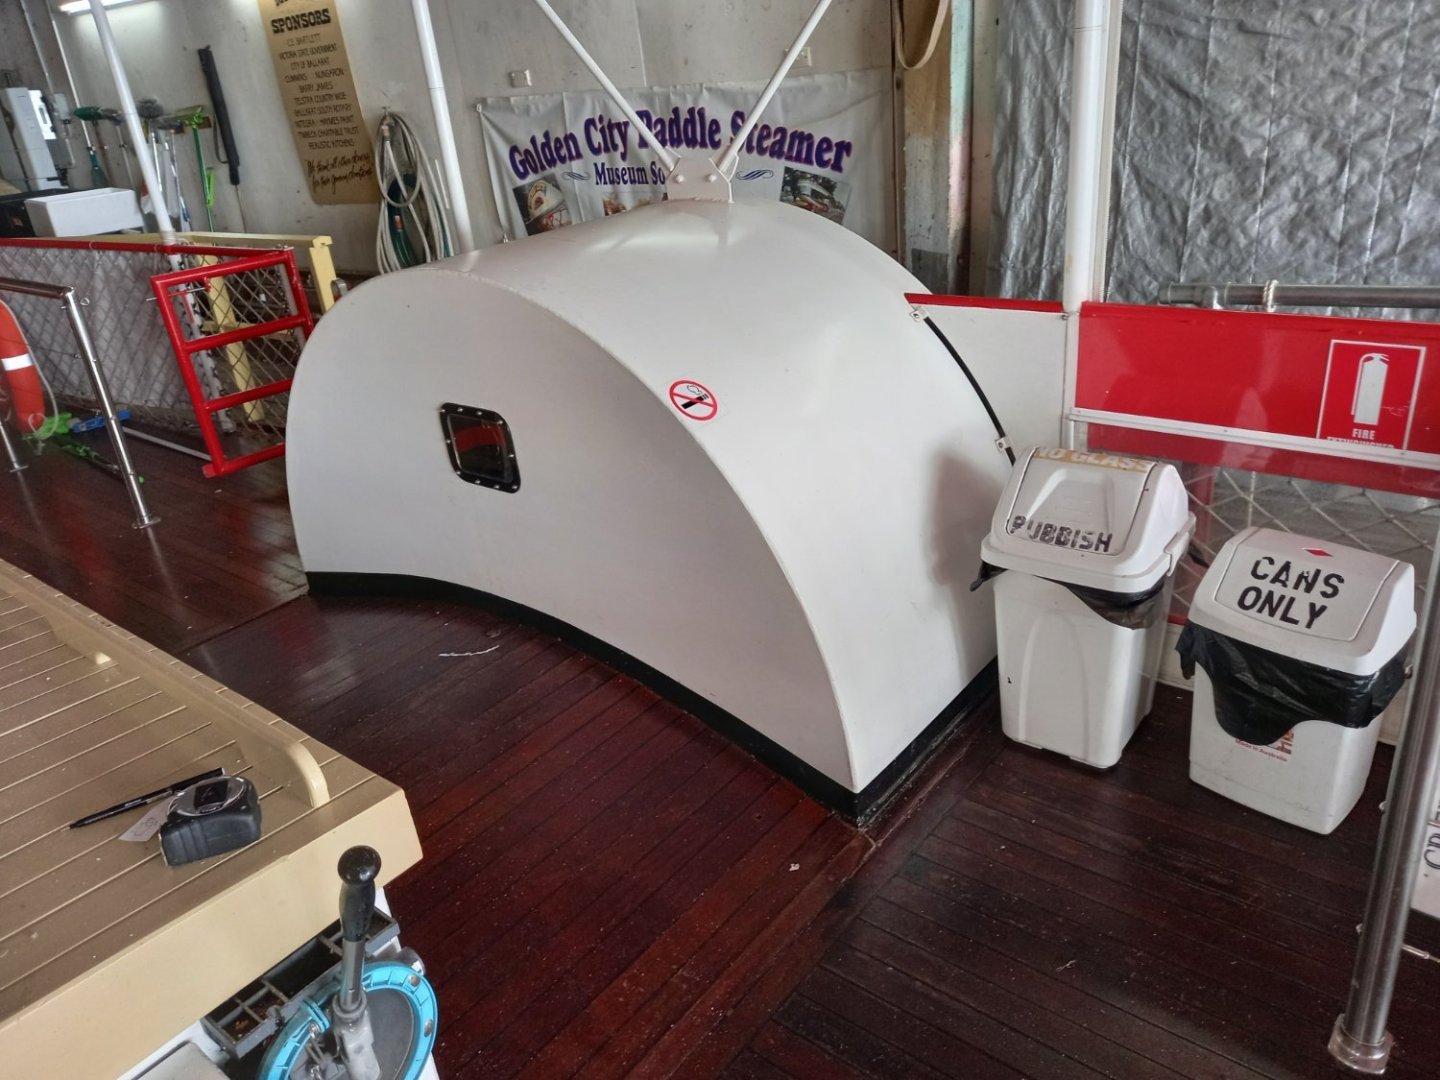
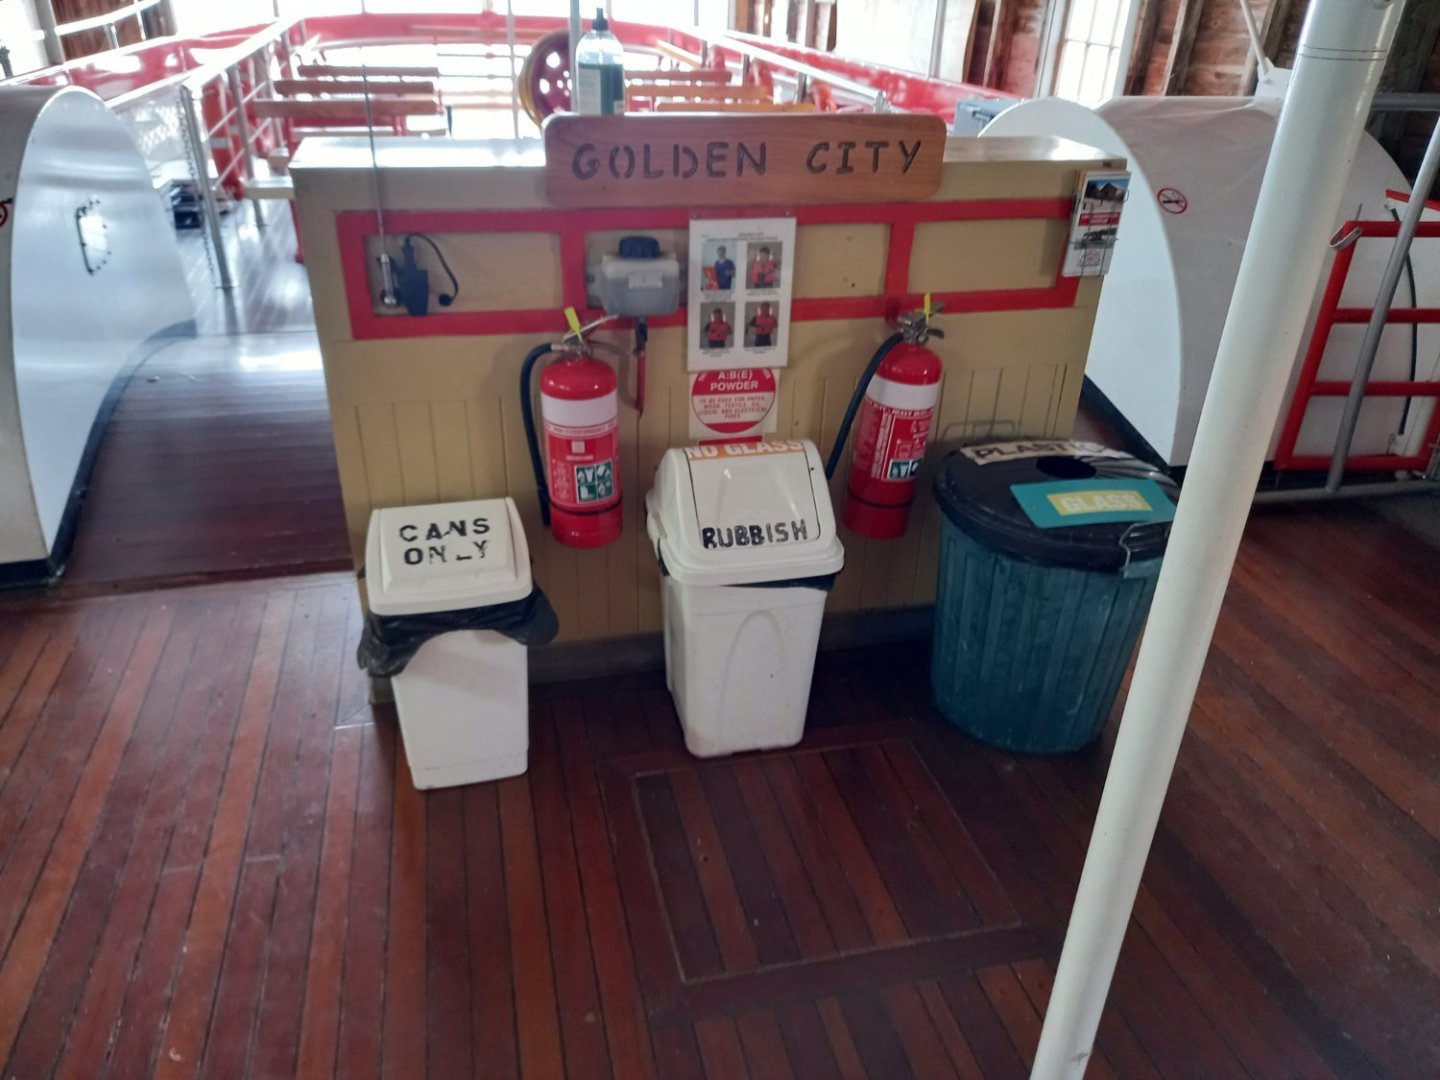

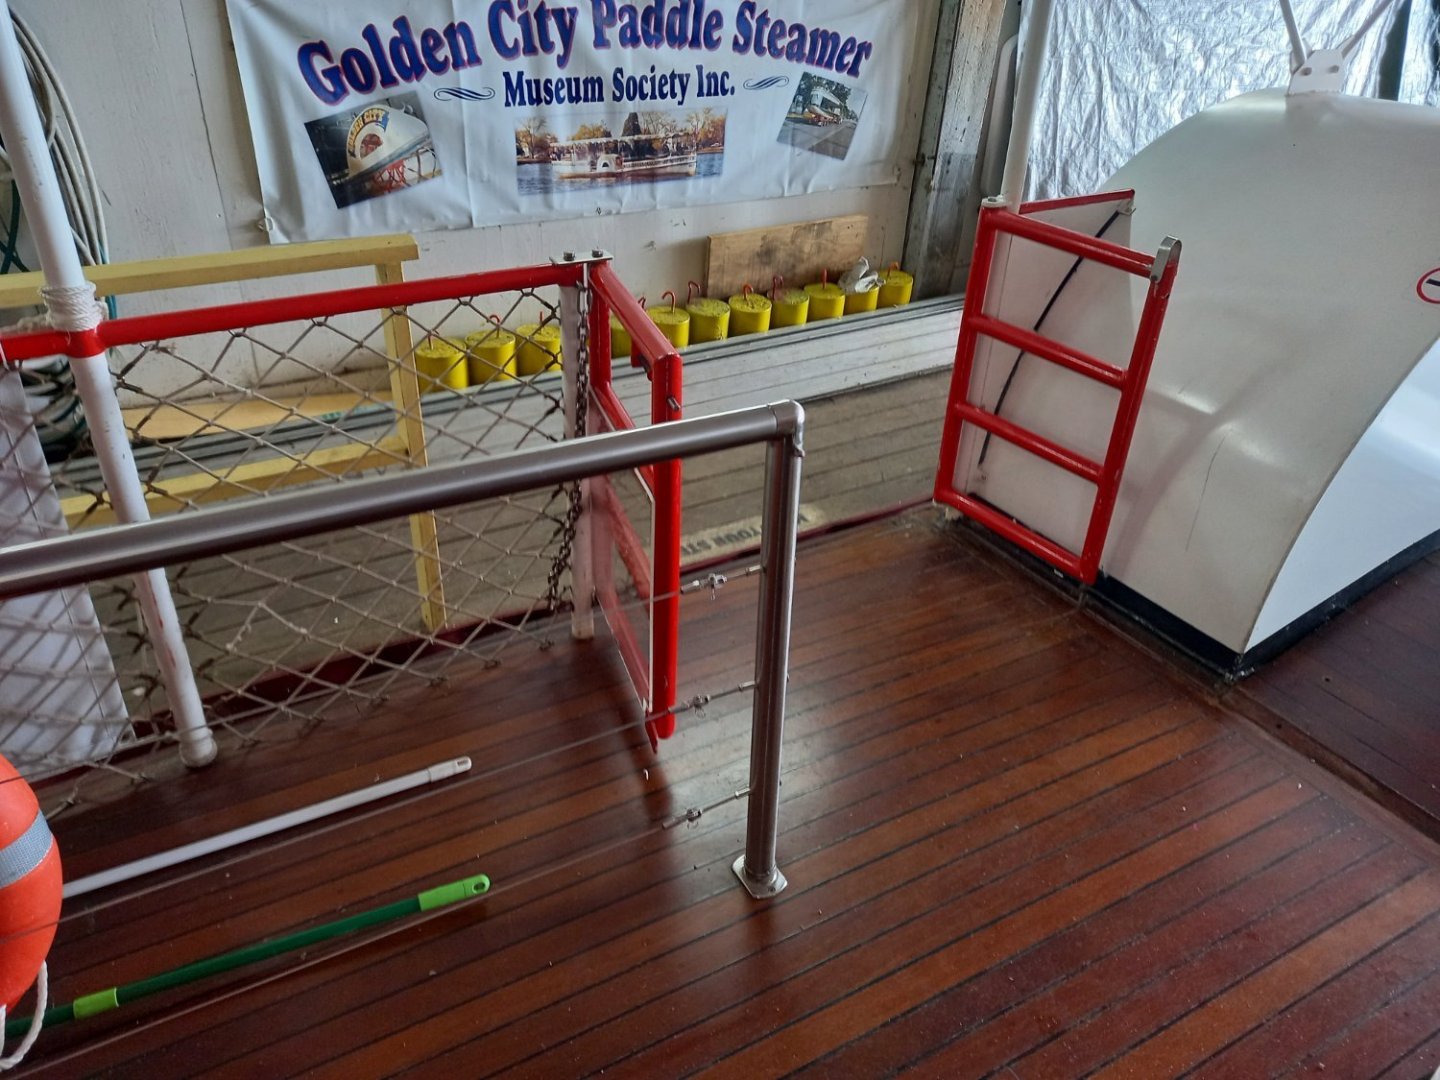

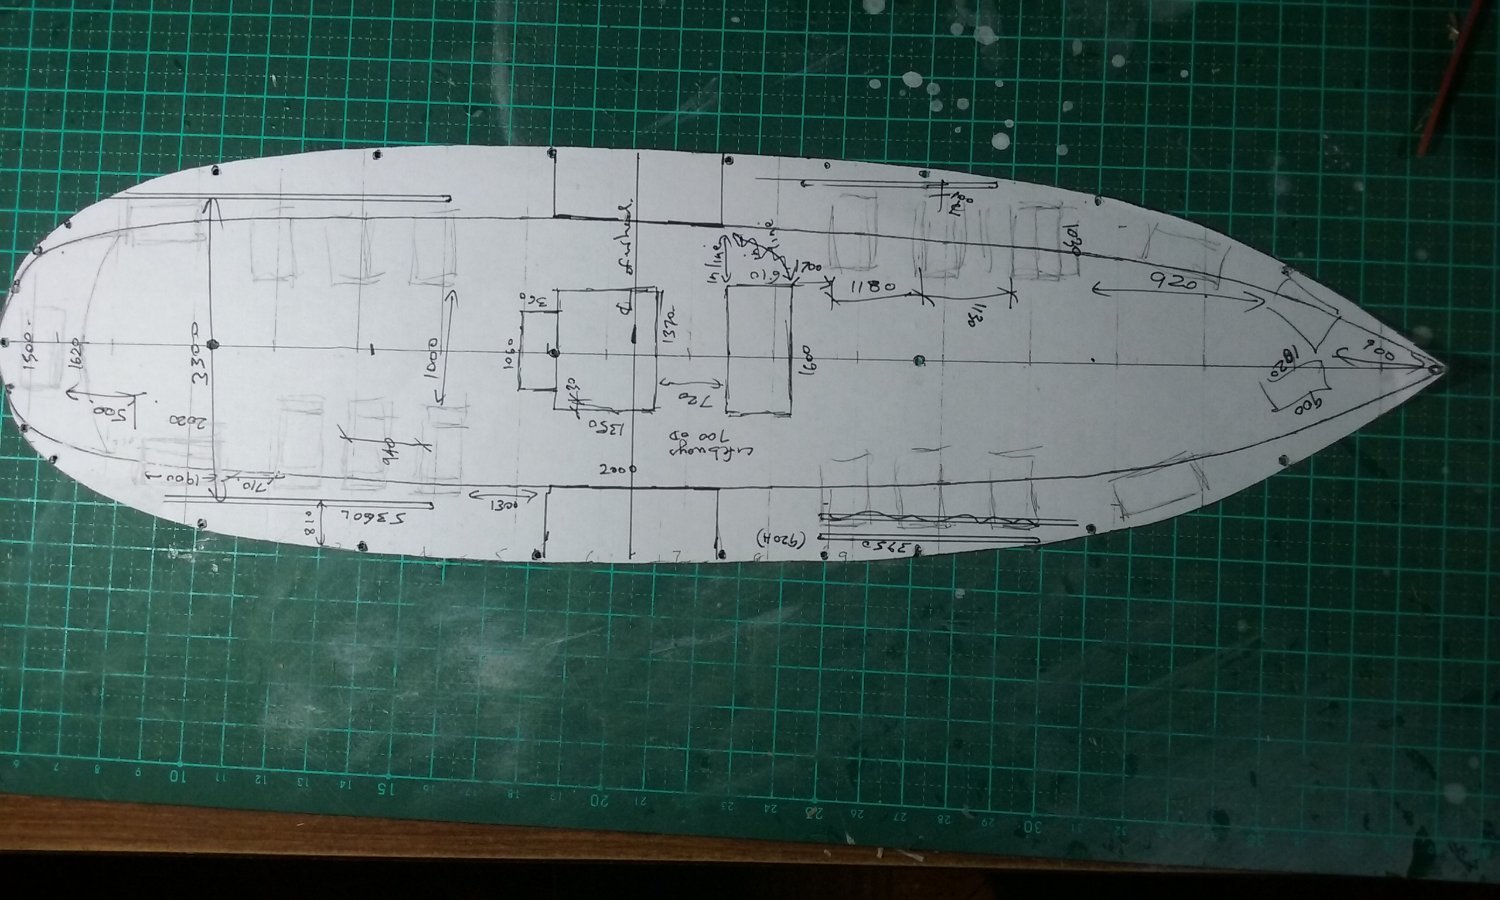
And I measured everything I could think of (units are millimetres).

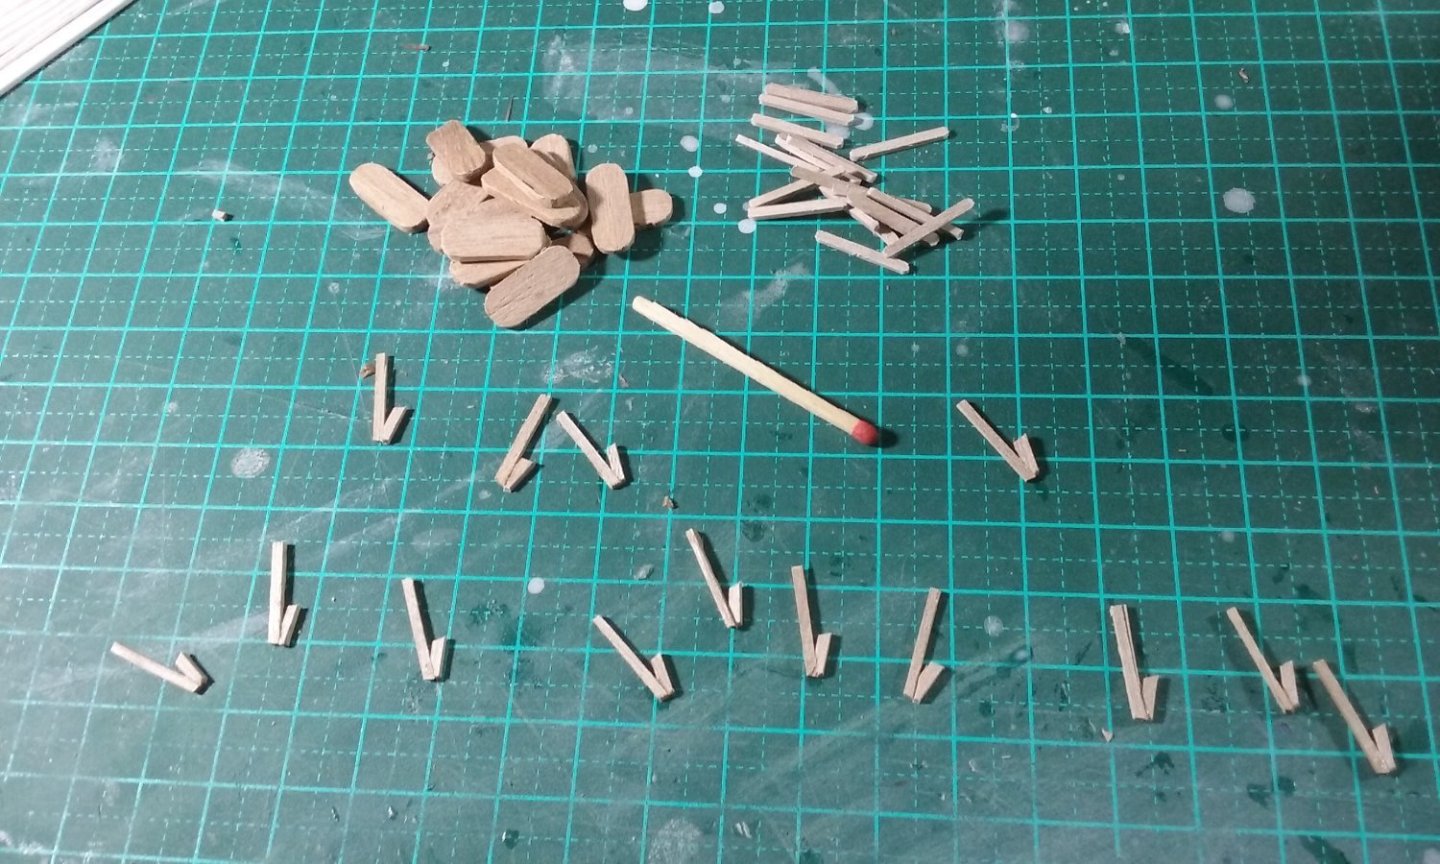
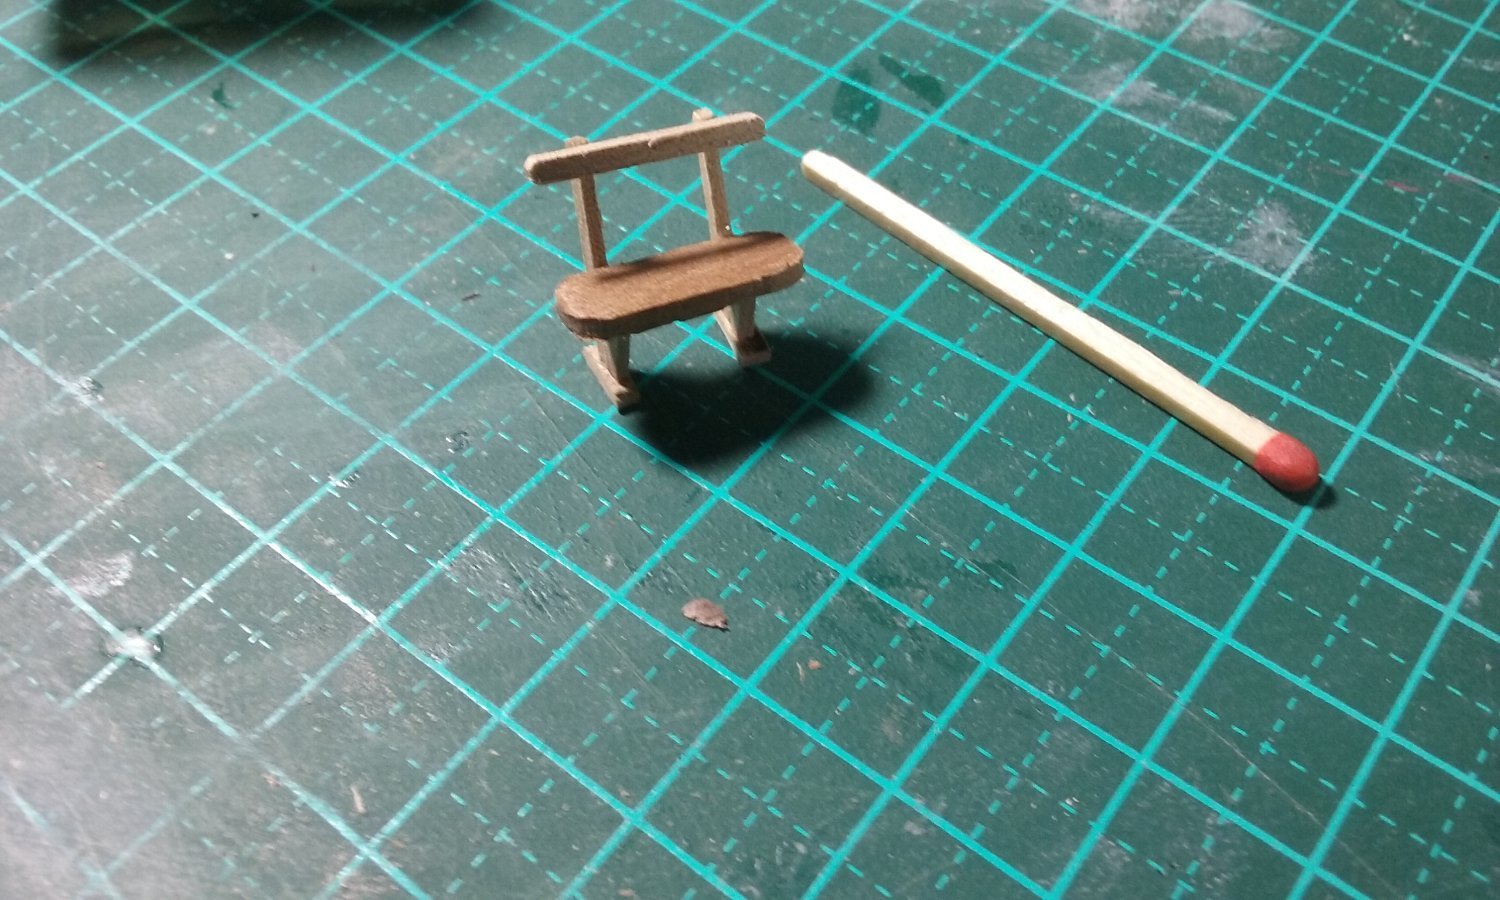
And some progress pics on the seats -I need 17 of them - which I thought were going to be really difficult to make in quantity, but turned out to be fairly easy (touch wood!) though time consuming. Here are the bits that make them up - most of them, anyway.
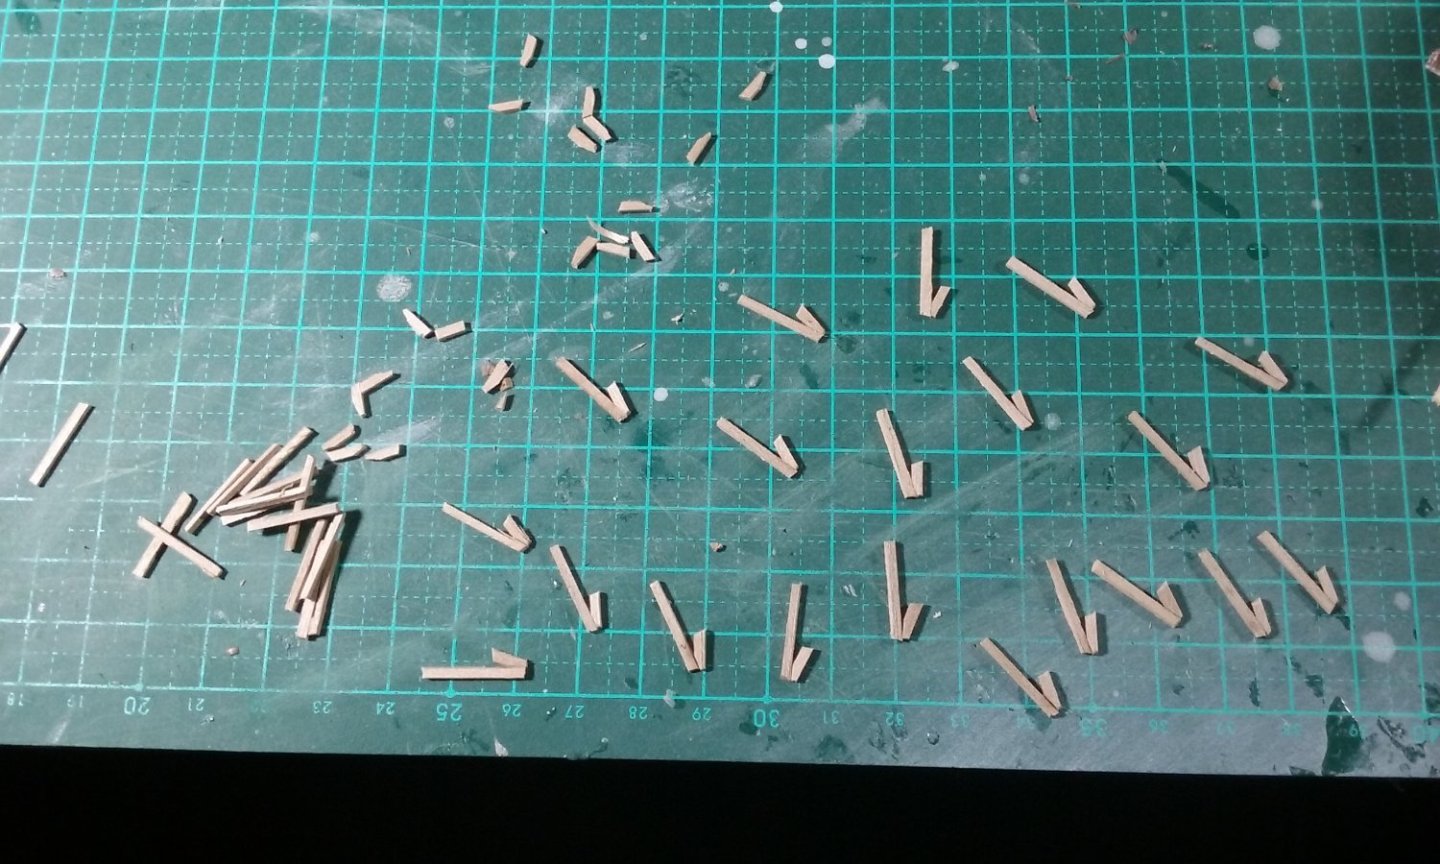
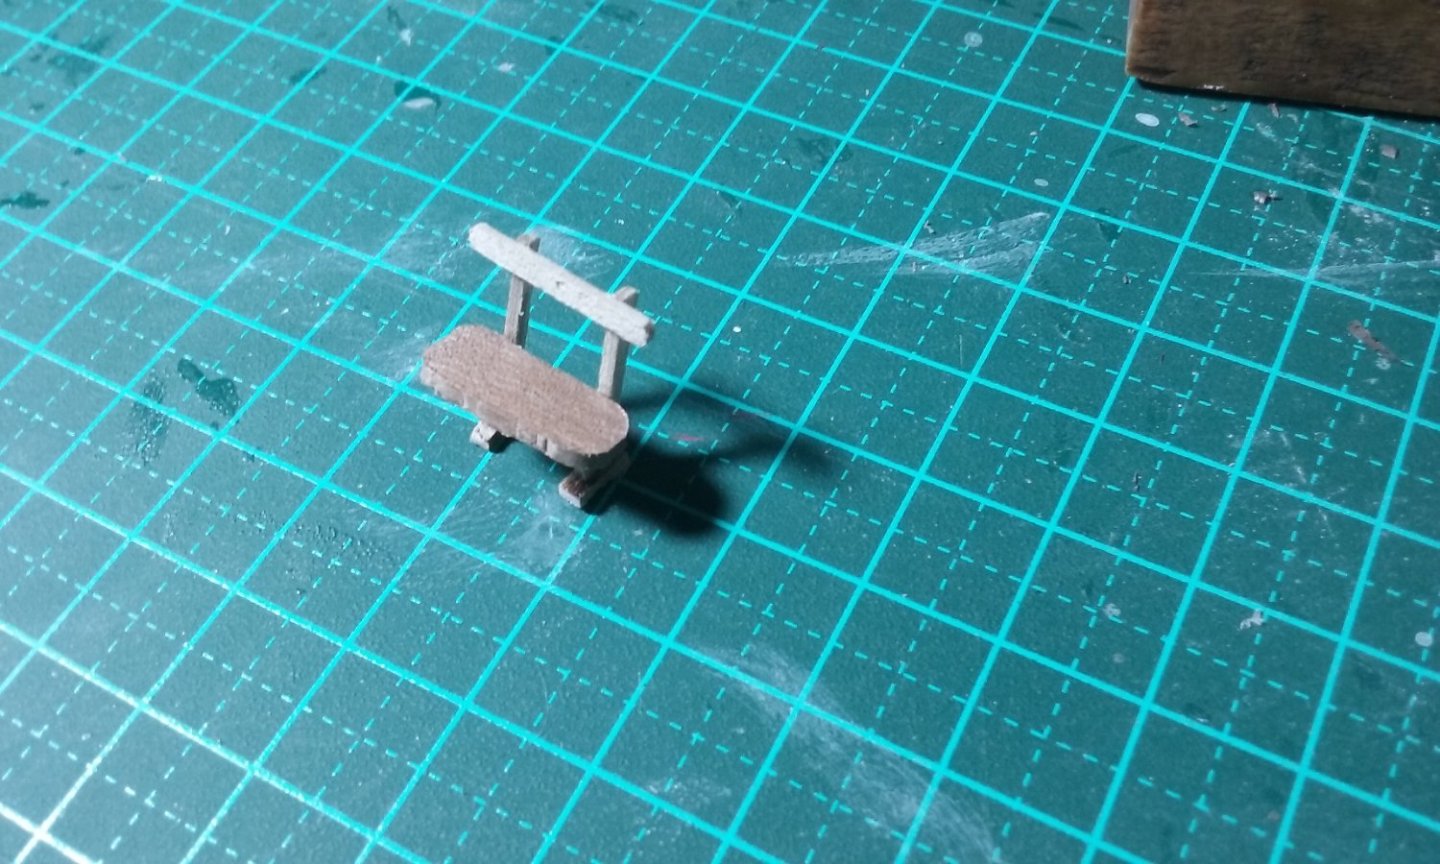
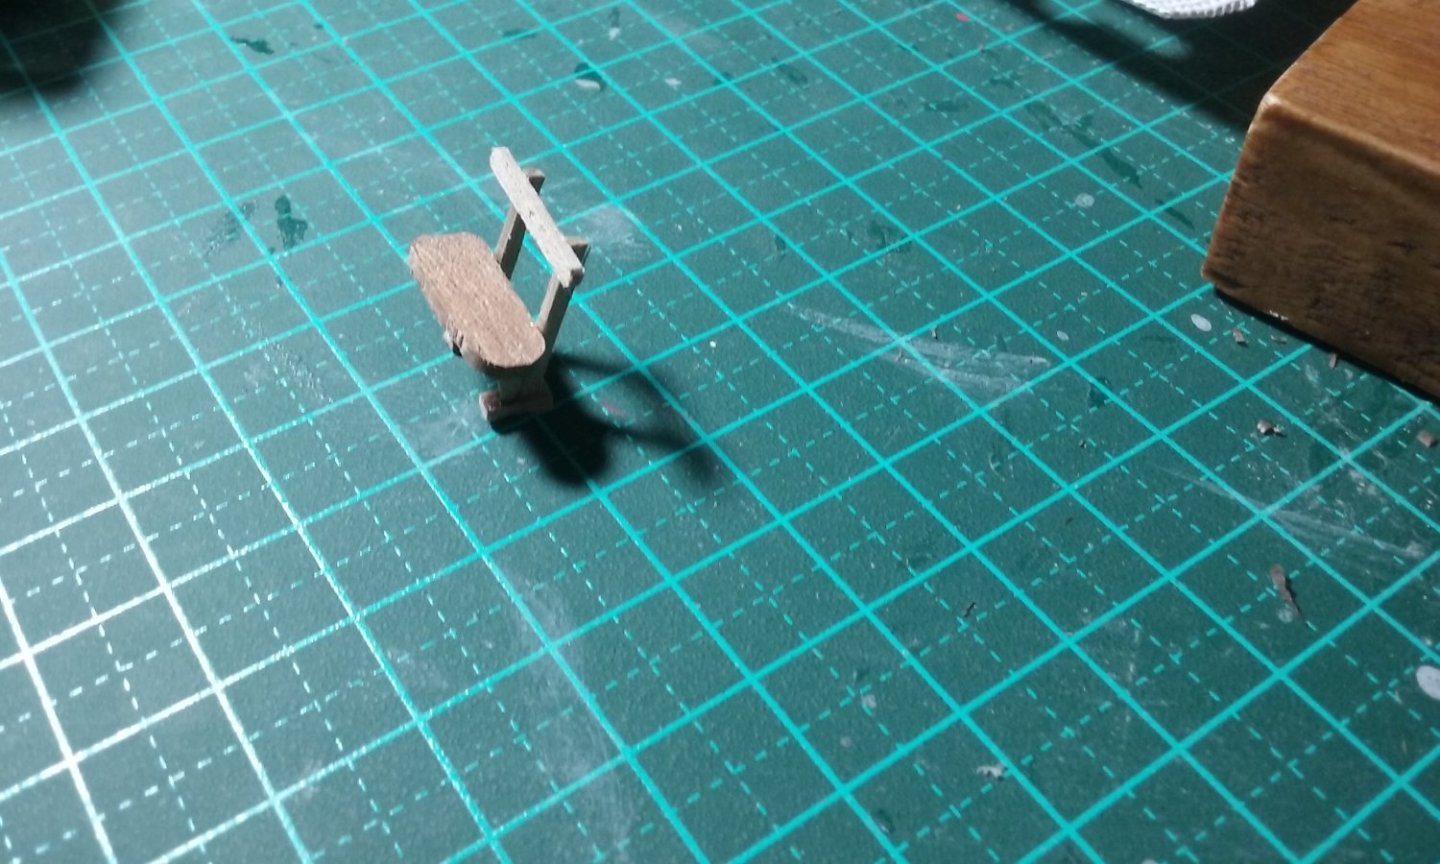
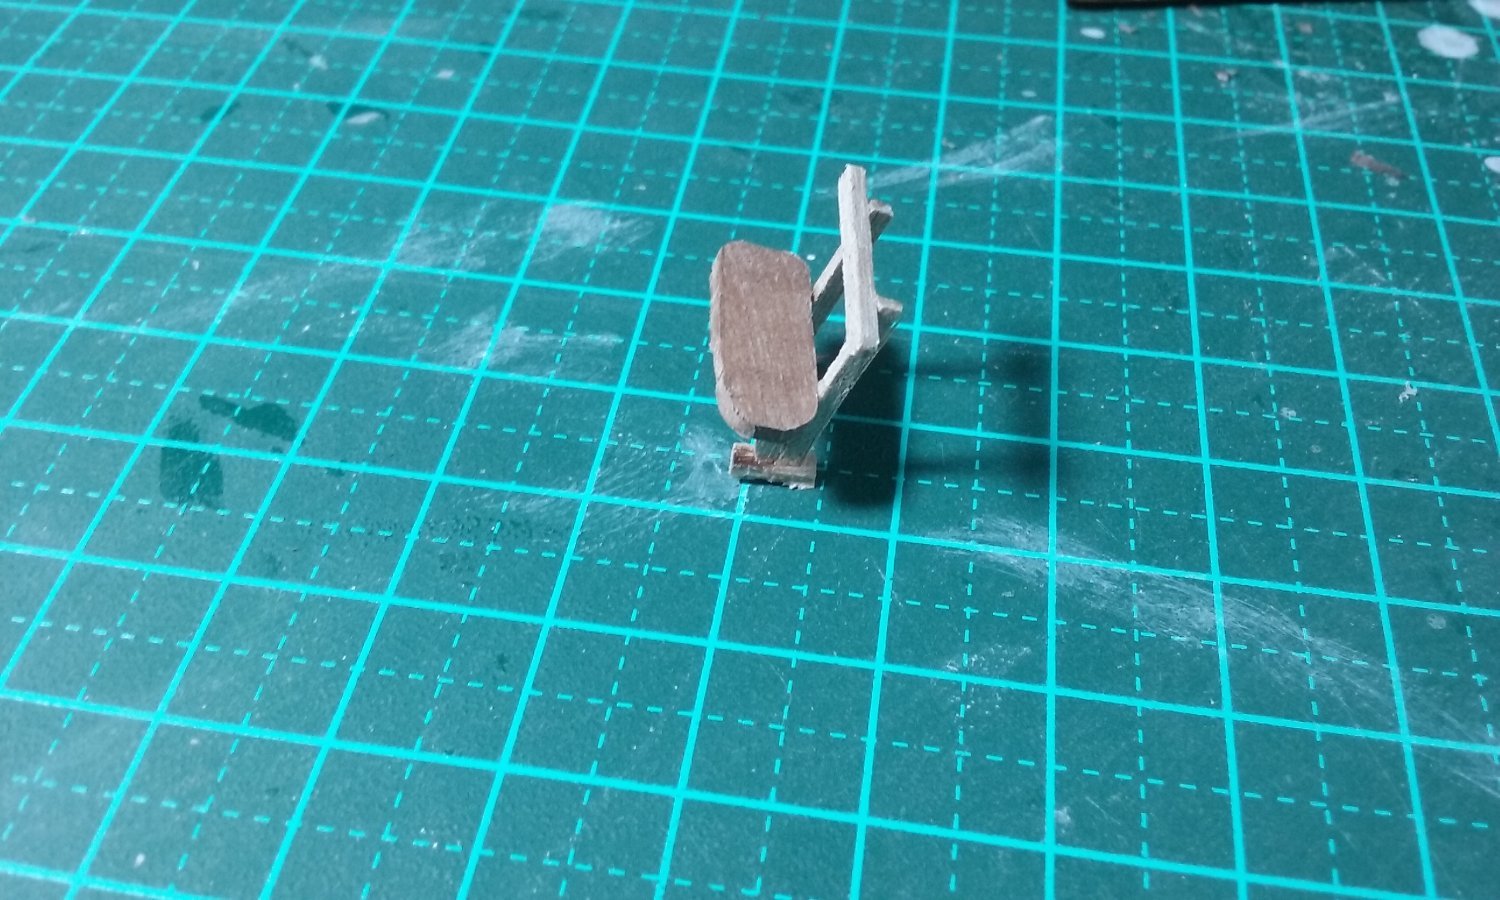
Here's the first one (prior to painting). There's still an intermediate crossbar to be added.

 And here are the bits that make up the seats now they've been painted. Plus the remaining posts that will help support the awning.

I'd had a sneaking suspicion that the seats weren't all the same size, and it's turned out to be correct. Not only that, but most of them aren't symmetrical - the sit-upon part has a curved end inboard and is cut straight at the outboard end, to fit in with the straight railing marking off where the lifebuoys are stored.

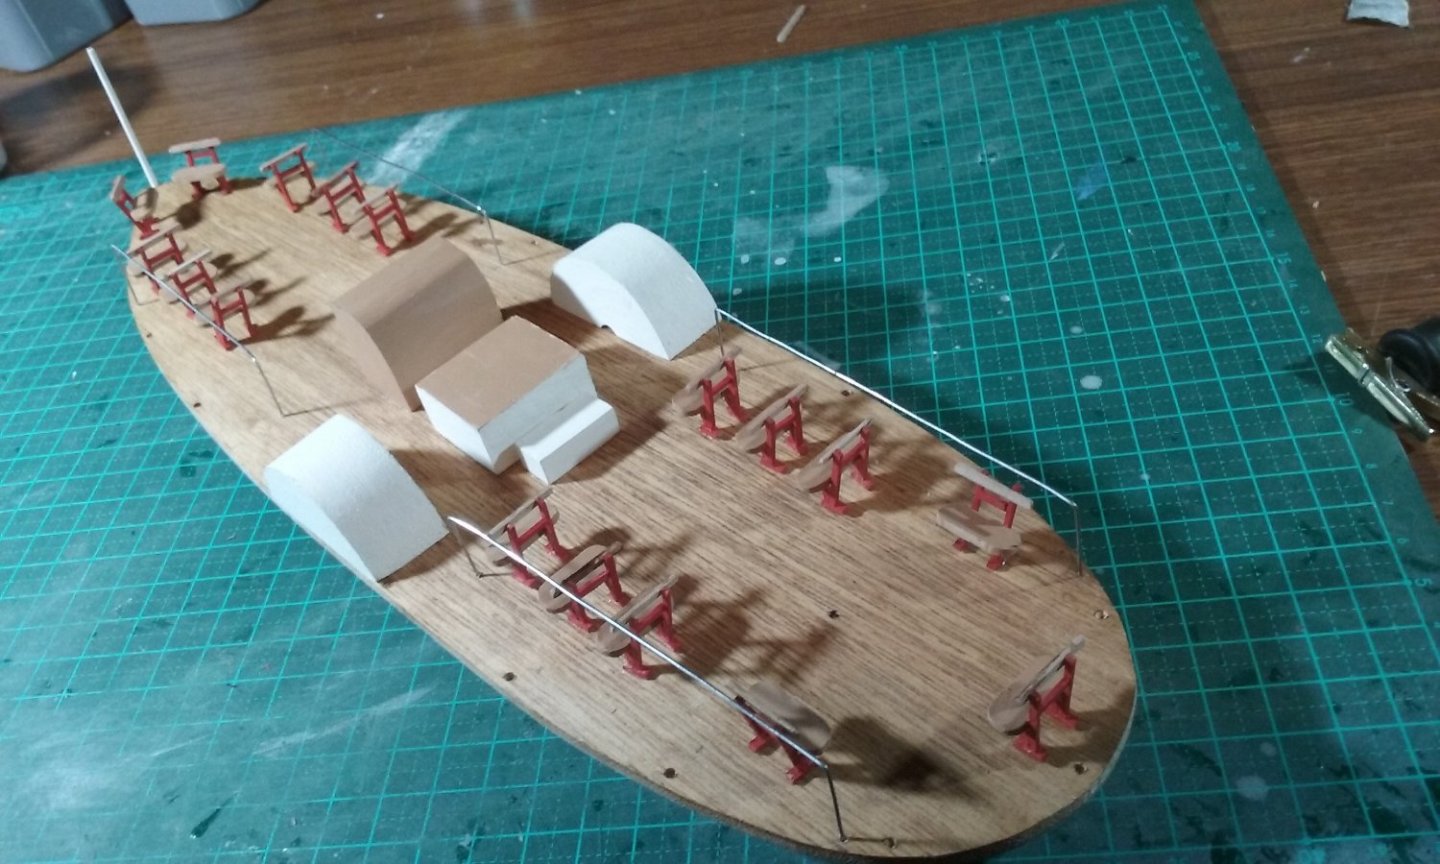
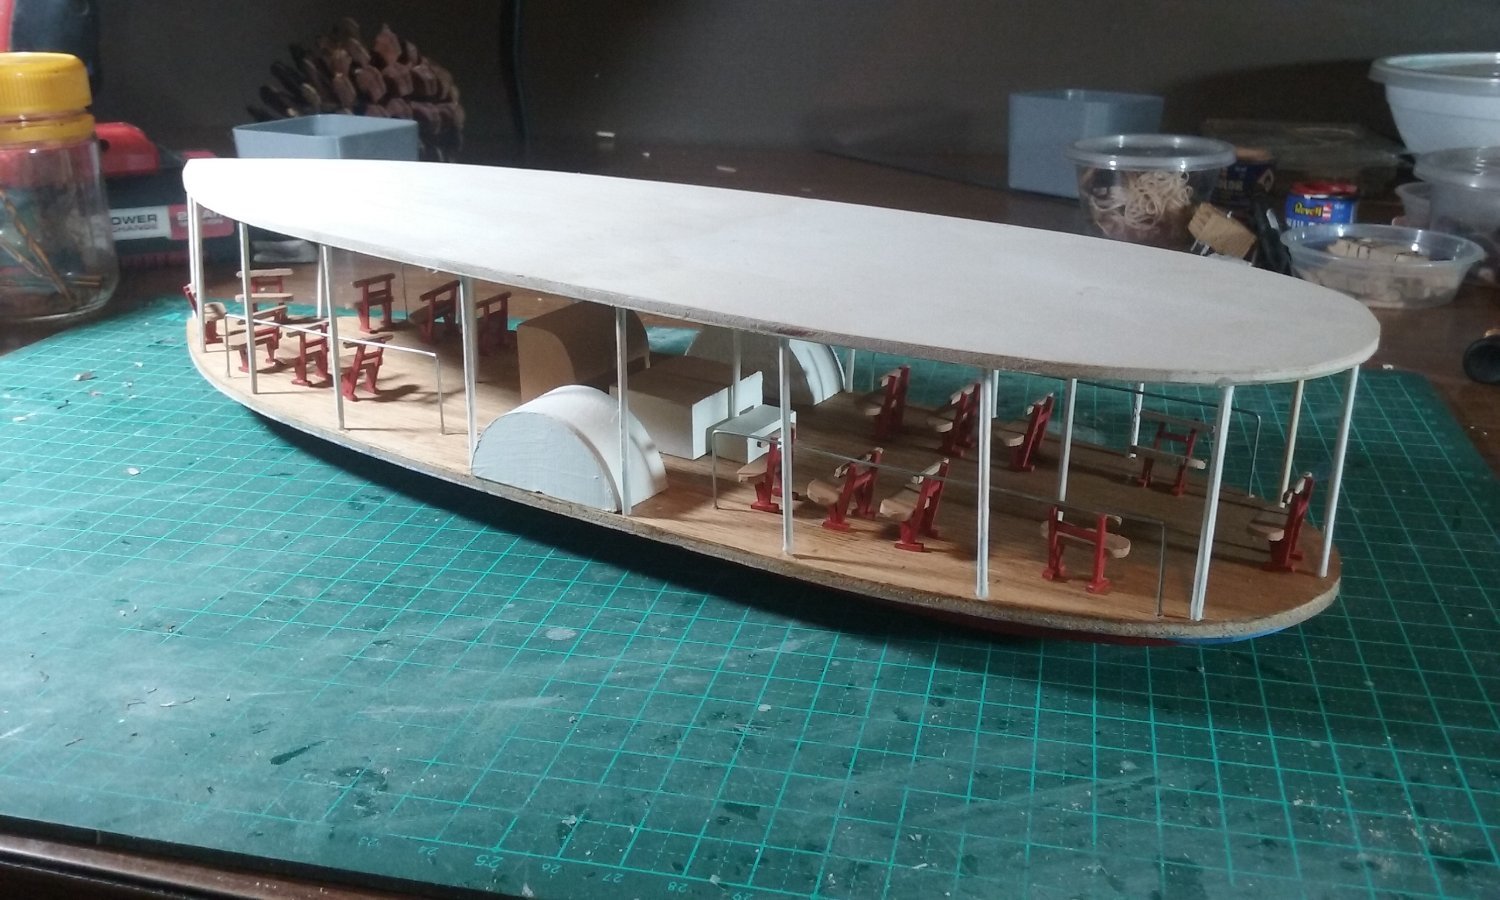
And I've started painting the hull and temporarily added the first seat - the position is subject to change now that I've measured everything up.

It looks a little boring at the moment, but I think when the railings and mesh and the striped awning roof with wavy edges is added it will look a lot better.
Steven
- Knocklouder, Canute, BANYAN and 14 others
-
17
-
-
10 hours ago, Chuck Seiler said:
I wasn't aware that there were paddle wheelers in the middle ages. 😁
Oh, yes . . .
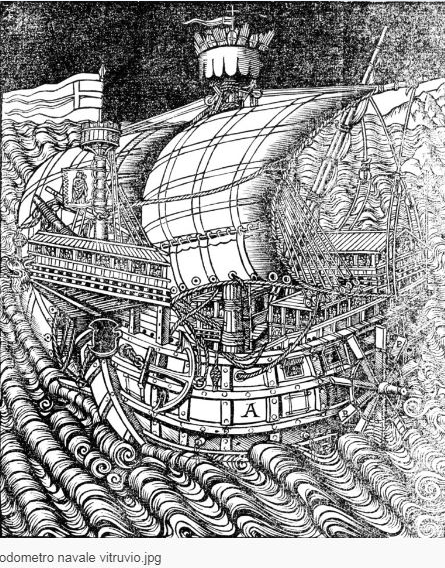
The clue is in the caption - a "naval odometer" according to Vitruvius (https://en.wikipedia.org/wiki/Vitruvius )
Steven
-
18 hours ago, Thukydides said:
It is also potentially you could be painting the layers while the previous layer is still not fully dry. This is a big no-no in acrylic painting as you reactivate the previous layer and make your surface less smooth.
That might be the problem. I may have done that.
17 hours ago, druxey said:Steven: You need to stretch the SilkSpan, wet it with water alone first and let it dry to make it drum-tight. Then, when you re-wet it with dilute acrylic, it will initially sag, but re-dry tight and smooth again.
I've done that, and it worked that way, but I think I might have done it too many times.
8 hours ago, Tony Hunt said:PM your address to me and I'll put a couple into the post for you to try, if you'd like.
Thanks, Tony. Liteflight has promised me the wood from a box hedge he removed and I'm looking forward to that, but it'll probably need to season for a while. In the meantime I wouldn't mind having a try at the stuff you've got. I'll PM you with my address. And thanks, mate
Steven
- Glen McGuire, Thukydides, Tony Hunt and 2 others
-
5
-
-
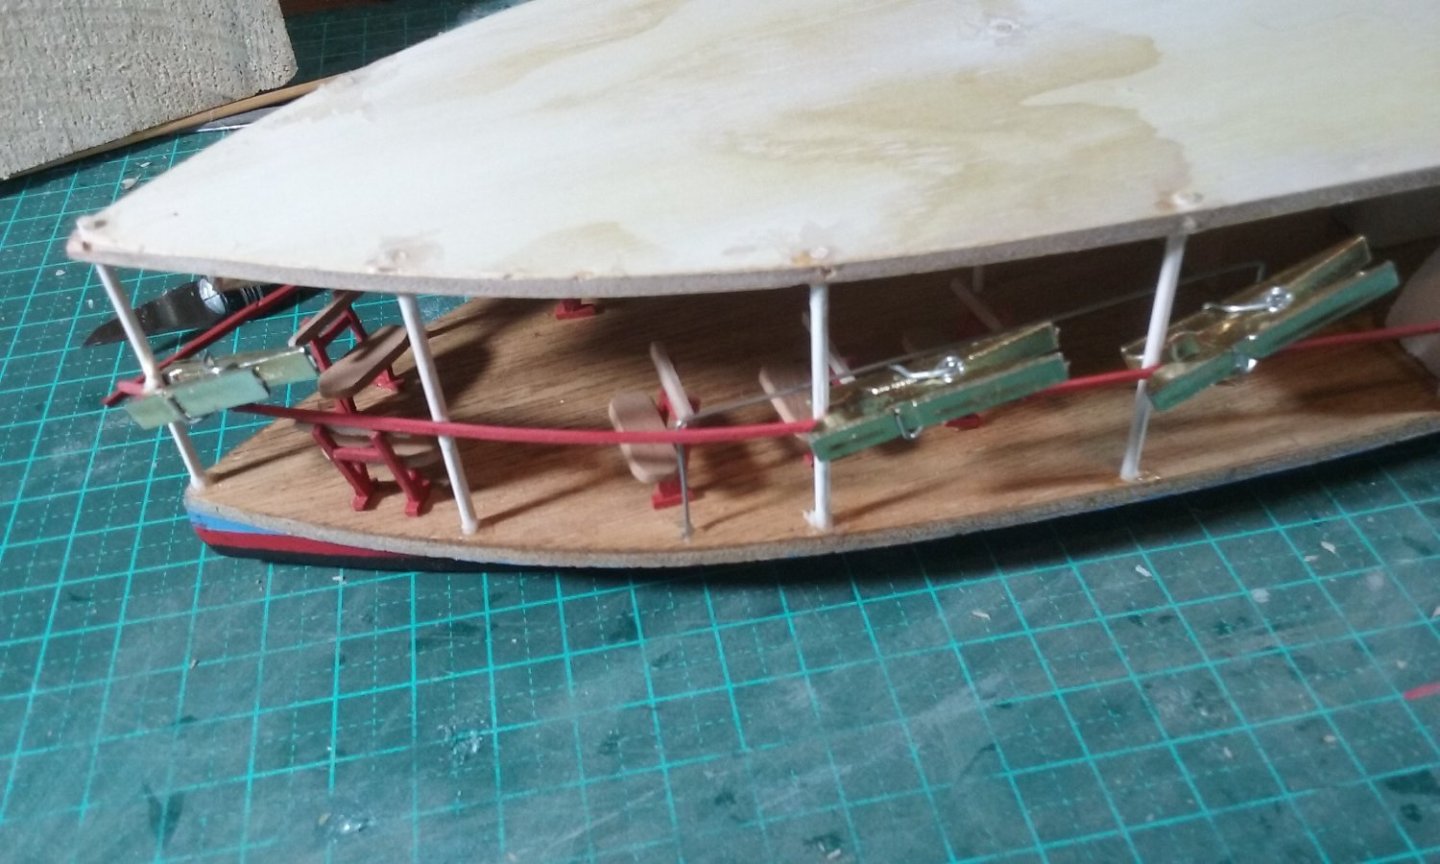
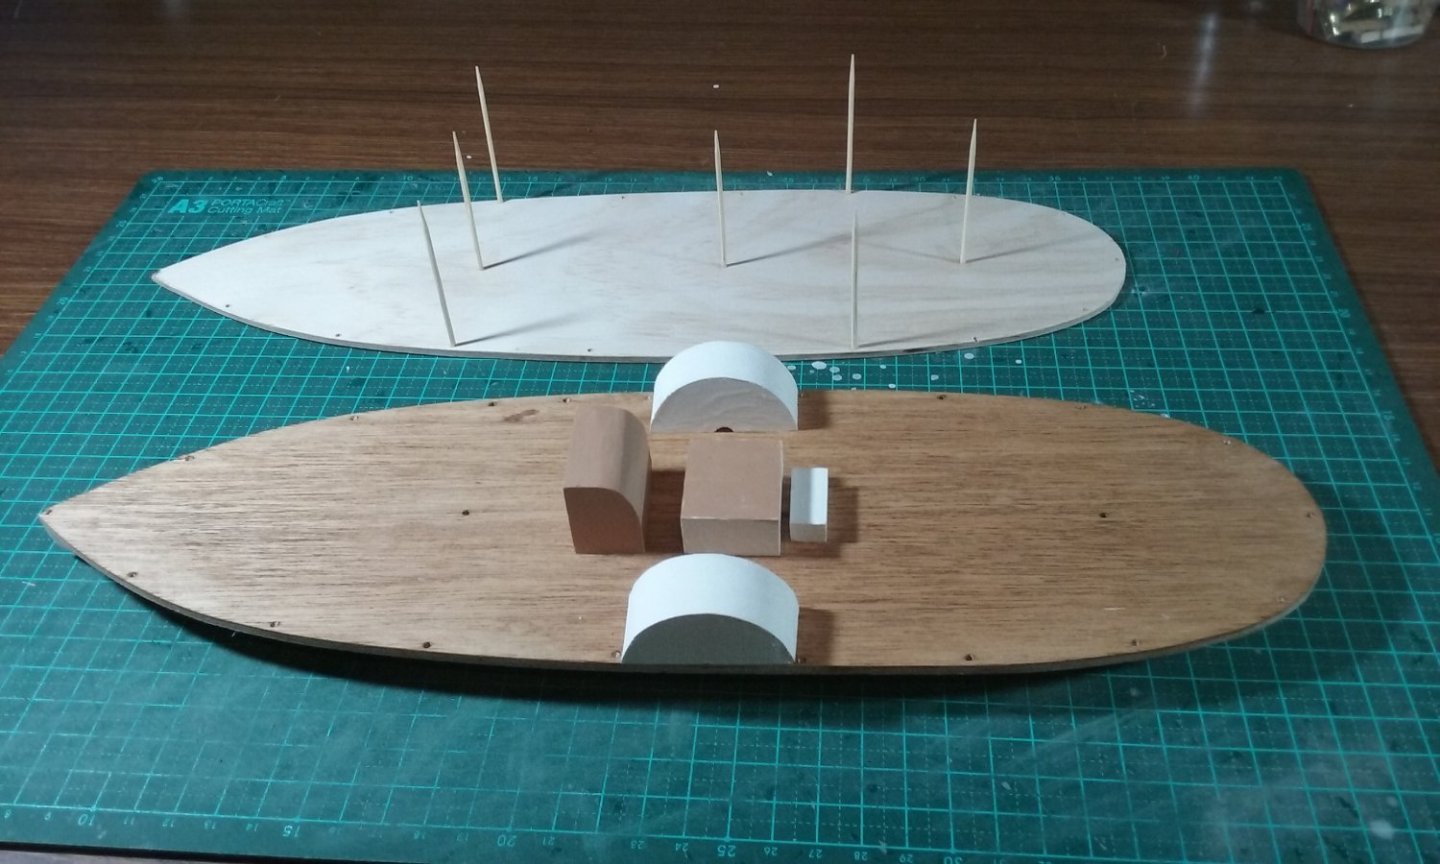
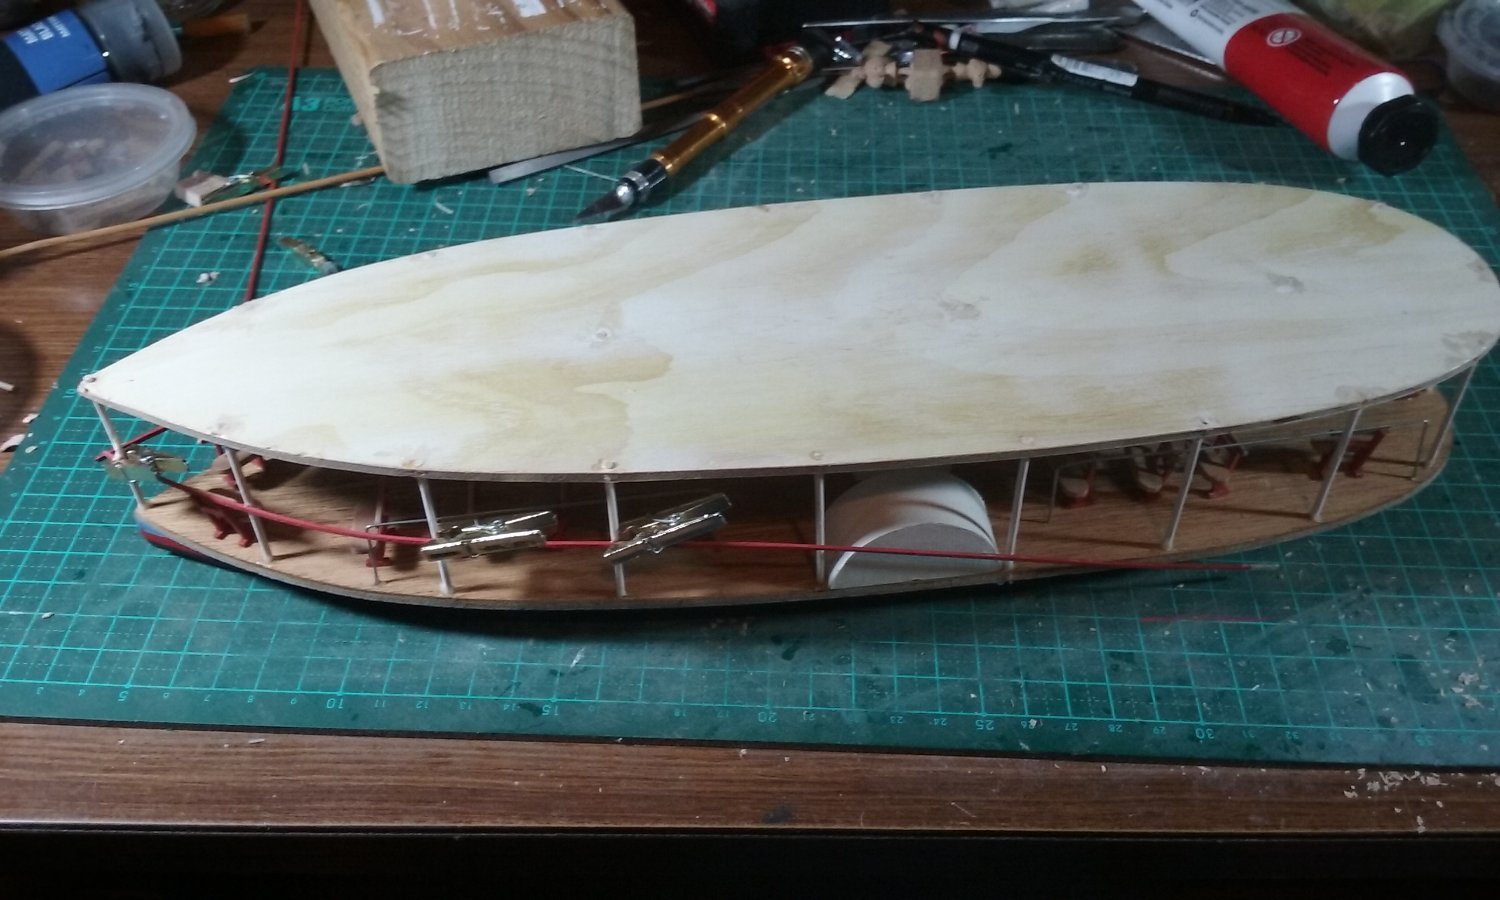
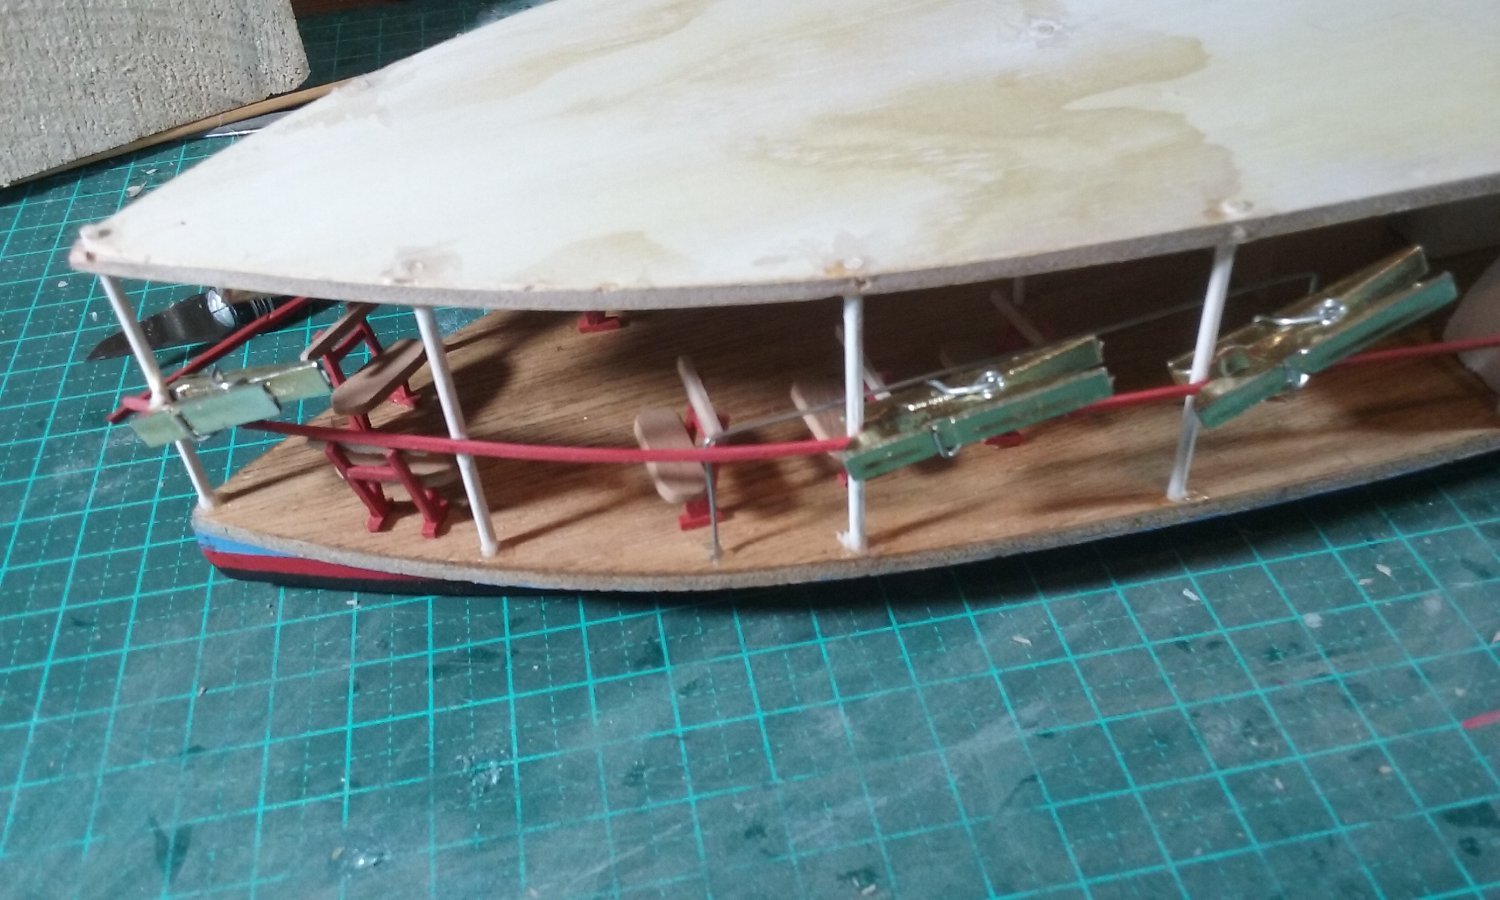
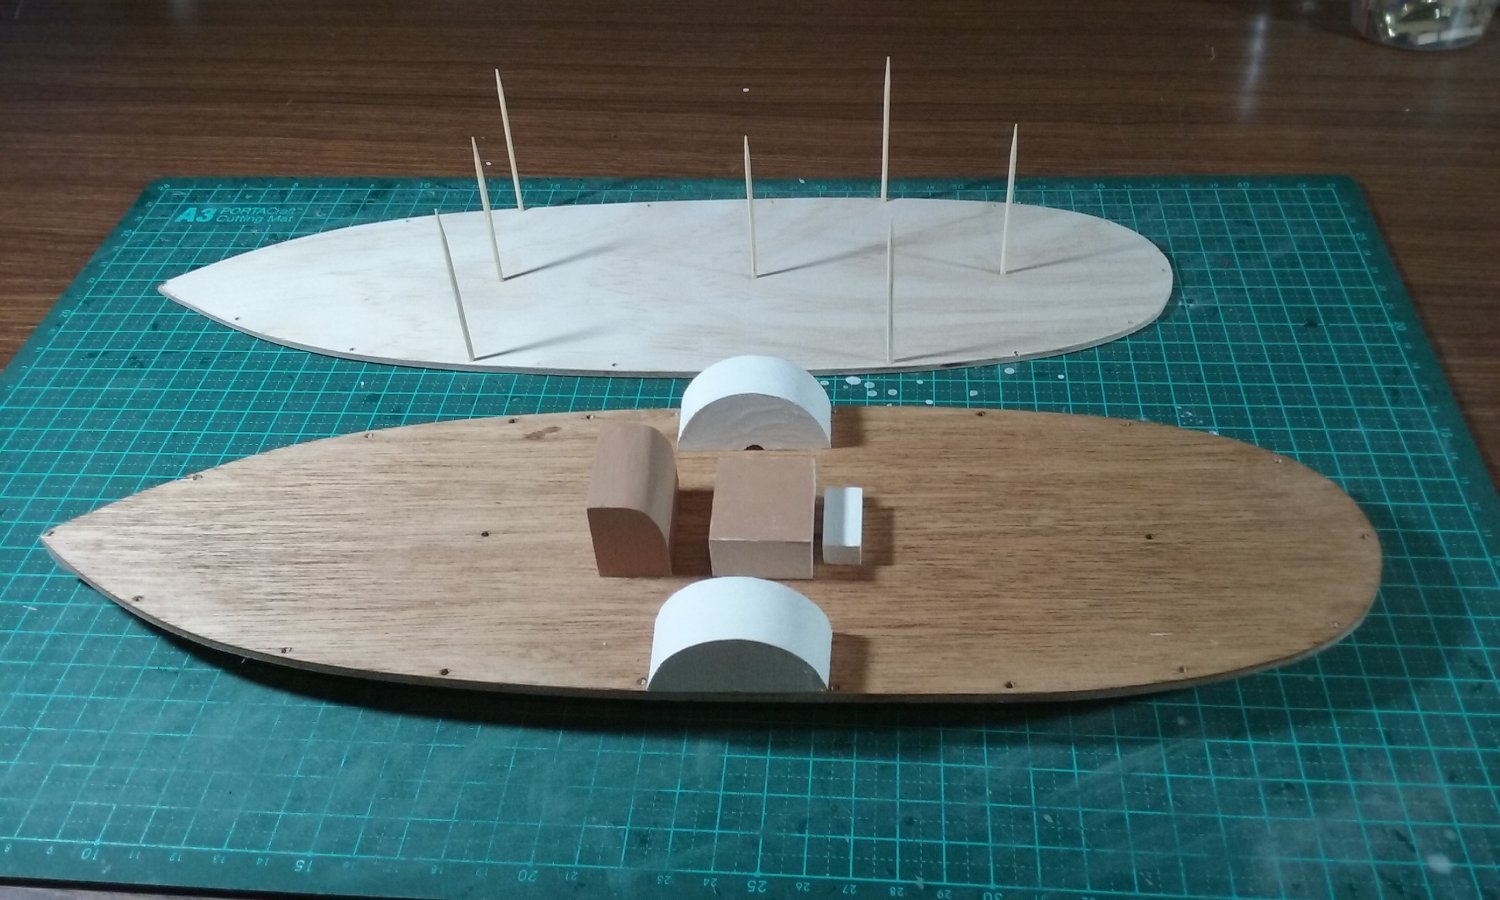
Well, I've given up on wire - I'll be using wood instead. I feel more comfortable with it and I think I can produce a better result, even if it isn't an exact reproduction of the real thing. For the uprights, I've used bamboo toothpicks. Here's the hull with paddlewheels and deck equipment attached (I still have to work out a way to mass-produce the passenger seats), plus the awning upside down with some toothpicks attached, to mate with corresponding holes in the deck.
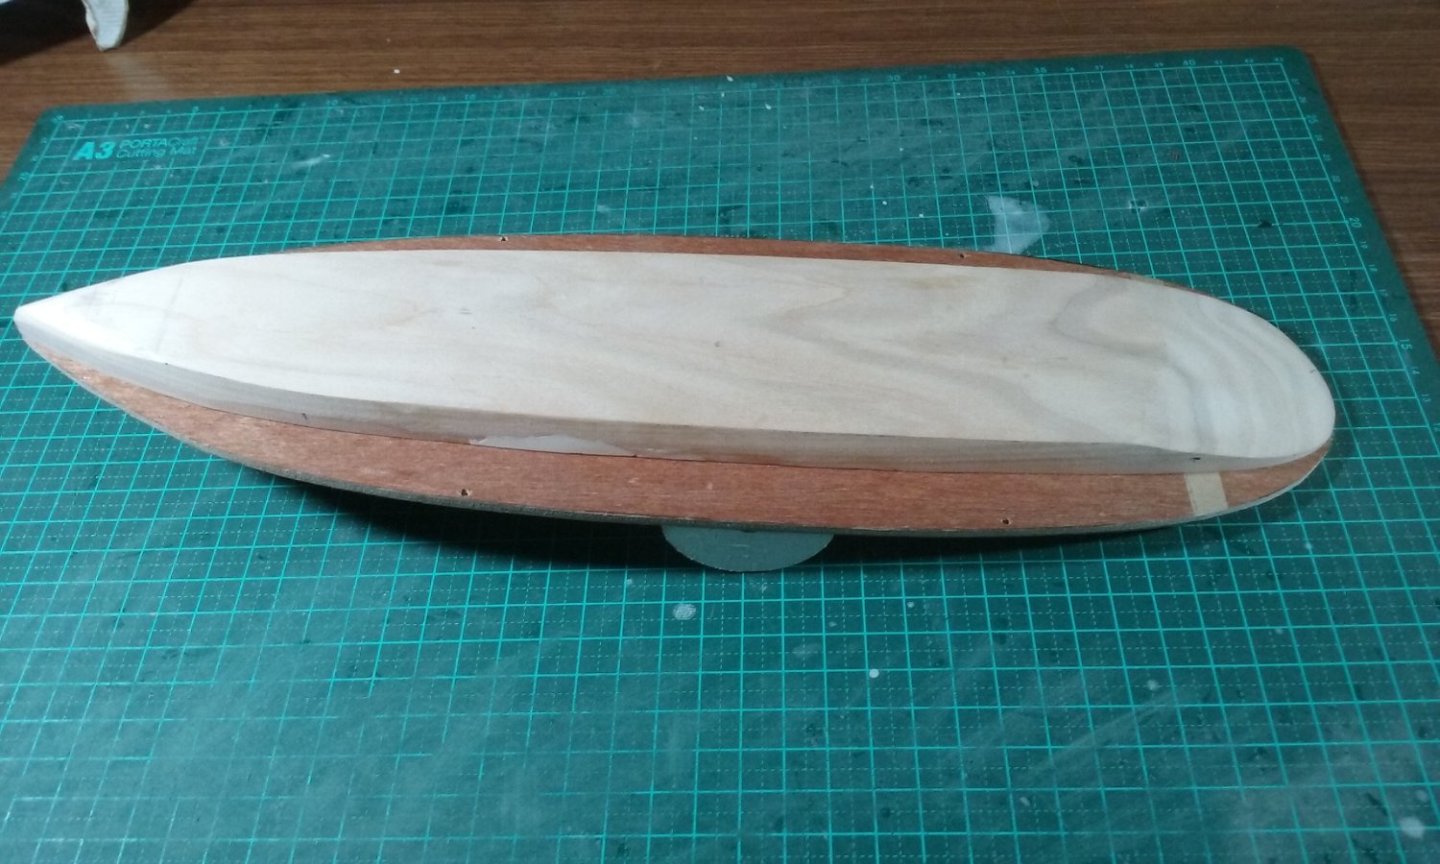
Here's the hull (upside down) with the deck glued to it.
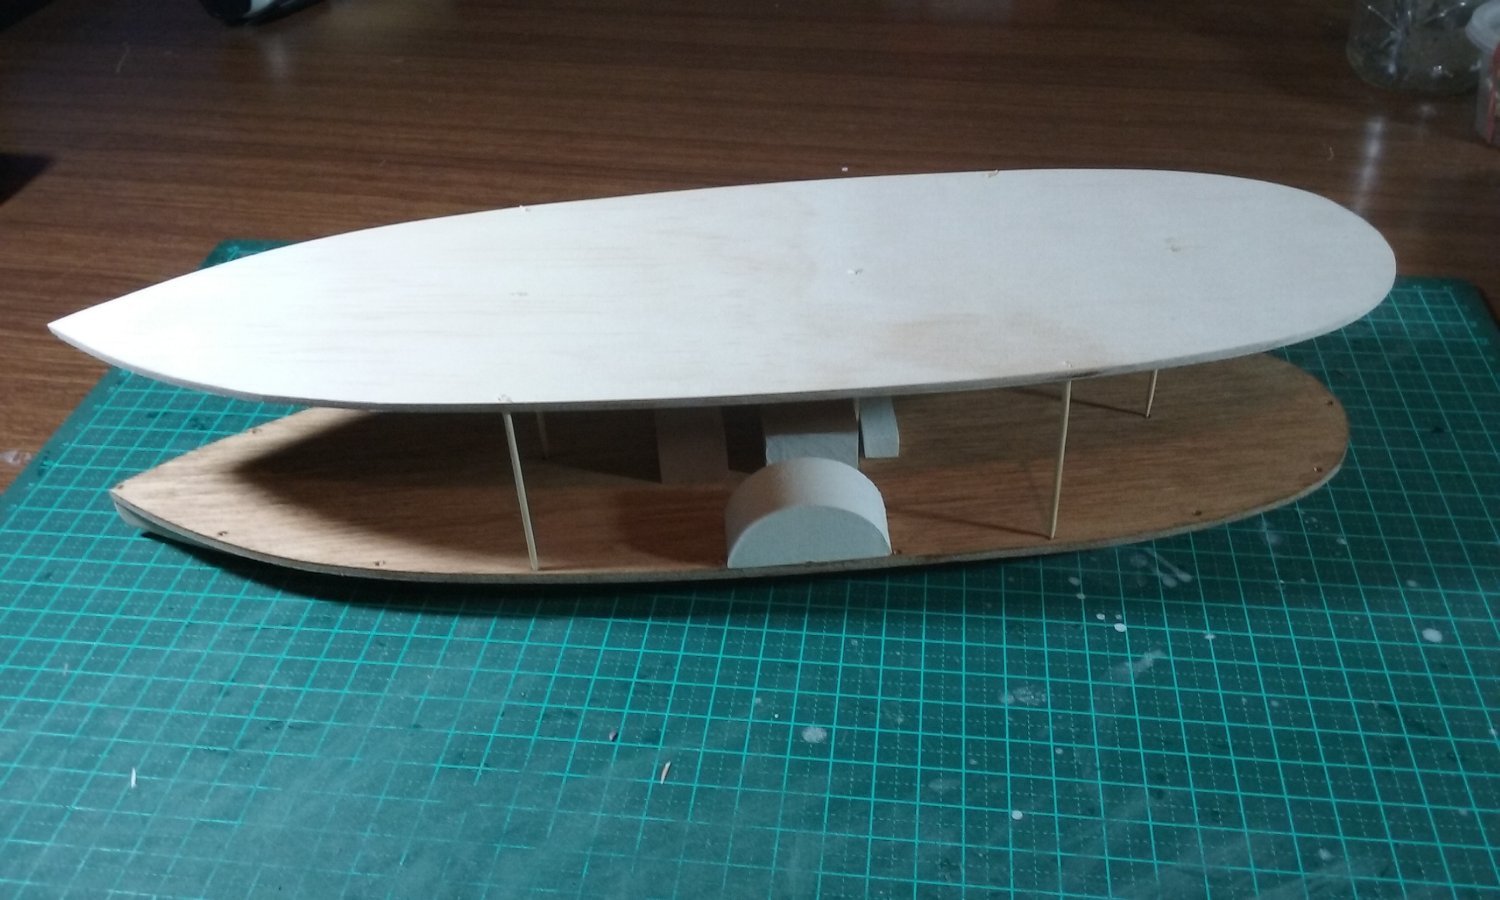
And the awning dry-fitted to the hull.
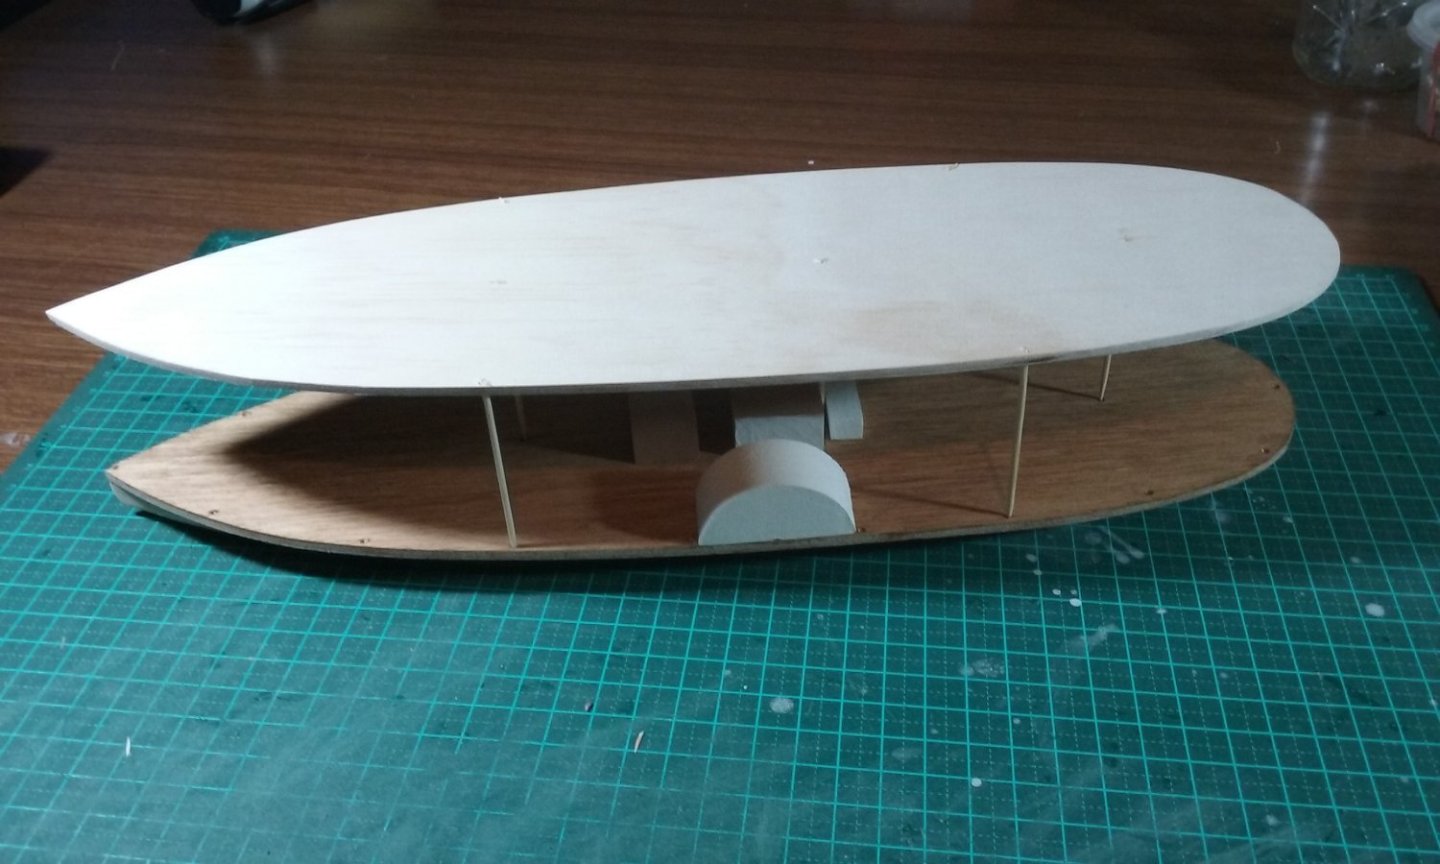


Starting to come together. This is my half-size test piece. I've learnt a few things that will help make it easier to make the full-sized model, and subsequent mass-produced (simpler) half size models for sale.
Steven
- Ras Ambrioso, Cathead, yvesvidal and 8 others
-
11


Perseverance 1807 by Isaiah - FINISHED - Modellers Shipyard - Colonial Brig
in - Kit build logs for subjects built from 1801 - 1850
Posted
Personal choice. Either way has advantages and disadvantages, but in the long run it's your build and your decision. Looking really good, by the way!
Steven