


Elijah
-
Posts
1,310 -
Joined
-
Last visited
Content Type
Profiles
Forums
Gallery
Events
Posts posted by Elijah
-
-
Nice work! I personally really enjoy how ships look with the rigging. Anyway, nice work with those masts and spars, they look very good.
")
- Tigersteve, Seventynet and Canute
-
 3
3
-
Looking good! Using glass is a good idea.
-
-
That's some very neat work! I like how the stern is turning out. It looks like a tower!
- zoly99sask, mtaylor and Piet
-
3
-
Hello. I know it's been a while since I last updated, but I promise to update again soon. Either I will update once I finish the outside planking or within a week, whichever comes first. Basically, I'm just letting you know I'm still here
 . Thanks for sticking around!
-
Your metal work is fantastic! Nice job!
- Nirvana, genericDave and Fright
-
3
-
-
-
Nice progress Patrick! Did you get any pictures at the exhibit in Japan
") ? What have you been using to finish your decks? They look very nice.
? What have you been using to finish your decks? They look very nice.
- thibaultron, Eddie and Overworked724
-
3
-
Great build, Greg! Like others have said, she has been "weathered to perfection"!
- RGL, popeye the sailor, CDW and 2 others
-
5
-
Looking very nice, Sjors! What paints are you using?
- Hennie, popeye the sailor, Sjors and 3 others
-
6
-
-
-
Nice work Jesse! Those carronades look ready for action!

- Tigersteve, Salty Sea Dog, JesseLee and 3 others
-
6
-
Thank you very much, Tom!
- EJ_L, Canute and Tigersteve
-
3
-
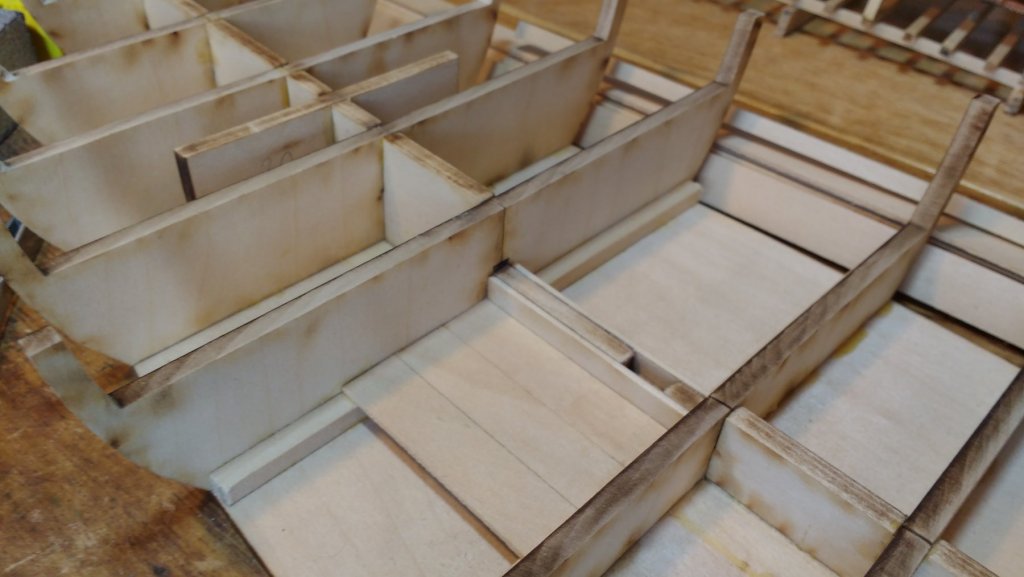
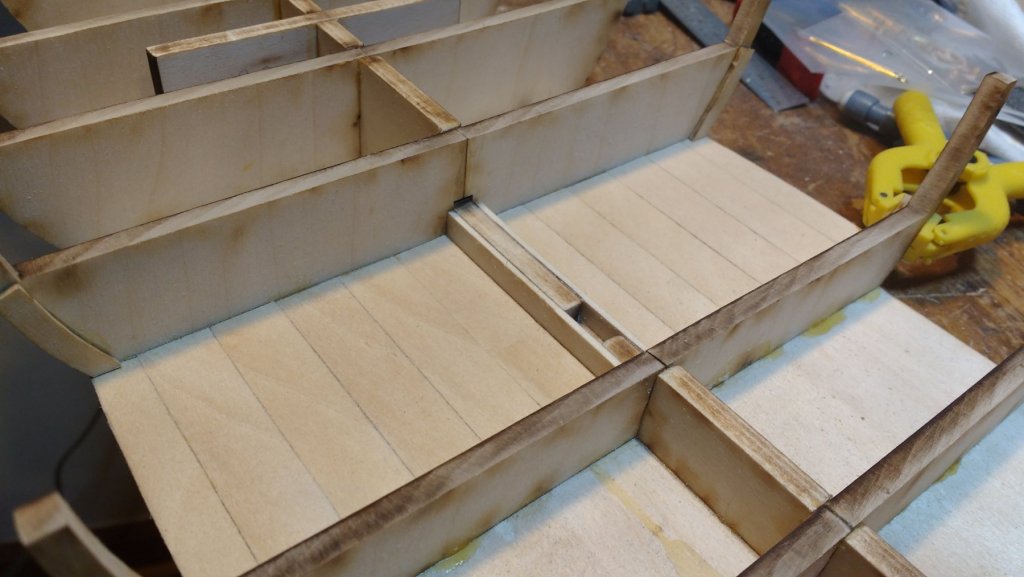
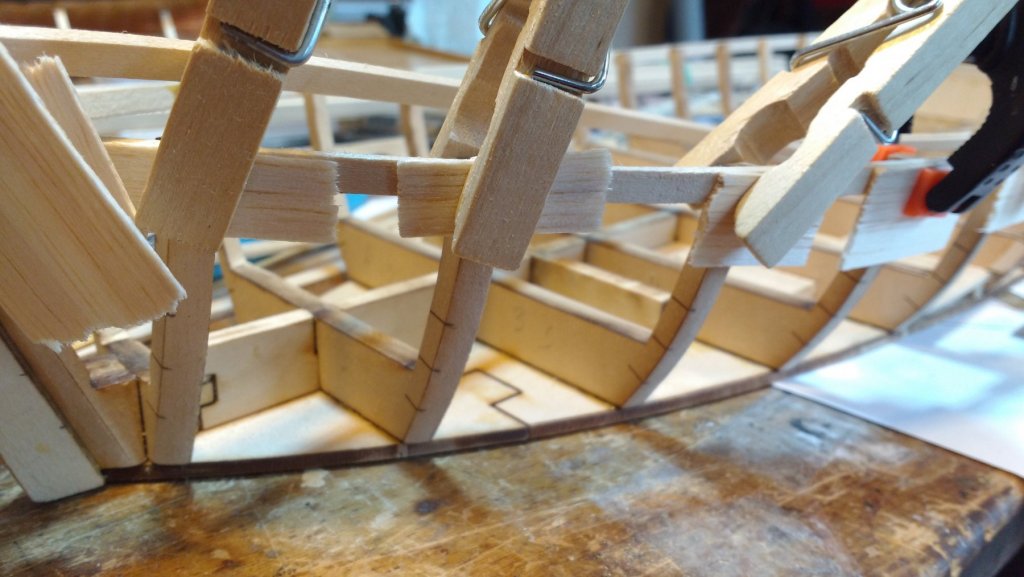
Hello again! It's been a few weeks since I've updated my log and thought it time to do so again. First, I added the cockpit flooring. That was just glueing the supports and short planks in place.
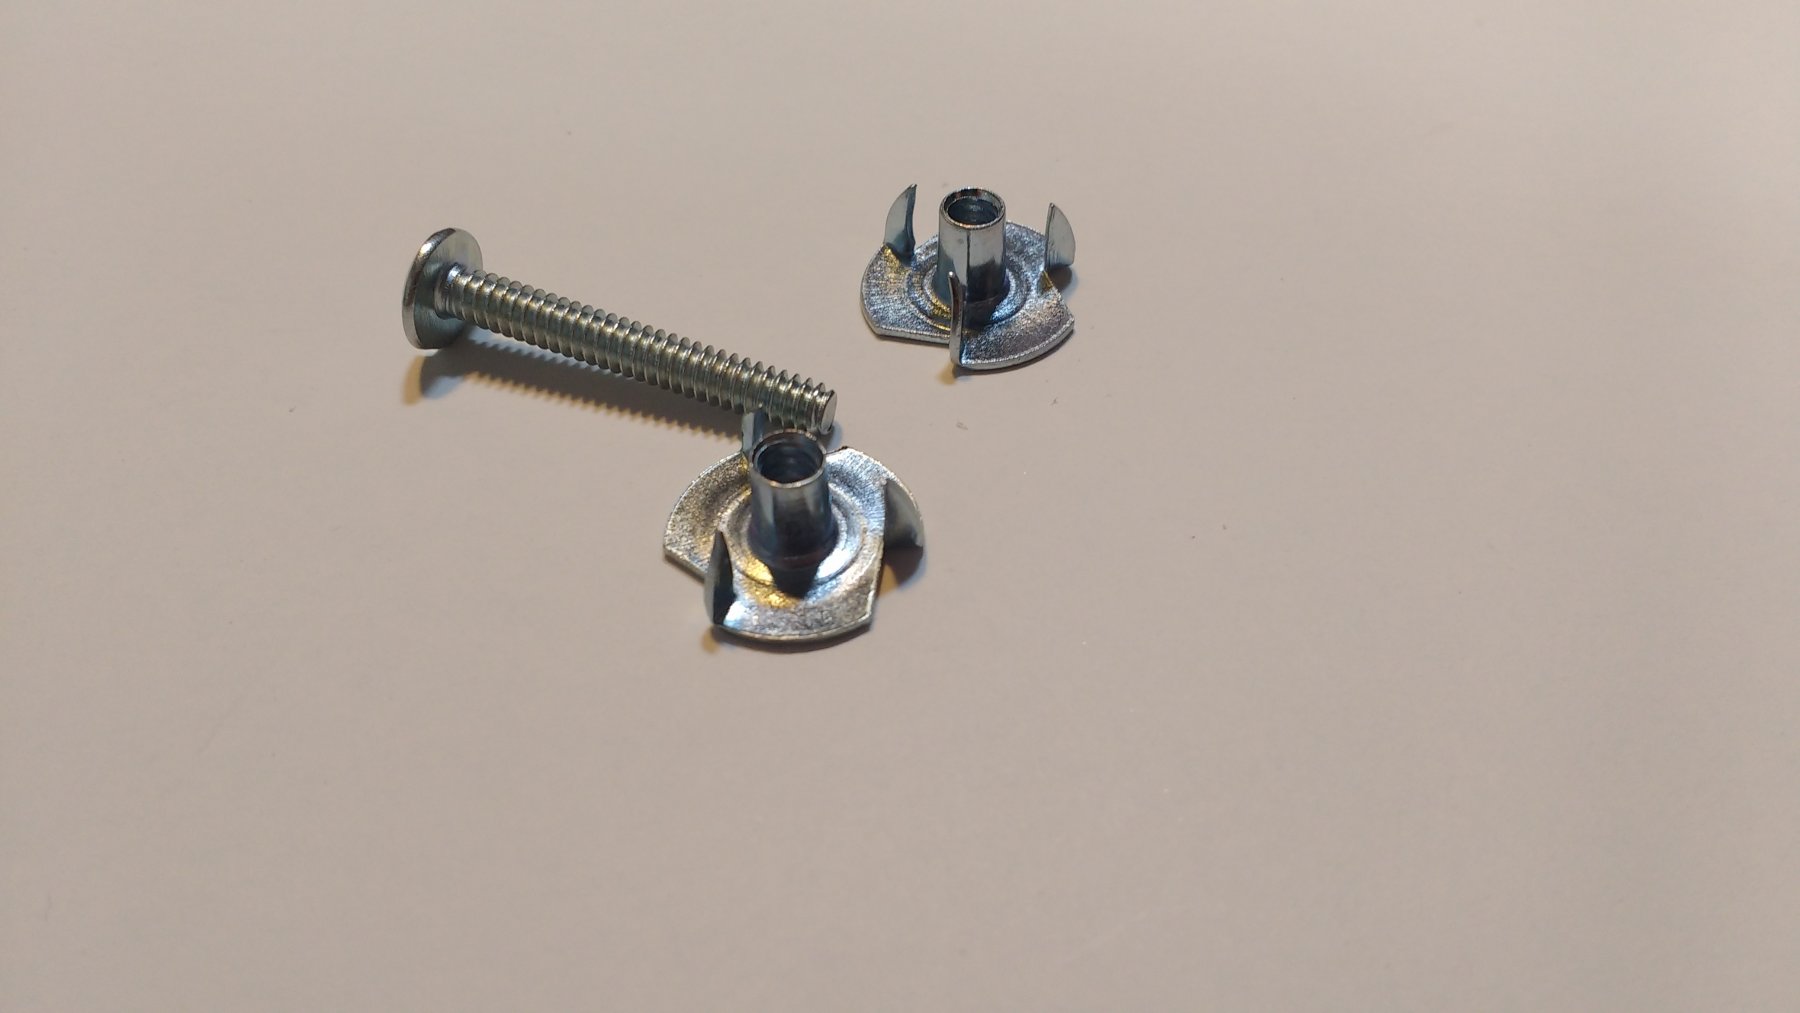
Then was figuring out and adding the mounting system. Kurt recommended using t-nuts for that.
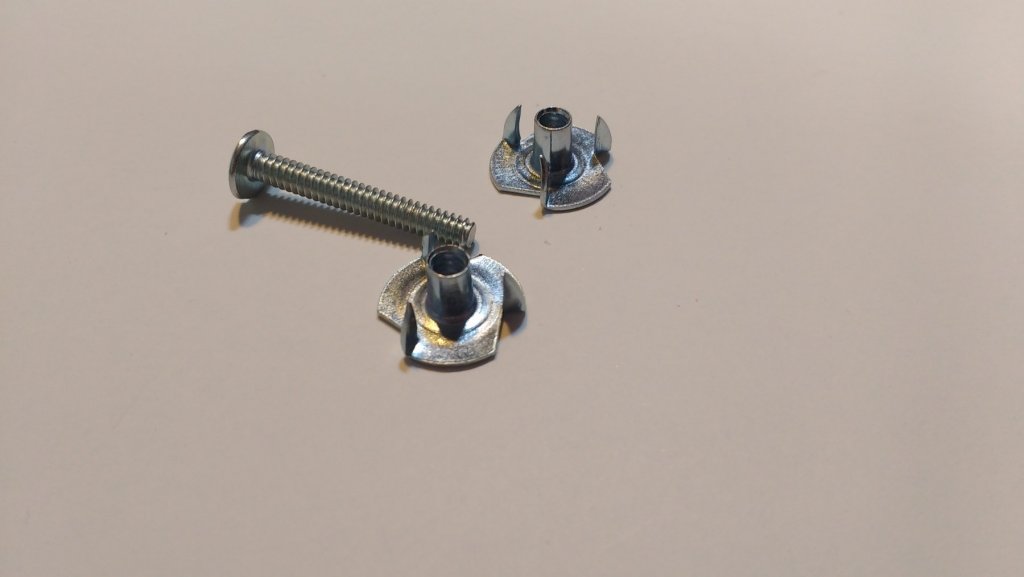
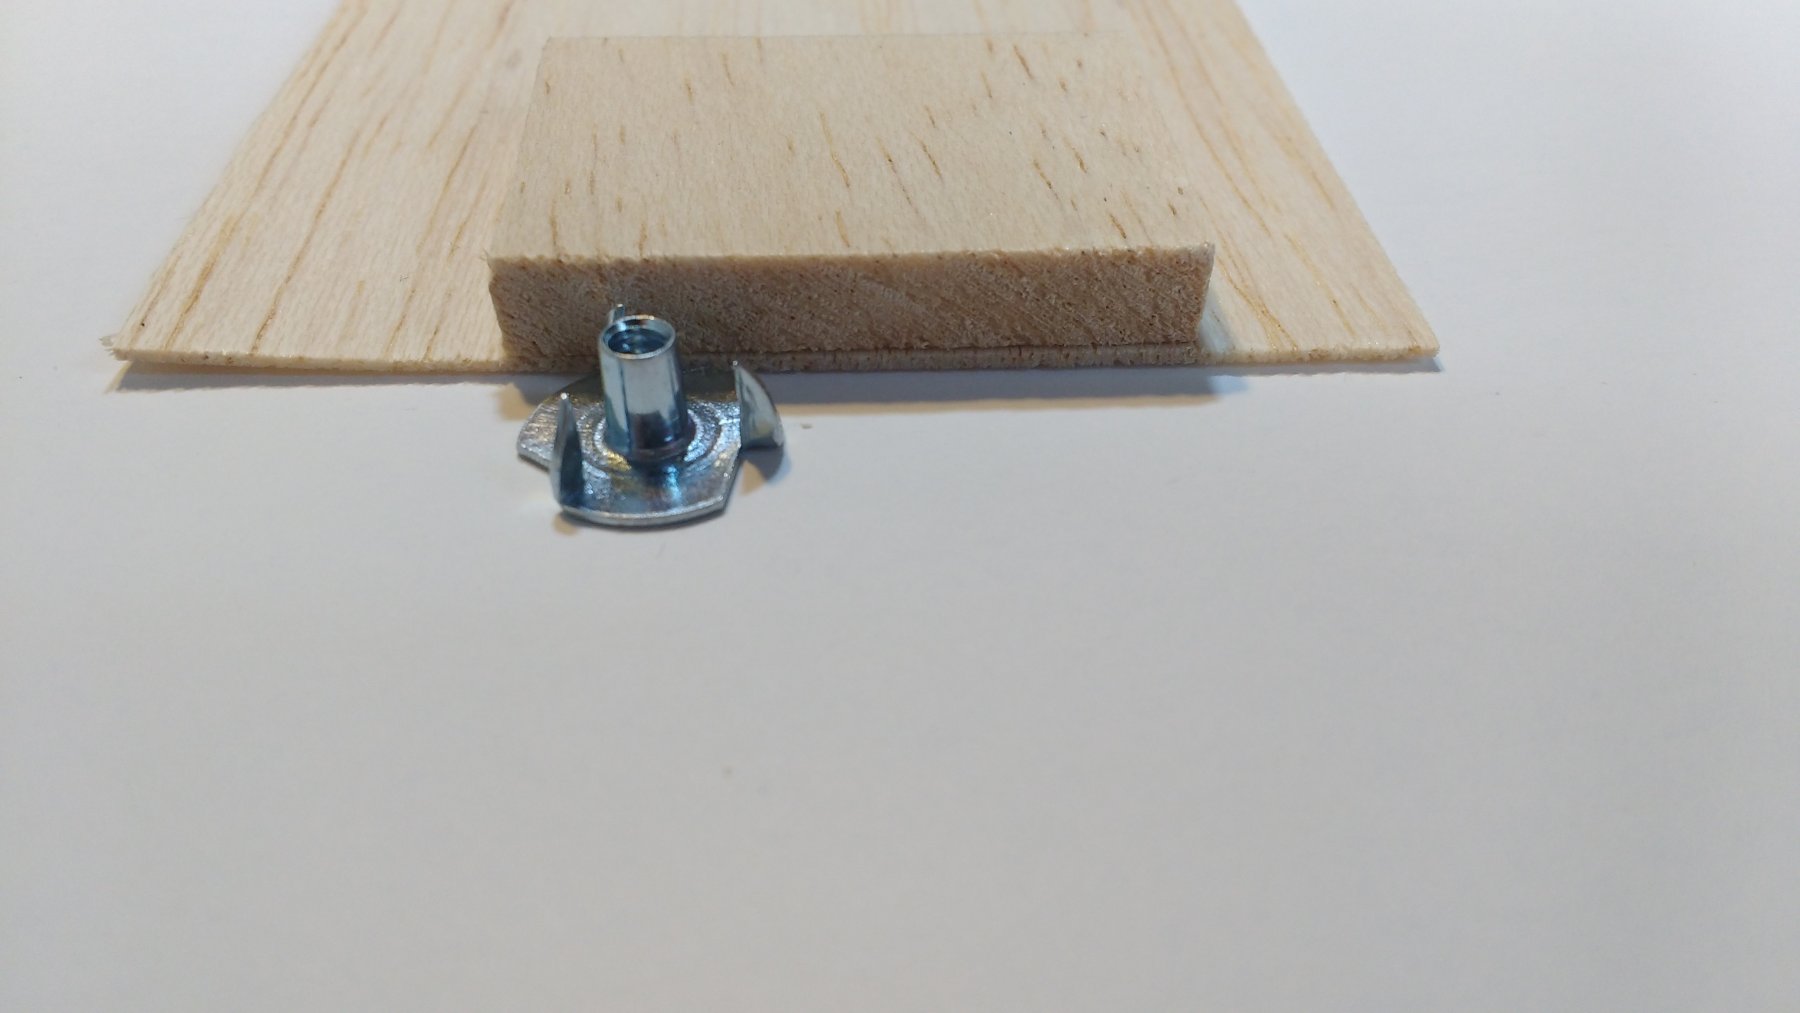
I then located and drilled a hole on either side of the keel, one below the fore deck and one below the aft. I then aligned that hole and drilled it in to the filler block. Taking into account the thickness of the base of the t-nuts, I layered the wood so that when the t-nuts were installed they would sit flush with the base.

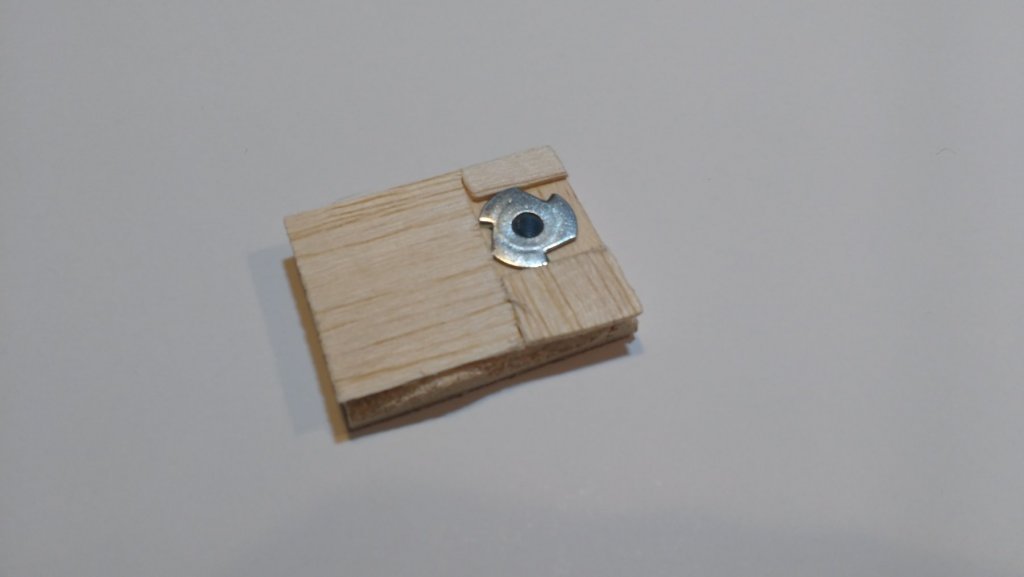
I then glued them on to their respective places and used a screw to keep them aligned.
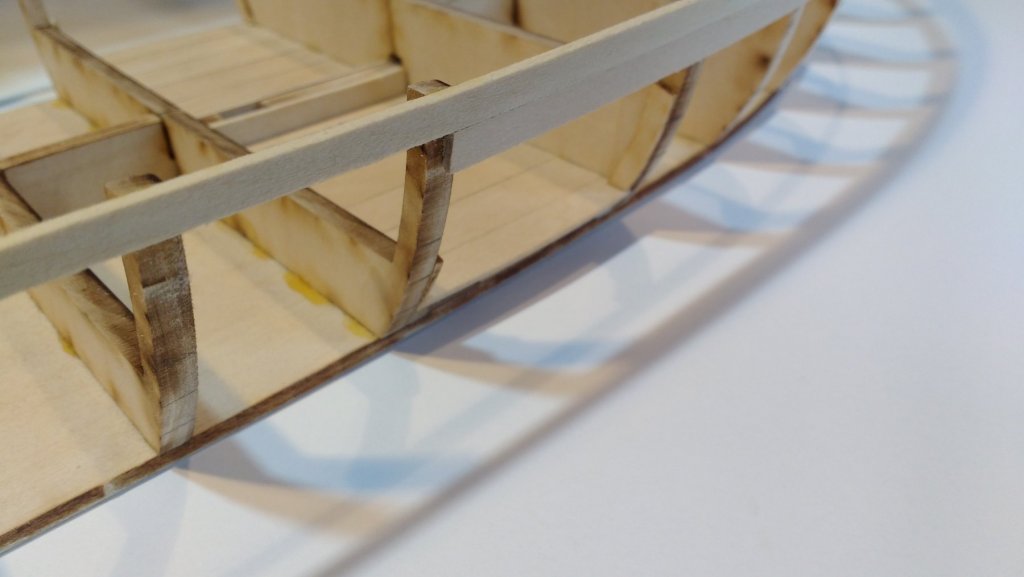
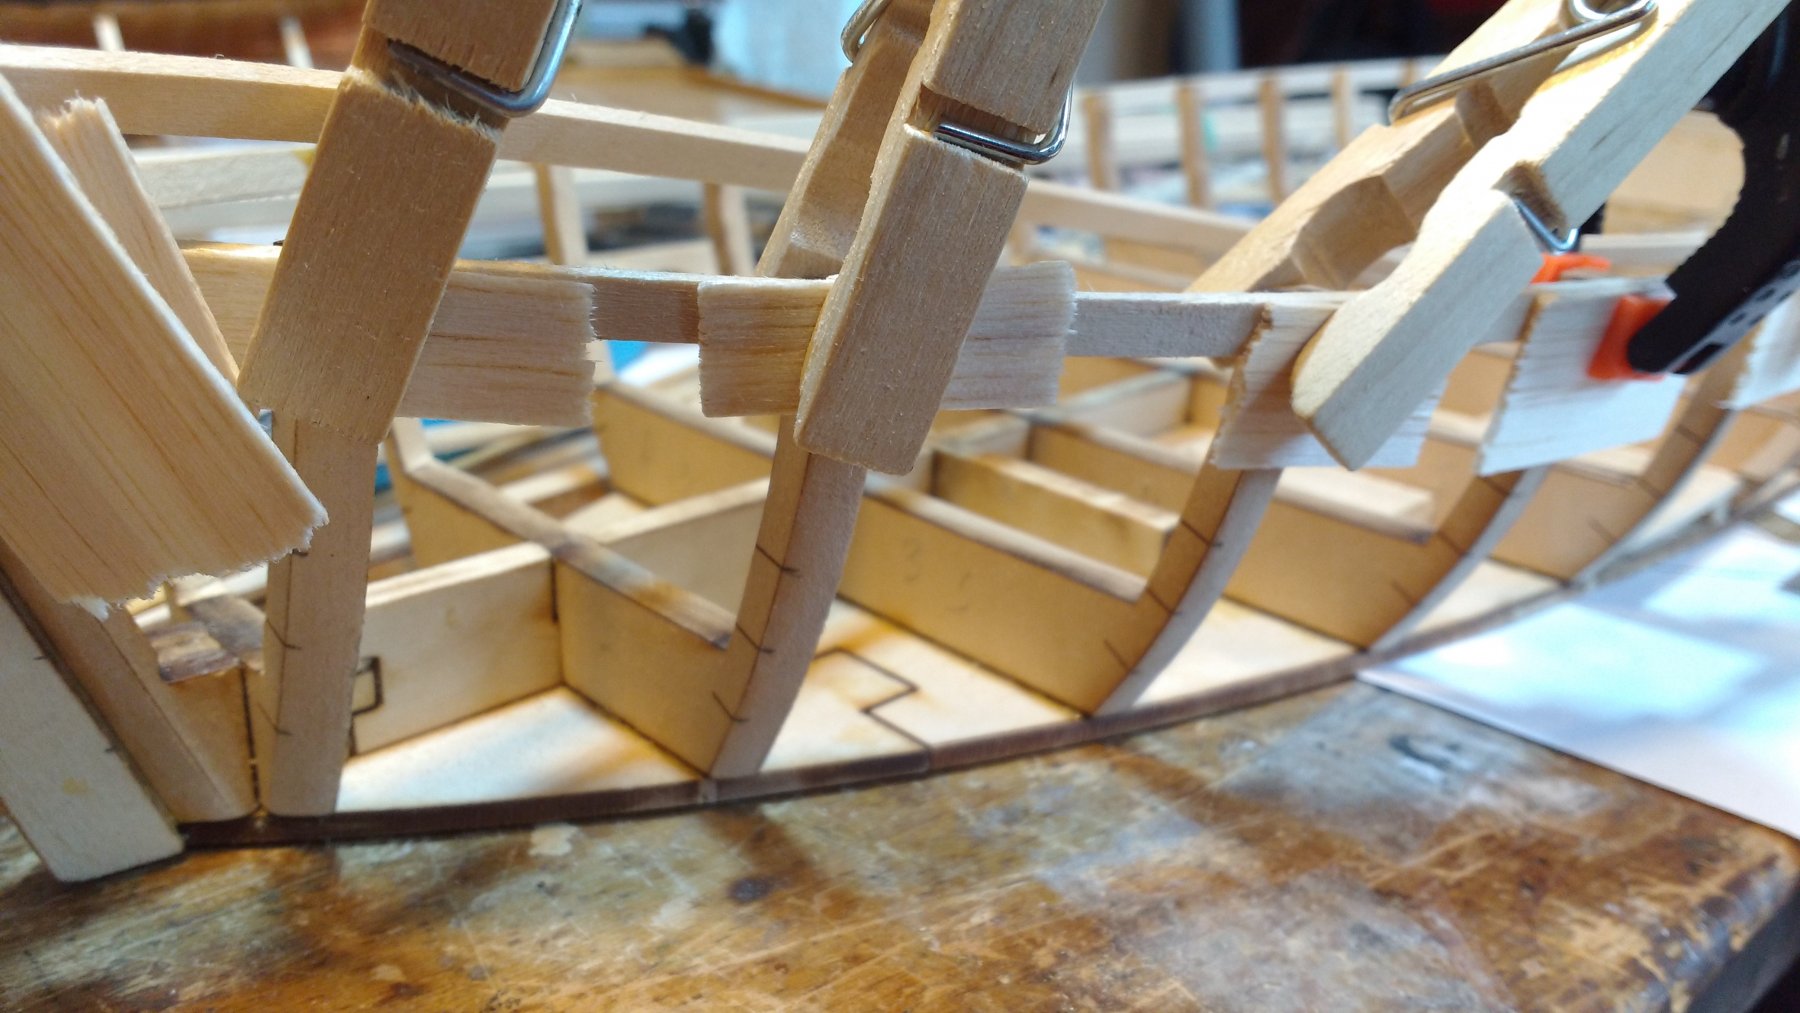
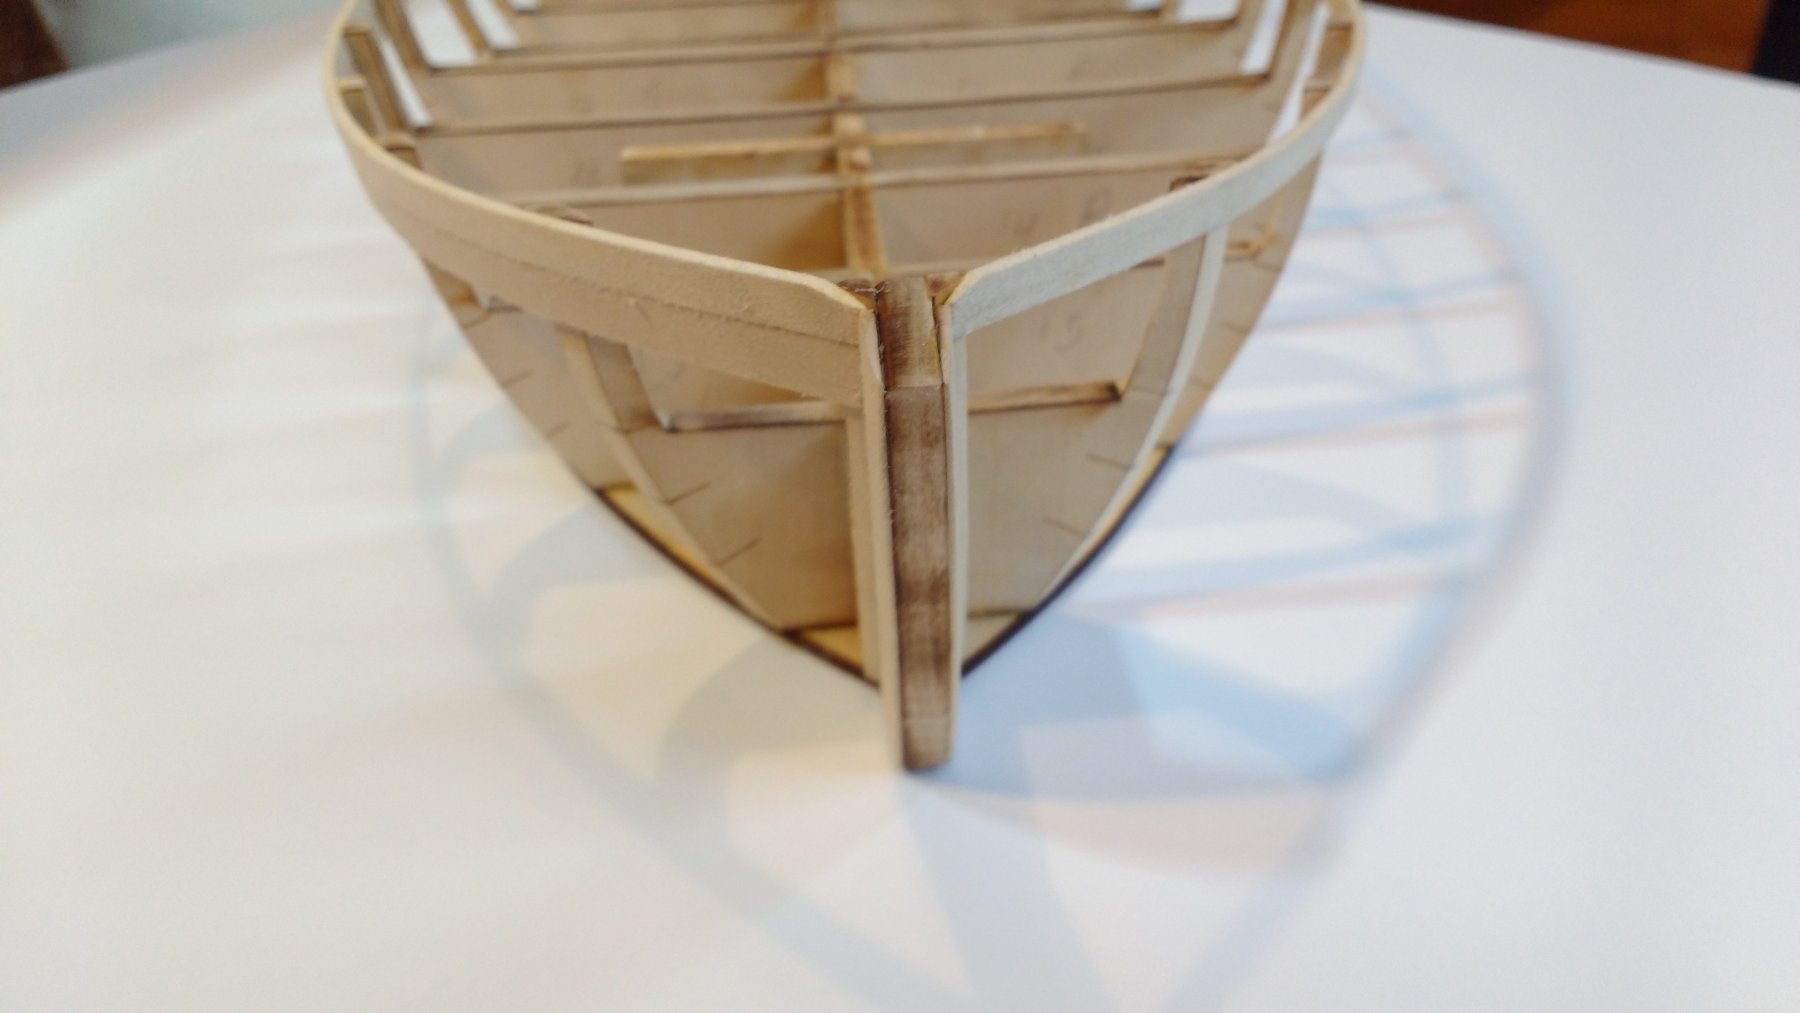
After that, I lined off the hull and started planking. I have thinned the ends of the planks that for into the rabbet and beveled the underside of the planks for a tight fit. I also used a number 2 pencil to add 'caulk' to the underside of each plank. I first soaked the planks and clamped them to the hull to dry. I noticed that the field made small debts in the planks that way. A lake water and a bit of sanding makes it not noticeable, but since then I've used little balsa tabs as spacers to take the dent. So far I have finished the sheerstrake on both sides. I have noticed that although the planks above the Wales aren't spiled, they do vary in width. Thanks for looking in!
- Ryland Craze, russ, Tigersteve and 17 others
-
20
-
-
Good job with the planking! The edges look nice and tight!
- zoly99sask, mtaylor, mrshanks and 1 other
-
4
-
Wow, it's been a while since I've stopped by. She is looking fantastic! Your machinery is superb! You are doing some great work!
- genericDave and Fright
-
2
-
-
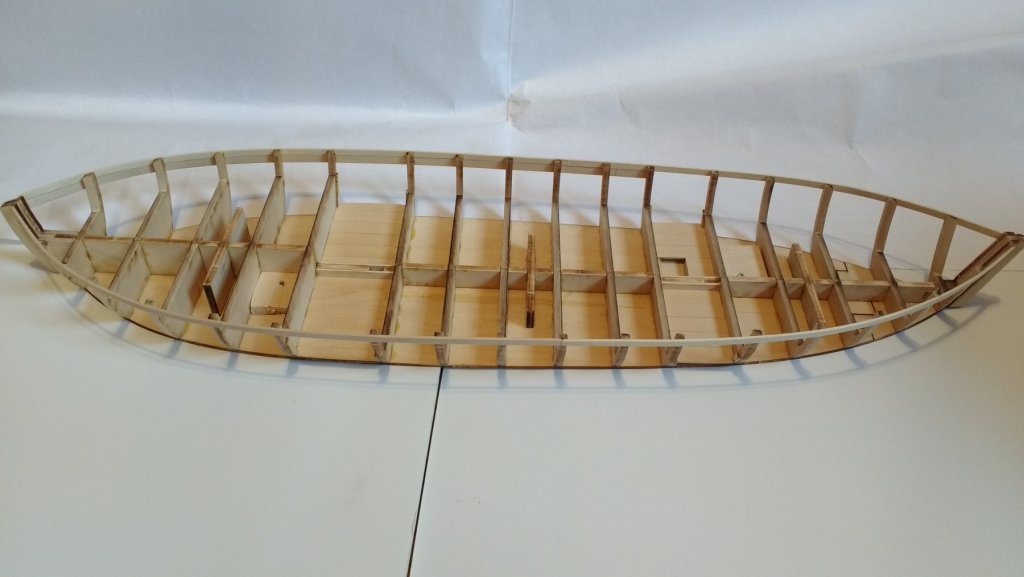
That's a nice ship! You've really left the degree of warp in the keel to the imagination
!
- Hennie, Piet, mtdoramike and 1 other
-
4
-
-
-


Philadelphia by Elijah - Model Shipways - 1:24 Scale - Continental Gunboat
in - Kit build logs for subjects built from 1751 - 1800
Posted
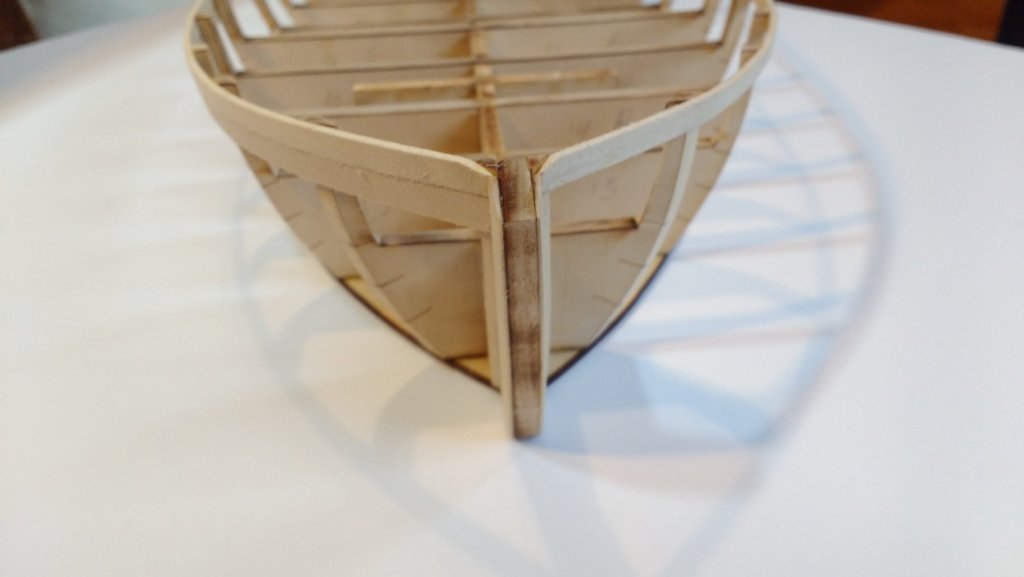
Well, I'm still planking the outside of the hull. I have two strakes left to do on either side. I've tried and tried again a few spiling techniques, most with unsatisfactory results. I think that at this scale some of them don't work as well, such as the tape method. I settled on my own way that has worked fairly well. It is similar to the tape method in only one way, which is instead of lying the tape on he hull with no side bending, you lie a wide strip of wood. Being wood, it would be very hard to edge bend. You clamp it in place on the hull, run a compass at the edge of the plank that fits into the bow or stern and cut along that line so that the plank fits in the rabbet when it is done. Make sure to thin the plank at this point. Now lie the plank back on the hull, WITHOUT the end in the rabbet but still making the plank end directly below the above strake, not necessarily following the curve of the bow or stern. Make sure that there is space between the top edge of the wood strip and the bottom edge of the above strake. Double check that the space continues the whole length of the plank you are attempting to create, from bow or stern, all the way to the last bulkhead that the plank rests on. At this point, you should have a strip of wood on the hull that from a side view looks curved, but in actuality it is running its natural course along the hull. It should form a light U shape. Then run a compass along the edge of the strake, drawing that line onto the wood strip. Cut the wood strip on that line and test the fit. You may soak it for a few minutes and clamp in place. Once dry, mark where each bulkhead is on the plank. Now, with a divider, measure the width of the plank at each bulkhead and transfer that to the plank. Connect each transferred point on the plank with a line. Cut near the line and test fit again. Fine tune, add pencil on he bottom edge to simulate caulk, and finally glue.
I will show you what I mean by the whole "strip on the hull making a U shape" in photos once I finish with the outer planking. Nearly there!
Until next time,