GuntherMT
-
Posts
2,213 -
Joined
-
Last visited
Content Type
Profiles
Forums
Gallery
Events
Everything posted by GuntherMT
-
The rabbet really does look nice. Can you provide any more information about your mini planer? The only one's I've found appeared to be complete junk (super cheap Chinese made stuff), so I haven't gotten one, but based on your pictures, it's a tool I should have!
-
I'm working on that Alistair, so far with mixed results. I plan to finish them all, then do some repair work around them from my clumsiness and see how they look before making the final decision on complete removal or not. Thanks for the suggestion.
-
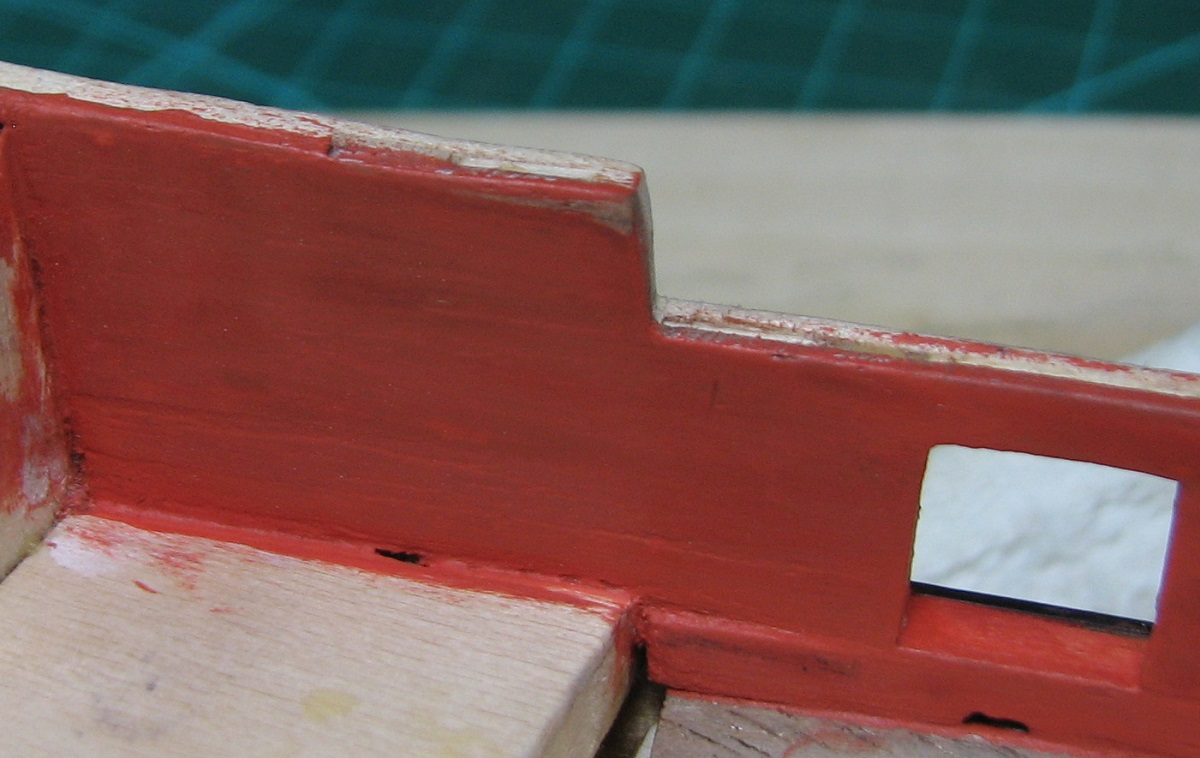
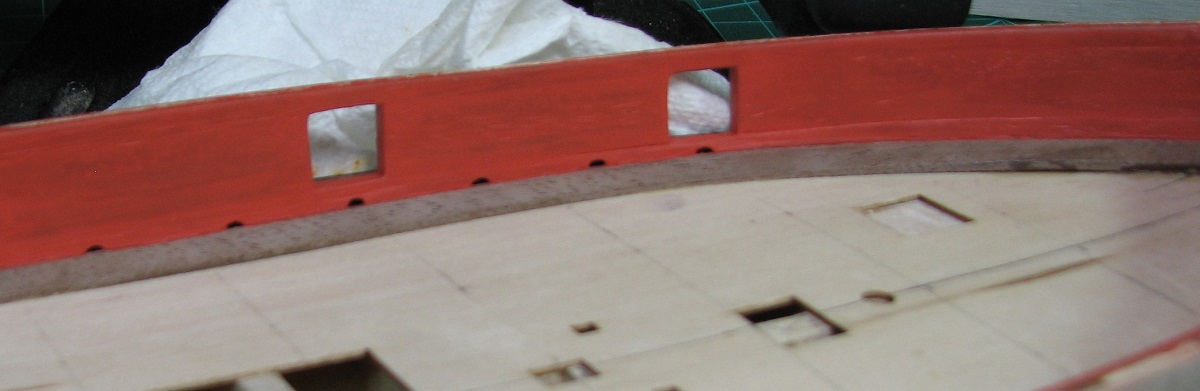
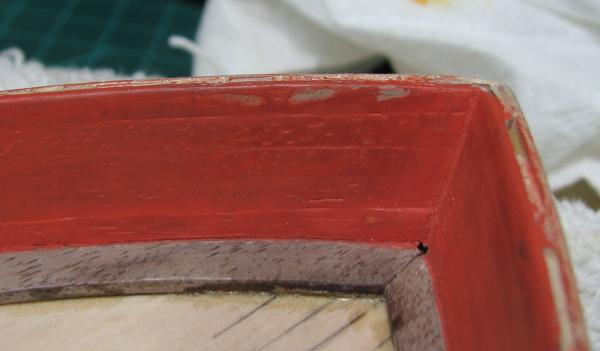
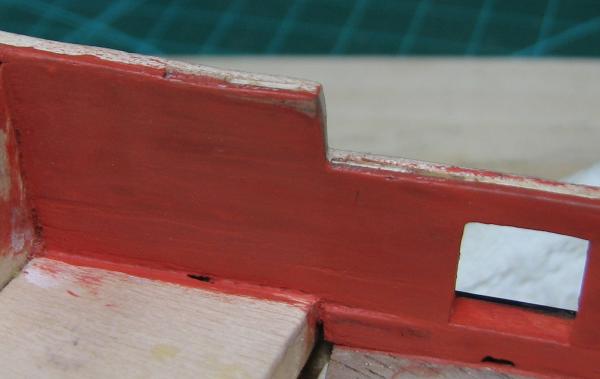
I'm getting pretty good at making mistakes! I realized this morning that I forgot to cut the scuppers into the black strake. I've done a bit of work trying to cut the scuppers in after the fact, but I think I may end up just ripping the black strake out and re-doing it correctly as shorter planks with the scuppers cut into them in advance. Oh well, it's a two steps backwards day I suppose. I did get a couple more coats of red on the inner bulwarks and have now put on the first coat of clear. I had already begun the outer bulwark planking when I figured out that I'd forgotten the scuppers in the black strakes, so that will complicate the removal and replacement of those pieces.
-
It's simply beautiful. Thank you for sharing it with us Jack.
-
Hi Phil, You really do need to get the bulkheads right now, before doing any further work, as everything else in the build depends on the framework that you create with the false keel and bulkheads. Also, it's much more difficult to correct any issues with the alignment later, as opposed to now where nothing else is in the way, and you can't really fair the bulkheads until they are properly aligned, as if you change the alignment after fairing, then the fairing will be wrong. Those stern bulkheads look wrong to me, but I don't have this kit, so hopefully someone who has done is can chime on on those.
- 12 replies
-
- 2
-

-
- swift
- artesania latina
- (and 1 more)
-
That would be pretty cool if you were able to build the keel out of actual Connie wood. By the way - HobbyMill = Jeff, not sure who Tom is. You'll love his wood, although I've never heard of using holly for the hull. I would think boxwood would be a better choice for that since it's going to be painted over. Boxwood is much nicer to work with than basswood, I used some for my wales and in the future will probably use it for planking when I can and am not planning to leave a natural finish.
-
Nope. I had to Google what exactly cheesecloth is
-
Thanks for the input gentlemen. I always struggled with painting before I got the airbrush when I was doing plastic modeling in my teens and 20's, so it comes as no surprise to me that I'm going to need to expend a lot of time and effort into figuring out how to do a good job with painting now. I'll continue to work at it and see what sort of results I can get. Cheers!
- 831 replies
-
- 1
-
-
- Armed Virginia Sloop
- Model Shipways
- (and 1 more)
-
Thanks Alistair. I'll do the tissue thing and add a coat of red tomorrow, and then see how it looks with the dullcoat after that drys and I do the tissue thing again.
- 831 replies
-
- 2
-
-
- Armed Virginia Sloop
- Model Shipways
- (and 1 more)
-
I'm fairly certain that the bulkheads in the Model Shipways AVS kit that I'm building are basswood, and they seem to work just fine for that. I could be wrong, but the bulkheads have the exact same color and work (cut and sand) the same as the basswood that I've gotten, both in the kit and in the local hobby stores.
-
I just got the Model Shipways paint set for the kit, so that's what I'm using. It's an acrylic paint and I thinned it with 1 part water (distilled) to 4 parts paint to get a thinner coat after doing a bit of testing on some scrap. I probably need to find better paints, but the stuff I got from a local hobby store ended up being badly dried out, which is why I ordered the MS paint. I need to visit the Hobby Lobby tomorrow and buy some better quality brushes too. I thought the one I'm using was pretty good quality, but even after careful cleaning and re-shaping, it's not holding the 'flat' shape after just 8 coats of the bulwarks. While I'm there I'll take a look and see what types of acrylics they carry. On the tissue paper, are you referring to the soft 'Kleenex' type tissue, or the tissue wrapping paper which is still very thin, but not so soft?
- 831 replies
-
- 1
-
-
- Armed Virginia Sloop
- Model Shipways
- (and 1 more)
-
Well that's certainly an interesting way to choose what your next build will be! Hehe.
-
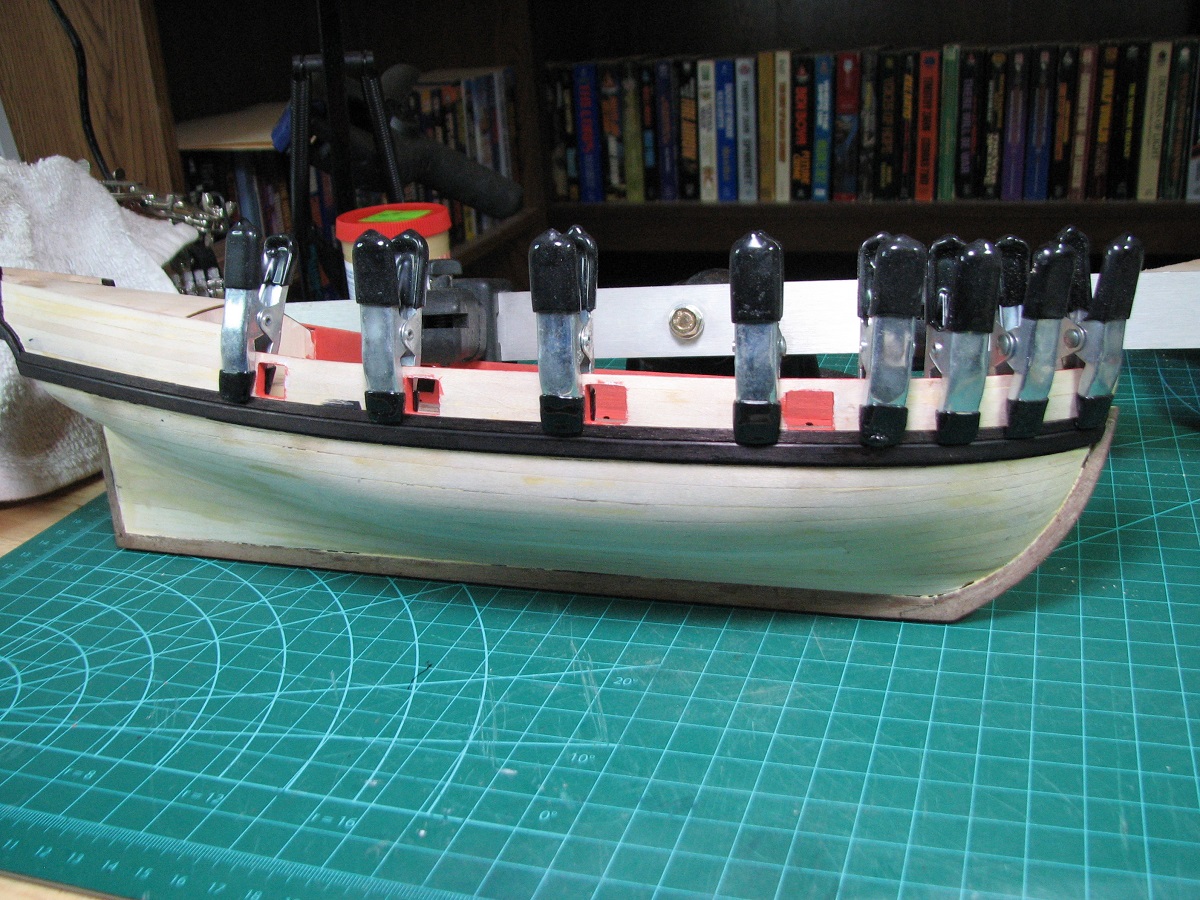
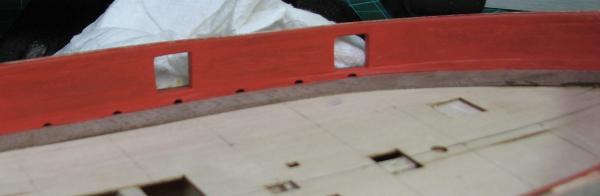
So.. painting tips accepted. After 7 coats I'm still having problems with sanding between the coats. I'm applying very thin coats, letting them dry for a day, and then sanding lightly with 1000 grit sandpaper. Even doing my best to keep the sanding very light (in bright light I'm just knocking the 'shine' off), I keep ending up wrecking the edges like this: That is after sanding the 7th coat. Any idea what I'm doing wrong? Is there some special way to sand between each coat of paint, or am I just a goofy ham-fisted oaf that can't sand lightly enough? Here is the bulwarks after applying coat 8 tonight (got home late so no time for any other work on the ship tonight).
- 831 replies
-
- 3
-
-
- Armed Virginia Sloop
- Model Shipways
- (and 1 more)
-
This is an anti-spam thing I read elsewhere on the forum, to keep junk accounts from posting links to whatever it is they were trying to link to. I think 10 is all you need to lift that, and it looks like you've achieved that mark, so you should be able to edit your sig now.
-
I haven't done this kit John (I'm only on my 2nd build now), I was just curious as I thought that the top of the keel was the 'go to' point for bulkhead alignment, and then you adjusted the bottom of the bulkheads with shims or sanding. I'll have to download the Niagra plans from ME and take a look at what you are saying. Thanks!
-
I take all my photo's in full resolution for my camera (which isn't great, but does often go over the size limit here and really isn't necessary for the purpose of my build log) and store them in a folder I have named "RAW Images" under my AVS folder. For the photo's I want to use in the log I copy them to a "Build Photos" folder where I can then edit and manipulate them without losing the original full resolution image. For re-sizing, if I'm just doing a few, and/or I'm going to be cropping or some other editing, I normally just use Paint (included in Windows) as it's quick and easy. If I am re-sizing a number of photo's at once and don't need to do anything else to them, then I use a free-ware program called "FastStone Photo Resizer" (free for home users - www.faststone.org) that will resize in batches. I also re-name all of my photo's in sequence for the build log - i.e. 213BlackStrake.jpg, 214BlackStrake.jpg, 215HollyPlankingTest.jpg, etc. just so that it's easy for me to recognize what the photo's in the build log folder are, and so that they are in sequence by time, even if I do edits that change the time stamp on the file. Then, when I'm posting a log update, I can just select all the photo's that I plan to use in the update, and using the advanced uploader in the forums here, I upload them all at once, then attach them to the post as I go. This forum's photo handling is really the best I've ever seen, and very easy to use.
-
As long as your photo's are under 2mb each, they can be attached as you are composing your update, and it's really quite easy. Much easier in my opinion than uploading them to photobucket and then having to link them here at thumbnails. On the other hand, it's your log, and whatever way works for you is probably the way to go!
-
Cool, I just never noticed it before when skimming through the other Cutty Sark builds.
-
Link to the source of these gloves for anyone that might be interested?
-
They look exactly like Constructo blocks!
-
Good looking planking. Any particular reason you use Photobucket instead of attaching your photo's inline? It's much easier to scroll through all the photo's in full size when they are attached to the forum - just FYI.
-
The Cutty Sark chain plates are mounted to the inside of the bulkheads? I've never seen that before.
-
Where did the ''reference lines" that you drew onto the bulkheads come from? I've been told that the critical reference on a PoB build is the top of the false keel, and that the top of the bulkheads should match as near as perfectly as possible the top of the false keel, and that you can then shim or sand the bottom of the bulkheads to hit the bearding line. I haven't seen anyone else draw reference lines as you have to align these parts (although it's certainly possible I've just missed it somewhere). I ask because in your photo's it appears that some or your bulkheads will need significant sanding at the top (looks like bulkhead 'D' in one of the photos is quite a bit higher than the top of the false keel) in order to get them to match the false keel at the deck. If this is indeed the case, correcting it now will be critical to how things turn out later on in the build.
-
The only shrouds that I've ever seen fully served are the trailing shrouds that would be potentially rubbing against sails - so it depends on the ship design and the type of sail used whether that trailing shroud would be fully served. The ratlines don't make any difference to serving.
-
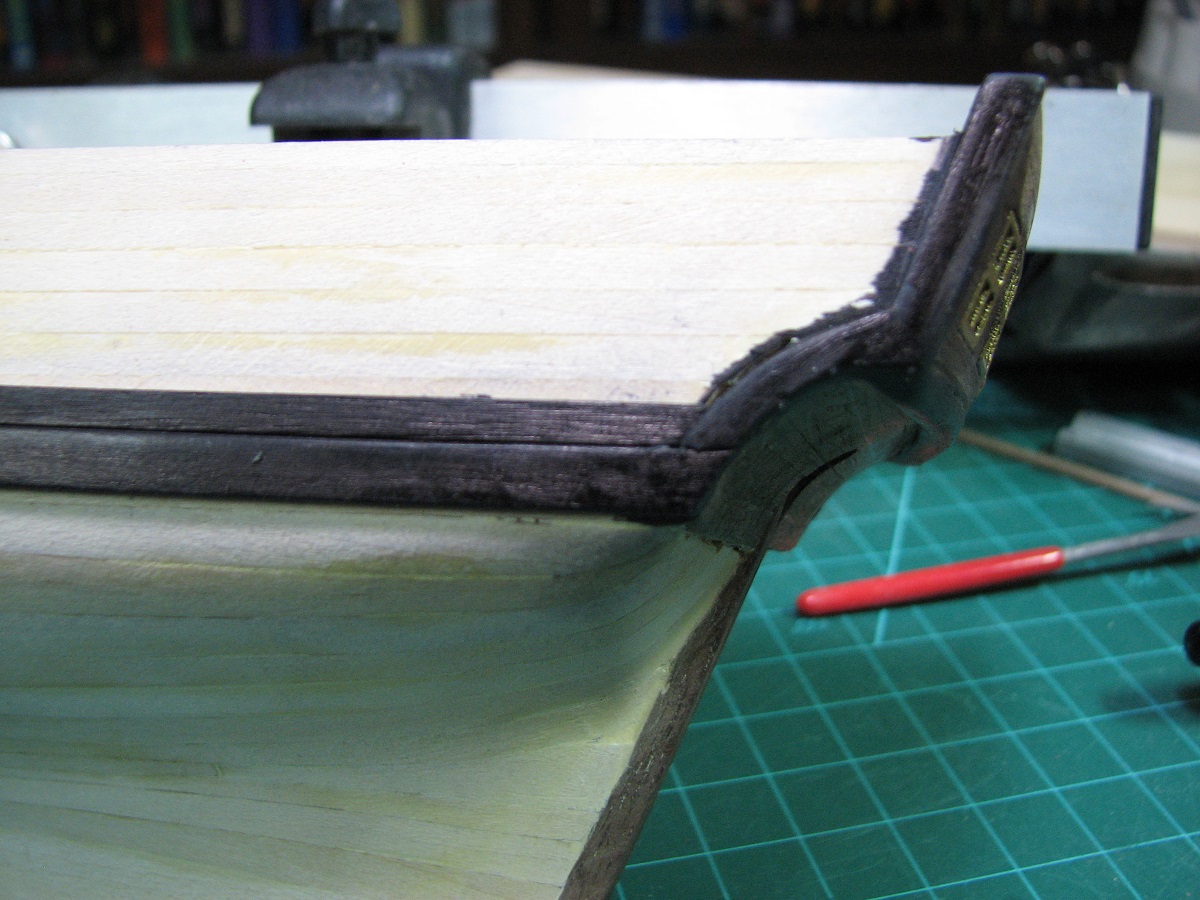
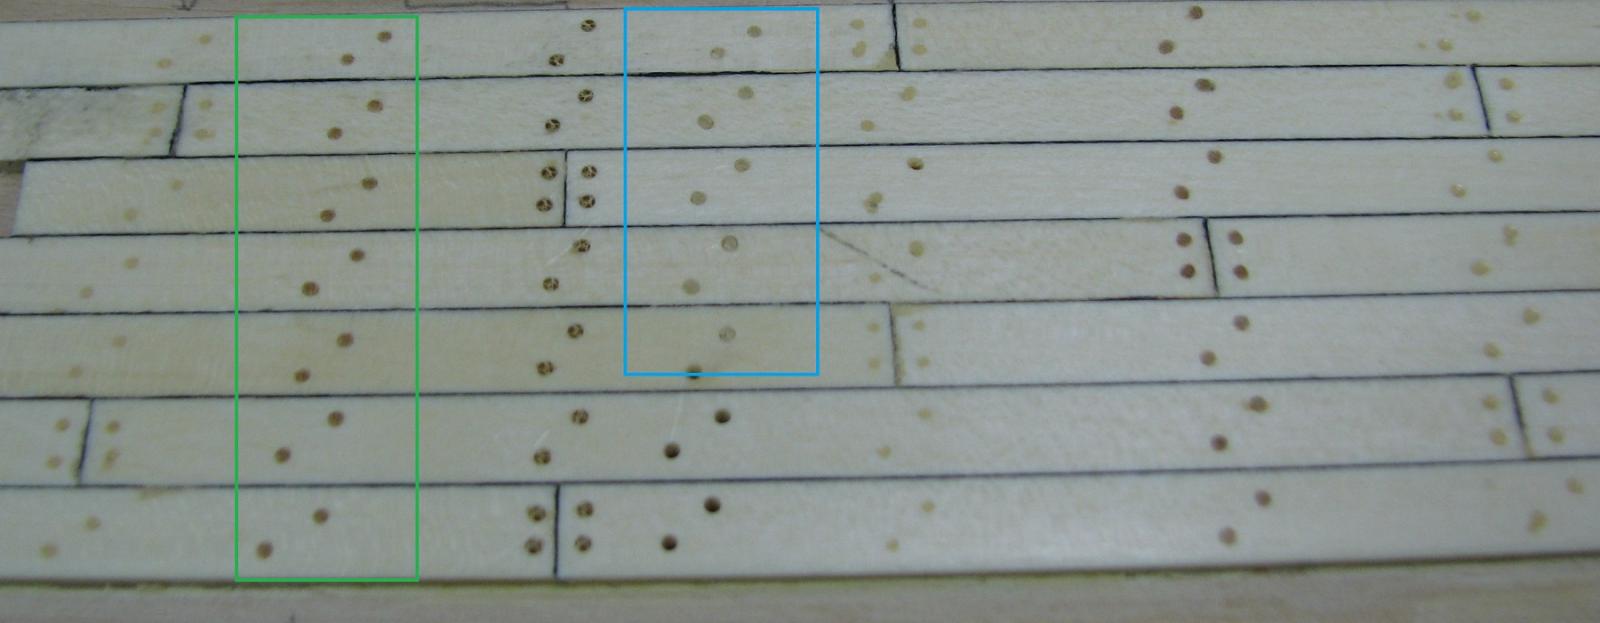
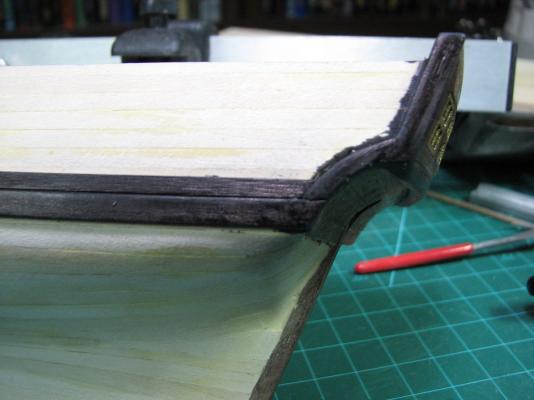
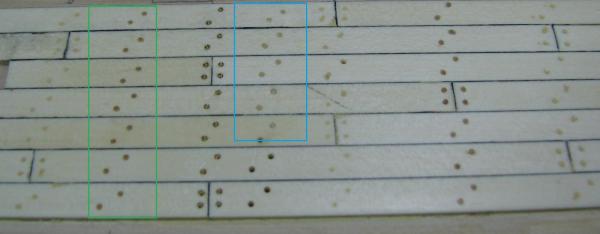
So I'm progressing with a single coat of red paint on the bulwarks each day, but I'm an impatient sort (I'm sure nobody has noticed that by now) so I've decided to start working on the outer planking while still working on the bulwark paint. I started with the black strake, which the kit provides walnut strips to make. Luckily, the walnut in this size is actually pretty nice and easily worked and not all splintery, so I inked it after carefully cutting the piece to length and shaping both ends, and placed this key component on each side. Prior to actually gluing, I clamped some scrap of the same walnut stock in place along the gun ports and used that to do some final sanding of the lower port sills so that they would match the top of the black strake. The photo showing the wale and black strake at the stem came out blurry, so I'll probably take another one later, but I'm really happy with how evenly they came out, and how sharp the match with the stem is. The photo of the other side at the stern where it mates with the fashion piece came out blurry too. I sealed the black strake and wale with a coat of wipe on poly after they were in place, and hopefully this will protect it a bit from my antics as I work on the planking above and below them. I also got a delivery in the mail today - a drawplate from Jim Byrnes. So of course I had to play with it, and made a few tree nails out of maple, and holly. The green box is maple at .031", and the blue is holly at .031". I am having a very difficult time getting tree nails smaller than the .029 drawplate hole, so if I chose to use real tree nails they would pretty much have to be .031 holes. I really like the holly appearance, as the edges are quite sharp, and the color is the most subdued of all the real wood nails I've made, but they appear too large and out of scale to me. In addition, the holly was very difficult to draw, I kept breaking the wood, so it would be a huge pain to make enough holly tree nails to do the entire deck. In the end I'm probably going to go with the newer wood filler in .028, and try to do a neater job than the test planking when I'm doing the hole drilling and then shaving of the deck after the filler has dried in order to get a crisper edge on them.


- 831 replies
-
- 16
-
-
- Armed Virginia Sloop
- Model Shipways
- (and 1 more)