HOLIDAY DONATION DRIVE - SUPPORT MSW - DO YOUR PART TO KEEP THIS GREAT FORUM GOING! (89 donations so far out of 49,000 members - C'mon guys!)
×


captain_hook
-
Posts
685 -
Joined
-
Last visited
Content Type
Profiles
Forums
Gallery
Events
Everything posted by captain_hook
-
 Very crisp work and a good start. When the start has made, it is hard to realize that working on that will continue for the next years..
 -
Thank you, that is indeed helpful.
-
Hello, I found a source of large Castello boxwood sheets here in Germany. Unfortunately I‘m not familiar with the current price. The seller gives some information: Sheet length between 1,20m (about 4’) and 2m (about 6-7‘), 8 - 15 cm wide (3 - 6“) and 5,2 or 6,5cm height (2-3“). Price including tax would be 11,50 Euro (about 12,54 Dollar) per Kilogramm (2 pound). Is that currently a good price? Thank you for any input. Castello in 52 mm oder 65 mm Stärke / Längen zwischen 1,20 m - 2,00 m / Breiten liegen etwa bei 8 cm – 15 cm / Der Preis beträgt 11,50 € pro kg inklusive Mehrwertsteuer zuzüglich Versandkosten
-
You made a good job - some sanding and looks like a solid base for second planking. You can use the supplied walnut stripes. It is a common wood in kits, but it look quite dark. And it has a tendency to split - especially when you cut the openings (f.e. gunports) and a rather raw structure. But it is easy to bend and no other costs for aftermarket stuff. Or reconsider using another type of wood. A lot of builders use Castello boxwood, which has a nice yellow/cream colour and structure. I used it for my AVS instead of the supplied walnut. But it got quite expensive these days. A lot of buildlogs rise using Alaskan Yellow Cedar which has an even more yellow colour but isn’t as hard as boxwood. Haven’t tried it yet. Another excellent wood is pear. More brownish but has an even structure and little grain. Allmost all Vanguard Model Kits are provided with this one and you may take a look. Sure there are more options. If you haven‘t found it yet - there are some planking tutorials on this side which can be found here: They might prove useful for your next steps.
-
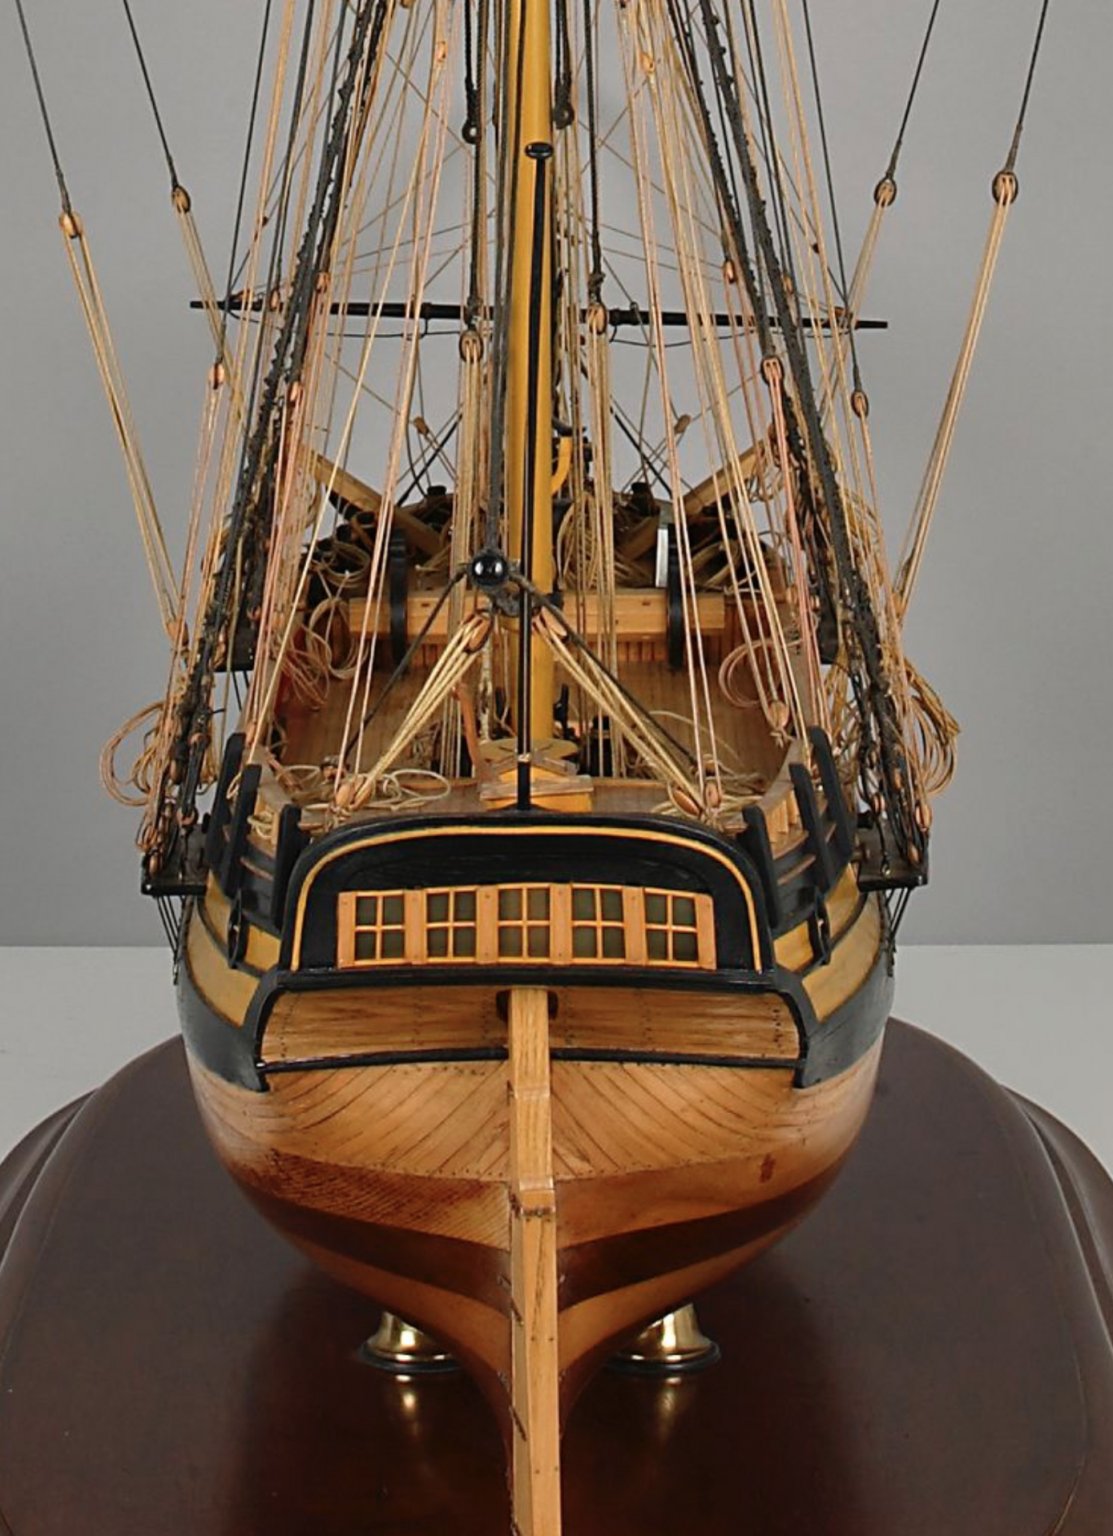
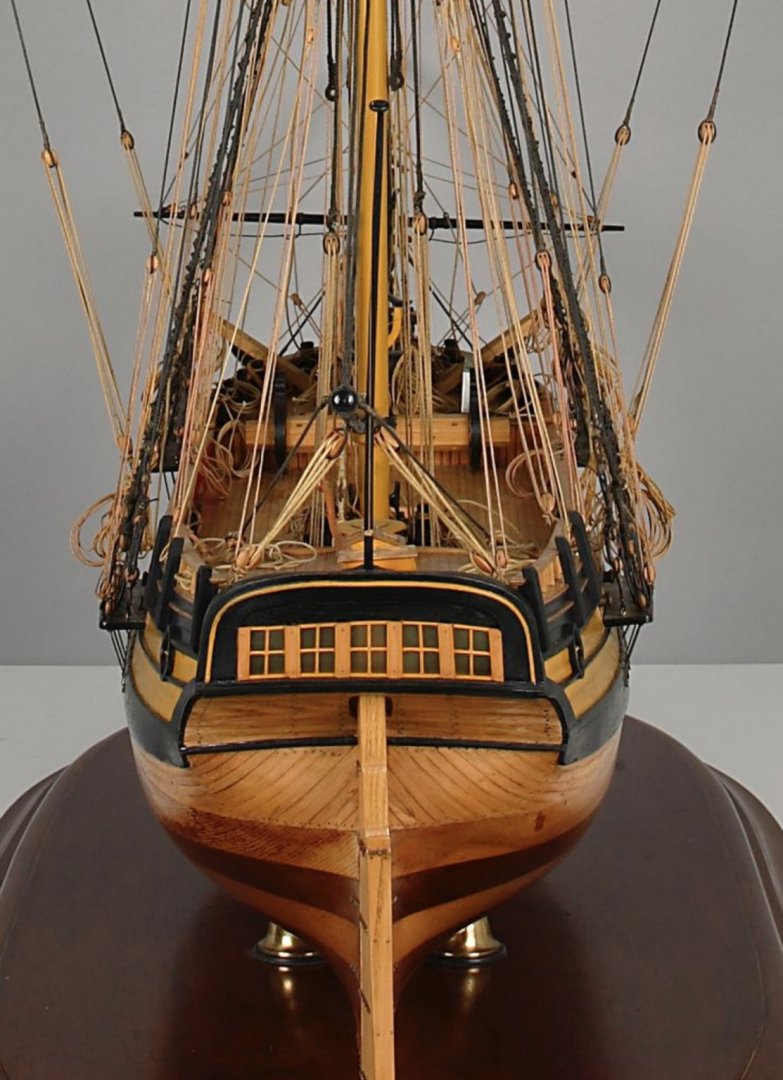
A good start and careful preparation! A link to a nicely build model as another reference: https://collection.maas.museum/object/238338 There is also a picture of the stern gallery, where you can see all windows and their arrangement.
-
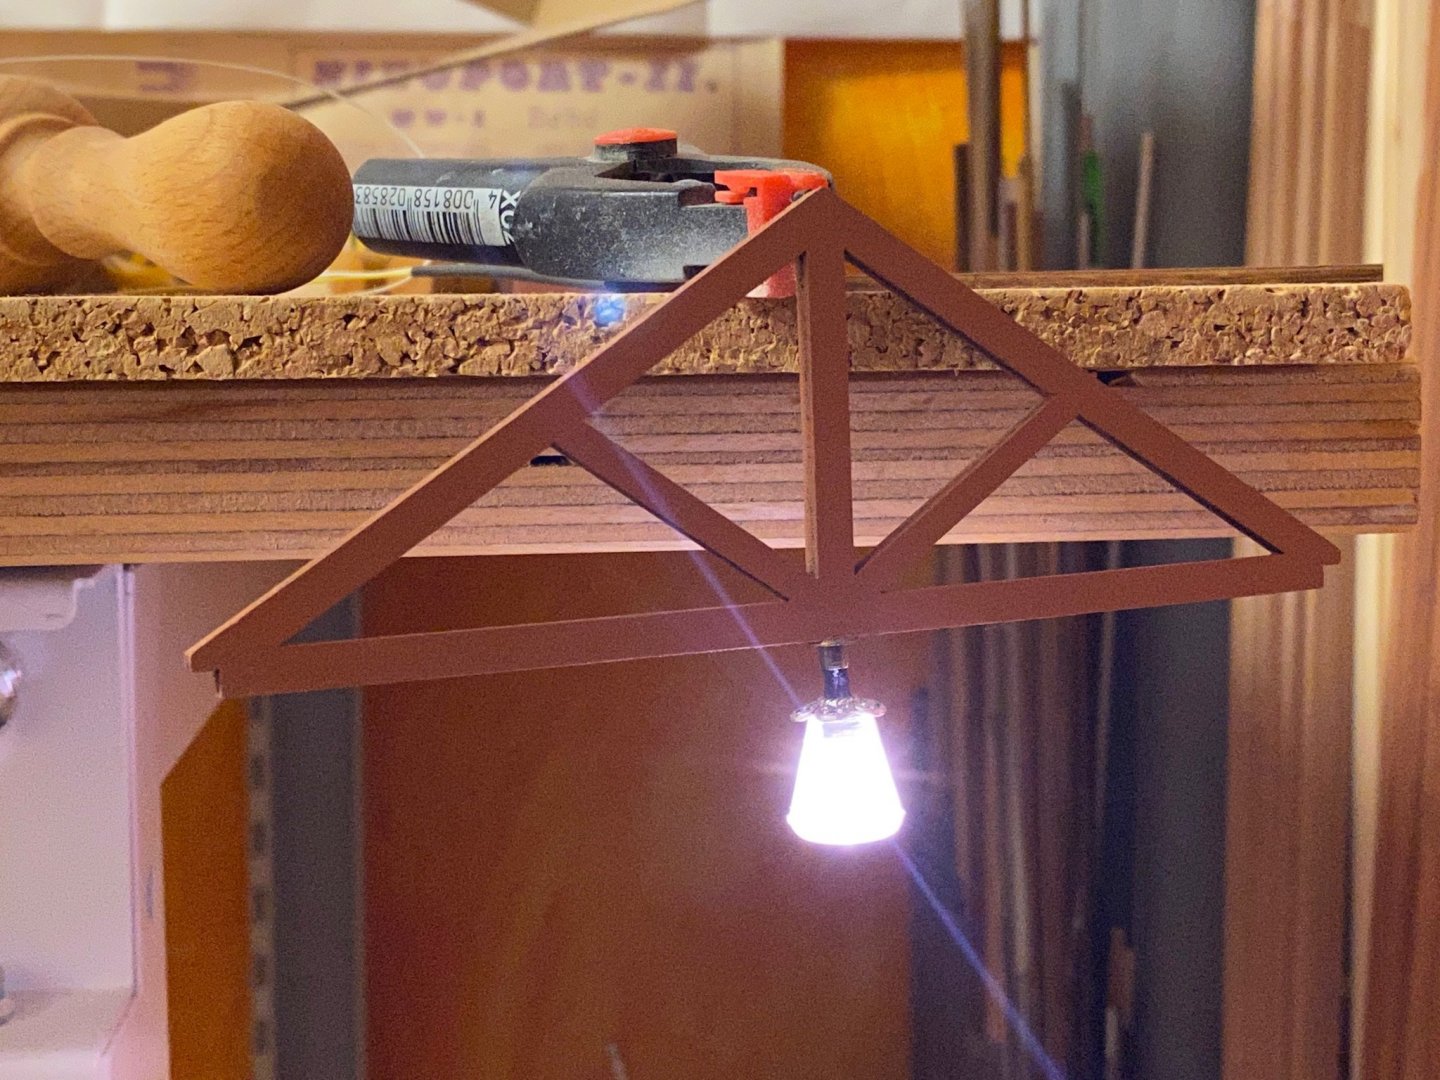
Hehe, no way - only one flower-house per family! I‘ve made only some minor steps. Painted the walls with emulsion paint (egg-shell) which leaves a very matte surface. Build the lamp, installed it into the roof-part and tested it.

-
That is a cool idea and a very nice start. Don‘t want to hijack this threat but I did the same thing 3 years ago but somehow lost interest, because when I enlarged the plan items by 133%, the bulkwards were only 16mm high (about 80 cm in real) and the false deck (that means false keel and all bulkheads) should have been set about 3 or 4 mm lower before to make them look more scale (in comparison to the Cheerful, AVS or other other single masted ships). So you can use scale cannons later. But the hull was already larger than that of the 1/48 AVS. A 1/32 version would be very nice as a RC version, the height should be more than a metre.


-
Haven‘t decided yet. I have a 1/48 POB swan class or the 1/48 Cheerful in my mind.
- 170 replies
-
- 1
-

-
- medway longboat
- Syren Ship Model Company
- (and 1 more)
-
Very nice and clean build! I‘ve learned that if you use tape, it may be helpful to paint the edge of the tape with a little thinned clear vanish first to secure that no colour will accidentally soak under the tape and you get very clean edges in the end, especially on parts with endgrain.
- 263 replies
-
- 5
-
-
- Medway Longboat
- Syren Ship Model Company
- (and 1 more)
-
Thank you very much Bob and Pete. @BobG: I’ve just learned to hide my mistakes. 🤫
- 231 replies
-
- 2
-
-
- model shipways
- armed virginia sloop
- (and 1 more)
-
Wait - wasn‘t the starfighter the plane that killed a lot of pilots during accidents? Much like the sopwith camel in the Great War.
-
You‘re doing a great job. The deep red colour is a nice contrast to the AYC.
-
Nieuport Ni-17 by cog - Eduard - 1/72 - PLASTIC and PE
captain_hook replied to cog's topic in Non-ship/categorised builds
Very nice builds. I’ve always considered the Nieuport 17 as the most beautiful French single-seat fighter of the great War. -
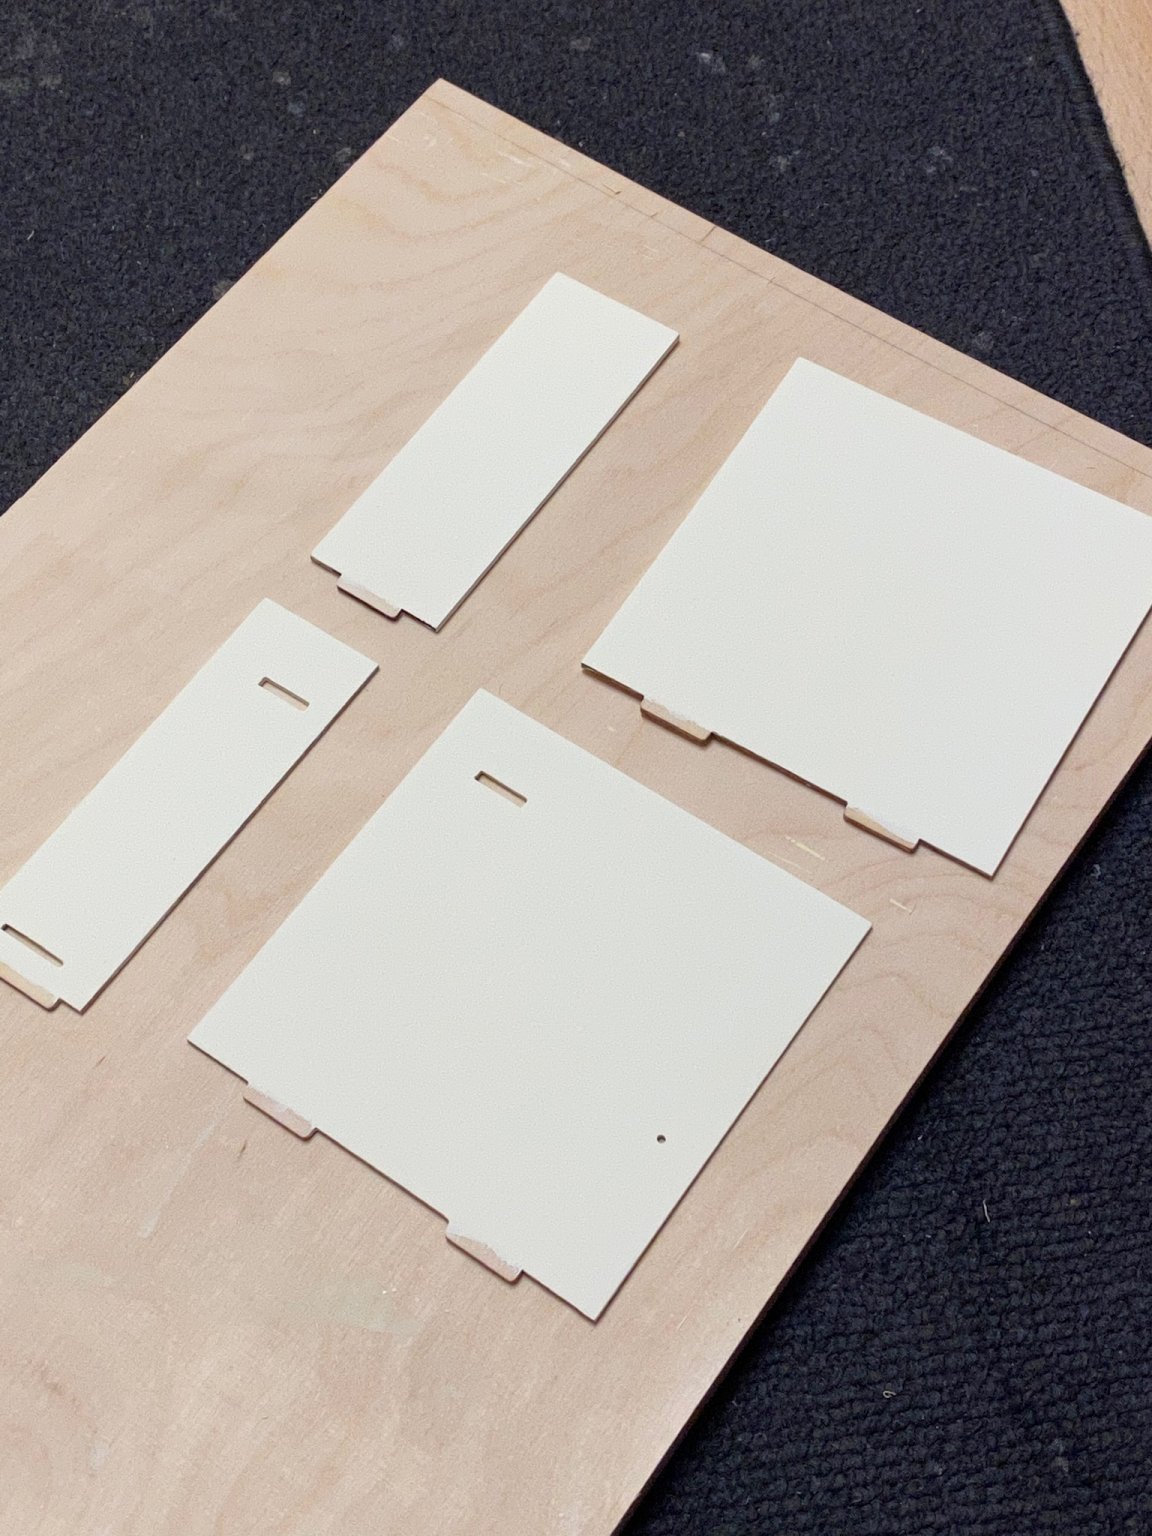
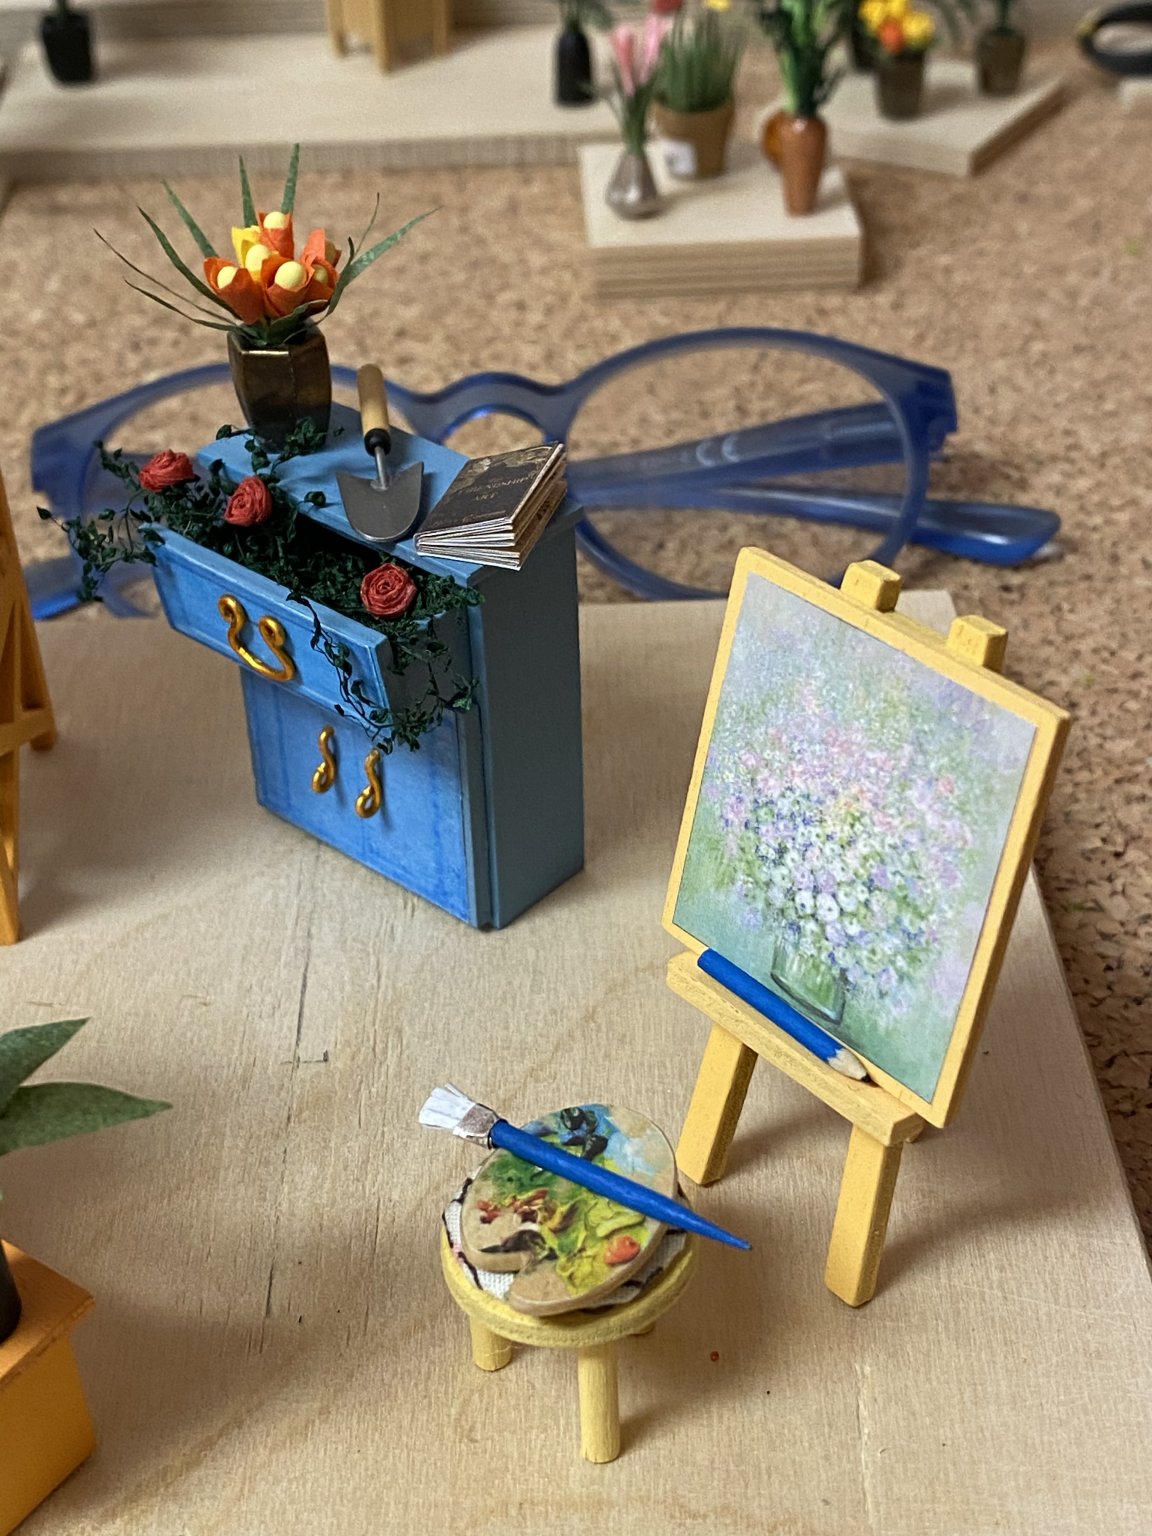
Thank you Yves. The floor is just paper, but the print looks very realistic.
-
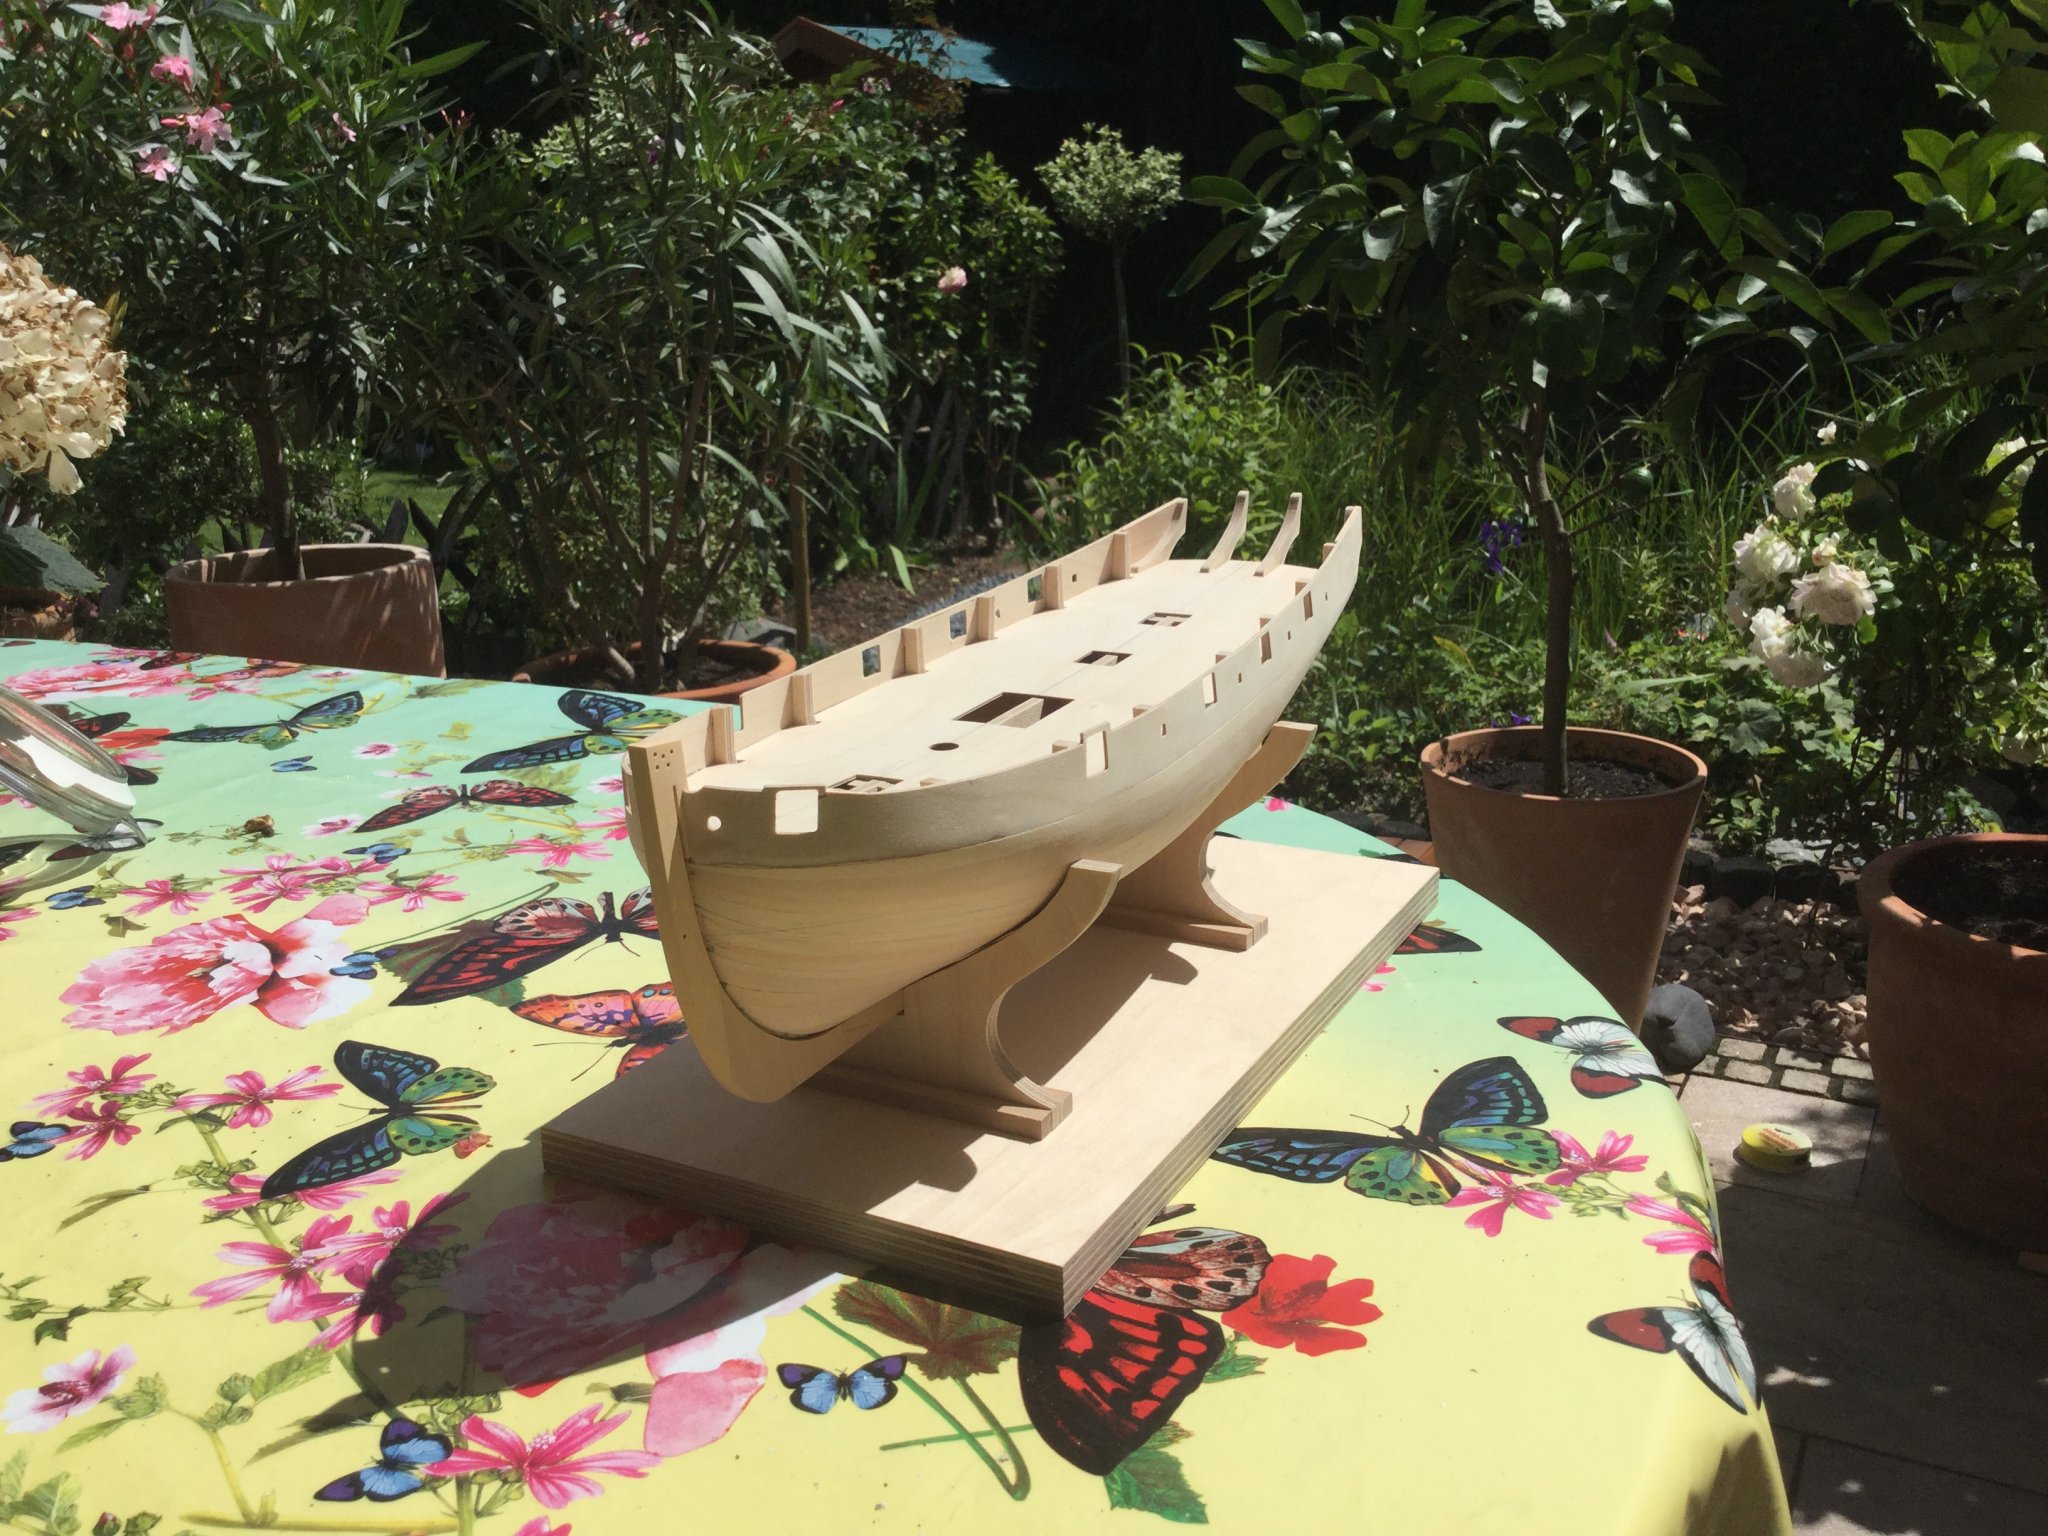
Clean work so far, but you cut off the stanchions at a very early stage of the build. They‘re meant to give the plywood more stability and to hold the shape when you do the second planking. You may continue with planking the inner side of the plywood first to give it more stability and to prevent deforming. Or you put some thicker wood strips inside the bulkwards orthogonal to the keel to prevent the plywood from getting loose when you plank the outside.
- 34 replies
-
- 1
-
-
- lady nelson
- victory models
- (and 1 more)
-
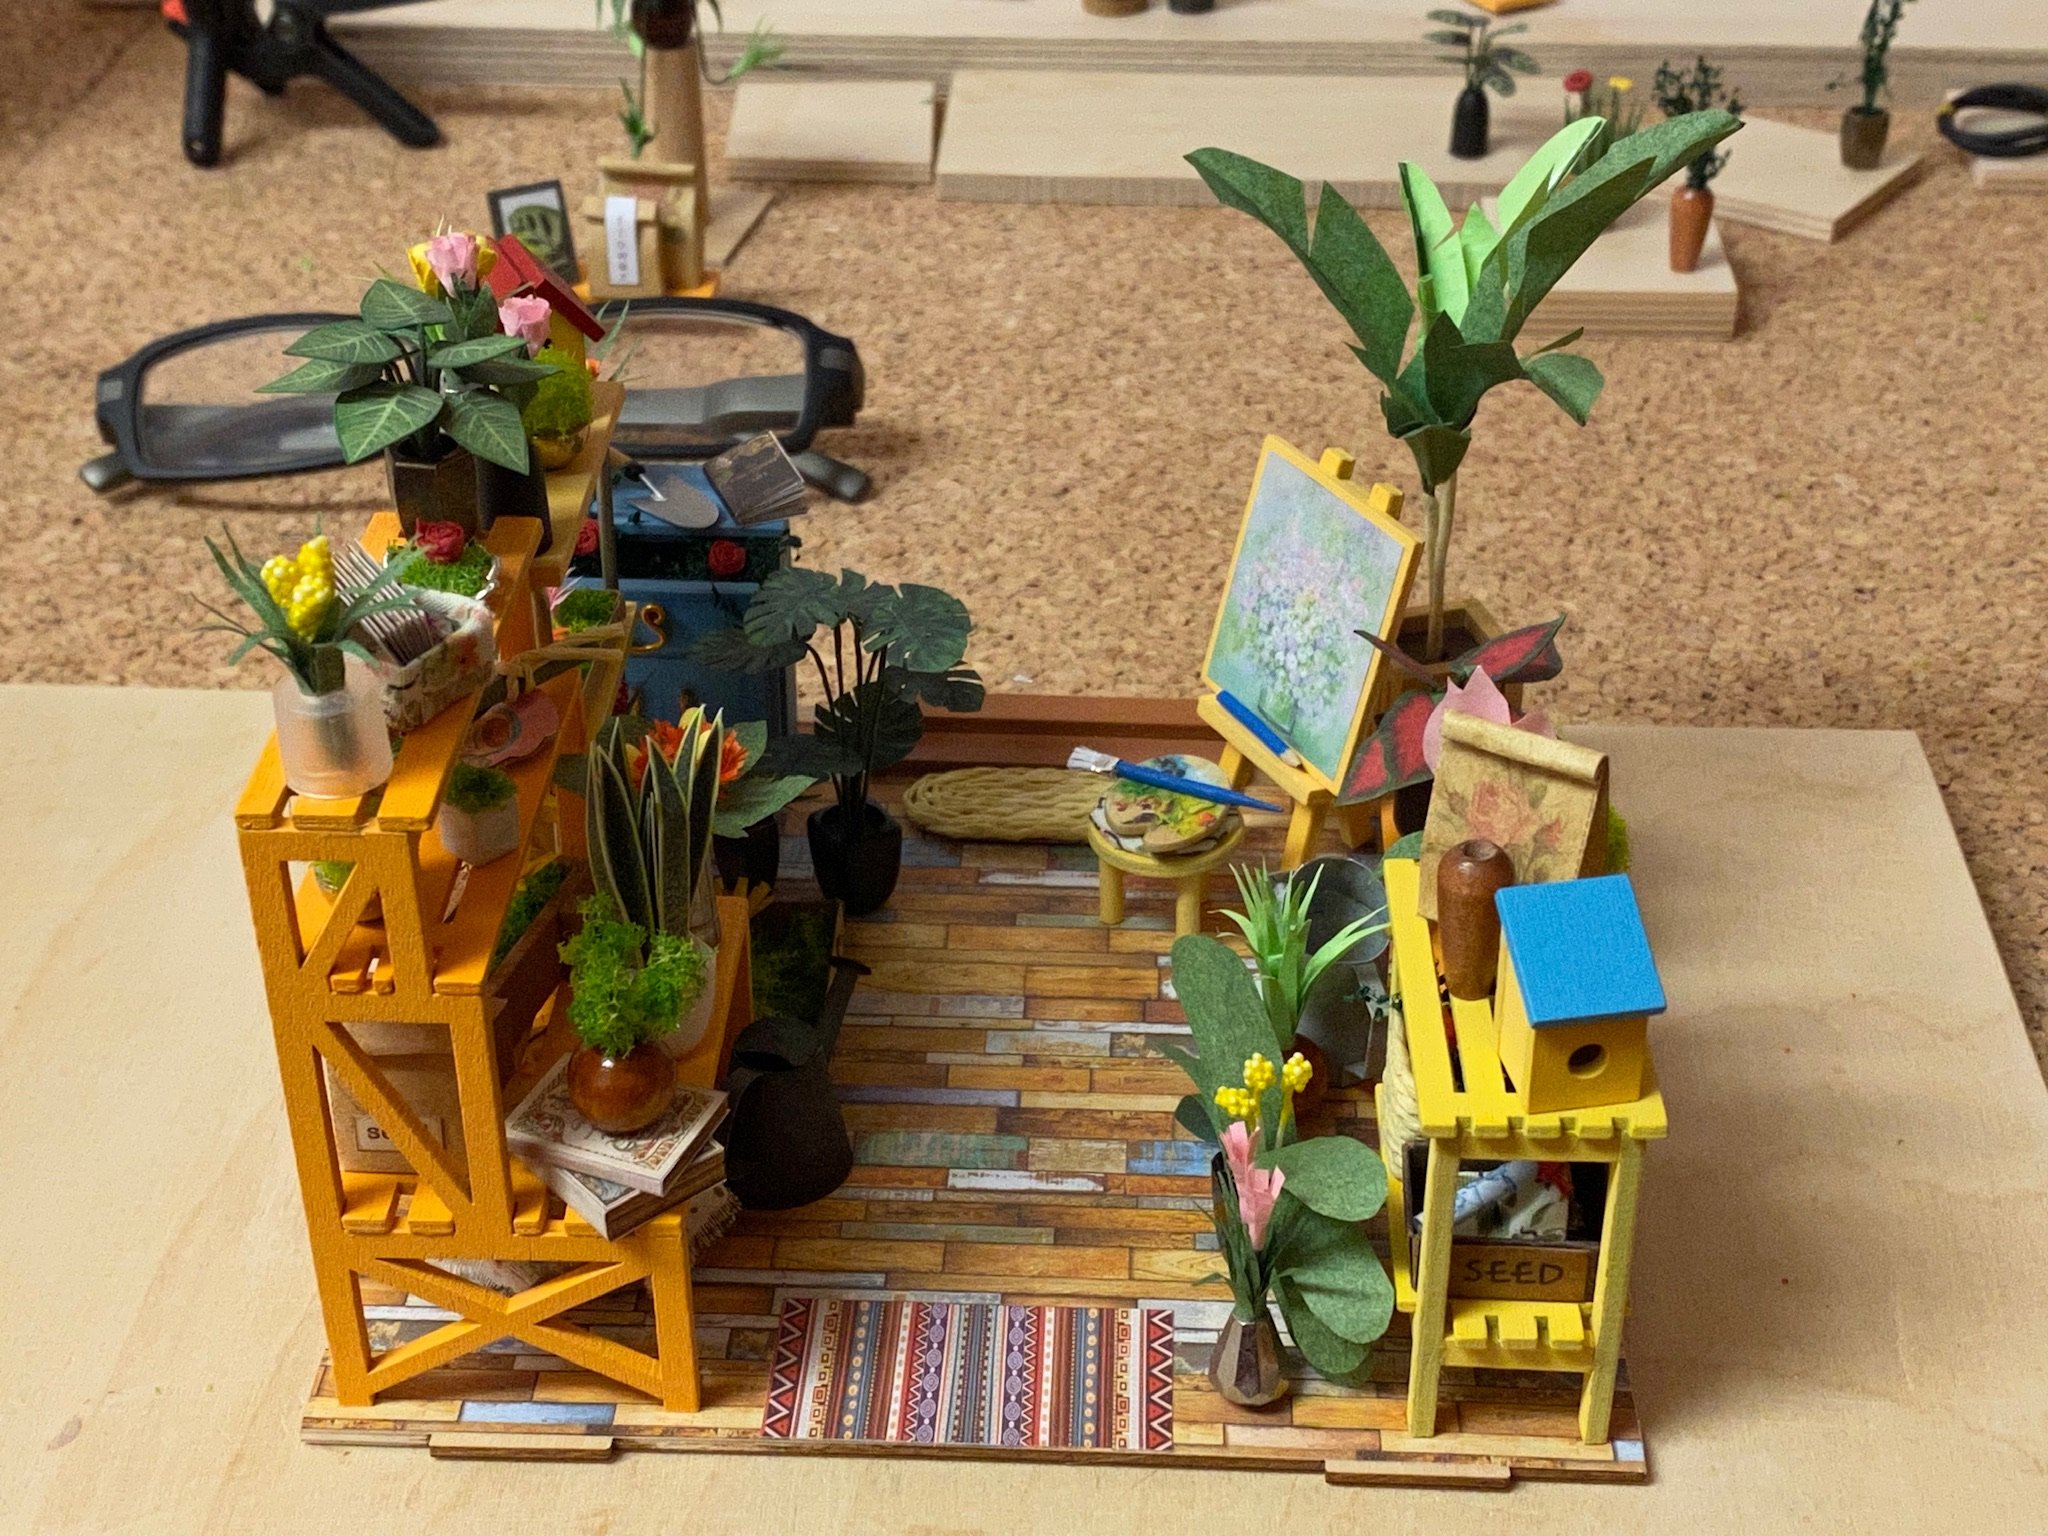
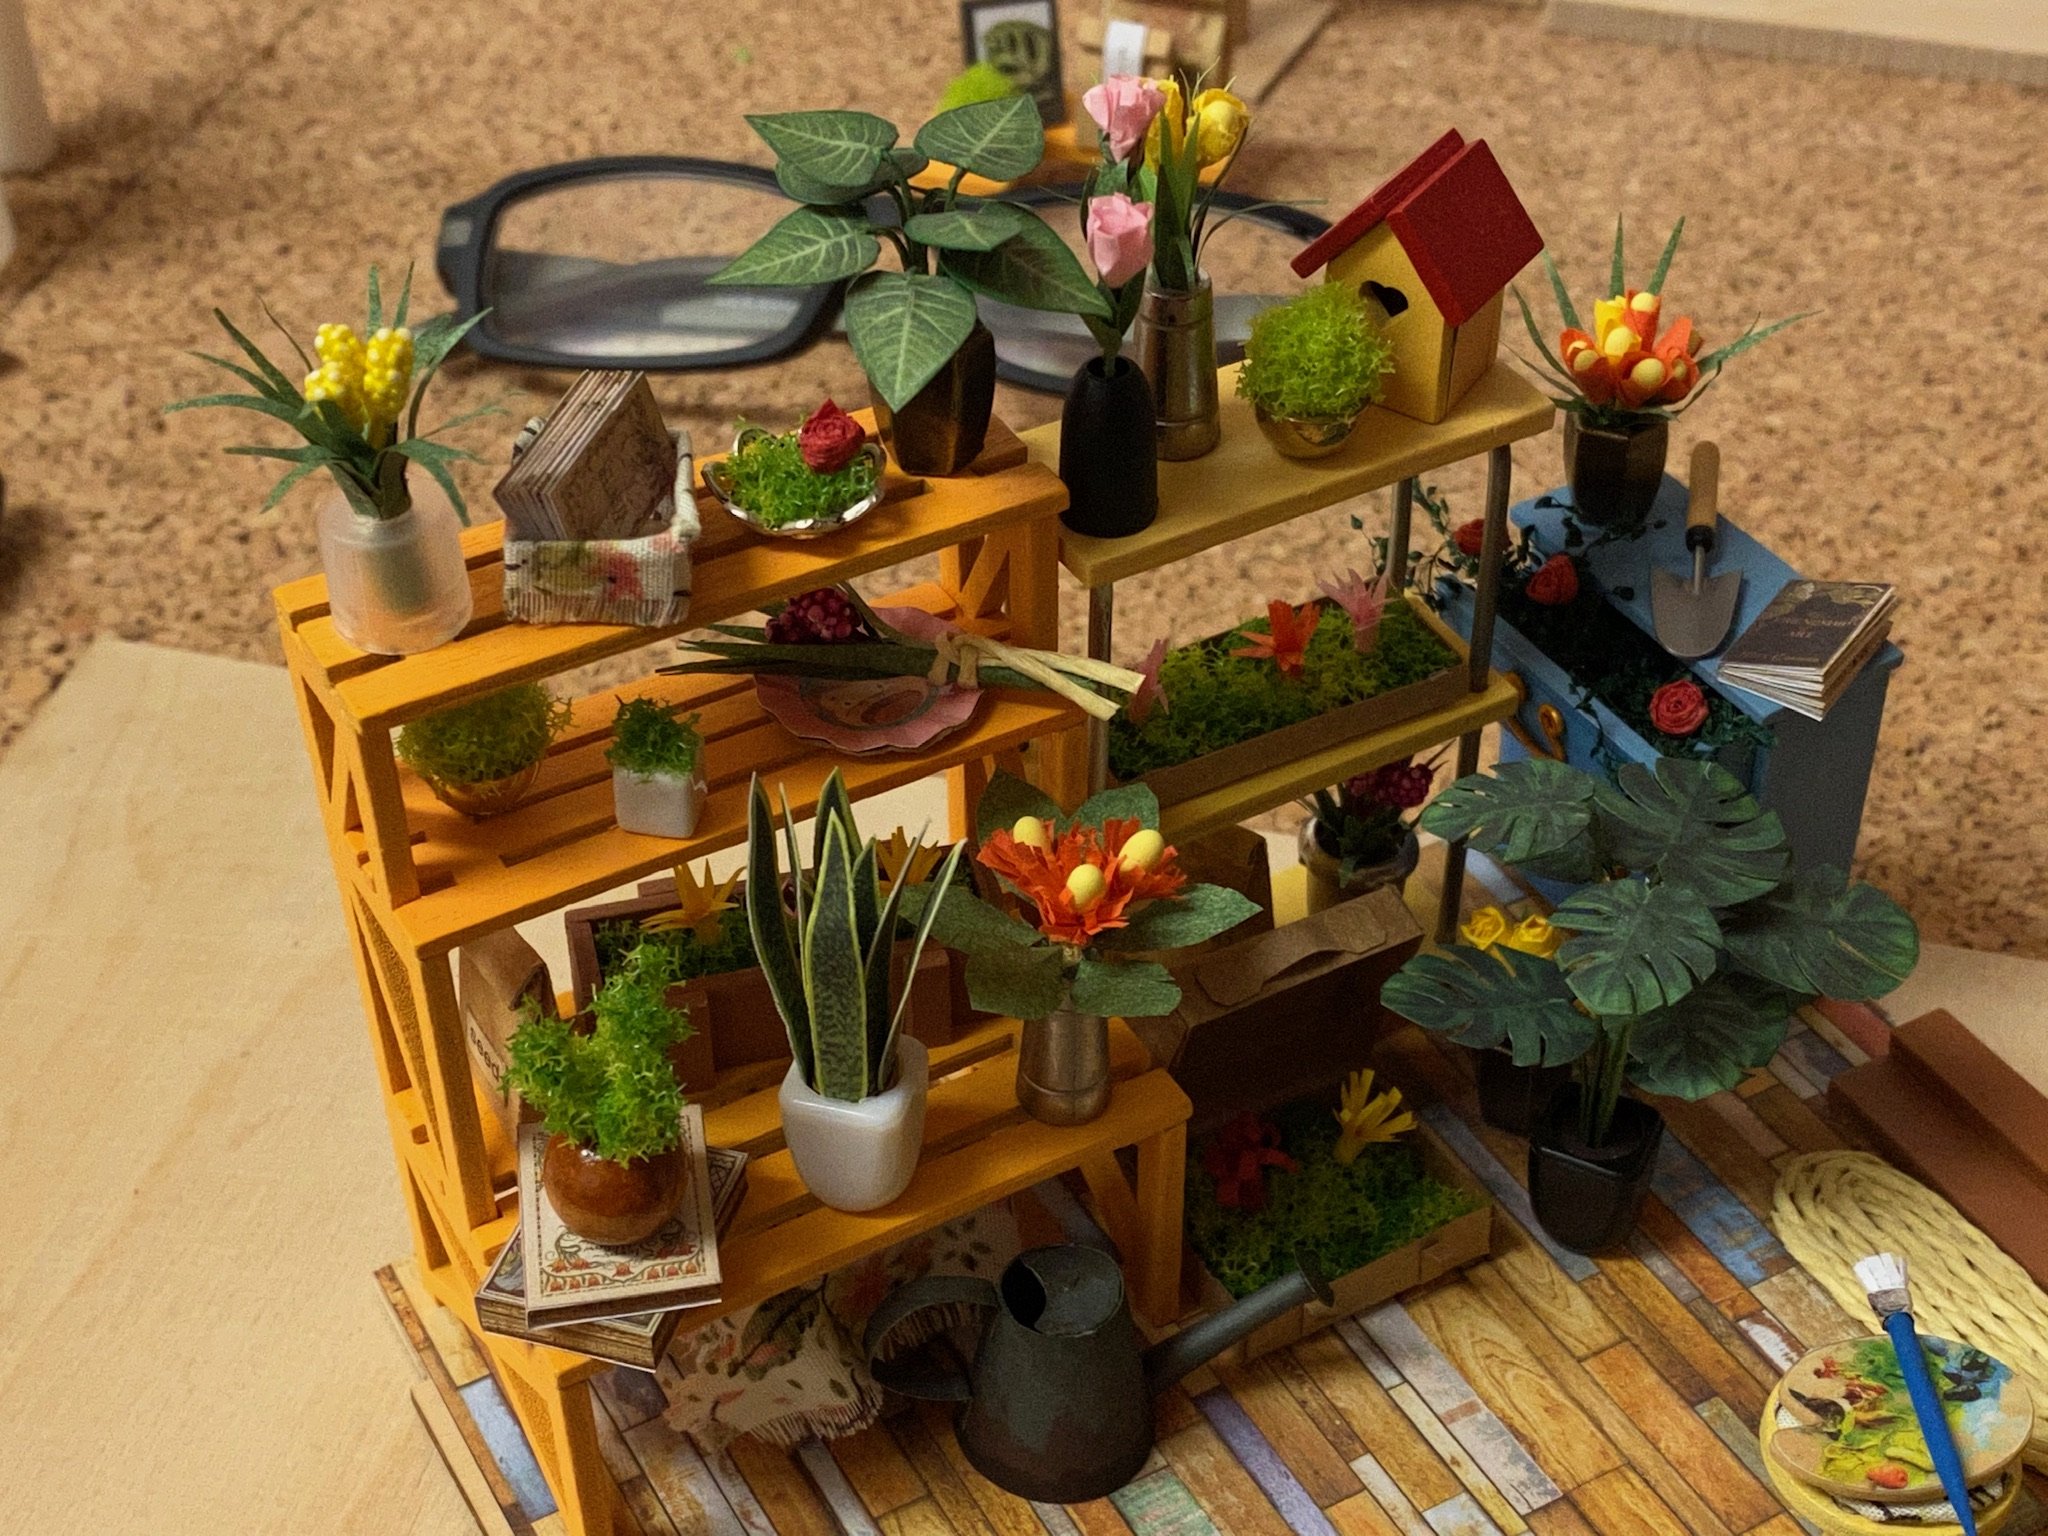
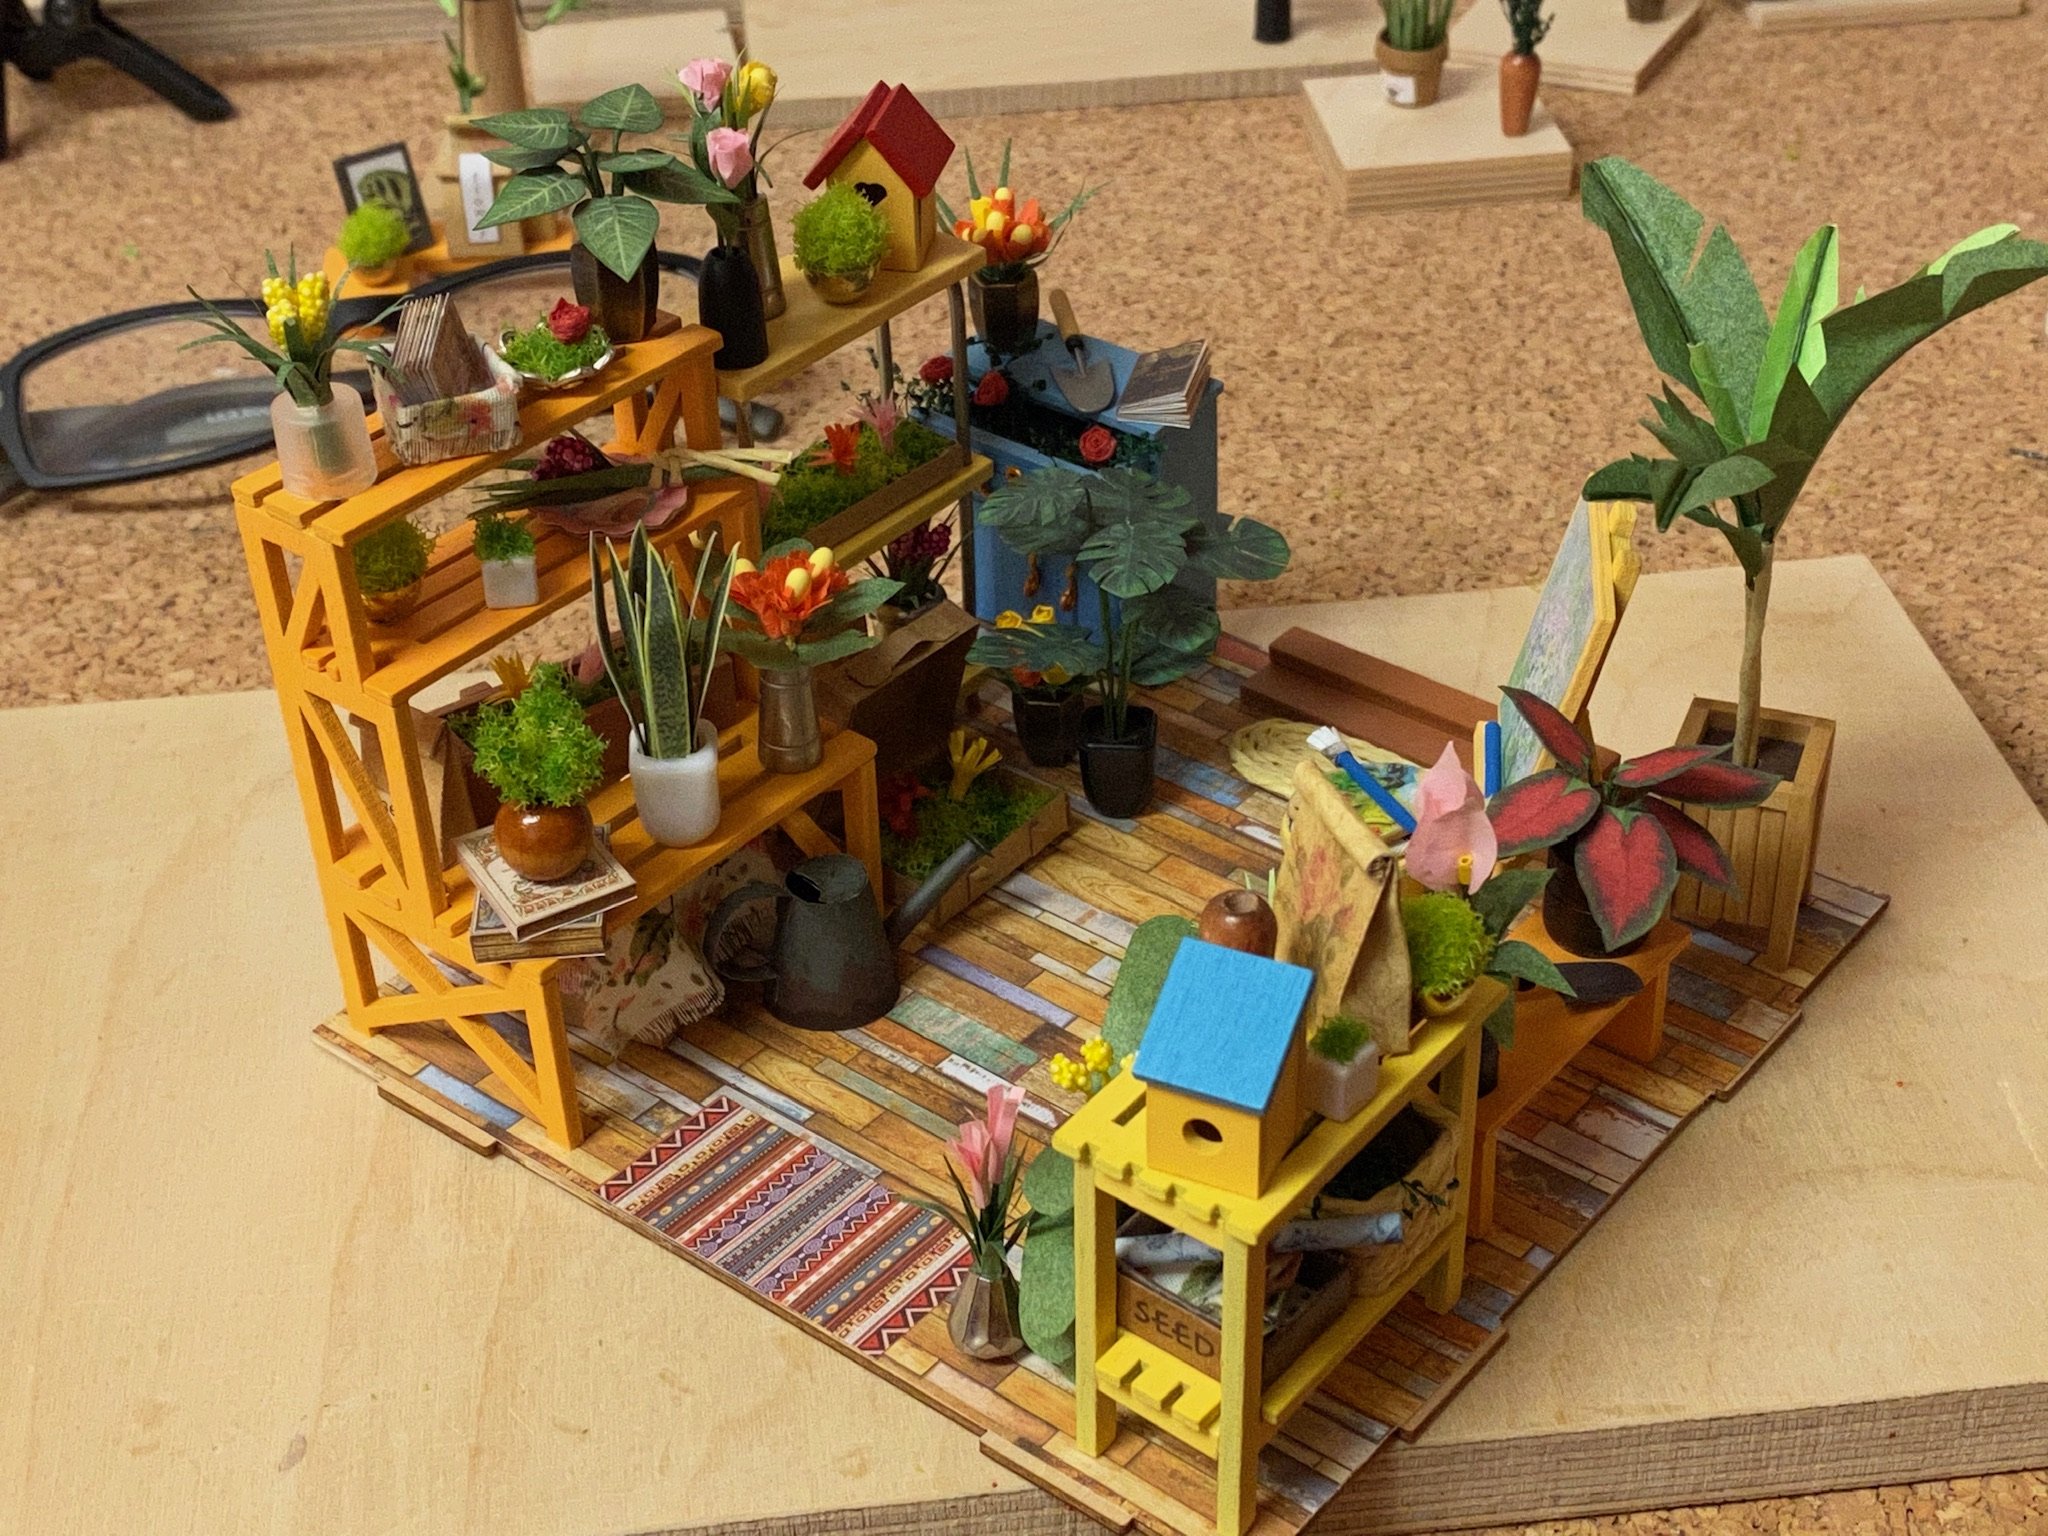
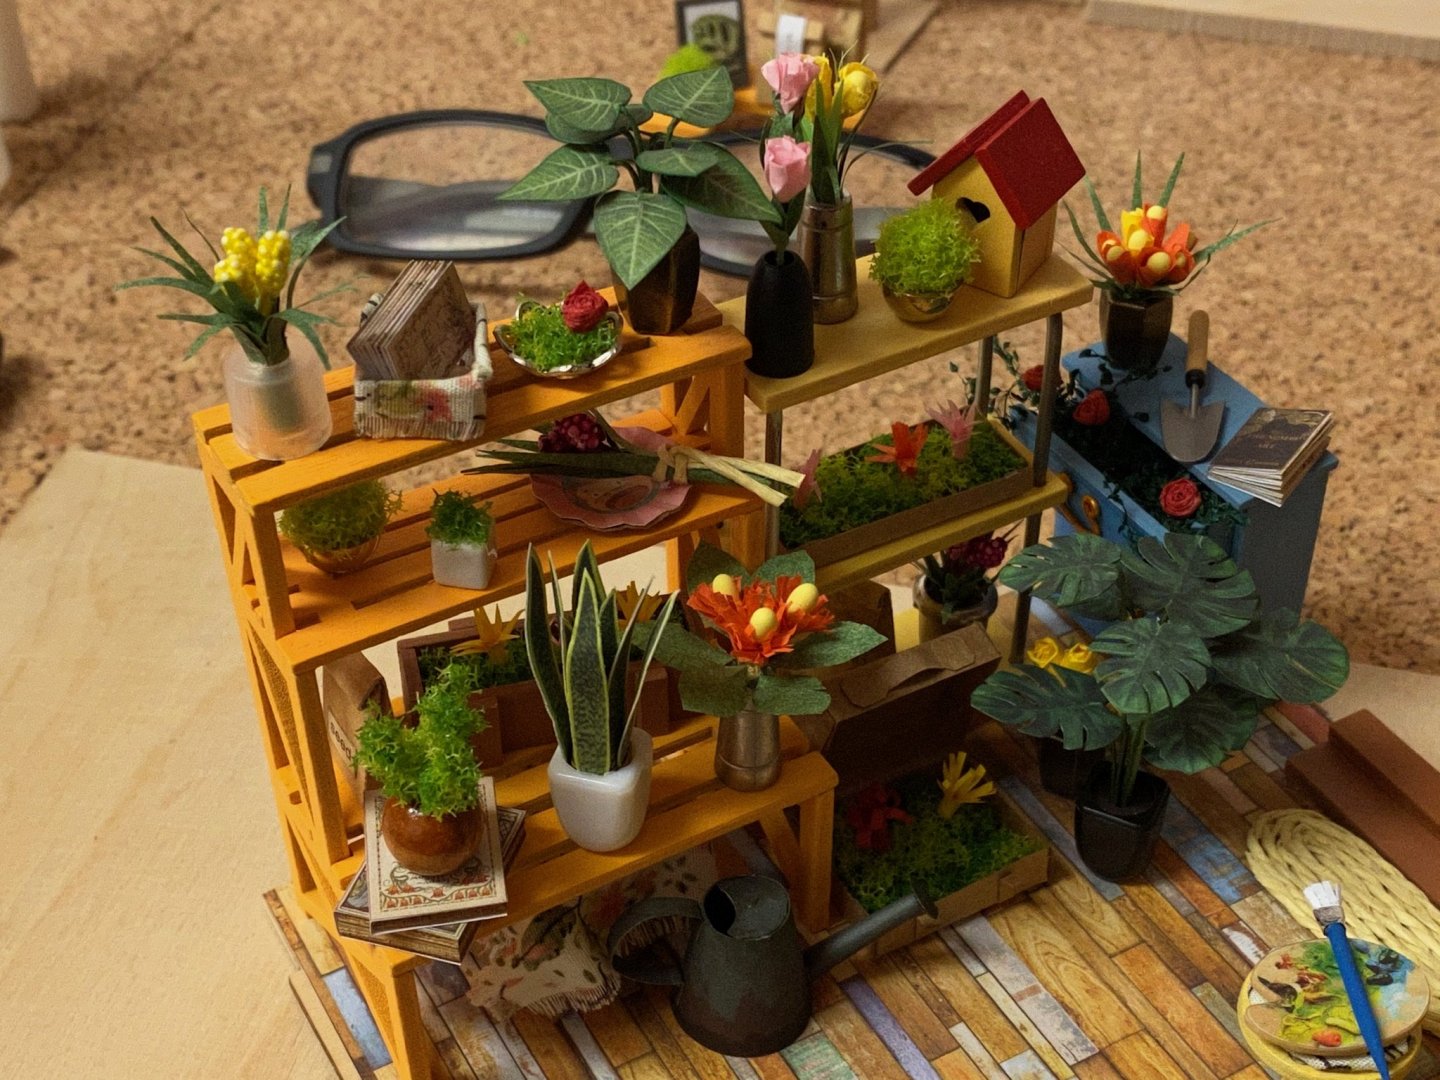
I assembled the floor and put everything together for a dry test-fit. Looks crowded but I assume this is the way it should be.


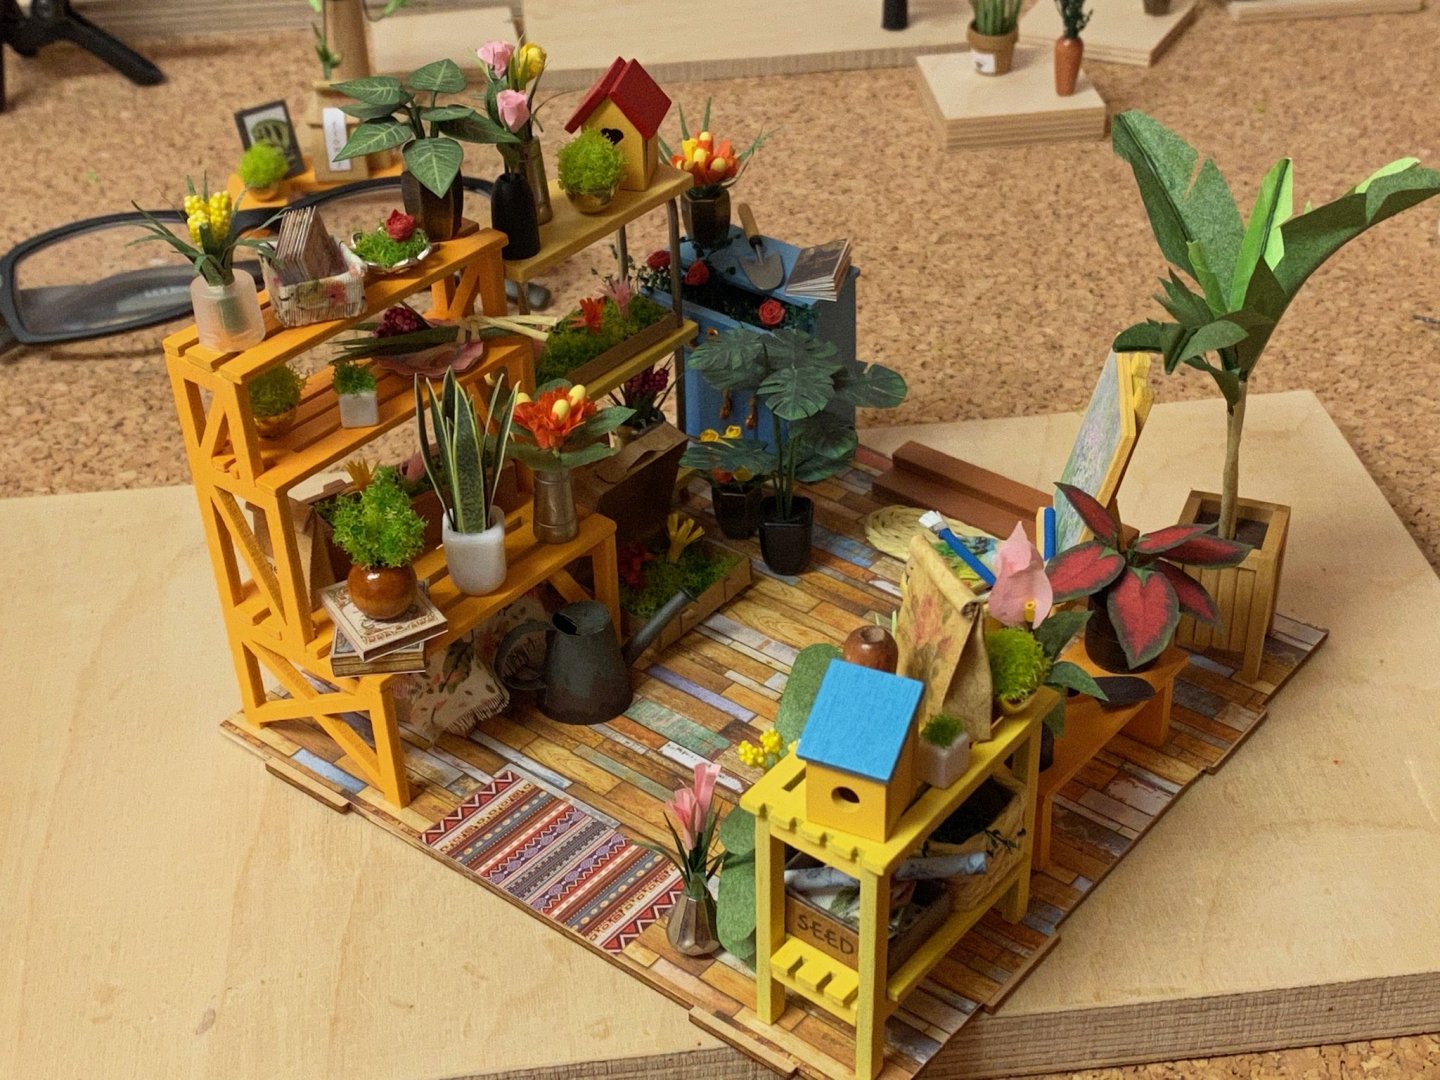
- 54 replies
-
- 10
-
-
Yep, the magical beauty of flowers. I made it clear (or at least I should have) for my family that this will be the only flower house I build for the next time. But I caught up my wife looking at the Robotime Webshop twice..
-
Thank you Jean-Paul. (Almost) everything you see is what you get, only some minor addons (1 scratch-build flowerbot and two showels).
-
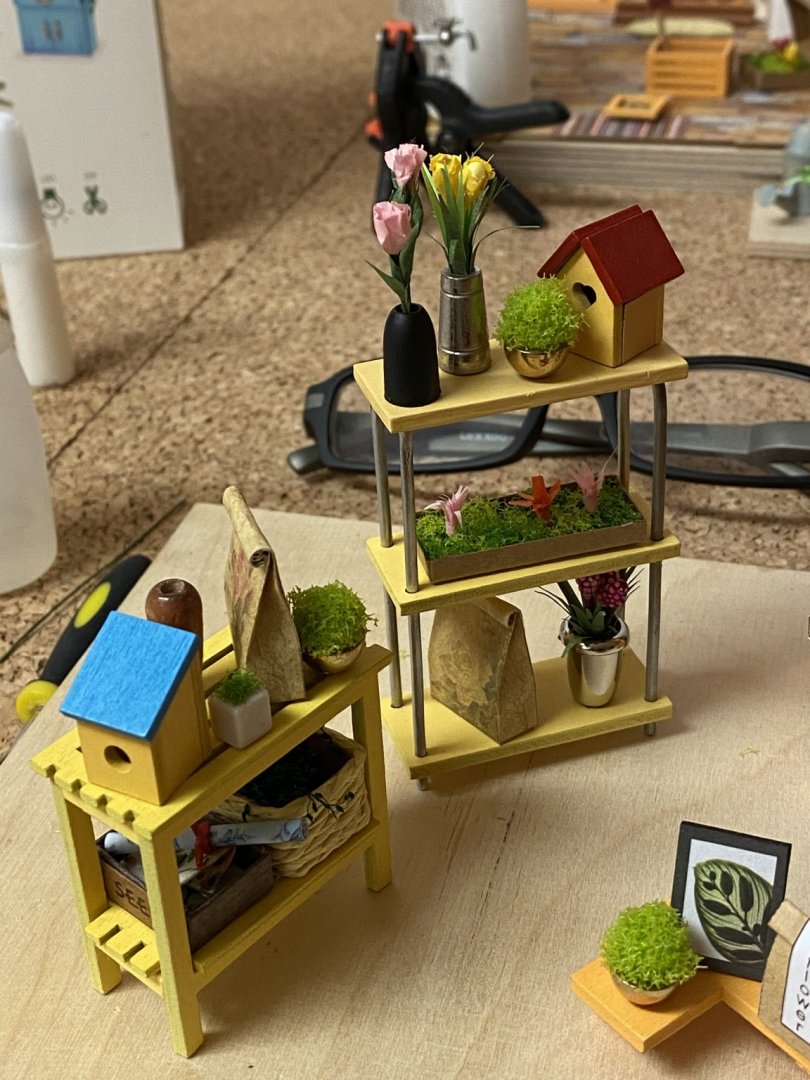
All components glued together, ready for installation on the basement.


-
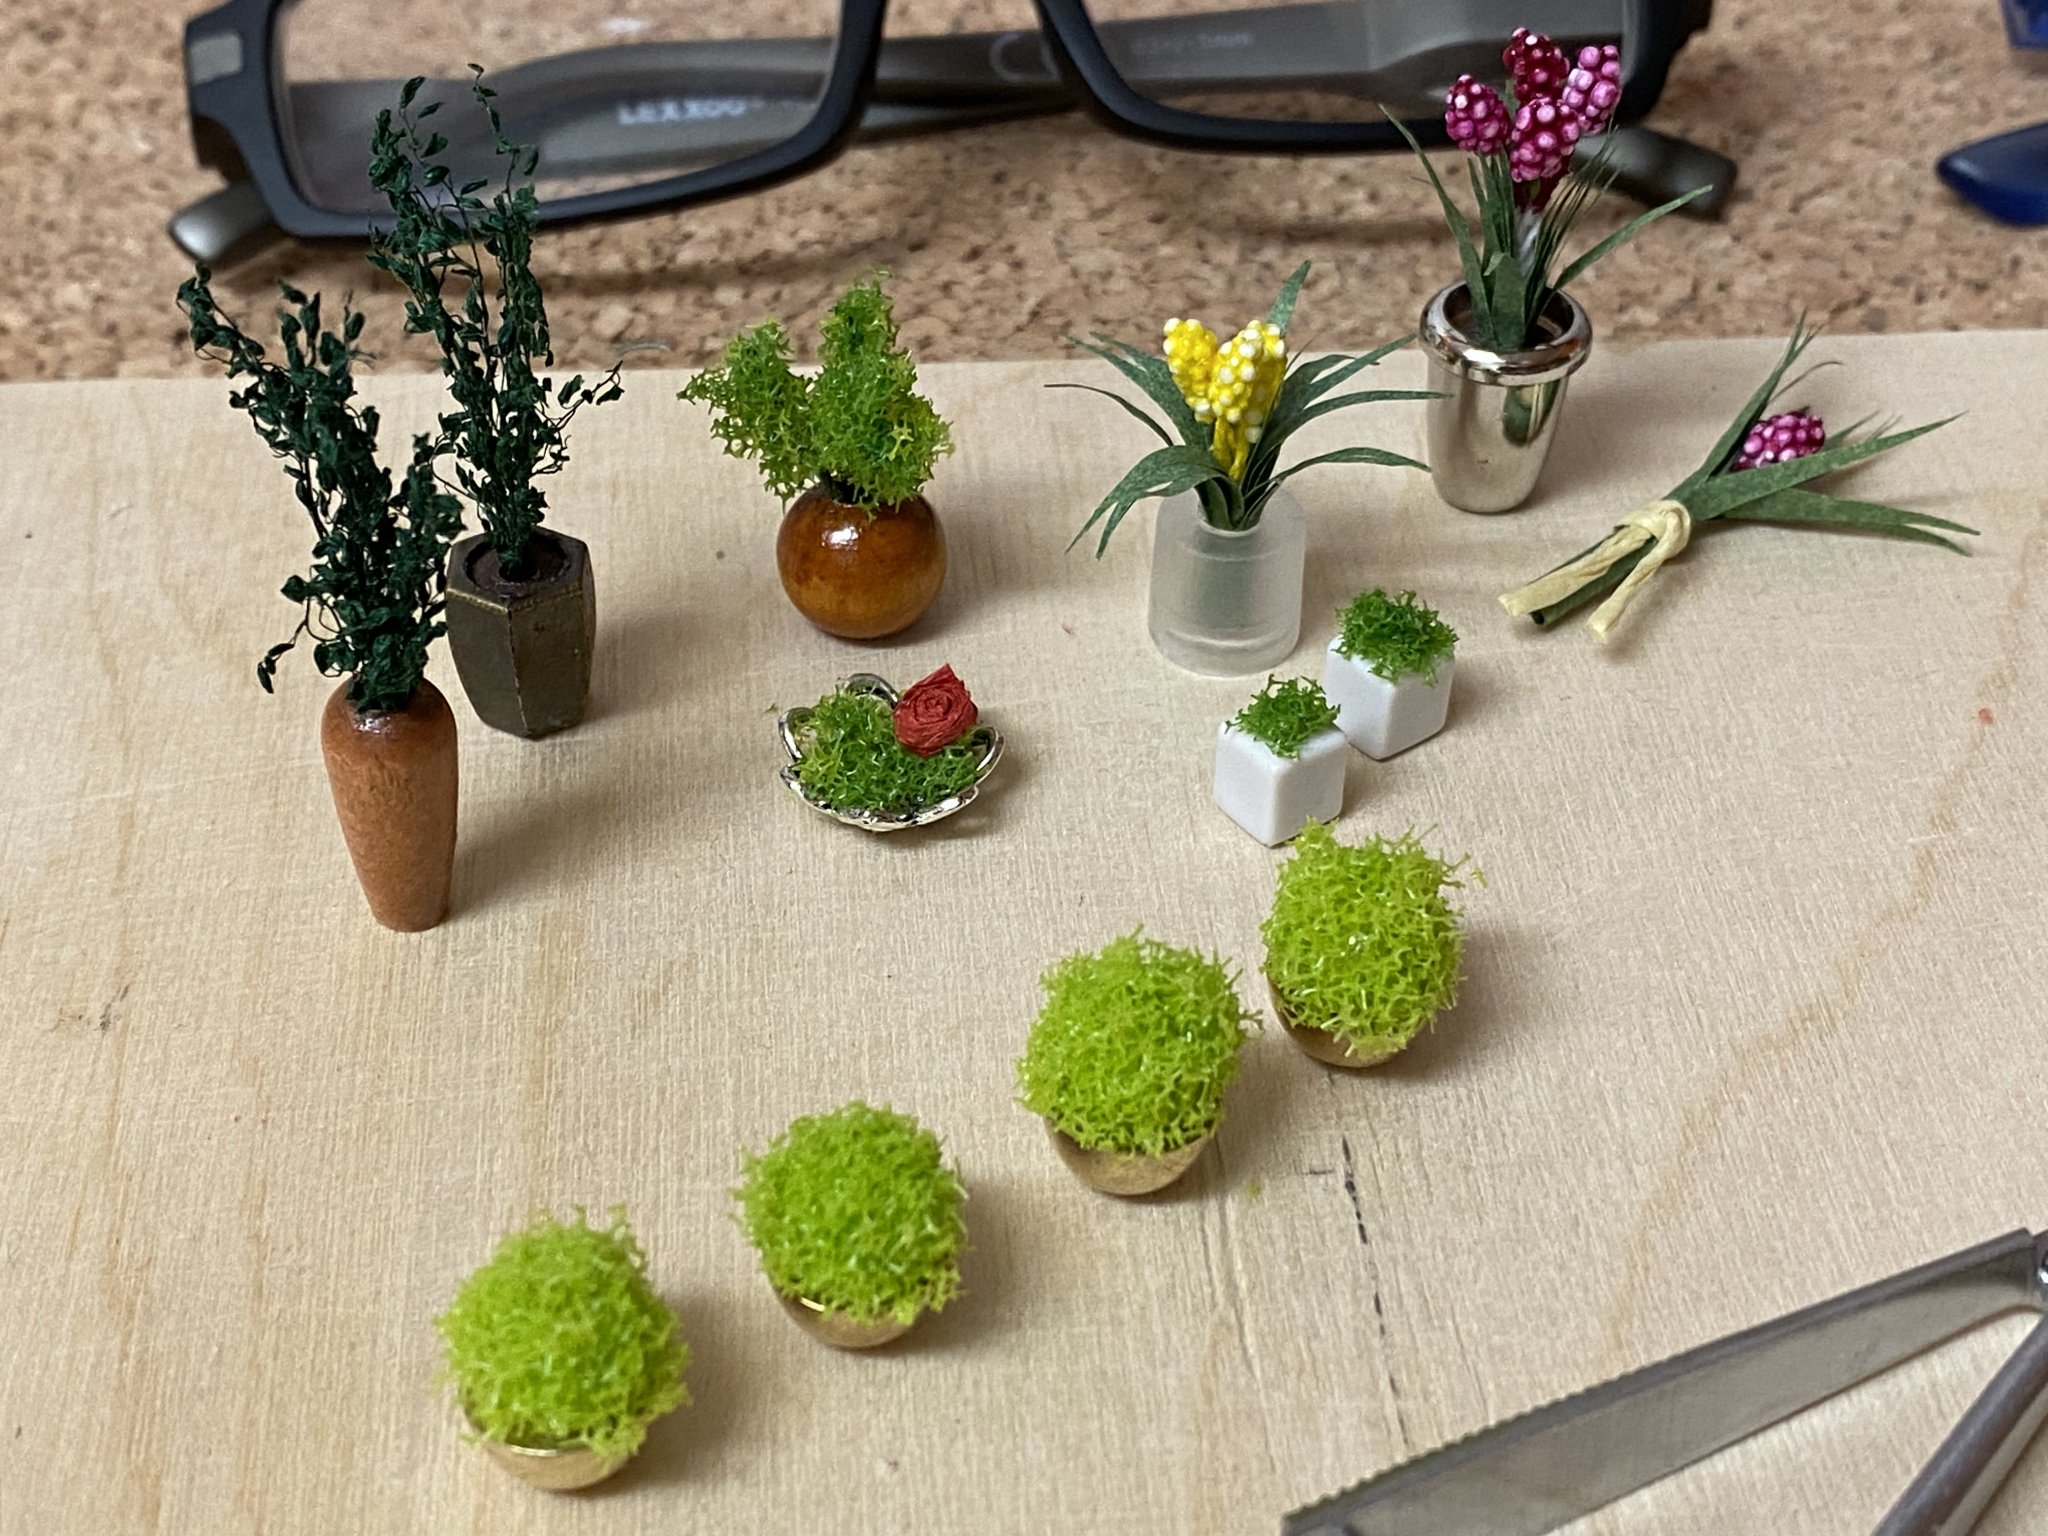
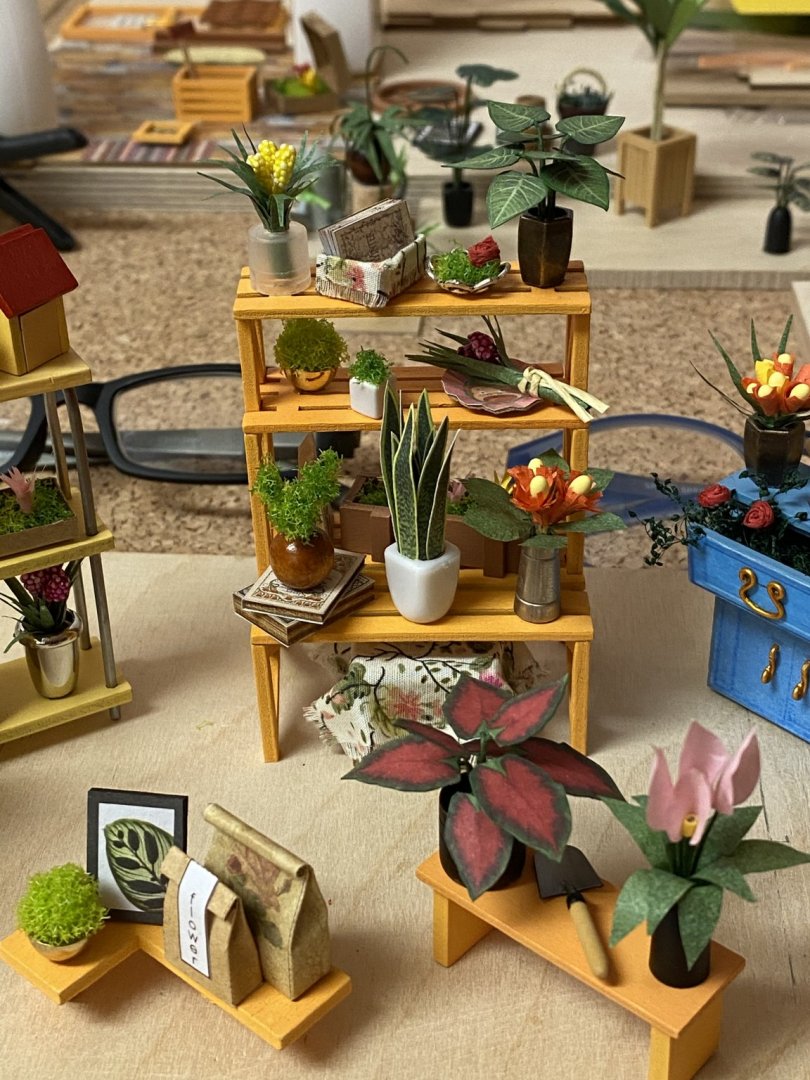
And the last plants and flowers. They were not as difficult to make as the previous ones so I did them all in one session. Altogether there are over 30 plants and flowers in this kit with 25 different ones.


-
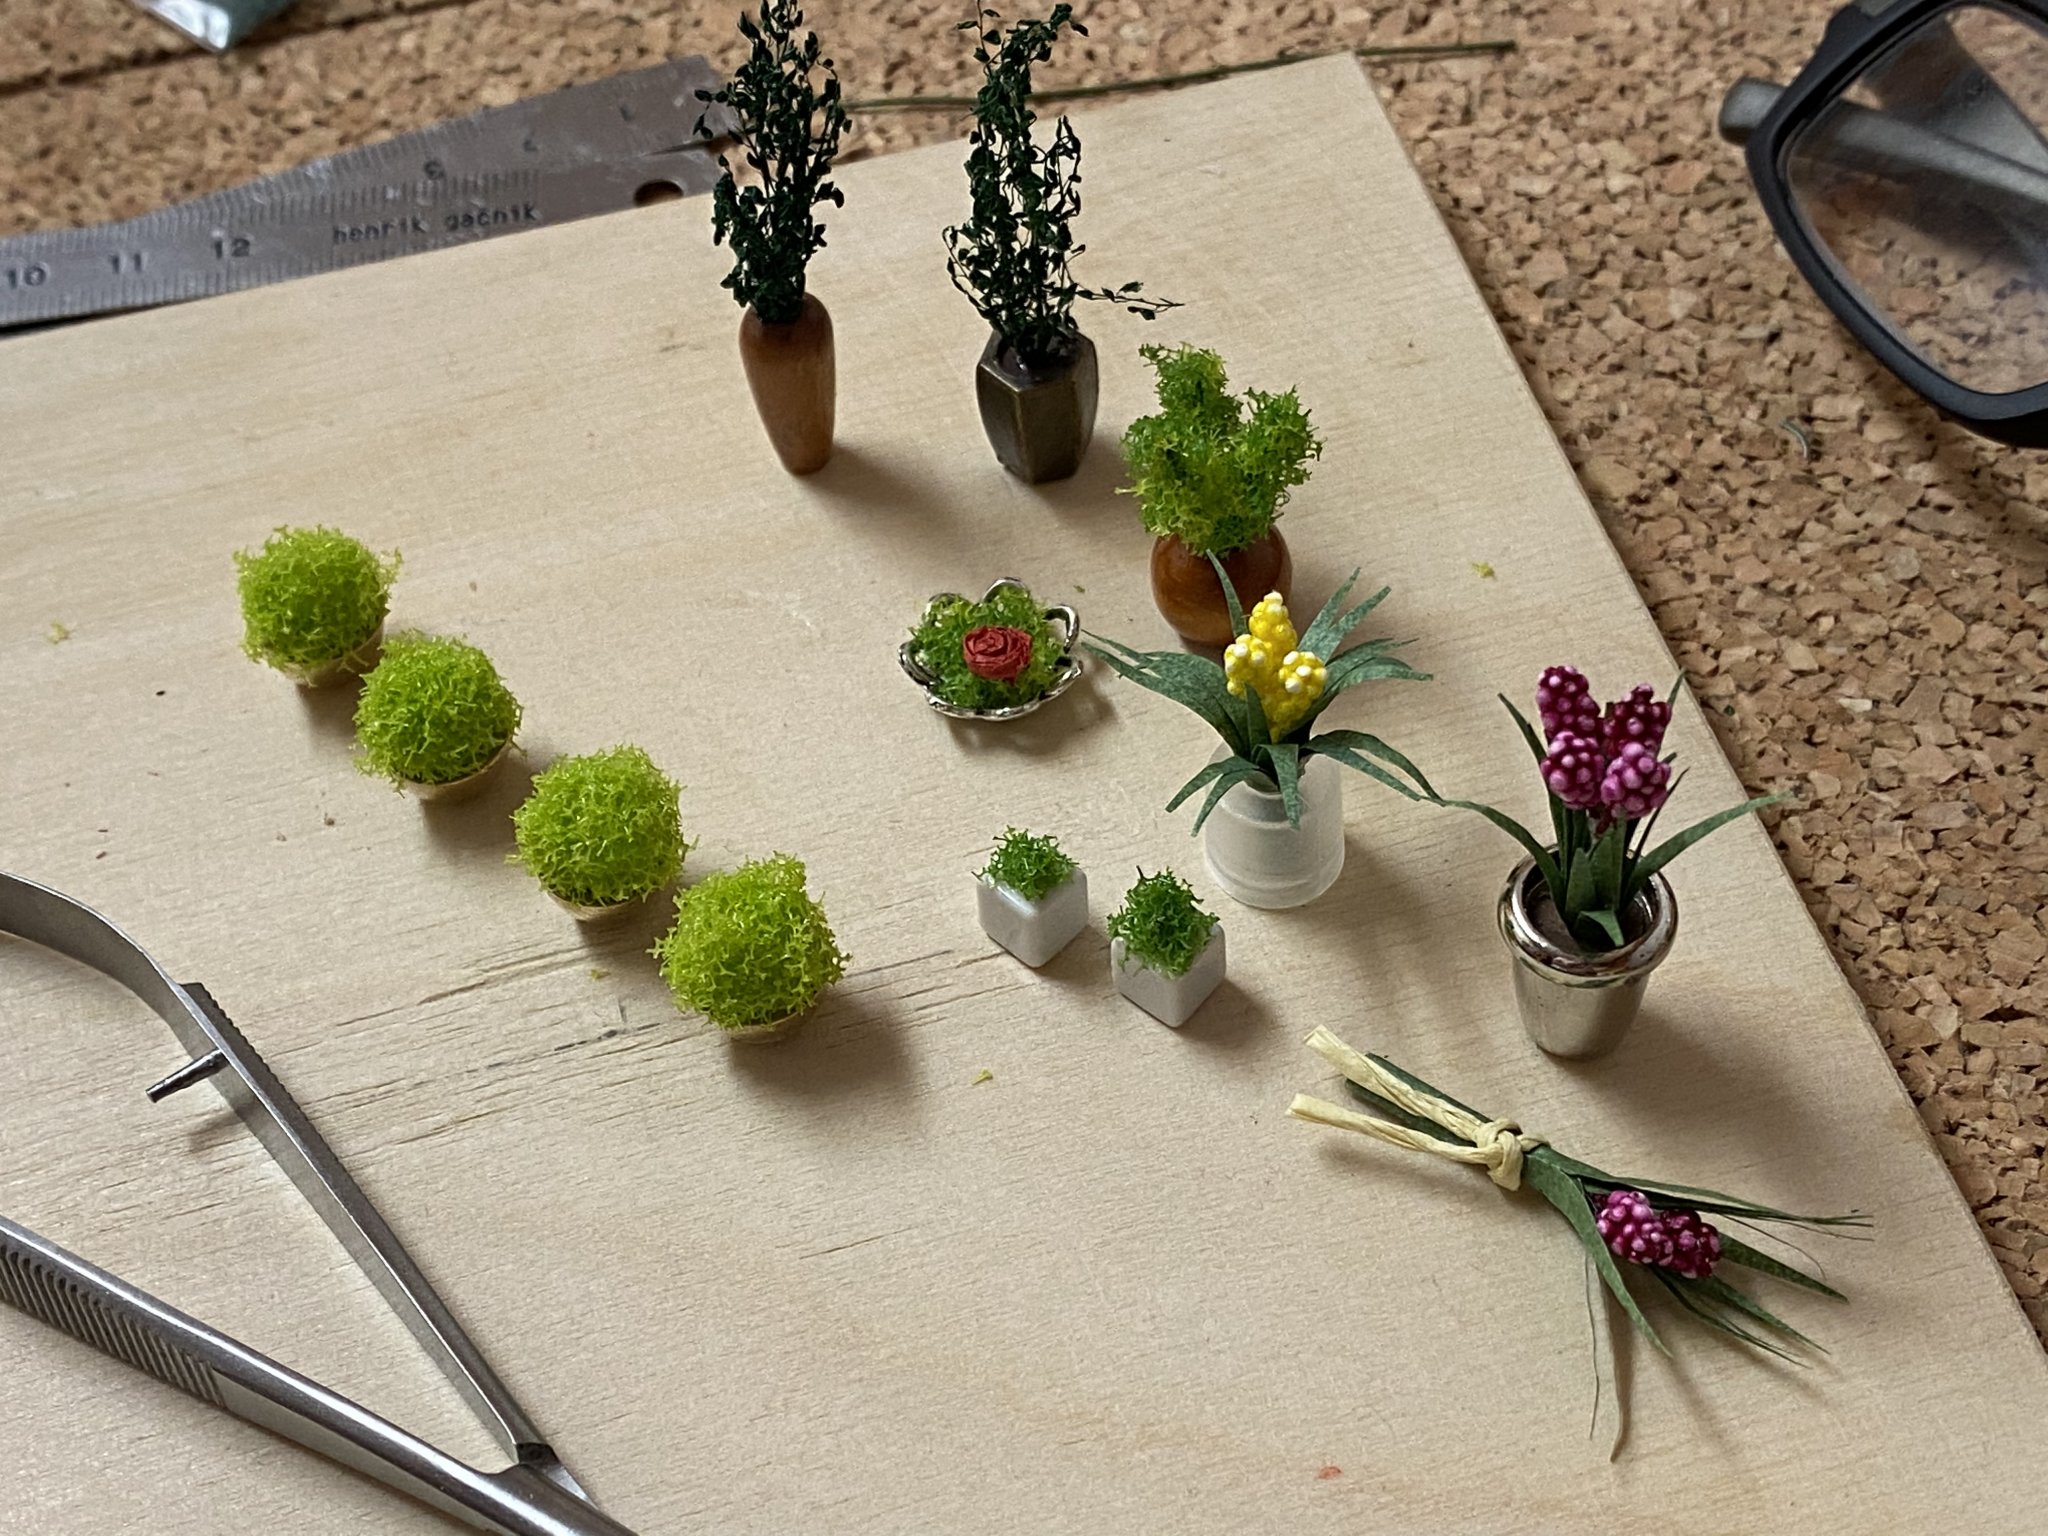
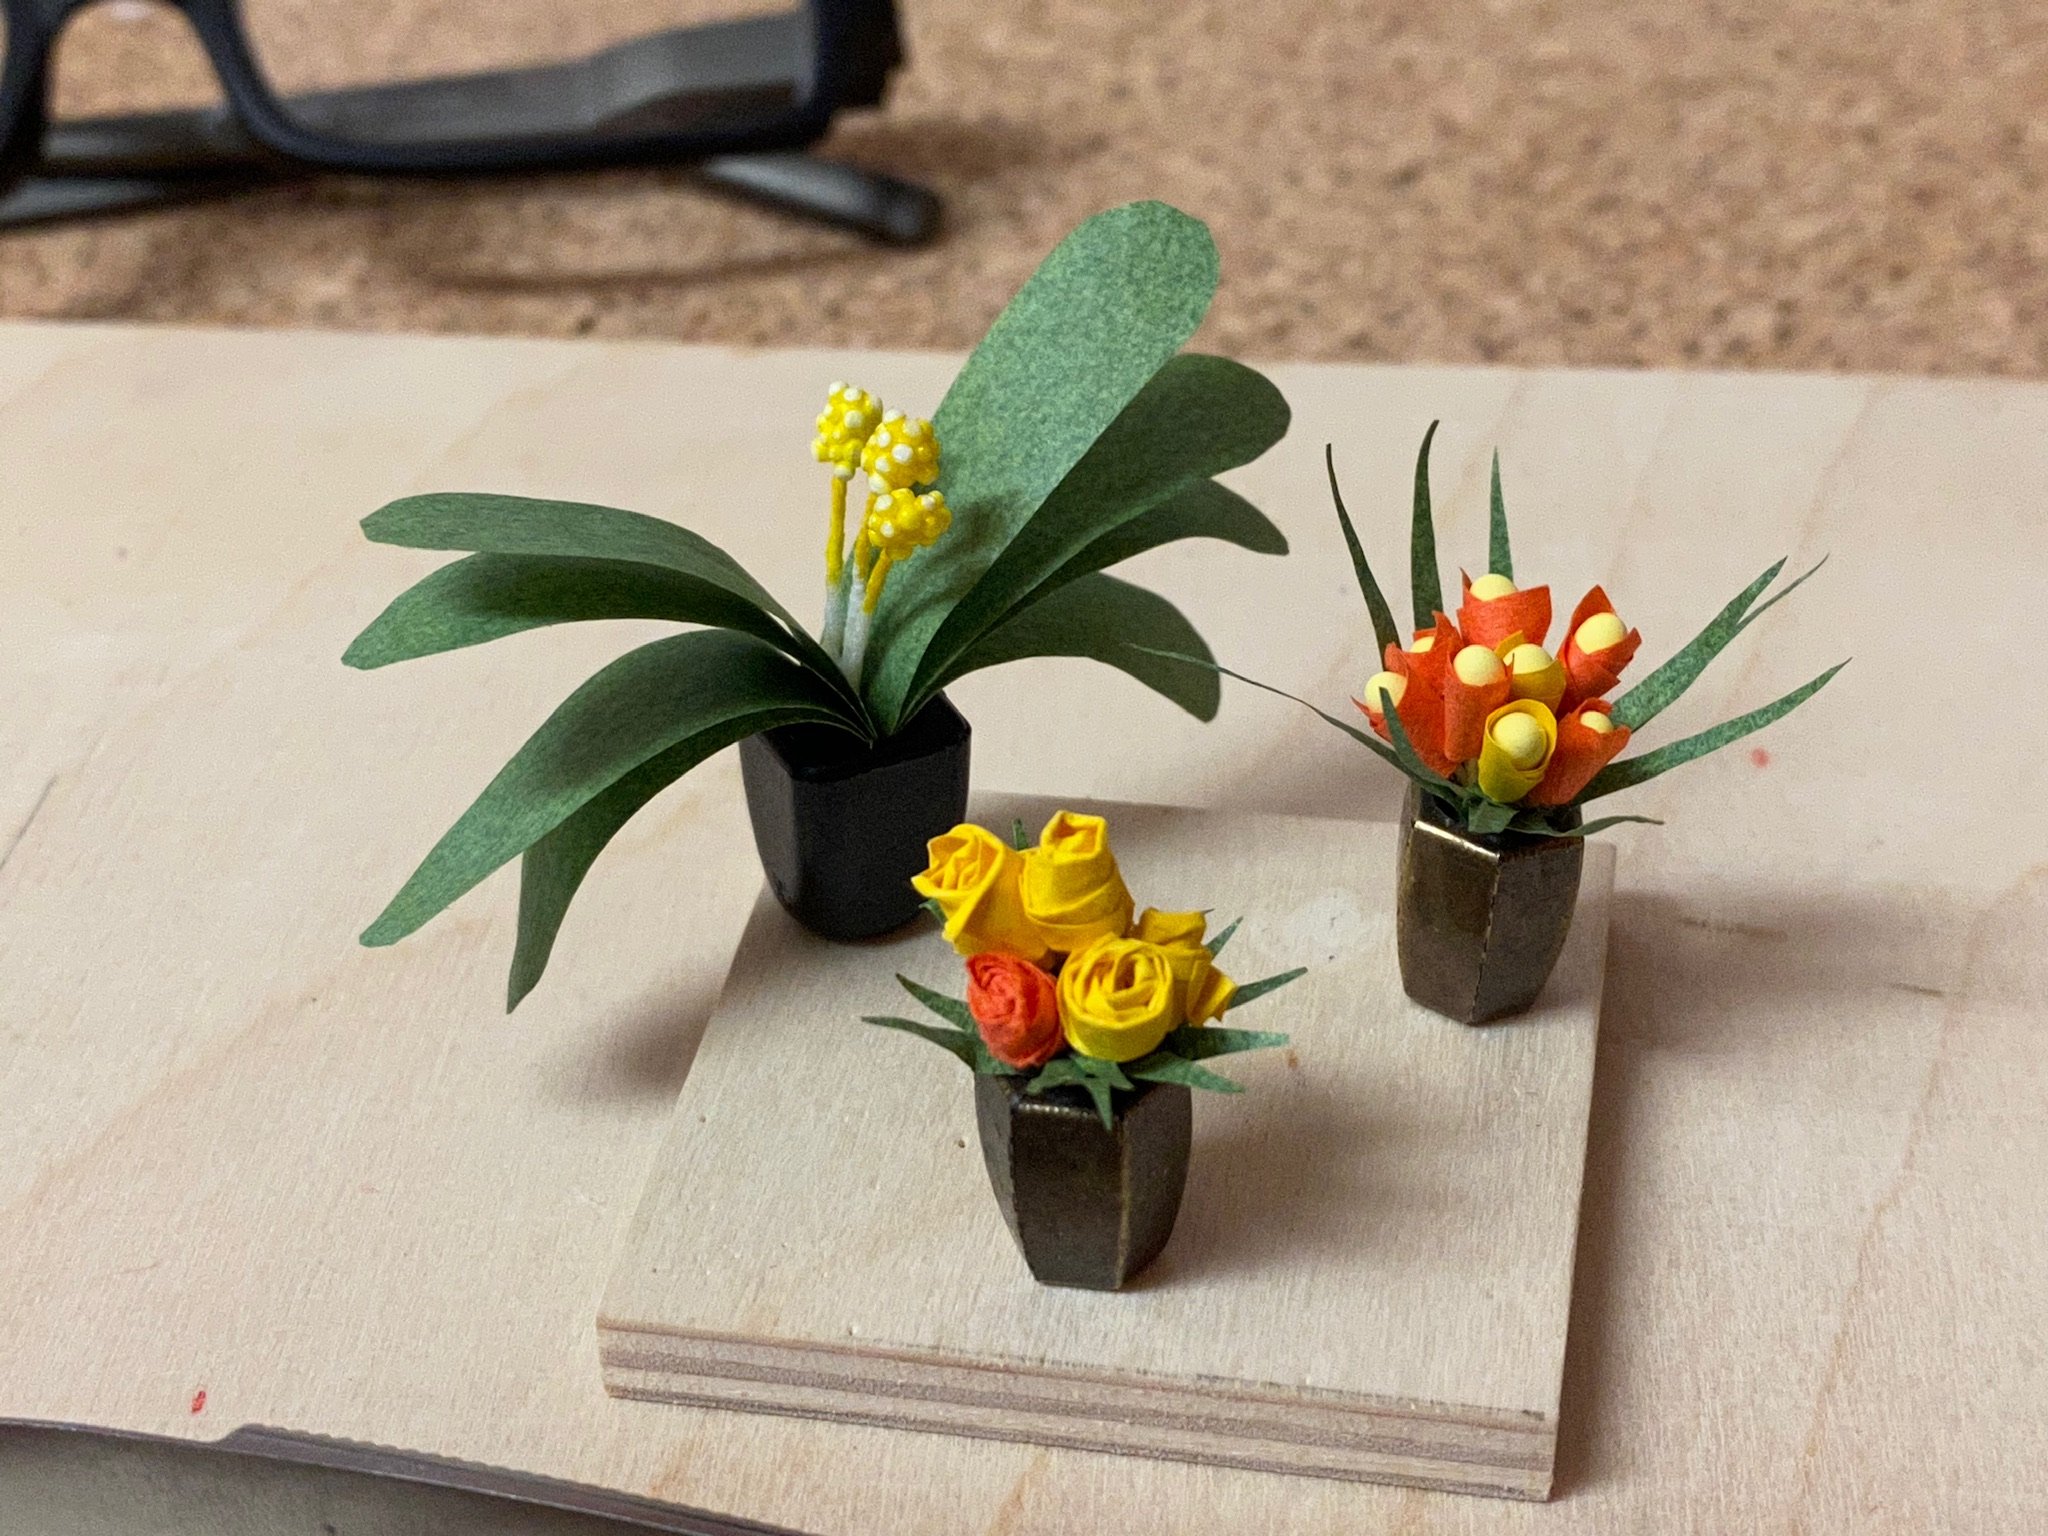
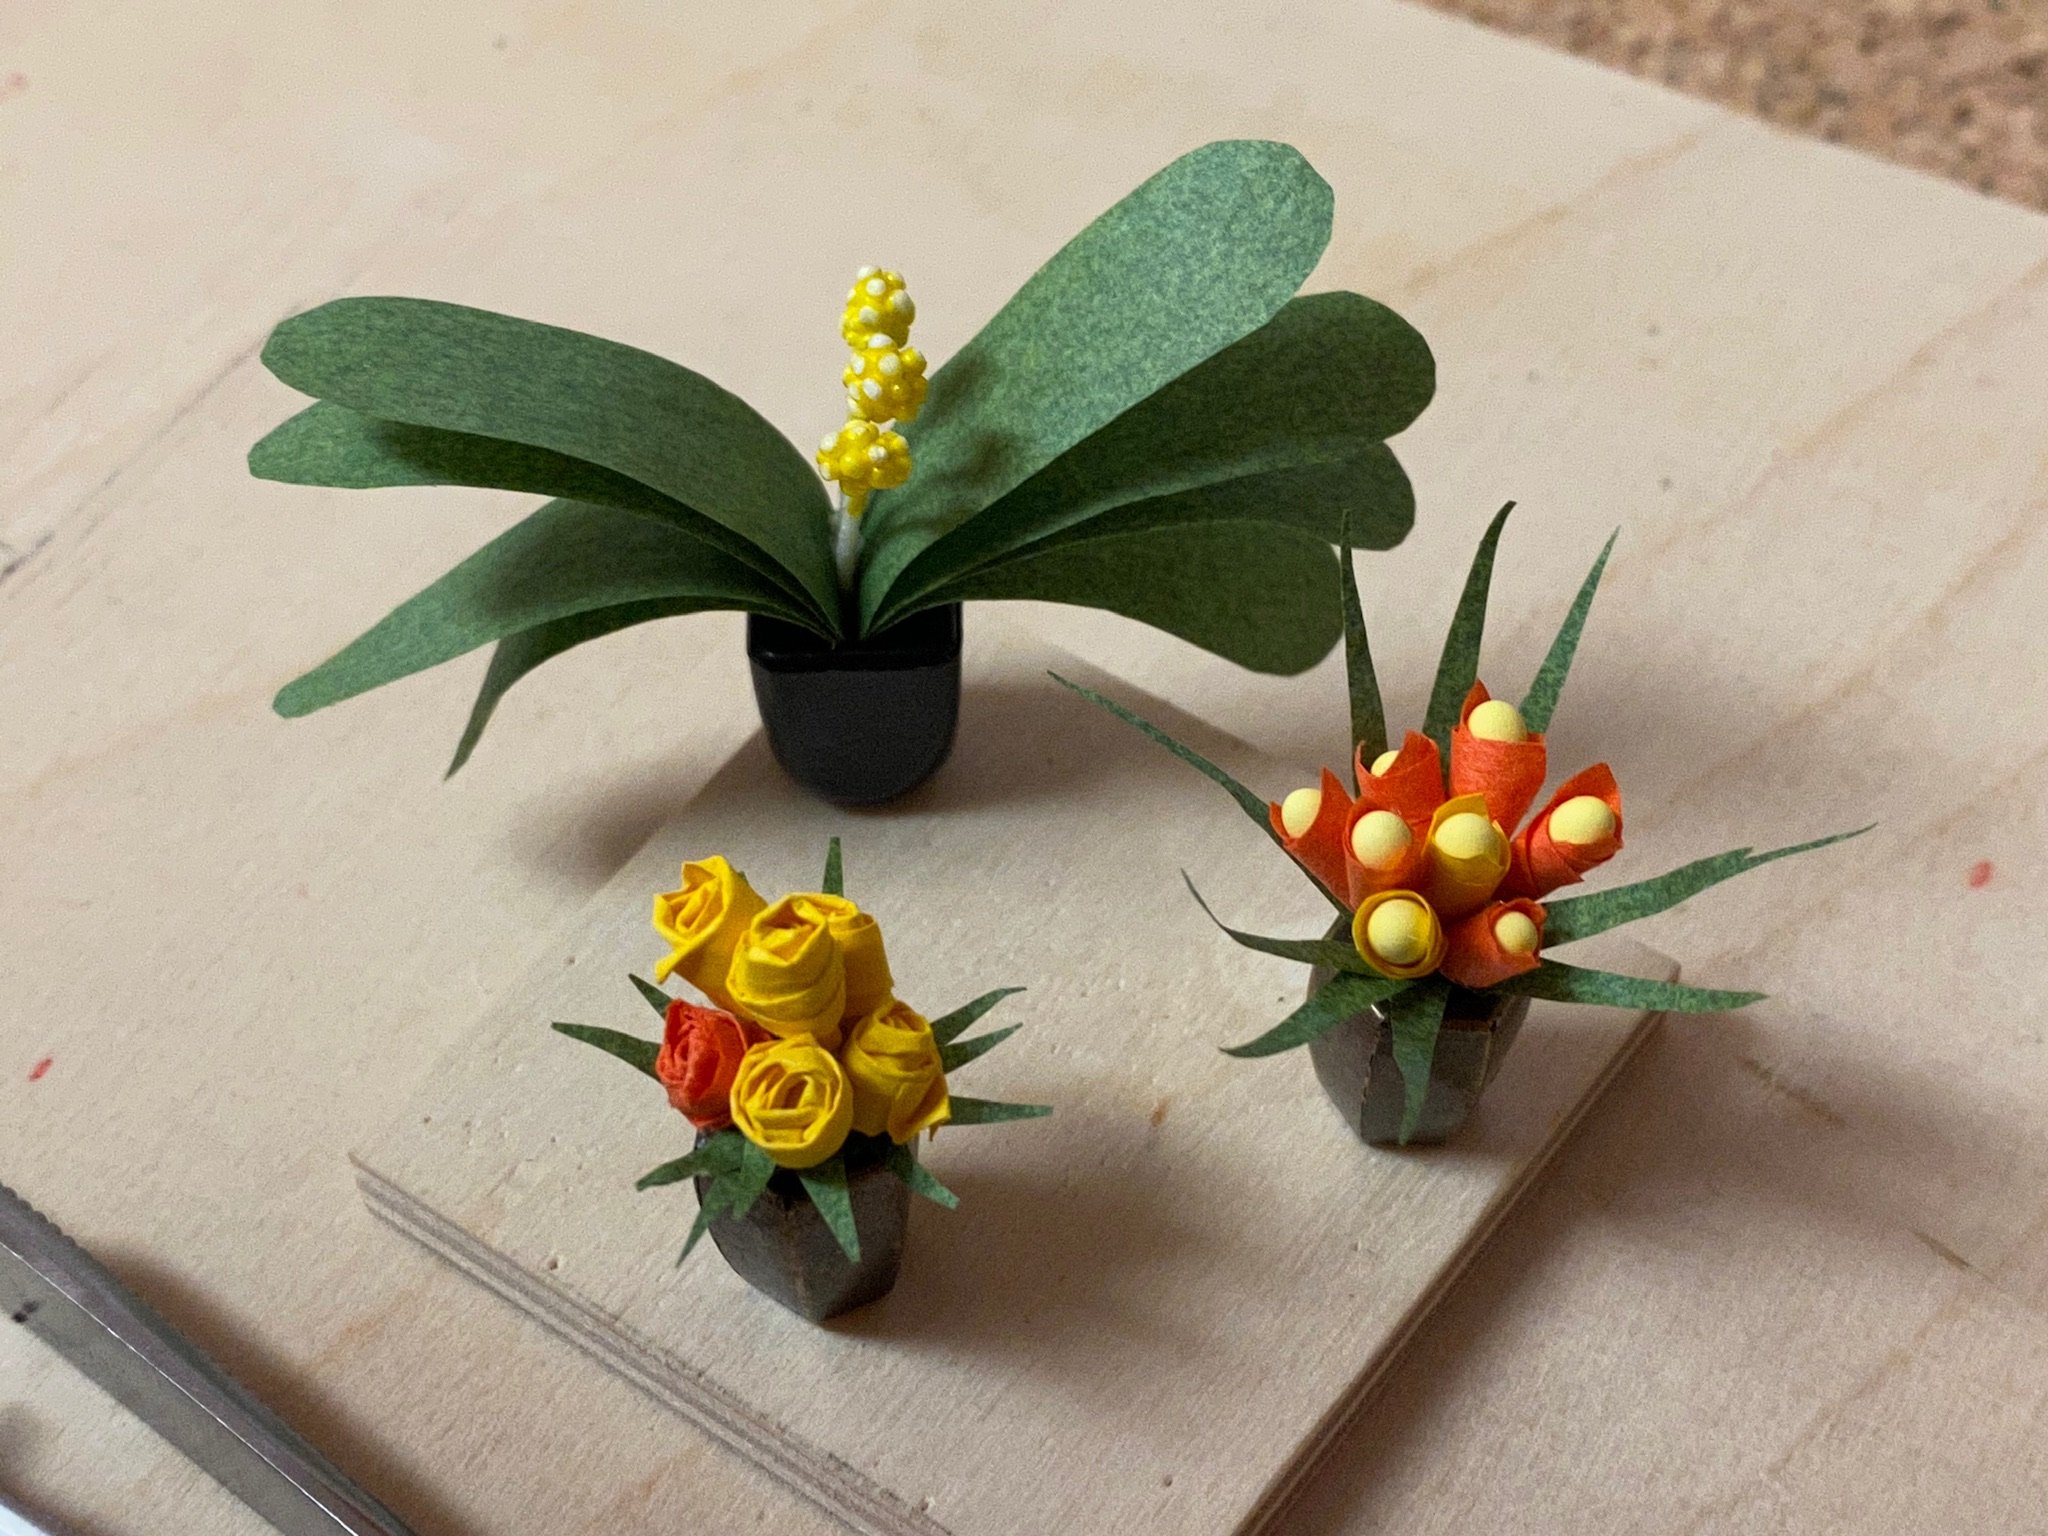
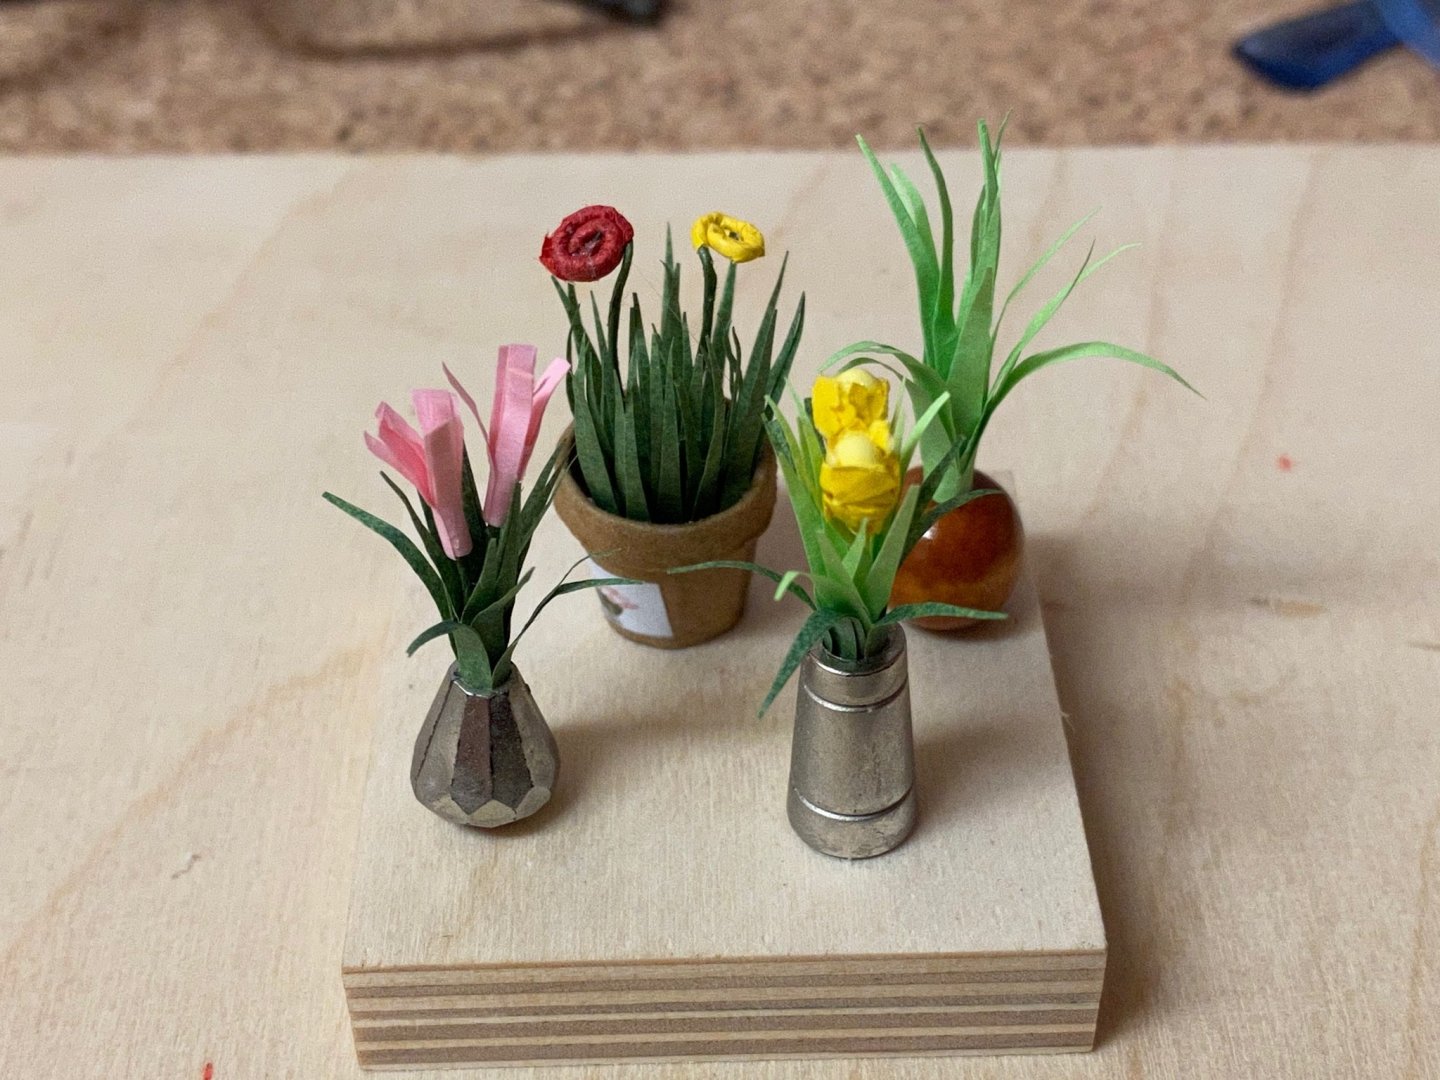
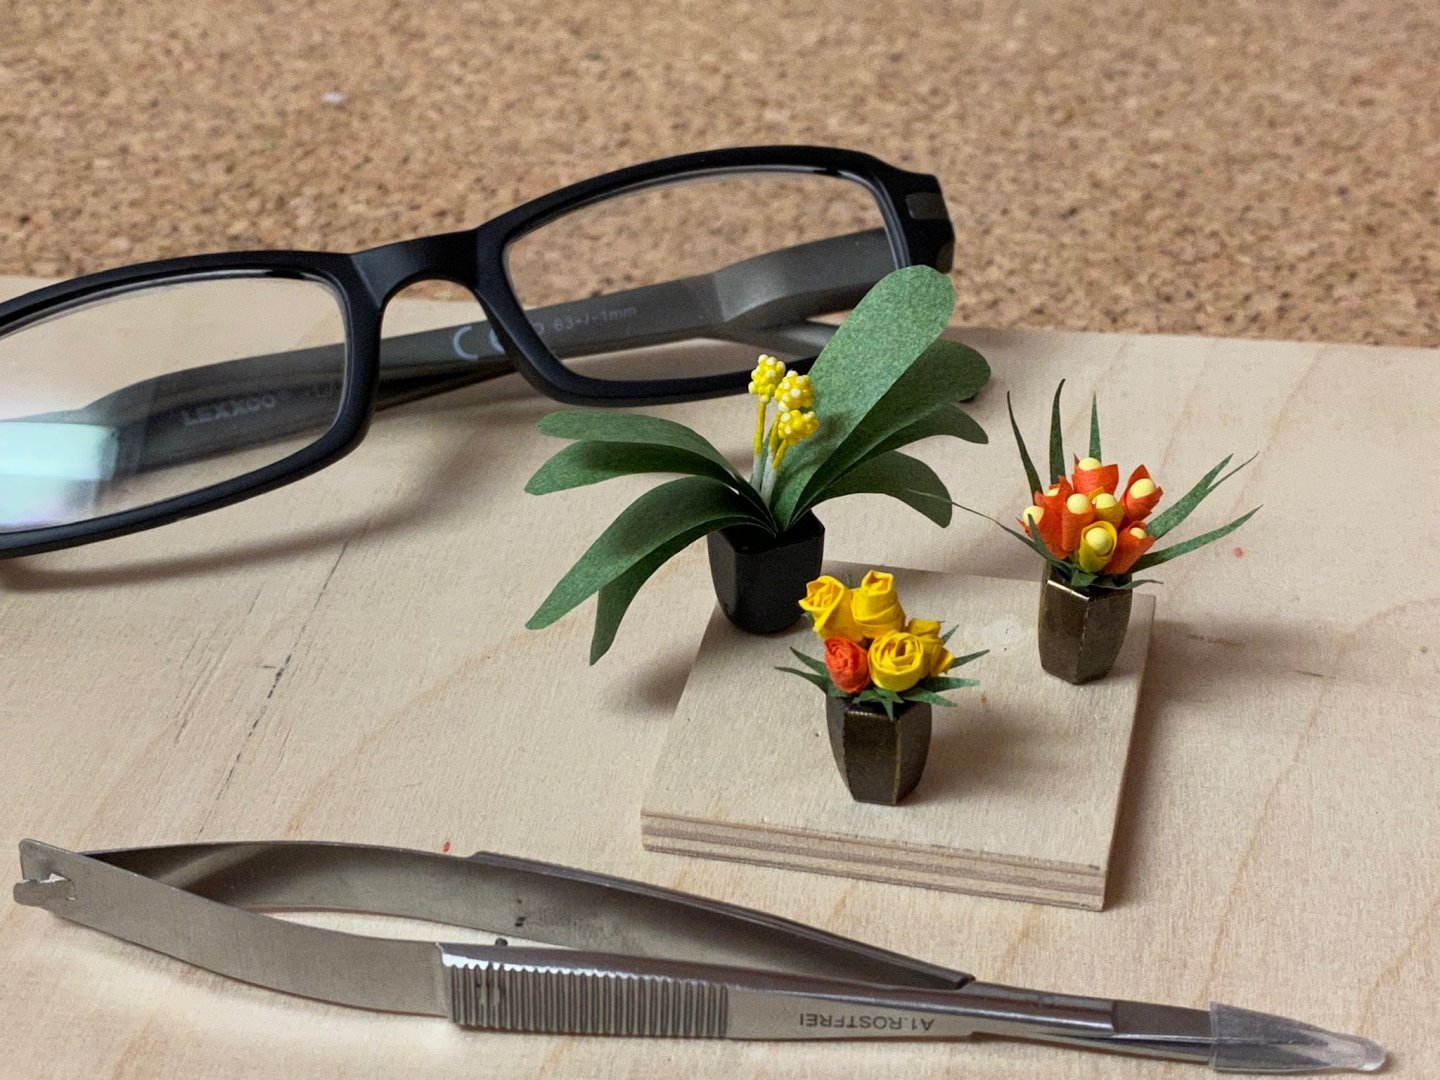
Thank you for the nice words. The next flowers, all made of paper and wire with supplied pods. I use dilluted matte varnish and a dowel to shape the leafs to the typical curved form.

-
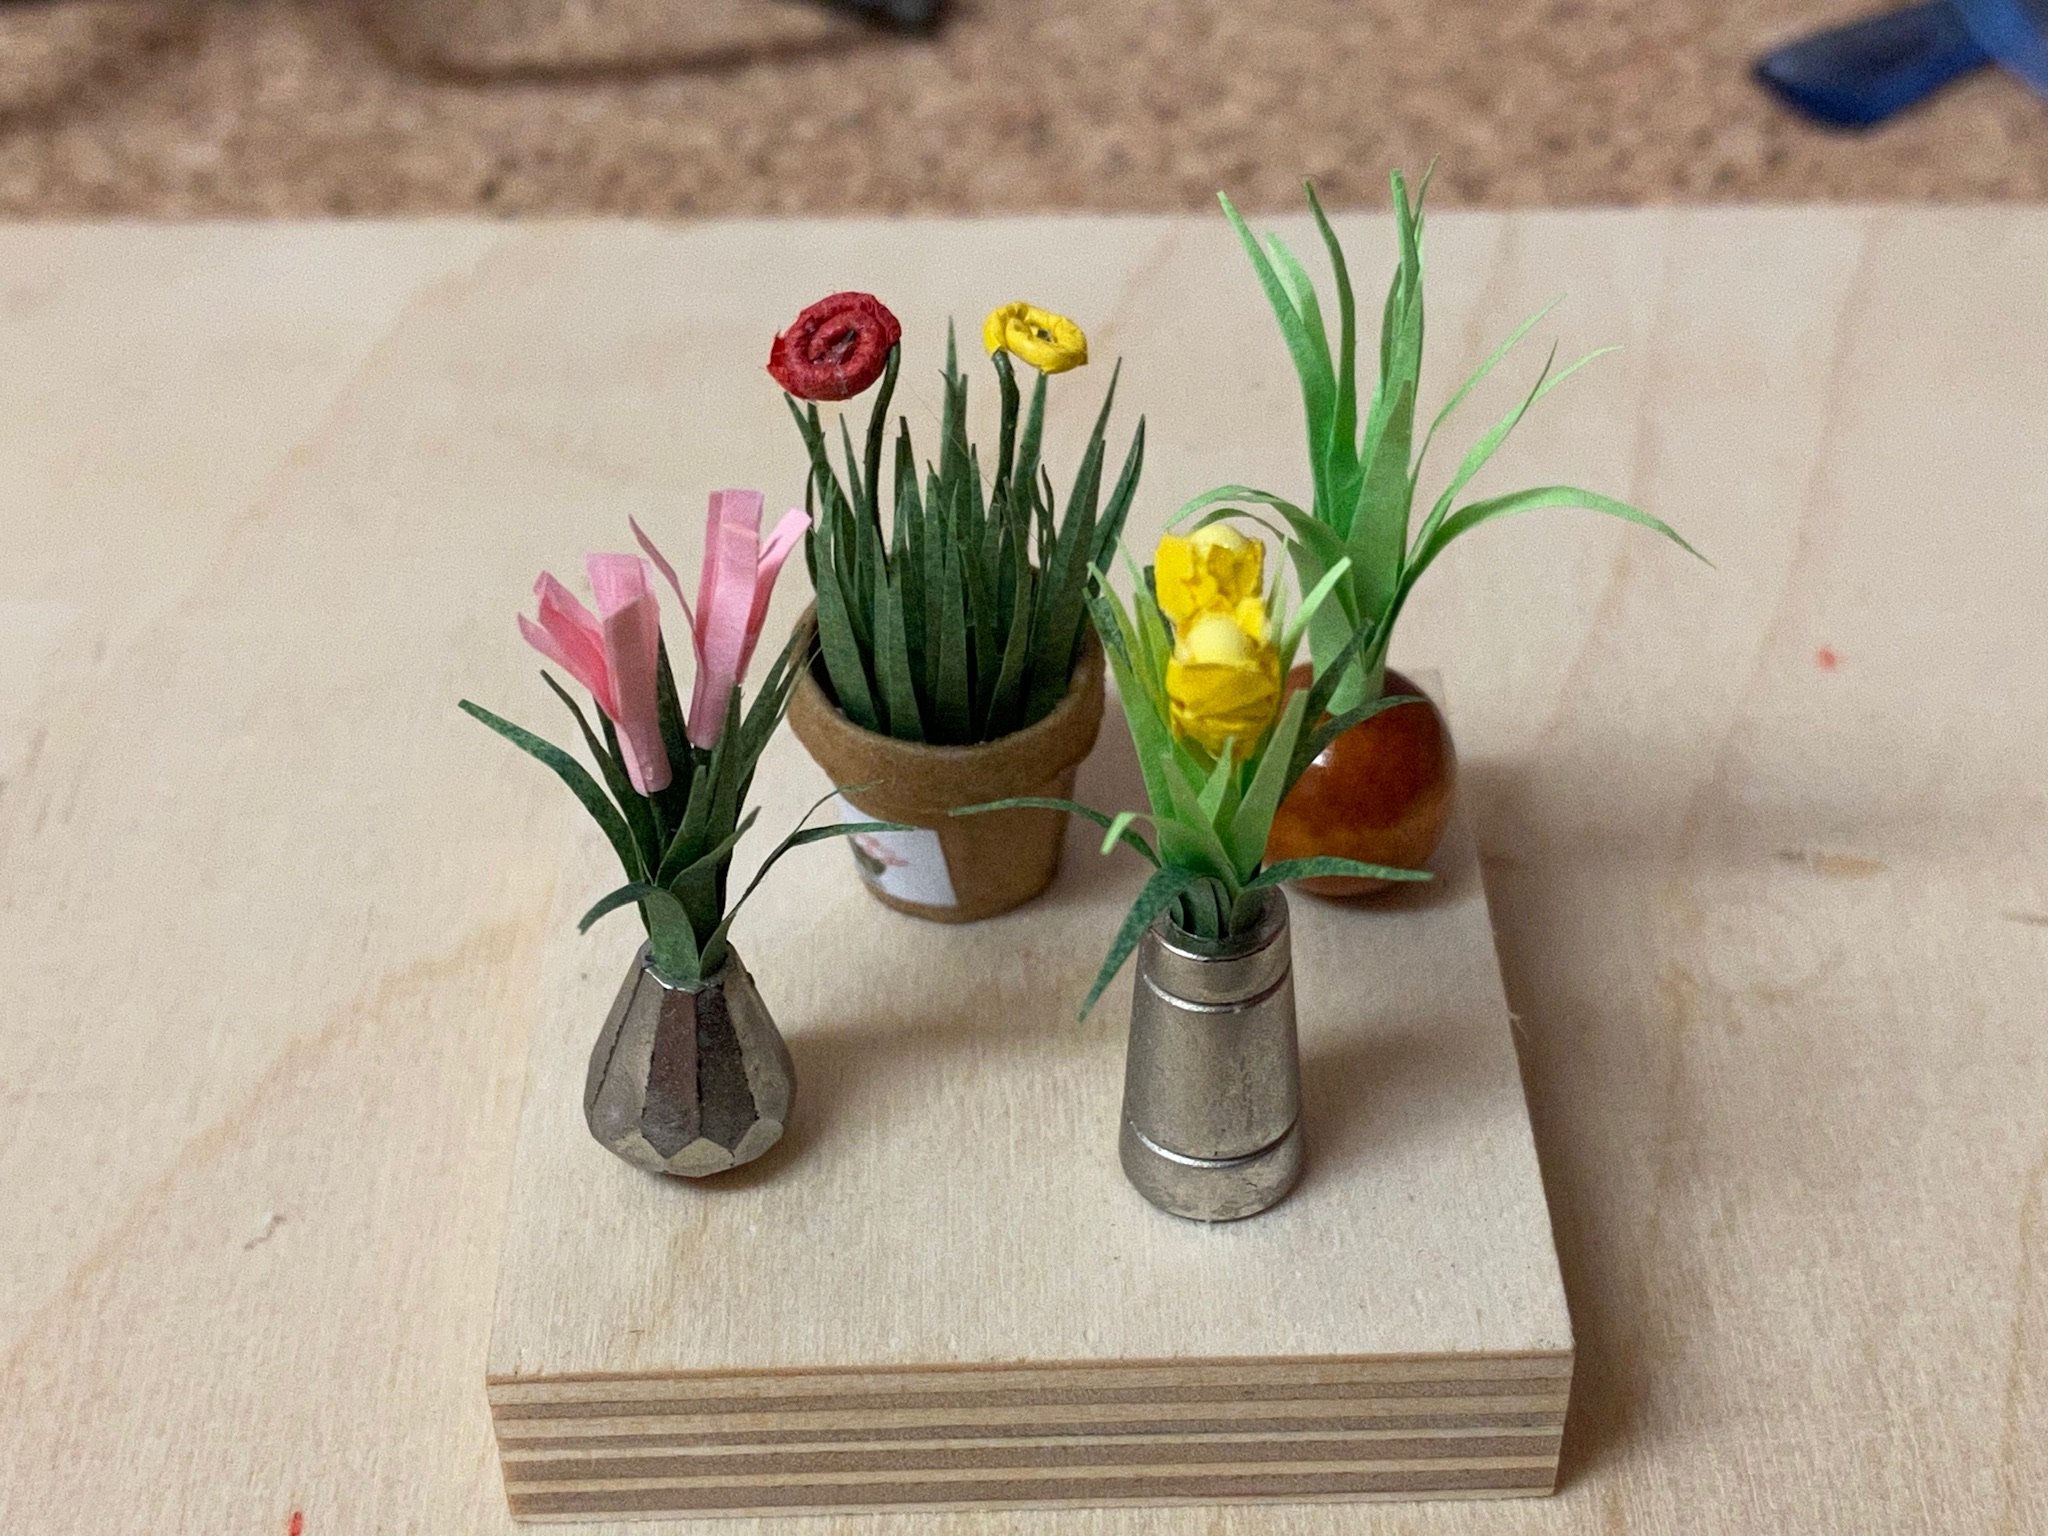
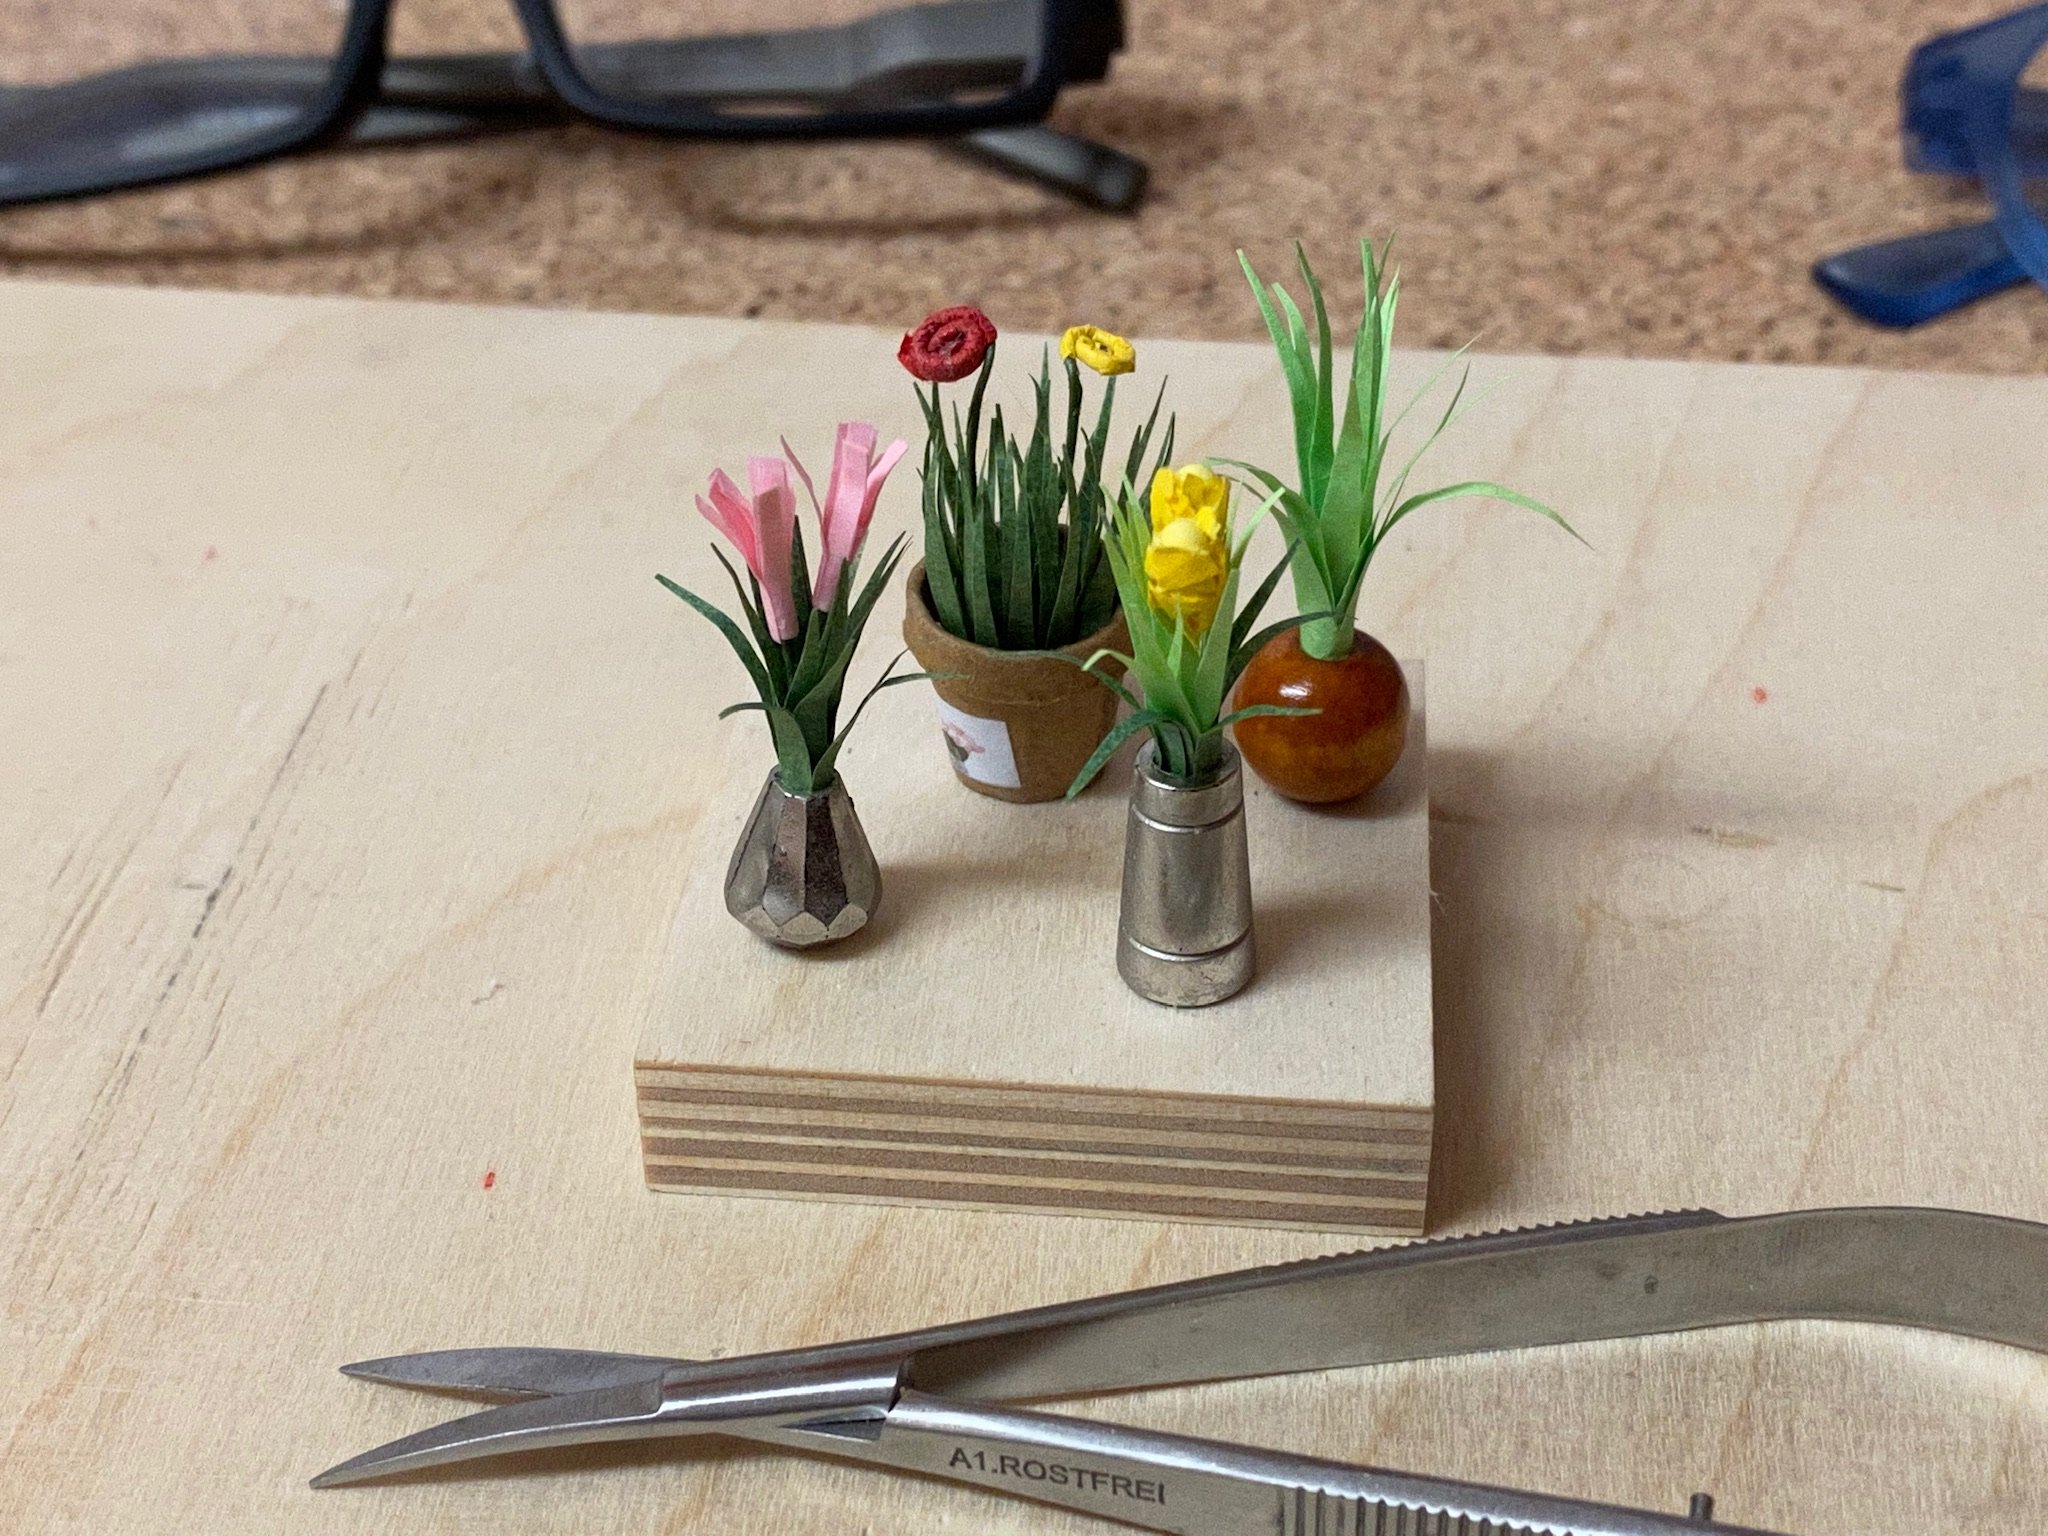
The next three ones, made of paper and wire. The lockdown in Germany is continued but with relaxed measures - more people go back to work and a lot of shops are reopened but you still have to wear protective masks there. Most schools are still closed or restricted to higher classes. So plenty of time. Meanwhile I start to get used to paper flowers - but still have a lot of respect for modellers who work with paper and card - I feel much more comfortable with wood. For size comparison my reading glasses in the background.


- 54 replies
-
- 10
-