-
Posts
917 -
Joined
-
Last visited
Content Type
Profiles
Forums
Gallery
Events
Posts posted by mugje
-
-
Impressive! The difference in size is larger then I expected! Two wonderful build ships

-
-
-
3 minutes ago, SighingDutchman said:
Thanks Mugje. I take your point about the ‘missed learning opportunity’. And I will, at some stage, revert to the ‘normal’ way of planking. But I was quite discouraged by my first planking job on the Jolly Boat, and this way of planking is helping me overcome that. Also, admittedly, I just like coming up with alternative ways to do things, so this fits right into that ‘behavioural pattern’ 😀
Gaining confidence by doing it in a different way is also great and you always learn something from it!

-
-
I understand your reasoning to use the San Juan as a "practice ship". Personally I would lose my interest if I found the subject that i'm building would not be interesting to me.
But if you can set that aside...then it's handy that you have practice hulls

I used the first layer of the hull for practice...it's time consuming for something you never see again, but you learn a ton of it. And that brings me to the point of your use of very narrow plank...I must say, it looks kinda cool and nice, not that that's important, but you miss in this way a learning possibility how to deal with the actual size of planks. How they behave, what kind of bends are nessecary for this particular hull. A first layer is quite handy for...gaining that knowledge.
But nothing wrong how you did it, you can still get it right with the second layer. It took me 3 hulls before I began to understand the process. Some understand it right away the first time/hull. Most important thing is that you have fun doing it, and don't be to harsh on yourself. Even if the planking isn't perfect the first/second/third time...in the end result it looks most of the time still beautiful and you won't even notice it

-
-
You came far in just a month time! Great progress, looking good so far

- SighingDutchman and Pitan
-
 2
2
-
1 hour ago, allanyed said:
Your planking is exemplary! The only thing that looks a bit different is there are no wales. I am guessing you will put a third layer of planking to represent the wales so you may find the following information on planking from the contract for Perseus (20) and Unicorn (20) 1776 interesting.
Allan
Plank of the Bottom The plank of the bottom to be 3 in thick of English, the best of its kind from the light draught of water up, cut regular & well seasoned no plank to be wrought less than 23 ft in length between the fore & after shifts to have 3 strakes between every 2 butts on the same timber & none less than 5 ft 9 in scarph but in general to be 6 ft & the plank to run 24 ft in length.
Main Wales The main wales to be in breadth from the upper edge to the lower edge 2 ft 10 in & in thickness 5 in to be worked in 3 strakes of such lengths & the butts properly disposed so as to give the strongest shifts to the ports & to each other.
Thickstuff under the Wales To have two strakes of thickstuff under the main wales, the upper edge of the upper strake to be 3 ¾ in thick, the lower edge of the second to be 3 in in thickness.
Thickstuff upon the Wales To have one strake upon the main wales of 3 ¾ in thickness & 10 in broad the lower edge of the strake upon that to be 3 in thick & to wear off to 2 ½ at the lower sill of the upper deck port and at the top of the side or lower edge of the sheer strake 2 ¼ in.
Thanks Allen! Yes the wales will be installed later. With this kit comes a really nice laser cut wales with beautiful "hook and butt" planks pattern lasered in. I tossed with the idea to install it before the final planking, but it seamed safer to do it afterwards because it could damage in the planking process. And the manual also suggest to install it afterwards. Thanks for the explanation you included
-
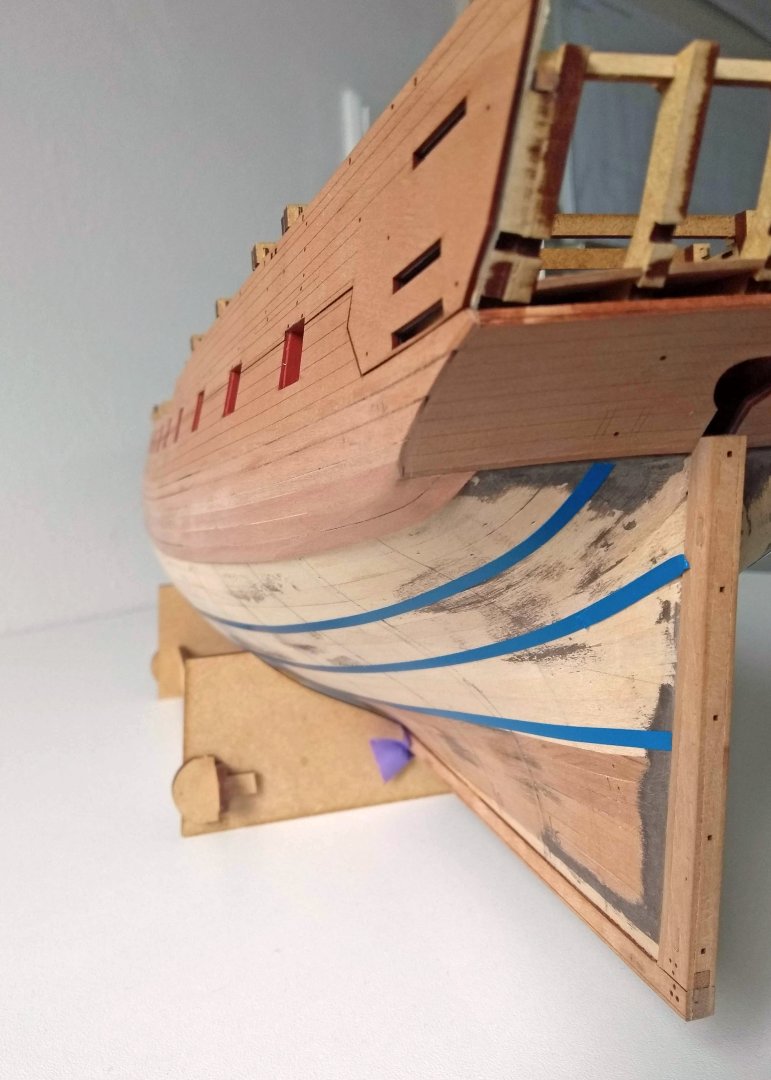
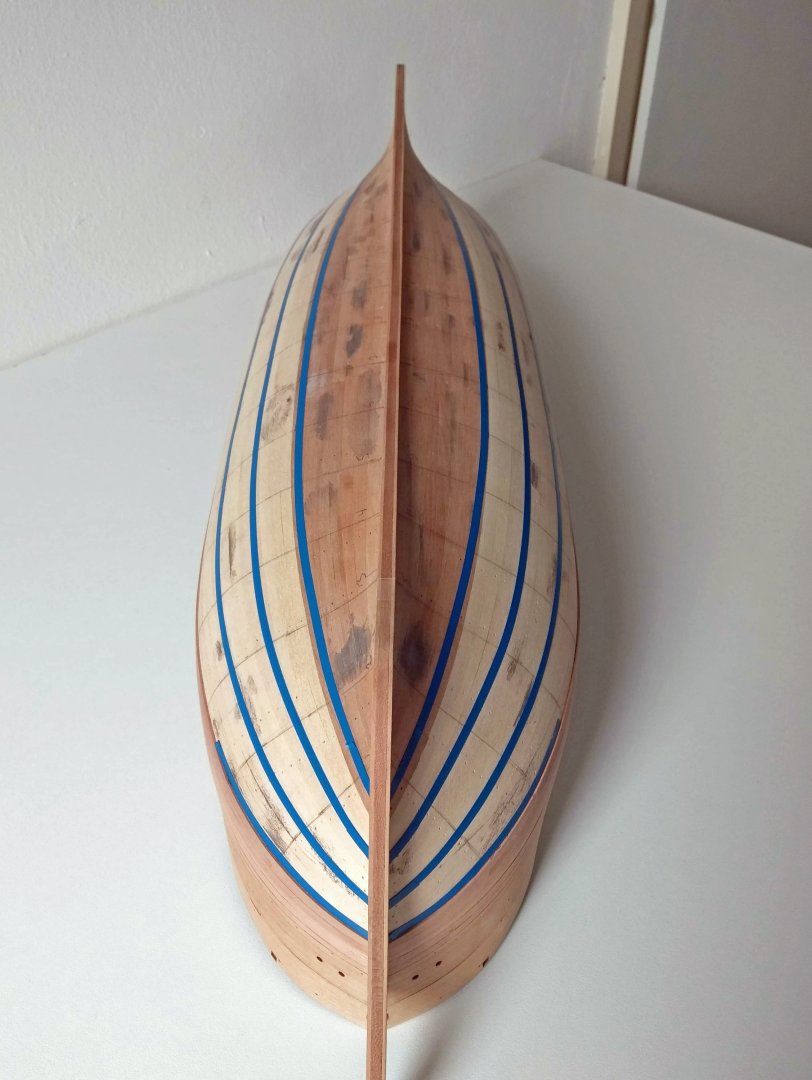
Update:
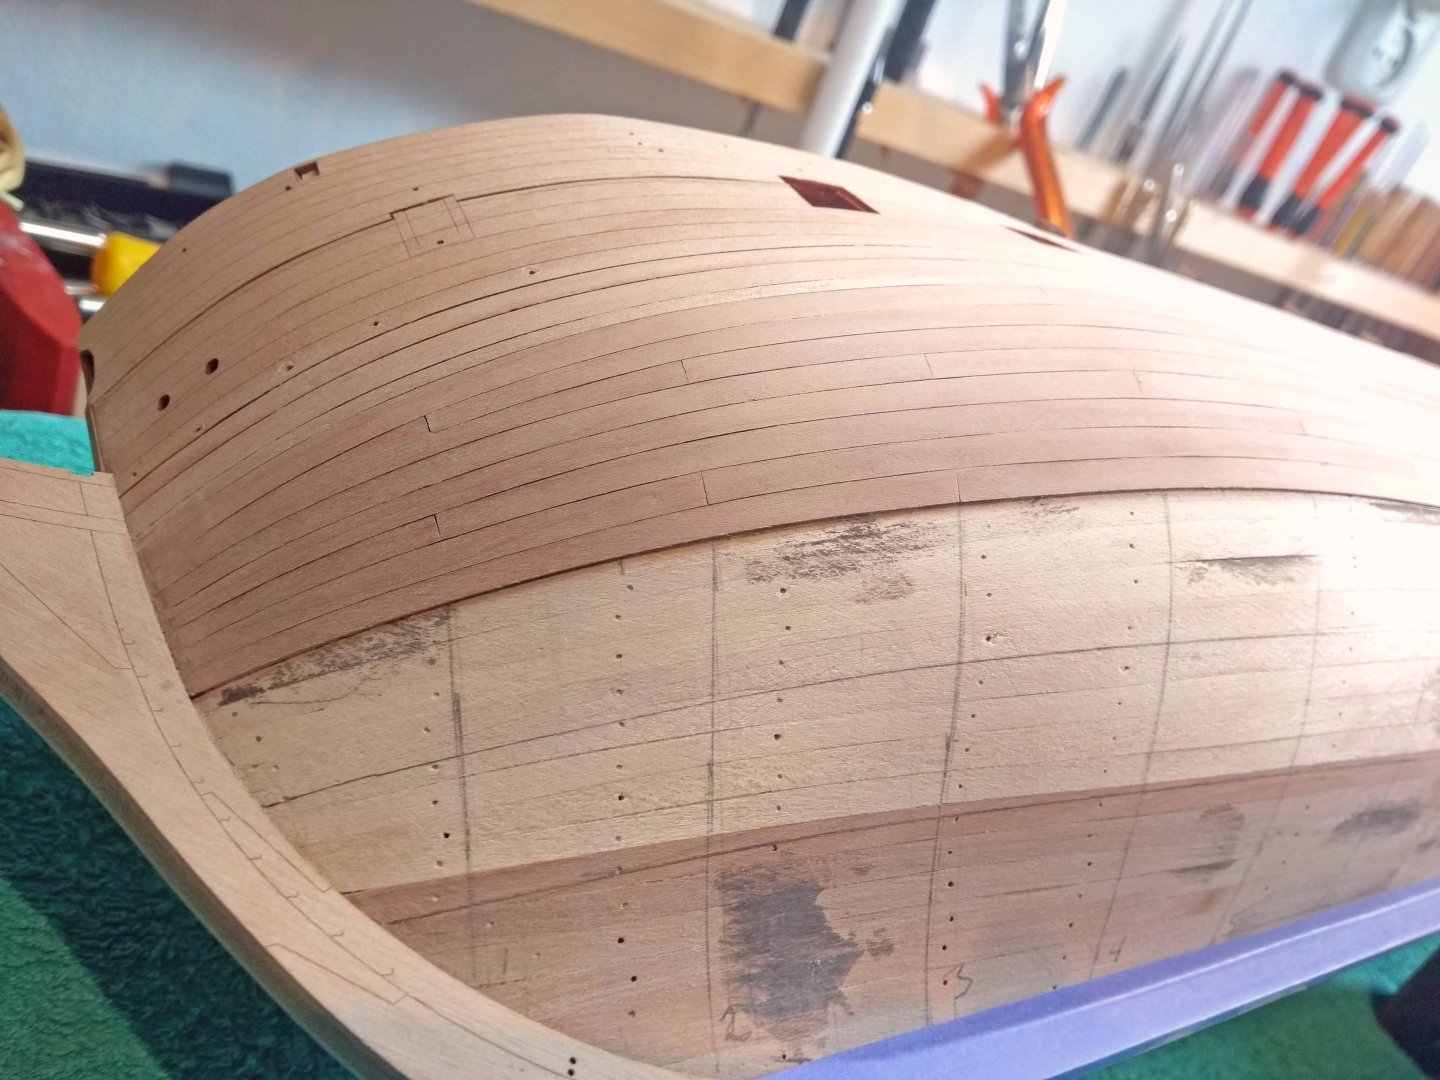
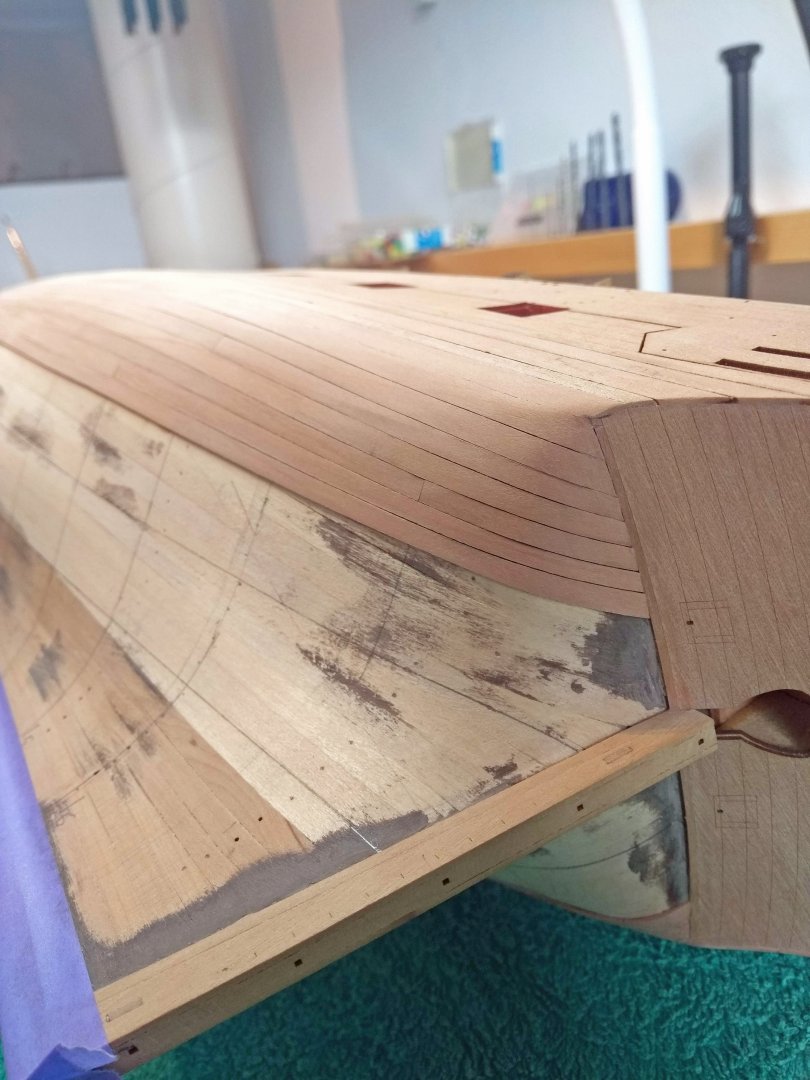
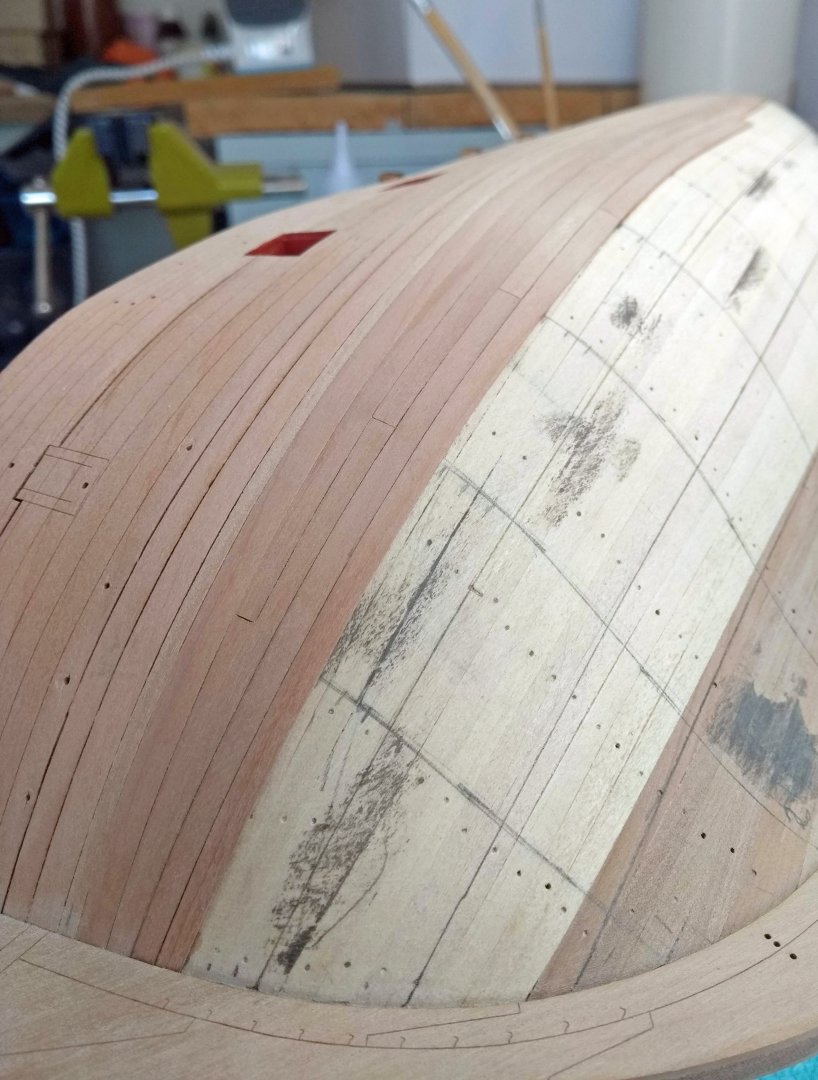
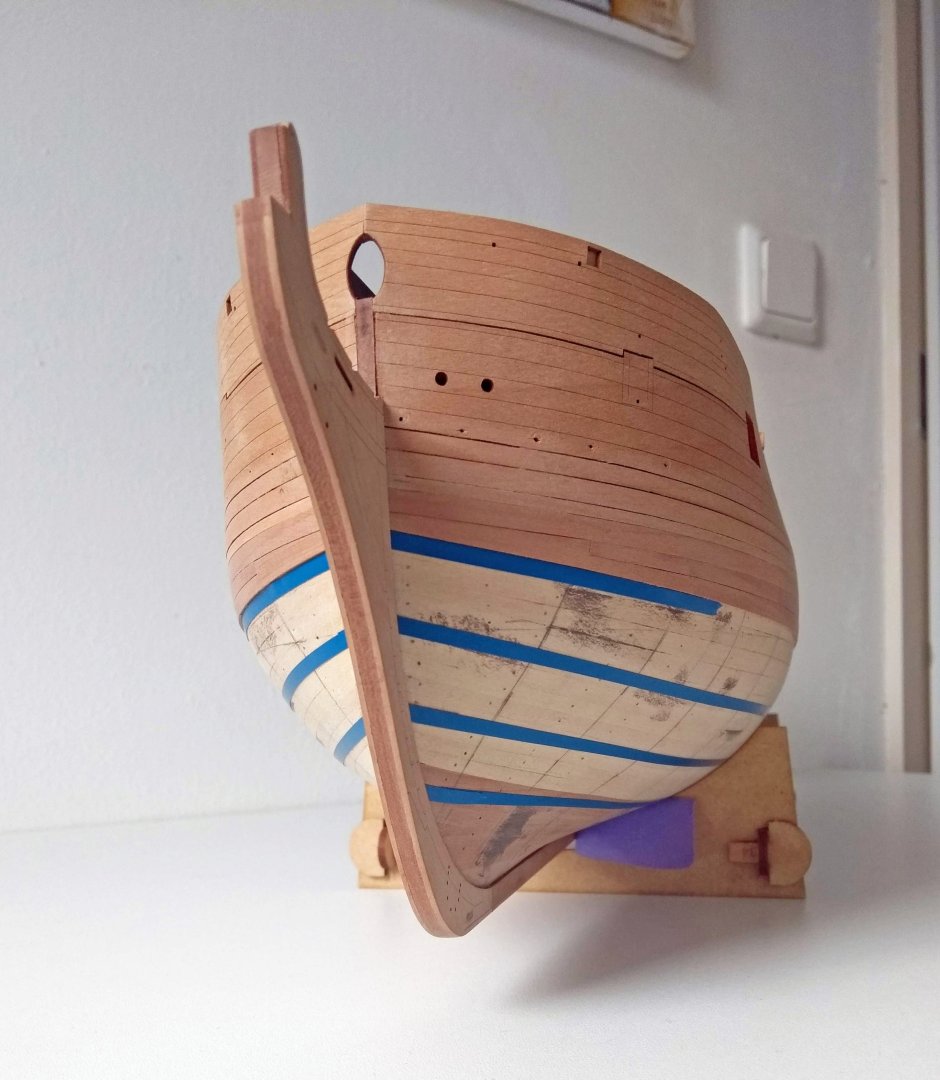
First belt on one side complete...gave it a little sand to remove the really strong edges sticking up etc. but nowhere near a finish.
I have a bit of doubt how I executed the planking at stern side. The lines seem a bit strong there ( maybe a seam here and there).
But we will see how the end result turns up, when I give it a final sand and varnish....just going step by step

- Thukydides, Gregory, SighingDutchman and 6 others
-
 8
8
-
 1
1
-
-
That looks great! Nice details with that lower deck

- Canute, chris watton, mtaylor and 1 other
-
 4
4
-
1 hour ago, rvchima said:
I agree with everyone - your planking is perfect, too nice to paint.
I used my electric plank bender the other day to fit one inner bulwark, and wouldn't you know it, I burned a finger pretty bad. I like to tease my son about all his football (soccer) injuries and now he's giving me grief about yet another model making injury.
Thanks! Yeah I think we all been there...sometimes a bit to much pressure onto the plank, it snaps or whatever and your finger/hand slips right against the hot metal😄
- ccoyle and Ryland Craze
-
 2
2
-
-
-
Congratulations! She looks great in her new home, a nice line up!
- Keith Black, Glen McGuire and mtaylor
-
 3
3
-
1 hour ago, CiscoH said:
i planned out the planking on my ship (armed virginia sloop) exactly the same way Mugje- split the hull into symmetric bands with blue tape strips and sighted from the side and especially from behind and in front until the curves looked smooth. for me the hardest part to plank was the sternpost/counter junction area; all the planks went from wide amidships to skinny at the quarterdeck area into a wider trapezoidal shape at the stern. while at the same time curving upwards. lot harder than it looked before i started. i used mostly Chucks mini iron bending method.
your planking is looking great
Thanks!
Yes I found the stern also the most uncertain aspect of the lining off...as you said it goes from one shape to another. The bow is in that sence quite straight forward.
-
2 minutes ago, glbarlow said:
Nice looking planking, well done. Looks link you’ve got lining well under control.
I bend all my planks with steam and heat from a travel iron. Once I converted to Chuck’s planking technique I never looked back.Thanks Glenn! Same here..."Chuck's method" is just so easy...it works very well

- Mr Whippy, chris watton, allanyed and 1 other
-
 4
4
-
Welcome! And have fun here

- Scottish Guy, mtaylor, Dristigheten and 2 others
-
 5
5
-
-
-
Looks super on the ship!

-
53 minutes ago, rlwhitt said:
Hi mugje, in regards to the Amati (actually, is it the Art Lat one?) plank bender - I've seen it an often assumed it might make crimp marks even on the outside of the plank. Looking at your results it certainly doesn't seem so - or have you sanded them out? How thick a plank can you bend with it?
Thanks and looking good!
It's actual name is "Form-A-Strip"...pretty original

https://www.amatimodel.com/en/tools-and-equipment-parts-per-model/product-form-a-strip-b7381.html
It does make crimp marks on the inside...which is logical ofcourse, but I never experienced having them on the outside. I think when people have them on the outside, they use to much force, or in other words they make the dent to deep on the inside. Just begin with light cuts/pinches and see what happens. There isn't need much force for it to bend a bit...and then just do multiply pinches next to each other to get a more severe bend. And how thick? Depends on the material I think, but I used it also with 1,5mm thick planks without issues. For the price of the tool it's a handy thing to give it a try in my opinion

- Mr Whippy, rlwhitt, DonSangria and 2 others
-
 5
5
-
- JacquesCousteau, KurtH, Thukydides and 7 others
-
 9
9
-
 1
1



HMS Sphinx 1775 by cdrusn89 - Vanguard Models - 1/64
in - Kit build logs for subjects built from 1751 - 1800
Posted
Great! I also thought of painting the sides already with some black...the wood didn't respond to it? It didn't curl a bit?
The surface may be to small to really trigger a reaction, but that was my concern...glad you tested it out for me
It looks nice