HOLIDAY DONATION DRIVE - SUPPORT MSW - DO YOUR PART TO KEEP THIS GREAT FORUM GOING! (Only 44 donations so far out of 49,000 members - C'mon guys!)
×


BobG
-
Posts
3,109 -
Joined
-
Last visited
Content Type
Profiles
Forums
Gallery
Events
Everything posted by BobG
-
The Cheerful is on the list at some point, Glenn, but I would need some more tools...a table saw at the very least.
-
Oh geez, I actually thought it was the India Pale Ale beer! That's why I thought there must be a funny story about how Egilman spilled his beer on his model. 🤣 My favorite beer by the way!!🍺
-
I think the way things went for me with the Micro Mesh Polishing Pads was more about the way I used them than anything else. I've watched a couple of youtube videos and they seem to work very well. I think I started off too aggressively even though I was trying to be very careful. I started wet sanding with the 1500 pad and, even though I was using it gently, a few small white spots showed up on the black paint where I apparently sanded through or lifted a tiny rough spot. At that point I just decided to redo the hull. Micro Mesh says that you can get a satin sheen when using up to the 6000 pad and the grits above that will give you an increasingly more glossy finish. So, in hindsight, I think I should have be more careful and started wet sanding with the 6000 pad and see how that looked and then, if necessary, I could work my way toward each more coarse grit as needed. That may have done the job nicely. I also bought some Tamiya Polishing Polishing Compounds and their polishing cloths after seeing them in use on youtube. I think they may be useful in polishing out any small imperfections in the final clear coat.
-
Beautiful build, James! This may well be my first ship with guns.
- 109 replies
-
- 2
-

-
- Vanguard Models
- Flirt
- (and 1 more)
-
Wonderful, BE! I love all following your build. You're doing a lot of homework for all of us who are interested in these boats.
- 195 replies
-
- 2
-
-
- lady eleanor
- vanguard models
- (and 1 more)
-
Congratulations to you and your wife! Yes, your lives will change in ways you can not even begin to imagine now. The two of you are about to embark on a truly wonderful journey. Enjoy every moment of it!
- 108 replies
-
- 1
-
-
- armed virginia sloop
- model shipways
- (and 1 more)
-
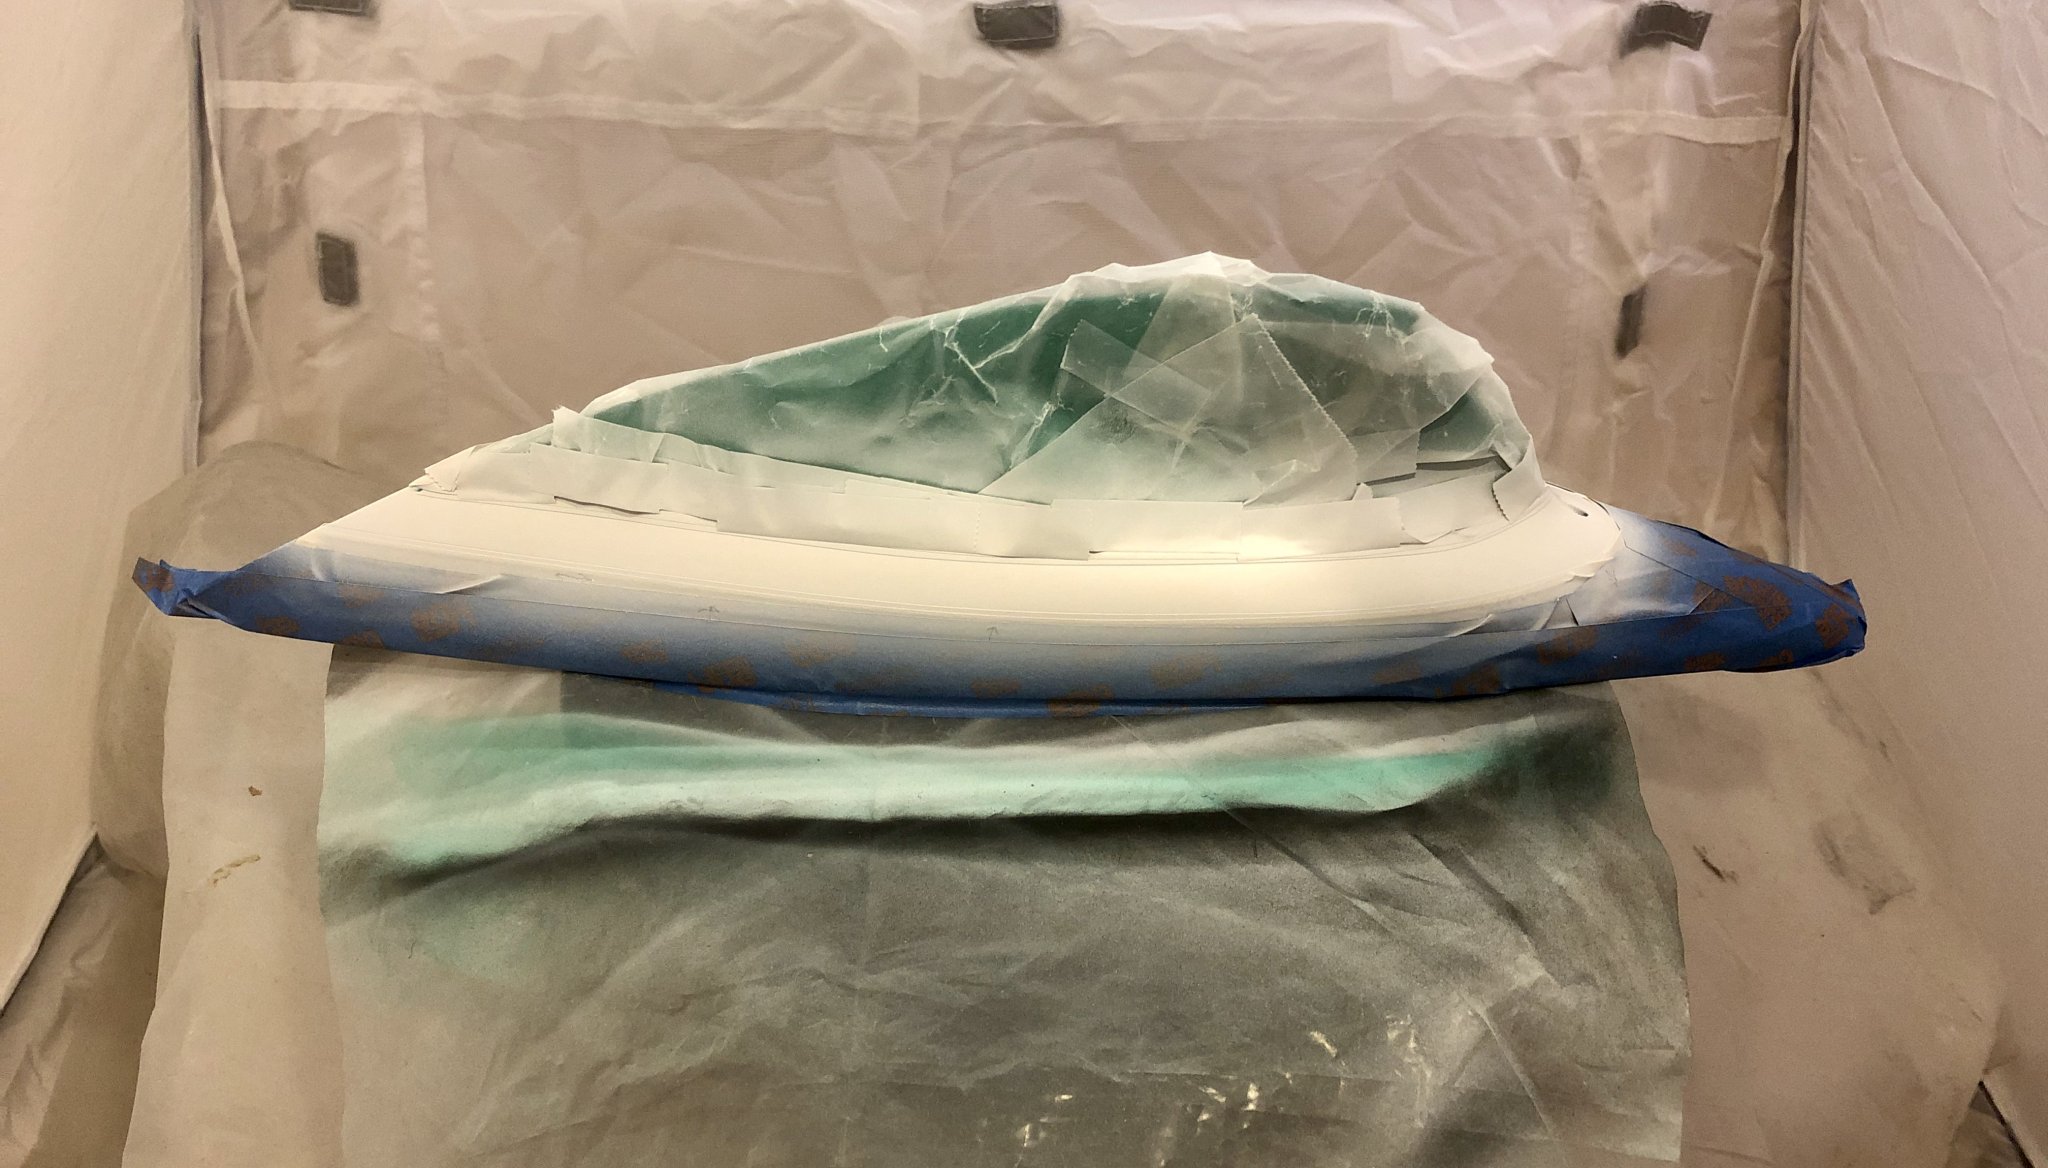
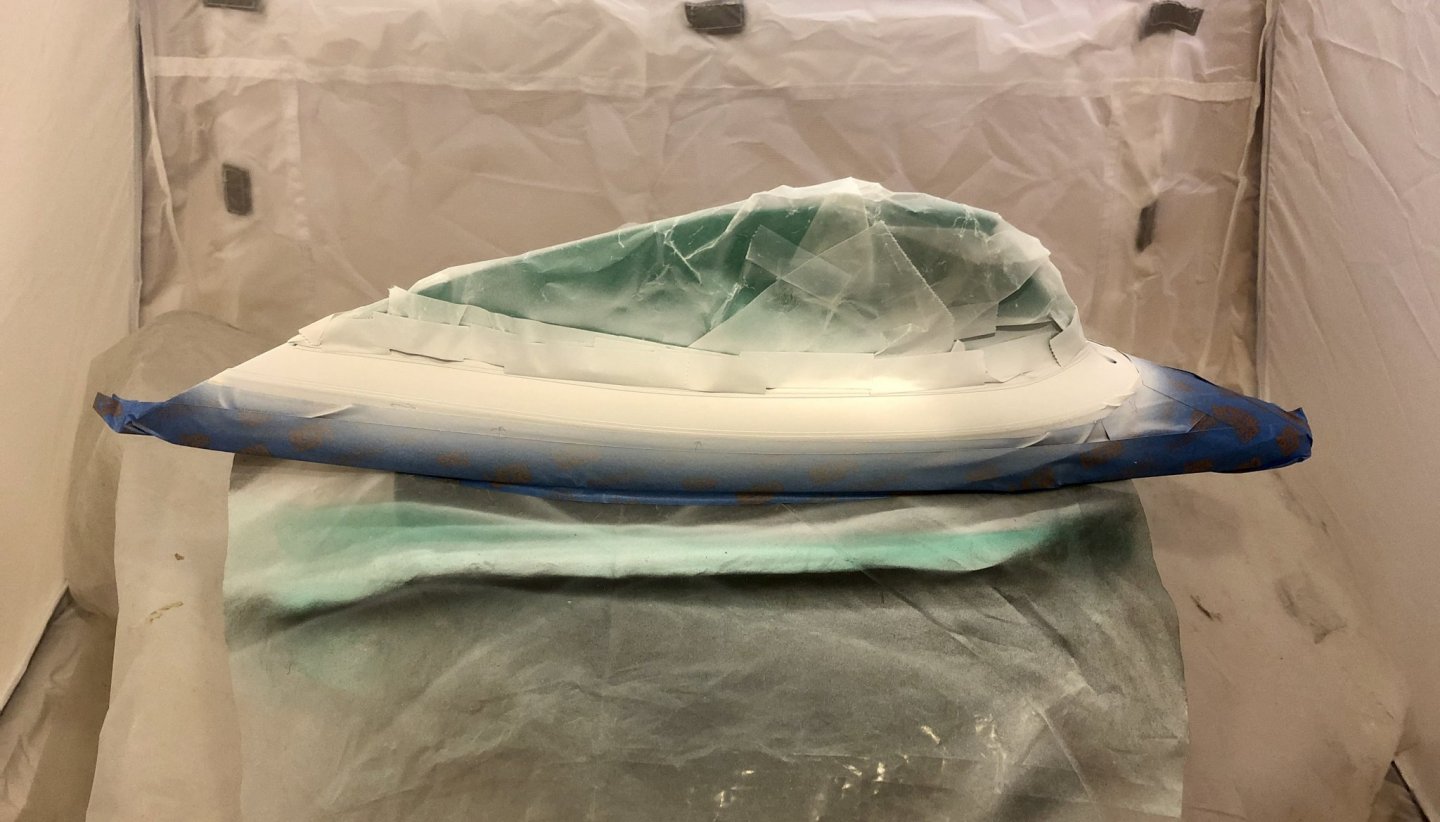
I wasn't sure if I should attempt to try and polish out the slight orange peel effect I got when I sprayed the Vallejo Varnish since you really couldn't see it unless you examined it up close. However, my perfectionism got the best of me and I decided to try and polish it out with the Micro Mesh Polishing Pads I that I just received. That didn't go as planned though. I started wet sanding very lightly with the 1500 pad and it quickly took off the orange peel but it also sanded through the black paint in in few small spots. So I decided to simply polish off the varnish entirely and repaint the hull again. I used the 3600 pad and wet sanded the hull very smooth. Then I went over it lightly with 600 grit sandpaper to give just a slight bit of tooth but still remain very smooth. After that I masked off the green and the black and airbrushed the white waterline stripe again and it turned out really well. I made a couple of changes in how I used the airbrush this time. First of all, I replaced the .5 mm fan nozzle with a .3 mm fan nozzle to give me a smaller, broad spray pattern. While reviewing the instructions I realized that I had the been using the .5 mm fan nozzle with the air horns on the spray cap in the wrong orientation for a vertical spray pattern. I should have had them in a horizontal position to get a vertical spray pattern and I had it just the opposite. So my previous spray pattern was laying down a lot of paint in a horizontal pattern and that probably contributed to me putting on too much paint when I was trying to get good coverage. I also added 1 drop of thinner and 1 drop of Flow Improver to each 10 drops of paint. It worked well and the white stripe is very nice. I'll paint the green tomorrow and, hopefully, the black as well. I could have left the hull alone but, so far, I'm glad I'm redoing it...at least I think I am at this point!
-
I wasn't sure if I should attempt to try and polish out the slight orange peel effect I got when I sprayed the Vallejo Varnish since you really couldn't see it unless you examined it up close. However, my perfectionism got the best of me and I decided to try and polish it out with the Micro Mesh Polishing Pads I that I just received. That didn't go as planned though. I started wet sanding very lightly with the 1500 pad and it quickly took off the orange peel but it also sanded through the black paint in in few small spots. So I decided to simply polish off the varnish entirely and repaint the hull again. I used the 3600 pad and wet sanded the hull very smooth. Then I went over it lightly with 600 grit sandpaper to give just a slight bit of tooth but still remain very smooth. After that I masked off the green and the black and airbrushed the white waterline stripe again and it turned out really well. I made a couple of changes in how I used the airbrush this time. First of all, I replaced the .5 mm fan nozzle with a .3 mm fan nozzle to give me a smaller, broad spray pattern. While reviewing the instructions I realized that I had the been using the .5 mm fan nozzle with the air horns on the spray cap in the wrong orientation for a vertical spray pattern. I should have had them in a horizontal position to get a vertical spray pattern and I had it just the opposite. So my previous spray pattern was laying down a lot of paint in a horizontal pattern and that probably contributed to me putting on too much paint when I was trying to get good coverage. I also added 1 drop of thinner and 1 drop of Flow Improver to each 10 drops of paint. It worked well and the white stripe is very nice. I'll paint the green tomorrow and, hopefully, the black as well. I could have left the hull alone but, so far, I'm glad I'm redoing it...at least I think I am at this point!

-
Well, Hell's bells, that rules it out for me!! 😧 There must be an interesting story about how you found that out!
-
That's been my limited experience as well, Grant. I made a 50/50 mixture of Vallejo Gloss and Satin varnishes for clear coating the hull of my Pen Duick. I was trying to get a semi-gloss sheen. I did thin it quite a bit with Vallejo Thinner because the Satin was quite thick. I ended up with some very slight orange peel effect. I tried to put it on "wet" and I think I got it on too thick and it stayed tacky for nearly a week. Even though you couldn't really see the orange peel effect from 2 feet away it bothered me. So now I have sanded the hull and am going to paint it again. My perfectionism got the best of me! One step forward and two steps back... 🥺 Let us know how the Liquitex goes for you. I'm a bit leery of using the Vallejo Varnishes now and I certainly don't want to end up painting the hull a third time!
-
I have a general question about airbrush pressure and regulation. I have a Grex airbrush and compressor set. It has a pressure gauge on the air compressor unit and a large knob for regulating the air pressure on top of the air compressor. It also has a small, thumb screw air regulator that is attached between the end of the air hose and the airbrush itself which allows you to make minor adjustments to the air flow also. I have seen advice for spraying different types media at different air pressures like spraying varnishes at a lower psi but I'm not sure how to determine the actual air pressure I'm spraying. If, for example, I turn the air compressor on an it shows 24 psi but when I begin spraying it drops down to say 20 psi. Am I then spraying at 24 psi or 20 psi? I would assume it is the lower pressure since I would think there would be some drop in air pressure as I begin spraying. So if, for example again, I want to spray varnish at 15 psi, do I set the air pressure with the control knob at the compressor at 15 psi or do I set it higher so that I get a 15 psi reading once I start spraying? Also, what is the best use of the inline hose regulator that attaches next to the airbrush itself? Is it best to set the air pressure at the compressor and then fine tune it with the inline hose regulator as needed? Thanks very much.
-
I've always loved an adventure! Have you built any Pocher models too?
-
Well, it's a secret no more I see...and another little birdie told me me that you have 4 of these Pocher models in your stash now...touché!! 😇 Thanks for recommending me to Paul Koo. I emailed him along with a link to a Pocher Spider model that was for sale on eBay and asked him what he thought of it and what a fair price for it might be. He got back to me quickly and said it looked like a great model and said if I could get it close to the beginning bid price it would be a great deal. He also noticed from the photos of the model that there was a missing bag of metal parts #261 and that there appeared to be an extra dashboard that was already started. I emailed the seller and he added a photo of the missing bag which had just fallen into the box and he also said that the dashboard was indeed an extra that a friend had given him. Nothing else had been started. I was able to get the model for the beginning asking price of $450 since no one else bid on it. I'm excited to build this model and a bit intimidated about it at the same time given the notoriously poor quality control of the Pocher parts. I ordered Paul's DVD also and will use it as guidance like you have. I'll also be using your build log for guidance too and will be happy if I can do half as well as you are doing with your beautiful build. Thanks for encouraging me to take the leap!
-
Grant, what Vallejo Model Air Paints have you used so far on the parts you've painted? I think I'm about to pull the trigger on one of these models thanks to your build log! 😎
-
Great progress, Don. She's coming along nicely!
- 144 replies
-
- 2
-
-
- winchelsea
- Syren Ship Model Company
- (and 1 more)
-
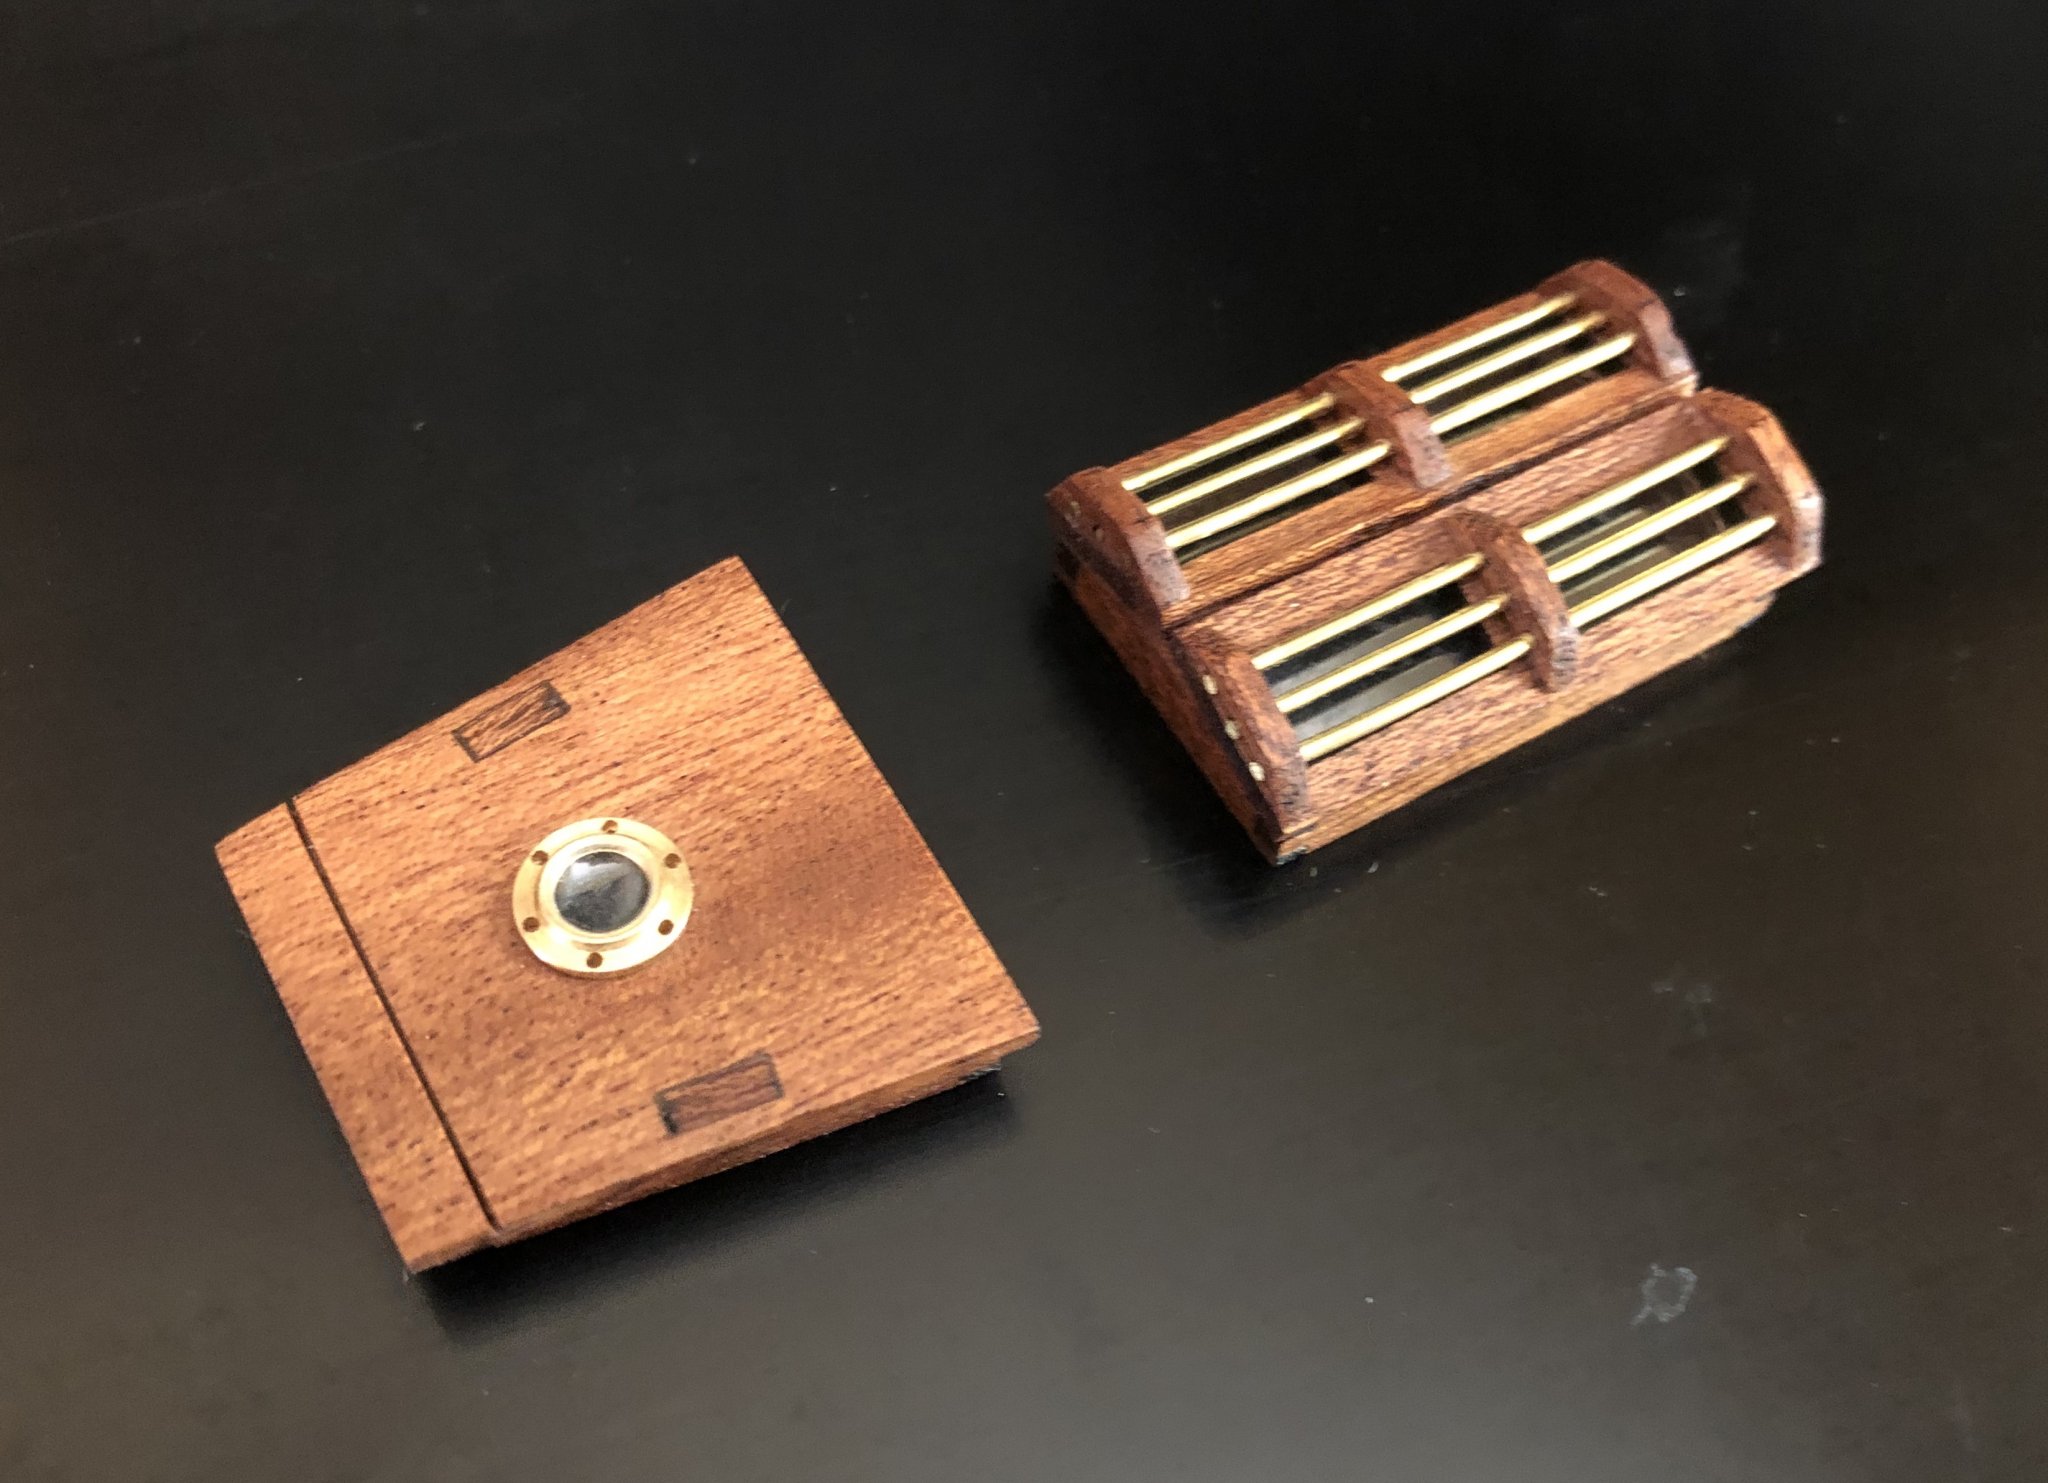
I worked the deck hatches while I'm waiting for an order of Micro Mesh Polishing Pads and Tamiya Polishing Compound and Cloths so I can try and polish out the very slight orange peel effect that I got on my paint job of the hull. My kit was missing the port hole for the forward hatch but I was find one that fits well with just a tiny bit of enlarging the hole. I like it better than the one should have been in the kit. I've looked closely at deck photos of the Pen Duick and the flange around the port hole is flat like the one I was able to buy instead of being more rounded like a rivet. It also has clear plexiglass in the port hole which adds a little realism too. I took some .18 mm (.007") crystal clear, plastic sheet and cut out strips to place in the windows of the amidship and aft hatches. I think they also add a bit of realism since the real boat had glass or plexiglass in those hatches. You can see the clear windows when the light hits them at an angle and I'm pleased with them. Now I need to scratch build some tiny hinges for the hatches next.


-
It looks like your lathe set up can accommodate very long rods. Are ways and bed of your lathe set up custom built or were you able to buy it like that?
-
Is there a link to the Rolls Royce build by Moonbug? I can't seem to fine it. Thanks.
-
This is going to be a MONSTER BUILD!
-
Simply outstanding, Grant, and your build log is an interesting and a pleasure to read.
-
I root for all the Indiana teams but favor the Hoosiers and the Bulldogs a little more. 😏
-
I think Chuck just wets the wood slightly with his fingers and then uses a travel iron for heat when he's edge bending and dry heat from a hair dryer for flat bends and twists.
- 195 replies
-
- 2
-
-
- lady eleanor
- vanguard models
- (and 1 more)
-
Thanks, Don. I just have a small work desk in the corner of our second bedroom and dust is a problem for me even when I'm sanding just a small amount. I've made the mistake of using my Dremel inside and, as you say, that generates a lot of dust. My Medway Longboat was displayed near my modeling area and I just noticed that it has a lot of dust on it. Now I need to clean it up. I put too many hours into it for it to end up looking dusty. We have now moved it to another part of the house too. It would be best if it were in a case but we just don't have the space for big display cases. Great watching your progress on the Winnie.
- 144 replies
-
- 2
-
-
- winchelsea
- Syren Ship Model Company
- (and 1 more)