HOLIDAY DONATION DRIVE - SUPPORT MSW - DO YOUR PART TO KEEP THIS GREAT FORUM GOING! (Only 68 donations so far out of 49,000 members - Can we at least get 100? C'mon guys!)
×


toms10
-
Posts
929 -
Joined
-
Last visited
Content Type
Profiles
Forums
Gallery
Events
Everything posted by toms10
-

Roter Löwe 1597 by Ondras71
toms10 replied to Ondras71's topic in - Build logs for subjects built 1501 - 1750
Ondras, this is really nice work. Very clean and crisp workmanship. I will enjoy following this one. Tom -
Hi Jim, Okay, who am I kidding. I am an engineer... I have to count them. I am just wired that way. Tom
-
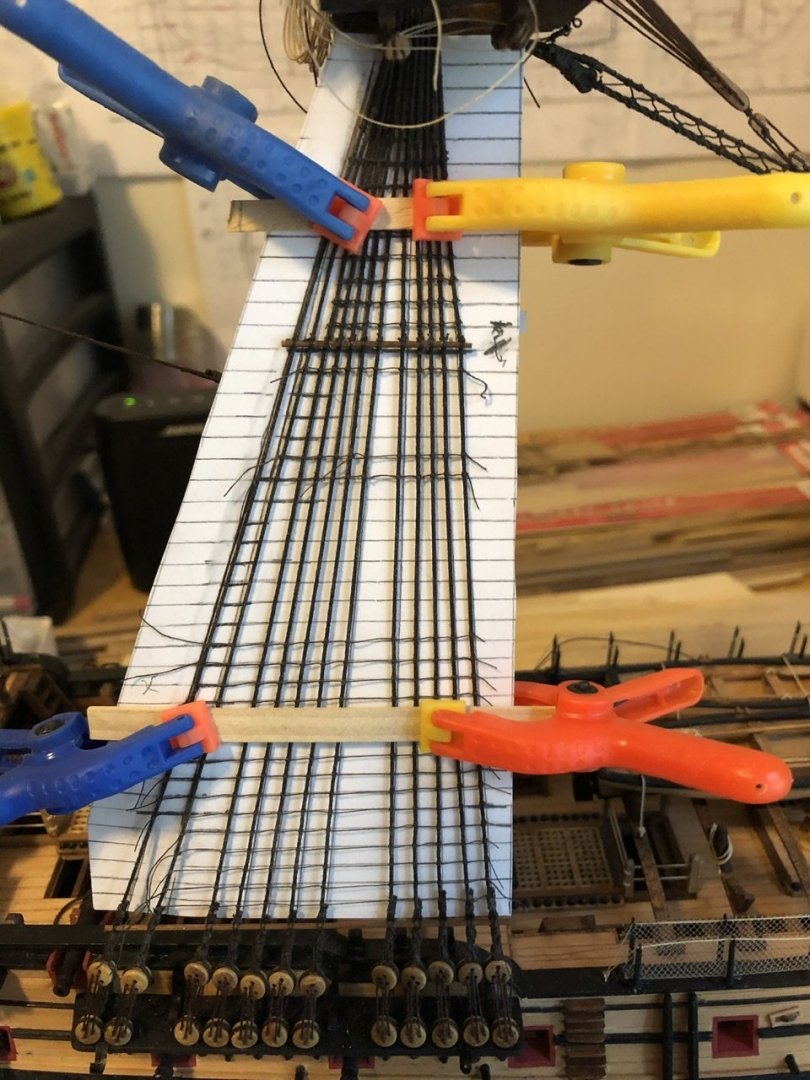
Hello MSW What started out as only intending to do the rat lines behind the futtock shrouds while they were easy to get to, ended up being a complete set on the main mast. I guess that’s good since sooner or later they need to get done. I guess I will do the same on the port side now. Then I can put in the lower deadeyes for the top mast shrouds which was the original plan. I guess plans are like rules... subject to change without notice. 😜😁 And before anyone asks, I don’t know how many clove hitches I will need. Quick math tells me about 1300 just for the lower shrouds. After all those it doesn’t really matter if it is 1,000 or 10,000. Your brain eventually goes to mush after a few hundred. Good thing there are other things to work on 😁! Tom

- 385 replies
-
- 10
-

-
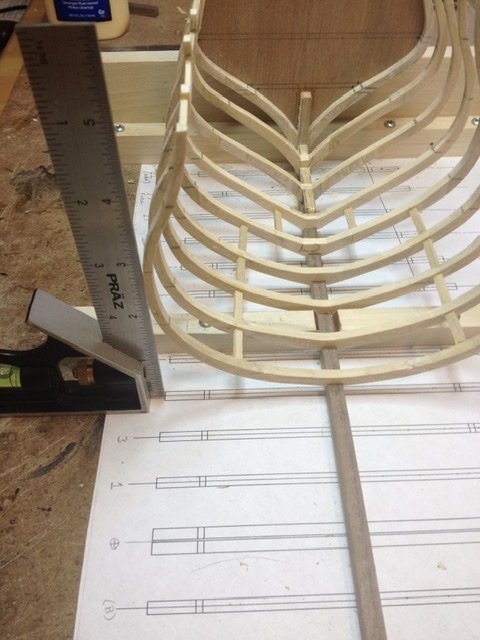
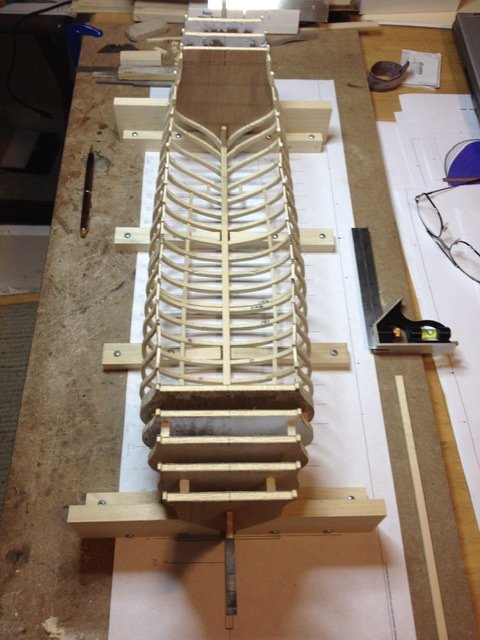
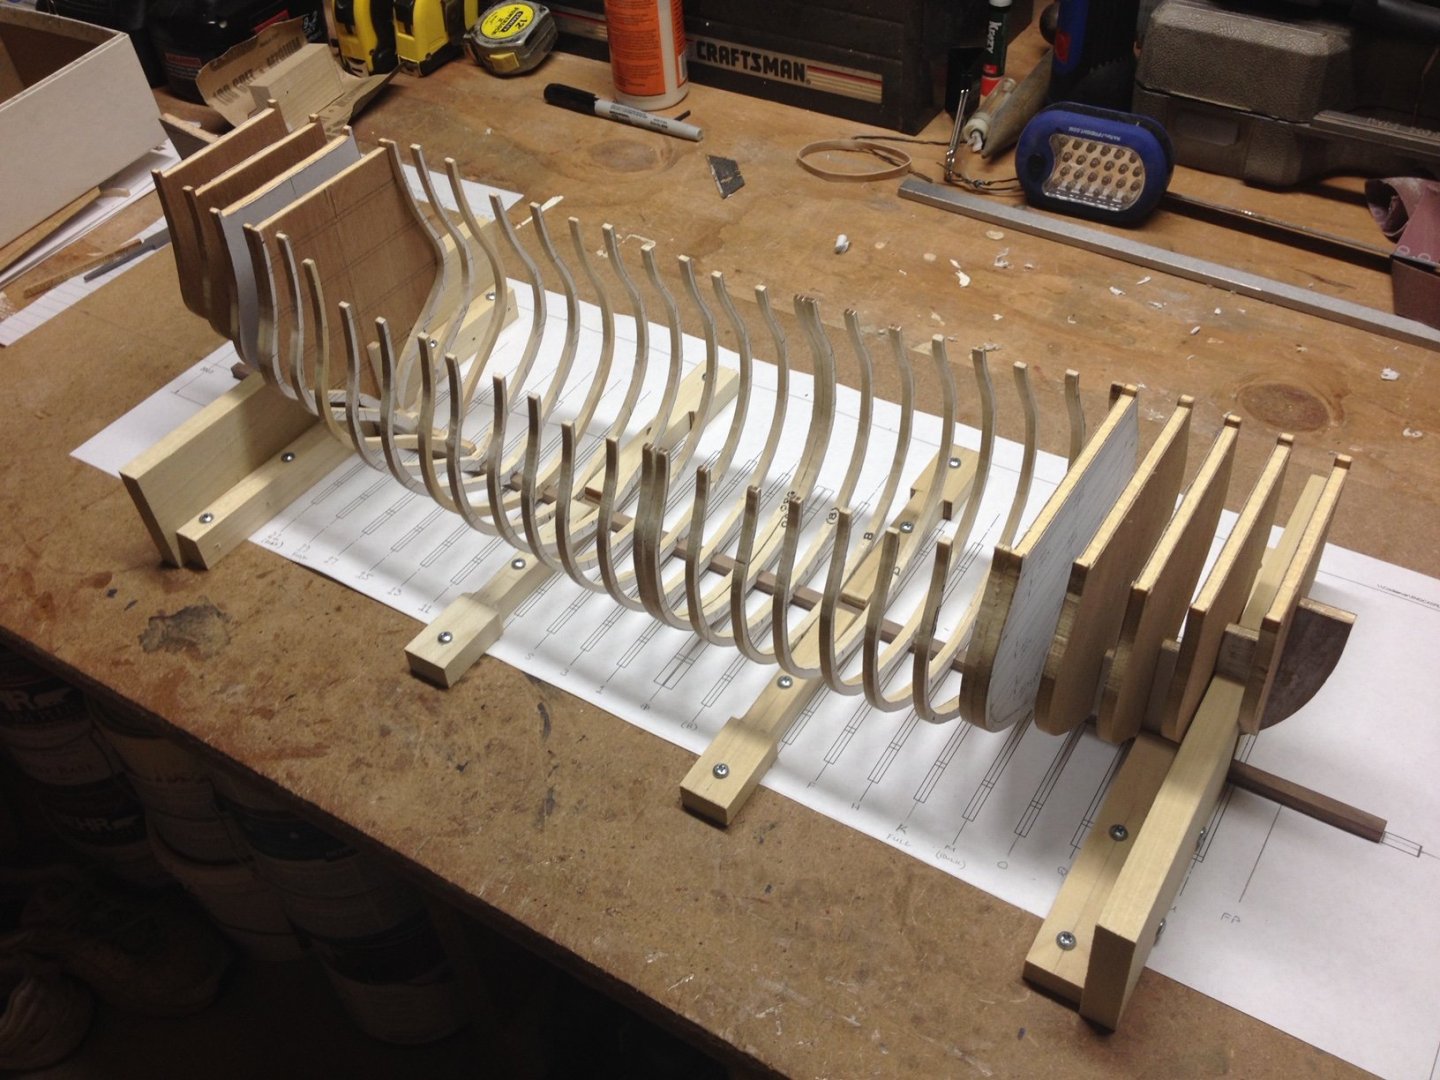
Hi Jim, Yes that is what it looked like. The keel was a 1/4" square piece of walnut. The ends where the bulkheads were being used were built up by gluing 1/4" square pieces on top of each other until I got the height I needed to secure a bulkhead. After sleeping on it, I realized what was being asked. I just don't have any pictures. Thanks for the sketch. Guy, I hope this helps. This site always has somebody that knows the answer... even if we are not always sure of the question. Happy modeling, Tom
-
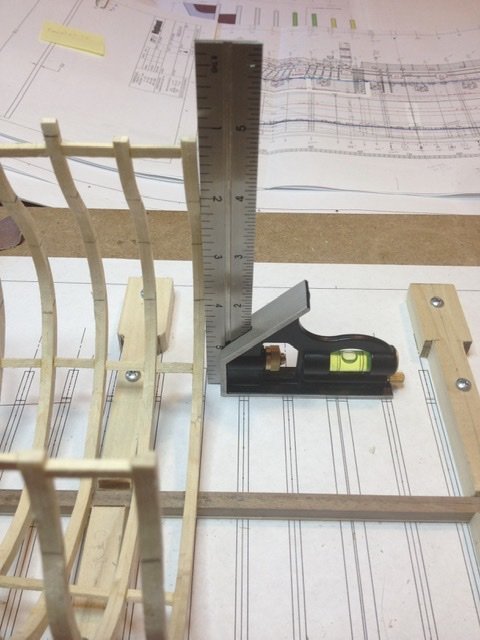
Guy will these photos help you. The keel was built up in height enough to allow a bulkhead With a slot to slide over the keel just like a standard POB build. these are all the photos of the framework that I have. Tom
-
Hi Guy, I am not really sure I understand your question. The keel is laid just as any other keel. The full frames in the center where the cut is are attached to the keel as would normally be done. I used bulkheads aft and forward of that section and notched them just as you would a frame where they attach to the keel. I then put little spacers between the bulkheads to help keep them square and strong. Hope this pic helps, Tom
-
I hope they are of some use to you Tom
-
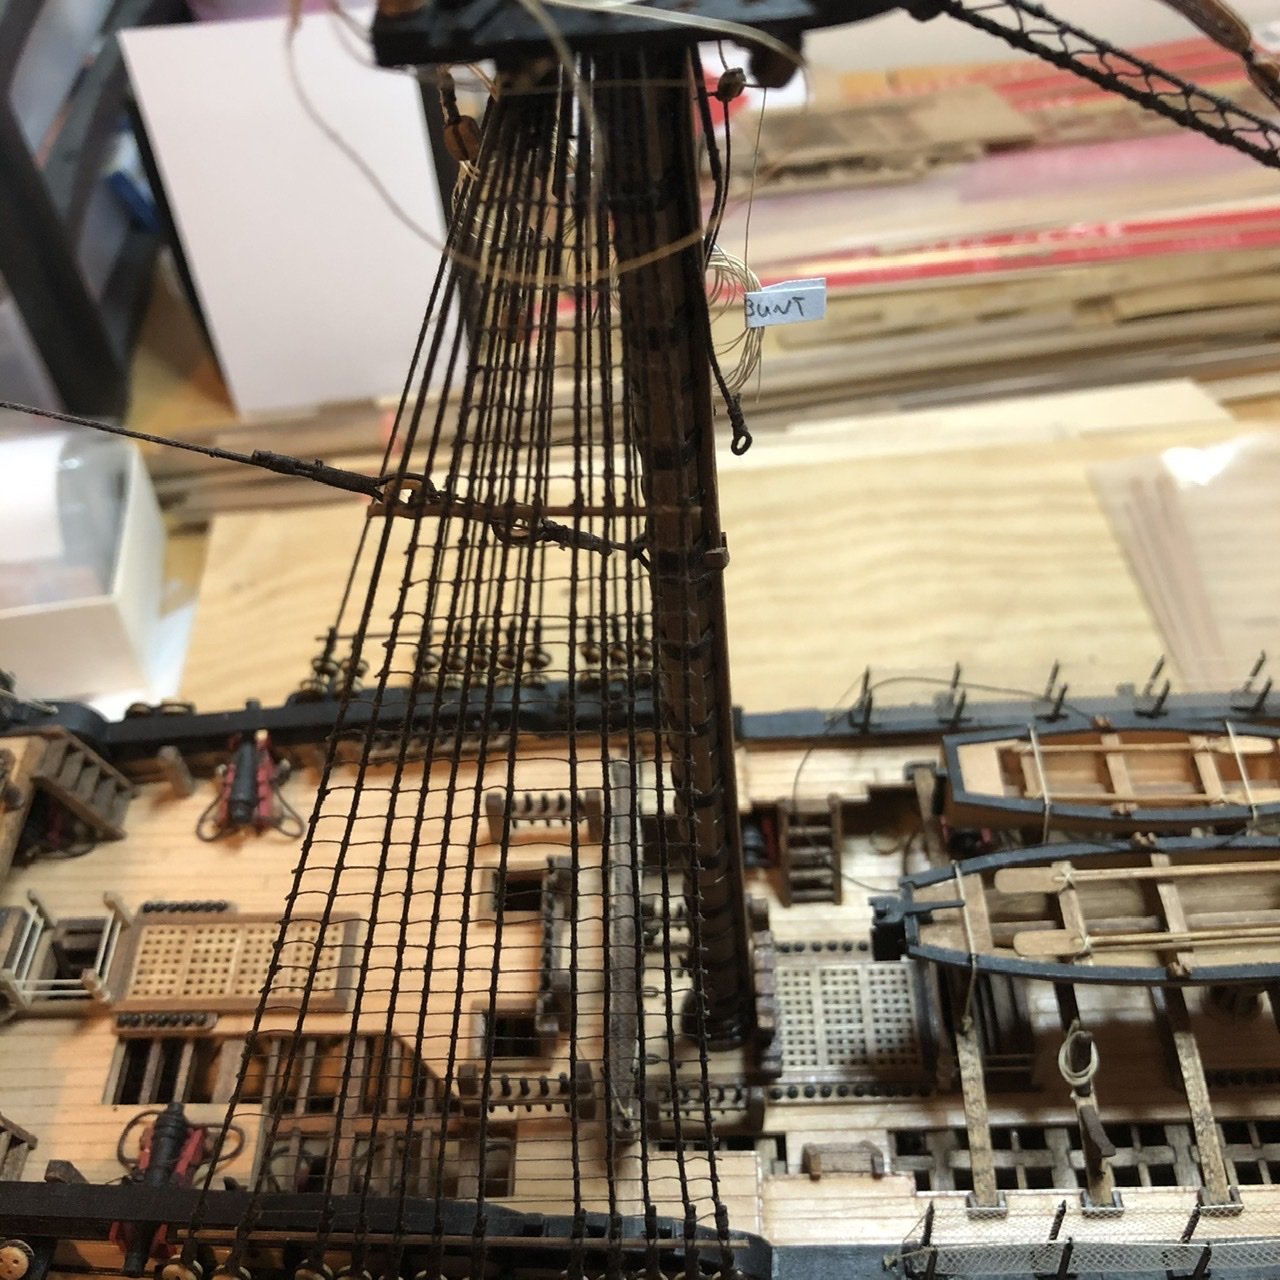
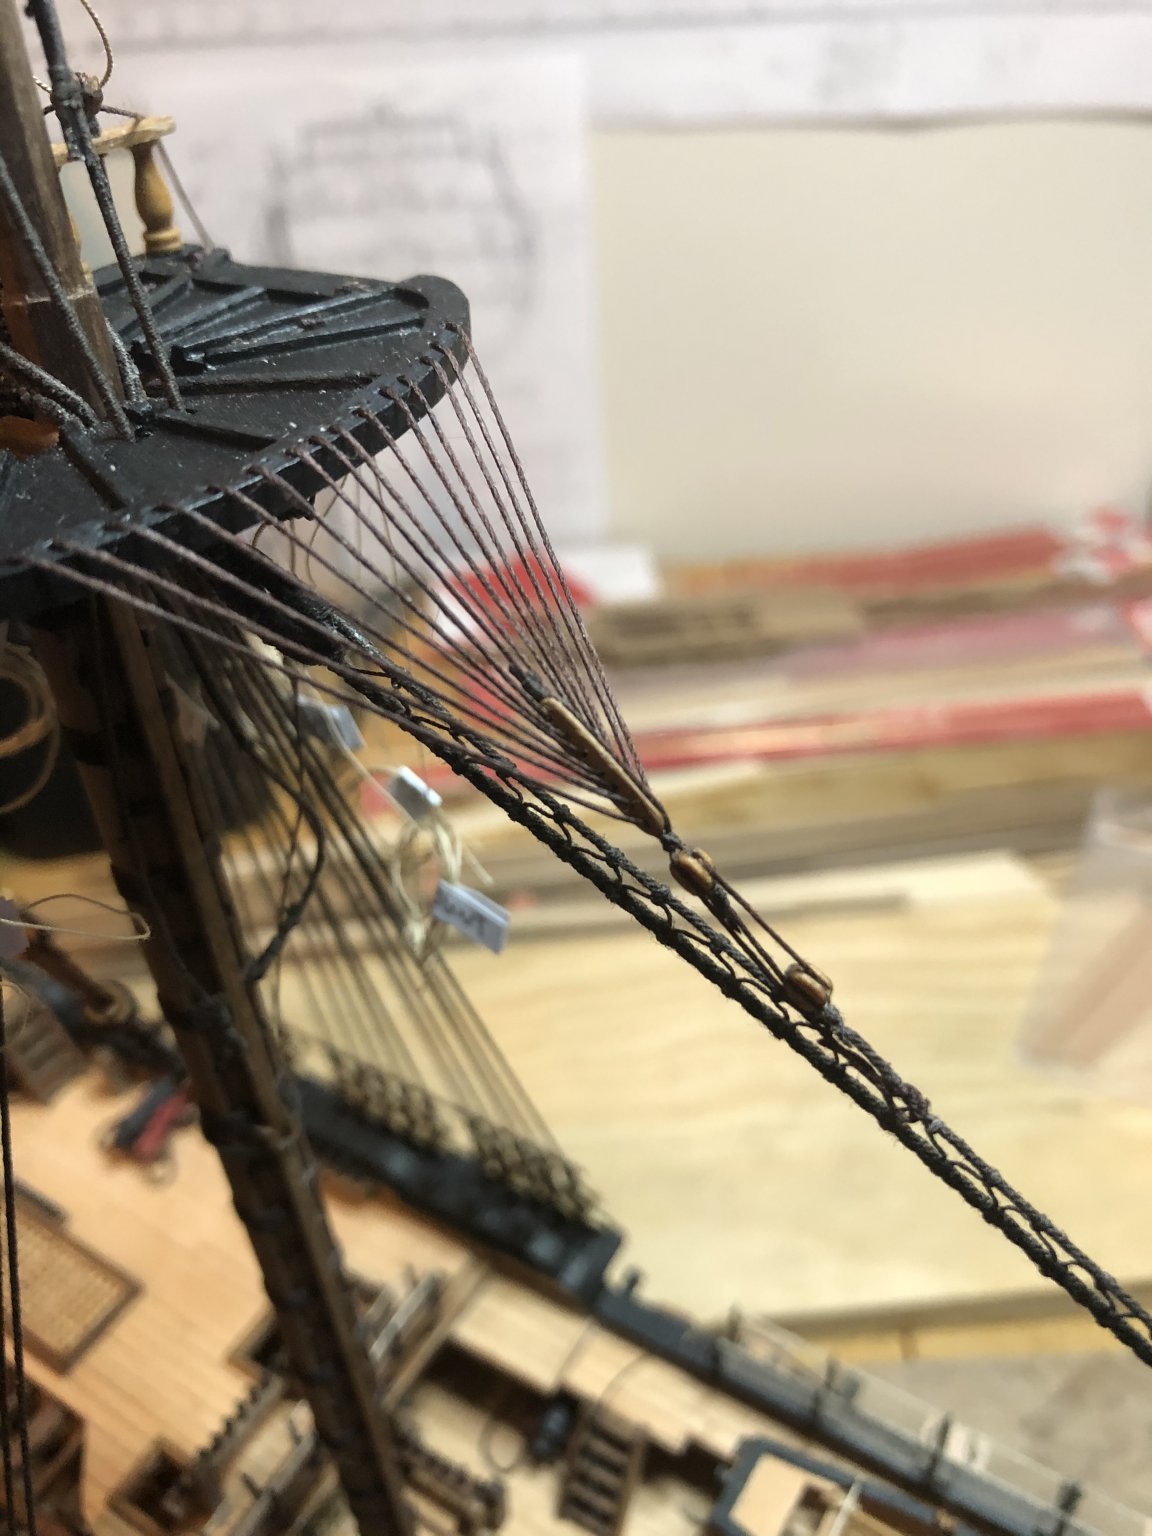
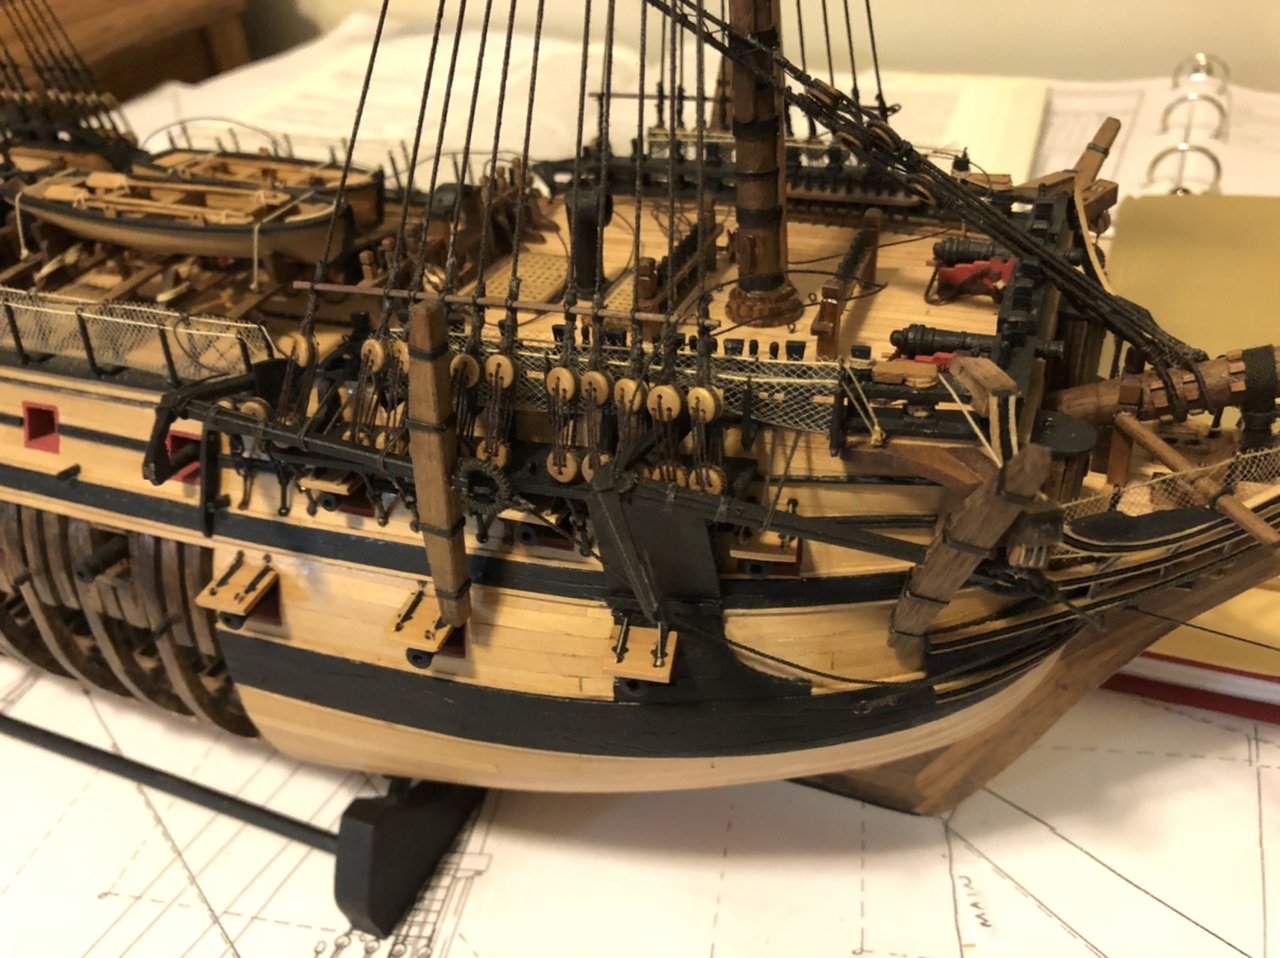
A little more progress picking away at the standing rigging. My crows now have feet😁. From what I read in various sources, crows feet at the turn of the 18th century seemed to be somewhat “optional” or at the discretion of the captain or sailing master. I liked what they added to the model so me being the captain instructed my sail master to have them installed. I enjoyed making these. There is one on each mast. The closeup above is the one on the main mast. Tom

- 385 replies
-
- 11
-
-
Hi Jack good to hear from you. I may be a bit bias as it was my first build. It was a fun build. You need to be careful about the order of the steps. The instructions are not the greatest. I believe I mentioned it in my log. have fun with it. Tom
- 212 replies
-
- 1
-
-
- constellation
- artesania latina
- (and 2 more)
-
Hi TreeSqueak I do have the instruction booklet and picture booklet. Are you in the US? PM me your address and I will mail them to you. I don’t see me needing them in the future. Tom
- 212 replies
-
- 1
-
-
- constellation
- artesania latina
- (and 2 more)
-
Great thanks John. I will pm you my address. Tom
-
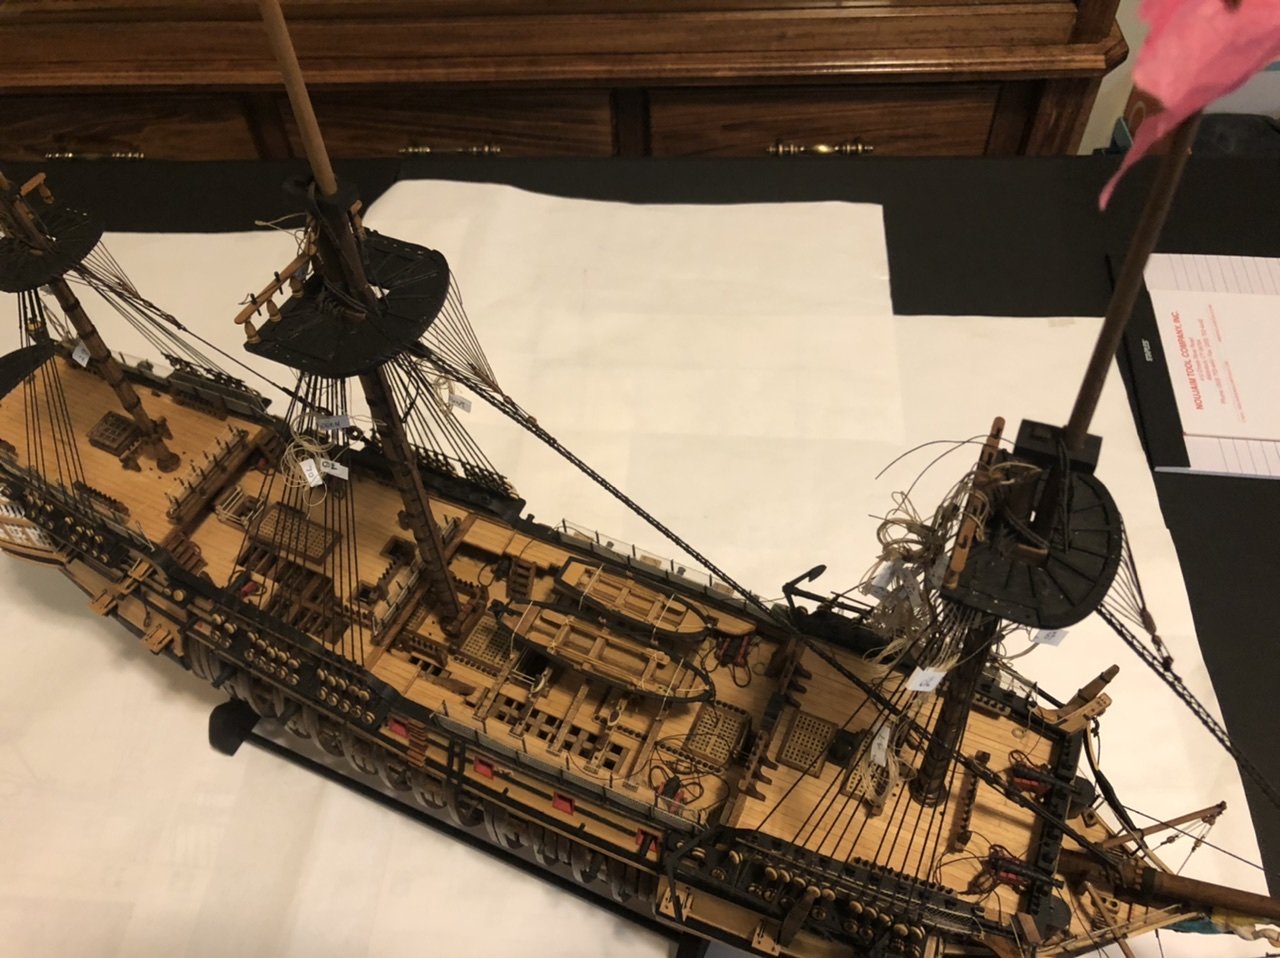
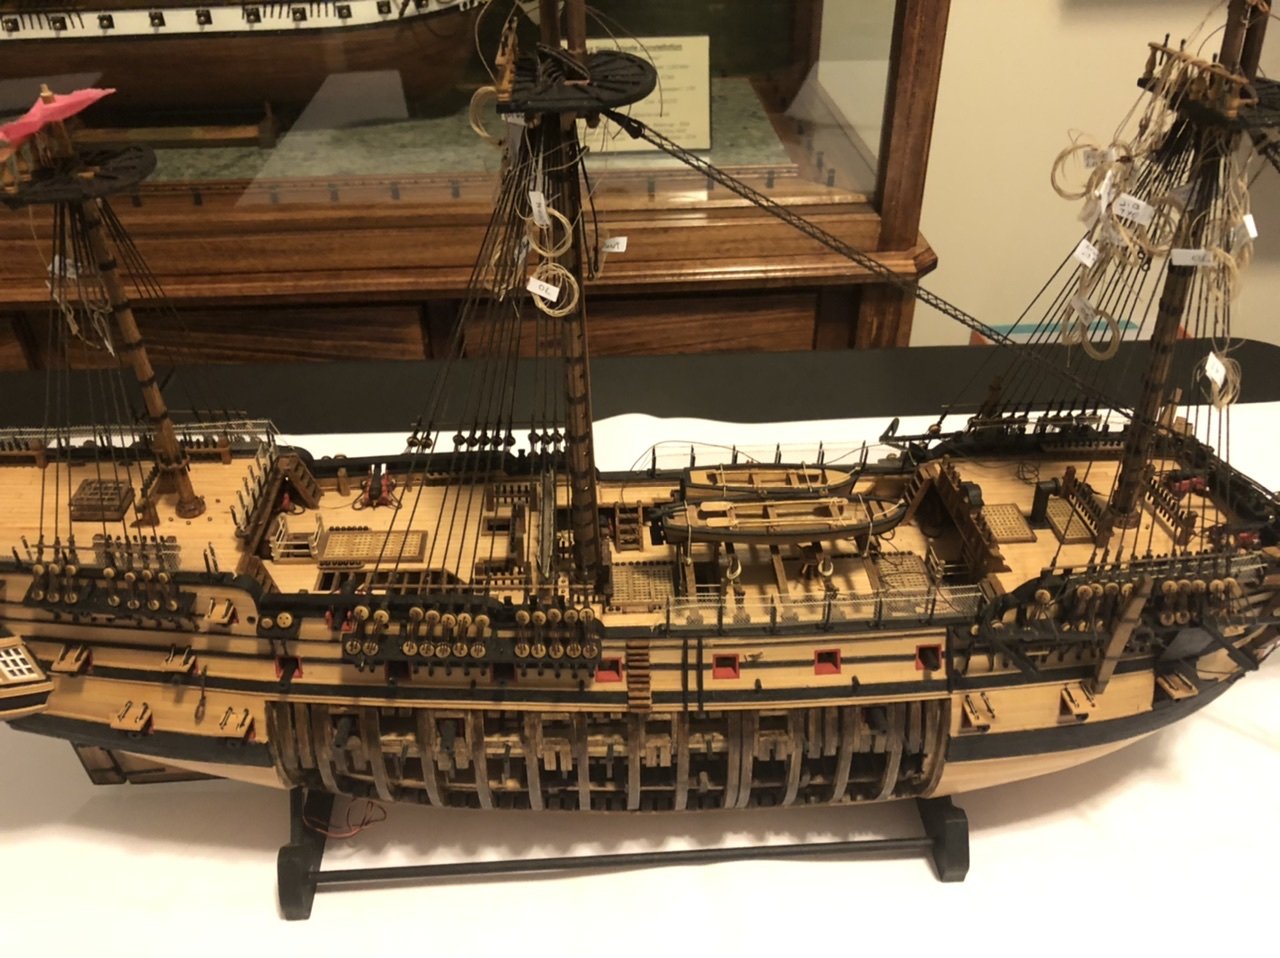
Got a little further. The lower shrouds and sheer poles are all in place. I guess mounting the crosstrees for the topmasts are next so I can put on the upper shrouds next. Just keep picking away at the standing rigging. Also need to mount the flying job boom so I can finish the bow sprit standing rigging. As far as wood work I still need to make all the yard/spars ant that should be about it for making saw dust. Hope everyone is safe and well as we plow through this pesky pandemic. Happy modeling. Tom
- 385 replies
-
- 10
-
-
Hi John, I would appreciate the plans when your done. I am definitely in no hurry. I am only on the just getting into the rigging on my Leopard. I have the masts completed but still need to make the spars. The standing rigging is only about 1/3 complete. I am going to add sails so I am sure that will take a bit. You will finish before me I am sure. Speed is not in the formula for me. Keep up the good work. I am definitely going to pull up a chair and follow. Your log is excellent. Tom
- 204 replies
-
- 1
-
-
- marine model company
- charles w morgan
- (and 1 more)
-
To add sails or not? What is your preference?
toms10 replied to Bill97's topic in Masting, rigging and sails
I am a sails guy. Whether furled or full they are part of the ship and add to the character of the time periods. As previously stated by many, usually cloth sails are a bit out of scale if you are working around 1:87 or smaller. They can be very tedious but can definitely add to the "wow" factor. Just my humble opinion. Tom -
Hi John, I just ran into this log and am very impressed. I am thinking of my next build as I am a few months... maybe away from finishing my current build. I live about an hour away from Mystic and was thinking the Morgan should be my next build since it is in my back yard. I would be doing it from scratch so I will need to procure a set of plans, most likely from the Mystic museum but they see to be overly expensive. I will follow along and use this log as a guide as it is well done. Keep up the nice work. Tom
- 204 replies
-
- 1
-
-
- marine model company
- charles w morgan
- (and 1 more)
-
Thank you everyone, I did go with the sheer poles for two reasons. First, as everybody mentioned, there is no definitive answer so go with what you think. Secondly and probably most important, I had already installed 4 of them before I started reading about them. 🙂 Previously, I was just looking at other models and mechanically thought it just made sense to have them. They are now part of my model. Thanks again for checking me. Tom
-
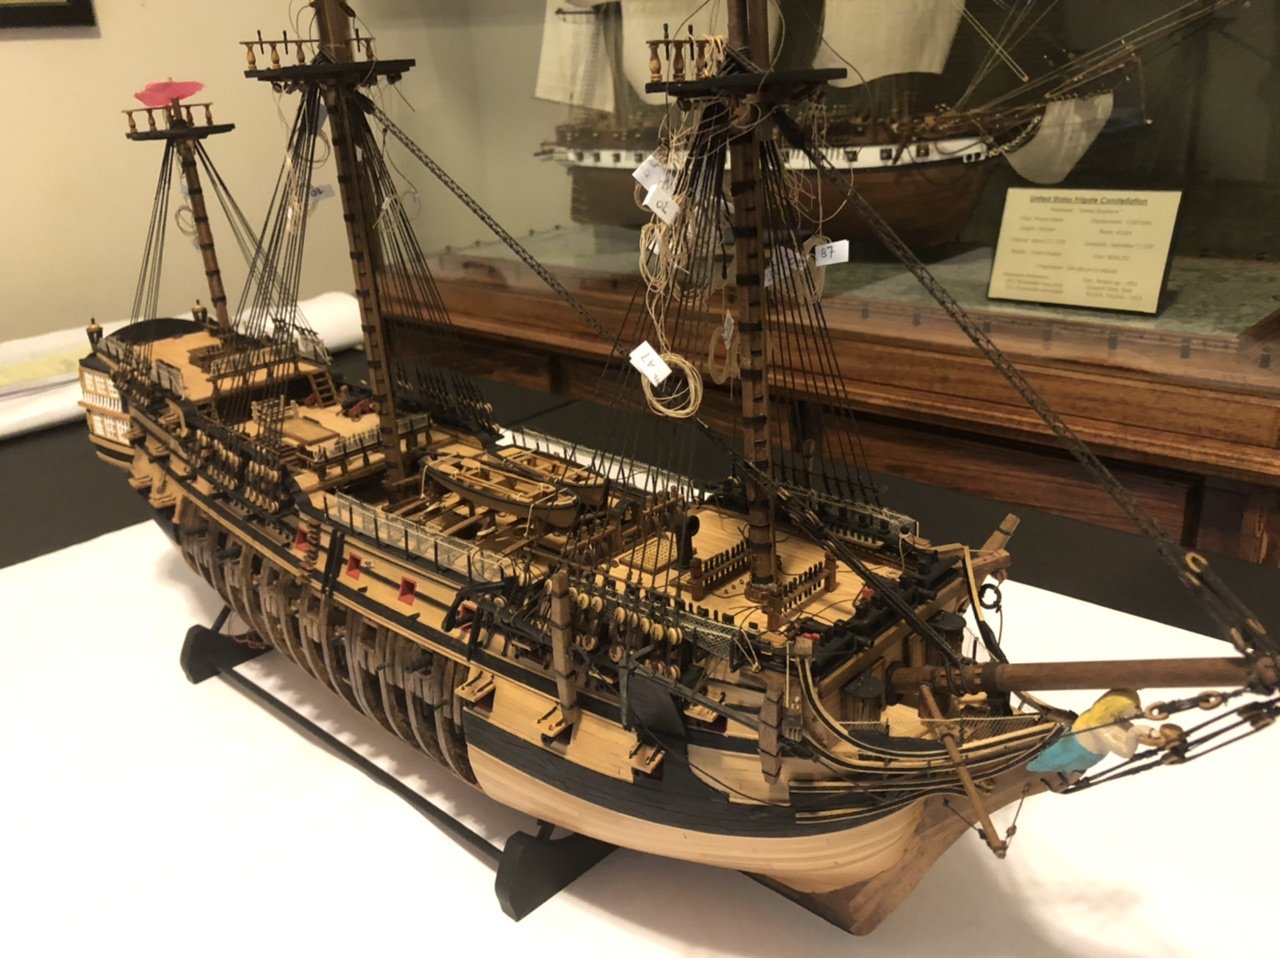
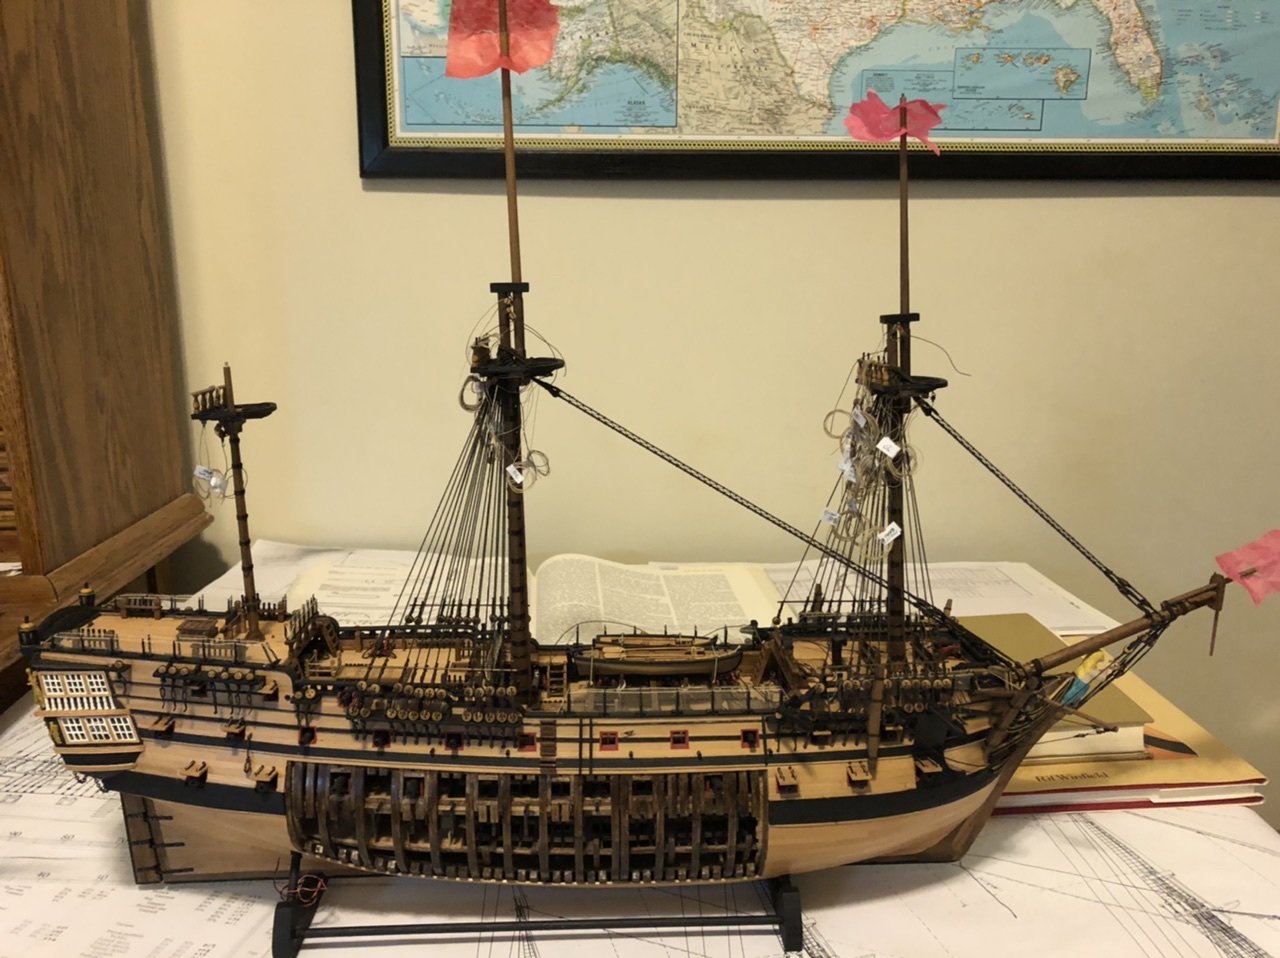
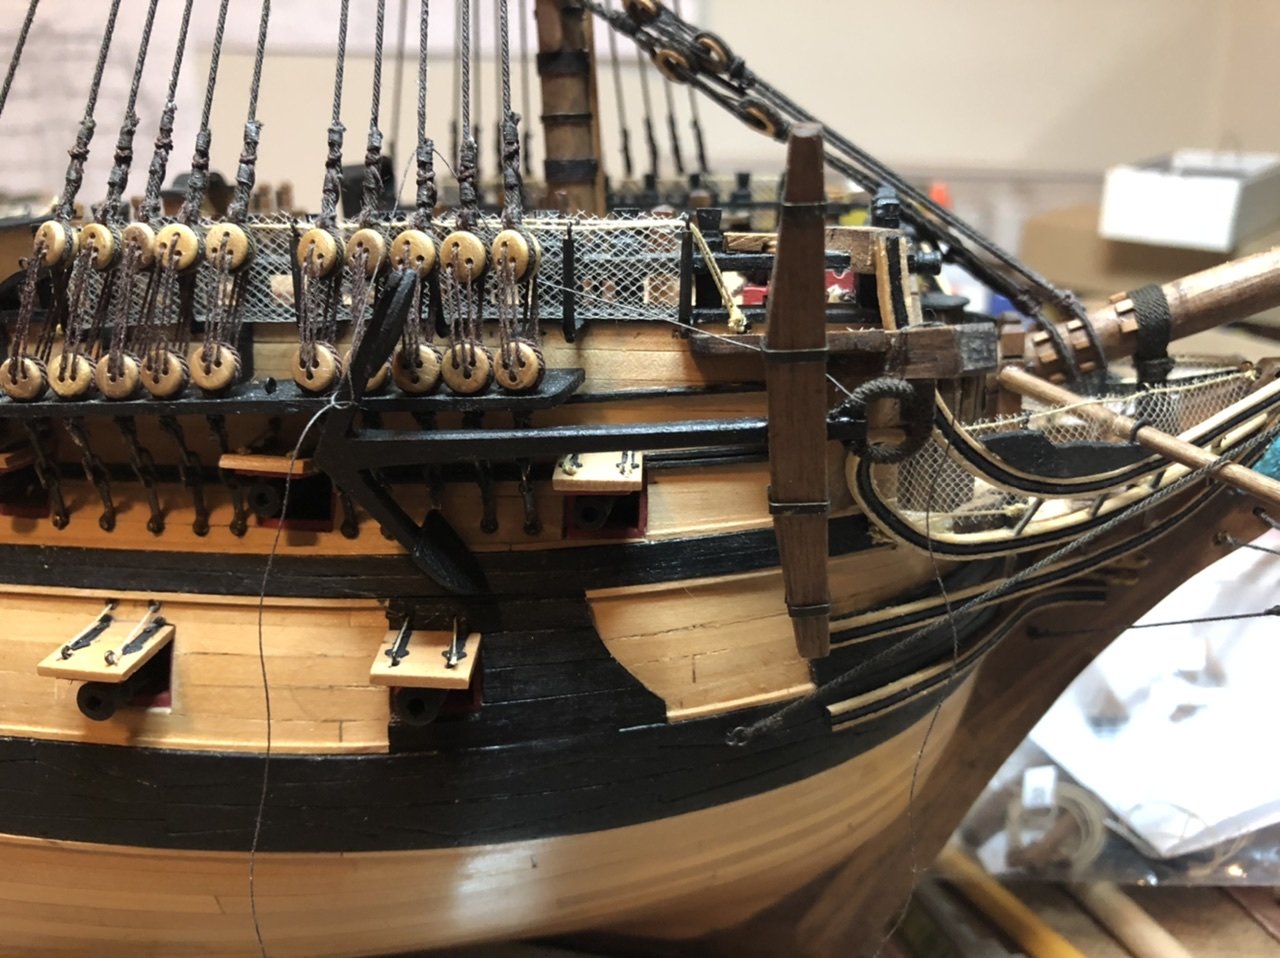
Hi all I got to spend some time Time on my build amid all the spring yard work and planting. I rigged up the anchors along with the anchor bouys. The bouys are currently attached to the anchors but the lines are just laying on the deck until I get the first few rat lines installed. Then I can mount the bouys to those and the shear pole. I put a question out there regarding the shear poles in the mast and rigging section but did not get any responses. Also got the Mizzen mast and fore and main topmasts in place. I plan on attacking the Mizzen shrouds next and the the rest of the masts so I can work on the standing rigging some more. This is what she looks like to date. Just need to find some blocks of time to keep plugging away at her. Tom
-
Hi Aon Sometimes the history research can be just as rewarding as building the model itself. My hat’s off to you for taking this project to another level that is not always done...at least to the depth you have done. Tom
-
Hi MSW i have a question about whether it would be correct to use a wooden shear pole at the base of the shrouds on my 1797 HMS Leopard. I have seen pics with wood and just a rope for the first ratline. Monfeld’s book Historic Ship Models shows a picture of one page 285 but it says 19th century in the caption. The futtock staves seem to be rope and not wood in the brief text on page 282. Can these be wood if the shear pole is wood? just trying to make it as right as my talents will allow. Tom
-
Okay. So the pin idea worked. The shank and flukes are now 90* from the stock. I used a .025 dia brass nail and snipped the head off. Drilled a hole in the end of the skank and underside of the stock. Pressed in the pin and glued. Much better than making it all over. I need to stop working on the model late at night. Sometimes the brain shuts off but forgets to tell you. 😜. Thanks again to Beef Wellington for pointing this out to me. Tom
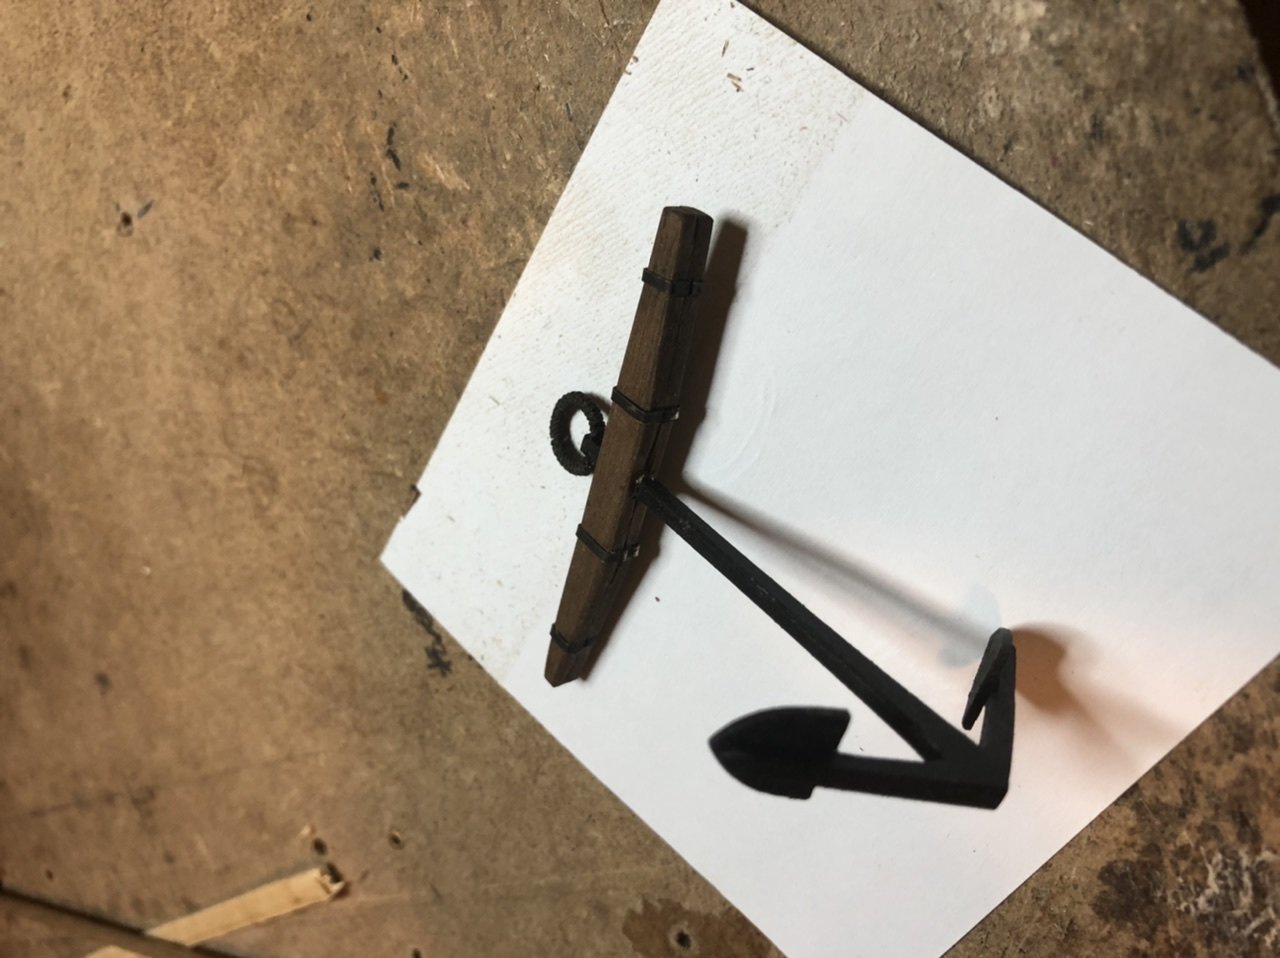
-
Hi Beef! Thanks for pointing that out. I also realized this the next morning when I looked at it again. Something didn’t quite look right and when I looked at the picture in the book ... duh. Luckily I only assembled that one before I slapped my forehead and called myself things I care not to put in print here. 🤬🤬. I have not worked on them for a few days because of a 5 yard pile of mulch that l needed to get off my driveway and into the landscaping beds. That is done so now I can figure out how to hopefully fix the problem without going through build another set of components. I am thinking maybe cutting off the shank flush with the underside of the stock and then pinning the two back together at the proper angle. If it doesn’t work oh well. That is why I have extra wood. 😜 Tom
-
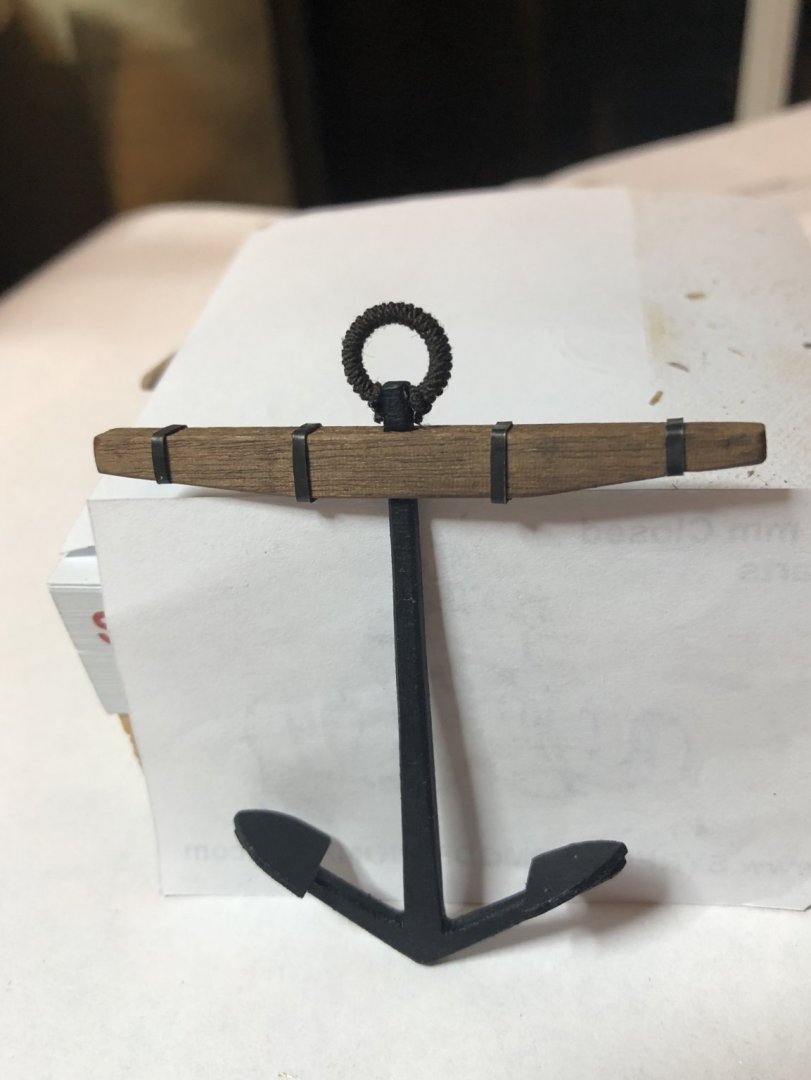
Here is one of 4 anchors. It is all wood except for the blackened brass bands and the rope covered ring. I used the size formulas laid out in Mondfeld’s Historic Ship Models to get the size. At first it seemed very large but when I temporarily placed it on the bow and looked at other models of the Leopard it looked OK. I guess I never realized how big these things were! Now I need to make 3 more just like it😜. Stay safe Tom
-
Did a bit more work this weekend. Attached the main and fore stays and snaked with the preventers. Also rigged the boomkins. I think I going to change gears a bit now and work on the anchors and their rigging. Tom

-
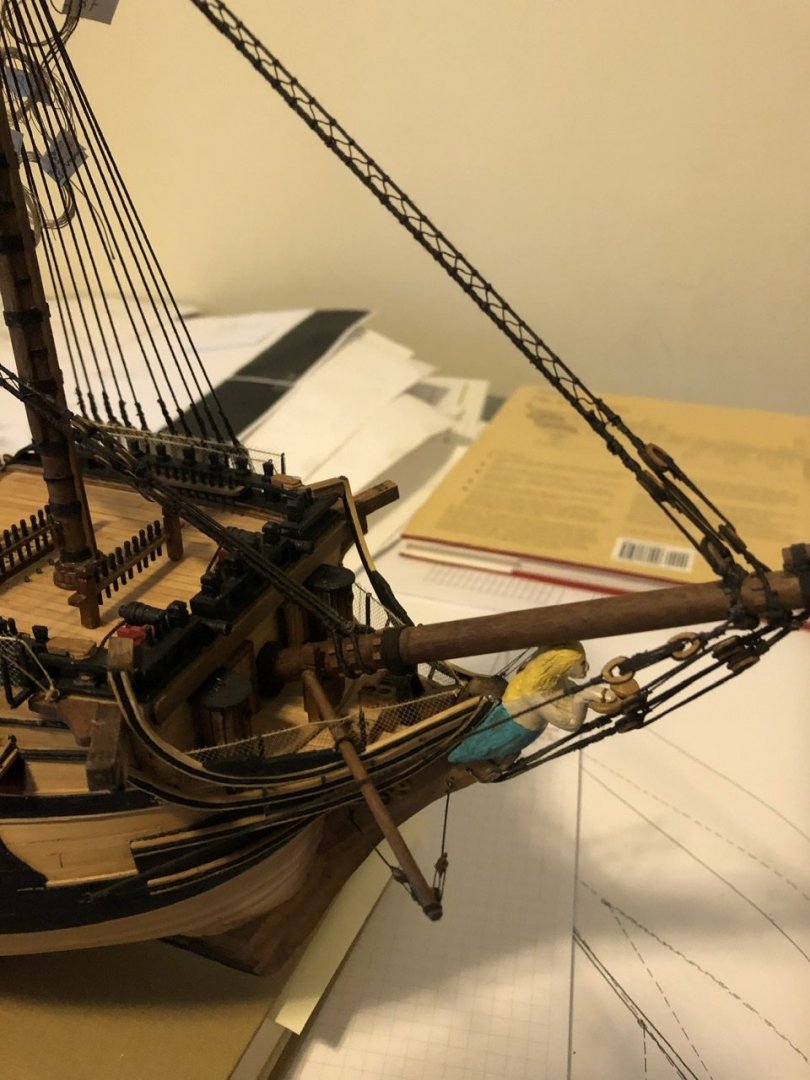
Leopard I asked the same question in an earlier post. I researched and found nothing. If anyone has any info please share. Maybe she is trained in using a defibrillator! The picture reveals that I have to do some more smoothing and shaping to do. Every time I look at it I think i can do better. I guess that means I am not totally satisfied and will work on it some more. This could go on for a forever! Well at least until I am tired of fussing with it. I am going to go for a couple mile run now; maybe it will look better when I get back? 😜😁 Tom